
Dead Space 2 Guide Walkthrough Clarke's Log: Walkthrough
Chapter 4
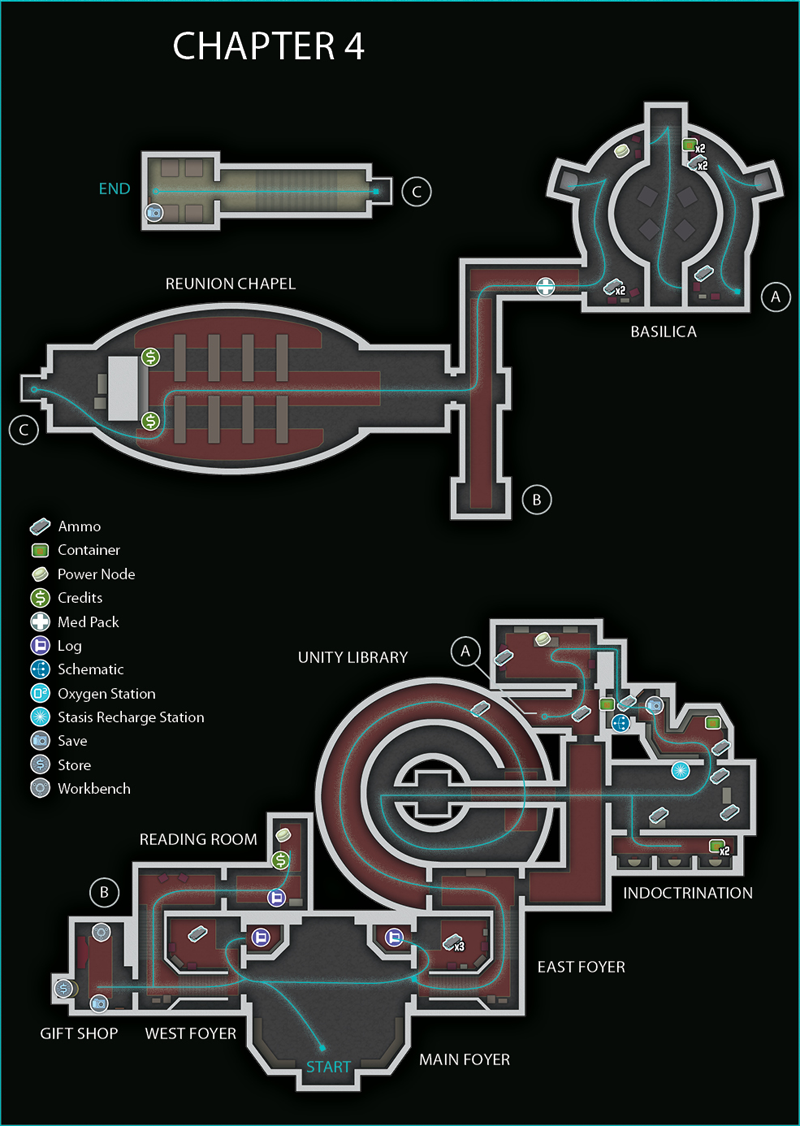
Going to Church
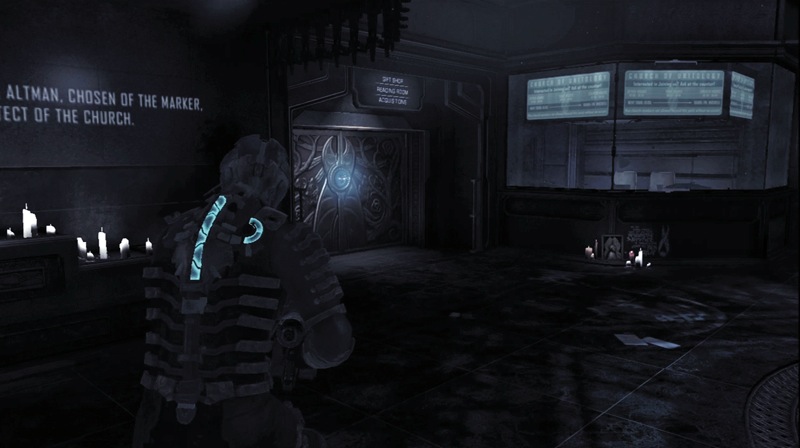
You have reached the Church of Unitology and are in the main foyer. Your objective remains the same: You must rendezvous with Daina and her team. Even though the locator says to go to the right, head left first, through the door with the sign over the top listing the gift shop and other rooms.
The Foyers
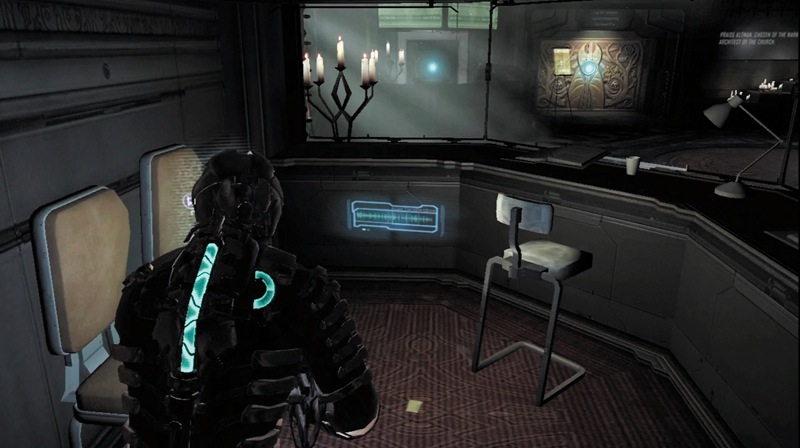
In the west foyer, pick up some ammo on the floor and then go through the nearest door into a small room where you can pick up a text log. Daina calls you and tells you to meet her in the top room of the church. She is waiting there for you.
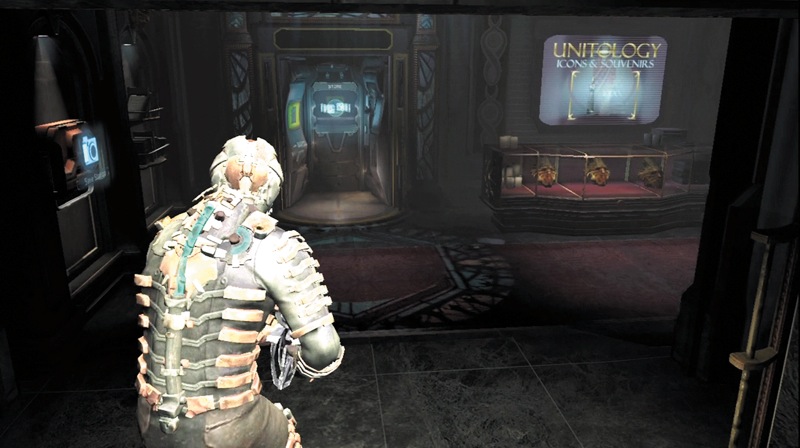
Now head up the stairs and enter the gift shop. There you will find a save station, a store, and a workbench. Remember this location; you may want to return here later. Save your progress and then enter the store so you will automatically upload any schematics you have.
Also sell semiconductors to convert them into credits and open an inventory slot. If you have not already purchased all the weapons, do so now. At the workbench, spend all of your power nodes upgrading items of your choice. While you normally want to save one node for power-locked doors, you will be picking up another power node shortly.
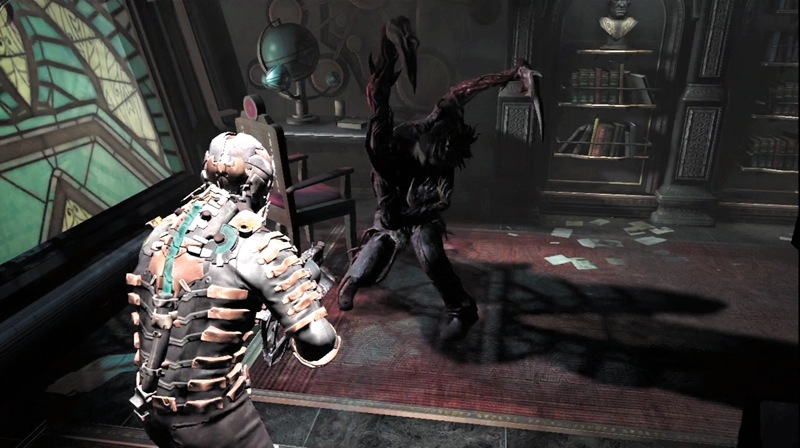
Exit the shop and continue up the stairs. Head to the right and enter the reading room. Pick up a text log here as well as some credits and a power node. As you are about to leave, a Slasher jumps down from the ceiling. Kill it quickly and then exit the room and head back down the stairs.
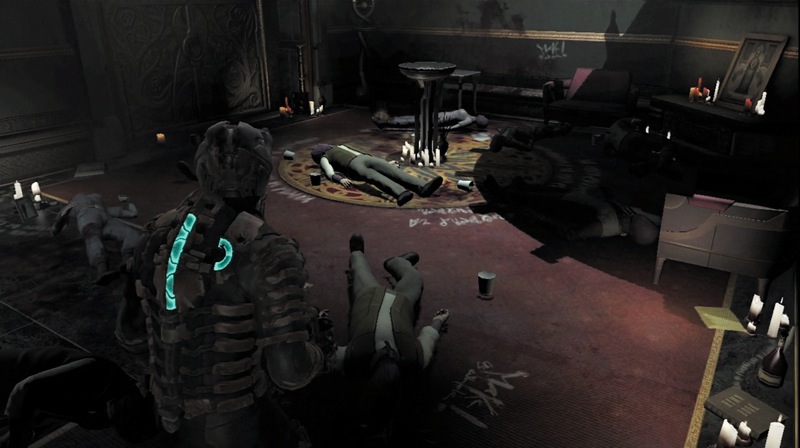
Head back to the main foyer and then walk across to the other main door leading to the Unity Library and other areas. Inside the east foyer, you find several dead Unitologists who appear to have committed suicide. Pick up some ammo in this room, then go through the door into a small room to find an audio log.
Unity Library
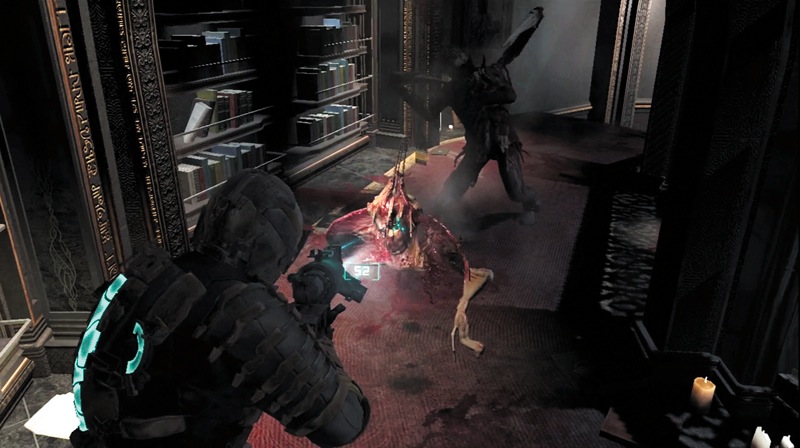
Head up the stairs and go through the door leading to the Unity Library. Follow a walkway around the top of the library to find an Infector transforming a corpse into a Slasher.
Deploy a timed mine from your line gun to blow them both up, or use the javelin gun with some electricity to cause immediate damage. Finish them off and collect what they leave behind.
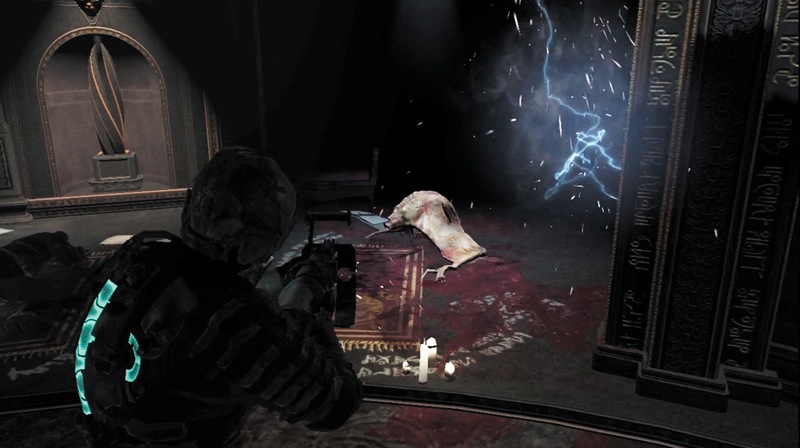
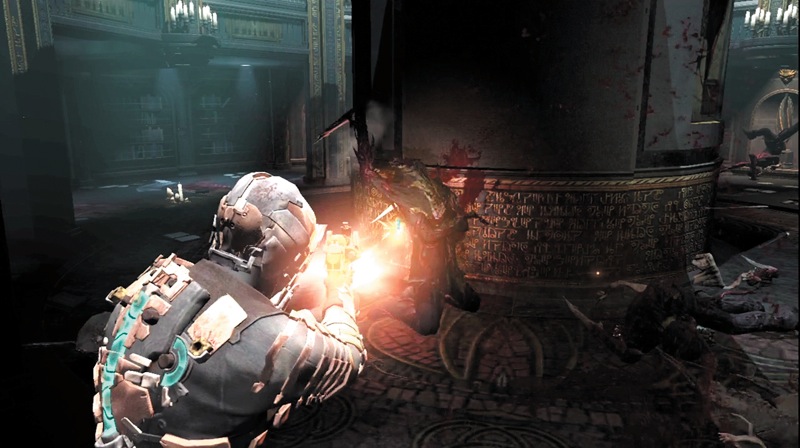
Make your way down the stairs to the lower floor of the library. There are several Infectors down here working over the dead Unitologists. Use the line gun and the javelin gun, since both are great for damaging more than one enemy at a time.
Try to kill the Infectors as quickly as possible. However, be careful not to get surrounded by the Slashers that are being created. There is also a Puker down there; use stasis to slow it down so you can back away and kill it. Clear out all of the Necromorphs in this area and then pick up the items they drop when they die.
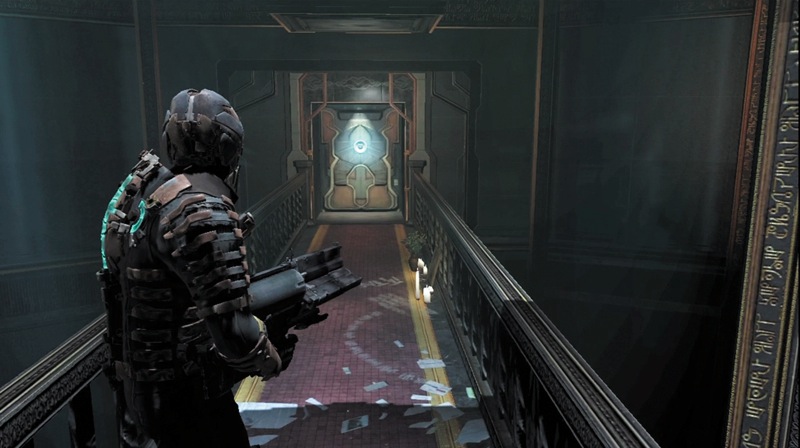
Open the door in the center of the lower library and enter a cargo lift. Press the Action button by the controls and ride it to an upper level. When you get off, walk across a narrow walkway and continue through the door into a corridor. Be careful because if you didn't kill the Puker in the fight below, he will follow you up here and hit you from behind.
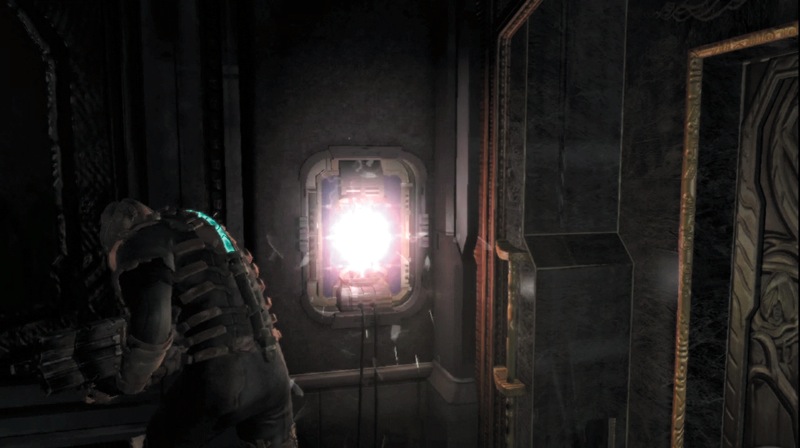
Turn right and move toward a locked door leading to the Overwatch. There is an open fuse box to the door's side. Hit it with a melee attack to unlock it. This door will take you to the stairway that leads back down to the east foyer. Return to the corridor and go through the door leading to Indoctrination.
Indoctrination
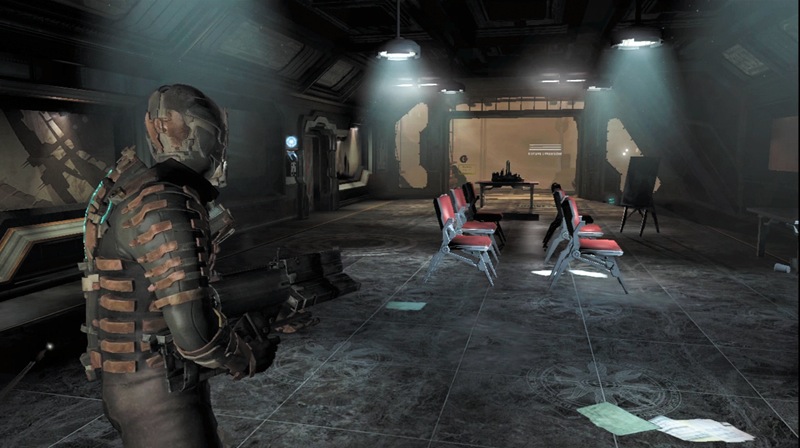
The indoctrination room is large with a huge glass window at the far side. It is important to remember this window. For now, pick up the ammo on the floor here and then head through the side door on the right.
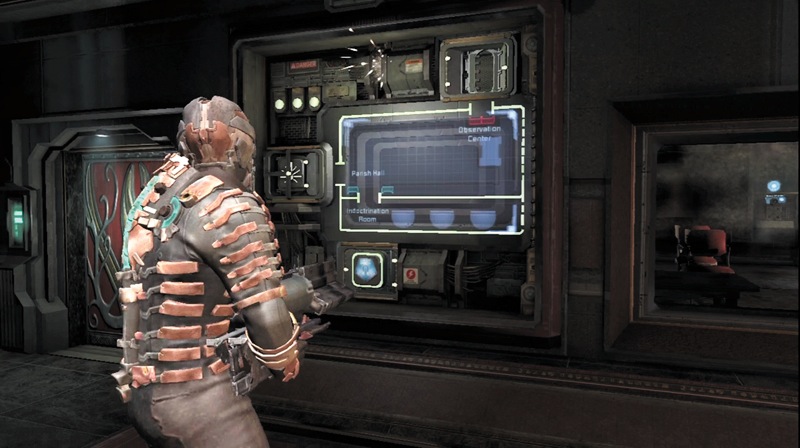
This room has a couple containers. Stomp on them and then pick up a text log. Use kinesis to pull off a panel with a GRIP icon on it near the door. The control panel shows a diagram of the indoctrination area. There is a spot where fuses need to be replaced in order to activate the door on the area's other side. You need to find a fuse.
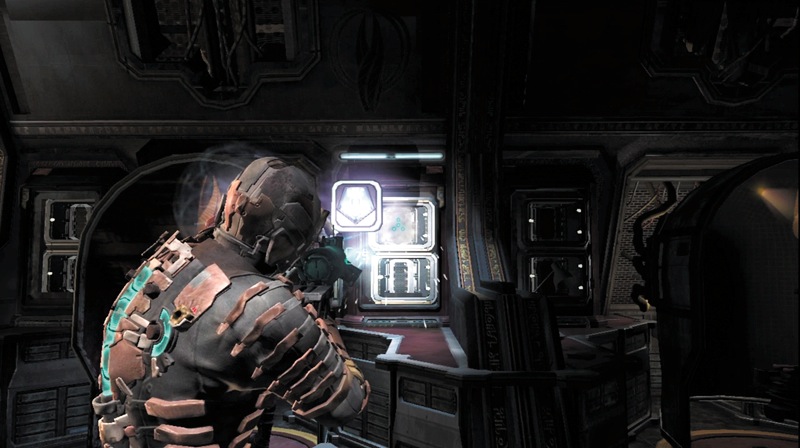
Turn to the other side of this testing room and use kinesis to pull off another panel. Now use kinesis to pull out the fuse with the GRIP icon on it. Carry it over to the control panel and insert it into the slot above the display: The door on the other side of the indoctrination room begins opening and closing quickly.
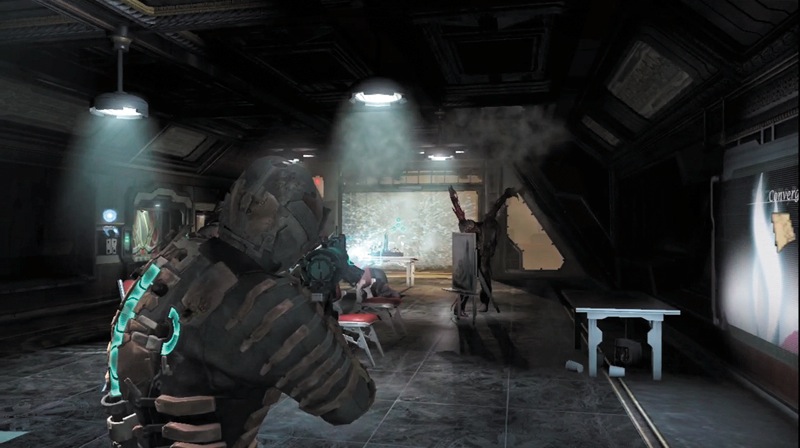
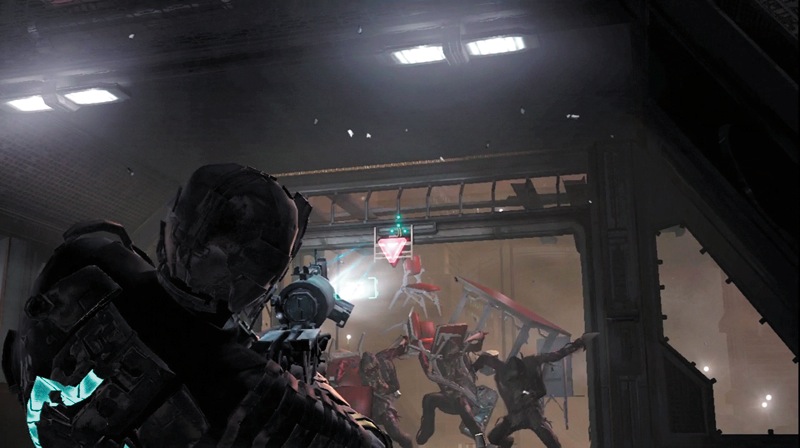
As you exit into the indoctrination area, use kinesis to pick up a metal rod from the floor. There are several Slashers jumping down into the room from the ceiling. Launch the metal rod at the window on the room's far side to breach it, causing the room to decompress. The Necromorphs will be sucked out. Quickly shoot the lockdown switch to secure the breach before you are sucked out into space as well.
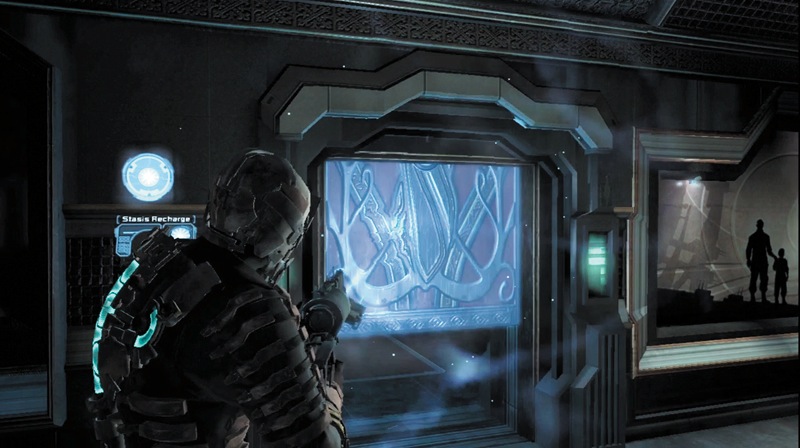
Now that the indoctrination room is clear, move over to the door that is rapidly opening and closing. When it is about halfway open, hit it with stasis. There is a stasis recharge station next to the door if you need it. As the door slows down, run through into the next room.
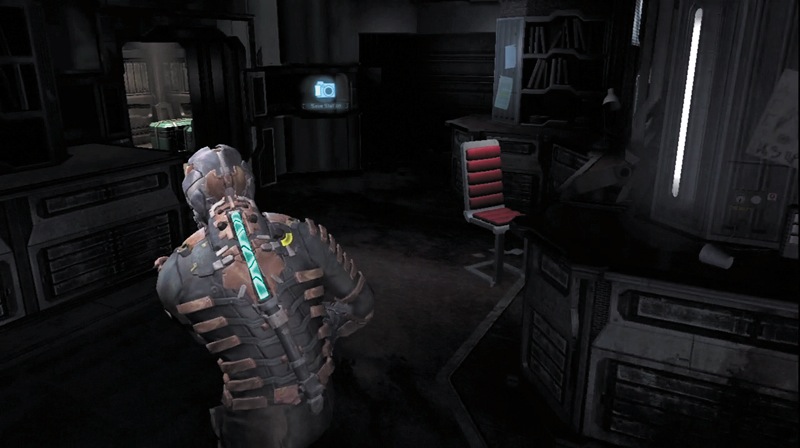
Pick up some ammo and stomp on a container in this room. Record your progress at the save station.
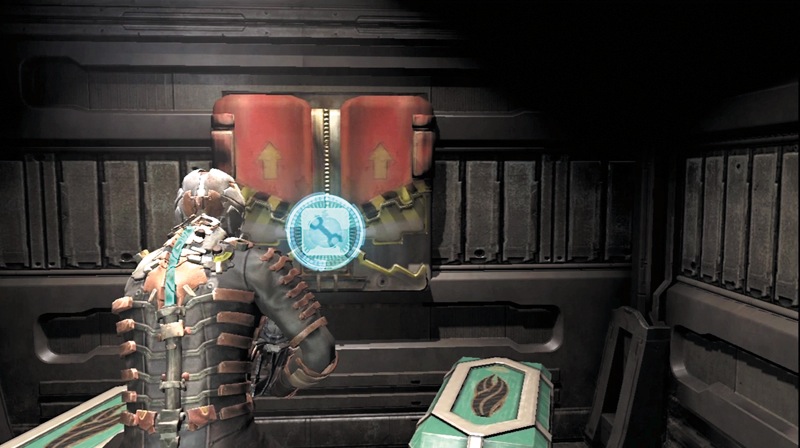
Continue into the next room, where you can find a container, some ammo, and a schematic for the security suit. Once you have picked up all of these, open the access hatch to a crawl space and climb in. Crawl to the end and exit.
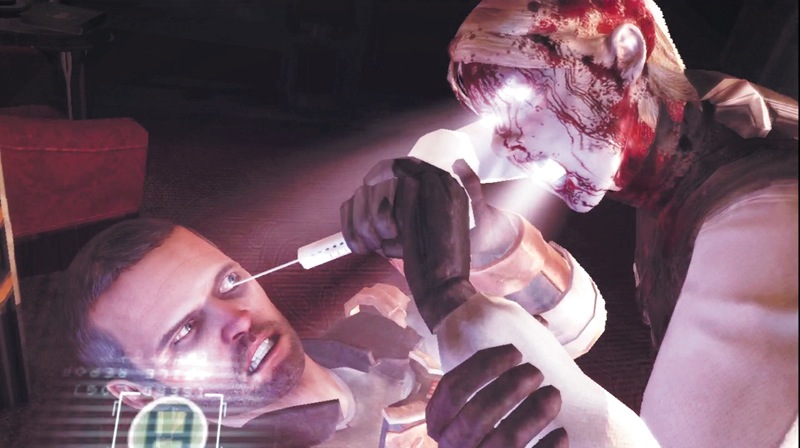
As you drop into the next room, quickly press the Action button. You see Nicole's ghost trying to stab you with a syringe. Keep pressing the Action button to prevent this from happening.
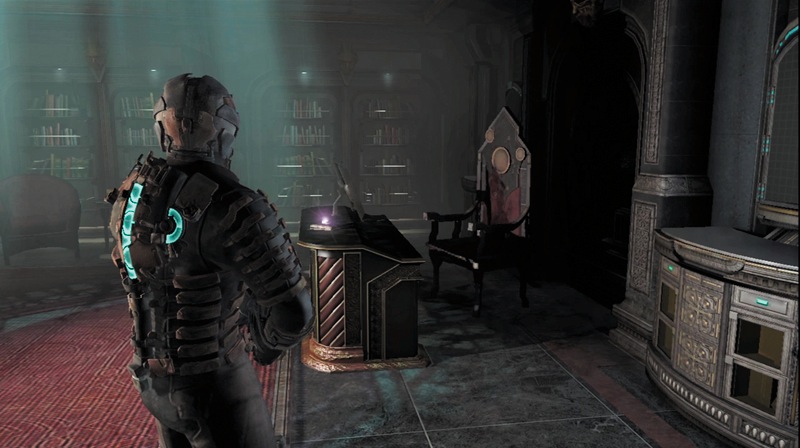
Once the hallucination ends, you see that you are in a reading room. Pick up a power node on the desk and some ammo on a table. Leave through the door that leads into a corridor. The doorway to the basilica is to the right. However, don't go there yet—even though the locator directs you there.
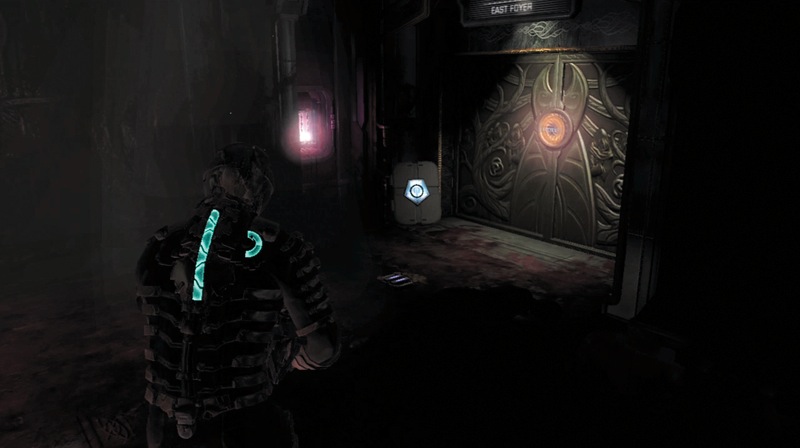
Walk across the corridor to the locked door, pick up some ammo, and then hit the fuse box to open it. This takes you back to the corridor leading to Indoctrination. Continue past it and out into the east foyer. From there, make your way back to the gift shop.
Once you reach the gift shop, walk into the store and upload the schematic of the security suit. You definitely want to purchase this, and you should have plenty of credits to do so. Save your progress while you are here and then backtrack to the corridor leading to the basilica.
The Basilica
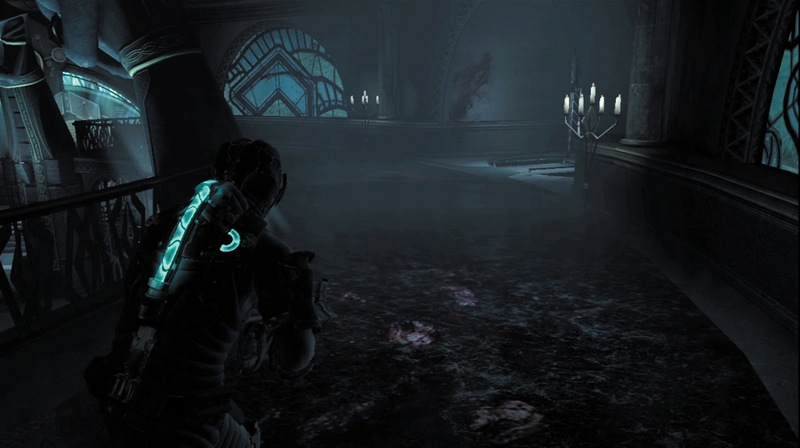
As you go through the door and enter the basilica, you find yourself on a walkway overlooking the area. Pick up several clips of ammo and stomp on a couple containers. Then take the cargo lift down to the ground floor.
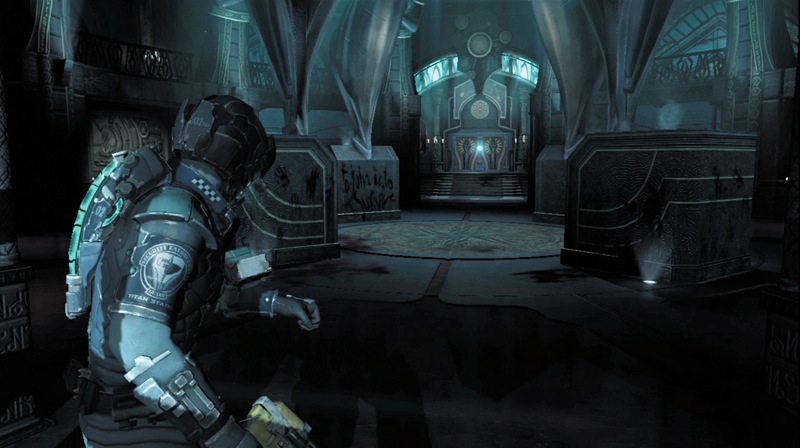
Make your way to the center and go to the main doors. However, when you get there, something on the other side hits the doors, damaging them and making them malfunction. You will have to find another way in. However, it seems like you are not alone in the basilica.
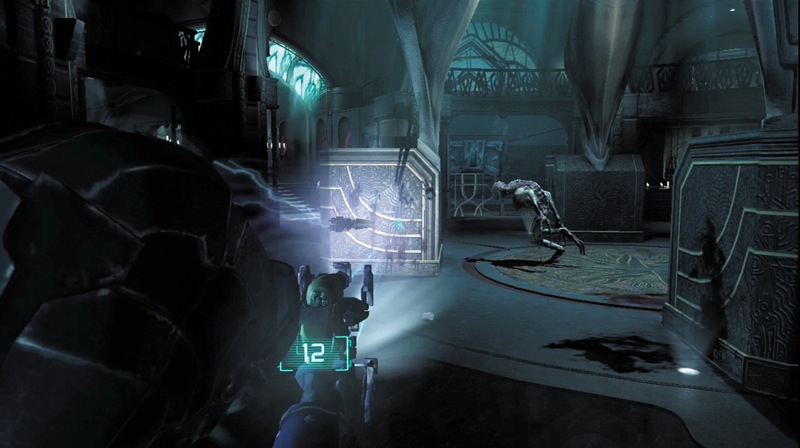
Use kinesis to pick up a metal rod near your position. Stay near the door so you have a solid object to your back while keeping an eye on the middle of the basilica. There is a new type of Necromorph in here—Stalkers. You will see them running from cover to cover as they stalk you.
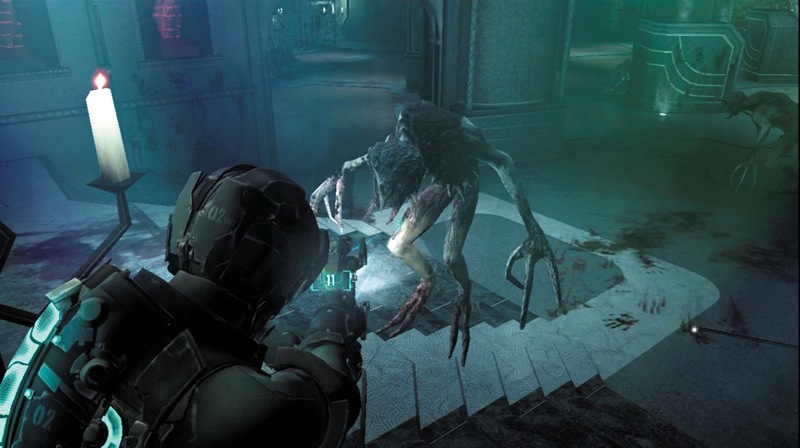
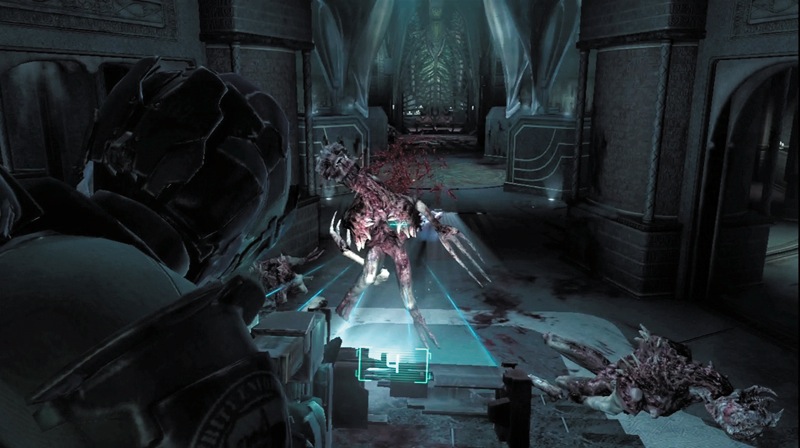
As a Stalker charges you, launch the rod at it. While this won't kill it, it will stop its charge and allow you to remove its arms with your other weapons. Another strategy is to hit the Stalker with stasis as it is charging. Since its arms are behind it during this, strafe around to the side to shoot at the arms. You can also shoot at the legs to slow it down; however, the Stalker can still crawl quickly, so go after the arms. The Stalker claws can also be used as weapons. Use Kinesis to detach them from a dead Stalker, and then use them against other Stalkers to conserve your ammo.
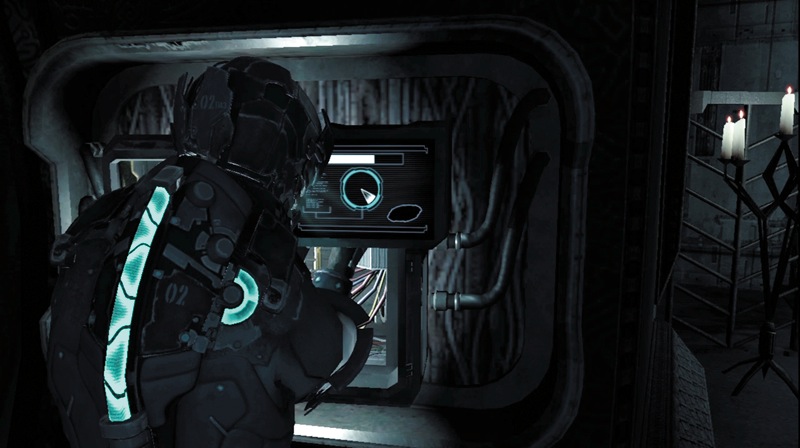
Once the basilica is clear, head over to a panel and press the Action button to remove it. You will have to hack the circuits to activate another cargo lift. Take the lift to the basilica's upper level. Pick up a power node and some ammo, then go through the doors leading into the funerary wing.
Reunion Chapel
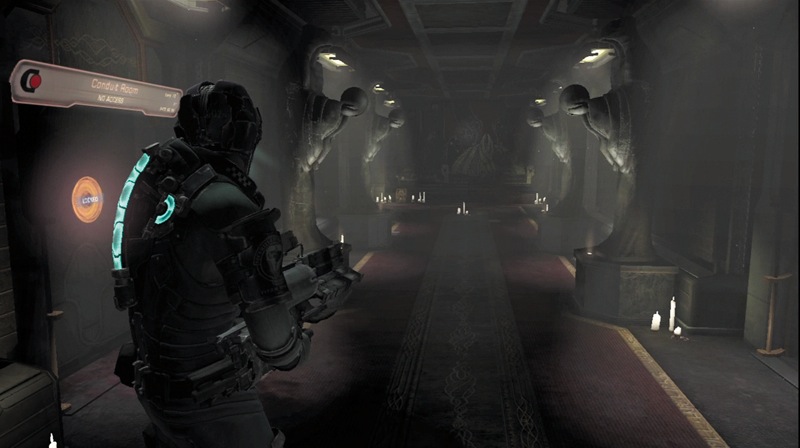
As you enter this corridor, pick up a medium med pack and heal yourself if necessary. Then follow the corridor around to the left. Go through the door on the right to enter the reunion chapel.
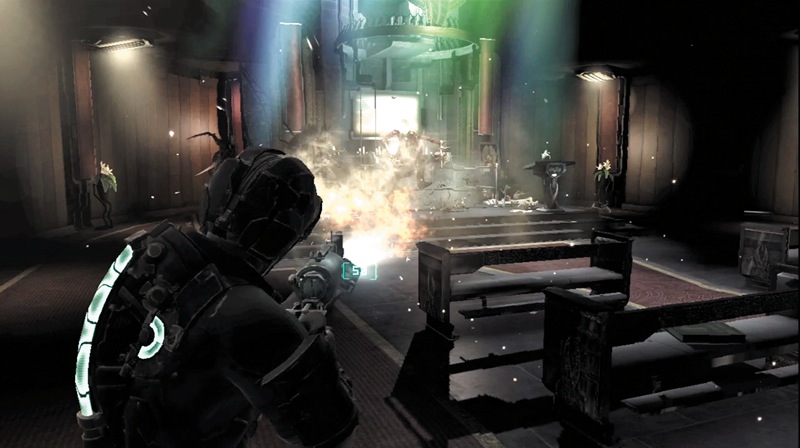
As you begin walking through the reunion chapel, a lot of Swarms will drop from the ceiling. Use the Alt-Fire button to launch a grenade from your pulse rifle; this will clear out several Swarm. Then retreat toward the door.
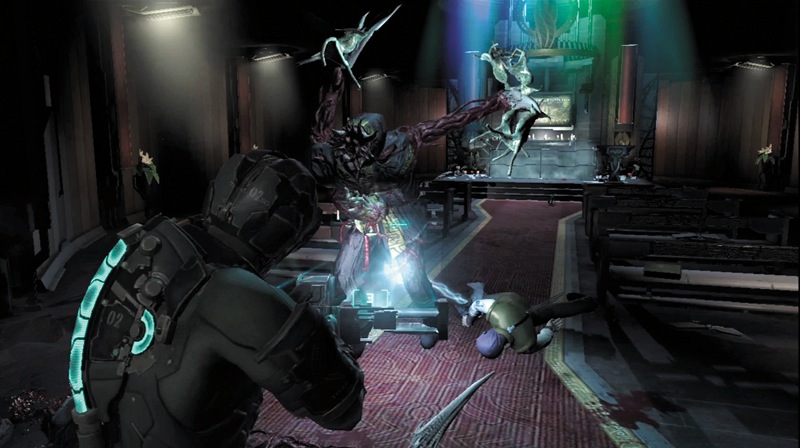
Two Slashers are also in this room. Taking them out is your top priority. Do this in any way you want, but heavy weaponry is recommended. Once they are down, switch back to the pulse rifle and pick off the remaining Swarm as they come toward you. Once the room is clear, pick up some credits near the front.
Security Alert
If there are any Swarm left, they may jump on the Slashers. This makes them more of a threat since the Swarm will soak up any shots you fire at the Slasher, effectively protecting it. If this occurs, use the alt fires for the javelin gun or line gun if possible to deal damage to the Swarm and the Slasher at the same time.
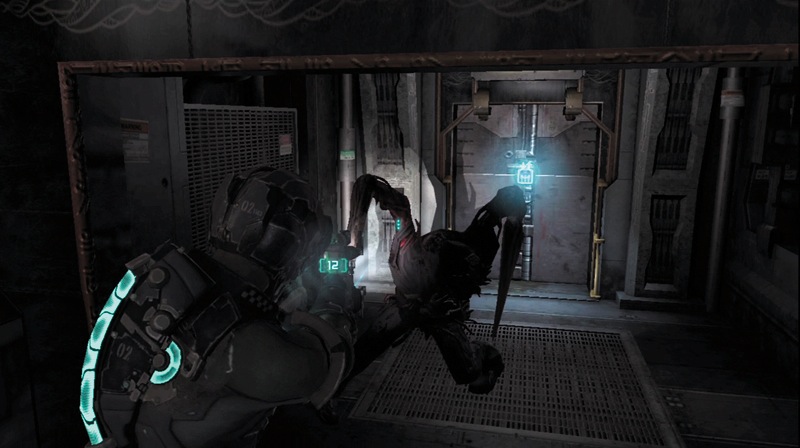
Walk around the back of the pulpit toward an elevator that will take you down to the crypts. There is a corpse on the ground. Shoot it from a distance since this Slasher is only playing dead. Take it out using tactics of your choice. You may want to use the plasma cutter to cut off its arms and save ammo for your other weapons.
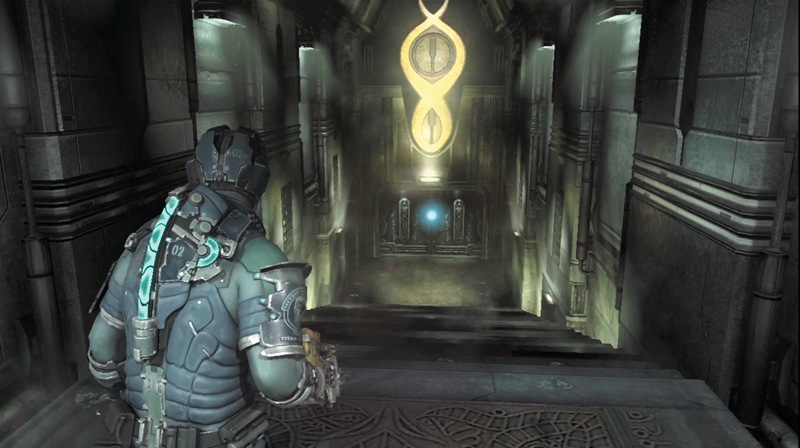
Ride the elevator to the crypt and walk down a corridor. Go through the door at the end and stop at the save station to record your progress before beginning the next chapter.