
Dead Space 2 Guide Walkthrough Clarke's Log: Walkthrough
Chapter 1
Where Am I?
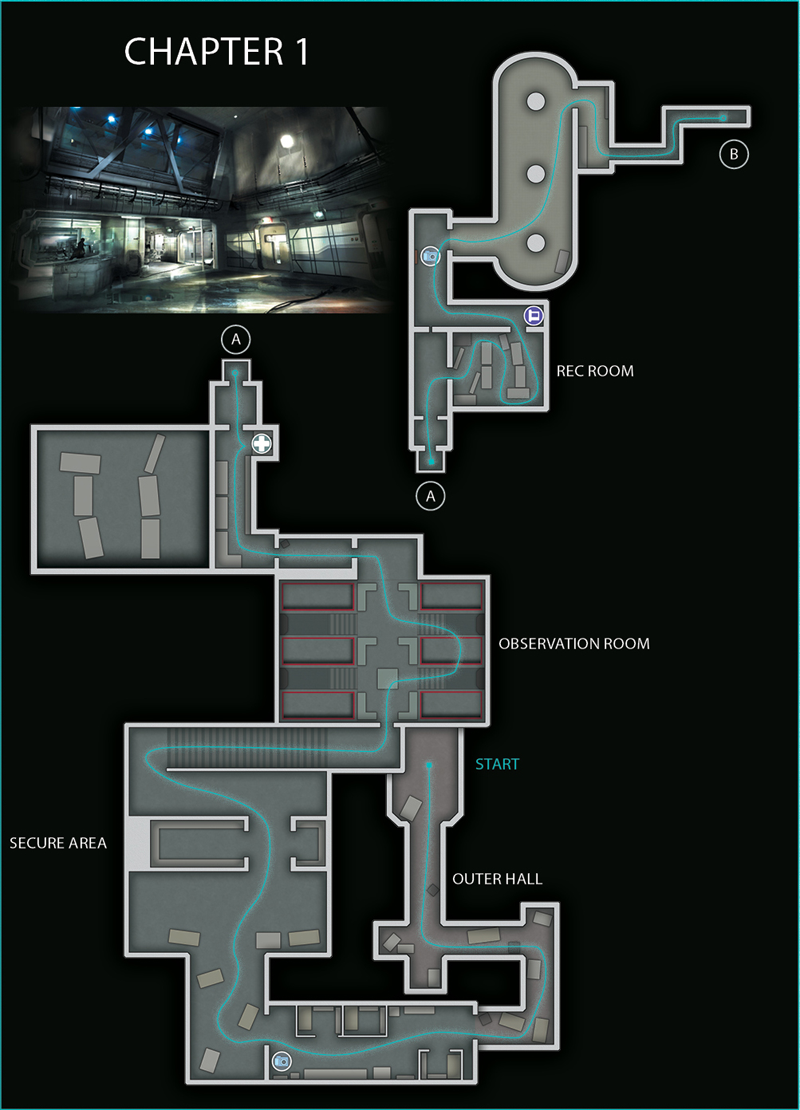
After a series of flashbacks in which you are being questioned by some type of doctor, someone by the name of Franco is trying to wake you up. He is talking to someone named Daina over a communicator. As he tries to get you out of a straitjacket, he is attacked by a Necromorph Infector. This is not good, not good at all. You are still in a straitjacket, and there are Necromorphs killing and infecting everyone in the area.
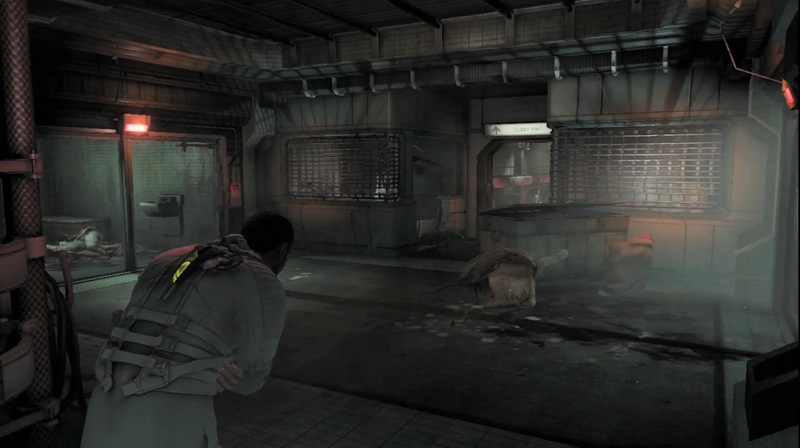
The only thing you can do is run. Hold down the Run button and move as quickly as you can through this first area. Dodge the Necromorphs as you run, and continue to the room's end to exit to the outer hall. When you reach the first intersection, turn left and continue through some doors with a sign directing you to the "Secure Area." Follow this corridor around to the right.
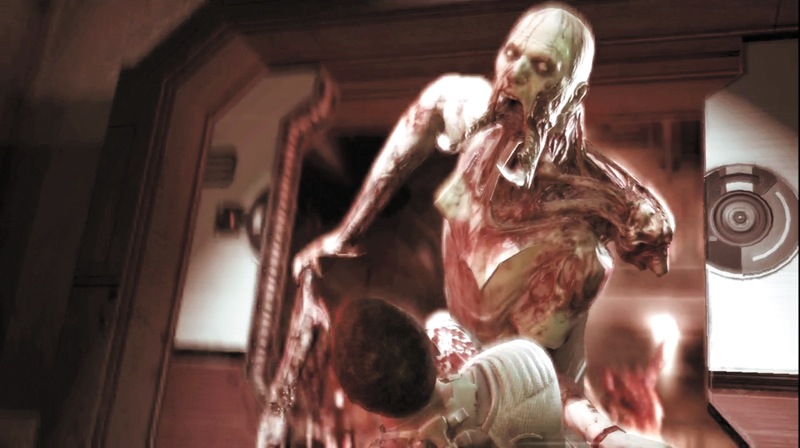
As you pass a corpse in a wheelchair and head through another doorway, a Necromorph jumps out and grabs you. Quickly press the Action button continuously until you are able to break free from its grasp. Fight it off until the doors slide closed and eliminate this threat.
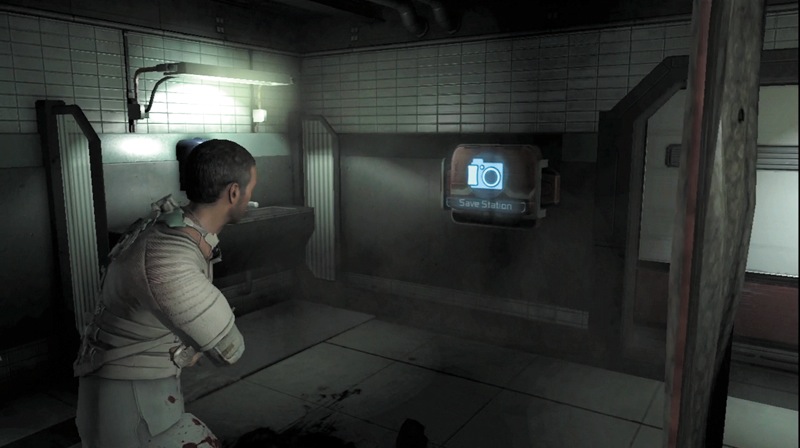
After the door closes on your threat, walk to the end of the secure area, where you will find a save station. It is a good idea to stop here and save your game. These stations are located throughout the game and let you start over from this spot if you quit. As a general rule, save early and save often. There are some areas you don't want to go through more than once. Don't bother searching this area. Since you are in a straitjacket, you can't pick up anything, so just continue through the doorway near the save station. Press the Action button to open the unlocked door.
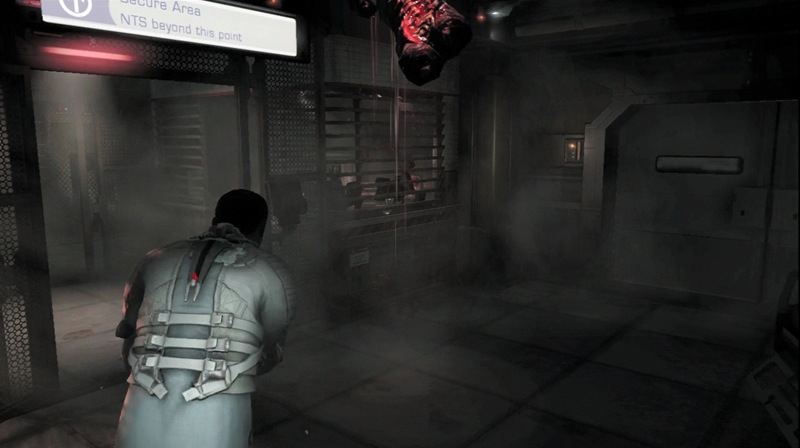
There are some soldiers in the next area. Move forward and wait for the tentacle to reach down and get them, then rush forward through the secure area. The door is open. Keep going and turn left to reach a stairway. Take it up to the top and then go through a door leading into an observation room.
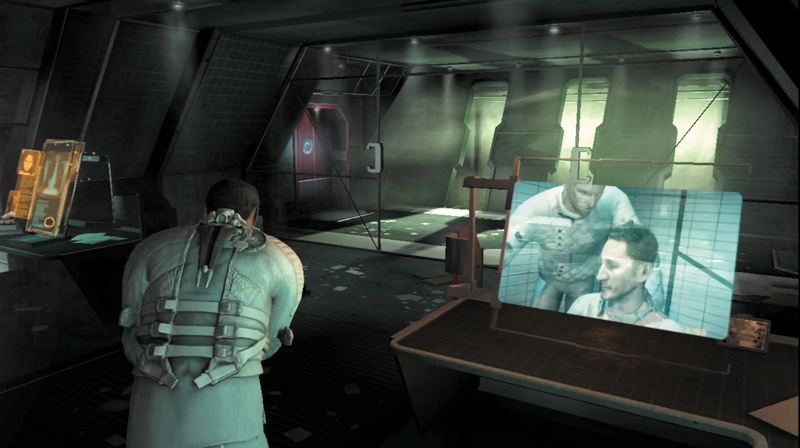
The observation room seems safe. Move through this area to reach the doorway at the far end. Along the way, stop and listen to a person named Stross get interrogated. Continue through the doorway and move along a narrow passageway and through another doorway to enter an office. There is someone inside here.
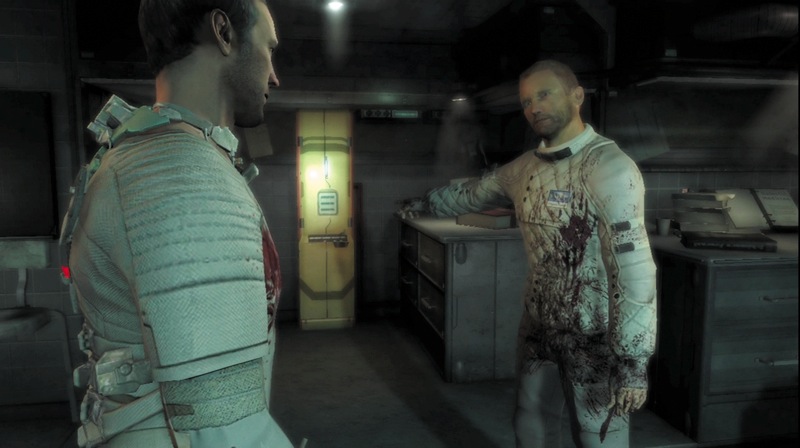
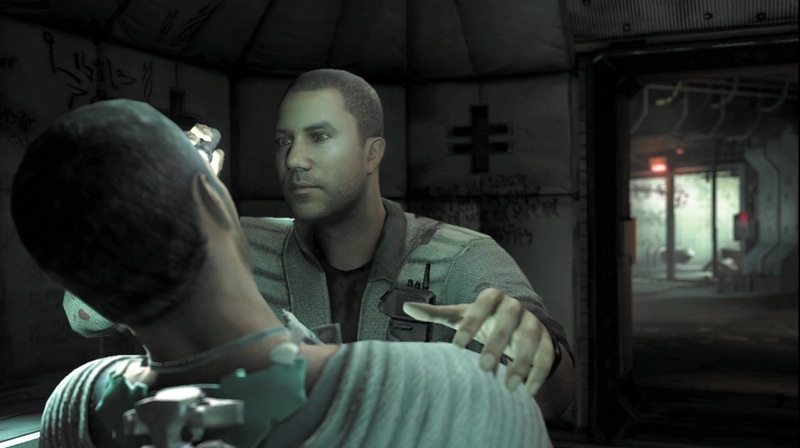
Walk up to the person looking out the window. It is the doctor who was interrogating you. After he cuts you out of the straitjacket, he points to a wall locker. Move to it and press the Action button to open it. Inside is a small med pack and a flashlight. Press the Action button again to pick them up. Press the Quick Heal button to use the med pack and restore some of your health. The doctor will not be coming along with you, so head to the elevator. Press the Action button to call it to your level. While you are waiting, the mysterious Daina contacts you and lets you know she is trying to get you out. Listen to her, and enter the elevator when it arrives. Face the controls near the elevator door, and press the Action button to activate them.
Walking in the Dark
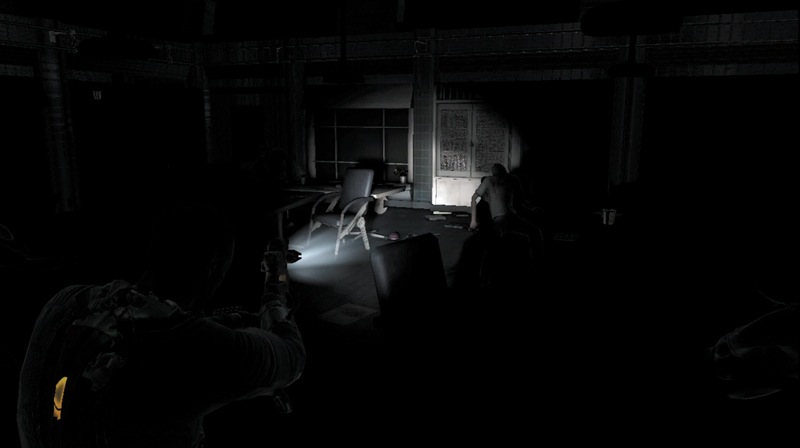
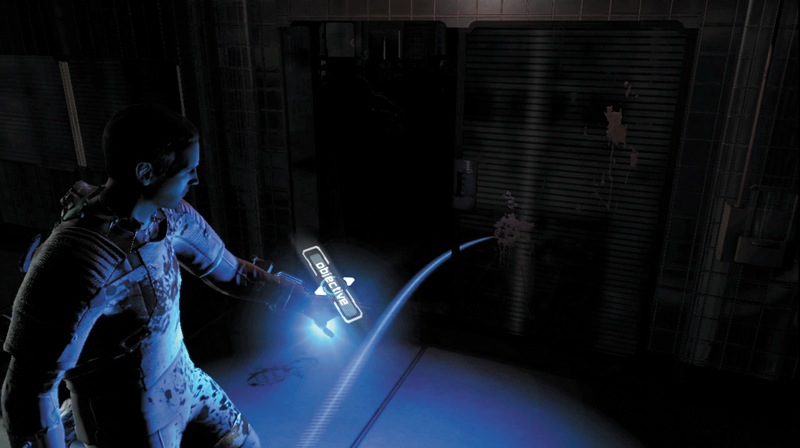
When you reach the next floor, exit the elevator. You must get through a dark area. Luckily, you have a couple tools to help you—the flashlight and the locator. First, since you picked up a flashlight from the locker, hold the Aim button to shine the light ahead of you and illuminate a small area. While the flashlight will help you see where you are going, it is the locator that will help you reach your destination. Press the Locator button and a blue line will appear, showing you where to go. Make your way through the dark rec room, maneuvering around desks and chairs. Finally, you get to a hallway. If you turn right you will find an audio log hidden in a corner. Grab that, then follow the hall around and stop at the save station to record your progress up to this point.
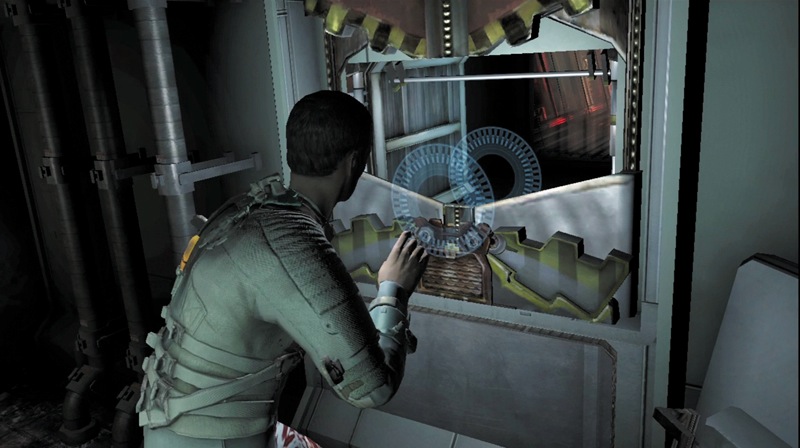
Continue on through a larger room with a lot of debris, then pass through the doorway at the opposite end. Follow a narrow hallway to a dead end. Locate the maintenance access tunnel. Walk over to the blue icon with a hand on it, and press the Action button to open the door. Then climb in and crawl through the tunnel. While in these tunnels, you can only crawl. You can't fight or use items. As you approach the end, you will fall through the floor of the tunnel to a room below.
Fighting Back in the Operating Area
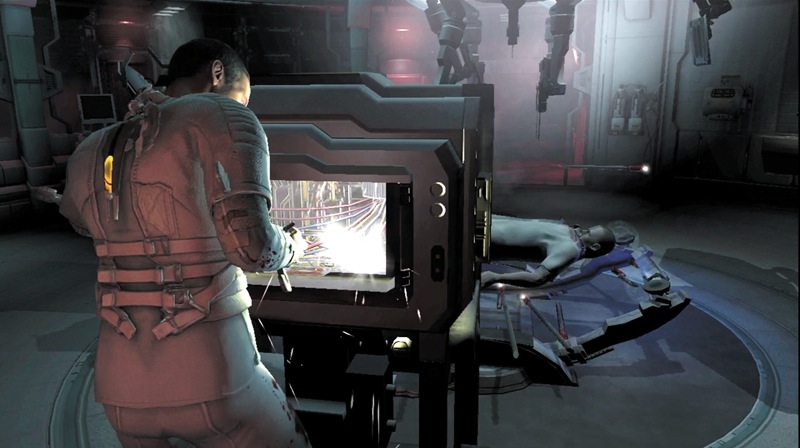
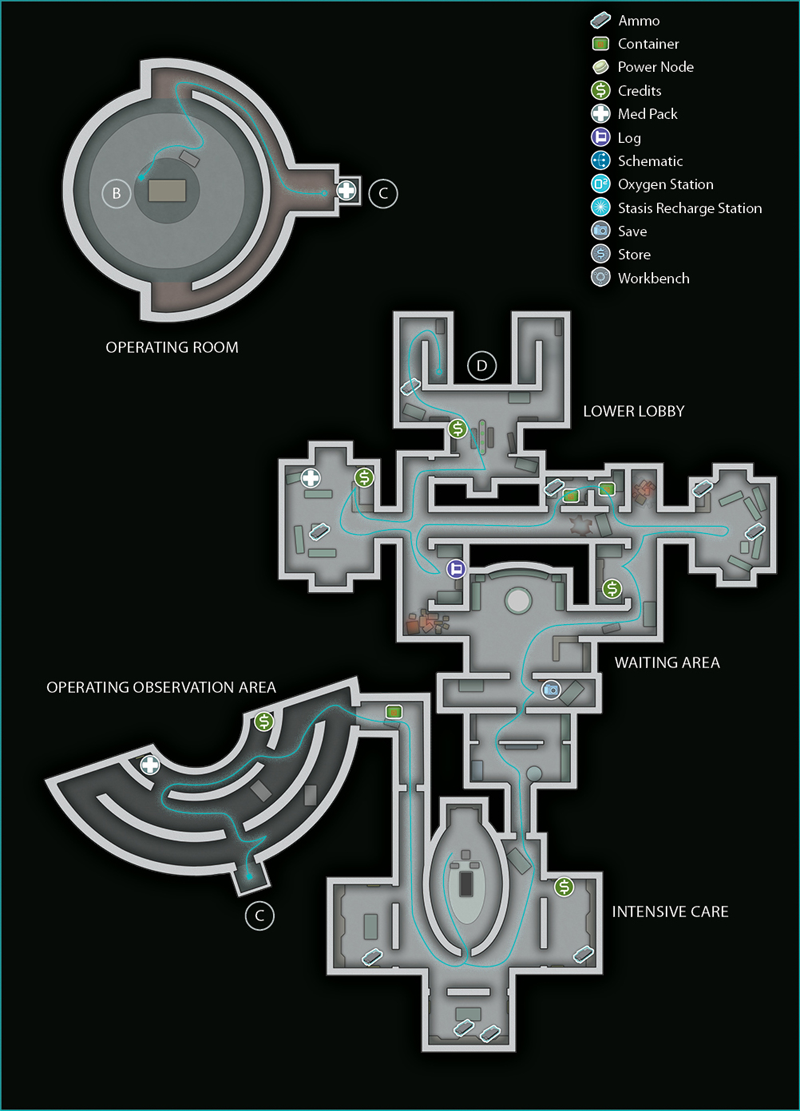
You drop down into an operating room, where a patient is suspended in midair. Walk over to the control panel on the left. Press the Action button to open the panel and rip out some circuitry and components. You will then add these to your RIG and gain the ability to use kinesis. Take a few seconds to practice using this ability. You will need to know how to use it in just a moment.
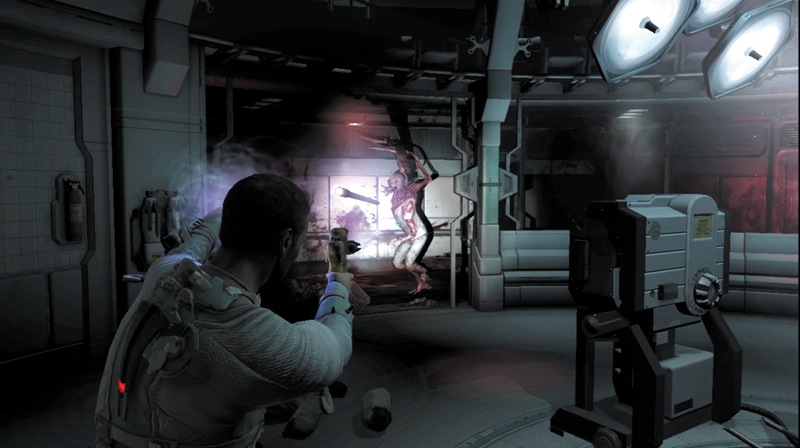
Shortly after getting kinesis, a couple Slashers will appear, one at a time, from the walkway to the left. Quickly hold down the Aim button, point at one of the metal rods under the patient's body, and press the Kinesis button. While holding the Aim button, aim at the Slasher and then press the Fire button to launch the rod.
Aim for the Slashers' chests to impale and kill them with a single hit. If you miss and they get in too close, release the Aim button and press the Melee Attack button to hit them with your flashlight. This is more dangerous, since the Slashers are likely to injure you. Keep at it until both are dead.
Exit the operating room and follow the pathway to an elevator. Summon the elevator and enter to find a small med pack. Pick it up and use it to bring up your health—even if you did not take any damage in the attack, your health is still not at its maximum. Use the elevator controls to reach the observation area for the operating room.
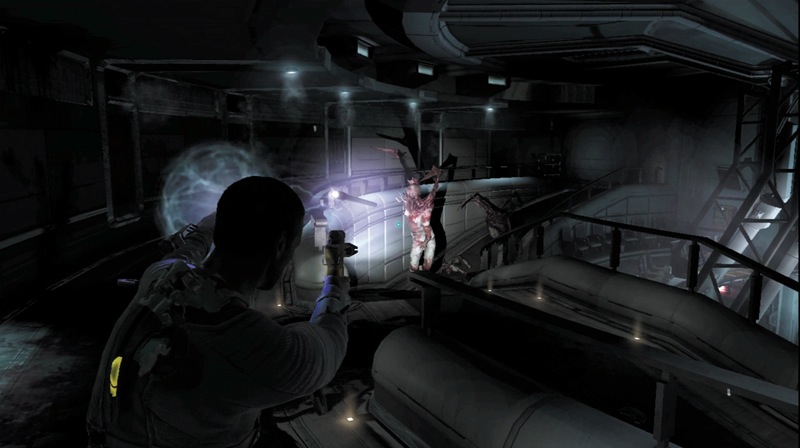
As you exit the elevator, quickly move to the right and use kinesis to pick up a metal rod. There are two Slashers headed up a ramp toward you. Launch the first rod at the Slasher in the lead to kill it; then use kinesis to grab a second rod and use it to kill the second Slasher.
A third Slasher is headed your way as well. However, you are out of rods right where you are. Rush down to the lower level near the glass overlooking the operating room. You will find lots of rods here. Another tactic is to use the Slashers against themselves. Aim at one of the Slasher corpses and press the Kinesis button again. You can pull off one of the creature's sharp spikes and launch it at the third Slasher.
Stomp on the dead Slashers to get some credits. Also open the two lockers at either end on the lower level to get a med pack and some credits. Now head to the opposite door at the top to exit to the next area.
Get Some Intensive Care
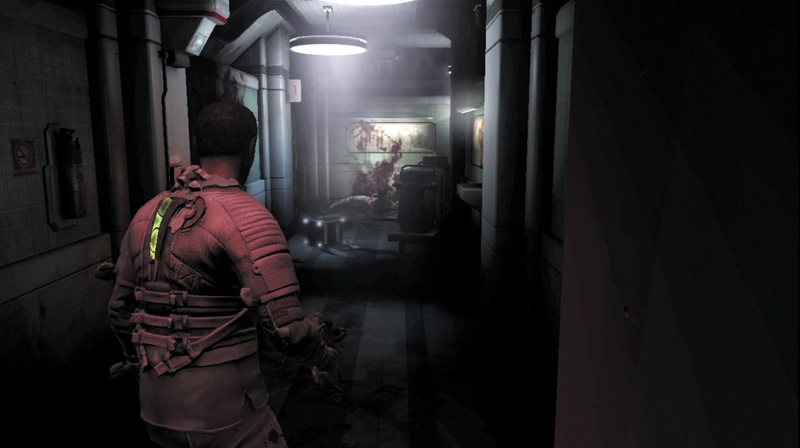
As you advance down a corridor, look for a green container. You will find these throughout the game. Walk up to it and stomp on it to get some credits. These containers can hold several different items, so be sure to stomp on them. There are also some Necromorph corpses in here. Stomp on them or use a melee attack to get some more items. Continue through the next door to enter the intensive care area.
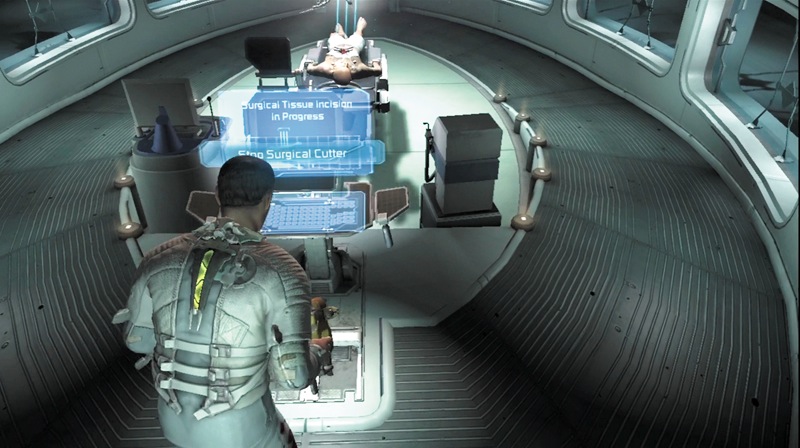
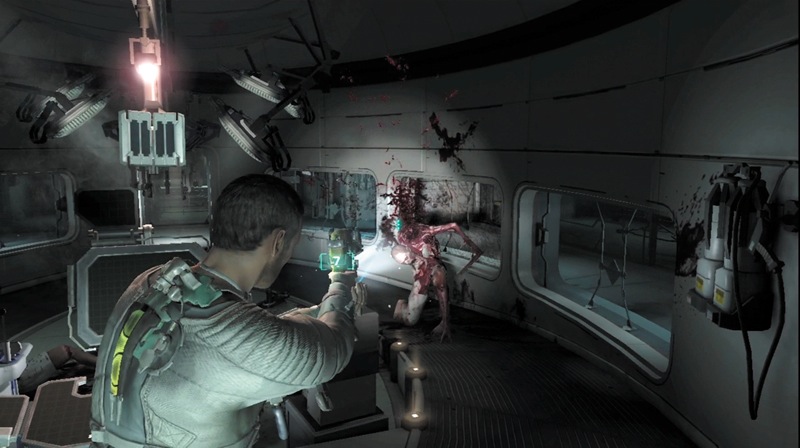
Quickly move into the center room. Go to the control panel at this room's far end. Press the Action button to retract the surgical cutter that is being pointed at a patient. You will then be able to detach part of this device: You now have a plasma cutter weapon.
While you are getting the weapon, a Slasher moves in to kill the patient before coming after you. Hold the Aim button and three small dots will appear in the screen's center. This is your aiming reticle for the plasma cutter.
Aim at the Slasher's arms right at the shoulders and shoot them off; this takes down the Slasher. A second Slasher is headed your way, so stay put and reload your plasma cutter by pressing the Reload button. Once both Slashers are down, stomp on them to finish them off. This usually earns you some plasma energy cartridges, which are ammo for your plasma cutter.
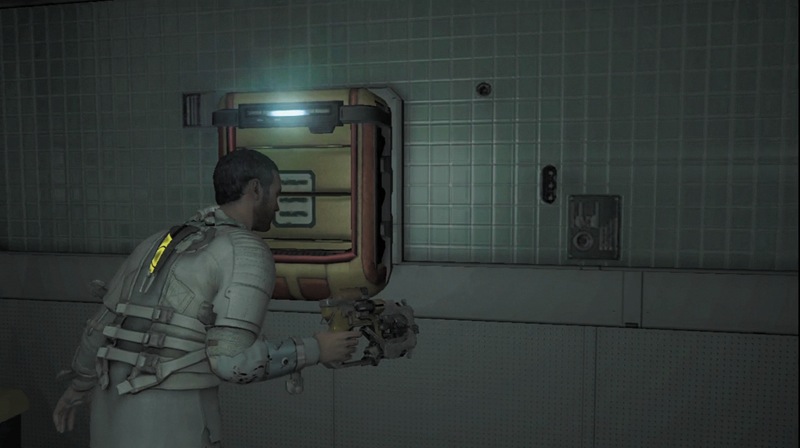
After you have killed the two Slashers that are moving around this area, kill the third one, which is still strapped down to a gurney. It can't come after you, so just shoot off its arms to kill it. Then search the three side rooms in this area to find credits and some plasma energy. Check the lockers on the wall, as well as the counters and floors. You really need to stock up on ammo while you can.
No Time to Wait
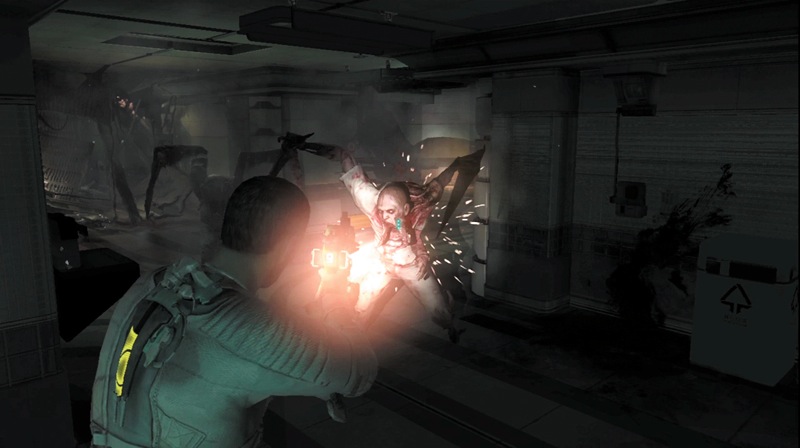
Once you have cleared out the intensive care area, head out the door by the Slasher on the gurney. Continue through the next room and into a hallway with a save station. Save, and then enter the intensive care waiting area.
Head down the path to the right since the left is blocked by flaming debris. Check in a side room containing a couple of bodies for some credits. While you are in here, three Slashers head your way. Staying in the room with the bodies will prevent the Slashers from surrounding you.
However, you don't have a lot of room to maneuver. Switch your plasma cutter to horizontal and take out their legs to buy you some time. Then switch back to vertical to sever their arms and stomp for a final touch.
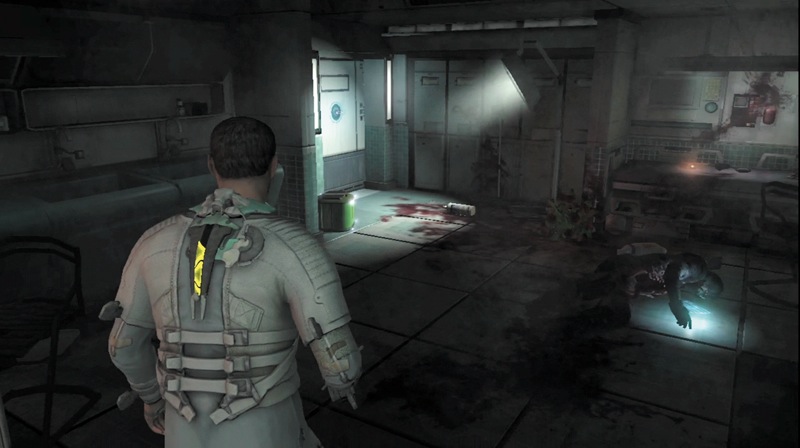
Once the Necromorphs are down, search the area for ammo. There is some in a waiting area, and there is more in a locker behind a counter. Follow the locator path through a couple of small rooms. Smash a container in each room and pick up some ammo lying around. Then advance through the doorway into another corridor. Turn left and enter a small patient room to pick up a text log.
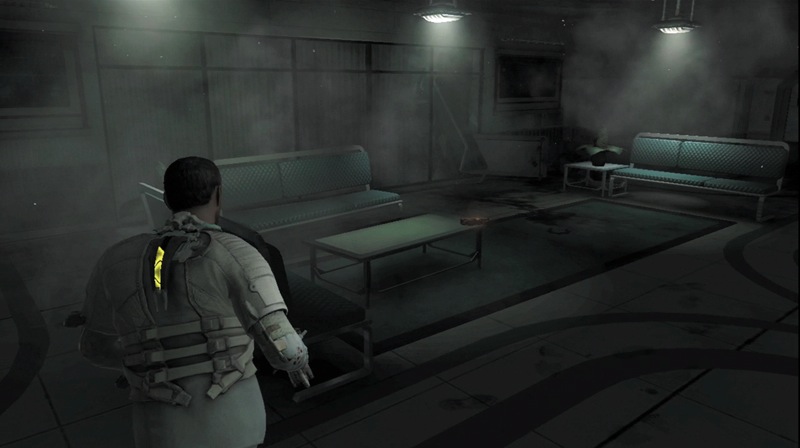
Continue searching this part of the waiting area. You will also find some ammo, credits, and a small med pack here. Once you have it all, follow the locator path to a doorway leading to the lower lobby.
Limbs in the Lower Lobby
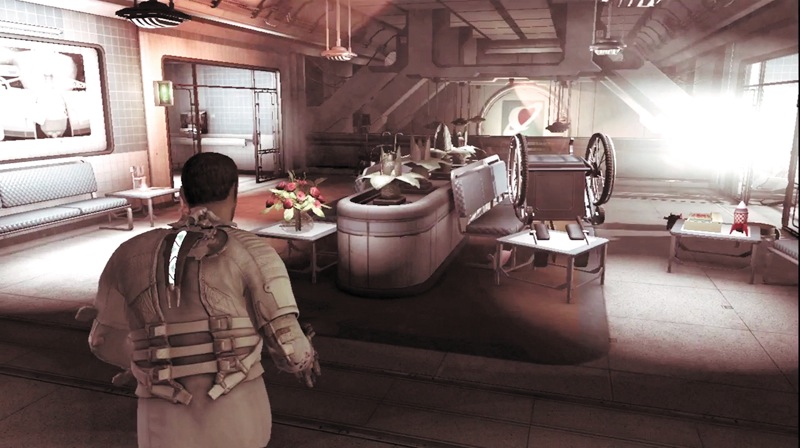
As you enter the upper area of the lower lobby, you see Stross up ahead. He runs down one of the ramps leading to the lower area. Head down the ramp on the left, picking up some ammo and credits along the way. At the ramp's bottom, you will find a small med pack.
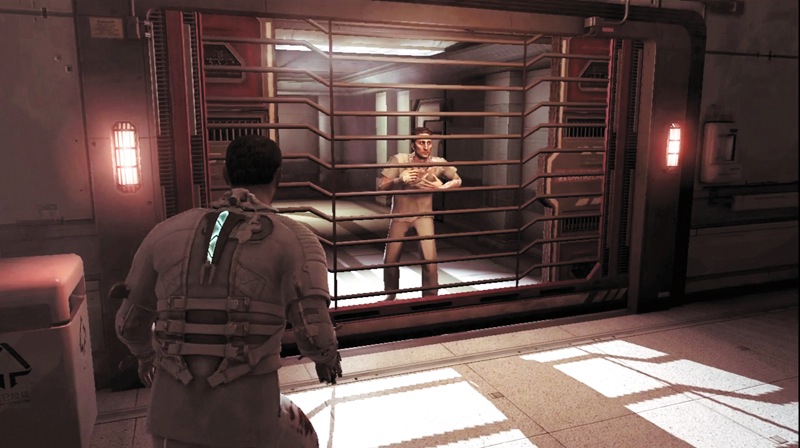
When you reach the ramp's end and the main part of the lower lobby, you see Stross has headed through the exit to the concourse. A steel door is blocking you from joining him. The area has gone into a security lockdown. You must find another way out of the hospital. While Daina begins to find a new route for you, you have some trouble of your own.
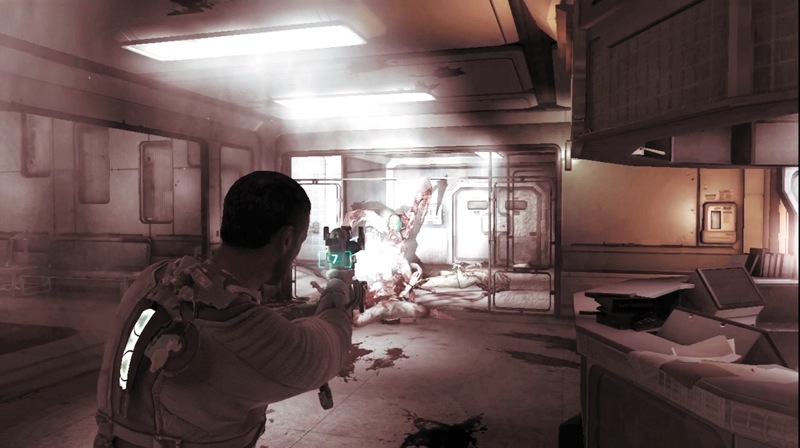
Stay by the steel door near the exit to the concourse. Five Slashers are headed your way. They come from the direction of the ramps leading to the upper level. Luckily, they come one at a time. As soon as one comes into view, either shoot off its arms or take out its legs if you need to slow it down first.
As you get a brief lull, reload your plasma cutter. By now you should be able take out each Slasher with only two or three shots. Once you've killed all the Slashers, the alarms will stop sounding and you know it is safe to finish off the Necromorphs with a stomp. Collect some ammo and credits from their corpses.
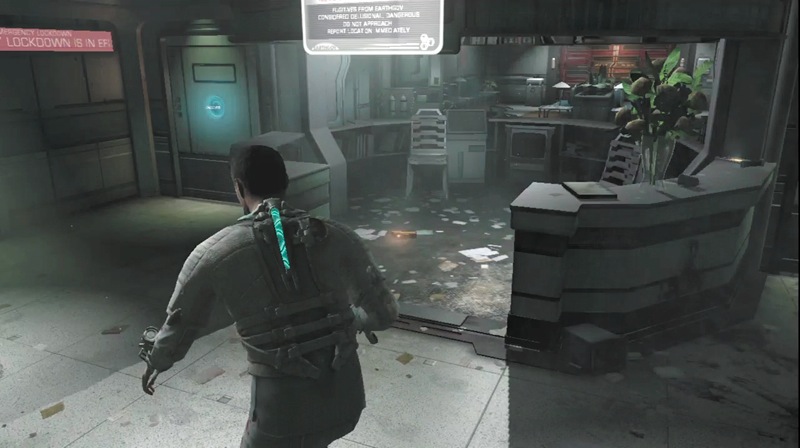
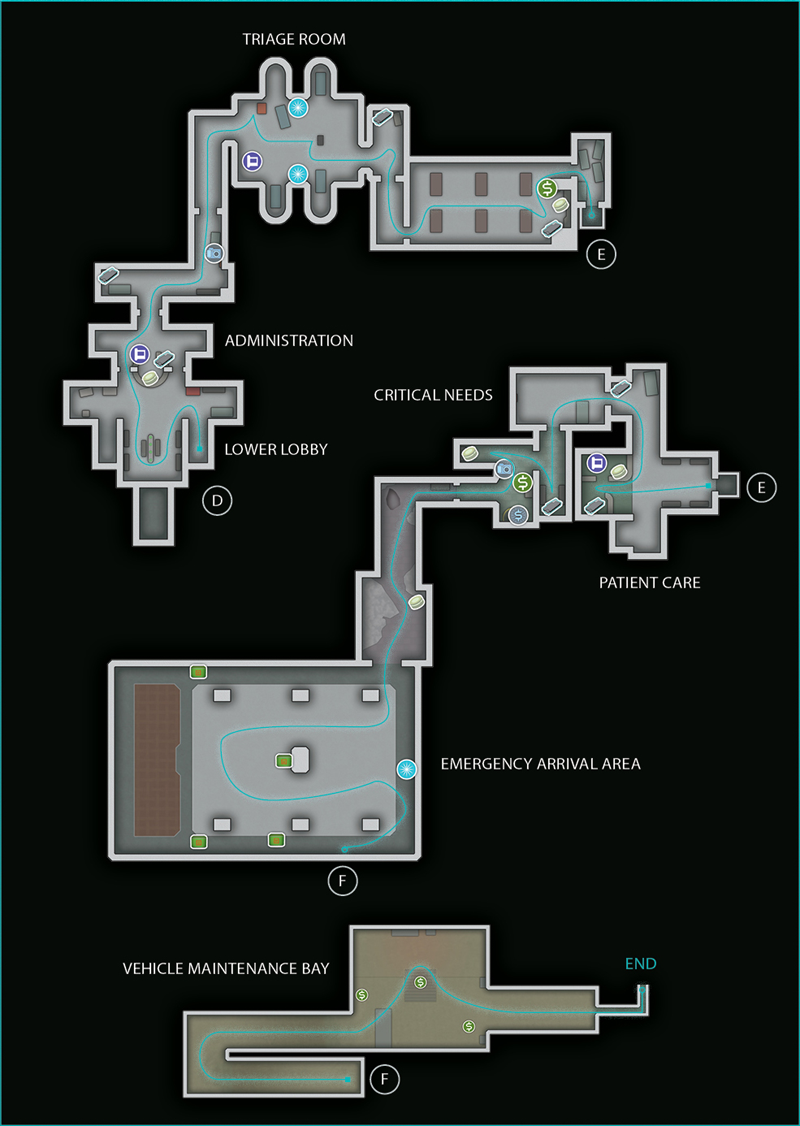
Daina unlocks the doors leading into the administration area. Walk through and check out the reception counter. Here you can pick up some ammo, a power node, and a text log.
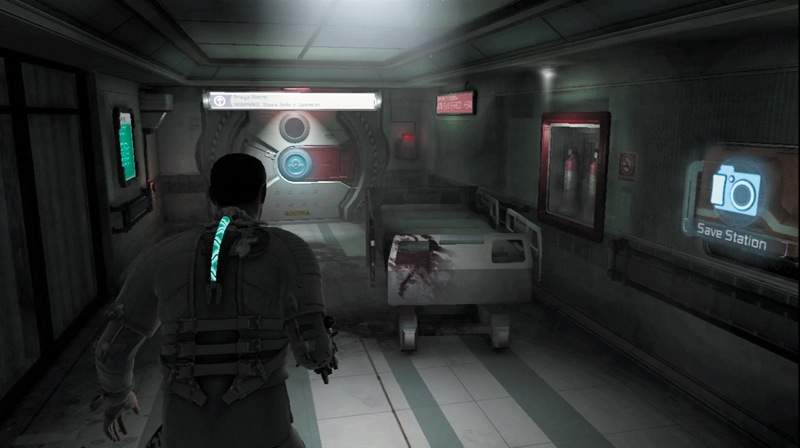
After getting all the goods in the admin area, head through the large doorway behind the counter and follow a hallway. Look behind a wheelchair to the left to find some plasma energy. Then head to the right and use the save station to record your progress. Now head through the next doorway into the triage area.
Carnage in Triage
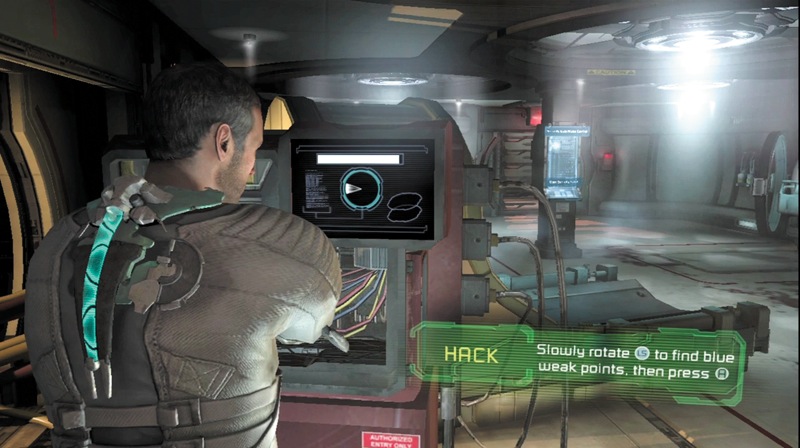
Continue to the triage room, where you will see several stasis beds. You could use a stasis module for your RIG, so you will need to hack into a console to get one. Walk up to the reddish console on the left and press the Action button to begin the hack.
Rotate the left stick to move the vector around a circle on the monitor. When it turns blue, hold the left stick in that same position and press the Action button. This will move you to the next stage. Keep going until you get three blues and you will get the stasis module.
Security Alert
Hacking into computers or other equipment can be dangerous. If you press the Action button while the vector is red, you will receive an electrical shock and take some damage. Hacking also has a time limit, so move quickly.
Watch the bar at the monitor's top. It will show you how much time you have remaining. It is important to learn to hack quickly, as later in the game you will be hacking in dangerous situations where every second counts.
If time is running out, you can always press the cancel button to safely exit the Hack and then restart it with a full timer.
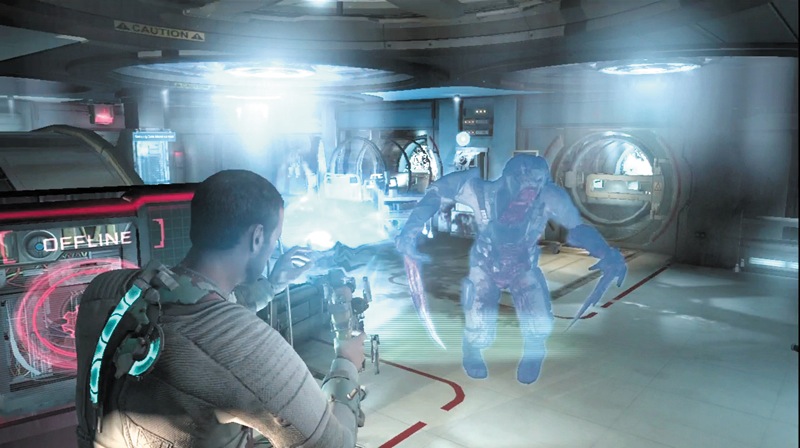
As soon as you get the stasis module, a Slasher comes rushing in. You don't have time to shoot it before it reaches you, so take aim and press the Stasis button. This will temporarily slow down the Slasher. While it is glowing blue, the Slasher will move in slow motion, giving you enough time to shoot off its arms and kill it.
Be sure to look around the room for a text log, and use one of the stasis recharge stations to recharge your stasis module.
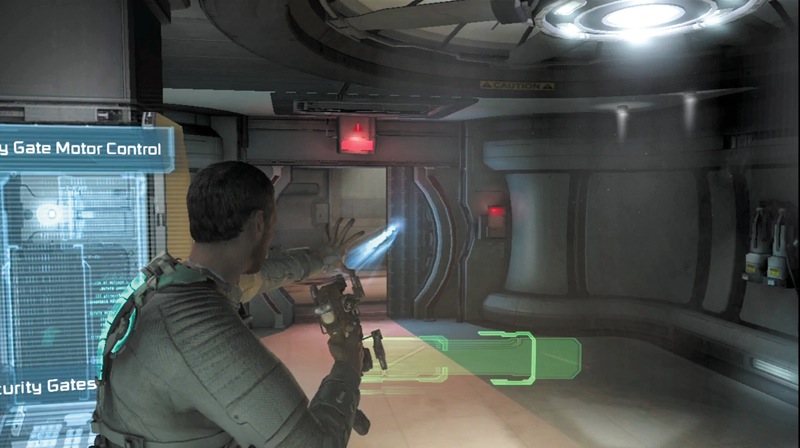
In order to get out of this room, you must move through the security gate. Walk over to the security gate motor control console and press the Action button. The security gate will open, but as soon as you step near it, the sensor above the door will detect you.
Since you are an unauthorized person, it will quickly close. To get through, you must use stasis. Activate the motor control again. Before you move toward the gate, aim at the door on the doorway's right side and press the Stasis button. Once the door turns blue, run through the doorway into the short corridor. Pick up some ammo to the left.
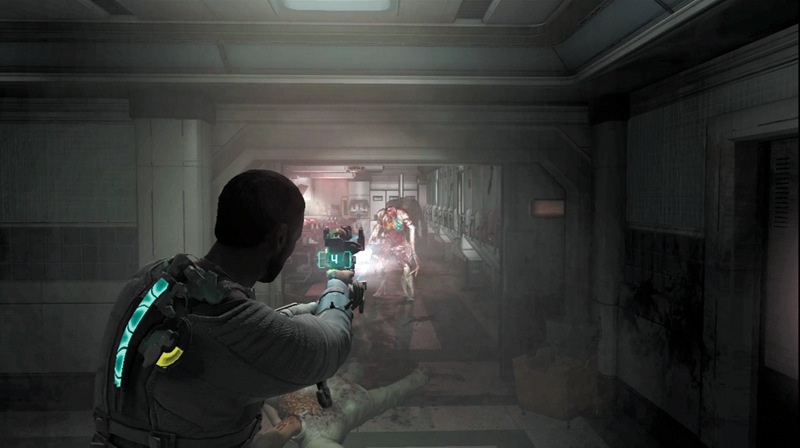
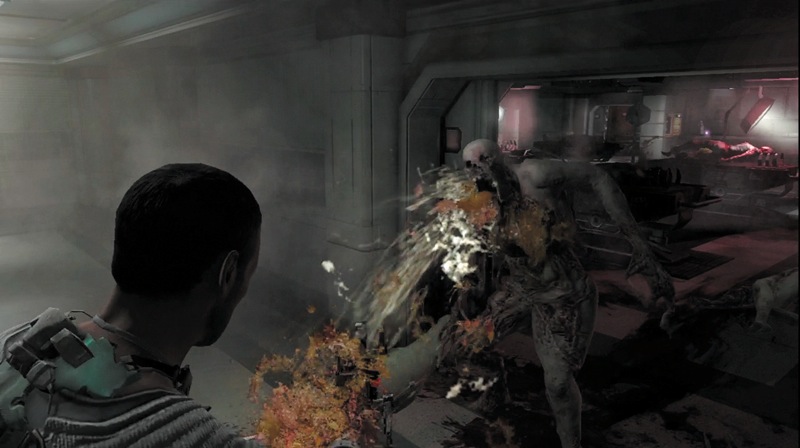
As you open the door to the next area, you will see a human crawling out of a doorway. It looks like the person has been burned by acid. Step toward the doorway, but don't go through it, and you will see a new type of Necromorph—a Puker. If it is at a distance, shoot off its arms quickly and be ready to strafe to the left to avoid getting hit by its projectile attack.
Quickly back away from the doorway, since there is another Puker in the next room. As it approaches, hit it with stasis to slow it down. Then quickly shoot off its arms and other body parts to take it down. Stay away from it as it dies, since its acid will spray out as it goes down.
After you have killed both Pukers, search the lockers at the room's far end to get some ammo and credits. There is a power node on the counter, so be sure to pick it up as well. Exit the room and head to the elevator, which will take you to patient care.
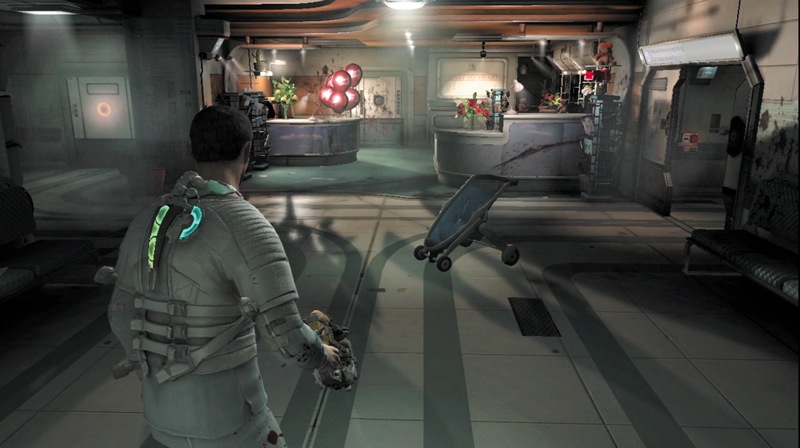
When you step out of the elevator, head toward the gift shop area of the patient care wing. Behind the balloons is a locker containing some ammo. Grab it, then head behind the opposite counter to find a text log and another power node. Continue through the corridor toward the east wing. You find more ammo near the doorway leading into the critical needs room.
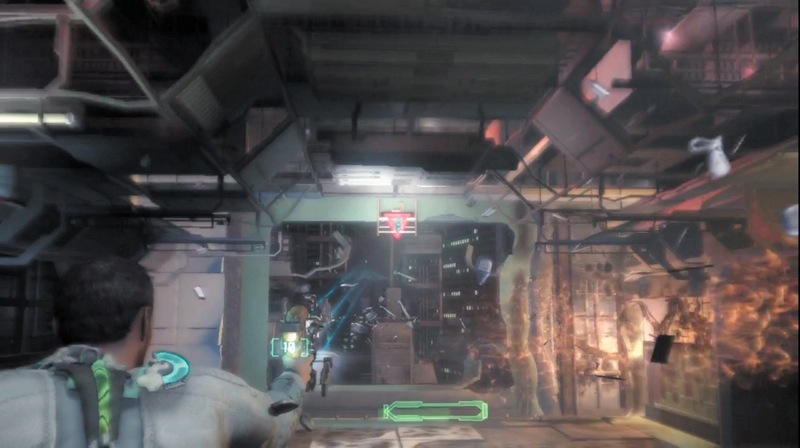
As you enter the critical needs room, one of the tanks of volatile gases explodes and blows out the window. This causes the room to decompress as it is exposed to the vacuum of space. Shoot at the triangle-shaped lockdown switch above the breach to close the emergency doors and stop the decompression. Anything of value in this room was sucked out, so head through the next doorway.
Security Alert
Anytime you are in a room with a window that looks out into space, there is a danger of decompression if the window is breached. If this happens, shoot at the lockdown switch. You often have very little time to do so before being sucked out into space.
You can also use decompression to your advantage at times. Shoot out a window or launch an object into it with kinesis. This will suck out Necromorphs that are closer to the breach than you. Just be ready to hit the lockdown switch and make sure you are as far away from the window as possible.
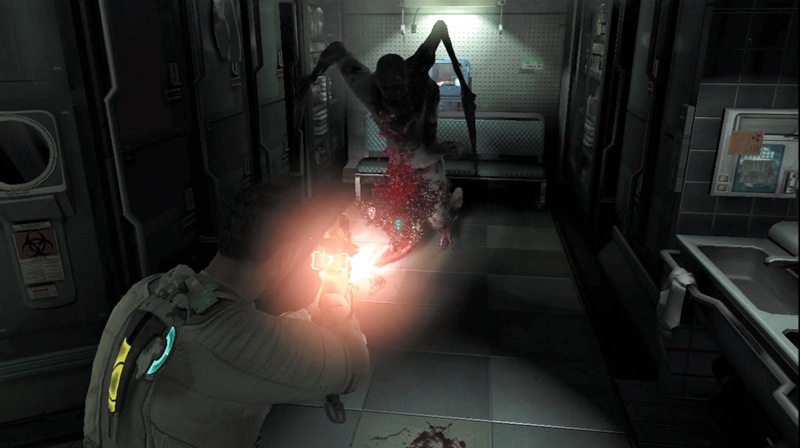
Move to the corridor's end to pick up some plasma energy before entering the next room. There is a Necromorph lying on the ground, but it is not dead. As soon as you approach, it will rise up and attack. Quickly shoot off its limbs.
You may need to use stasis since it is so close. Once it is truly dead, get a power node from the blue console on the wall. There are some credits on a table, and there is a save station and a store.
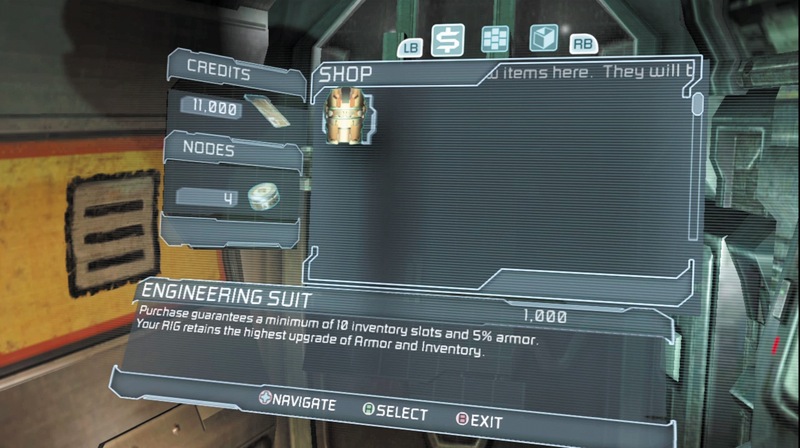
Walk up to the store and press the Action button to activate it. The only thing for sale is the engineering suit. Since all you have on right now is your hospital clothing, anything is an improvement. You must have an engineering suit on in order to progress through the next area.
The engineering suit is 1,000 credits. If you have been looking around as you progressed through the hospital, you should have more than enough credits to buy the suit—especially since you should have just picked up 1,000 credits on the table next to you. This will allow you to carry more and also provide some armor to help protect you from attacks.
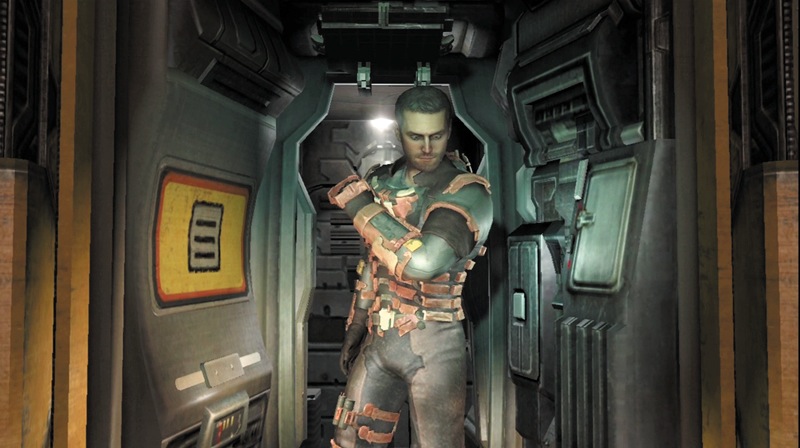
As soon as you purchase the engineering suit, the store will automatically outfit you in the new suit. Now visit the save station to record your progress and then head through the doorway leading toward the emergency arrival area.
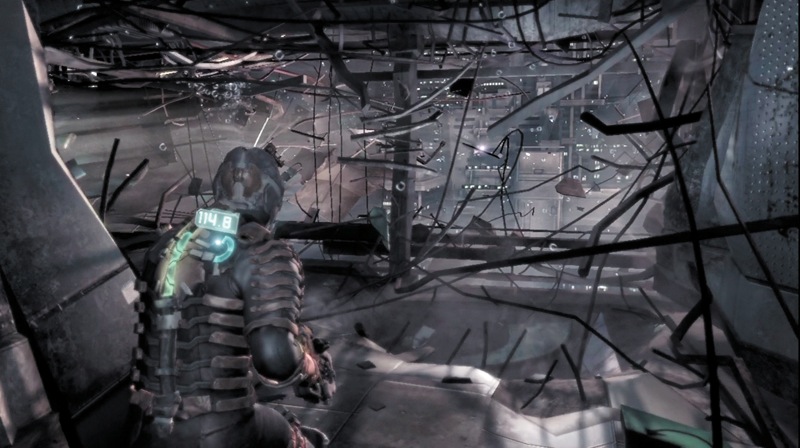
As you step through the doorway, you enter an area that has been heavily damaged. The windows have been blown out, and you are in a vacuum. Your suit automatically begins supplying you with oxygen, and a timer appears on your RIG, showing you how many seconds of oxygen you have remaining. Quickly make your way through this area to the doorway to the emergency arrival area.
Hospital Finale
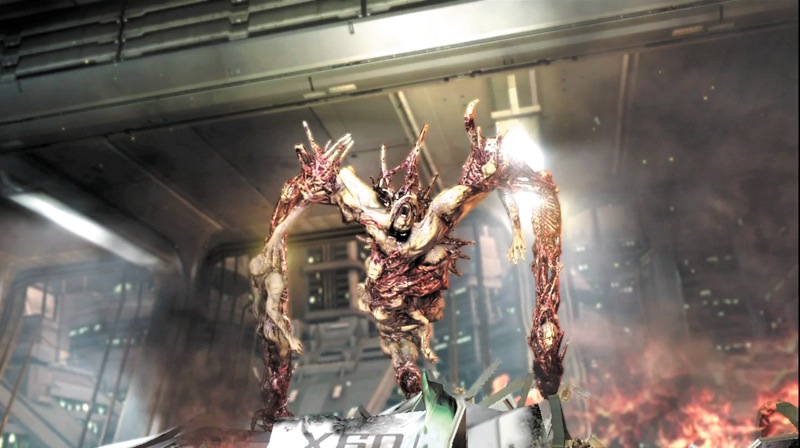
Upon entering the large emergency arrival area, the doorway will close and you will once again be in a pressurized environment. No need to worry about oxygen. However, that does not mean this area is safe.
If your stasis module is not fully charged, visit the stasis recharge station along the wall to the left. There are also several containers in this area. If possible, use kinesis to bring them to you and then stomp on them after dropping them. As you move toward the area's far end, a large Necromorph will appear. This Tripod is the toughest thing you have faced so far.
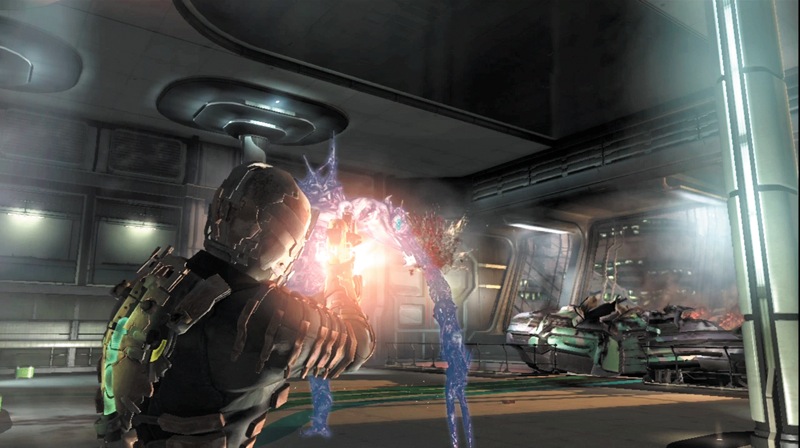
As soon as the Tripod jumps down onto the deck, hit it with stasis to slow it down. Then fire away at the narrow section of one of its arms where the glowing yellow bulb is. Yellow areas on Necromorphs always signal a weak point.
You will probably get in only a shot or two before the stasis wears off. Quickly hit it again with stasis and then run to the stasis recharge station to recharge your stasis module.
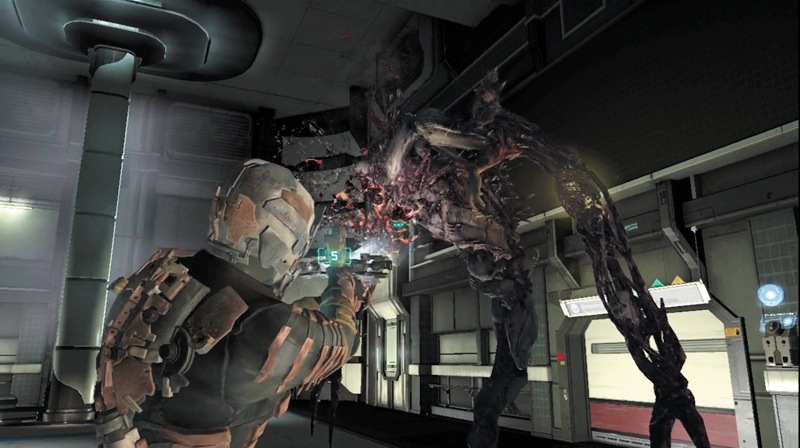
Use stasis on the Tripod again. Keep shooting at the yellow weak spot of the same arm. Alternate between shooting and using stasis. You don't want this Necromorph to get you since it will cause a lot of damage. Remember, after you use your last stasis shot, run for the recharge station. Don't even waste time shooting until you have your module recharged.
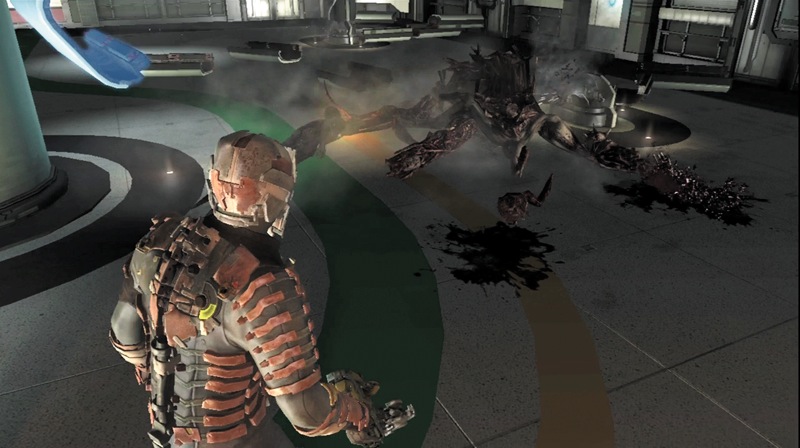
Continue to focus on one of the arms and keep hitting it in the weak area. Eventually you will cause enough damage to sever that arm and the Tripod will go down. This will slow it down significantly, but it also causes the Tripod to use another attack with the sharp blade in its mouth.
Be sure to keep your distance and try not to stay directly in front of it while you work on the second arm. Once it is dead, pick up the semiconductor it drops. You can sell this for credits at the next store you come across. Smash any remaining containers and get the goodies from them. Then head to the doorway leading to the vehicle maintenance bay to finally exit the hospital.
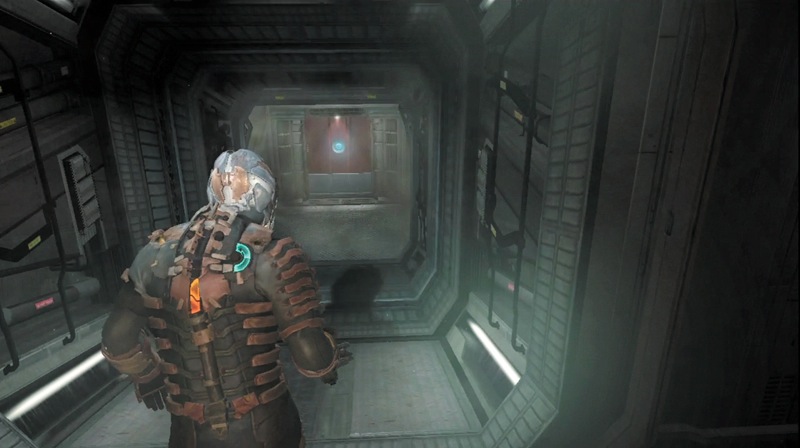
After exiting the emergency arrival area where you just took out the Tripod, follow a corridor leading down toward the vehicle maintenance bay. The corridor is clear, so use some of your med packs if you need some health, and make sure your plasma cutter is fully loaded. You never know where you might run into more Necromorphs.
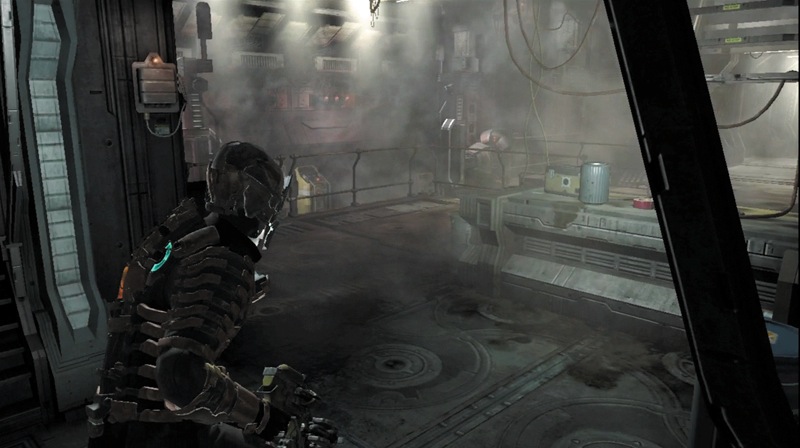
Walk through the doorway into the vehicle maintenance bay. There are three different spots where you can pick up some credits to add to your account. Once you have the credits, continue through the corridor at the bay's opposite end.
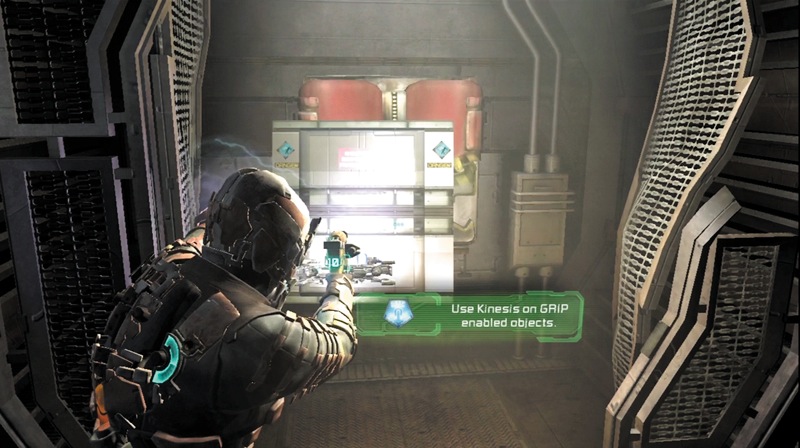
At the corridor's end, you will see a panel with a GRIP icon on it. Aim at the panel and hit it with Kinesis. This will pull the panel way from the wall. While holding it in the air, move it to the side and drop it. Behind the panel is an access hatch to a duct. Walk up to it and press the Action button to open the hatch and climb into the duct. Crawl through it to exit into another room.