
Dead Space 2 Guide Walkthrough Clarke's Log: Walkthrough
Chapter 7
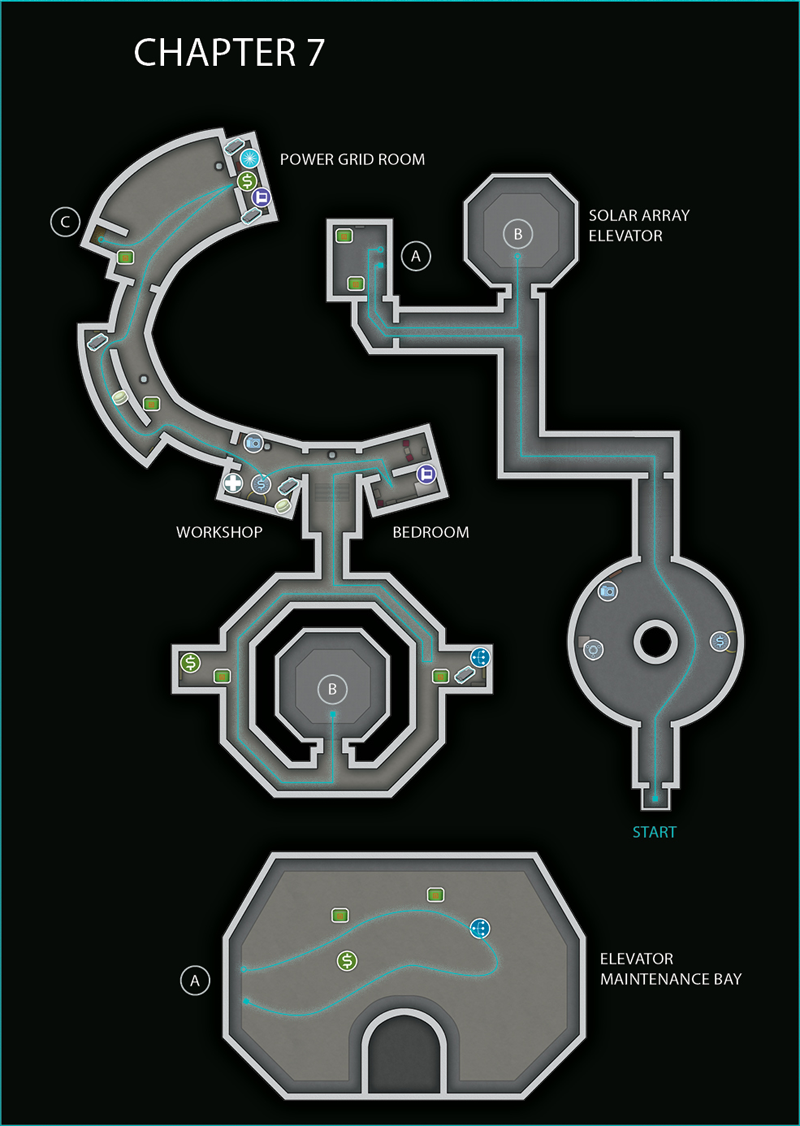
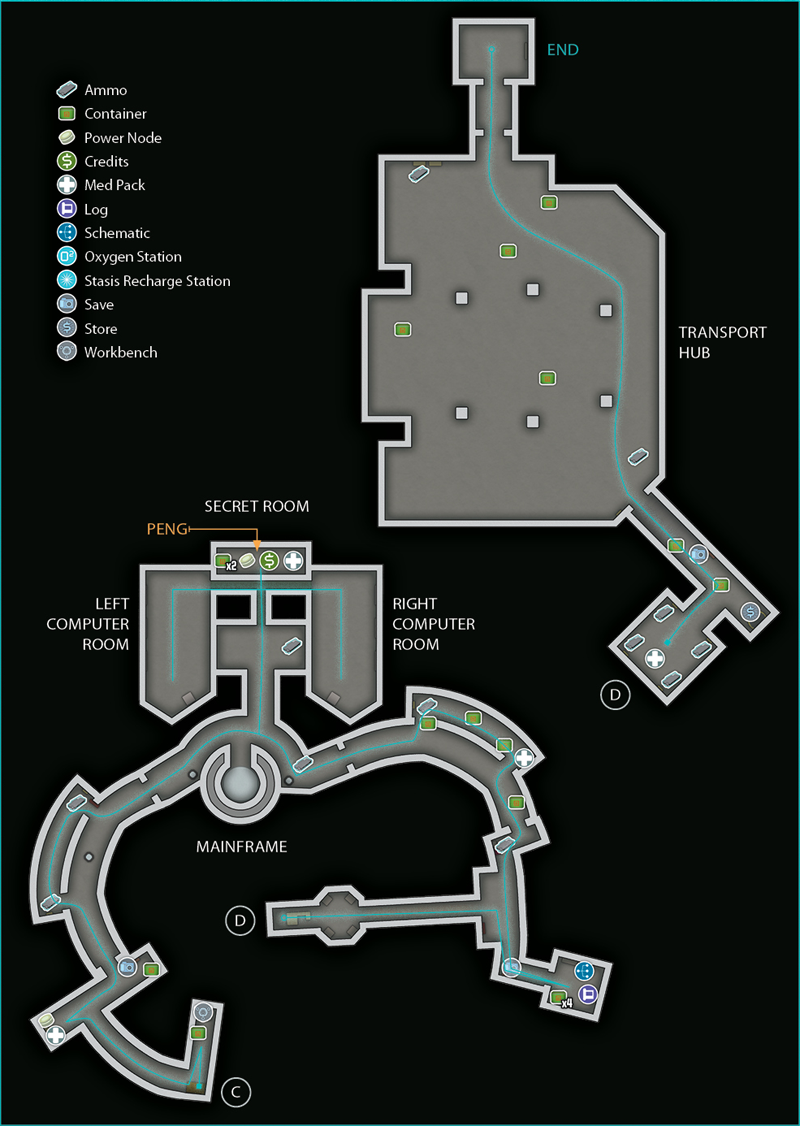
Power From the Sun
Restore power to the transport hub
Get to the Solar Array Base
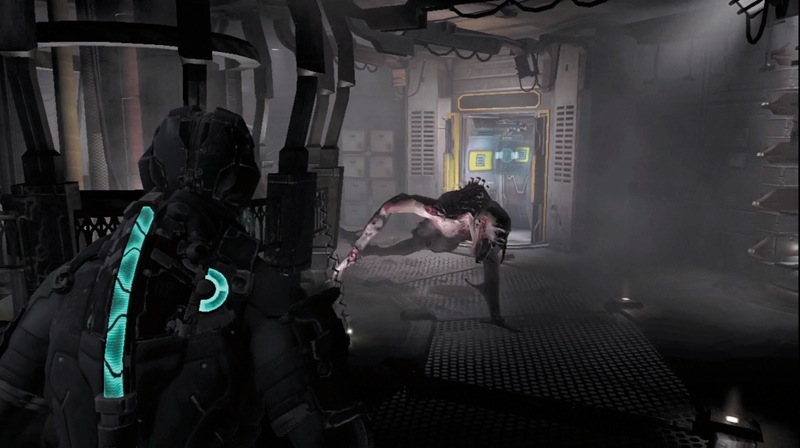
As soon as you step out of the elevator, be on your guard. Even though there is a store, workbench, and save station, this room is dangerous. A Leaper will come crawling toward you. Hit it with stasis and then shoot off its arms or use the ripper as it gets in close.
Don't go too far into the room while you deal with the Leaper; there is also a legless Puker in here, and you want to avoid fighting them both at the same time if possible. Kill it and then pick up what the Necromorphs leave behind.
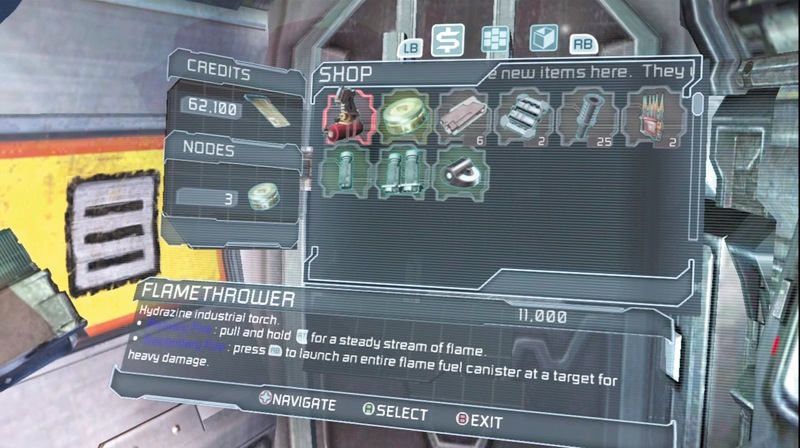
Visit the store and upload the flamethrower schematic. You can now purchase this weapon and try it out. The flamethrower can be useful, but it also has its limitations. The flames take a few seconds to kill Necromorphs that are charging you, but it can be good when several are coming at you from the same direction.
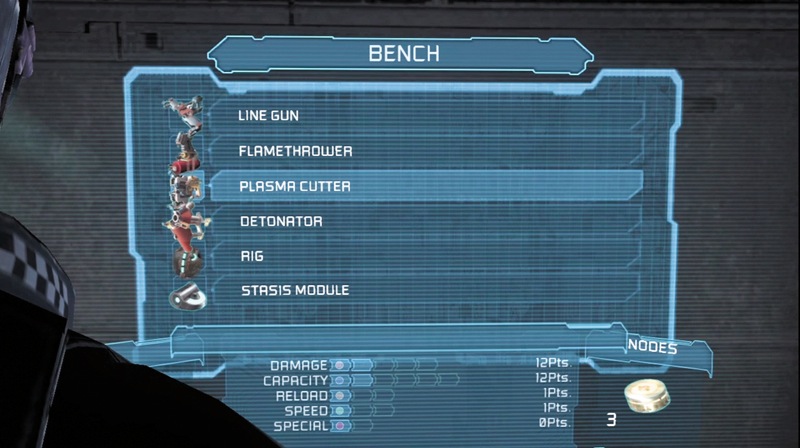
Once you are finished at the store, stop by the workbench. The Respec ability is now available to you. For 5,000 credits, you can pull all of the power nodes out of a weapon or piece of equipment and use them for something else. If you are not using a weapon anymore but have put several power nodes into it, this feature allows you to upgrade newer weapons that you are now using more often.
Keep upgrading your RIG, stasis module, and plasma cutter. The ripper, detonator, and line gun are also very useful throughout the Sprawl. Don't forget to record your progress at the save station when you are done upgrading.
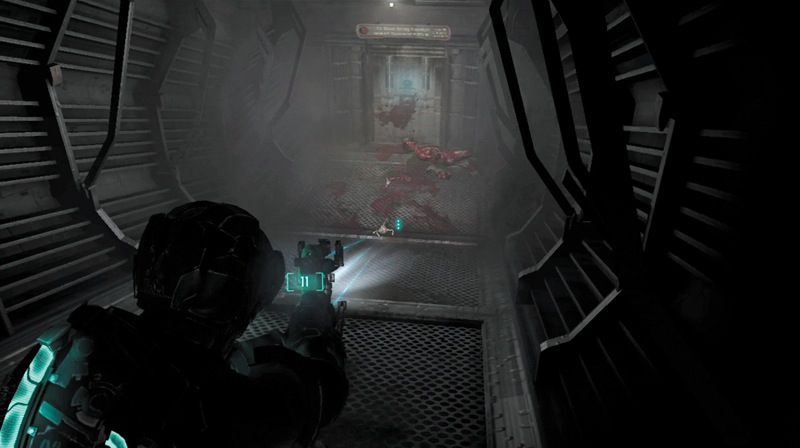
Head down the hallway toward a door. As you approach a corpse, watch out for a couple Swarm. You can shoot them, fry them with the flamethrower, or just let them jump on you and throw them off. Two won't really hurt you. In addition, you can use kinesis to pick up the body and reveal the Swarm, then shoot the body back at them for a quick, ammo-saving kill. Once it is clear, go through the doorway to the next area.
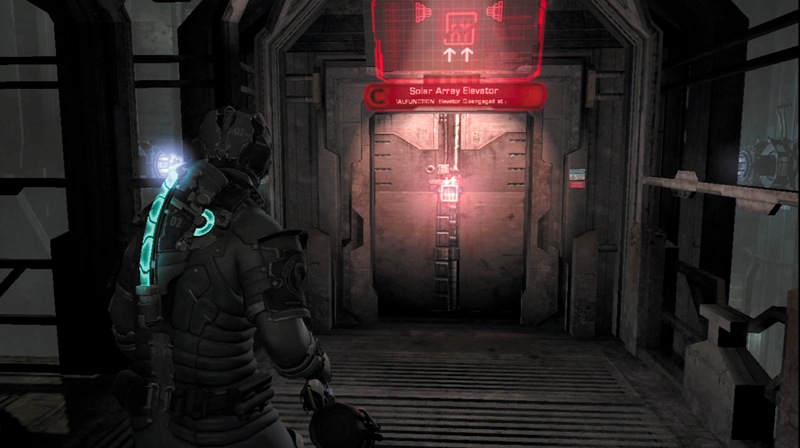
Follow the passageway down to the solar array elevator. It is malfunctioning, so continue to the door leading to the elevator maintenance bay.
Elevator Maintenance Bay
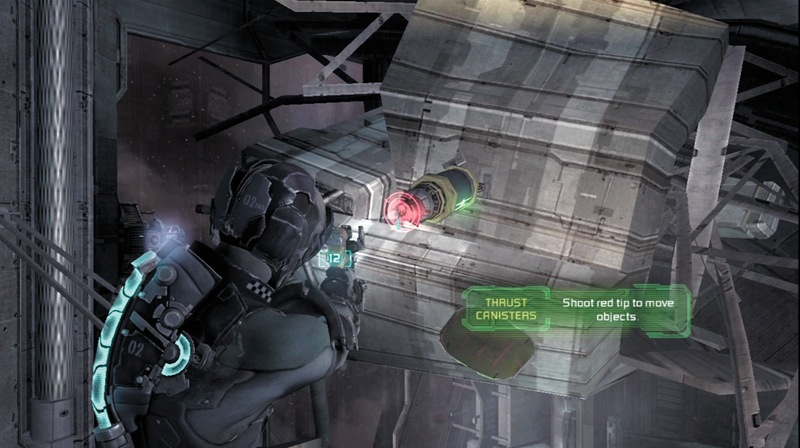
Continue through two doors until you reach a room. Break open a couple containers to get some items, and then locate a thrust canister attached to some wreckage. Take out your plasma cutter and shoot the red tip of the canister to ignite the thruster and move the wreckage away from you..
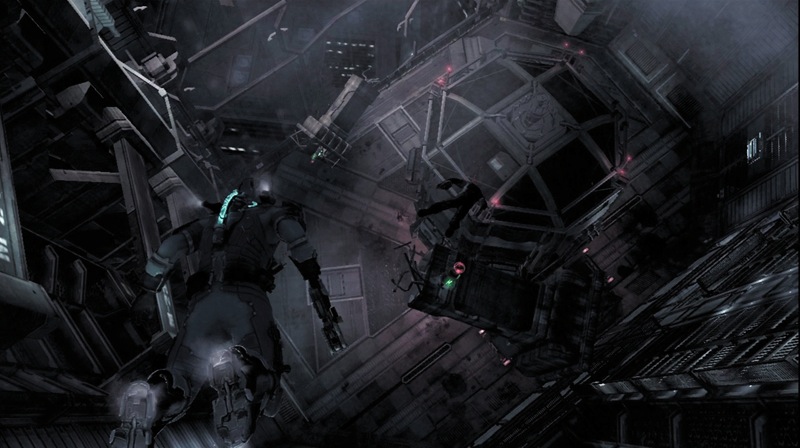
Press the Zero-G Launch button to disengage your magnetic boots and start floating. Head to the shaft's top for an item. Now use your thrusters to head down the large shaft toward the elevator at the bottom. Along the way, pick up some credits and ammo, destroy some containers, and grab the schematic for the ripper blades.
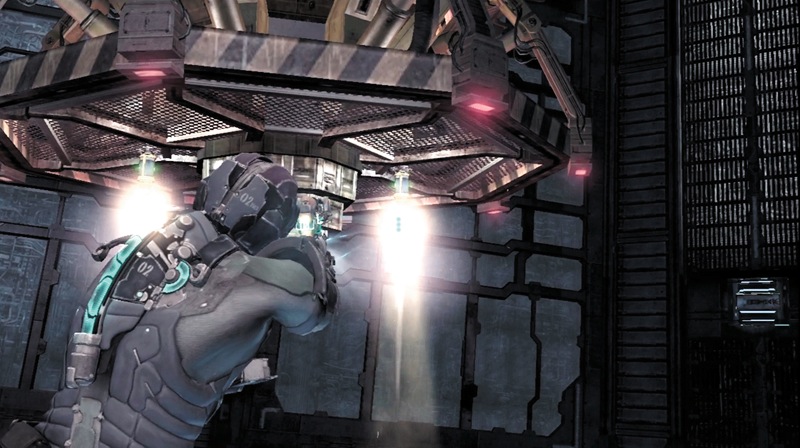
When you reach the bottom, locate the two thrust canisters attached to the elevator. Shoot at the red tips to send the elevator back into position for use.
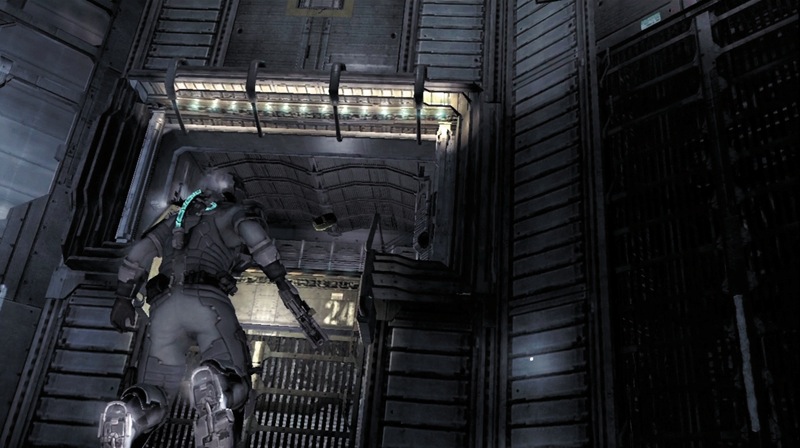
Now thrust your way back up to the top of the shaft and reengage your boots on the platform so you can exit this area through the doorway.
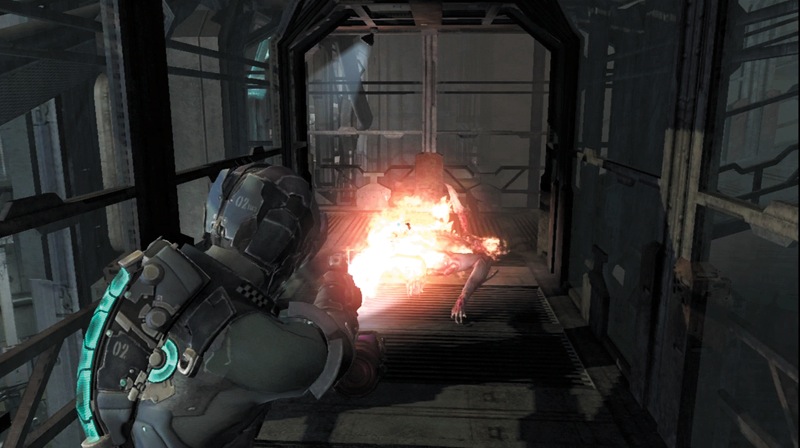
As you move through the passage to the elevator, watch out for a Leaper. Hit it with your flamethrower if you want to test it out. While the Leaper is burning, hit it with a melee attack to finish it off. Now enter the solar array elevator.
Security Sector
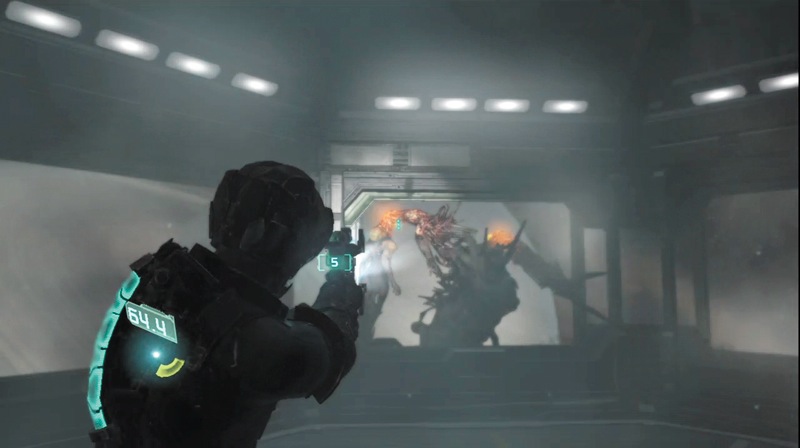
Once you are in the elevator, walk over to the controls and activate it. Then move away from the windows and stand in the center of the floor. Stay away from the windows since some Tripods will bust them out and attack. Shoot at the yellowish infected flesh at their shoulders. After you get in a hit or two, the Tripods will either fall off or move to other windows. Keep looking around so they don't surprise you. As you shoot off their arms, you will kill them. Keep at it until all are dead and then walk around to pick up the items they dropped.
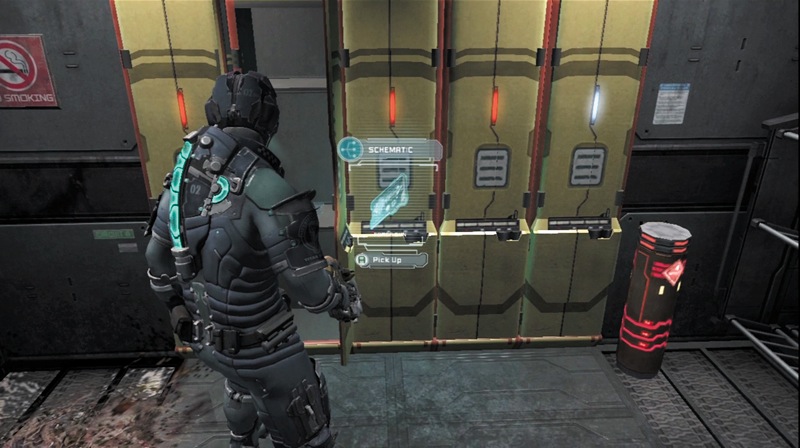
When you get off the elevator, walk around the catwalk. Kill the Cysts in this area and search the lockers for goodies. In one you will find a schematic for the force gun. There are also explosive and stasis canisters here. You can try launching them at Cysts to experiment with using these cylinders as weapons. Once you have scavenged the area, head through the doorway.

As you enter a large room, a hologram invites you to wait for someone to help you. Move to the right and enter a dark bedroom to find a text log. Pick it up and then head across to the other side of the large room.
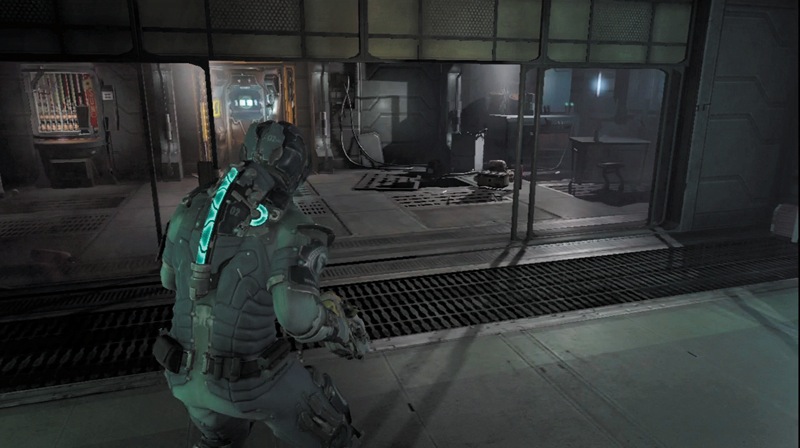
Enter the workshop area. Kill the Cyst inside and then check the locker. You can find a power node on a machine and a med pack on a counter. Finally, visit the store to upload some schematics. You can purchase the force gun now. Move the flamethrower to the safe and then get the new weapon to try out.
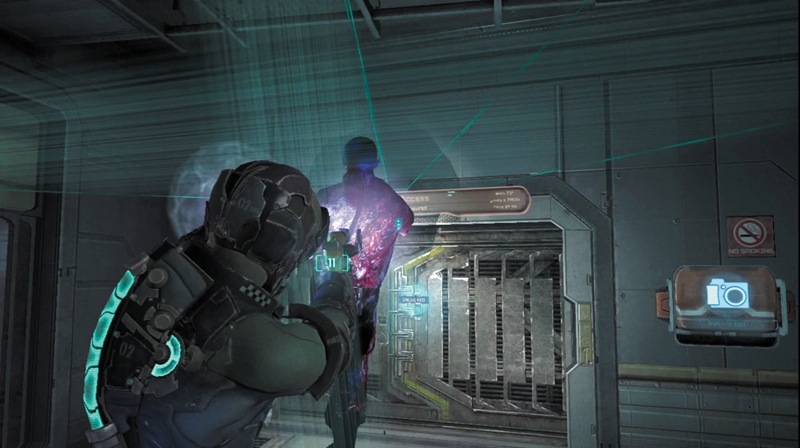
Head over to the save station. As you use it, you will discover that you do not have authorization to open the door to the main array access. You need station watchman Howard Phillips. Head back to the bedroom, and use kinesis to pick up the corpse on the bed. Carry it toward the door. The scanner will recognize Phillips and unlock the door for you.
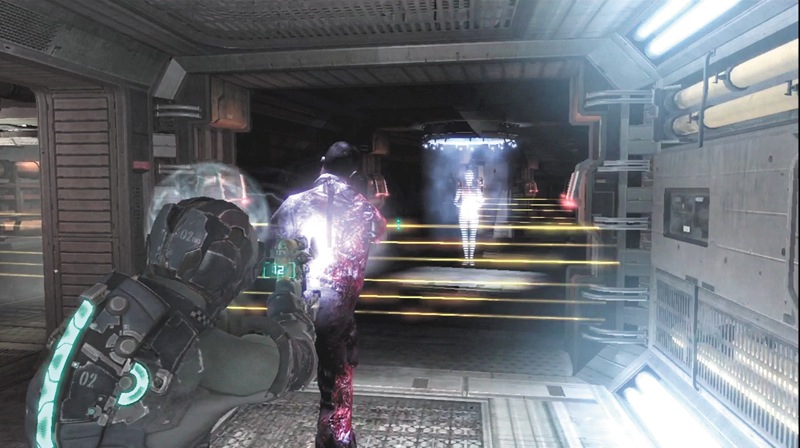
As you enter the corridor, bring Phillips with you. This time you need a verbal access code to get through the detonator-mine barriers, which unfortunately you will not have. However, you can still use Phillips's body to trigger the mines. Shoot the corpse through the lasers using kinesis, making sure you don't get hit by the blast.
You can also find other small items in the area that you can pick up and shoot through the lasers Once you have used the corpse or other objects to clear all of the barriers, search the area. Stomp on a container and check the locker. You can also get a power node from a fuse box. Once you have everything, continue through the next doorway, following the locator path if necessary.
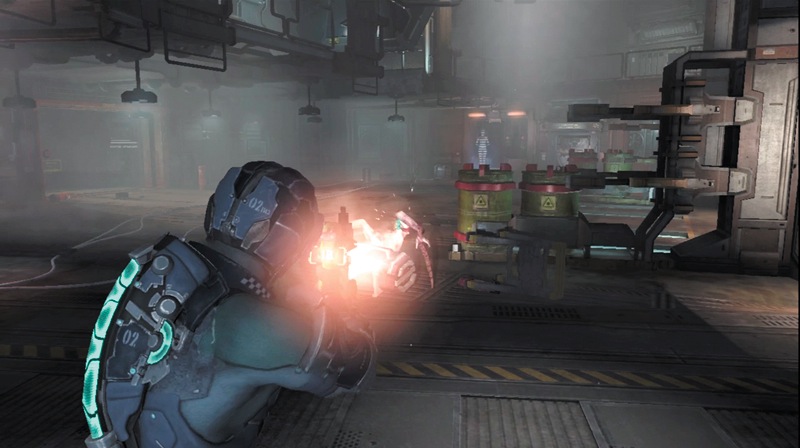
After entering a large area, be ready to kill a legless Slasher that comes after you. While you are moving across the middle of the area, two detonator barriers will block you and several Crawlers and a Leaper will come after you. While the barrier may stop some of them, the Crawlers near the large window at the other end may detonate and blow out the window, causing decompression.
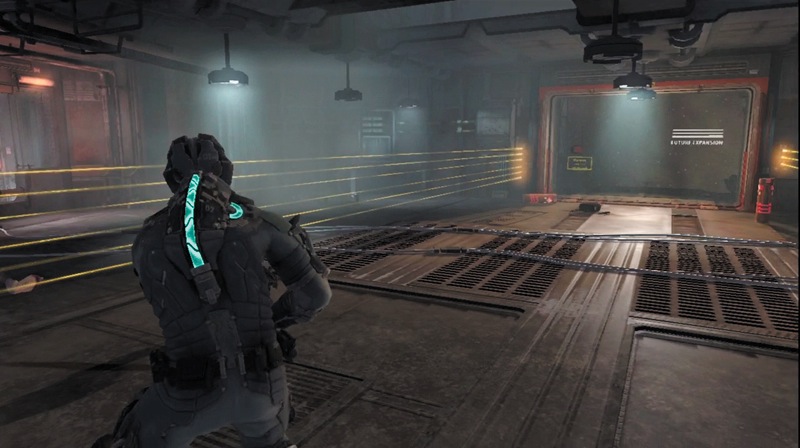
Actually, if that does not happen, use kinesis to launch an explosive canister into the window to decompress the room and suck out some of your enemies. Shoot the lockdown switch to close the breach before you get sucked out as well.
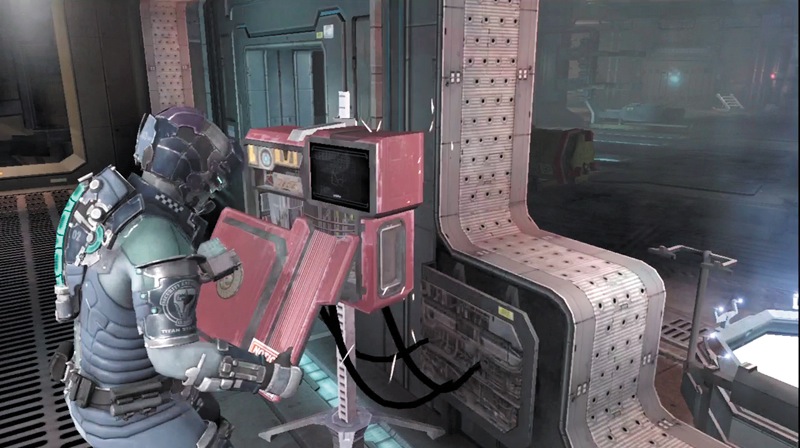
Once the area is clear, move into the power grid room. Check out the lockers in here. There is a text log in one of them. If necessary, recharge your stasis at the stasis station. Pick up some ammo and then hack the console so you can use a cargo lift on the area's opposite side.
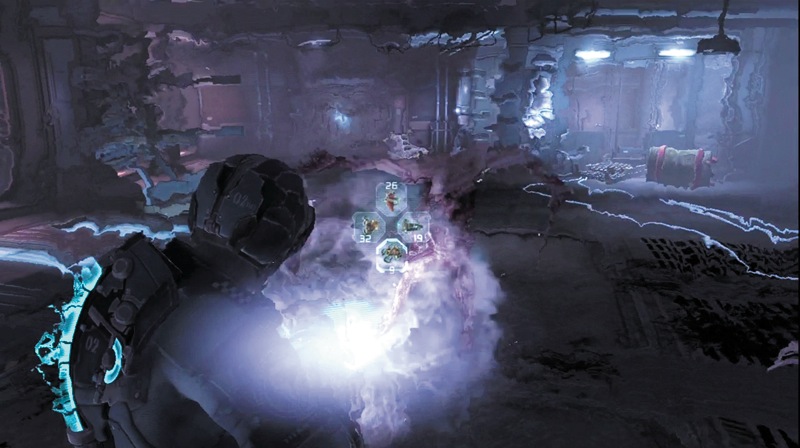
Upon exiting the power grid room, be ready for two Slashers and a Leaper. This is a great chance to try out the force gun. As they charge, fire it at them to push them back. Then use the alt-fire to inflict a lot of damage on the individual Necromorphs. Back into the power grid room if necessary to keep them from surrounding you. After they are all dead, go to the cargo lift and take it to the upper walkway.
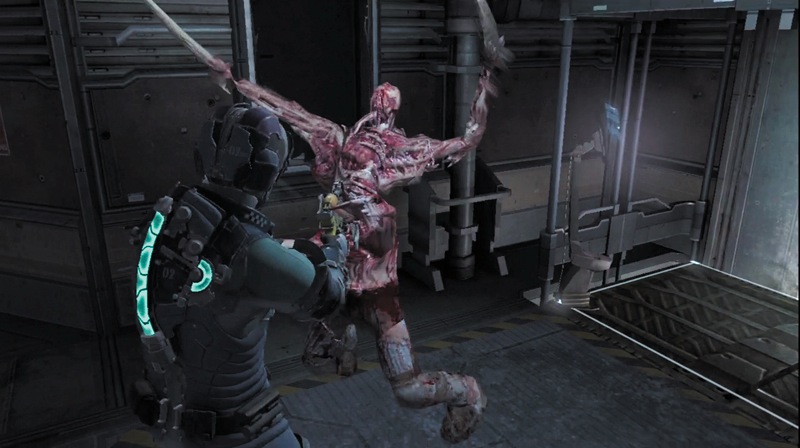
As you are on the cargo lift, a Slasher will try to attack you from the lower level. However, just because you reach the top does not mean you are safe. It will climb up through the ducts, so be ready for it. There is a metal rod on an upper level. Use kinesis to grab and use it. After killing the Slasher, stomp on a container, pick up some ammo, and use the workbench to upgrade your weapons and equipment if you have some extra power nodes.
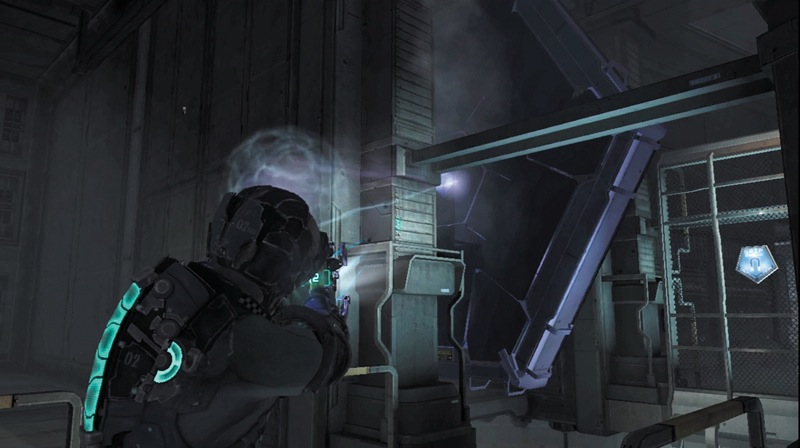
Follow the walkway around to where your path is blocked. Use kinesis on a GRIP icon to move a large structure to the left and out of your way. Then use kinesis again to pull down a bridge across a gap. As it lowers, a mine will activate with laser trip wires across your path. Shoot the mine or use kinesis to pull off a spike from the Slasher's corpse and launch it at the mine to detonate it. Once you're on the other side, laser barriers will appear as you move to check out some lockers. Grab a toolbox with kinesis and launch it into the lasers to detonate the explosives. Then search the lockers; one of them has a power node. As you walk away, a Slasher will jump out at you from the wall. Kill it and then continue to the doorway. Stomp on a container and use the save station before heading through the door.
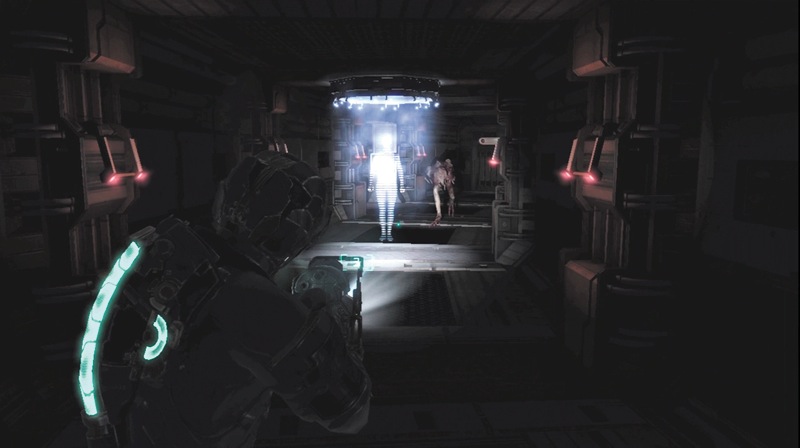
You are in another security corridor. Since you don't have access, the corridor decompresses and you start using the air from your suit. However, before you can worry about that, there are two Stalkers in here. Use the force gun to push them away, and then use the alt-fire to take them out. Now move toward the corridor's other end and hack a console, restoring the corridor's atmosphere. Check the locker on the side passage and then head through the door to the mainframe access.
The Mainframe
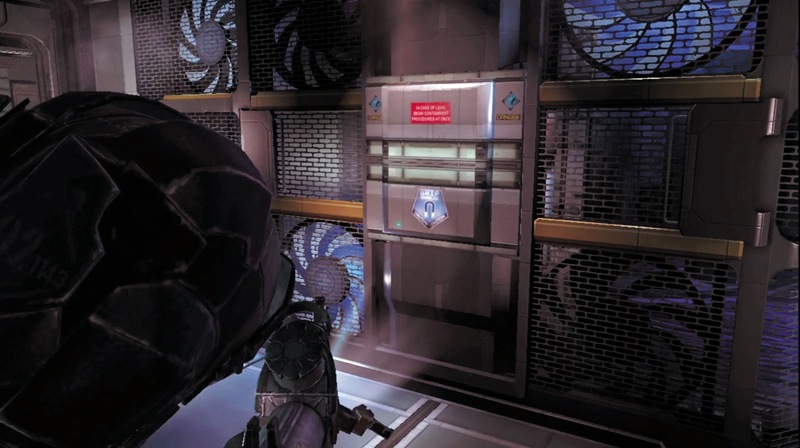
As you enter the mainframe area, Tiedemann locks down the mainframe to prevent you from reaching the solar array. However, you can manually bypass the lockdown. Use kinesis to pull off the panel across from the mainframe and then open the access hatch. Crawl through to the computer room on the right.
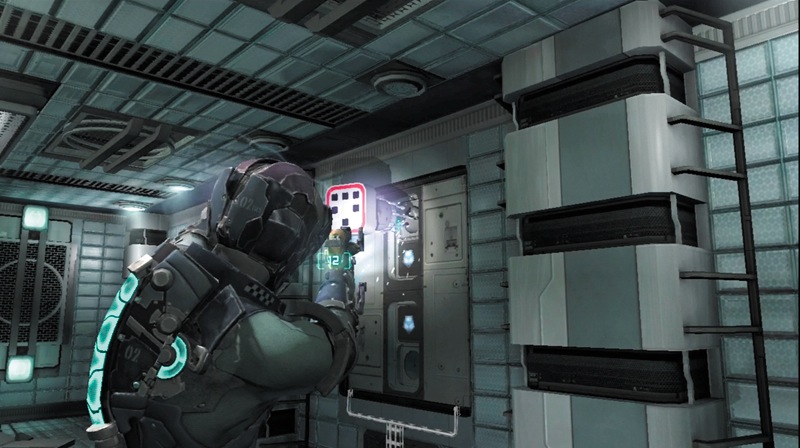
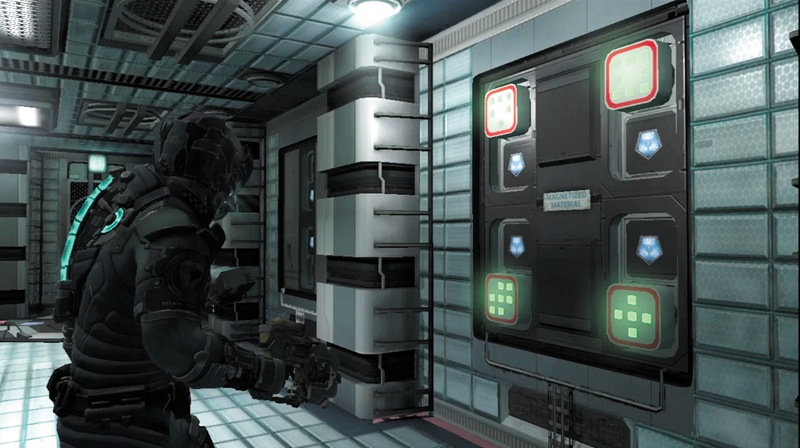
In this room, pull off all the panels using kinesis. Some Swarm will attack, so just knock them off and kill them. You can also use the panels from the wall to smash them. You must now use kinesis to pull circuits out of the consoles on the left and in the middle; then insert them into sockets on the right. Look at the diagram near the window on the right to see where they go. If you insert them in the correct sockets, they will light up green. A console near the window will rise up. Press the Action button near it to disable the first part of the mainframe security.
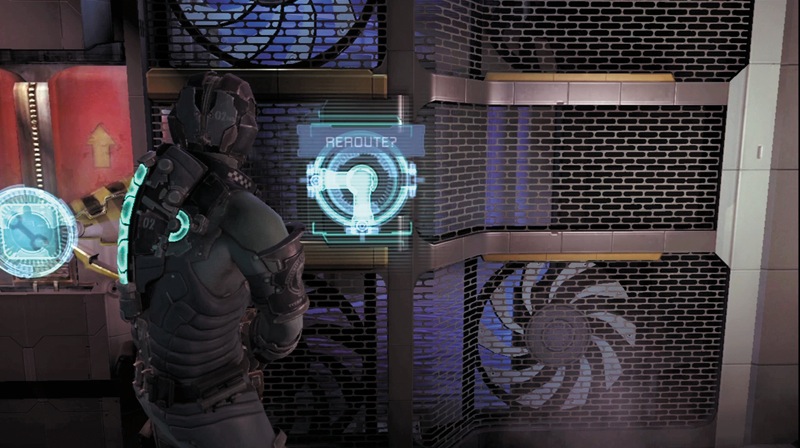
Crawl back through the access tunnel to where you started. Then press the Action button while standing near the reroute panel; this moves the access tunnel so you can reach the computer room on the left. Crawl through the tunnel again.
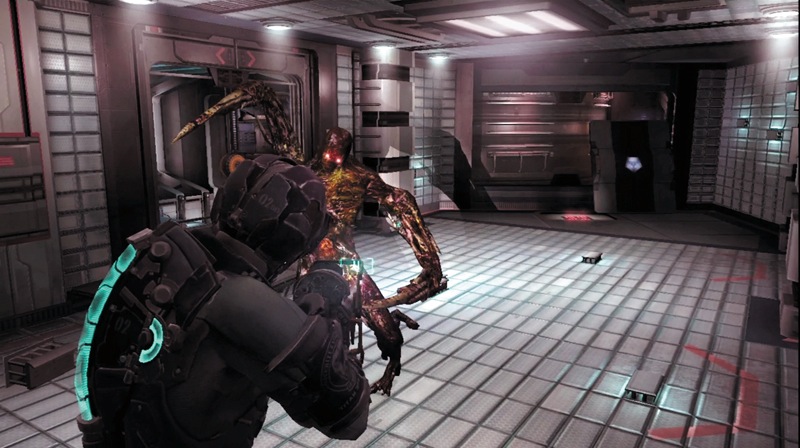
Follow the same procedure as before by removing the panels and then moving circuits into the correct sockets. However, as you start doing this, a Super Slasher will appear and attack. This Necromorph can take a lot of damage. Hit it with stasis and then shoot off its arms to kill it. You can also use the force gun, but it will take a few shots of alt-fire to do the job. Once it is dead, finish with the circuits and disable the rest of the mainframe's defenses by using the console that appears.
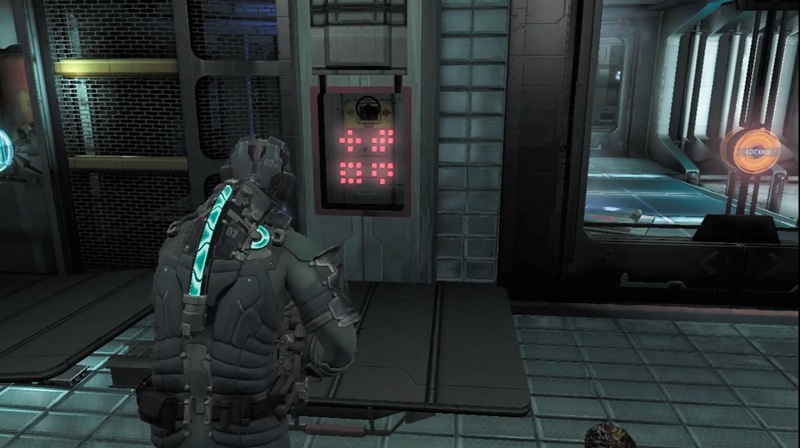
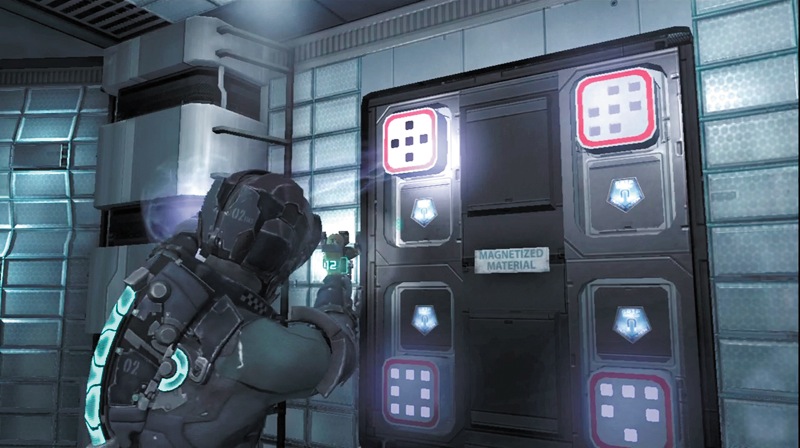
Before you climb back into the tunnel, look at the panel to the right of the access hatch. A sequence of circuits light up in red. Go back to where you inserted the circuits and put them in the sockets as shown on this panel. When you place them correctly, they will light up blue. Now go back to that panel by the hatch and reroute the tunnel to a secret area. Climb into the tunnel and crawl.
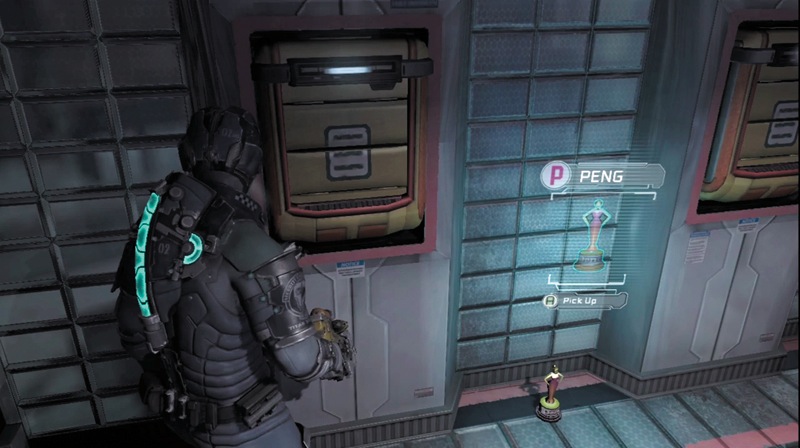
As you emerge into a secret room, get a power node from the circuit box, stomp on a couple containers, and check the lockers. Last but not least, pick up the Peng statue. Now head back into the computer room, reroute the tunnel, and get back to the corridor by the mainframe.
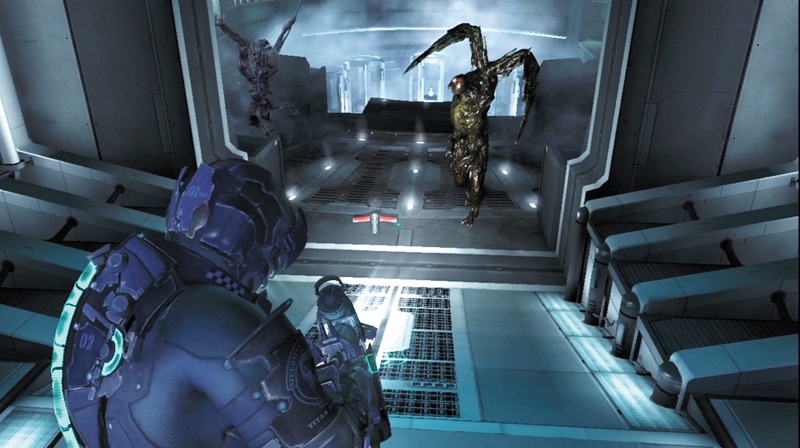
As you emerge from the tunnel, deploy a couple of mines (if you have the detonator) into the corridor. A Slasher and a Super Slasher are headed your way. Use another weapon to finish off the Super Slasher. Deploy a couple mines in the corridor to the left and two more to the right to stop any other Necromorphs that might be coming your way.
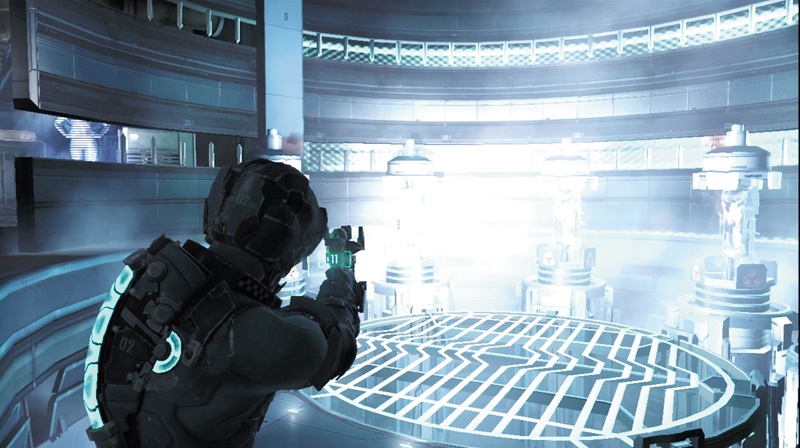
Now you must destroy all of the circuits in the mainframe. Just shoot them with your plasma cutter. While you are doing this, a Slasher will try to sneak up on you from each side. However, your mines will take care of them. Advance to the door leading to the solar array control pod to continue.
As you move through this corridor, a Divider Spawn will attack you. These spiderlike creatures will crawl about and attack you. They can be tough to shoot individually, so use weapons that have an area of effect such as the flamethrower.
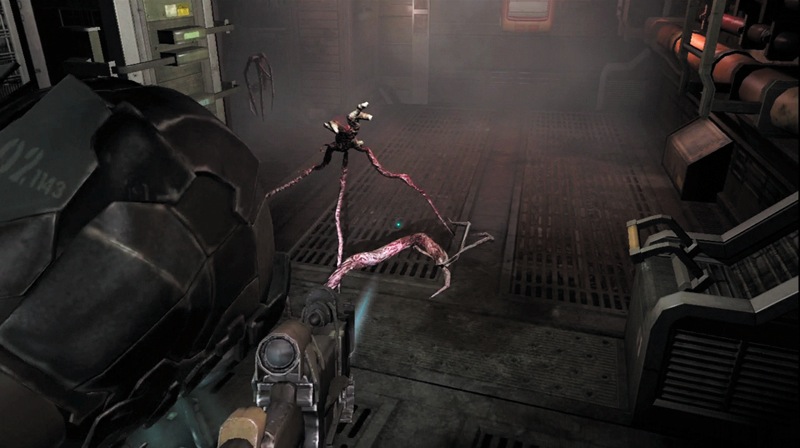
It is also a good idea to use stasis to slow them down before trying to shoot them, which will save ammo. There are also some Cysts in here, so advance cautiously. Stomp several containers and check the lockers for items. Continue through the doorway.
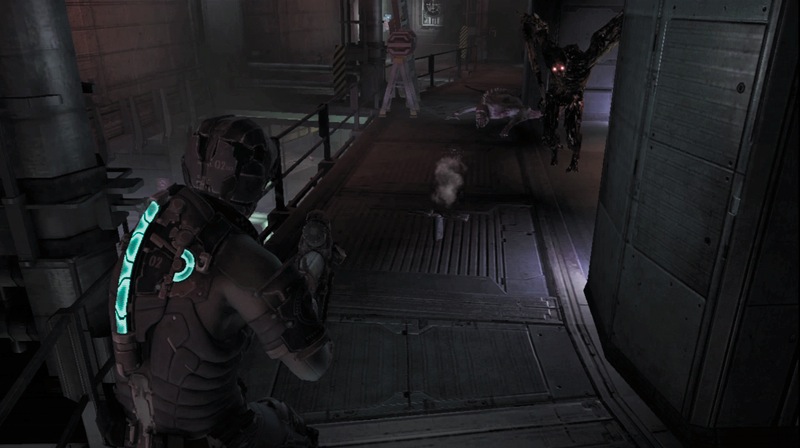
Make sure all your weapons are loaded as you cautiously advance along this walkway. Use kinesis to pull the stasis cylinder to you, and launch it at the Super Slasher that charges you. As you back away, deploy a couple mines in a row in front of it.
Make sure you don't set them too closely together, or one explosion will trigger the rest and ruin your setup. A Leaper will also come at you from the same direction. Switch to another weapon to finish off anything that makes it through the mines. Then kill the Lurkers on the walls and other locations. The seeker rifle works well for long-range shots at Lurkers. Remember that you can use the detonator's alt-fire mode to deactivate any unused mines and retrieve them.
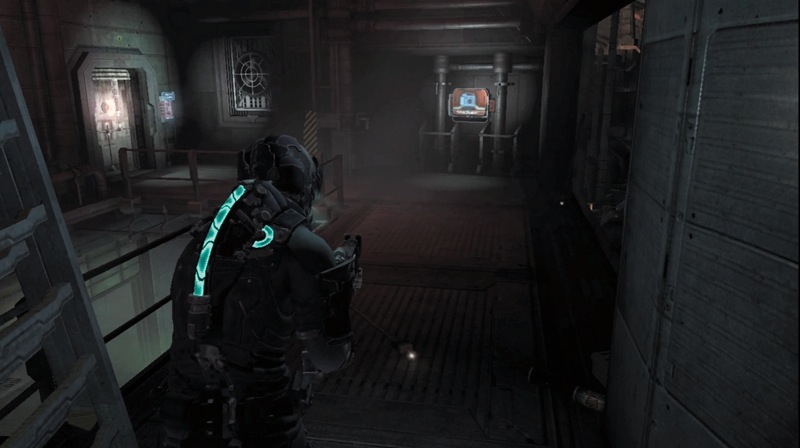
Move to the walkway's end, where you find a locked storage room. Watch out for any Necromorphs that might attack you on the way. It may look clear, but you never know when a Leaper might jump out at you. Use a power node to unlock the storage room and go inside to find some containers, a text log, and a schematic for the contact beam weapon.
After leaving this room, record your progress at the save station and then walk to the door to the solar array control pod. You must hack the console next to it in order to unlock this door.
The Solar Arrays
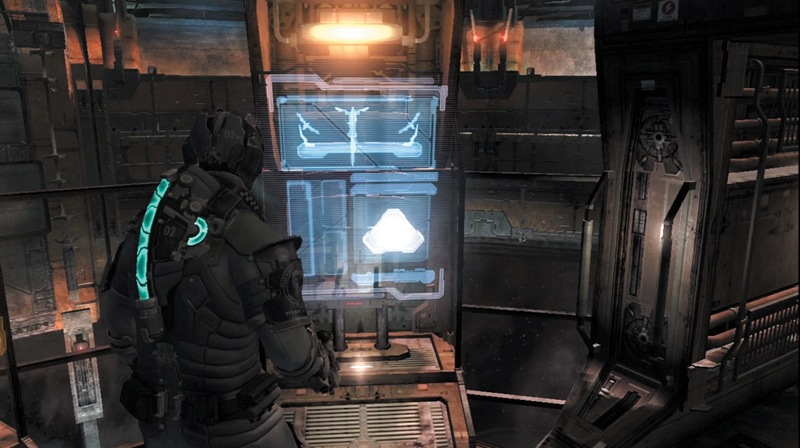
Walk down a narrow passageway to the control pod for the solar arrays. When you enter the pod, move to the blue console and press the Action button to activate the pod so that it carries you up to where the array mirrors are located.
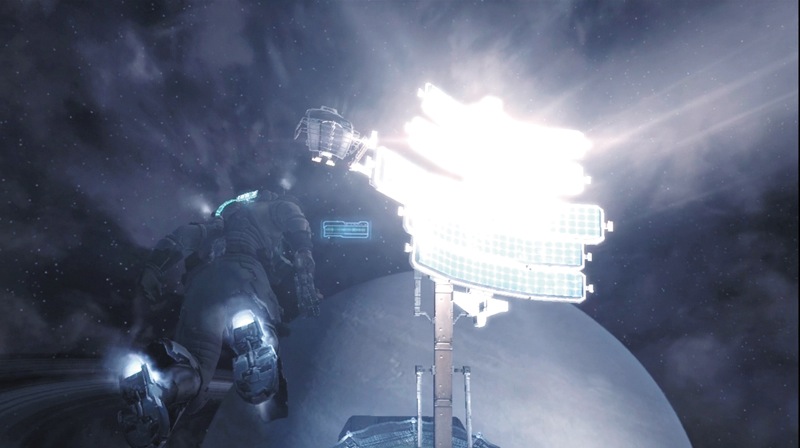
Head down the passage and exit the pod. You are in a zero-G vacuum, so keep track of your oxygen timer. Use the locator to see where you need to go. Press the Zero-G Launch button and then thrust toward the first array. Maneuver around to the controls and use kinesis to grab on to it.
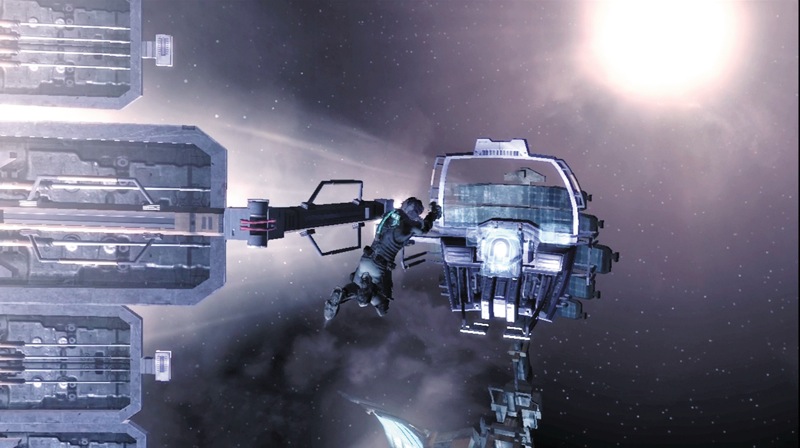
Move the array so that the window of the controls is aimed at the mirrors attached to the control pod. When the light shines bright on those mirrors, the first array is aligned.
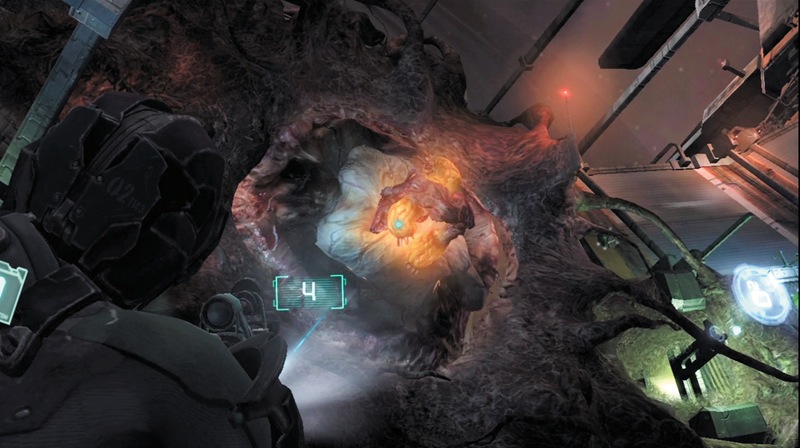
Keep an eye on your oxygen. You can return to the control pod and enter the passageway to fill up your air or head down to the ring below and visit an oxygen station. However, there is a Nest on the ring. It will launch projectiles at you from its waving arms. Use the seeker rifle in zoom mode and shoot each of the three yellowish pods on its arms to kill it.
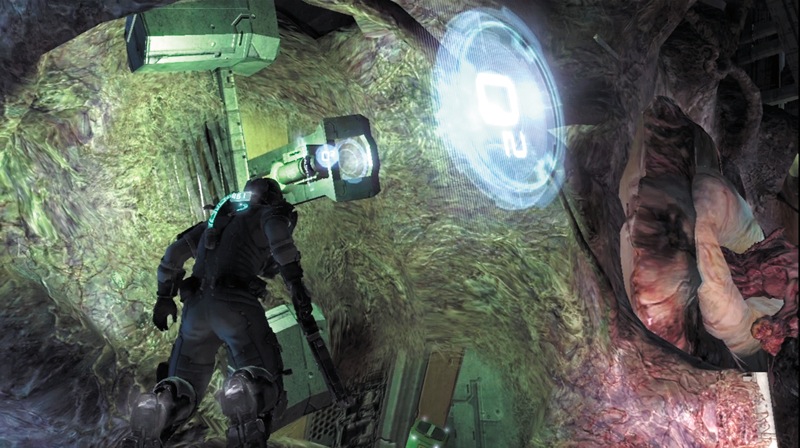
Head down to the ring to refill your oxygen. While you are there, move around it. There are several containers spread about. Stomp on them to find useful items. There are also a few items floating in space—use kinesis to grab them as you move from one mirror to the next.
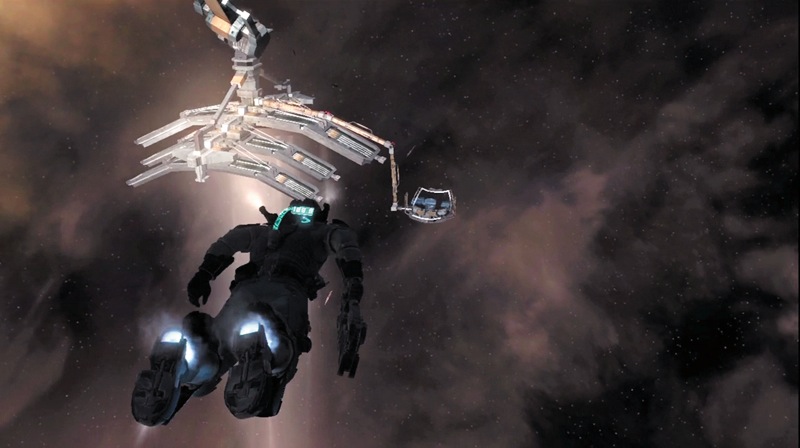
Now follow the locator path to the second array. As before, grab on to the controls with kinesis. To align the second array, center the mirror on the control pad with the window.
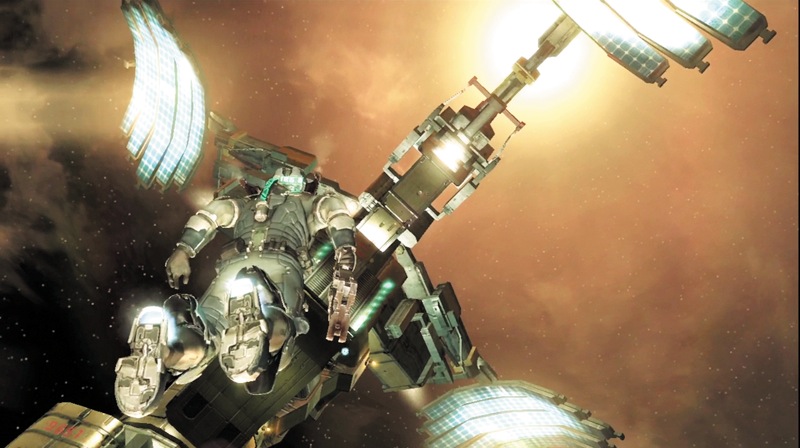
Head back to the control pod. Use the locator to help you navigate through space to get there as quickly as possible before you run out of oxygen. Once in the pod, move to the seat and press the Action button to climb into it and escape back down to the Sprawl.
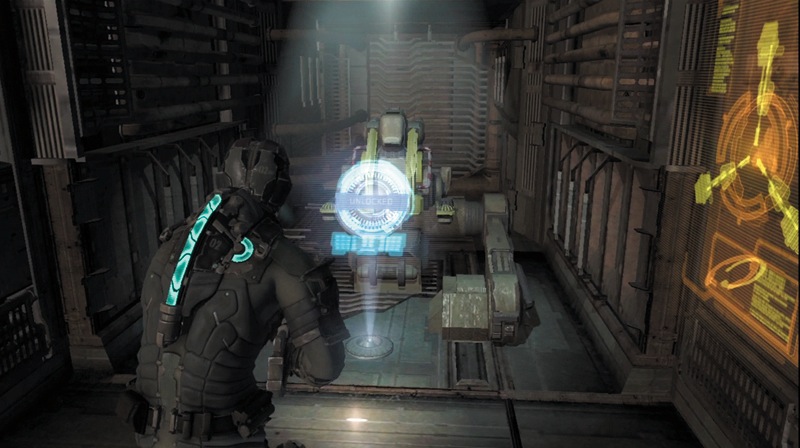
As you are flying back down to the surface, you must dodge several pieces of debris. Mixed in are two large pieces that you can't dodge; instead you must fly through holes or openings in them.
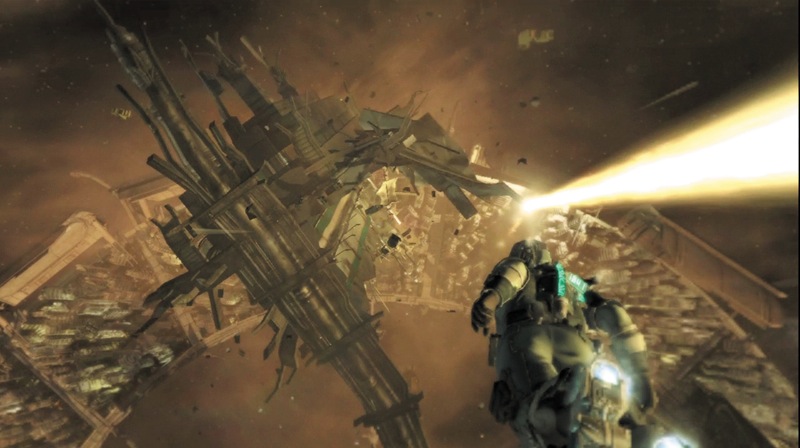
The first is a ringlike object, and the second is a huge chunk of the apartment block. After making it around or through all of the objects, head for the blinking lights on the building's roof. Eventually, you will crash through the building and deploy your thrusters to slow your descent.
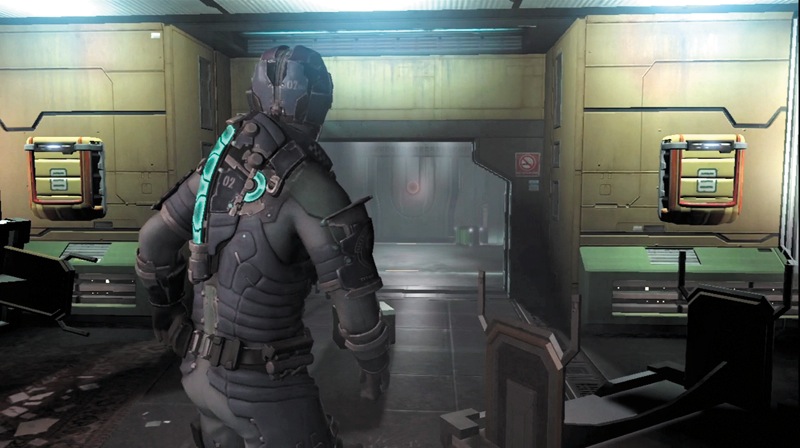
You end up in a room with several lockers. Search them for items you may need; then head out into the corridor. There are some containers out here as well as a store and a save station.
At the store, upload the schematic for the contact beam and then purchase this new weapon. Take this with you, along with the detonator, plasma cutter, and either the seeker rifle or the line gun. Don't forget to visit the save station.
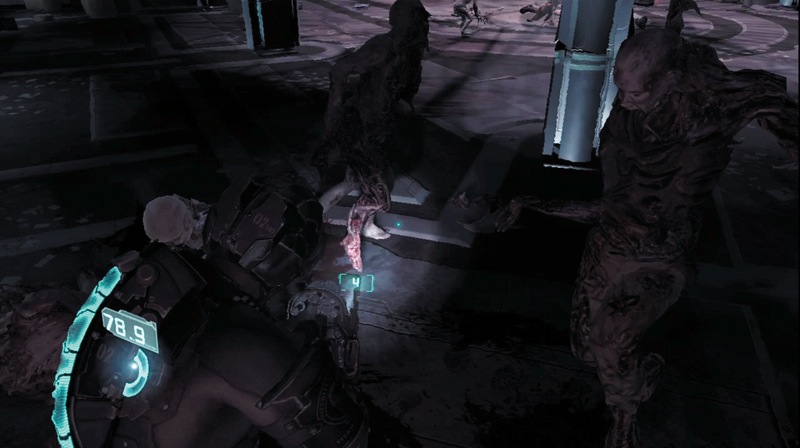
Head through the doorway at the corridor's end and enter the transport hub. Ellie and Stross are on the upper level. However, several Necromorphs are pouring into the area. Deploy some mines around you to help clear them out. If several get in close, use the contact beam's alt-fire to push them away and stun them. You must hold out for a while until Ellie can open a door for you to use to escape.
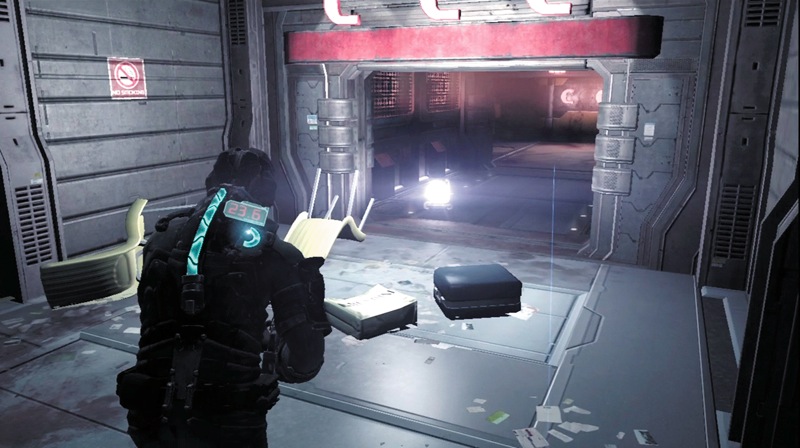
As soon as Ellie lets you know the door is open, run for it. The transport hub has decompressed, and you are running out of oxygen. The Necromorphs will keep coming, and you cannot kill them all. Get to the blue console and activate it to shut the door behind you and keep the Necromorphs out.