
Dead Space 2 Guide Walkthrough Clarke's Log: Walkthrough
Chapter 5
Cold and Cryptic
Rendezvous with Daina's Team
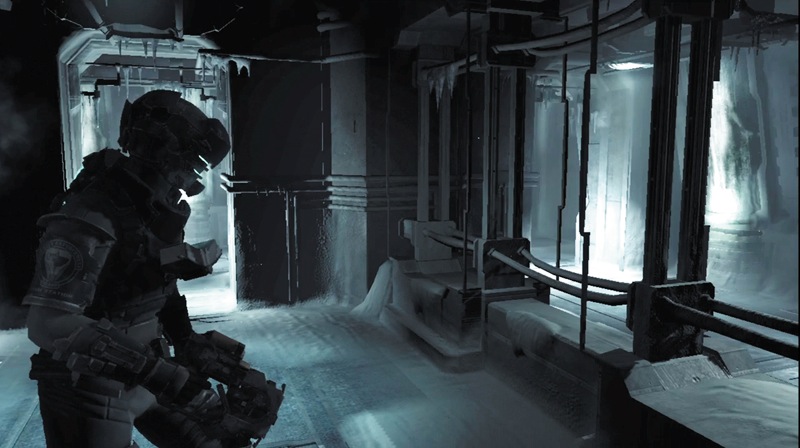
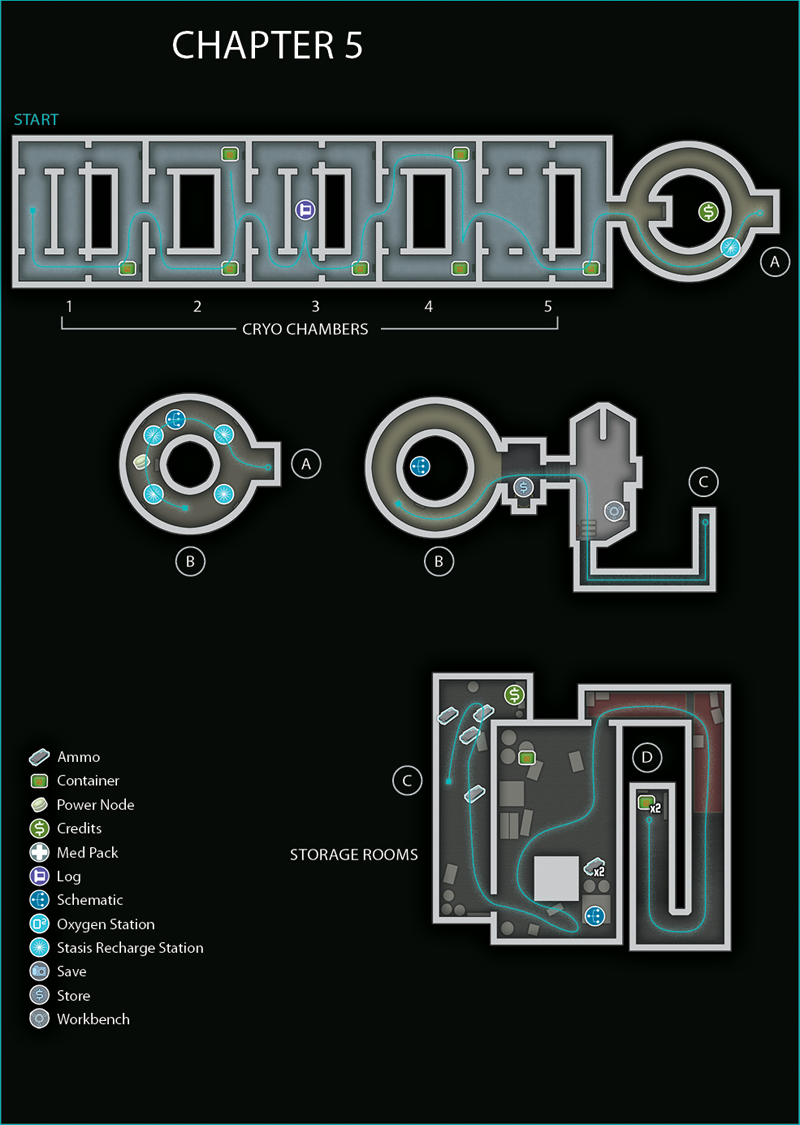
In order to reach Daina, you now have to travel through the crypt. Open the door and enter the first cryogenic chamber. Head down the right side, and hit the container set into the wall to get an item.
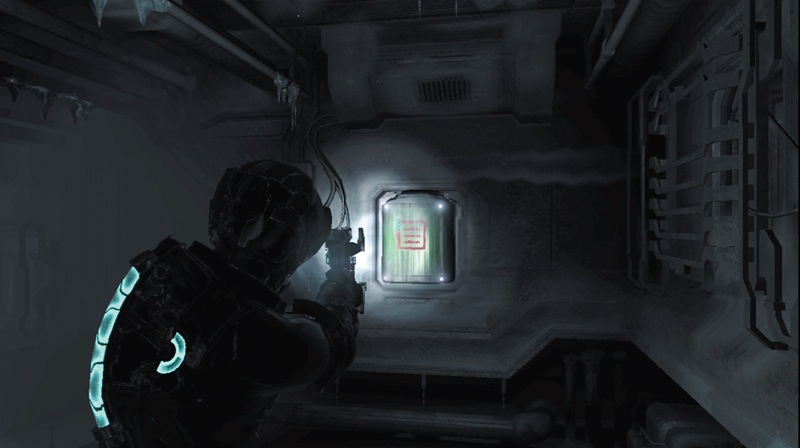
Then go through the door to the next chamber. Make your way to the chamber's far side. There are two containers to either side of the door. Get more items from them and then continue through the door.
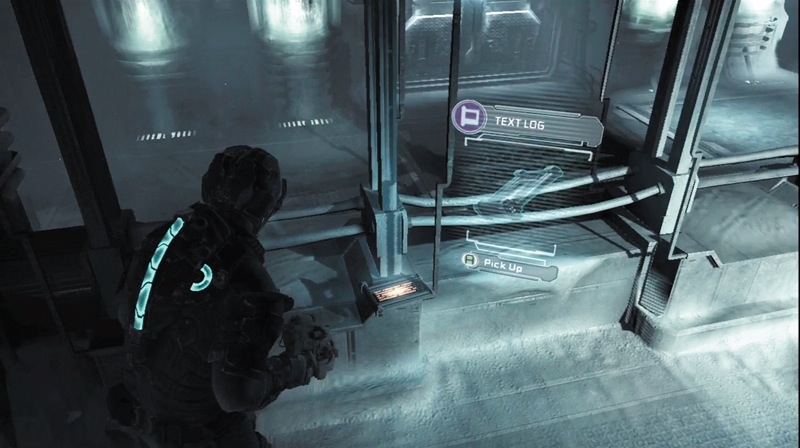
In the third cryo chamber, pick up the text log in the middle of the area. Next, smash a container on the far wall before heading through a door into another cryo chamber.
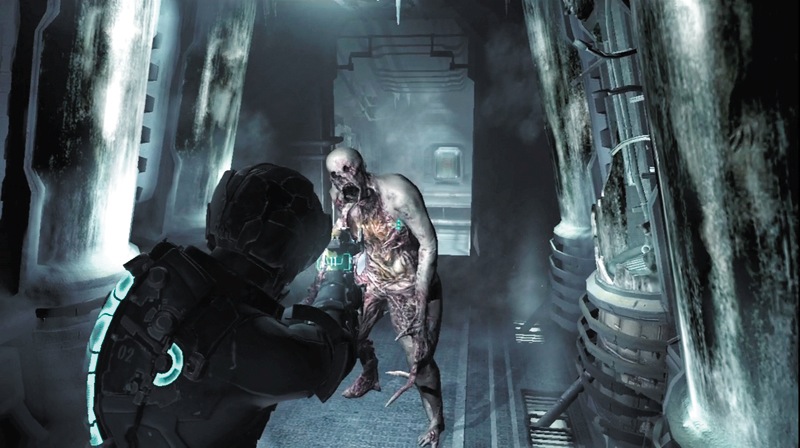
Don't get too complacent as you move through the crypt. The fourth cryo chamber is where the action begins. As you head down one of the sides, a Puker jumps out from a cylinder to attack you. At this close range, hit it with stasis before it can launch acid at you, and quickly dismember it. There are two more containers along the far wall; snag their contents before continuing through the door.
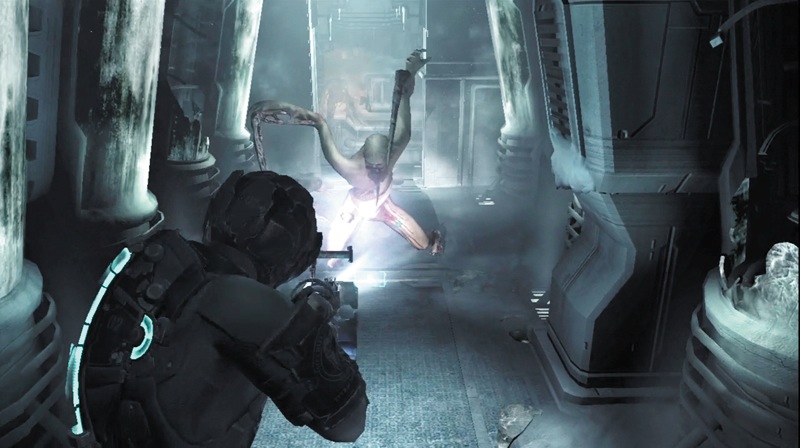
The fifth cryo chamber is a Necromorph haven. As you enter, wait in the center as a Slasher spawns, followed by a Puker. Pick up a metal rod with kinesis and have it ready. There is another Puker in here as well as three more Slashers. The final Slasher is playing dead among the bodies, so eliminate the Puker first before getting close enough to make it attack.
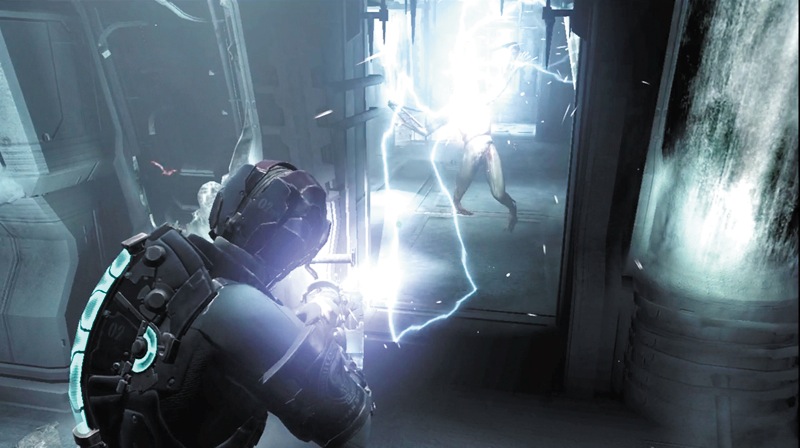
The javelin gun can be quite effective in the narrow passageways in these chambers. It can impale and move Necromorphs away from you. Electrify the javelin and you can damage several nearby Necromorphs as well. The line gun is also a great weapon for this area. Once you've killed all the enemies, pick up the items they drop. Don't forget to smash the container to the right of the doorway out of here.
Coffin Processing
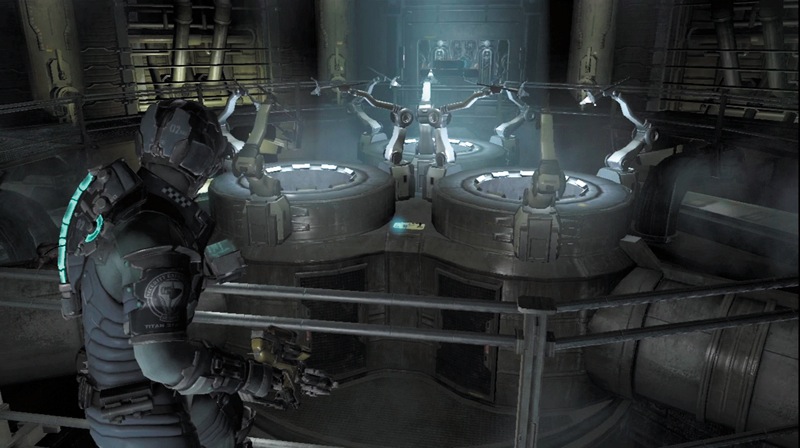
The door out of the fifth cryo chamber looks different. It leads to the coffin-delivery area. You need to reach the top; however, the only way to do that is to turn off the gravity. The gravity controls have been locked out.
While you are considering your circumstances, pick up a text log by the gravity-control console. Walk around to the room's other side by the cargo lift and look toward the middle. Use kinesis to get a semiconductor and add it to your inventory.
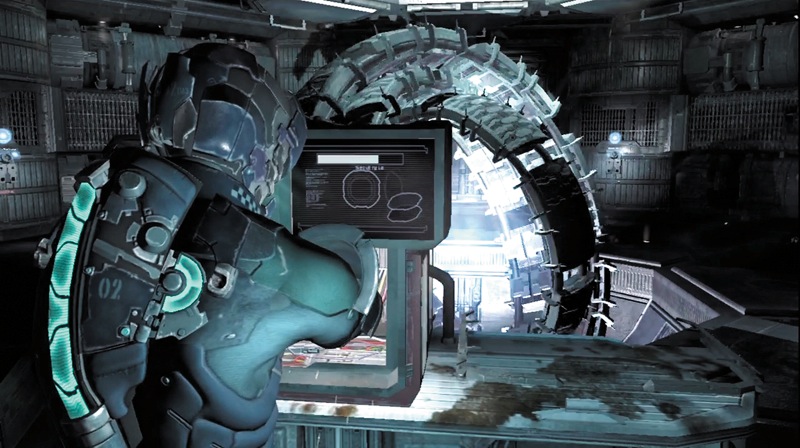
Head down the cargo lift and look around the lower area. You can find a power node and a schematic for the ripper . Now walk over to the console by the rotating machinery and hack into it.
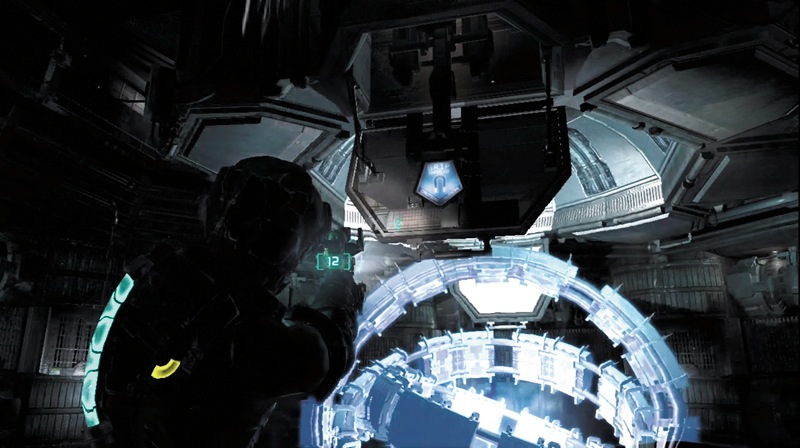
The rotating gravity rings must be locked down in order, starting with the outer, then the middle, and finally the inner. Fire stasis at the rotating rings and then quickly move around to find the GRIP icons on the arms. Use kinesis to pull each arm down so they can lock down the outer ring. As soon as you get one down, hit the rings with stasis again and then run around to pull down the second arm. Once both arms are down, the outer ring is locked.
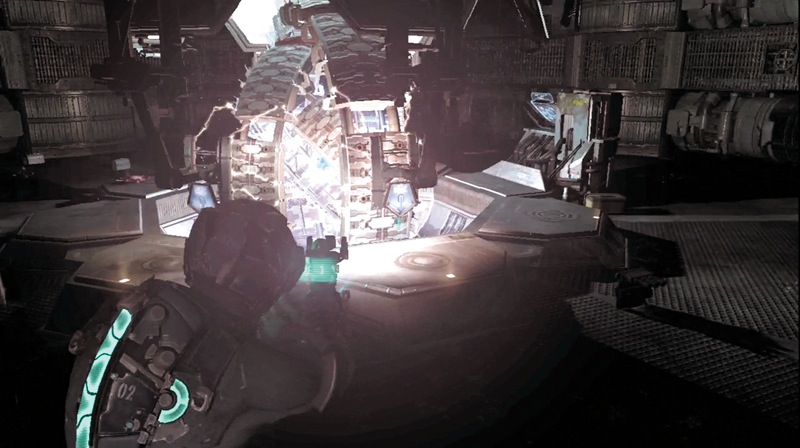
Recharge your stasis at one of the stations. Then pull down two more arms on either side of the gravity rings to lock down the middle ring. Remember to use stasis as you run from the first arm to the second to lock it down.
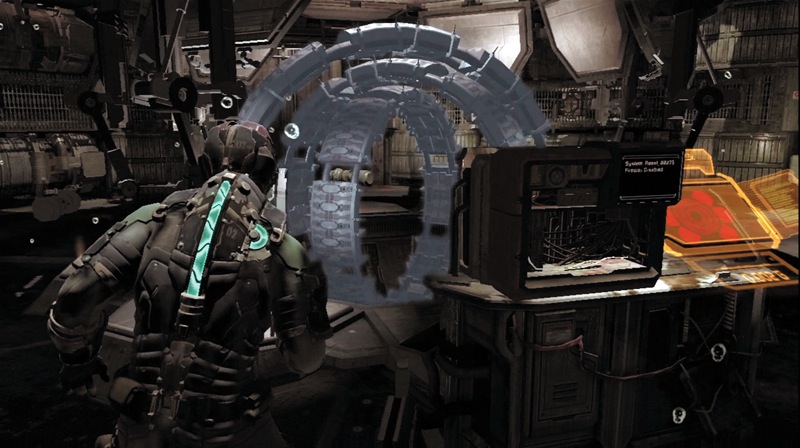
Repeat the process for the inner ring. As soon as it is locked down, the artificial gravity in the room will be deactivated. Now you can reach the top of this area. Press the Zero-G Launch button to disengage your magnetic boots and start floating.
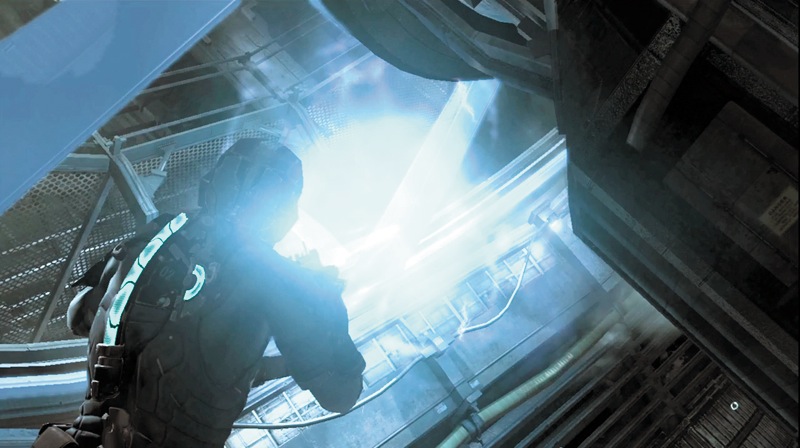
There is a giant fan with spinning blades between you and the upper levels of this area. Hit the fan with stasis. While its rotation is slowed, thrust your way past the fan.
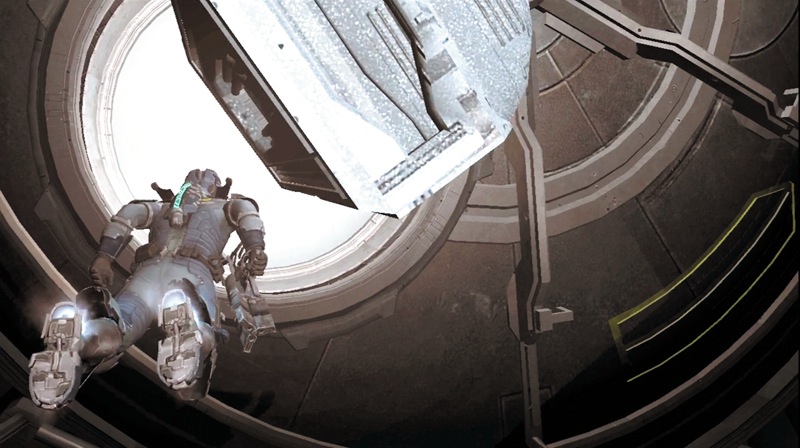
When you reach the top, a small circular hatch will open and a casket will move out. Get in right next to the hatch, and as soon as the casket is out, thrust your way through the hatch. Be careful: The hatch can close on you. Consider hitting it with stasis before flying through.
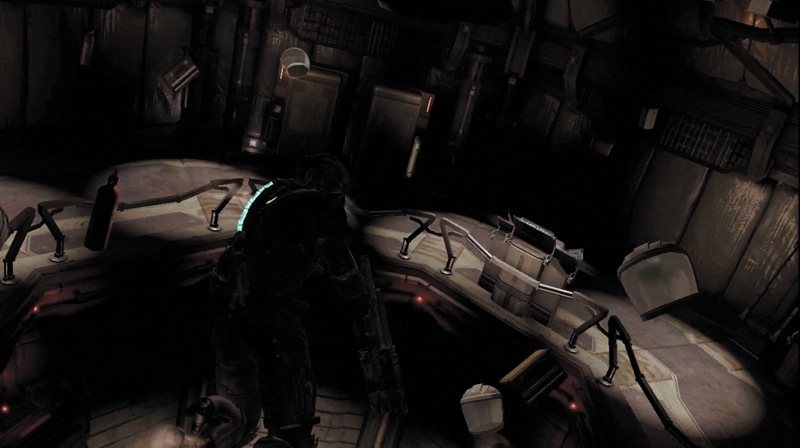
In this upper part of the coffin-processing area, look around and pick up a schematic for the medium med pack . Then jet over to a console and press the Zero-G Launch button again to activate your boot magnets. Press the Action button while standing next to the console to reactivate the artificial gravity in the area. Daina will then contact you and tell you to follow your locator.
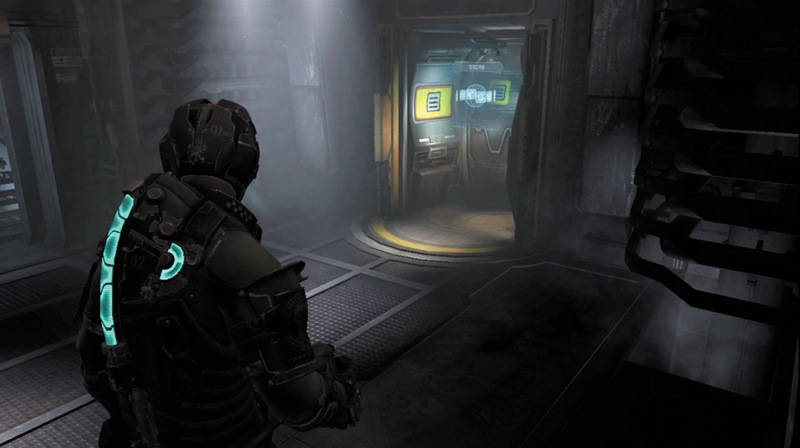
Head through the doorway into a small room where a store is located. Enter the store to upload the schematics for the ripper and the medium med pack. Also, sell the semiconducter you picked up. It is a good idea to purchase the ripper, as it is great for close-quarters combat.
You will have to move one of your current weapons to your safe, which you can access through the store as well. Leave either the pulse rifle or the javelin gun behind. Remember to move any ammo for that weapon to the safe so you have room in your inventory slots.
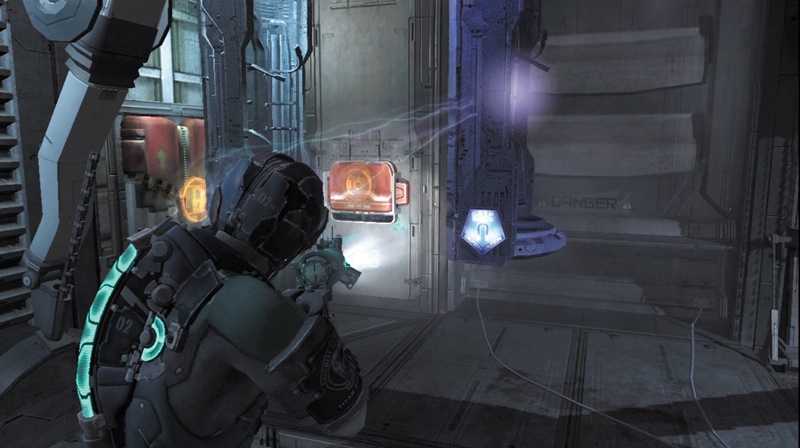
After you are finished at the store, head through the doorway into the next room. Use kinesis on the GRIP icons to move three large caskets to the right. This will allow you to access a save station and a hatch for a tunnel.
There is also a workbench in this room, so use some of your power nodes to upgrade your equipment. Record your progress at the save station and then open the hatch to climb through the tunnel to the next area.
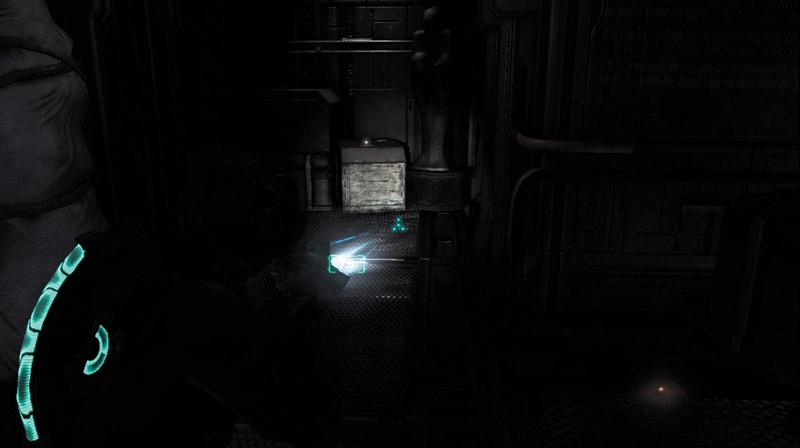
As you are crawling through the tunnel, you fall into a storage room below. Pick up several ammo clips and a large amount of credits in here. This is definitely a room worth dropping into. Once you have everything, exit through the doorway.
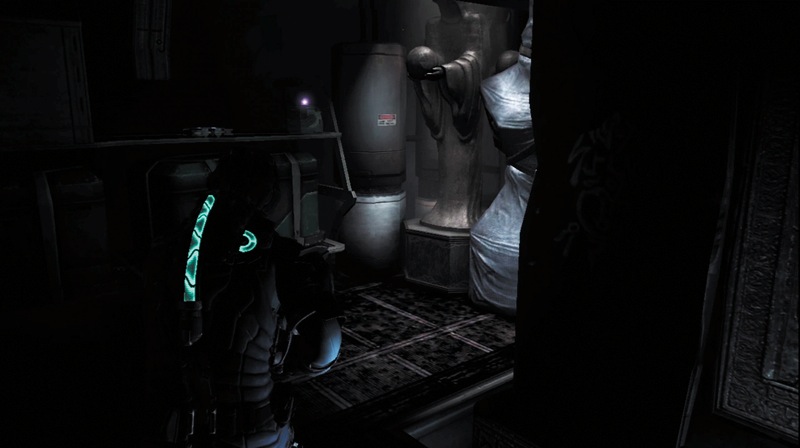
You find yourself in another storage room. Pick up some ammo, stomp on a crate, and get a schematic for line racks ; you can now purchase line gun ammo at the stores.
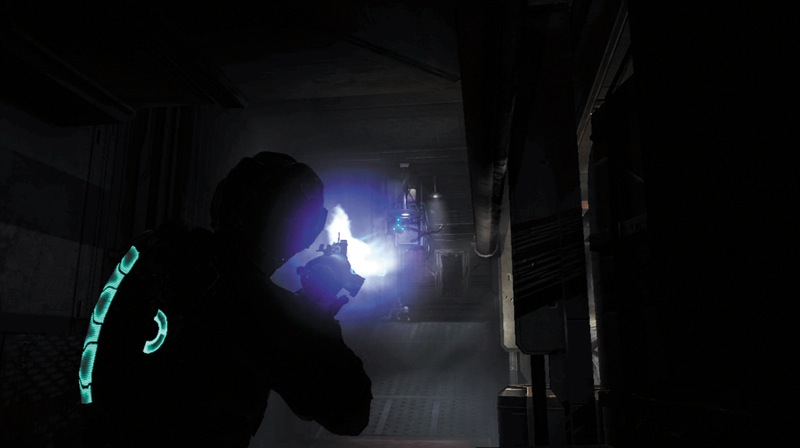
Move through the next doorway into a hall. Follow it around to the right and pick up the metal rod on the side with stasis. A couple of Lurkers will come out, climbing on the walls and ceiling. Launch the metal rod at one to kill it, and then kill the second with one of your weapons.
As you advance along the hallway, a Slasher will appear. Take it down and then continue to the end where you will find a couple crates to stomp for some items.
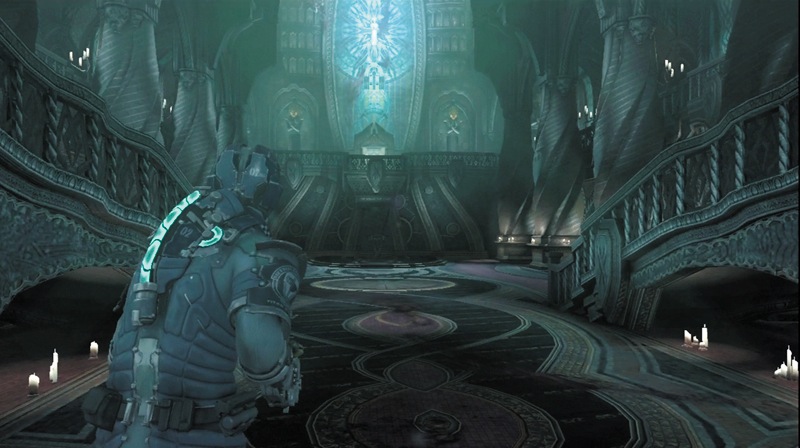
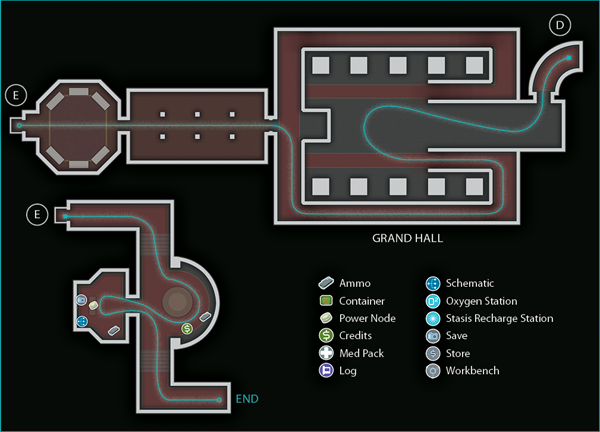
Reload all of your weapons now while you have a chance. Then follow a curved hallway out into the grand hall. It appears deserted. However, as you walk toward the middle, a giant Necromorph will drop down and attack.
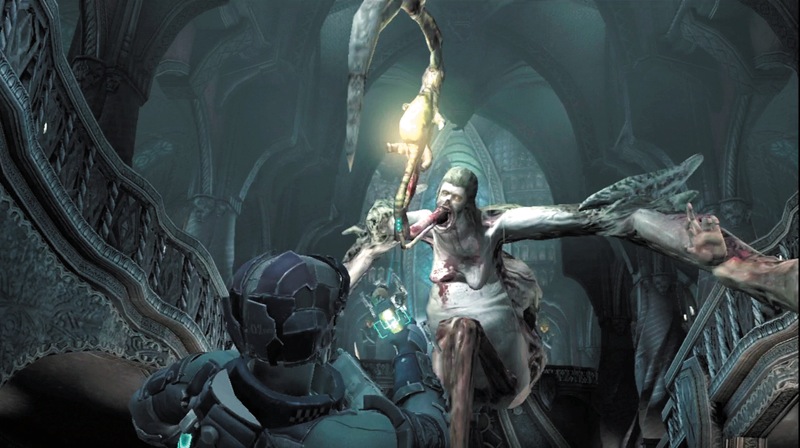
While it has you in its claws and tries to stab you with the spike coming from its mouth, you can still fight back.
Select the line gun or the plasma cutter and aim for the yellowish bulge below the spike. This is the Necromorph's weak spot. Keep hitting it until you kill the creature.
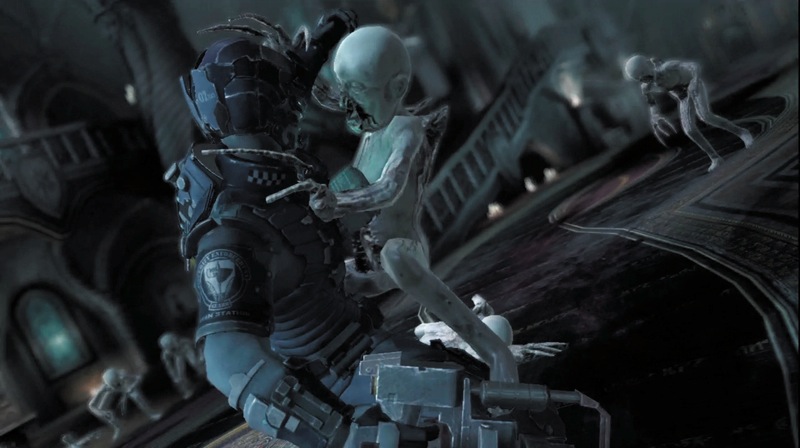
Now you will be attacked by a lot of Pack. Use the line gun to cut through several at a time or use the ripper to kill them as they get in close. Try to back into a wall so you aren't completely surrounded by these enemies.
Once the Pack are all dead, follow the locator path up a ramp to the walkway that goes around the room's outer edge. In the distance, you can see an Exploder. Pick up a a nearby metal rod and wait until it moves towards a vent. Move towards the vent and a couple Slashes will jump of the vent.
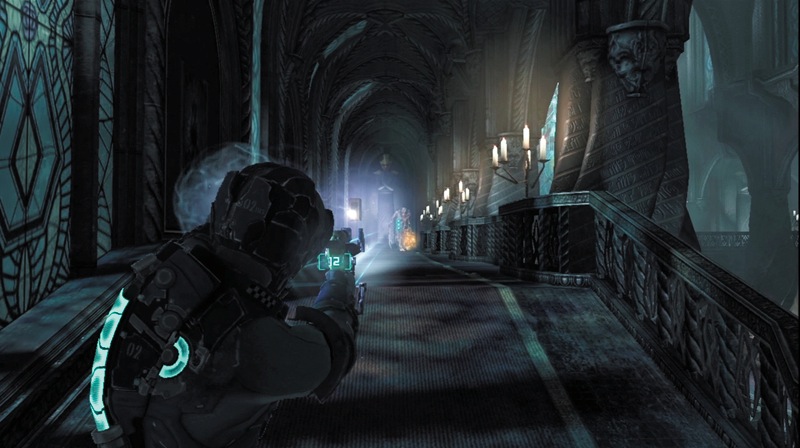
Now launch the metal rod at the Exploder's sack to kill all three enemies with one blast. Pick up the spikes from the Slasher corpses and use kinesis to launch them at a Puker that approaches from the walkway's end.
Don't worry about the long-range projectiles it launches; they will slow you down but won't cause any damage. You still have time to take out the Puker before it gets close enough to vomit acid on you.
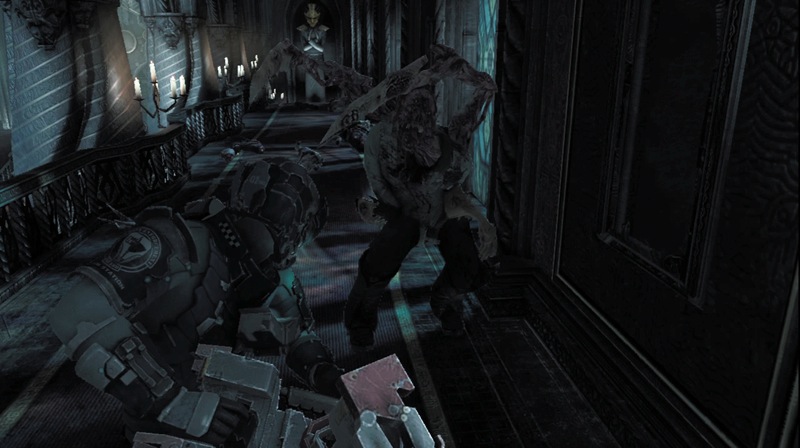
As you near the walkway's end, have your ripper ready and reloaded. A Slasher will jump out and attack. You don't have much room to maneuver, so saw this Necromorph in half before it really hurts you. Once it is down, make sure all of your weapons are fully loaded and then continue to the door at the hall's end.
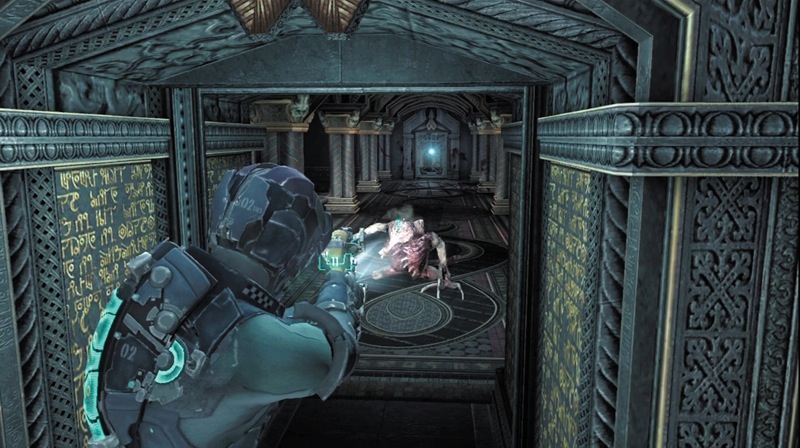
As you open the door, a Stalker inside the room starts crawling quickly toward you. Hit it with stasis to slow it down and then shoot off its arms to kill it. Once it is in stasis, use kinesis to grab a metal rod on the room's left side. Launch it at the Stalker to cause some initial damage before you finish it off with a weapon.
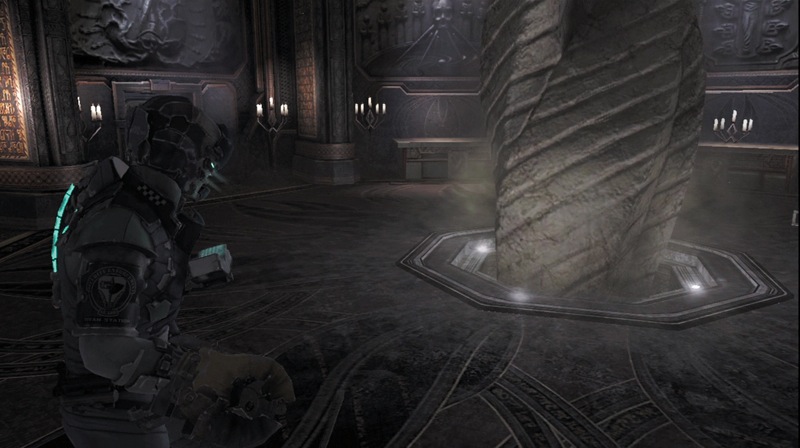
Once the Stalker is dead, continue into the next room. There is a statue of a Marker inside. Isaac has another hallucination in here. Continue through the elevator and take it to the top of the church.
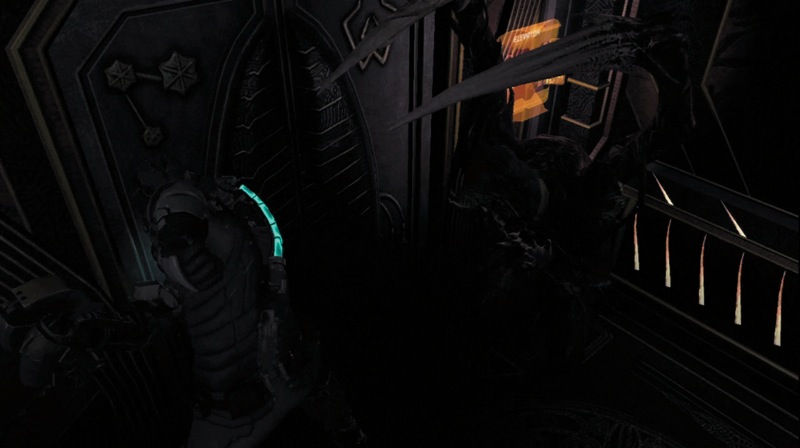
As you are riding the elevator, have your ripper ready and try to stay in the corner. A Slasher will drop down from the ceiling and attack without warning. Cut it up and then exit the elevator when you reach your destination.
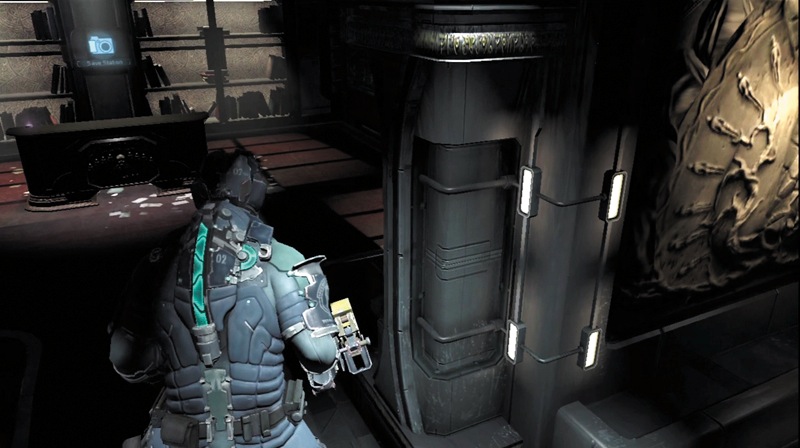
Follow a hallway around to the right. Pick up some ammo and credits by the large windows. Then head into the office to get more ammo, a power node, and a schematic for a new weapon—the detonator. Record your progress at the save station behind the desk. Finally, continue down the next hallway to the doors at the end, and go through them.
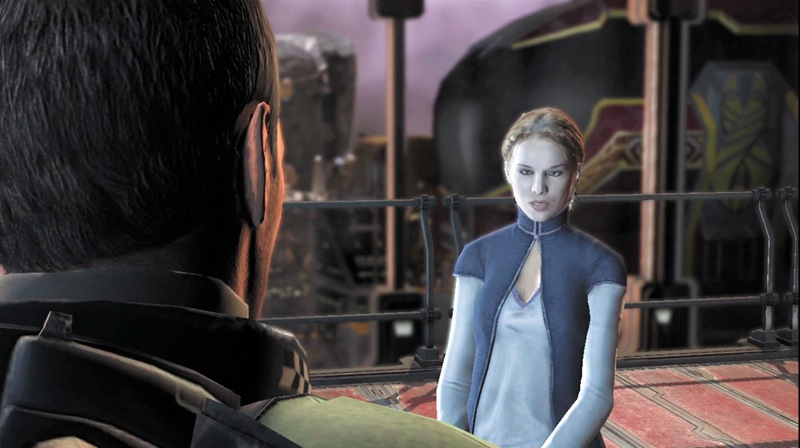
As you step through the doorway, two men grab you. Daina is there waiting for you. She turns out to be a Unitologist. Daina plans to put you in stasis on her shuttle and take you away to build more Markers for them—they've discovered it was you who built the one here at the Sprawl for EarthGov.
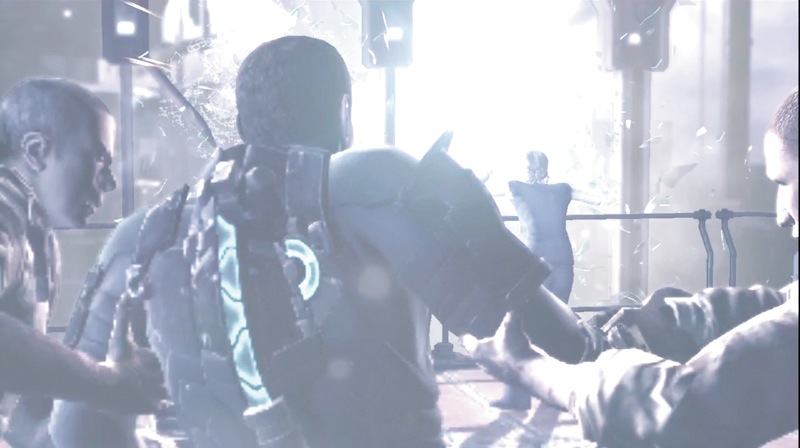
Just as they are about to lead you away, an EarthGov gunship appears and blasts through the window, killing Daina and giving you a chance to escape from your captors. The damage has also decompressed the room.
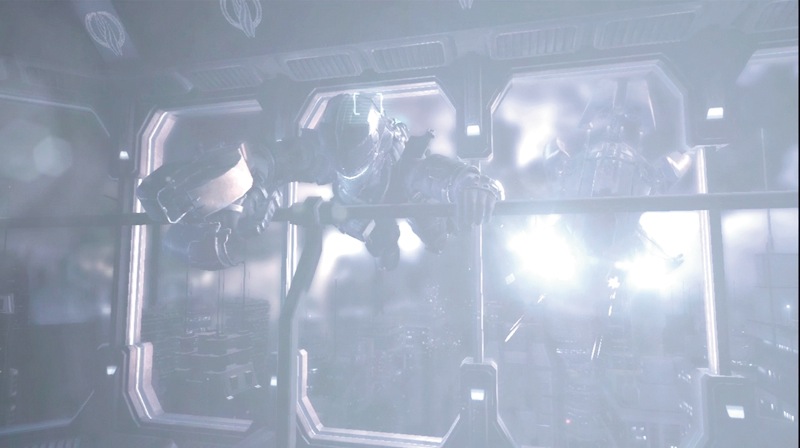
As you are about to be sucked out into space, rapidly press the Action button to hold on to a railing and pull yourself away from the breach. You open a hatch in the floor and drop into it to get away from the gunship.
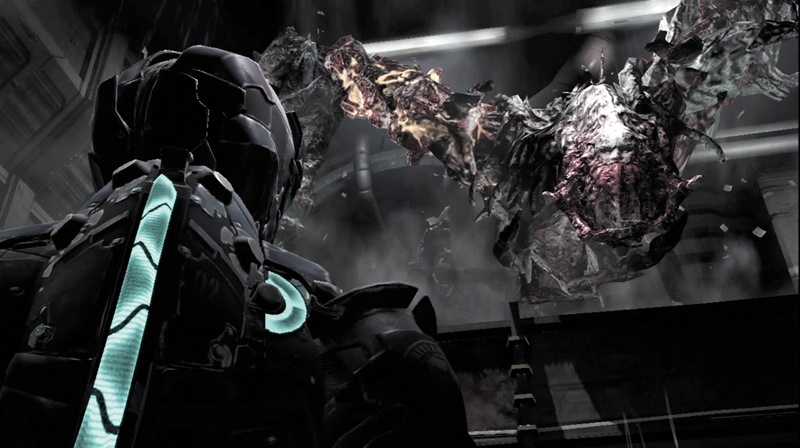
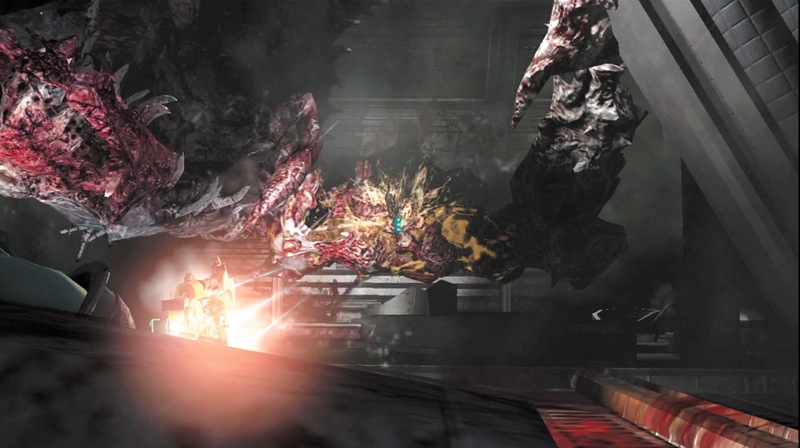
After falling through an access tunnel, you land in a room. You are not alone. A Tormentor is here, ready to attack. Select your plasma cutter and start shooting at the yellowish diseased flesh on the Tormentor's arms as it grabs you. Keep firing away at the same spot until you shoot off the arm and the Tormentor releases you.
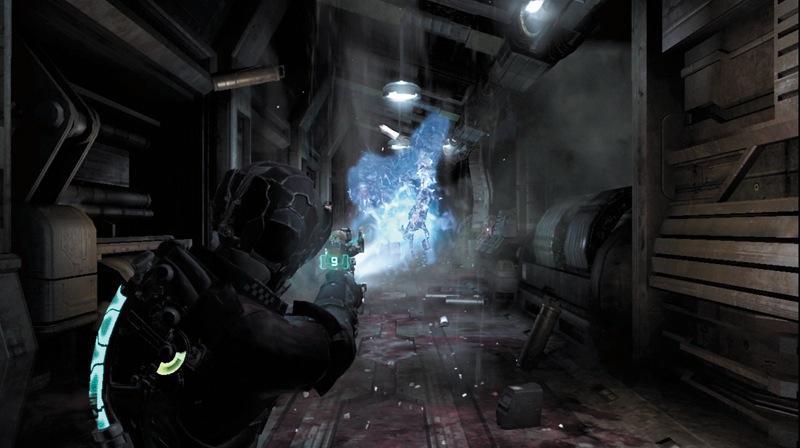
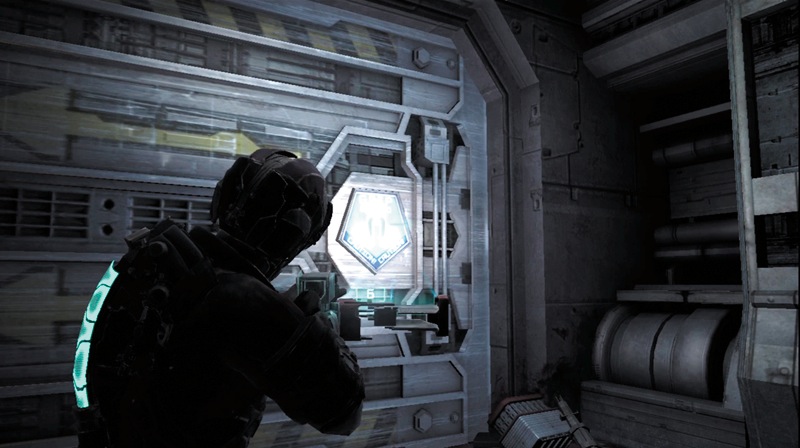
You can't kill the Tormentor, so run away. As it comes after you, hit it with stasis; then turn around and use kinesis on the GRIP icon to open the door at the tunnel's far end. Keep running out into the next room to get away.
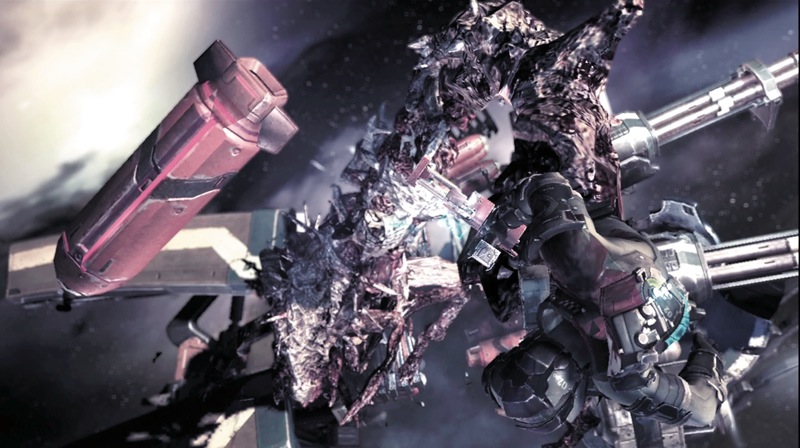
The gunship appears at the window and begins firing. Once again, you are in a decompressed area. Both you and the Tormentor are sucked out into space. You grab on to the gunship's hull. However, the Tormentor grabs on too, and resumes attacking you. Don't waste ammo on it. Instead, shoot one of the red cylinders floating near you to destroy the Tormentor.
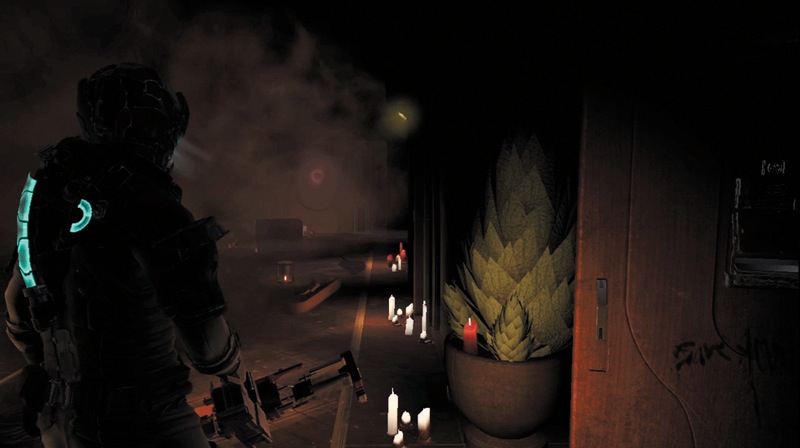
The resulting explosion kills the Tormentor and sends you flying away from the gunship and into an apartment structure. You are still on the Sprawl, but at least you are alive.