
Dead Space 2 Guide Walkthrough Clarke's Log: Walkthrough
Chapter 2
I Need Transportation
Let's Go Shopping
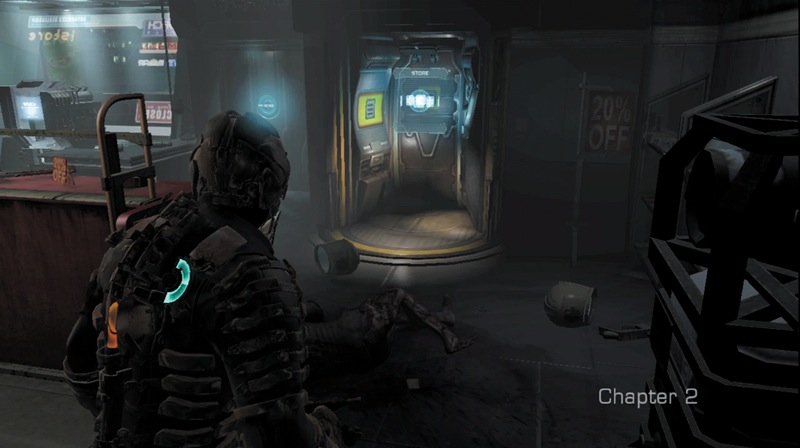
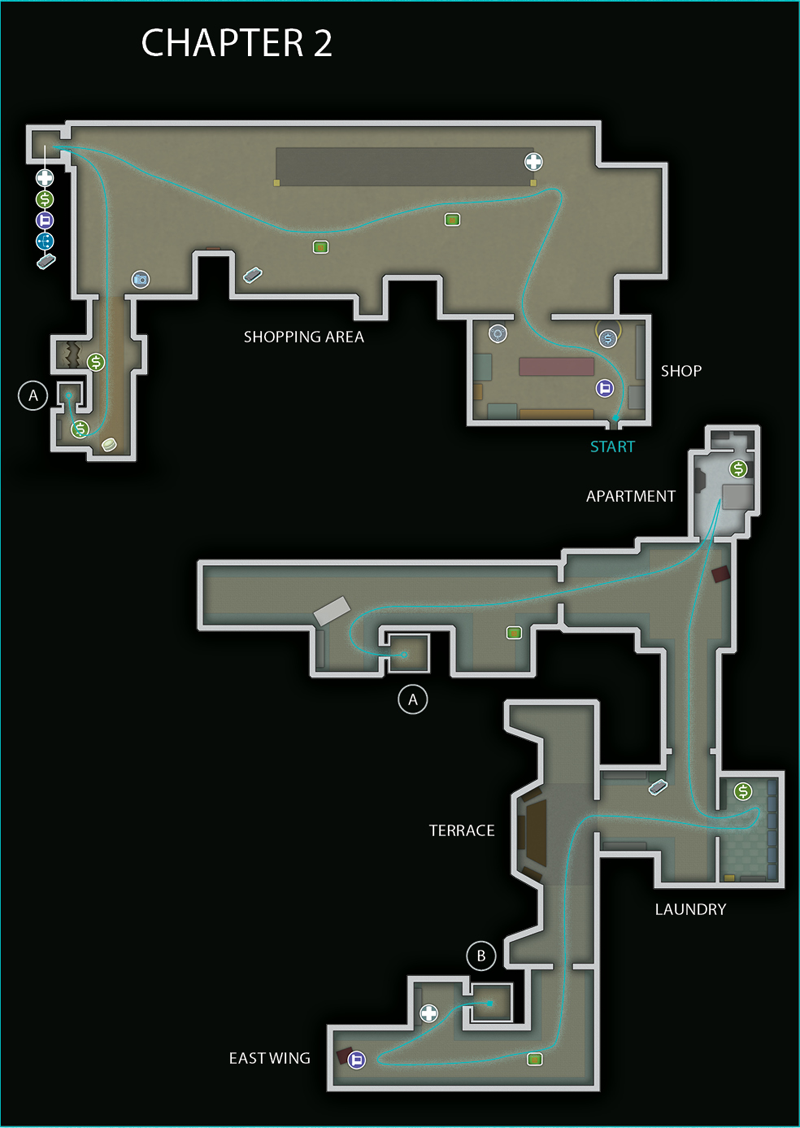
You find yourself in a shop. Walk up to the corpse to find an audio log. It has some info you already know. This shop also has a store and a workbench. Go up to the store and see what is available for purchase.
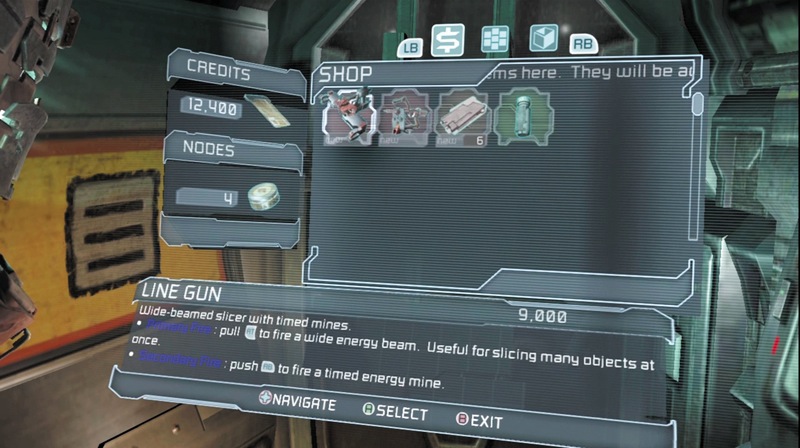
The store has some new items available. In addition to plasma energy for your plasma cutter and small med packs, you can also purchase two new weapons—the line cutter and the javelin gun. You don't have enough money for both, so you will have to pick one. You definitely want to add a weapon to your arsenal.
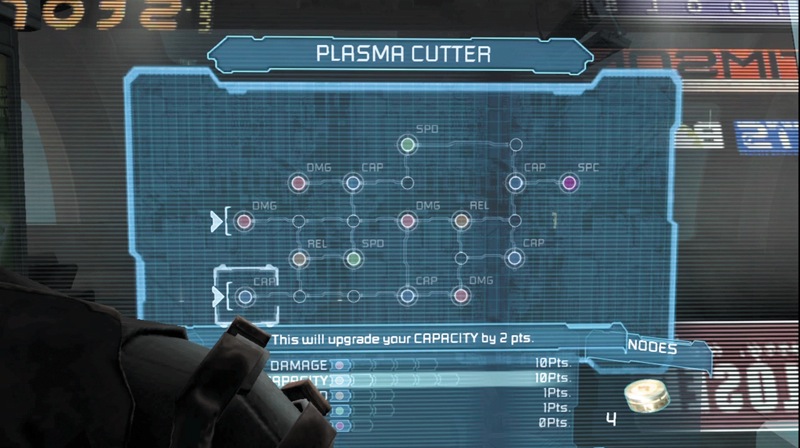
After making your purchase, go over to the workbench to upgrade your equipment. Press the Action button while near it to open the workbench menu. Here you can select from your weapons and equipment. You should have four power nodes. Select the plasma cutter from the list; this opens a schematic indicating where you can place nodes.
For the plasma cutter, there are two initial locations. It is a good idea to place a power node in each of these spots. One will increase the damage each shot of your plasma cutter inflicts. The other will increase the number of shots your cutter can fire before it must be reloaded.
You can also upgrade your RIG, your stasis module, and your new weapon. A good choice for your third power node is the RIG, since you will have it throughout the game. Place on the initial slot for hit points. This will increase the damage you can take. Even though you still have a power node left, don't use it now. You will need it shortly to get into a locked supply room.
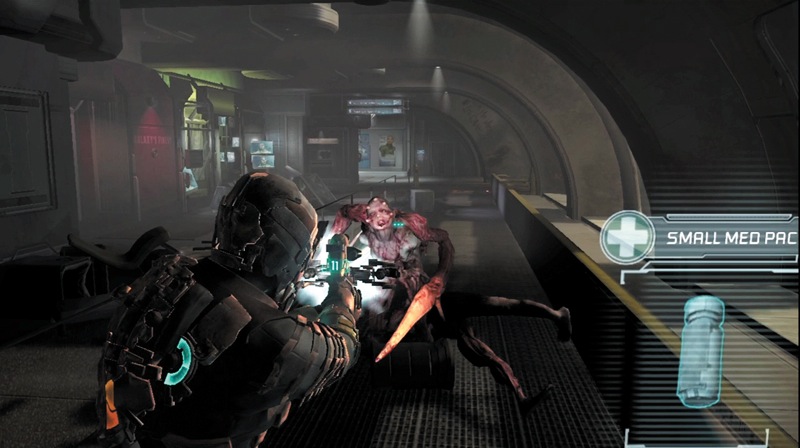
It is now time to leave the shop. Advance toward the moving sidewalk. There is a small med pack there. However, as you approach, the sidewalk will start moving and a Slasher will come running toward you. Try to shoot out its legs as you back away.
Then take off its arms to finish it off. Walk through the area to the left of the moving sidewalk to find a couple crates. Stomp on them to get what is inside.
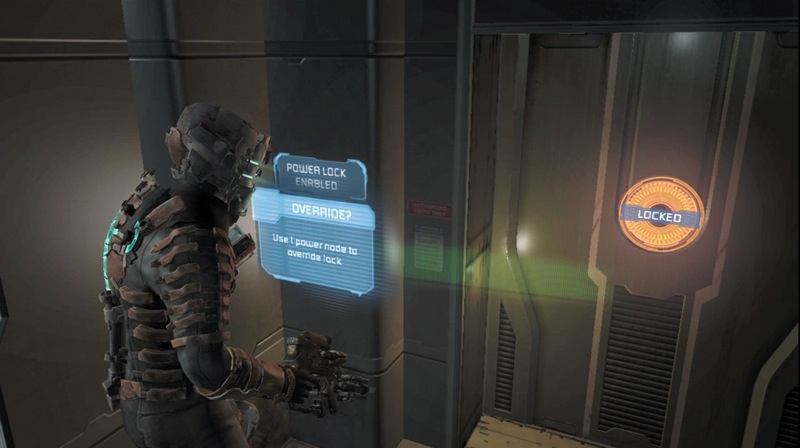
After picking up some items in the area, including a stasis pack that allows you to quickly recharge your stasis module, head to the area's far end and use a power node to open the power lock on a door. Inside you will find ammo, a semiconductor, a small med pack, a text log, and a schematic for power nodes.
Not a bad haul for the cost of a power node. Exit the room and head back to the store to cash in your semiconductor and get some credits so you can spend them right away.
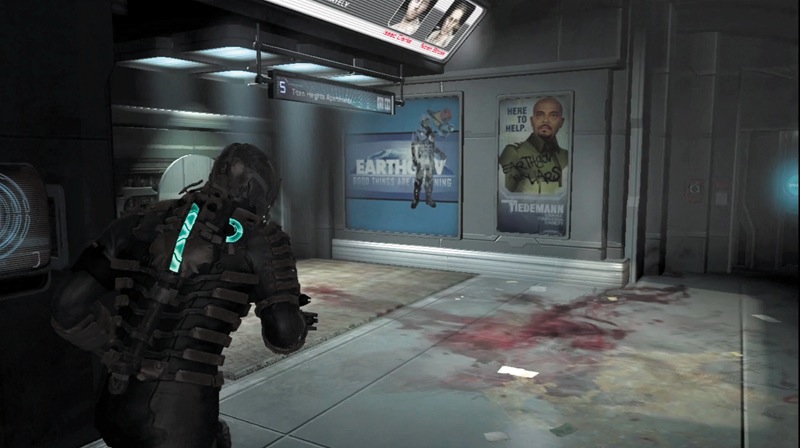
Once you have spent your credits, exit the shop and return to the opposite end of the shopping area. Save your progress at the save station. Now head through the doorway leading to the Titan Heights Apartments.
Apartments of Terror
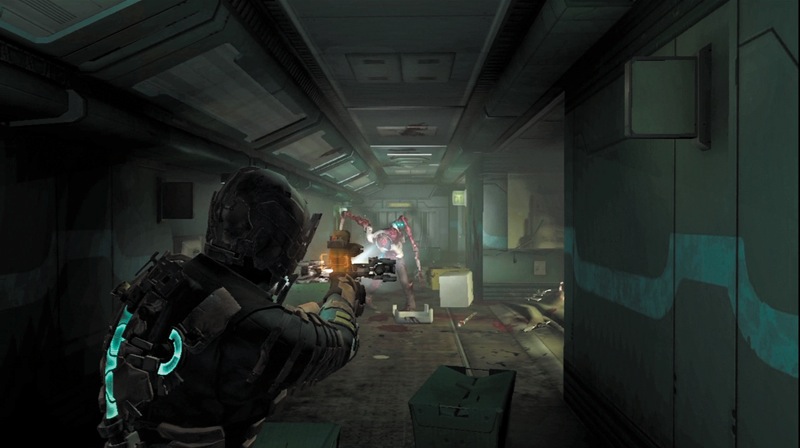
As you enter the corridor, you see a civilian being attacked by a Slasher. There is nothing you can do for the civilian. However, you need to kill that Necromorph. As it comes at you, shoot off a leg and then take off its arms. There is a metal rod about halfway down the corridor.
You can use kinesis to pick it up and hold on to it for a bit; there is another Slasher that will come at you. Wait near the middle of the corridor until it comes at you, then launch the rod at the Slasher and save yourself some ammo.
You can also try picking up a spike from the first dead Slasher and launching it at the second Slasher. Pick up some credits on the floor, and then head to the elevator and take it to another level.
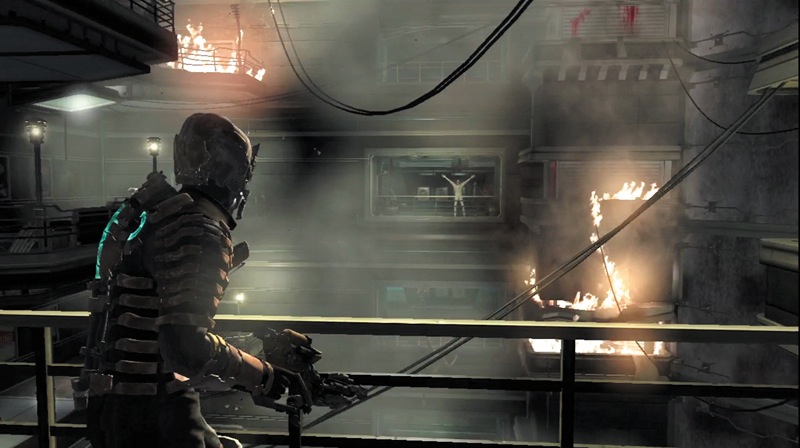
While riding the elevator, it will stop briefly as a civilian tries to get on. However, a Necromorph has him and pulls him away. Ride the elevator to your destination and then get out.
To your left, you can see Stross on the other side of the large apartment complex. He is trying to tell you something. However, your conversation is interrupted.
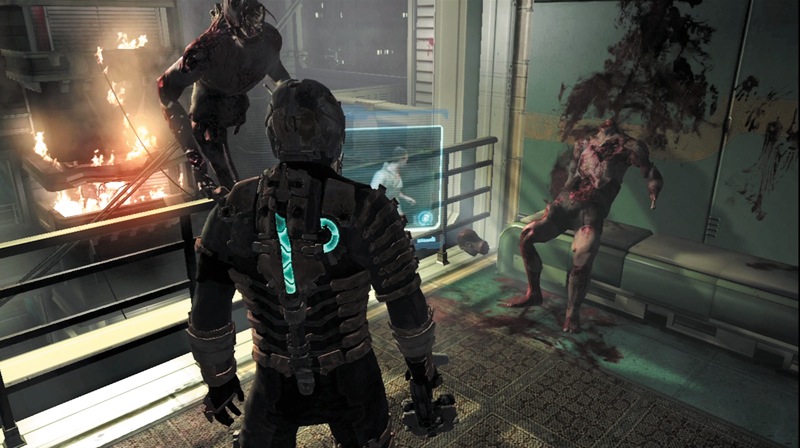
When Stross tells you to look out, back away from the railing and get ready. A Leaper is crawling up the side and ready to pounce on you. Hit it with stasis, since this Necromorph is fast; then shoot off its arms. You can also try using the javelin gun. Hit it with a javelin and then electrify it to finish off the Leaper.
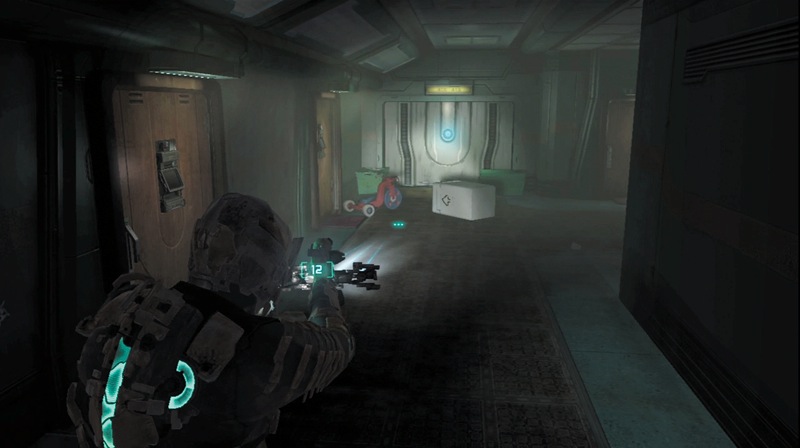
Once the Leaper is dead, head down the hallway to the opposite end. There is a crate along the way off to the right. Stomp it and then go through the doorway at the end.
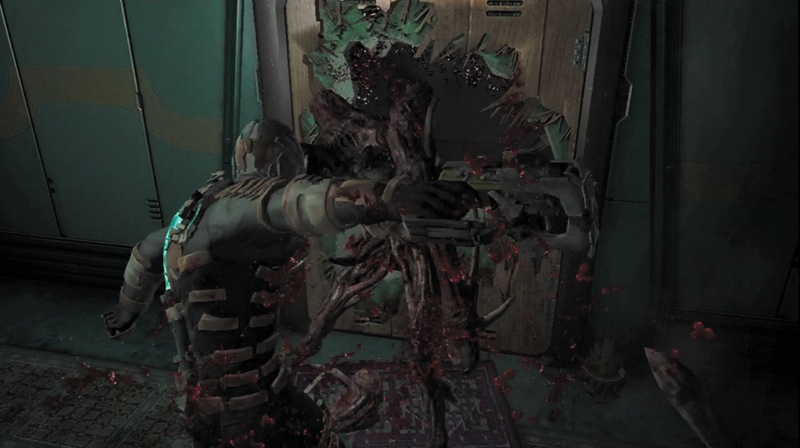
As you enter the next hallway, you see some civilians running away. However, you have trouble of your own. A Slasher jumps out at you from a closed door on your left. You don't have time to shoot it this close, so use a melee attack to hit it. Then back away and use one of your weapons to take it down.
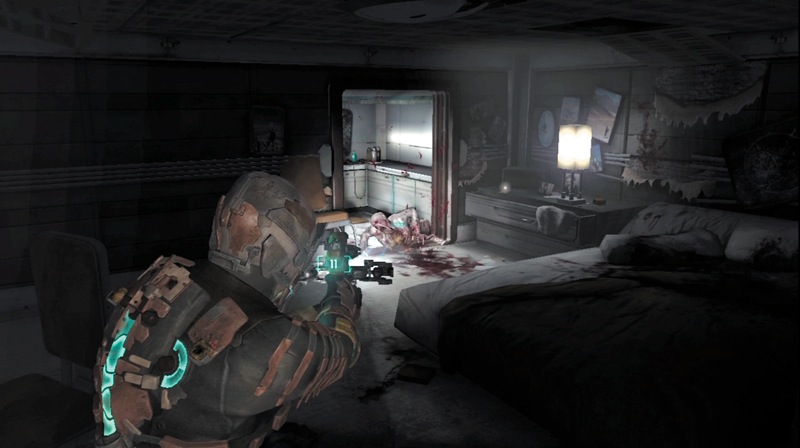
Move into the apartment to the left where the door is open. As you enter, a Puker comes out of the bathroom. It is still forming, so it drags itself on the ground. Quickly take it out before it can shoot acid at you. Remember to stay back so you don't get doused in acid when it dies. Pick up some credits on the furniture by the bathroom door as well as anything dropped by the Necromorph.
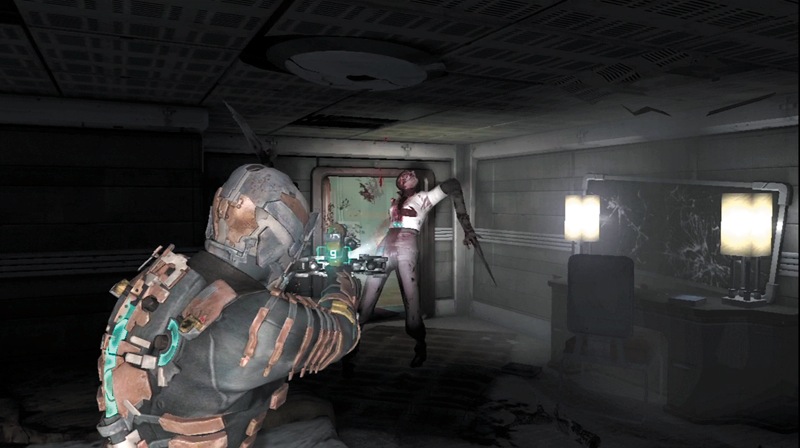
After collecting the goods, be ready for a Slasher to come rushing in through the door to the apartment. Take it out using your choice of weapons and tactics. This one is fast, so be ready to drop it before it gets close to you.
Once you have killed it, exit the apartment and head down the hallway. Go through the door into the laundry room.
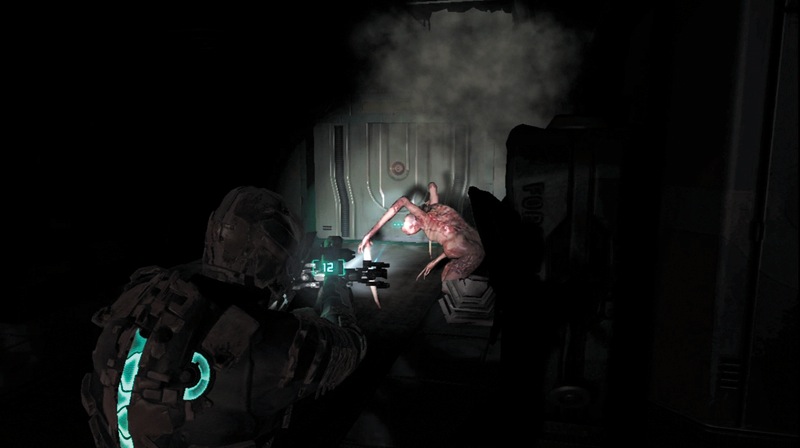
The laundry room looks normal. Pick up the ammo by the door. However, be ready. As the lights go out, the Necromorphs will attack. A Slasher drops from the ceiling to your right. Quickly take it out.
Then get ready for a Puker to drop down. Hit it with stasis before it can shoot at you; then neutralize it.
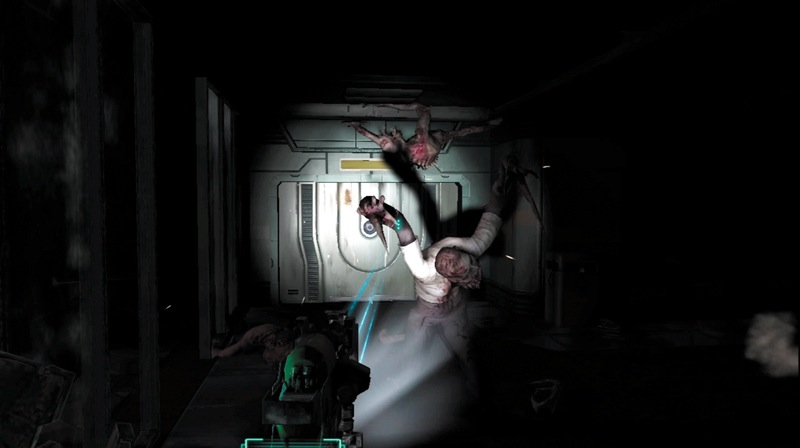
Next you have to face another Slasher and a Leaper at the same time. This is a good chance to use your javelin gun. Shoot the Slasher and then electrify the javelin by pressing the Alt-Fire button. This will kill the Slasher and damage the Leaper, which is usually nearby.
Finish it off and then get ready for two more Slashers to come at you. Once all six Necromorphs are dead, you can take a breather and collect what they have dropped.
In the laundry room, back into the area to the left by the washing machines. Since the Necromorphs are dropping down in the other room, this gives you some time and space for fighting.
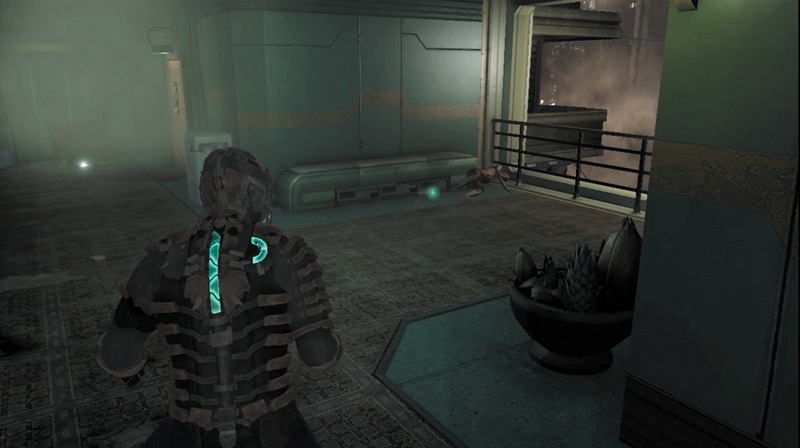
Exit the laundry room and head out onto the terrace. Continue through the doorway into the east wing. This is another safe spot. Stomp on the container to find an item, then move down the hall to pick up a small med pack and a text log. Once you have everything, move to the elevator and summon it.
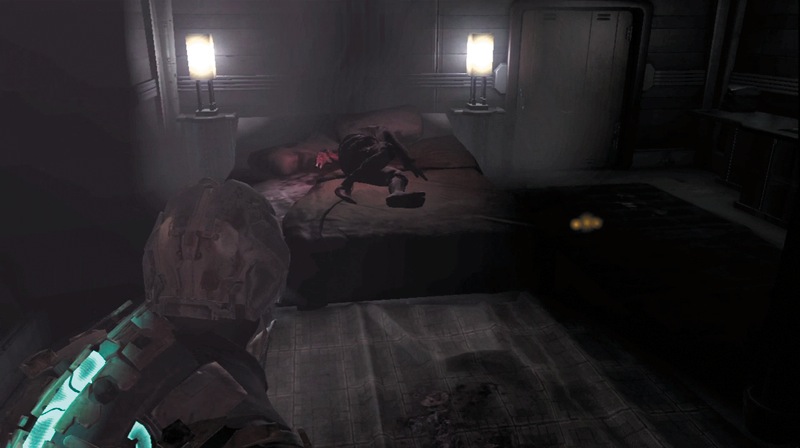
After riding the elevator to another level, exit and visit the save station to record your progress. Now head down the hallway. Stop in the apartment with the open door. Pick up some ammo here. Exit and look for credits in the alcove off to the right.
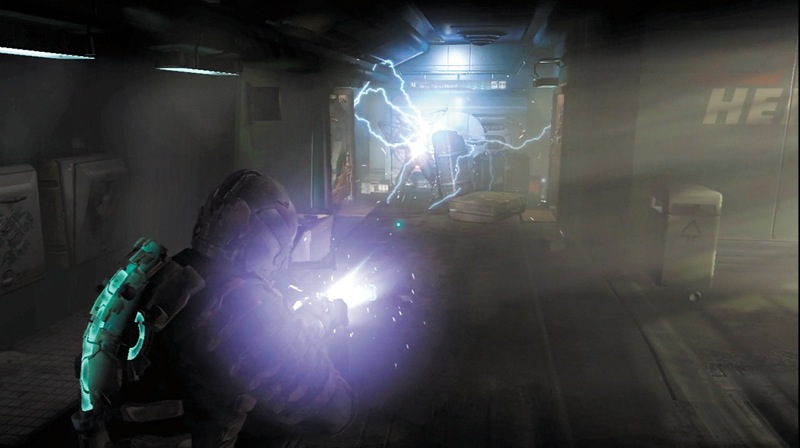
As you approach the door, watch for a Slasher that jumps out from the apartment just to the door's left. Back down the hallway to give you some space as you use your weapons to take it down. Finally, stomp on the container by the door before exiting to the concourse.
Explosions on the Concourse
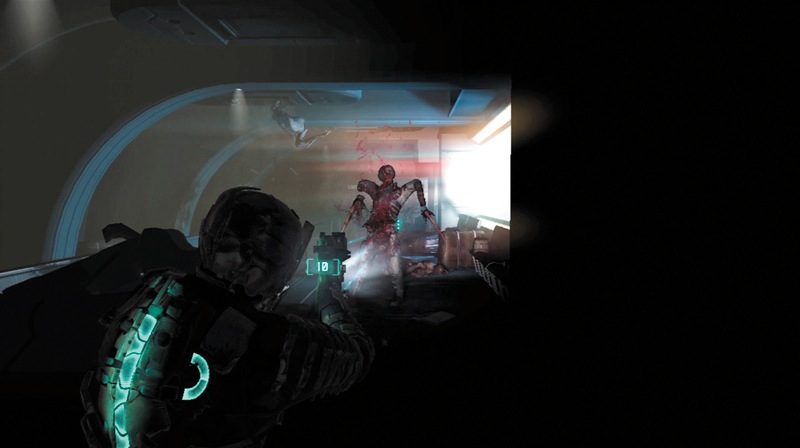
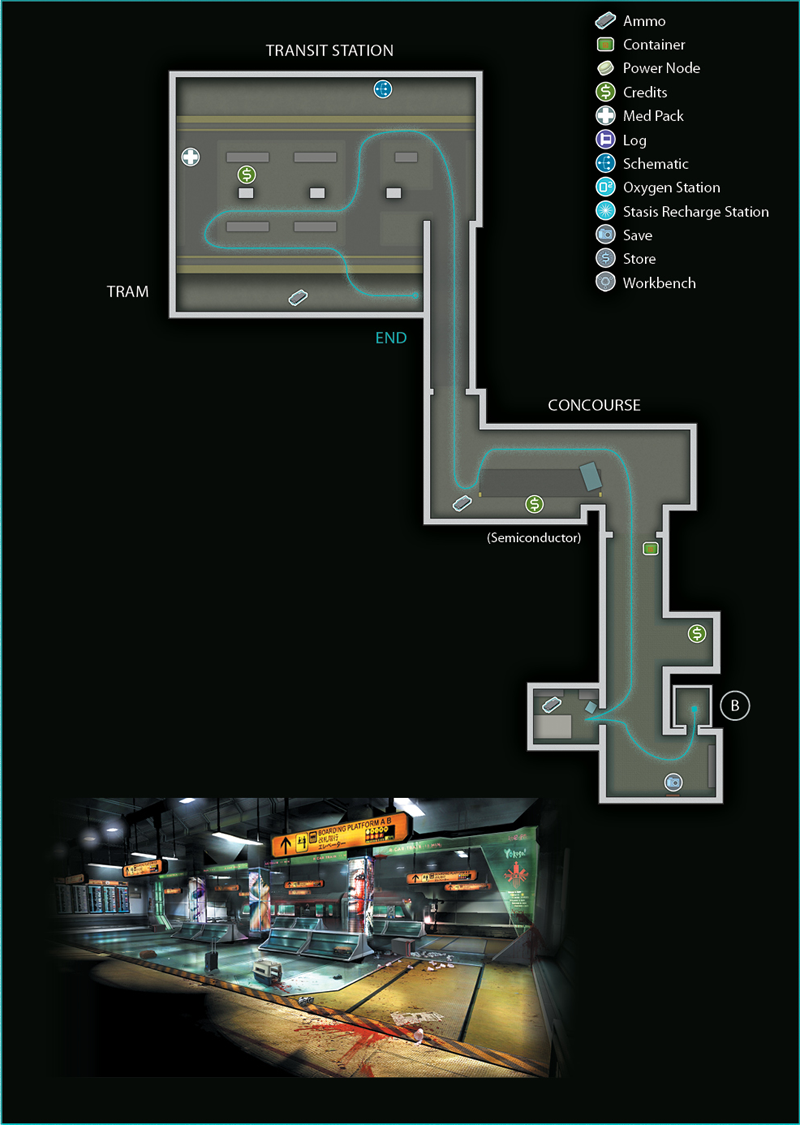
The concourse is fairly dark. As you begin to move through it, one of the corpses will rise up. It is a Slasher. Kill it and then be ready to deal with a Leaper that is also in this area.
Once they are both down, continue to the concourse's opposite end and pick up some ammo. The doorway out of here is malfunctioning right now; this usually means you have not killed everything in this area.
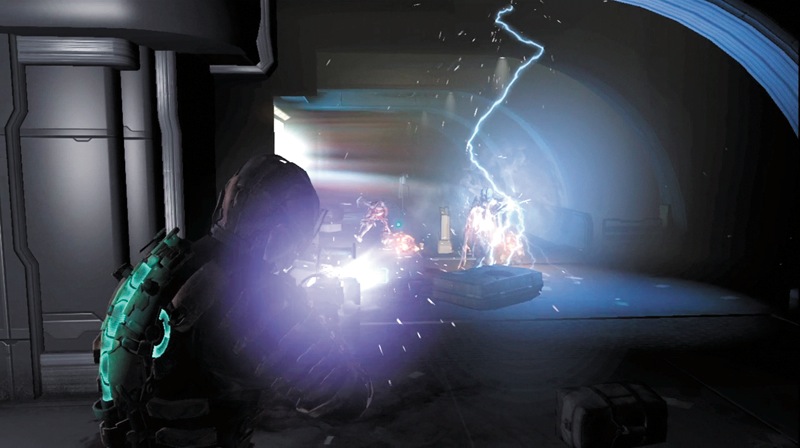
From the side of the concourse where you entered, an Exploder will start heading your way. Shoot its glowing sack to make it detonate and kill it. Two more will come from the same direction. Shoot the one in the lead with a javelin and then electrify it. This will cause the sack to blow up, killing both Exploders.
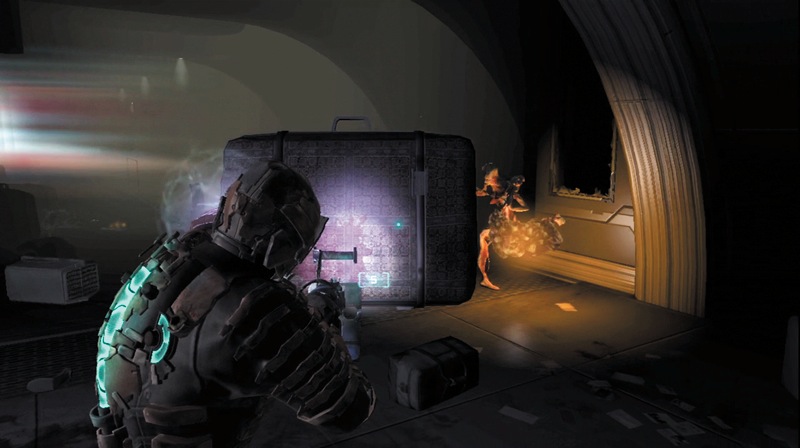
One more will come out of a wall near your location. Use kinesis to pick up a piece of luggage and launch it at the Exploder. If it hits the sack, good-bye Exploder. Grab any goodies these Necromorphs leave behind, and then head through the doorway leading to the transit station.
Walk down the passageway leading from the concourse to the transit station. Once you reach the transit station, you will have completed on objective and will get a new one to work on.
As you look at the tram car, you will see an Infector working on a corpse. When the Infector is done, a Slasher will come running toward you. Kill it as quickly as you can; then go after the Infector as it exits the tram and begins infecting another corpse.
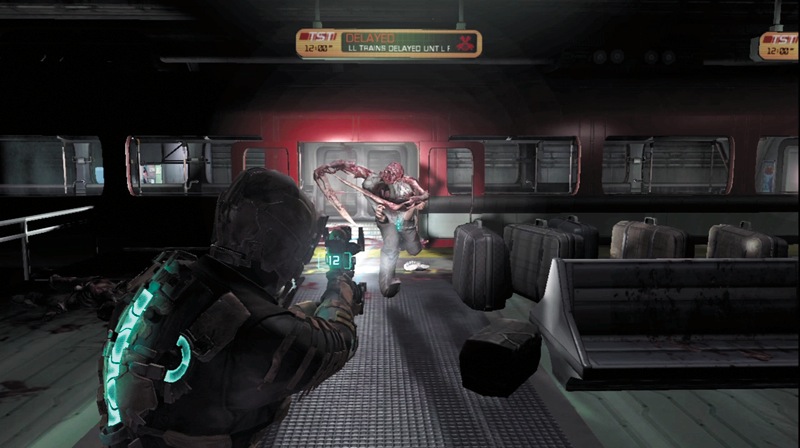
Use stasis on it to slow it down. You can also use the javelin gun or even use kinesis to pick up a spike from the Slasher and launch it at the Infector.
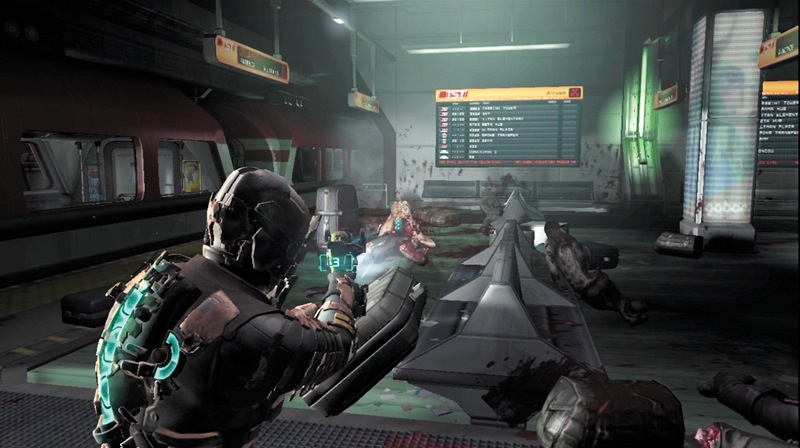
Chances are the Necromorph will infect at least one or two more corpses before you can kill it, so be ready to deal with more Slashers.
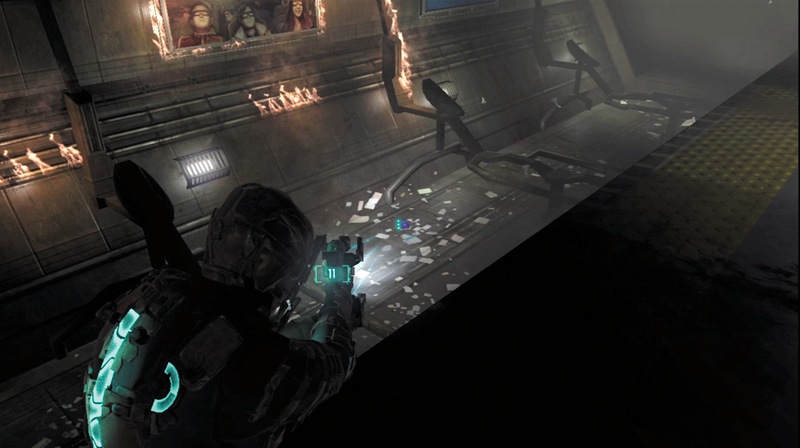
Once the station is clear, go around collecting credits, a med pack, and whatever the Necromorphs dropped. Before you get into the tram, check out the track on the opposite side from the tram. There you will see a purple light. Use kinesis to pull up a schematic for stasis packs. This is one schematic you definitely want, since it will allow you to purchase stasis packs at the store.
A Tram Ride
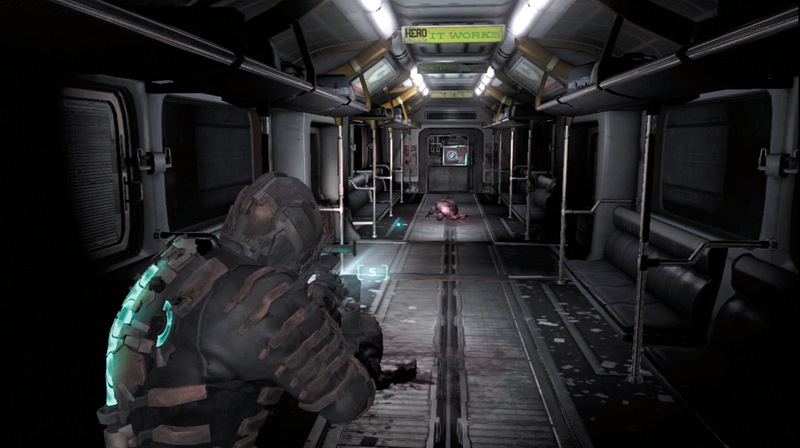
It is time to get on the tram. Walk onto the car where the Infector was and pick up some ammo. Then head to the left and open a door to move to the next car. At the end of this car is a panel. Walk to the panel. While standing next to the panel, press the Action button to open it. Then hack the circuitry to get the tram up and running.
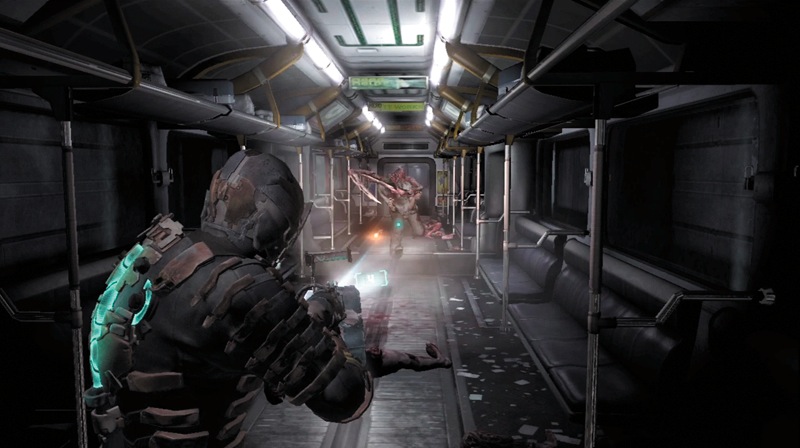
As the tram begins moving, turn around and get ready to kill a Slasher that boards the tram. It moves fast, so kill it quickly—or at least slow it with stasis or by shooting off its legs. Quickly move to the car's other end, since another Slasher and a Puker will drop in near the control panel you just hacked.
Hit the Puker with stasis and the take care of both Necromorphs before continuing on. You can also drop a timed mine from the line gun's alt-fire mode near the door of the tram as you move to the opposite end and the explosion will take out these two enemies.
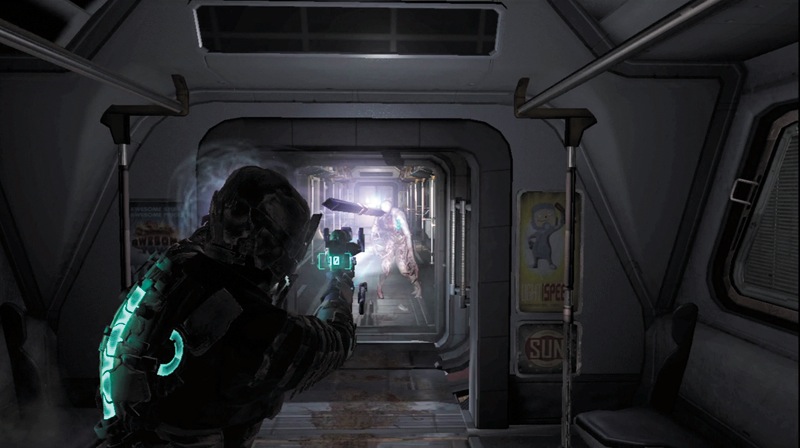
Pick up a spike from one of the Slashers, or a spent javelin if you shot those at the Necromorphs, and open the door to the next car. Another Puker is waiting to attack. Launch the projectile and then back away to finish off the Puker.
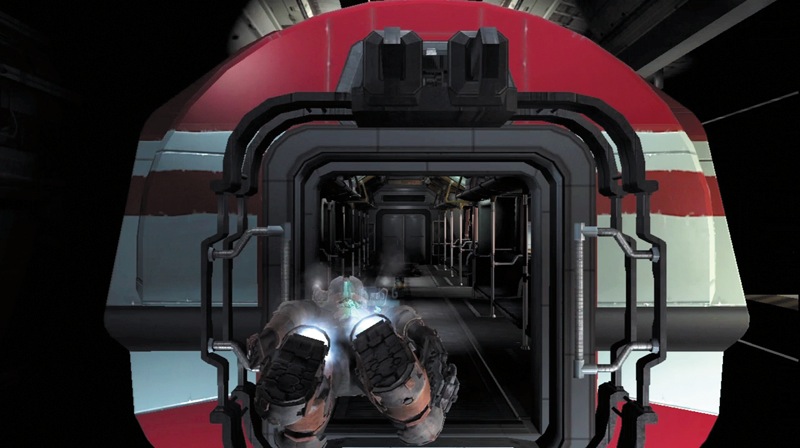
Advance through the next car. When you reach the end, there is a long gap between your car and the next one. You will automatically launch yourself toward the next car and go flying through the air to reach it. You are still in control during this jump.
The doors on the tram car ahead of you will hurt you if they hit you when they break off. Dodge to the right when you see the door on the left start to break off, and then dodge to the left when you see the door on the right start to come off. As you reach the car, press the Action button repeatedly to pull yourself inside.
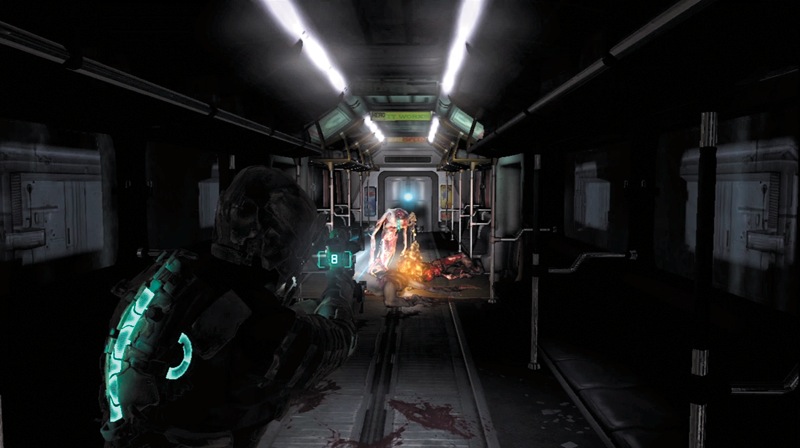
Once you are inside, an Exploder and a Slasher will come at you. Shoot the sack to take them both out. Then move forward since another Slasher will enter the car at the end where you were standing. Kill it using the blades from the Slasher if you can to conserve ammo.
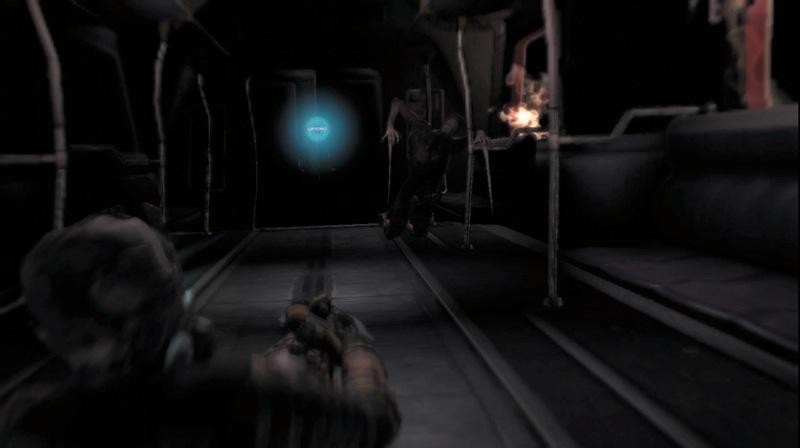
Head to the next car on the tram. As you do, the tram will begin to rapidly decelerate and you will slide through a few cars, right past Necromorphs. Don't worry about shooting them. You will slide past and end up hanging upside down from the tram wreckage.
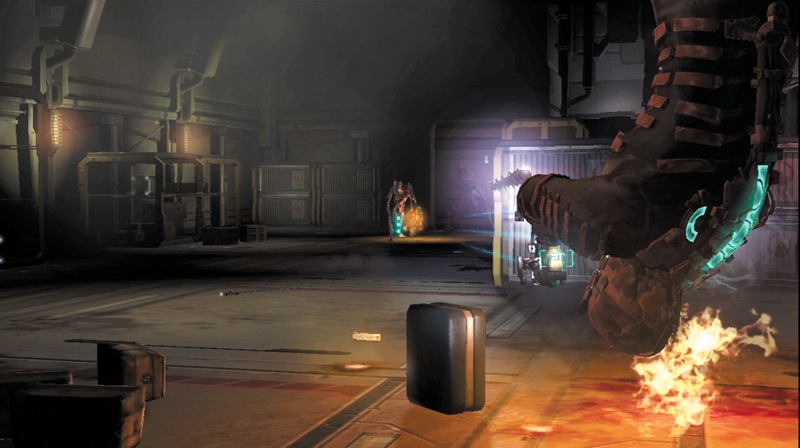
Since you are stuck upside down, you can't move. However, several Necromorphs are headed your way. You have a few precious seconds here so make sure to heal if you are not at full health and have a med pack. Reload all of your weapons.
Pick up any objects that dropped with you and then use kinesis to pick up some spikes on the floor and launch them at the Necromorphs. There are several Slashers and an Exploder. Take out the Exploder from a distance, and then get ready for the Slashers to come at you.
Use the line gun to take out their legs quickly so you can slow them down and then finish them off. Be sure to use stasis if you start to get surrounded by enemies and be sure to hit the Exploder with stasis if it starts to get too close since you can't run away from it.
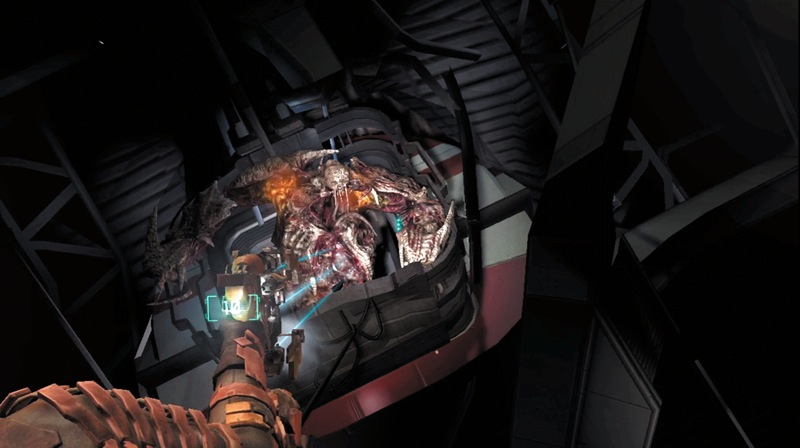
After you have cleared out the Necromorphs on the ground, a large Brute will come out of the tram wreckage above you. Aim at the yellow infected areas near its shoulders. Use stasis to slow down its attacks. Once you have shot off one of its arms, it will pull back into the tram and you will fall to the ground.
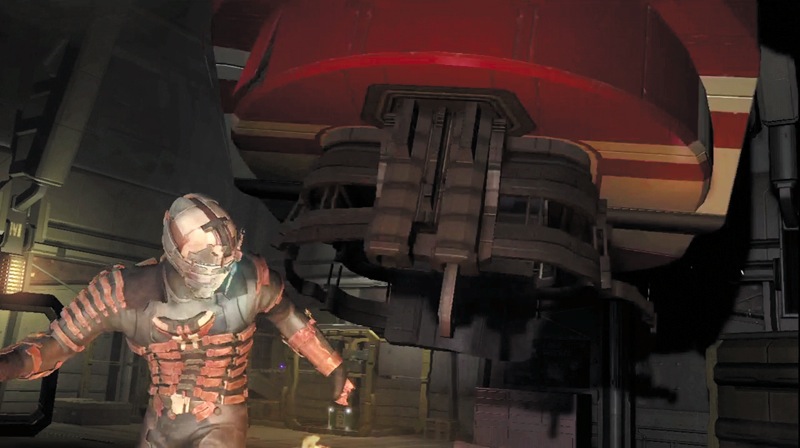
You quickly get up and run away as the tram car comes crashing to the ground and explodes. You made it this far and are still alive. However, there is more danger ahead.