
Dead Space 2 Guide Walkthrough Clarke's Log: Walkthrough
Chapter 11
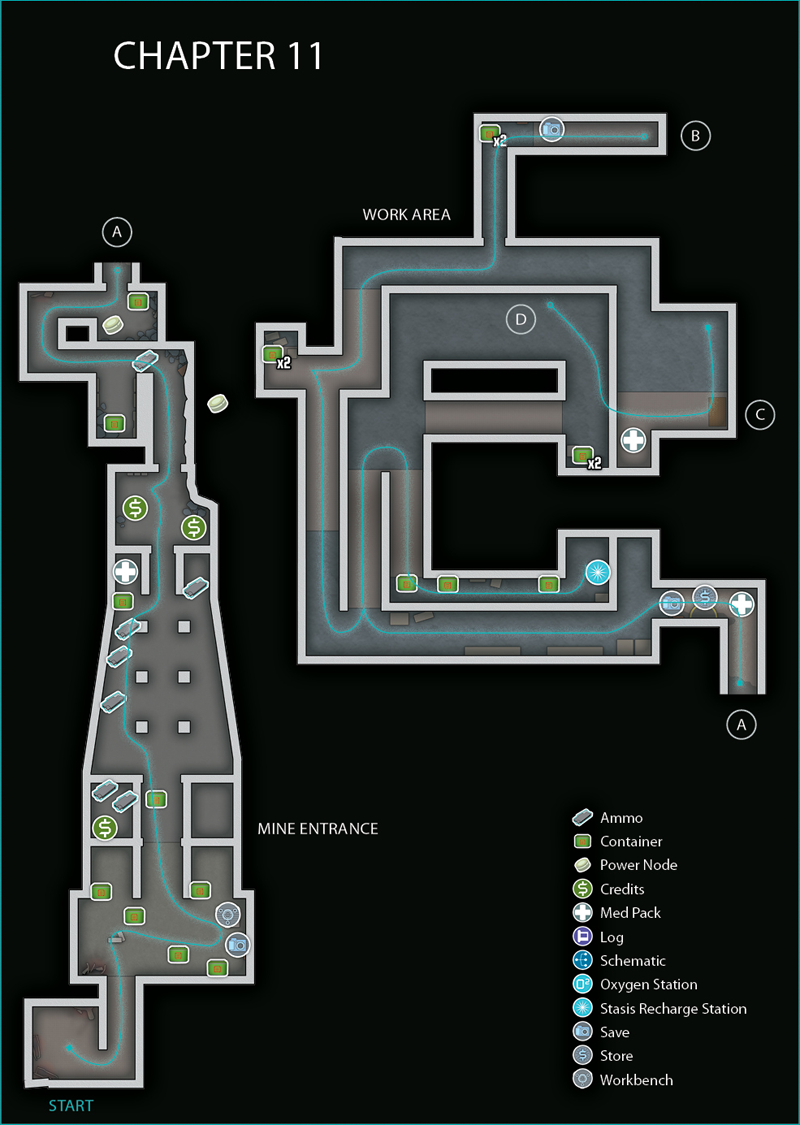
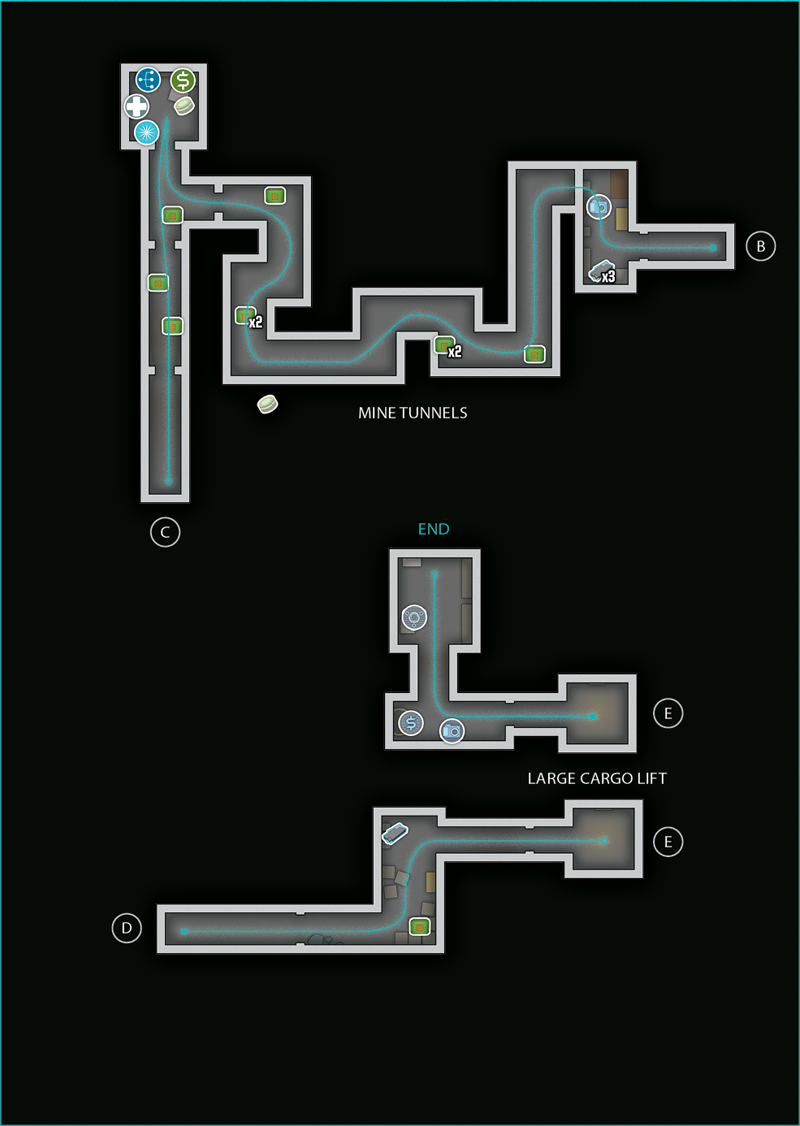
These mines are all that's left of Titan Moon. Government Sector was built into this piece of rock, right above me. That's where Tiedemann and the Marker are. That's where I need to go.
Mine Entrance
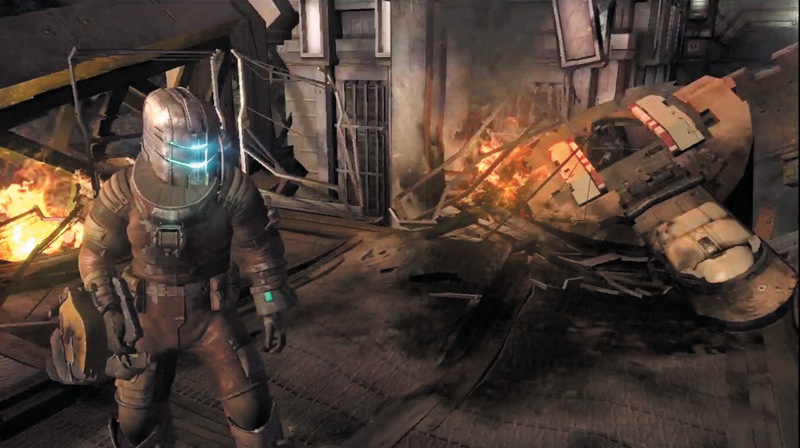
Your escape pod has crash-landed at the mines. You are unhurt but need to find Ellie. Make sure all of your weapons are fully loaded. You have no idea what might be crawling around in these mines.
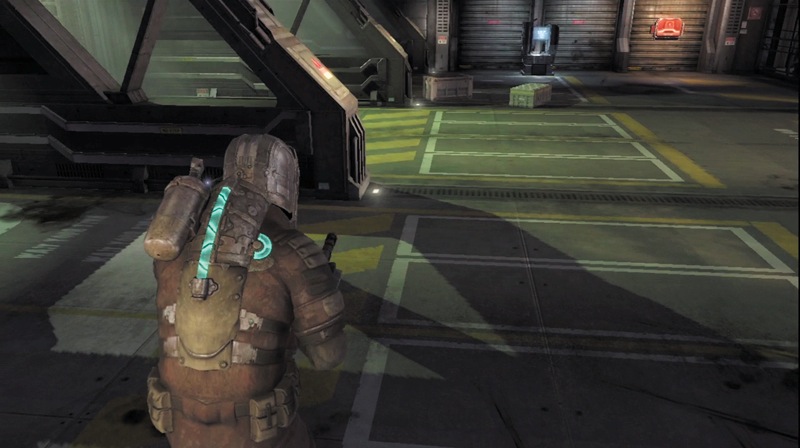
Head down the ramp and begin collecting items from containers. Stop by the save station to record your progress. There is also a workbench here where you can upgrade some of your items.
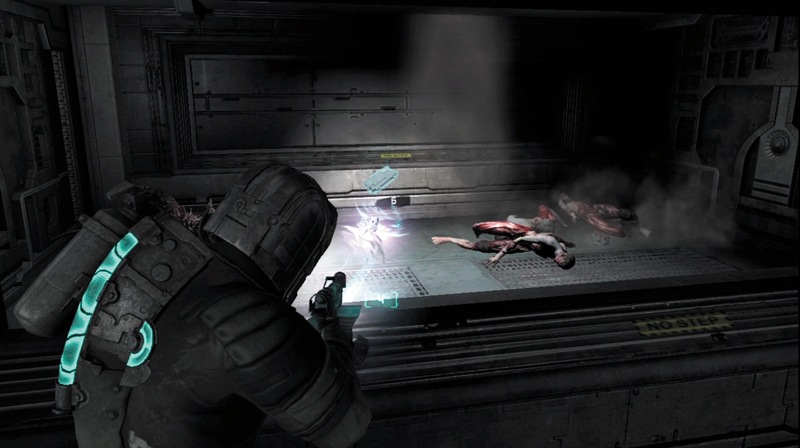
After you collect everything in the area, move through the large door into a chamber. There is a container in here. Look to the chamber to the left. There are some corpses there and items. Use kinesis to pull them to you. Next, head through the door to the next area.
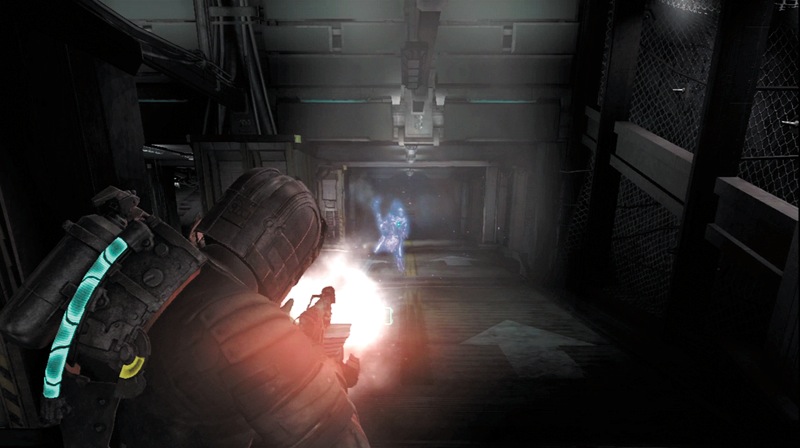
As you take the large ramp leading down into the mines, stay cautious and near the top. There are two Super Stalkers in here. When one of them charges, hit it with stasis and then kill it with a single shot from your contact beam. Use the same tactic on the other Super Stalker. You can also deploy some mines instead.
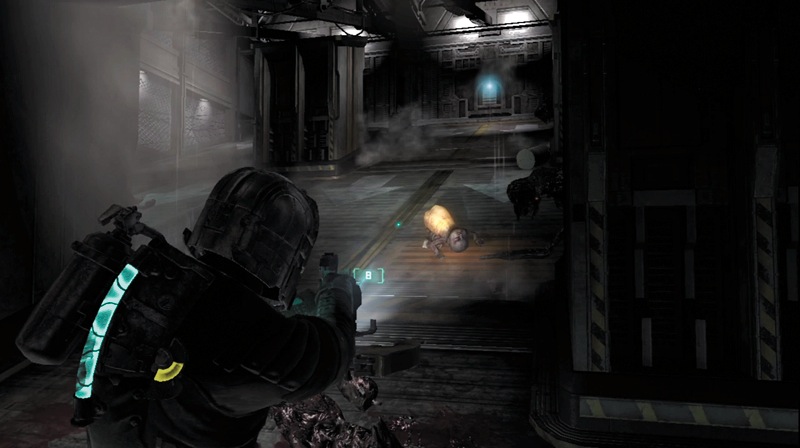
Head toward the ramp's bottom and pick up items you can use. Three more Super Stalkers and a couple Crawlers enter the area. Move into one of the chambers at the ramp's bottom and get ready for the Super Stalkers to charge. Use stasis to slow them down so you can kill them more easily. You can also deploy mines in front of you; they must cross these to reach you.
After you kill the Super Stalkers, deal with the Crawlers; you can use the Crawlers to damage the Super Stalkers, either by shooting them when a Super Stalker is nearby or by shooting off the heads and using kinesis to launch the yellow sacks. Then exit this area through the middle chamber at the ramp's bottom.
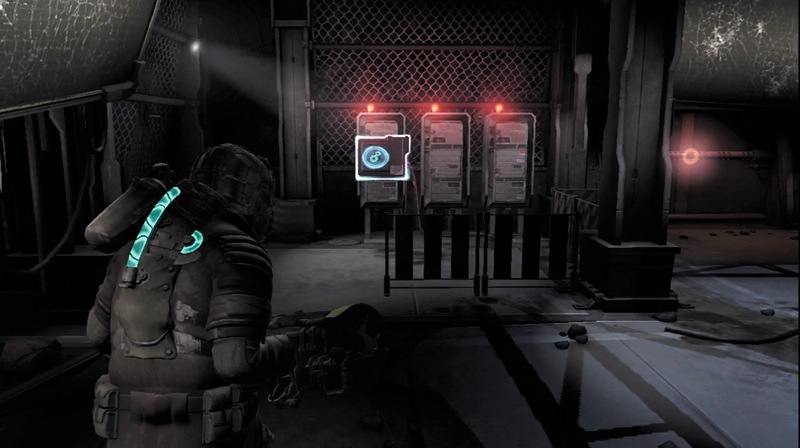
Look around this next room for some credits. The door is locked; you must hack the panel on the left side. When you are done, head through the door into a mine chamber.
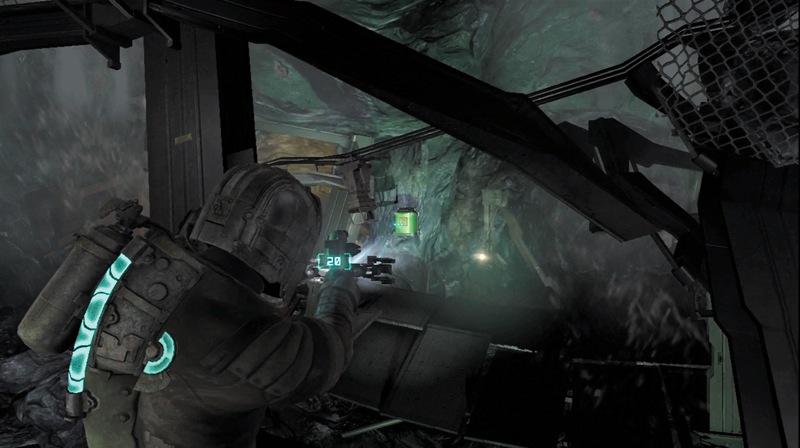
Look to the right and shoot at a green container across the chasm to release a power node. Use kinesis to retrieve it. You can hear the grunting of Cysts here, so advance with caution. Go left at the corner and shoot another container to get some ammo while avoiding a Cyst near it.
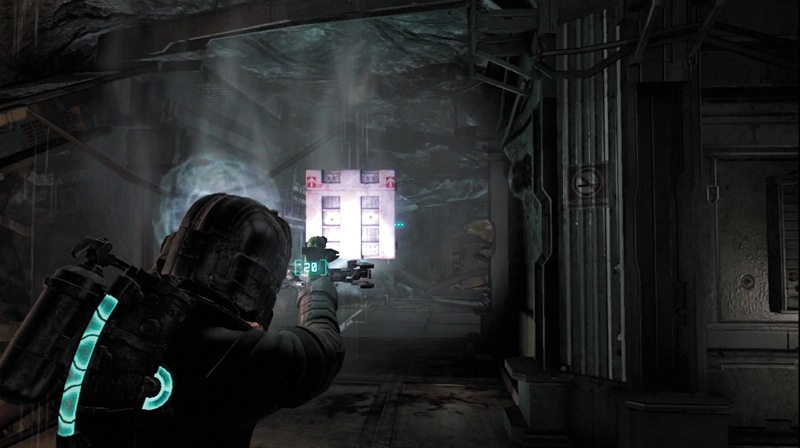
Travel through the mine, watching out for more Cysts. Look for objects you can pick up and launch at the Cysts so you can kill them while also saving ammo. When you reach the shaft's end, get a power node from a circuit box and an item from a container before heading through the door.
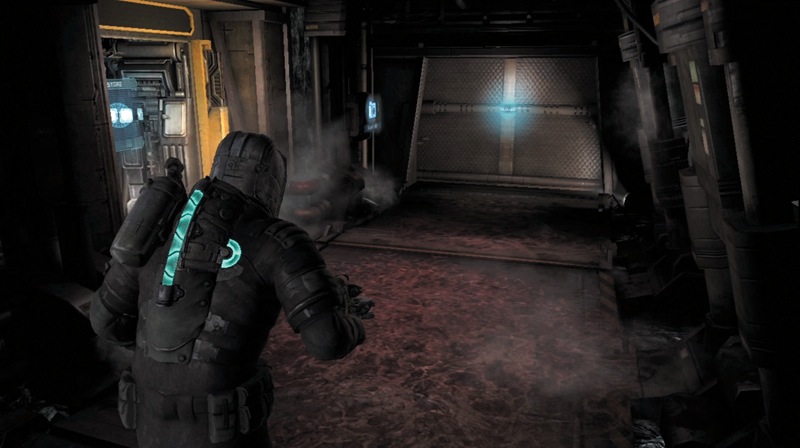
Kill a Cyst on the corridor floor and then use the store and the save station located here. Make sure your weapons are fully loaded before leaving this area.
Work Area
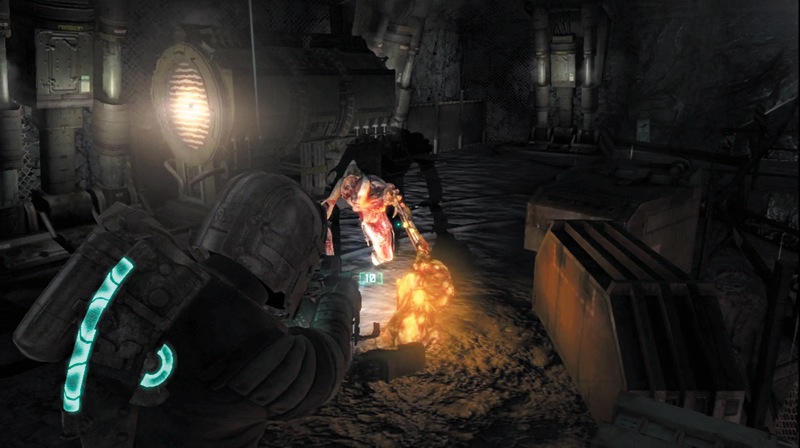
Move through the door into a large mining work area. There are many Necromorphs in this area, so be ready for a fight. Head left and watch out for an Exploder and a Super Slasher.
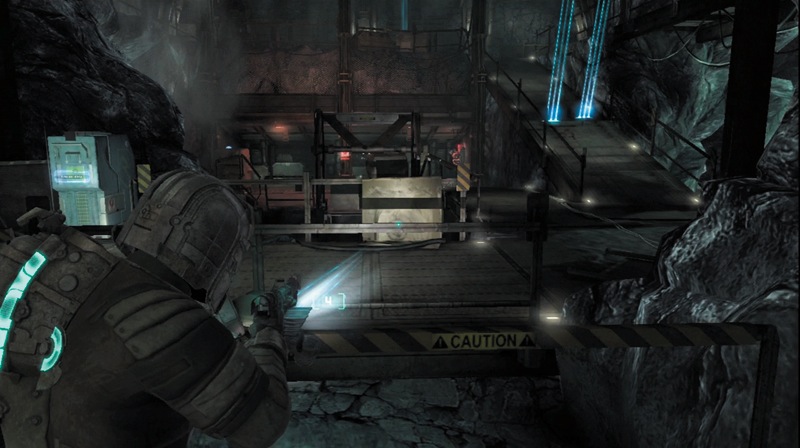
Head down the ramp to the lower part of this area. Leave several mines along the ramp to take care of enemies coming from that direction.
The Super Pukers are one of the biggest threats here, since they can attack from a distance. Save your stasis for them. When you see one, hit it with stasis and then shoot off its limbs or blast it with the contact beam.
Move forward slowly, killing whatever Necromorphs attack before proceeding. This is an easy room in which to become surrounded and overwhelmed.
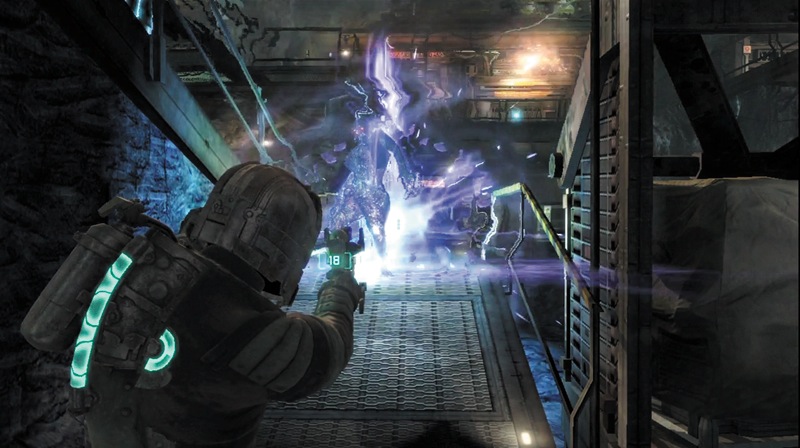
Get down to the area bathed in red light. There is a stasis station here and some stasis cylinders. Confront all of the Necromorphs that come after you. Don't forget to deploy some mines. Also watch out for Lurkers hiding in dark corners; they can be tough to see.
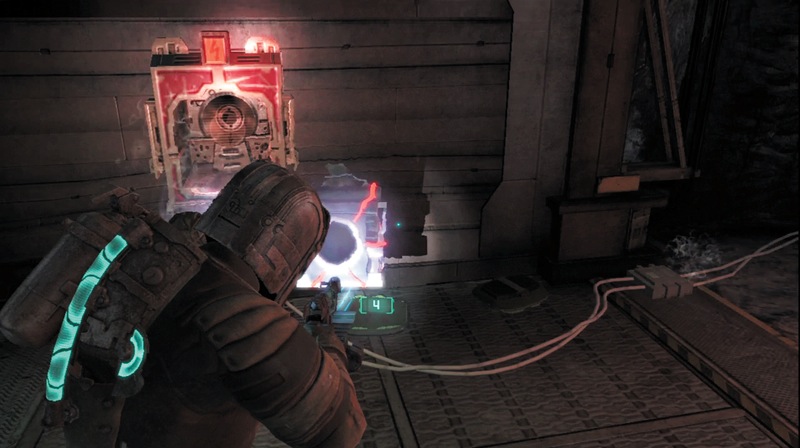
After things quiet down, pull the malfunctioning power cell out of the socket. You must find a good power cell with which to open the locked door that leads out of here.
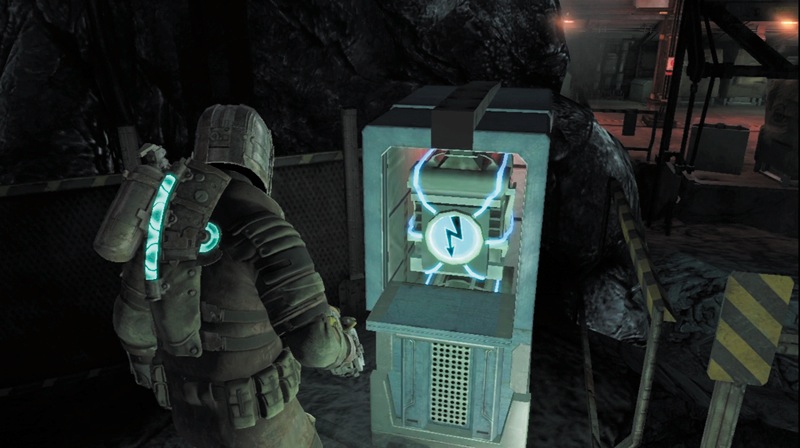
Move toward the short bridge and open a metallic box to find a good power cell. Bring it back to the socket and insert it. As soon as you do, more Necromorphs attack.
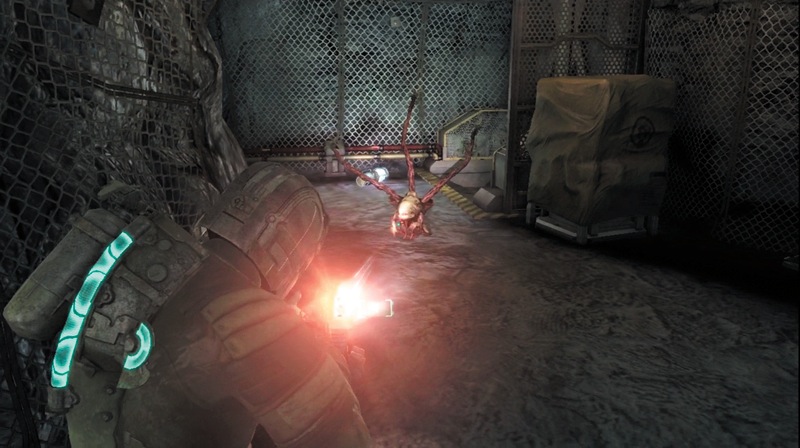
In addition to an Exploder, a Super Puker, and several Crawlers, you must also take out several Lurkers. These will come after you if you move behind cover or away from their projectiles, so take them out quickly.
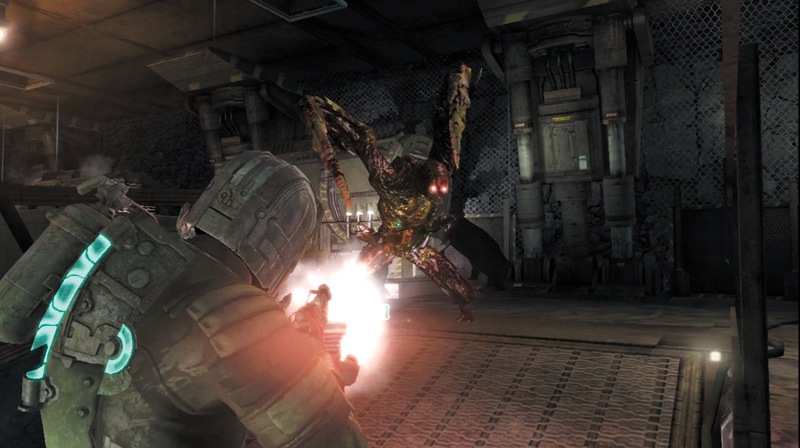
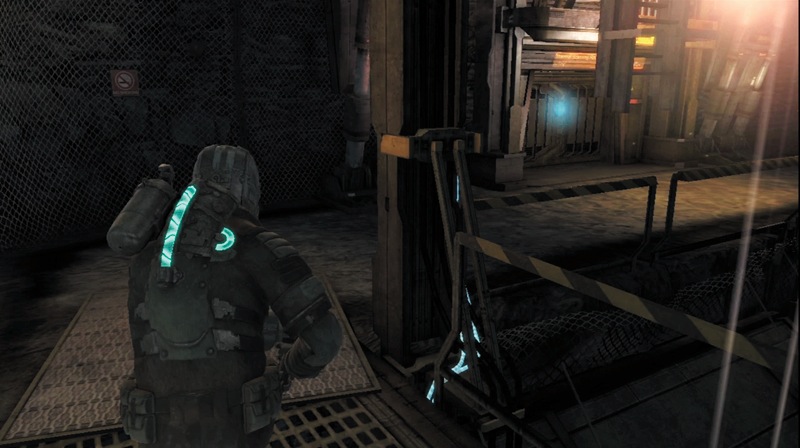
Head up the ramp and be ready for a Super Slasher at the top. Continue across the upper walkway, deploying mines behind you to slow down another Super Slasher and a Puker that are following you. Find the door leading to the thermal scanning room and exit this area.
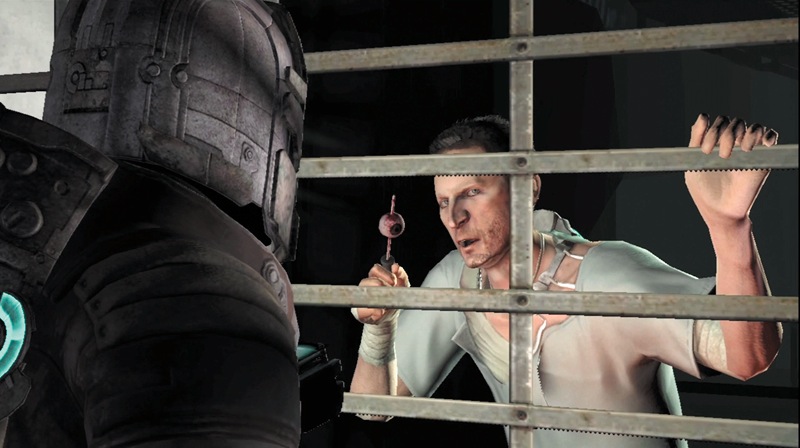
Follow the tunnel to a save station and record your progress. You will also find some containers along the way. Eventually you come across Stross and Ellie. Stross attacked Ellie and now Ellie is fighting back. Before you can do anything, a metal door closes and separates you from them again. Keep moving to the next door and pass through it.
Lasers in Space
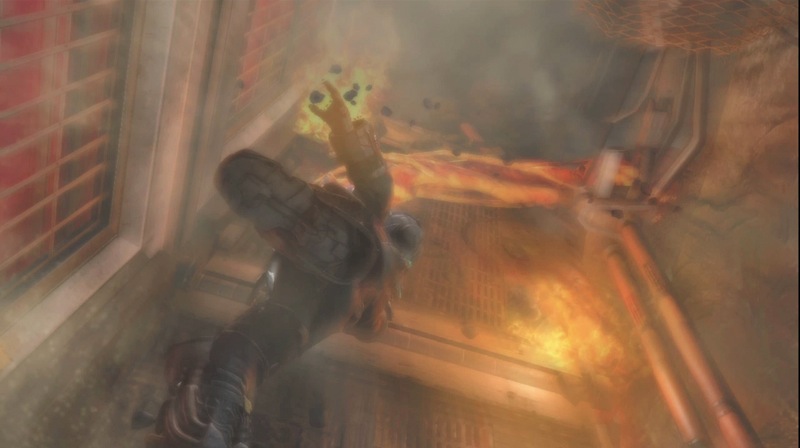
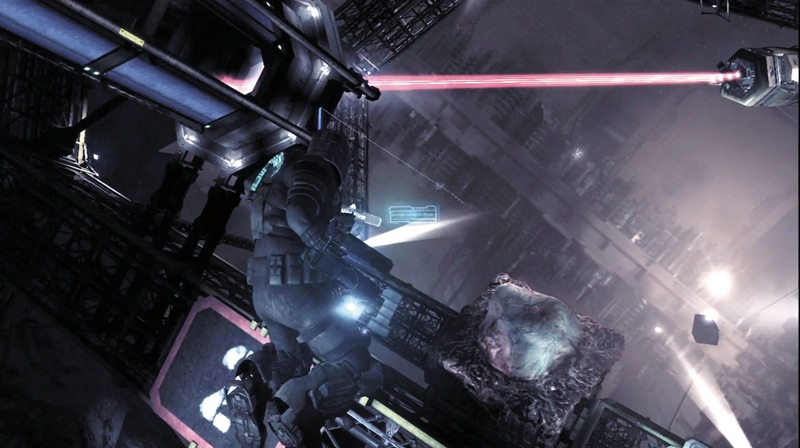
As you move forward, a long tentacle reaches out from a side tunnel and pulls you through it, out into the space above the mines. You are in Zero-G, so watch your air supply. If that wasn't enough to worry about, there is also a Nest.
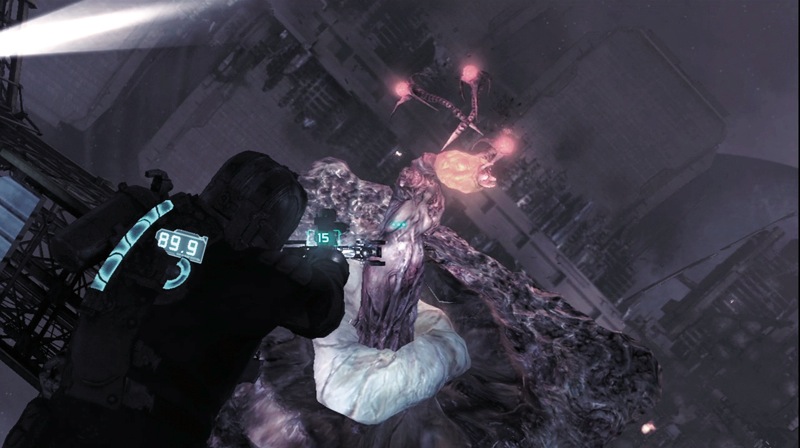
If you have the seeker rifle, use zoom mode to shoot at the yellow pods. If you don't have this weapon, use the plasma cutter. Dodge the projectiles it launches at you and then take your shots. After you destroy all three yellow pods, the Nest is dead.
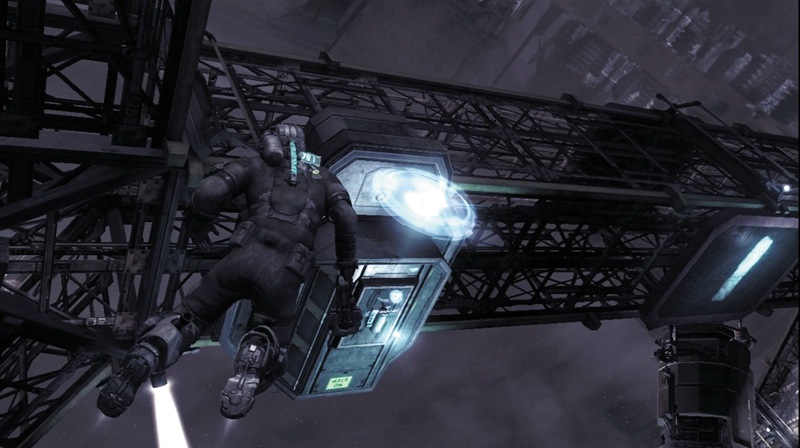
Your next priority is getting more air. Locate an oxygen station and fill up your supply. Then use the locator to find your way back to the mines.
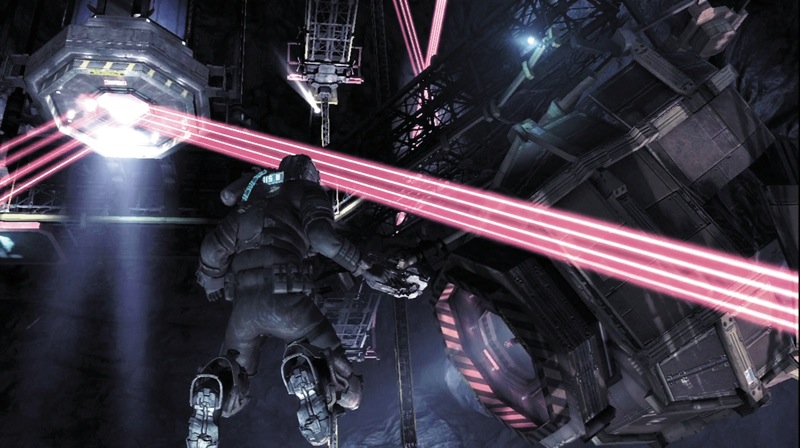
The entrance to the access tunnel that you must enter is covered by two sets of lasers that will fry you. To pass through, you must clear the entrance. You can't destroy the lasers, so you will have to move them.
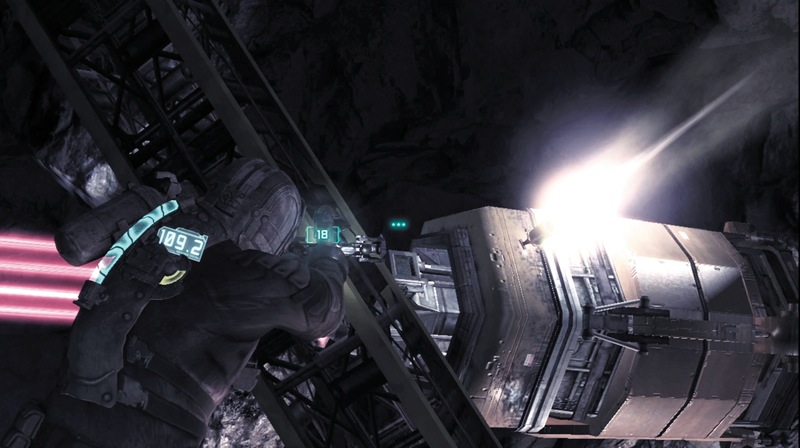
Follow the lasers back to their source. One of the laser capsules has a thruster attached to it. Shoot at the red tip to ignite it and send the capsule away so that its laser no longer covers the entrance. Now you must move the other laser capsule.
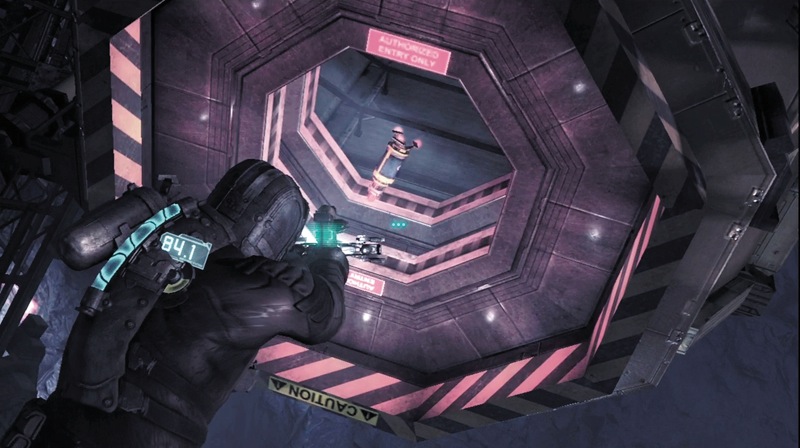
This one does not have a thruster on it, so you must find one. Look in this hatch and carry it over to the capsule. Place it on the capsule and then ignite it to clear the way through the entrance.
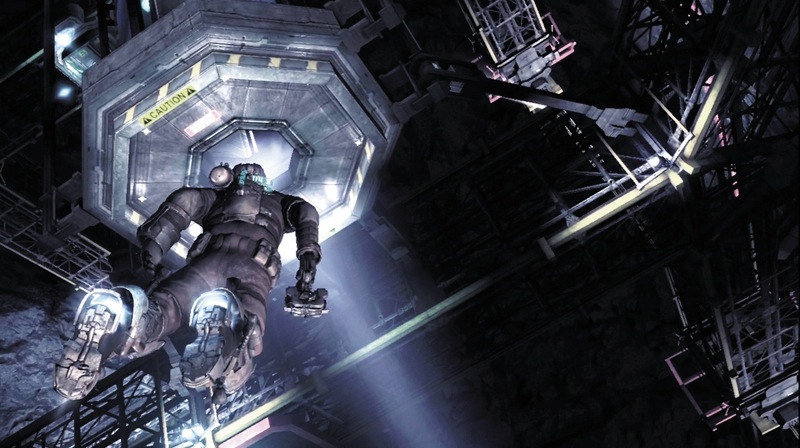
Thrust to the entrance and enter a tunnel. Engage your magnetic boots so you can walk, and rush to the tunnel's end. There are Cysts inside. Just run past them; they will miss you and you won't have to waste ammo killing them. At the tunnel's end, use the oxygen station and head through the door.
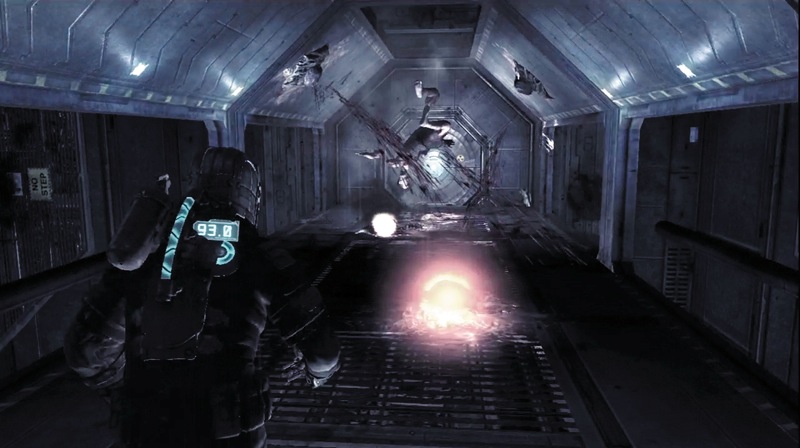
There are more Cysts in the next tunnel. Shoot the one closest to the door; this causes a chain reaction that will kill all the others. You can also use the floating corpses to trigger the cysts. Then continue through a couple more doors to return to the mines and an area with atmosphere. Ellie contacts you again. Use the save station and then climb onto the cargo lift and take it up. Make sure all of your weapons are fully loaded.
Back in the Mines
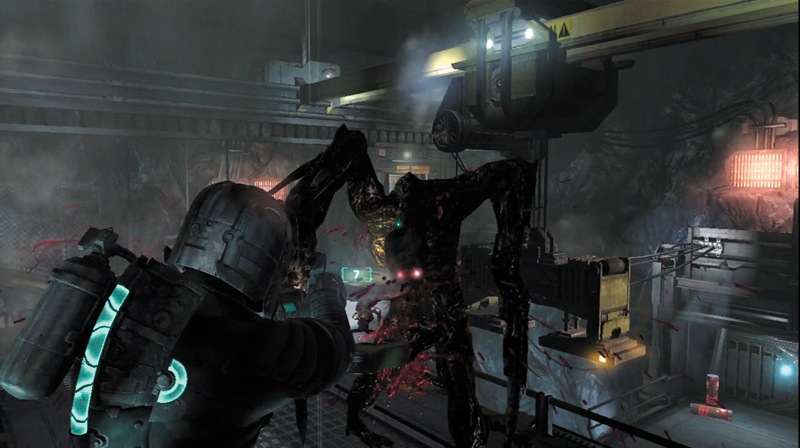
Follow the catwalk around and be ready for a fight. Hit the first Super Puker with stasis and then finish it off. Next, four Super Slashers charge you; deal with them one at a time. Use the ripper or contact beam to kill them. As you are finishing them off, a couple Lurkers will start taking shots at you from the platform below. There are also explosive canisters on the platform. Use them to quickly finish off the Lurkers, which can be difficult to kill from that distance.
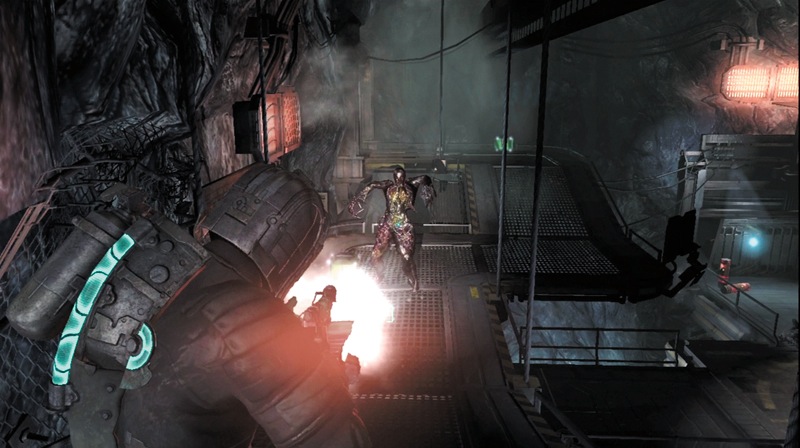
Continue along the catwalk, leaving a few mines behind you. As you turn right and start going down a ramp, be ready to kill a Super Puker that rises from the ground. It is immediately followed by a Super Slasher behind it, and then one comes up behind you.
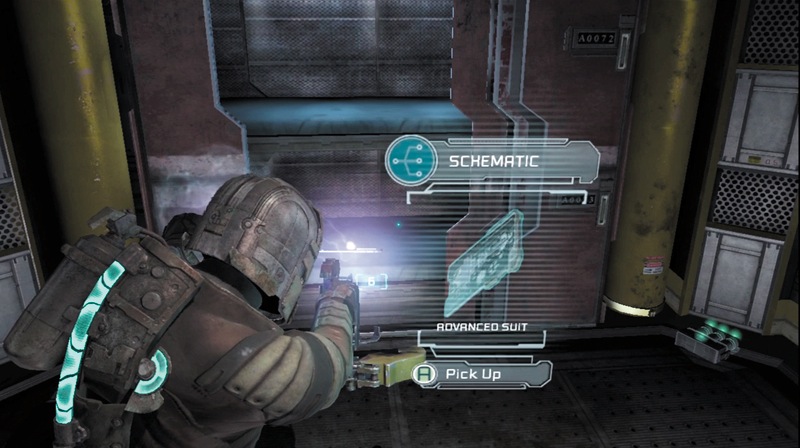
Pass through the door at the catwalk's end. Turn right and use a power node to open a secure storage room. You definitely want to go inside here. In addition to a semiconductor and other items, you can get the schematic for the advanced suit. If you need it, use the stasis station to recharge your stasis module before leaving.
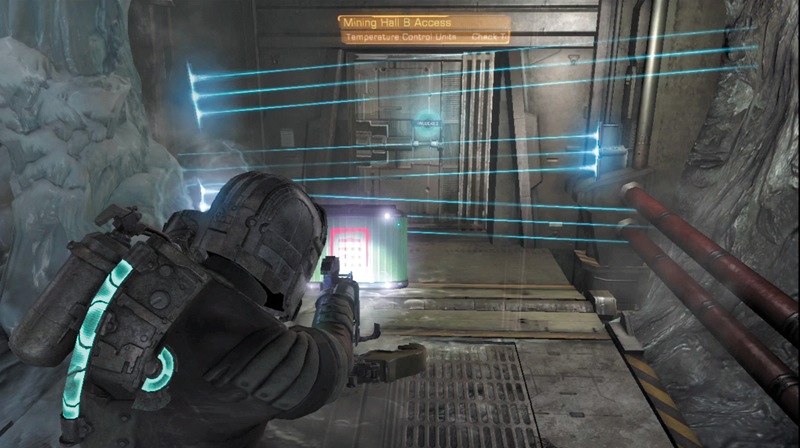
The door to mining hall B is blocked by mines. Pick up a container and throw it into the laser trip wires to detonate all the mines, clearing your way forward.
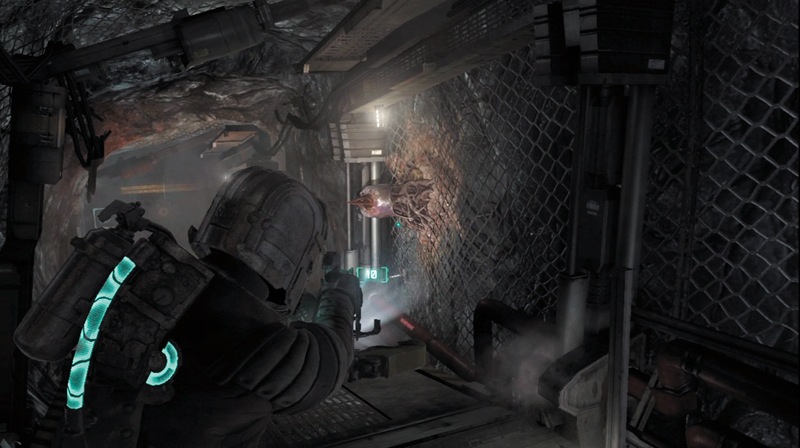
Advance toward the tunnel's end. There are some Cysts along the way. If you have extra ripper blades, launch them at these enemies using the ripper's alt-fire. One blade will do the job. There are also some crates toward the tunnel's end that you can use. At the tunnel's end, you must hack a console to unlock the door leading to the main mine.
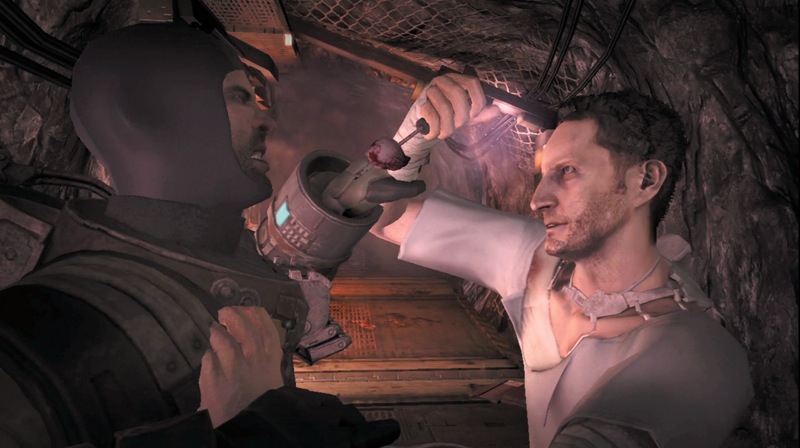
When you open the door, Stross attacks you with a screwdriver. Fight him off. In order to stop him, you have to kill him. Make sure you stomp on his corpse to reveal an audio log. Go through the door, into the large area where you had to fight all the Necromorphs earlier. Take the cargo lift to the lower level and follow the locator path to the door to the exploration mine.
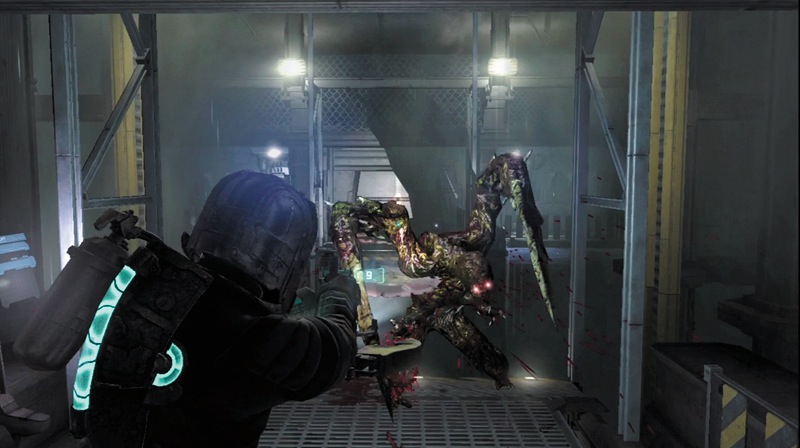
Follow the tunnel, picking up items along the way. As you enter another door, be ready to kill a Super Slasher that climbs up from below. Once it is dead, take the cargo lift up to a much larger cargo lift and activate the controls to begin rising out of the mine shaft. Reload all of your weapons.
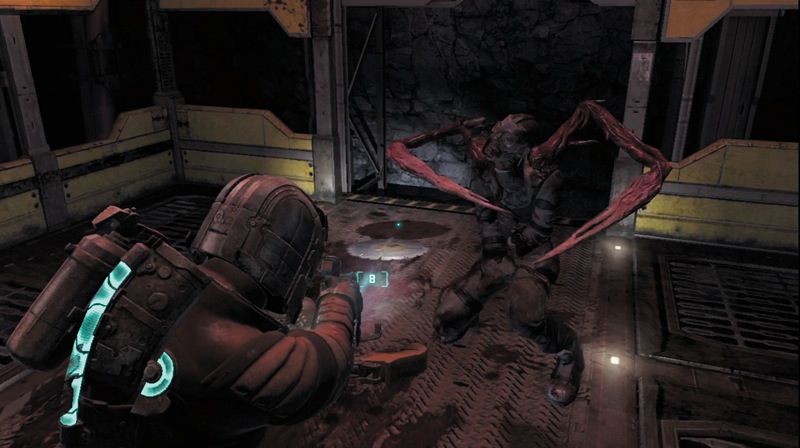
Move to one corner of the cargo lift and deploy some mines along the opposite sides. Slashers start dropping onto the lift and attacking you. Have the ripper ready to cut into them as they come at you. Since they drop along the sides, not the corners, just sweep back and forth from your corner to kill those that were not blown up by your mines. When you reach the top, pick up all of the items dropped by the Slashers and then exit the cargo lift.
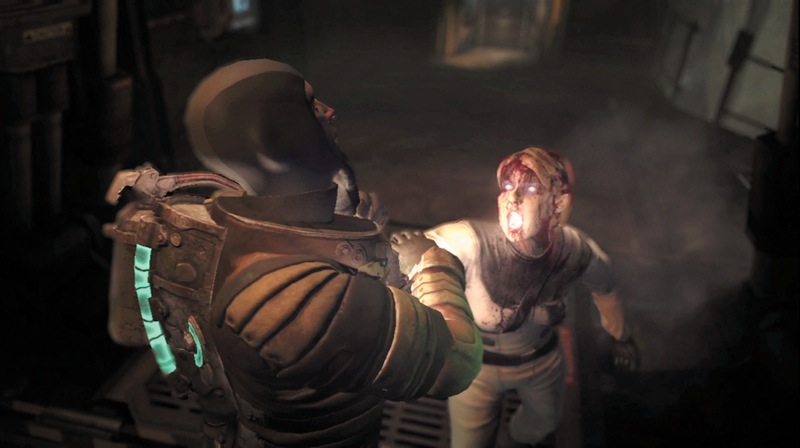
As you open the door leading from the cargo lift, you are attacked by Nicole—or something that looks like her. Fight it off to survive. Once the hallucination is over, head to the store, upload the schematic for the advanced suit, and purchase it. After you exit the store, stop by the save station.
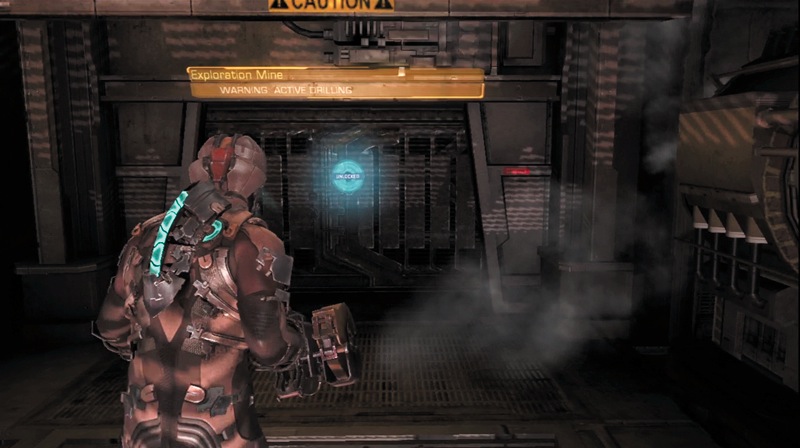
Now all you have to do is enter the exploration mine.