
LEGO Star Wars: The Force Awakens Guide Console Walkthrough Prologue: Battle of Endor
Endor Shield Generator
Chewbacca, Han Solo (Endor), Princess Leia (Endor), R2-D2, Wicket
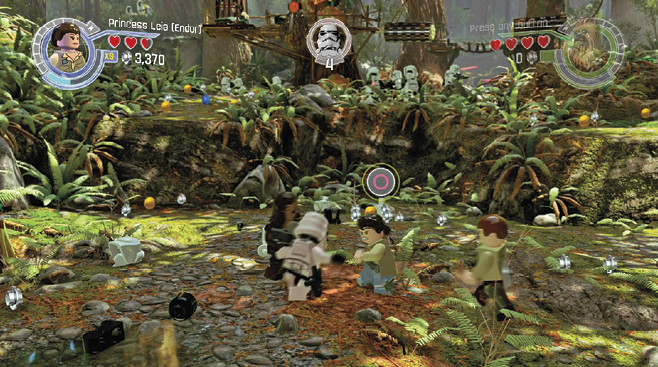
Eliminate 12 Imperials
You begin in the middle of an intense firefight. Imperial stormtroopers and scout troopers drop into the small basin where your forces begin the fight.
After the twelfth trooper falls, an AT-ST moves into position to block the path ahead. It blasts an Ewok glider from the sky, scattering Multi-Build bricks near your characters.

Free Wicket and Crush the AT-ST
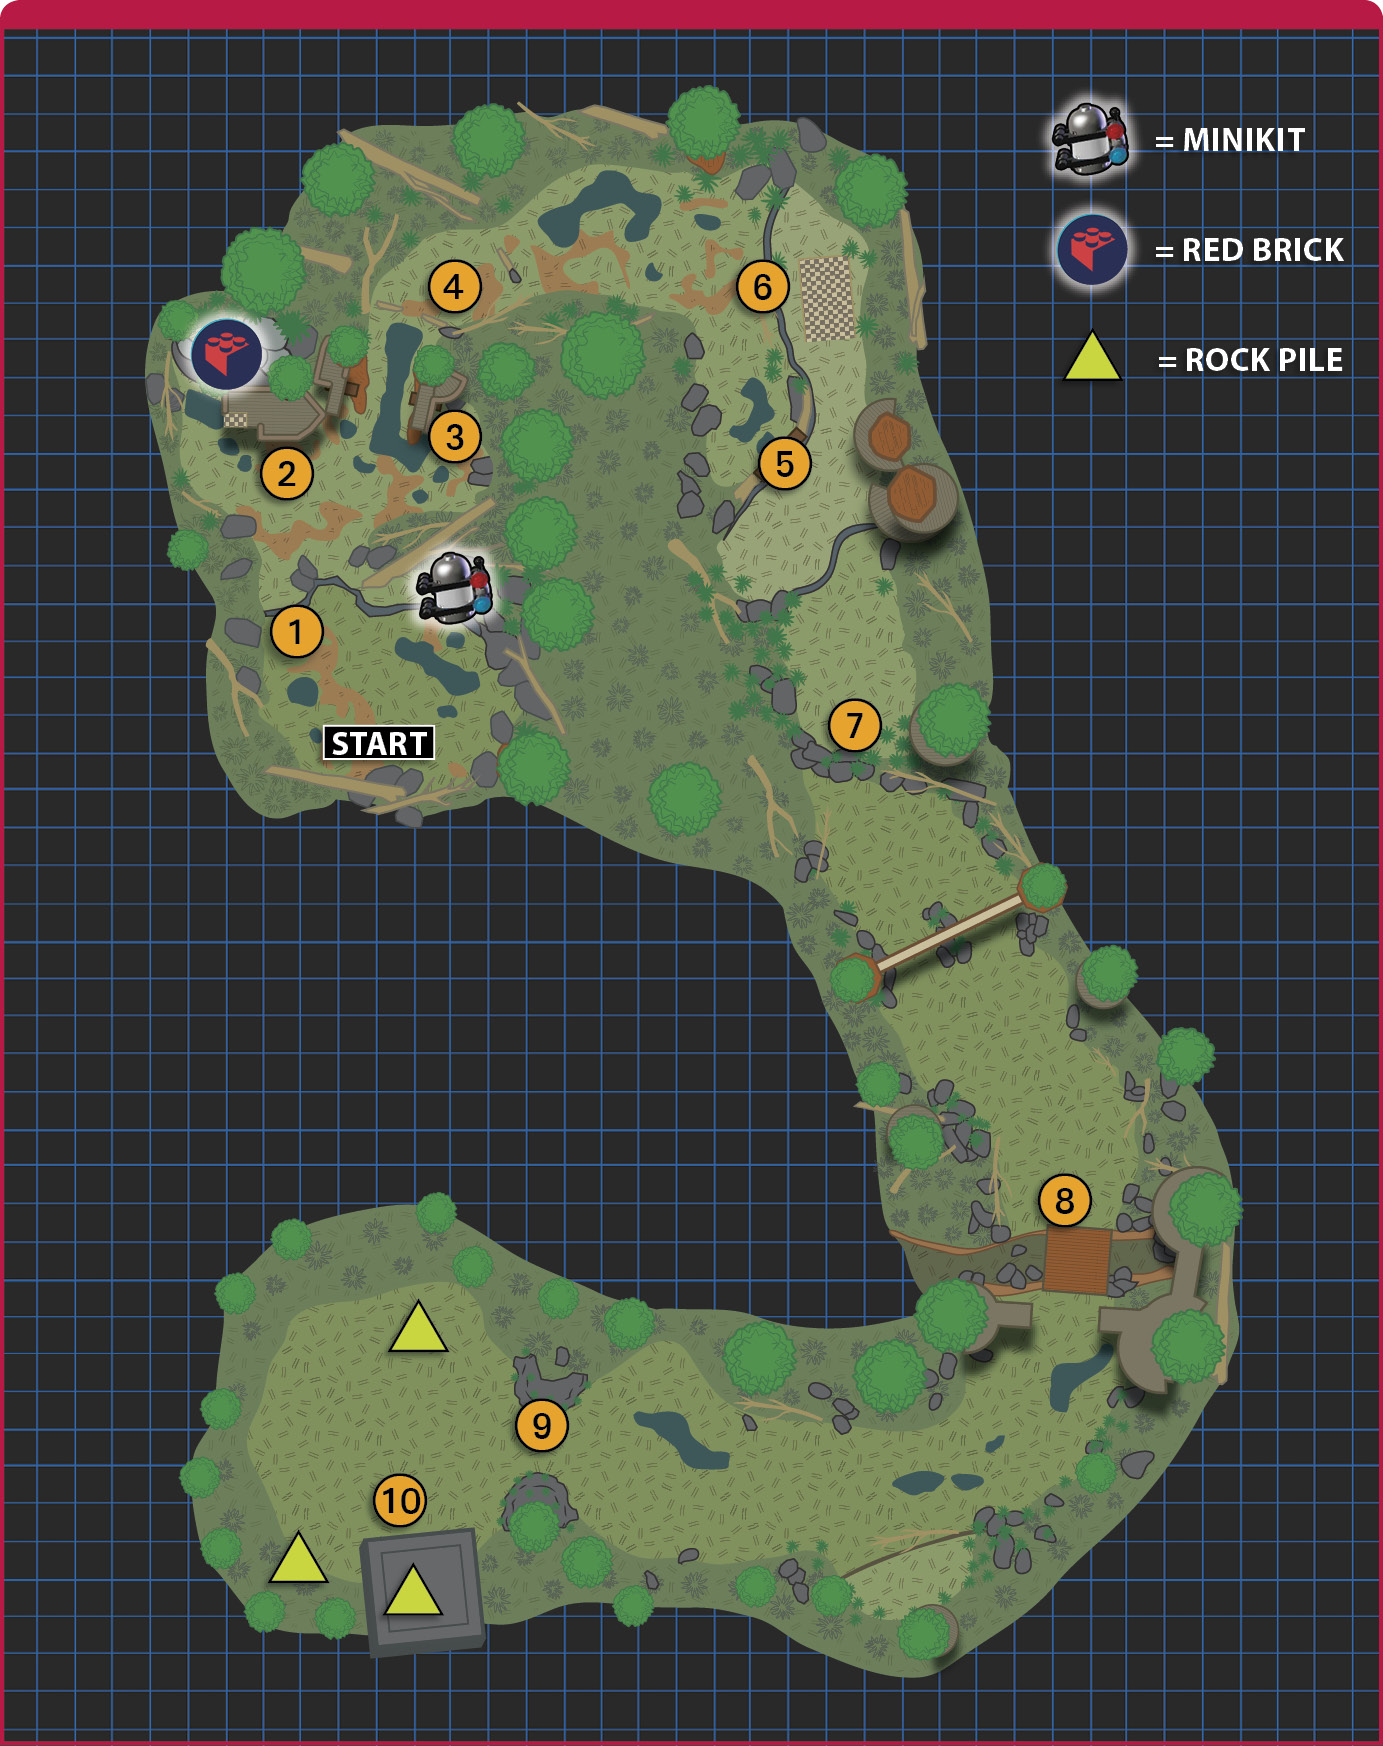
Assemble a trampoline under the ledge on the left 1 and bounce to the ledge. There’s a small access hatch at the base of the tree that’s too small for your starting characters to use. Fortunately, there’s a recruit available who’s just hanging out.
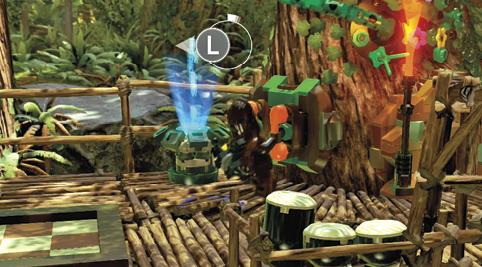
Tag to Han Solo or Princess Leia and target the grapple handle attached to the net hanging from the tree’s boughs above 2. Tap the indicated button to free Wicket, who joins your group.
Send Wicket through the access hatch, which deposits him on a platform built in the branches above. The strength handles are too much for him, but he can push the weapon rack over the side.


Stud MagnetUse the Multi-Build bricks to craft hanging bars against the ledge beyond the tree. Hop between the bars to reach the top ledge and the Red Brick.  |
Construct a ladder that leads from the ground up to the platform. Tag to Chewbacca, ascend the ladder, then pull the strength handles to position the first log.
Stick with Chewbacca and move to the other side of the AT-ST. Imperial forces remain in the area, so be ready to fight. Pull the strength handles 3 on the base of the tree to position the second log. An Ewok swings an axe to take care of the rest.

Rescue R2-D2
Continue ahead until you encounter a trio of Ewoks pinned down by another AT-ST. R2-D2 is above them 5, trapped under a giant log. Tag to Wicket and recruit the Ewoks by speaking with them.

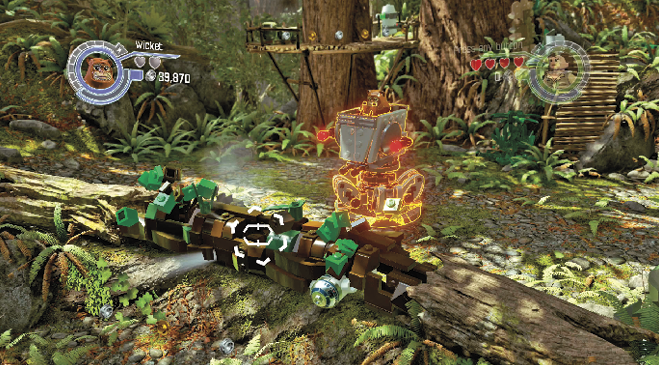
Backtrack slightly to an access hatch 6 in the hillside. Crawl through, then push the rack of large logs over the side. Wicket can’t do it himself, but the three Ewoks following him provide the extra muscle needed to take out the AT-ST.
From the Multi-Build bricks left behind, construct the closest object, a turret. A few well-placed blasts destroy the log and free R2-D2. Build a ramp from the bricks left behind to create a path to join Wicket.
Take an AT-ST on a Test Drive

Use the Multi-Build bricks under the ledge on the right. Tag to R2-D2 and connect with the interface port. Complete the shape-matching puzzle to power the platform. Ride the platform to the higher ledge.
Smash the storage containers 7 until there are enough bricks to build a banner and grapple handle. Target the grapple handle with either Han Solo or Princess Leia. After landing atop an AT-ST, pull open the hatch and throw out the pilot with a well-timed button press. Tap the indicated button when the indicator is in the green.
Reach the Shield Generator Bunker
Don’t bother with the Imperial forces in this area. They can’t damage an AT-ST and you can’t earn a multiplier while driving. Target the wooden palisades with the AT-ST’s blasters. Move forward until a raised bridge 8 blocks your progress. Blast the two rock-filled nets hanging on either side of the bridge to lower it.
The AT-STs on the ridge beyond the bridge are your primary targets. Take them out from long range, then clear out the barricades set up by Imperial forces. There’s an additional AT-ST to eliminate before you reach the bunker clearing.
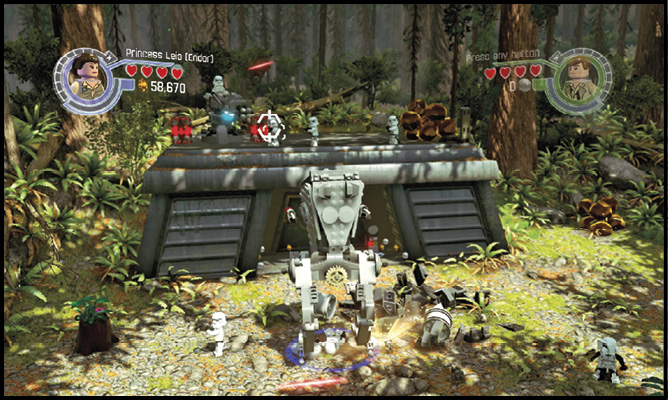
Advance into the clearing 9 and take one final AT-ST. Blast the red canisters atop the bunker, which also destroys a turret. A large log drops into place, sealing off possible Imperial reinforcements.
After the log drops, Chewbacca, R2-D2, and Wicket rejoin the group. Han Solo and Princess Leia can exit their AT-ST as well. Look for a pile of Multi-Build bricks in front of the bunker 10.
You have two possible build options here, and either choice completes this portion of the mission. Choose left to construct a giant movie screen. Choose right to assemble a hat dispenser. Select an Imperial pilot’s hat from the dispenser and interact with the scanner outside the blast doors.