
LEGO Star Wars: The Force Awakens Guide Console Walkthrough Chapter II: Escape from the Finalizer
Finalizer Hangar
FN-2187, Poe Dameron (Prisoner), R-3PO
Prisoner Transfer from Cell Block 2187

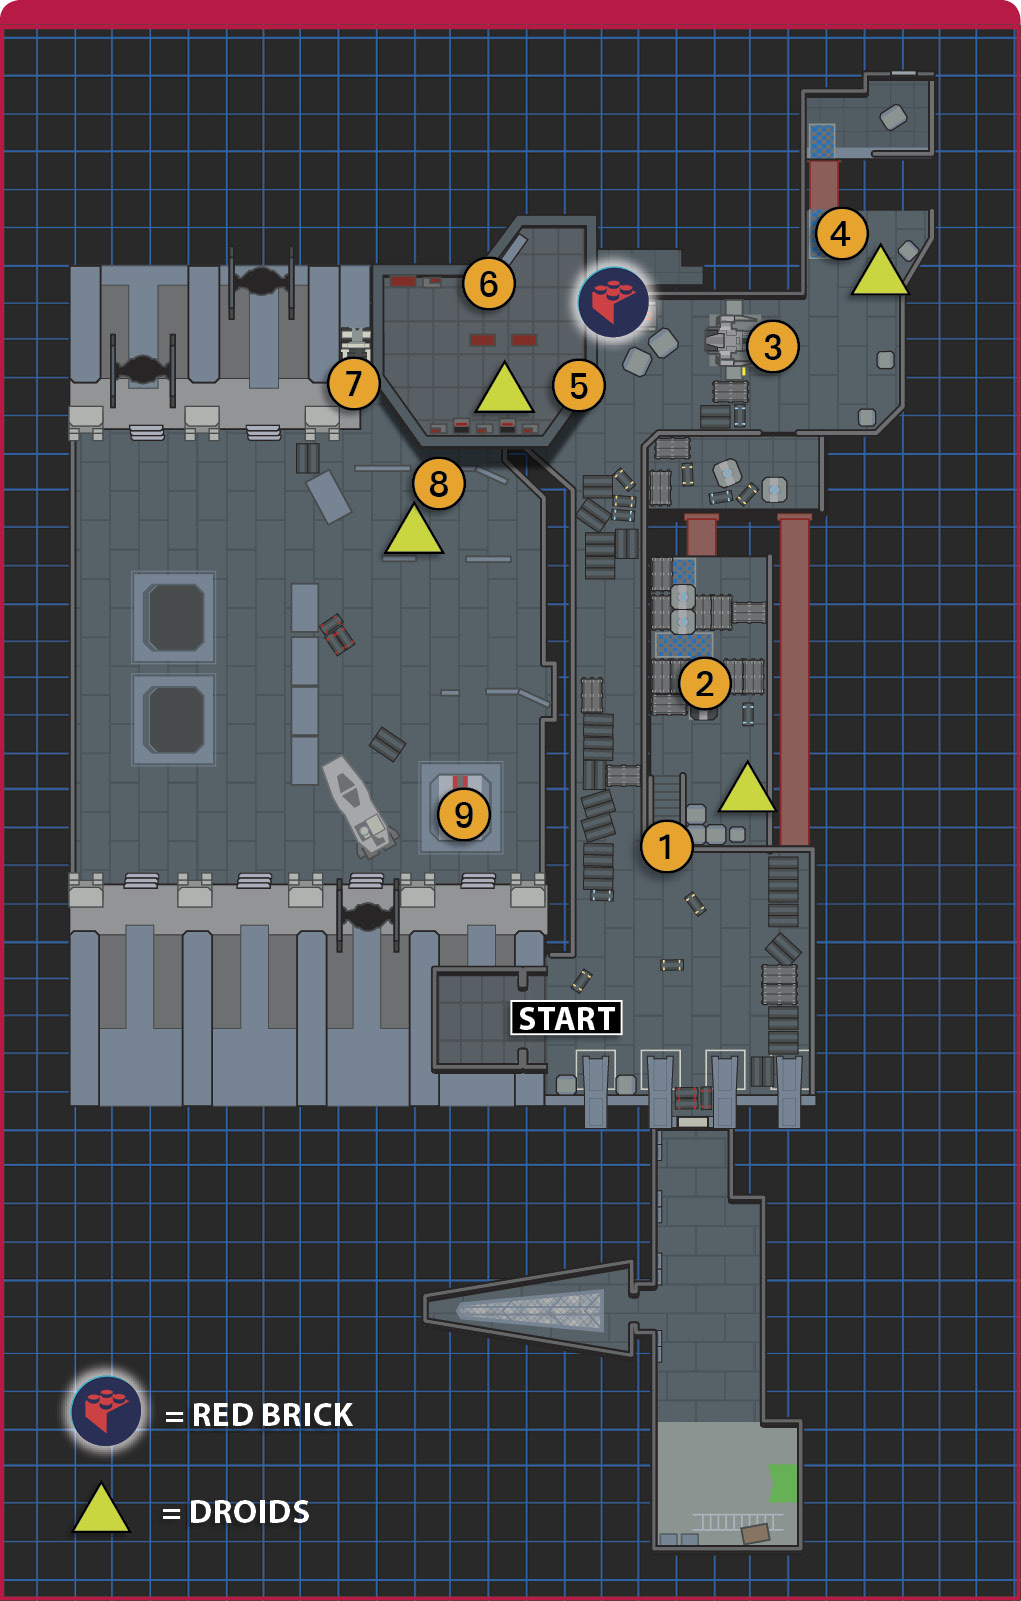
Your destination is a staircase 1 that descends into a recessed section of the floor. There’s no hurry to get there, so have some fun slipping and sliding on the wet floor near the start point. If you attack any of the First Order forces, they’ll fight back but you shouldn’t have any problems handling them.
Push the container 2that’s in the checkered lane until the path to a second much larger container beyond it is clear. The first container should end up against the wall. Both characters work together to push the larger container into a trench, so that it acts as a bridge.

Cross to the other side and destroy everything until you have enough bricks to build a lift. The way ahead is blocked 3 and only a protocol droid can help.

Put R-3PO to Work
Move past the terminal to a grapple handle attached to a container 4. Target the handle and tap the indicated button to pull down the container. Push the container into the break in the floor. Jump over the break and repeat the process of using a grapple handle to pull down a container and pushing into the break in the floor.

With a completed bridge over the break in place, smash the objects near the protocol droid storage pod. Use the bricks to awaken R-3PO from his shutdown. R-3PO can’t jump, so if you didn’t finish the bridge over the break in the floor earlier, you must do it now.

Return to the protocol access terminal 3 and interact with it as R-3PO. Select the colored patterns in the same order in which they appeared on the main screen. R-3PO wanders away as the ship takes off and crashes in short order, leaving your original pair of characters to deal with the fallout.

Blast the guards that investigate the crash. Fortunately, Poe Dameron’s shackles are gone and he’s managed to pick up a blaster. Smash the containers in the area to create a pile of Multi-Build bricks.

Fast InteractSelect the middle option for the Multi-Build bricks to form a bridge that connects to an alcove with a Red Brick. 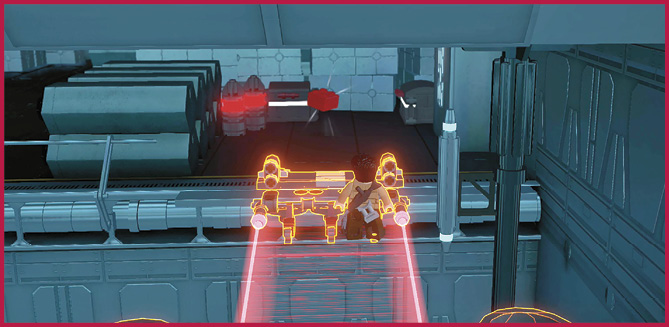 |
Acquire a TIE Fighter
Build the unit to the right first, which is a power source for a lift. Ride the lift up to the walkway, then hop on the narrow ledge against the windowed command center. Jump and grab the hanging bar (marked with a blue stud) near the end of the narrow walkway 5 to expose a triangular target.
Demolish the lift power source. Select the left option for the Multi-Build bricks to assemble an energy beam emitter. Interact with the emitter to destroy the windows above.


Quickly handle the guards that came down from the command center. Recreate the power source for the lift and ride it back up. Jump into the command center and eliminate the guards.
Tag to FN-2187 and complete the matching puzzle at the First Order terminal 6 to prepare a TIE fighter. Take the lift in the back of the room 7 to shift the scene to the hangar floor where you’re invited to join a Blaster Battle.


Run to the TIE fighter and board it. A damage meter pops up near the top of the screen. The TIE fighter flies itself around the hangar, leaving you in charge of shooting. Blast the other TIE fighters, troop transports, and turrets to get the damage meter to hit 100%.
