Prima Games eGuides
primagames.com Browse Redeem a code Help
LEGO Star Wars: The Force Awakens eGuide
Sign in My Guides

Sign in or create an account

We'll email you a link. No password needed, and if you don't have an account yet, the link makes one.

By creating an account or signing in, you agree to our Terms of Service and Privacy Policy.

Have a password?

Had an account on the old eGuides site, or a code from a printed guide? Help and troubleshooting

Sign in with a password

By signing in, you agree to our Terms of Service and Privacy Policy.

Check your email

A sign-in link is on its way. It works once and expires in 15 minutes. Open it and you're in, with an account if you didn't already have one.

Contents

  • Changelog
    • Updates
  • Game Basics
    • Overview
    • How the Game Flows
    • Fighting for the Fate of the Galaxy
    • Rewards
    • Getting 100% Completion
  • Console Characters
    • Unlocking Characters
    • Character Abilities
    • Character Class
    • Character List
  • Console Walkthrough
    • Prologue: Battle of Endor
      • Battle of Endor Objectives
      • Endor Shield Generator
      • Death Star Interior
      • Death Star Escape
    • Free play: The Battle of Endor
      • Endor Shield Generator
      • Death Star Interior
      • Death Star Escape
    • HUB: D’Qar
      • D’Qar Objectives
      • Resistance Base
    • Chapter I: Assault on Jakku
      • Assault On Jakku Objectives
      • Village Retreat
      • First Order Assault
      • Water Tower Washout
    • Free Play: Assault on Jakku
      • Village Retreat
      • First Order Assault
    • HUB: Jakku (First Visit)
      • Jakku (First Visit) Objectives
      • First Order Staging Area
    • Chapter II: Escape from the Finalizer
      • Escape from the Finalizer Objectives
      • Finalizer Hangar
      • Star Destroyer Exterior
      • Jakku Graveyard Part 1
    • Free play: Escape from the Finalizer
      • Finalizer Hangar
      • Star Destroyer Exterior
      • Jakku Graveyard Part 2
    • HUB: Jakku (Second Visit)
      • Jakku (Second Visit) Objectives
      • Jakku Sands
    • Chapter III: Niima Outpost
      • Niima Outpost Objectives
      • Niima Outpost
      • Niima Bombardment
      • Jakku Graveyard Flight
    • Free play: Niima Outpost
      • Niima Outpost
      • Niima Bombardment
      • Jakku Graveyard Flight
    • HUB: Millennium Falcon (First Visit)
      • Millennium Falcon (First Visit) Objectives
      • Millennium Falcon Interior
    • Chapter IV: The Eravana
      • The Eravana Objectives
      • Freighter Battle
      • Freighter Chase
      • Freighter Shutdown
    • Free play: The Ervana
      • Freighter Battle
      • Freighter Chase
      • Freighter Shutdown
    • HUB: Millennium Falcon (Second Visit)
      • Millennium Falcon (Second Visit) Objectives
      • Forward Maintenance Bay
    • Chapter V: Maz’s Castle
      • Maz’s Castle Objectives
      • Castle Approach
      • Castle Hall
      • Castle Basement
    • Free Play: Maz’s Castle
      • Castle Approach
      • Castle Basement
    • HUB: Takodana (First Visit)
      • Takodana (First Visit) Objectives
      • Outside Maz’s Castle
    • Chapter VI: Battle of Takodana
      • Battle of Takodana Objectives
      • Castle Corridors
      • Takodana Skies
    • Free Play: Battle of Takodana
      • Castle Corridors
      • Takodana Skies
    • Hub: Takodana (Second Visit)
      • Takodana (Second Visit) Objectives
      • Ruins of Takodana
    • Chapter VII: The Resistance
      • The Resistance Objectives
      • Resistance Base
      • Resistance Hangar
    • Free Play: The Resistance
      • Resistance Base
      • Resistance Hangar
    • Hub: Millennium Falcon (Third Visit)
      • Millennium Falcon (Third Visit) Objectives
      • Millennium Falcon Interior
    • Chapter VIII: Starkiller Sabotage
      • Starkiller Sabotage Objectives
      • Starkiller Crash Site
      • Starkiller Wall
      • Starkiller Shield Room
    • Free Play: Starkiller Sabotage
      • Starkiller Crash Site
      • Starkiller Wall
      • Starkiller Shield Room
    • Hub: D’Qar (Second Visit)
      • D’Qar (Second Visit) Objectives
      • Resistance Base
    • Chapter IX: Destroy Starkiller Base
      • Destroy Starkiller Base Objectives
      • Assault on Starkiller
      • Rey’s Escape
      • Oscillator Interior
    • Free Play: Destroy Starkiller Base
      • Assault on Starkiller
      • Rey’s Escape
      • Oscillator Interior
    • Hub: Starkiller Base
      • Starkiller Base Objectives
      • Outside Starkiller Base
    • Chapter X: The Finale
      • The Finale Objectives
      • Oscillator Bombing Run
      • Starkiller Showdown
    • Free Play: The Finale
      • Oscillator Bombing Run
      • Starkiller Showdown
    • Hub: D’qar (Third Visit)
      • D’qar (Third Visit) Objectives
      • Resistance Base
    • Epilogue: Luke’s Island
      • Luke’s Island Objectives
      • Luke’s Island
    • Free Play: Luke’s Island
      • Luke’s Island
  • Console New Star Wars Adventures
    • Poe to the Rescue
      • Poe to the Rescue Objectives
      • Trash Compactor
      • Hangar Battle
      • Asteroid Escape
    • Free Play: Poe to the Rescue
      • Trash Compactor
      • Hangar Battle
      • Asteroid Escape
    • Lor San Tekka’s Return
      • Lor San Tekka’s Return Objectives
      • Kelvin Ravine
    • Free Play: Lor San Tekka’s Return
      • Kelvin Ravine
    • Rathtar Hunting
      • Rathtar Hunting Objectives
      • Rathtar Caverns
      • Loading Area
    • Free Play: Rathtar Hunting
      • Rathtar Caverns
      • Loading Area
    • The Crimson Corsair
      • The Crimson Corsair Objectives
      • Landing Site
    • Free Play: Crimson Corsair
      • Landing Site
    • Trouble over Taul
      • Trouble over Taul Objectives
      • Corvette Interior
    • Free Play: trouble over taul
      • Corvette Interior
    • Ottegan Assault
      • Ottegan Assault Objectives
      • Ottegan Pursuit
      • Ottegan Surface
    • Free Play: Ottegan Assault
      • Ottegan Pursuit
      • Ottegan Surface
  • Console Hubs
    • Hub: D’Qar (Hub)
      • Points of Interest
      • Carbonite
      • Gold Bricks
      • Quests
    • Hub: Jakku (Hub)
      • Points of Interest
      • Carbonite
      • Gold Bricks
      • Quests
    • Hub: Takodana (Hub)
      • Points of Interest
      • Carbonite
      • Gold Bricks
      • Quests
    • Hub: Millennium Falcon (Hub)
      • Points of Interest
      • Carbonite
      • Gold Bricks
      • Quests
    • Hub: Starkiller Base (Hub)
      • Points of Interest
      • Carbonite
      • Gold Bricks
      • Quests
  • Console Collectibles Checklists
    • Story Mode Collectibles
      • Minikits
      • Red Bricks
      • Vehicles
    • Hub Collectibles
  • Console Achievements & Trophies
    • Achievements & Trophies
  • Handheld Characters
    • Characters
  • Handheld Walkthrough
    • Chapter 1: Assault on Jakku
      • Village Retreat
      • First Order Assault
      • Jakku Graveyard
    • Chapter 2: Escape from the Finalizer
      • Finalizer Hangar 1
      • Finalizer Hangar 2
      • Star Destroyer Exterior
    • Chapter 3: Niima Outpost
      • Niima Outpost
      • Niima Bombardment
      • Jakku Graveyard Flight
    • Chapter 4: The Eravana
      • Freighter Battle
      • Freighter Chase
      • Freighter Shutdown
    • Chapter 5: Maz’s Castle
      • Castle Approach
      • Castle Hall
      • Castle Basement
    • Chapter 6: Attack on Takodana
      • Castle Corridors
      • Castle Escape
      • Takodana Skies
    • Chapter 7: Starkiller Sabotage
      • Starkiller Crash Site
      • Shield Room Approach
      • Phasma
    • Chapter 8: Destroy the Starkiller
      • Assault of Starkiller
      • Rey’s Escape
      • Oscillator Interior
    • Chapter 9: The Finale
      • Oscillator Bombing Run
      • Starkiller Forest
      • Starkiller Showdown
    • Epilogue: Luke’s Island
      • Epilogue: Luke’s Island
  • Handheld New Star Wars Adventures
    • Prologue: The Battle of Endor
      • Endor Shield Generator
      • Death Star Interior
      • Death Star Escape
    • Poe to the Rescue
      • Trash Compactor
      • Asteroid Escape
    • Rathtar Hunting
      • Rathtar Caverns
      • Loading Area
    • Ottegan Assault
      • Ottegan Pursuit
      • Ottegan Surface
  • Handheld Hubs
    • Resistance Base Hub
      • Resistance Base Hub Overview
      • Resistance Base Hub Characters
    • Jakku Hub
      • Jakku Hub Collectibles
      • Jakku Hub Characters in Carbonite
    • Takodana Hub
      • Takodana Hub Collectibles
      • Takodana Hub Characters in Carbonite
    • Starkiller Hub
      • Starkiller Hub Collectibles
      • Starkiller Hub Characters in Carbonite
    • Starkiller Arena
  • Handheld Collectibles Checklists
    • Red Bricks
    • Gold Bricks
    • Minikits
    • Characters in Carbonite
    • Vehicles
    • Trophies
  • Credits
    • Legal

LEGO Star Wars: The Force Awakens Guide › Console New Star Wars Adventures › Lor San Tekka’s Return

Kelvin Ravine

Lor San Tekka, Athgar Heece
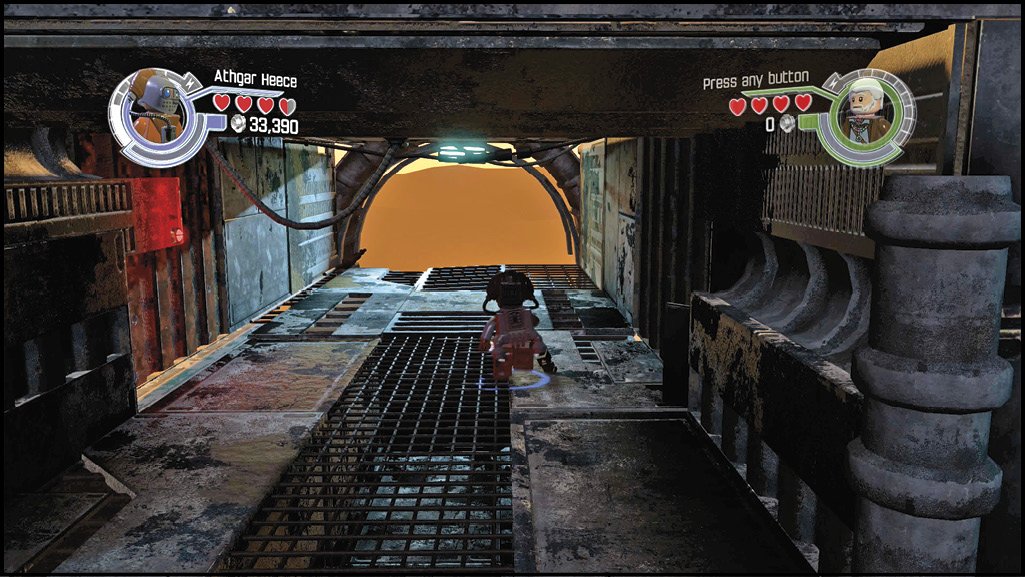
Open the Base Door

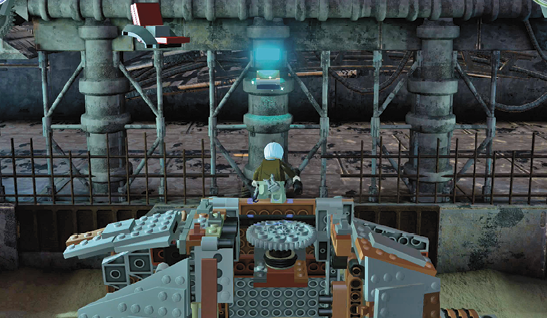
Take advantage of the peaceful opening of this chapter by exploring the ravine. Build up your stud count by destroying the debris poking up from under the sand dunes.
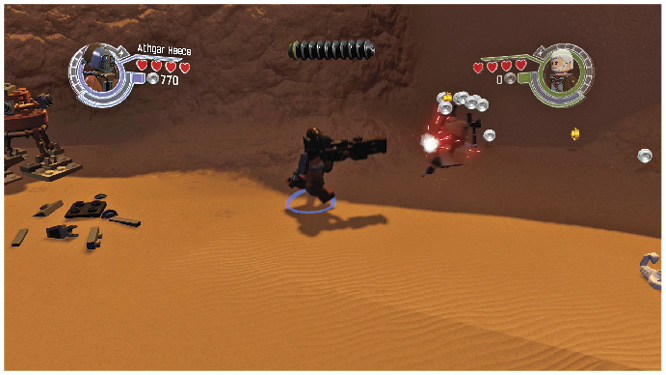
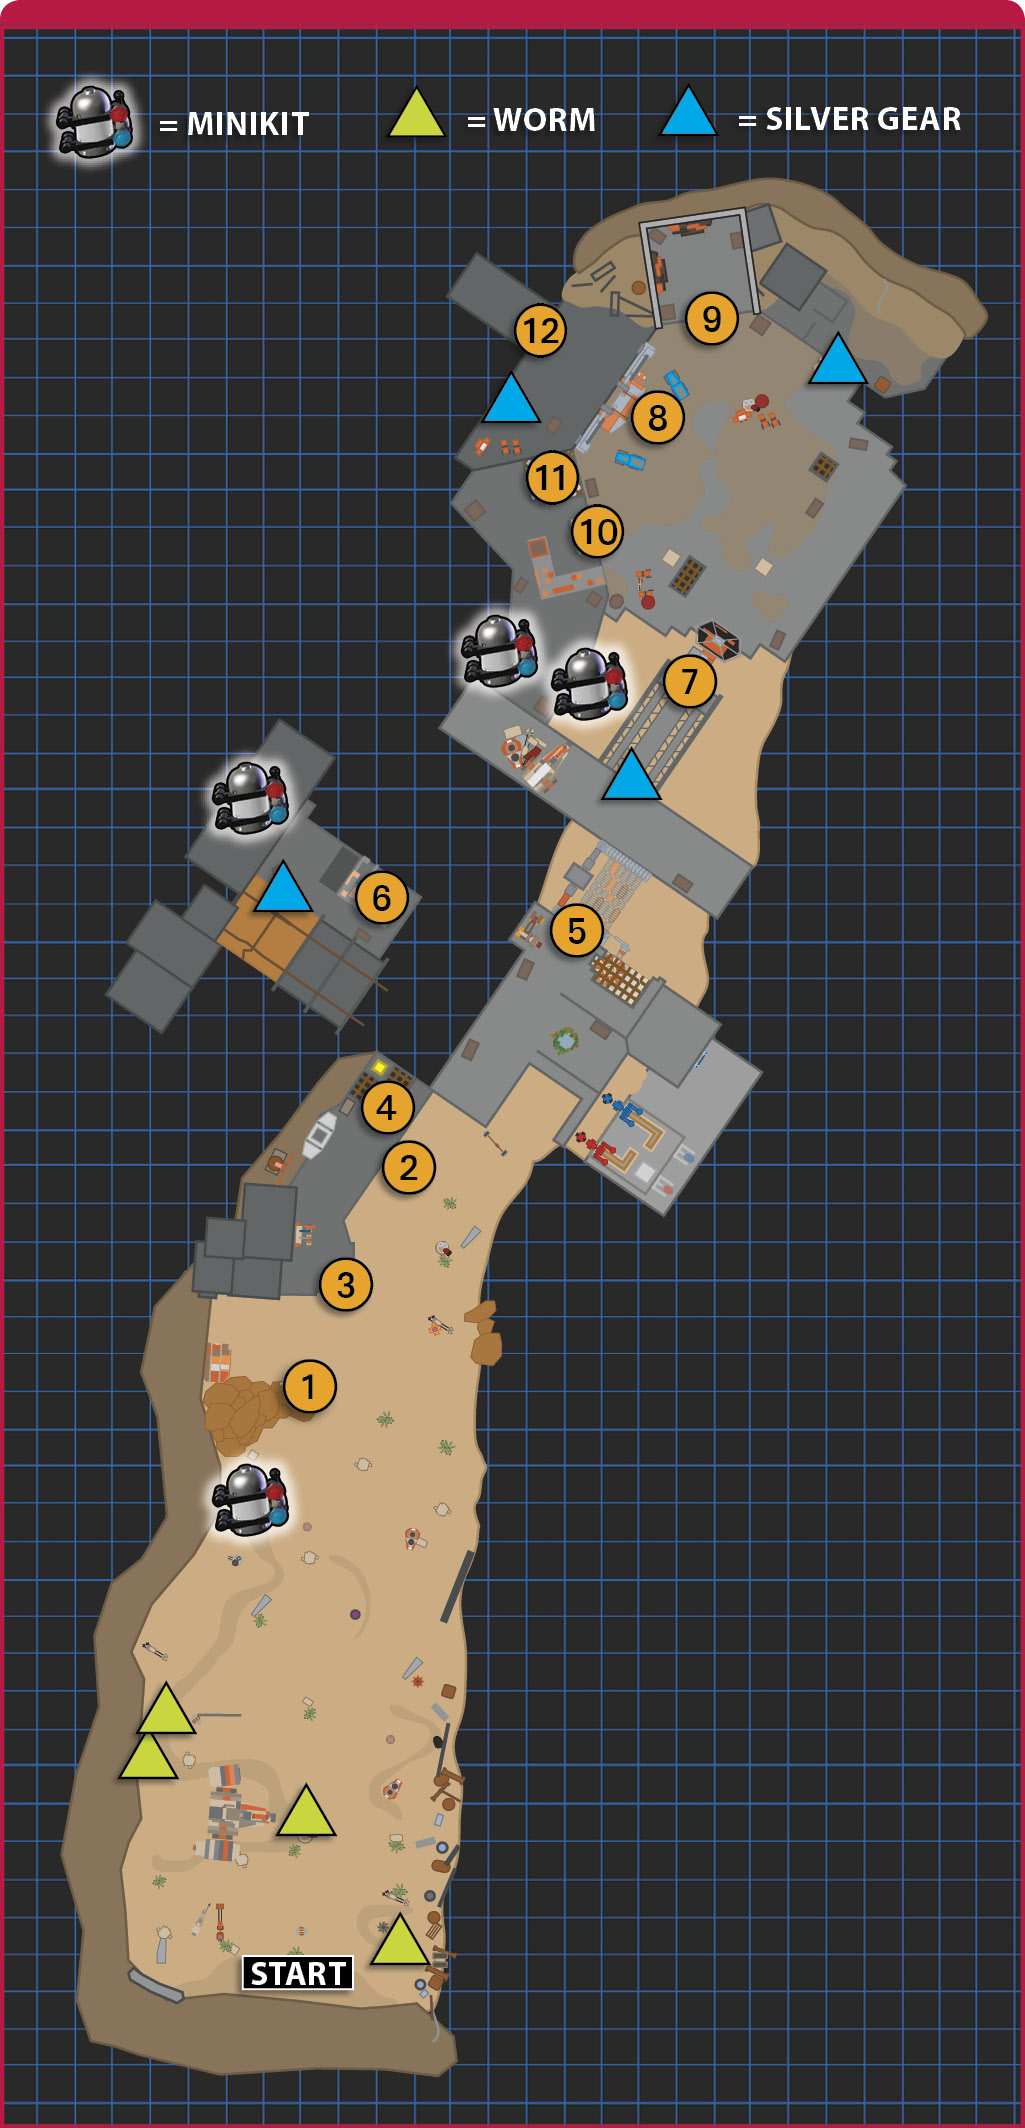
Minikit: Whack-A-Worm

Four nightwatchers poke their heads above the sand. Hit each of the four to get a pile of bricks that assemble into a Minikit.

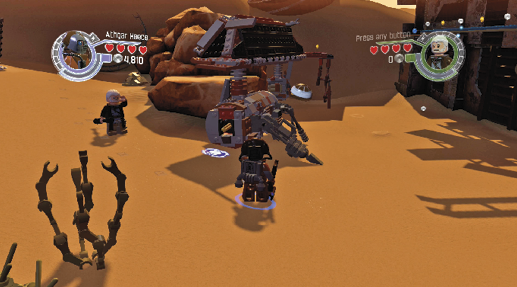
Minikit: Sand Searches

Shoot the target on the small machine against the wall of the canyon, just beyond the crashed ship. Follow the droid that emerges from within as it uncovers studs and the bricks for a Minikit from under the sand.

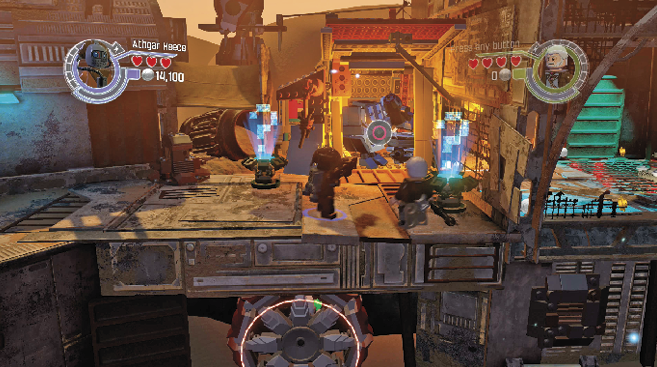
Locate the folded panel 1 atop a machine that’s missing a valve wheel. Go beyond it to reach the scavenger base. Search the base (there are a few scavengers guarding it) to find the necessary valve wheel 2. You must destroy the machine to which the valve wheel is currently attached before you can claim it. Return to the machine with the folded panel and put the valve wheel to use.

Tag to Athgar Heece. His jetpack allows him to reach the raised platform tucked into the corner of the ravine and the smaller platform on the outside of the scavenger base.

Walk along the narrow ledge and follow it around a corner. Hop off to the base’s roof and smash everything. Build a ladder from the leftover bricks and drop it into place 3.
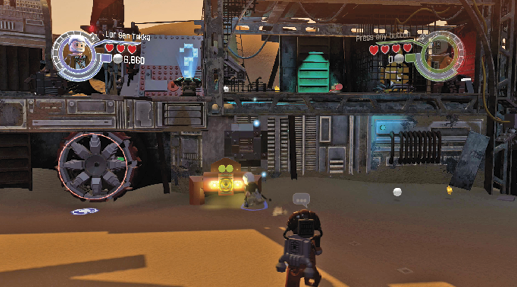
Target the grapple handle as Lor San Tekka to pull open the door. Clear out the silver LEGO objects blocking the doorway with Athgar Heece’s thermal detonator.

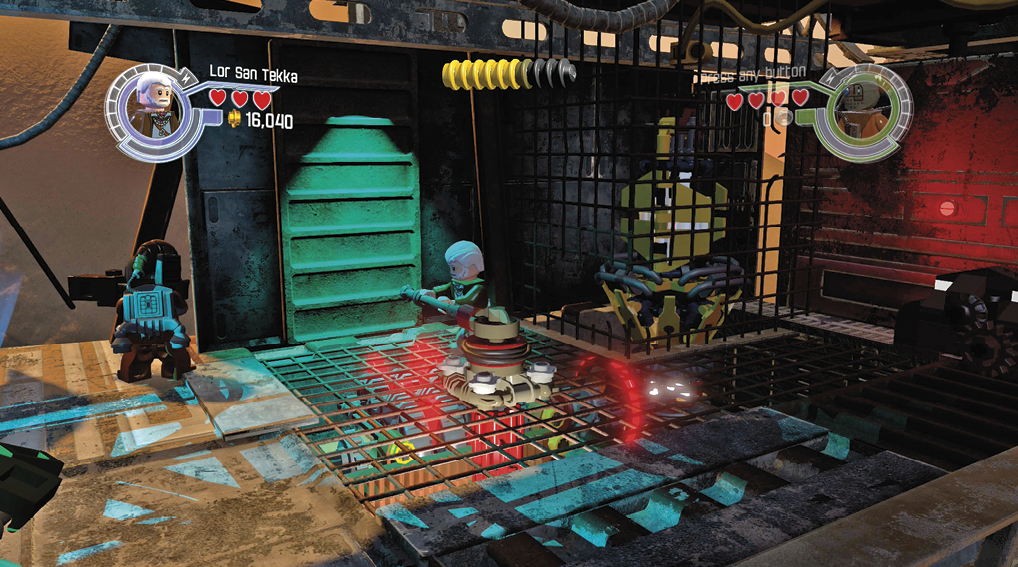
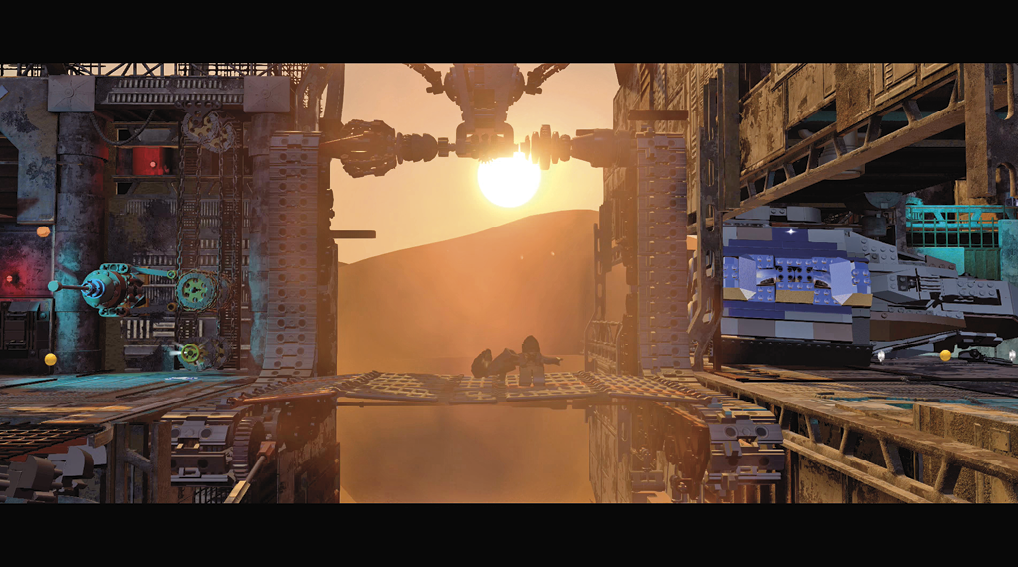
Tag to Lor San Tekka and crank the spinner switch 4, which opens the main doors to the base. The area behind the door is calm, but a gap ahead 5allows blustery winds through, making it impossible to cross the bridge initially.
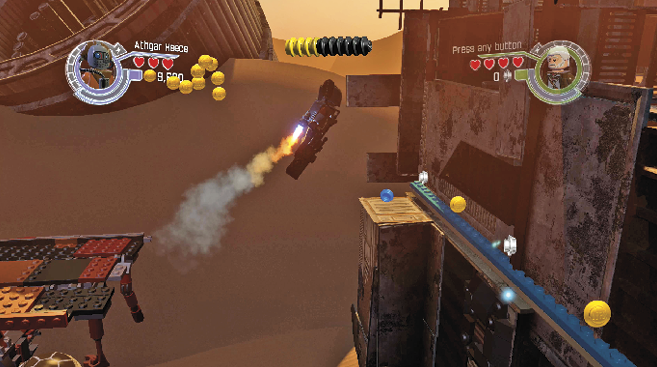
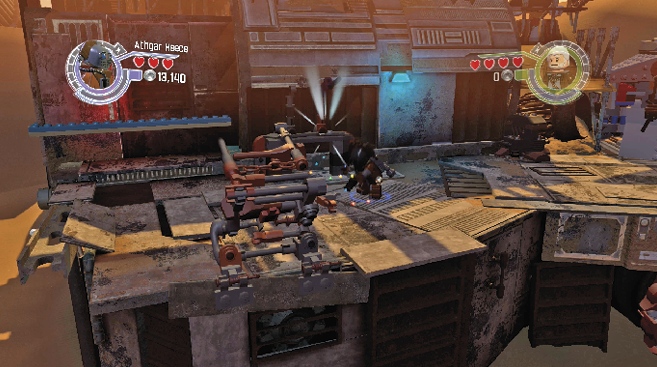
Raise the Net

Tag to Athgar Heece and hang on the twirl pole. Switch to Lor San Tekka (leave Athgar Heece in place) and turn the valve wheel.

Jump from the pole to the higher area. Look for a box of junk on a broken track 6. Repair the track with bricks salvaged from nearby debris. Push the box over the edge and build a spinner switch from its contents.
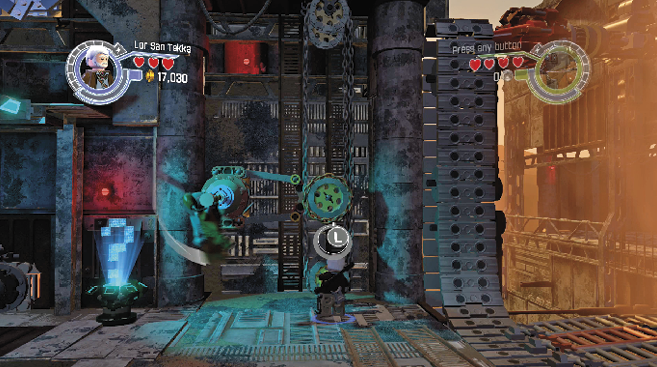
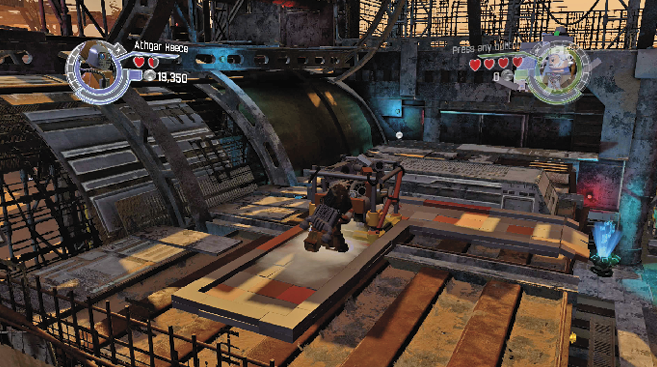
Minikit: Crank it Up

Blow up the silver LEGO object on the roof; then jetpack up to the ledge with a Minikit.

Minikit: Silver LEGO Gears

There are gears made from silver LEGO bricks attached to walls in four different spots inside the scavenger base. Hit each one with an explosive attack to earn a Minikit.

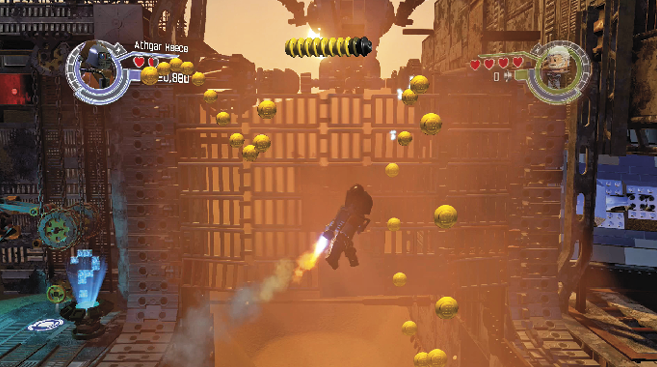
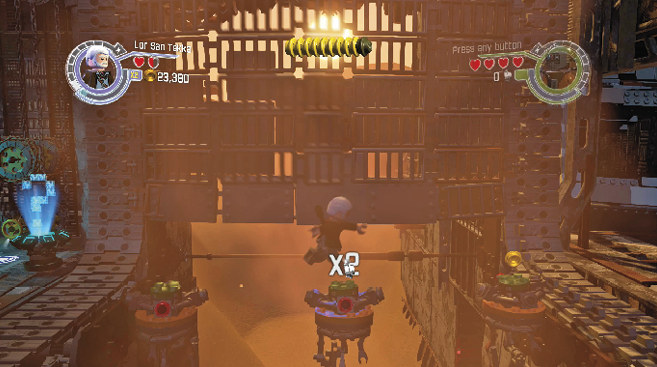
Turn the winch to move a catch net into place. Tag to Athgar Heece and jetpack over the gap. After a quick skirmish against scavengers, target the silver LEGO bricks on the derelict ship.

Three security droids settle in to the gap. Move Lor San Tecca across the gap by jumping between the droids, although he might do it on his own.
Breakthrough to the Village

Switch to Lor San Tekka and target the grapple handle 7. Pull down the TIE fighter panel to open the way to an open area with scavengers and hobbled luggabeasts.

Clear out the scavengers, then toss one of Athgar Heece’s thermal detonators at the spinning cog 8between the luggabeasts to set them free. Mount a luggabeast and bust through the two cracked blocks on either end of the area.
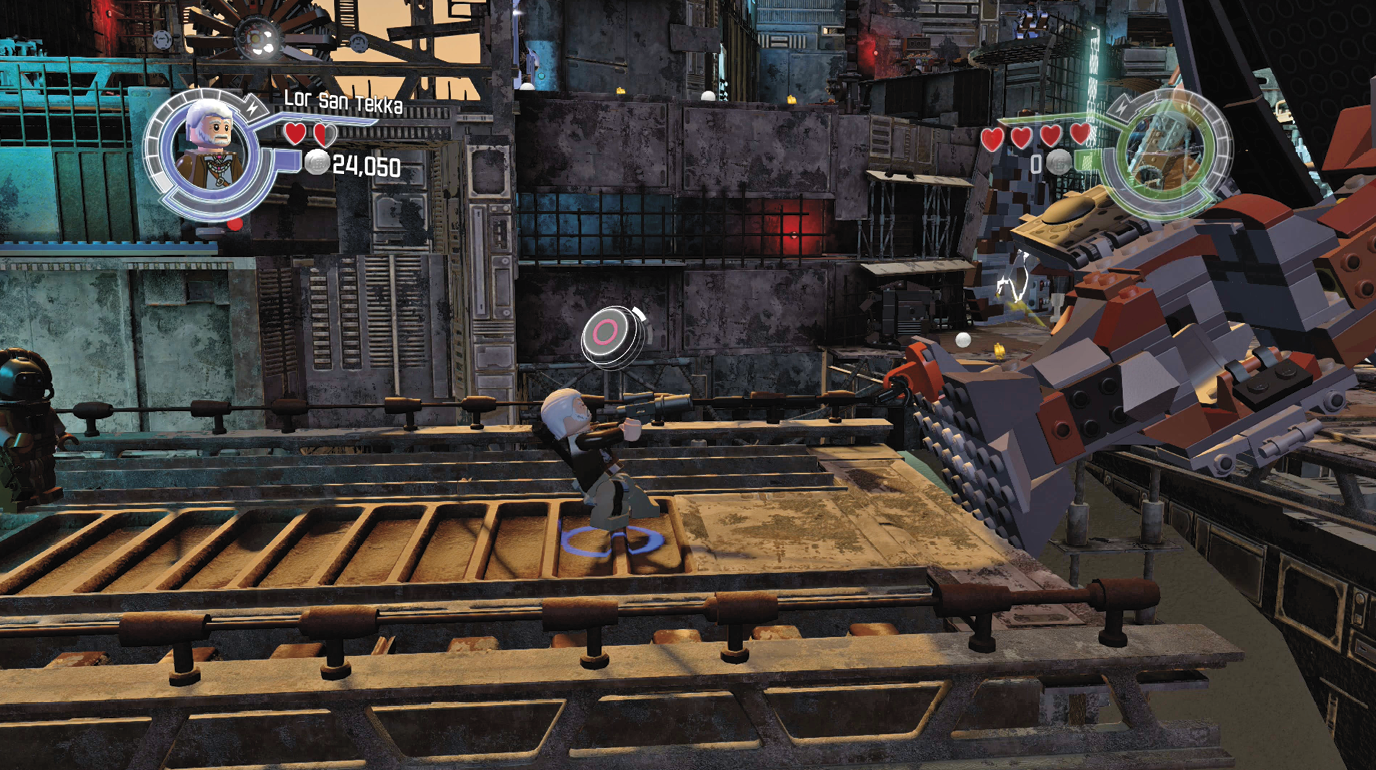
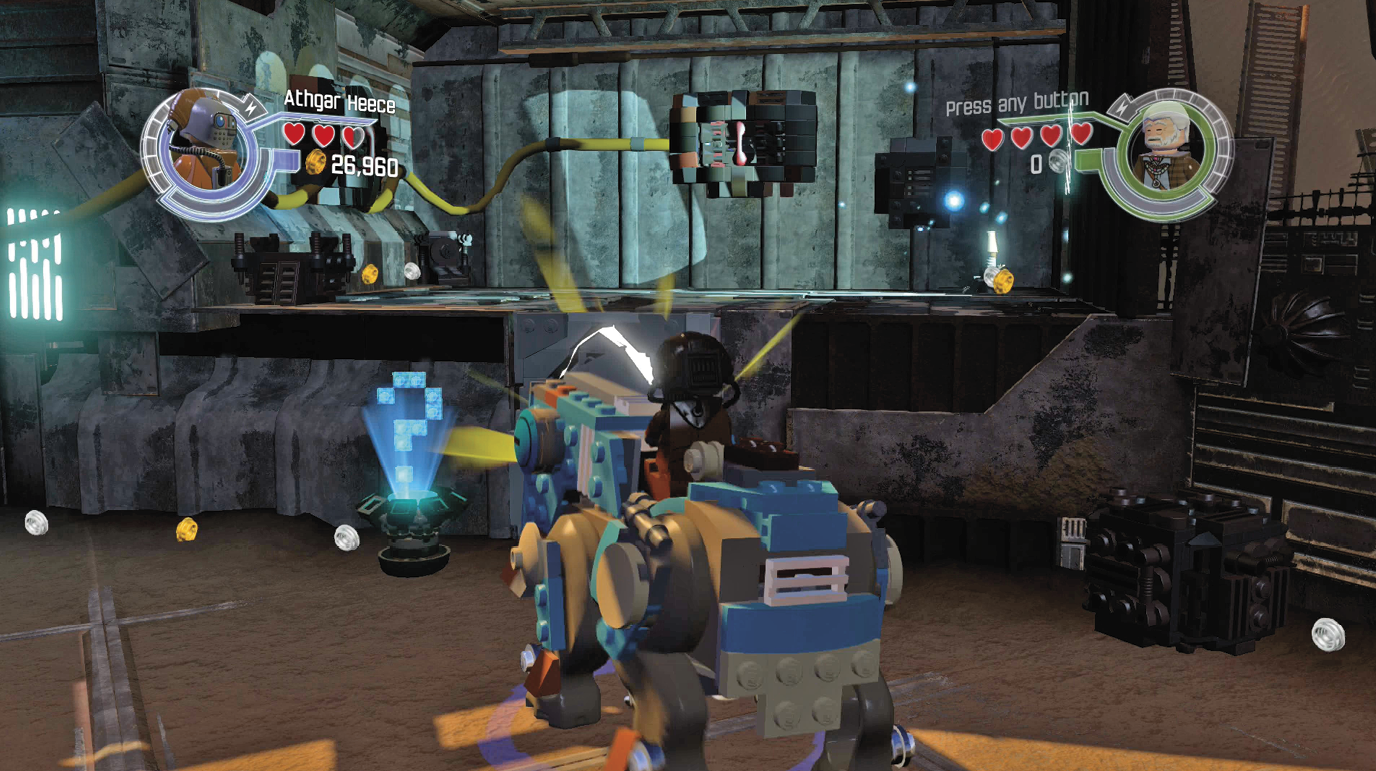
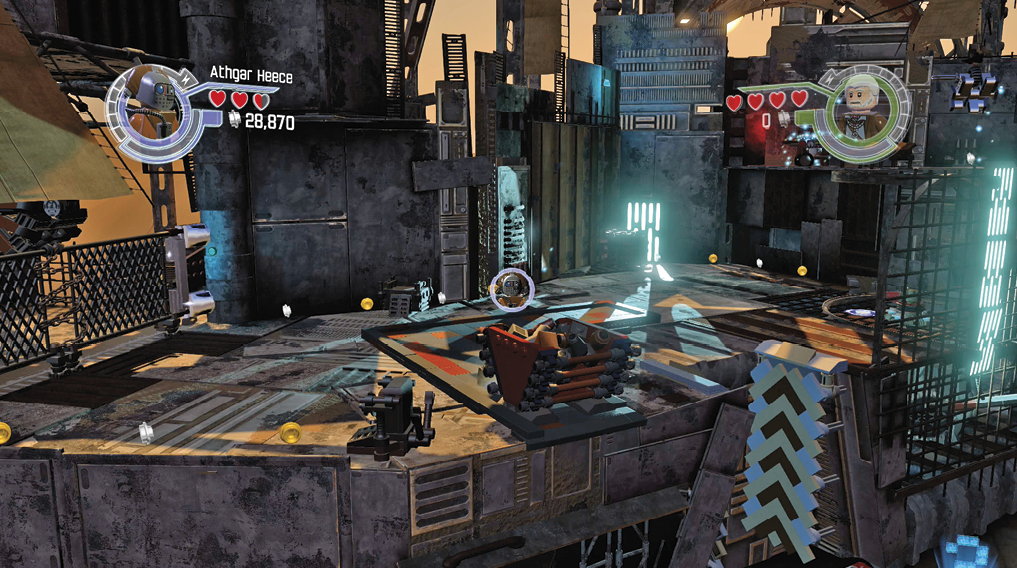
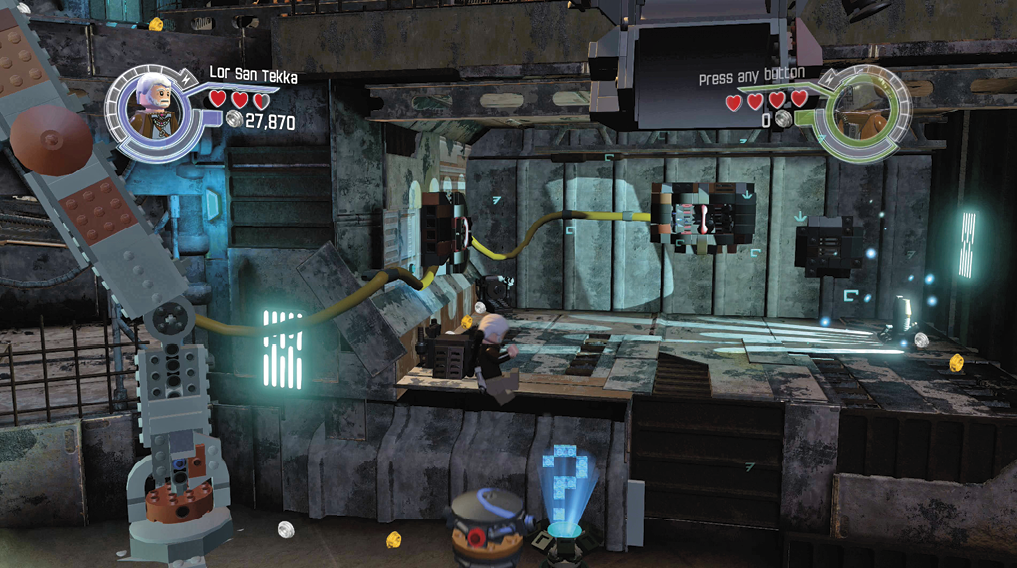
A droid emerges from above the cracked block on the right 9. Bounce on it to reach the small room above. Scan the panel on the back wall with Lor San Tekka, then destroy the exposed panel with a grenade from Athgar Heece. A surge of power shakes things up nearby.

Break through the cracked block on the left 10. Ascend the grip wall with Athgar Heece, then push the container of odds and ends over the edge.
Minikit: Bulls-Eye

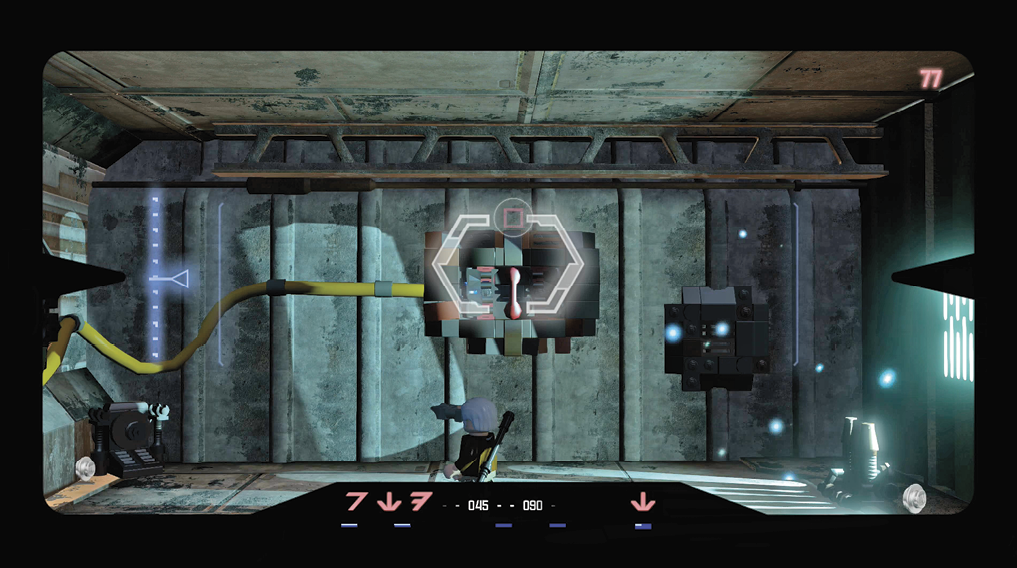
Walk away from the Spinner Switch found above the grip wall until you come upon a fence held in place by silver LEGO posts. Knock down the fence with grenades, then blast the target on the large turbine fan hanging from the wall. What you get from the wheel (studs, Teedos, or a Minikit) depends on where it stops. You get the Minikit when it points to the top image.

Minikit: Narrow Ledge

Drop over the edge not far from the spinning wheel to land on a narrow ledge. You may have seen this Minikit after crossing the windy gap.

Build a ladder from the bricks in the container. Send Lor San Tekka up the ladder and over to the spinner switch 11. After completing the tasks behind both cracked bricks, the center structure (where the leader was holed up) tumbles to the ground.

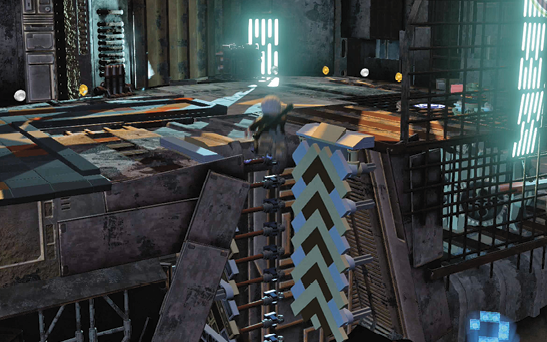
Construct two bouncing gears from the bricks that fell out of the fallen platform. Bounce to the handholds, which your characters employ to reach to the highest area. Go through the doorway 12to continue to the village.
Characters now available for purchase
Bobba Jo
Constable Zuvio
“Crusher” Roodown

Davan Marak

Teedo

EGL-21 “Amps”
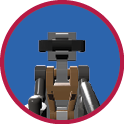
GTAW-74 “Geetaw”
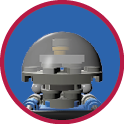
SN-1F4

Keep reading with a free account

The first 3 sections of LEGO Star Wars: The Force Awakens are open to everyone. An account opens the rest of it, and every other guide in the archive. It's free, and there's nothing to buy.

Bought guides on the old Prima Games site? Your account and every guide you own moved here, so there's nothing to buy again. Sign in.

Create a free account Or browse our free guides

PreviousLor San Tekka’s Return Objectives NextKelvin Ravine