
Lego Batman 3: Beyond Gotham Guide Walkthrough (Console) Level 3: Space suits you, Sir!
Objective 1: Ready the Rocket
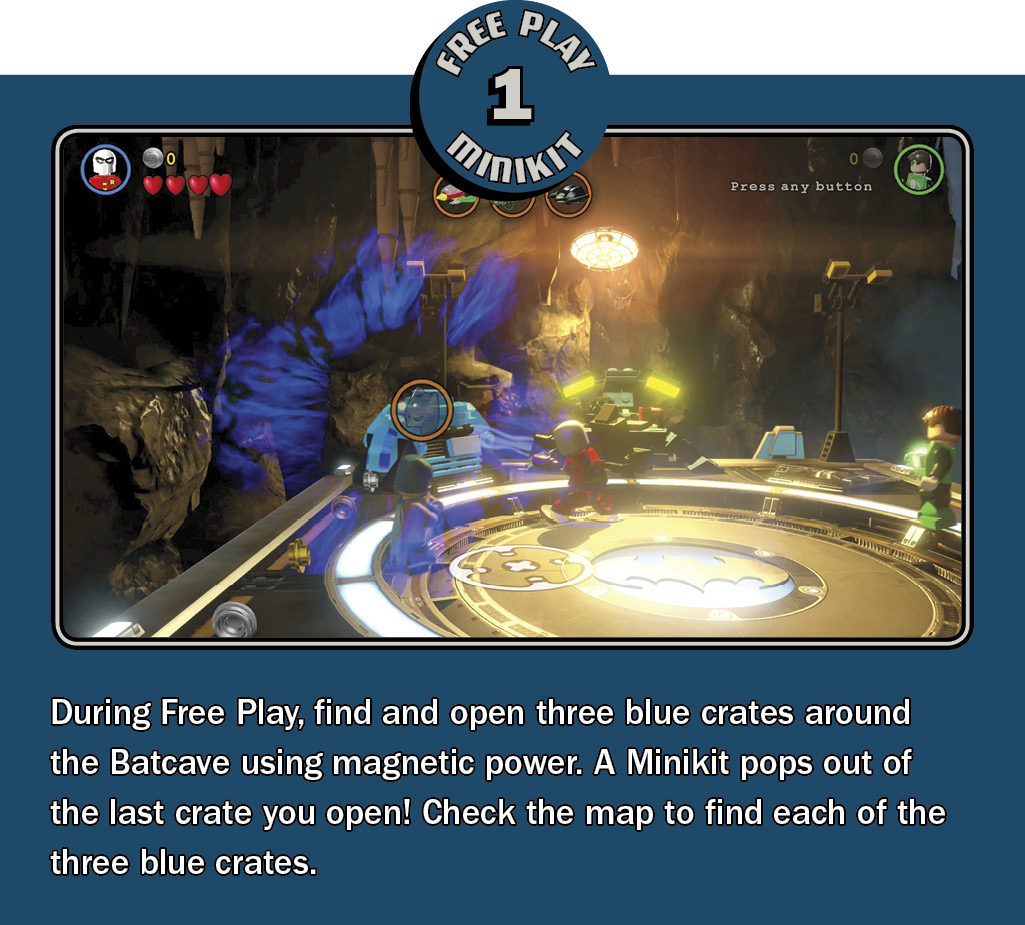
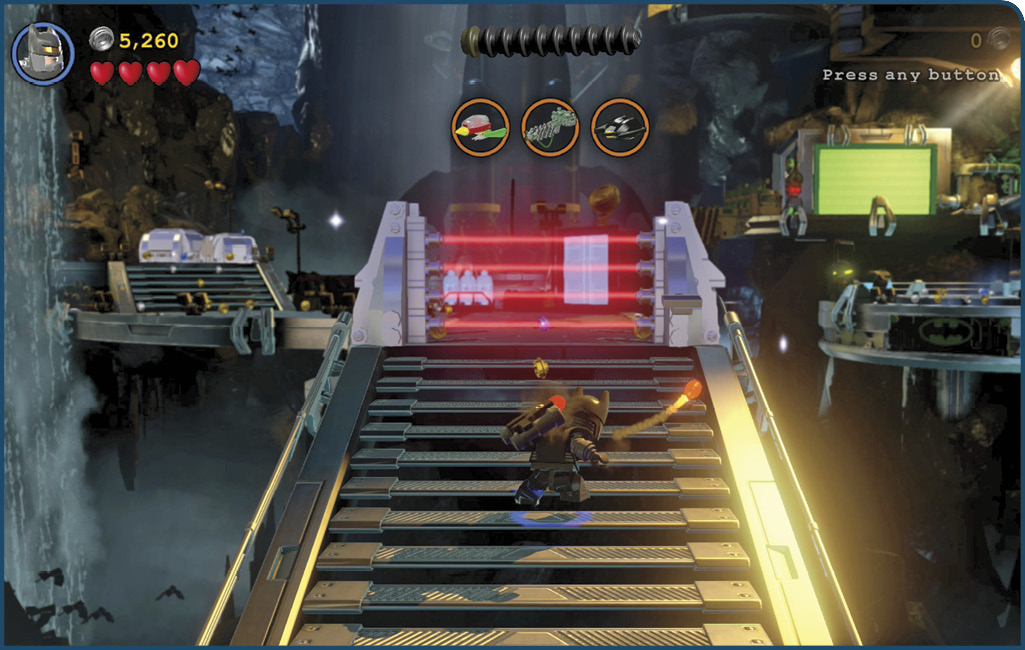
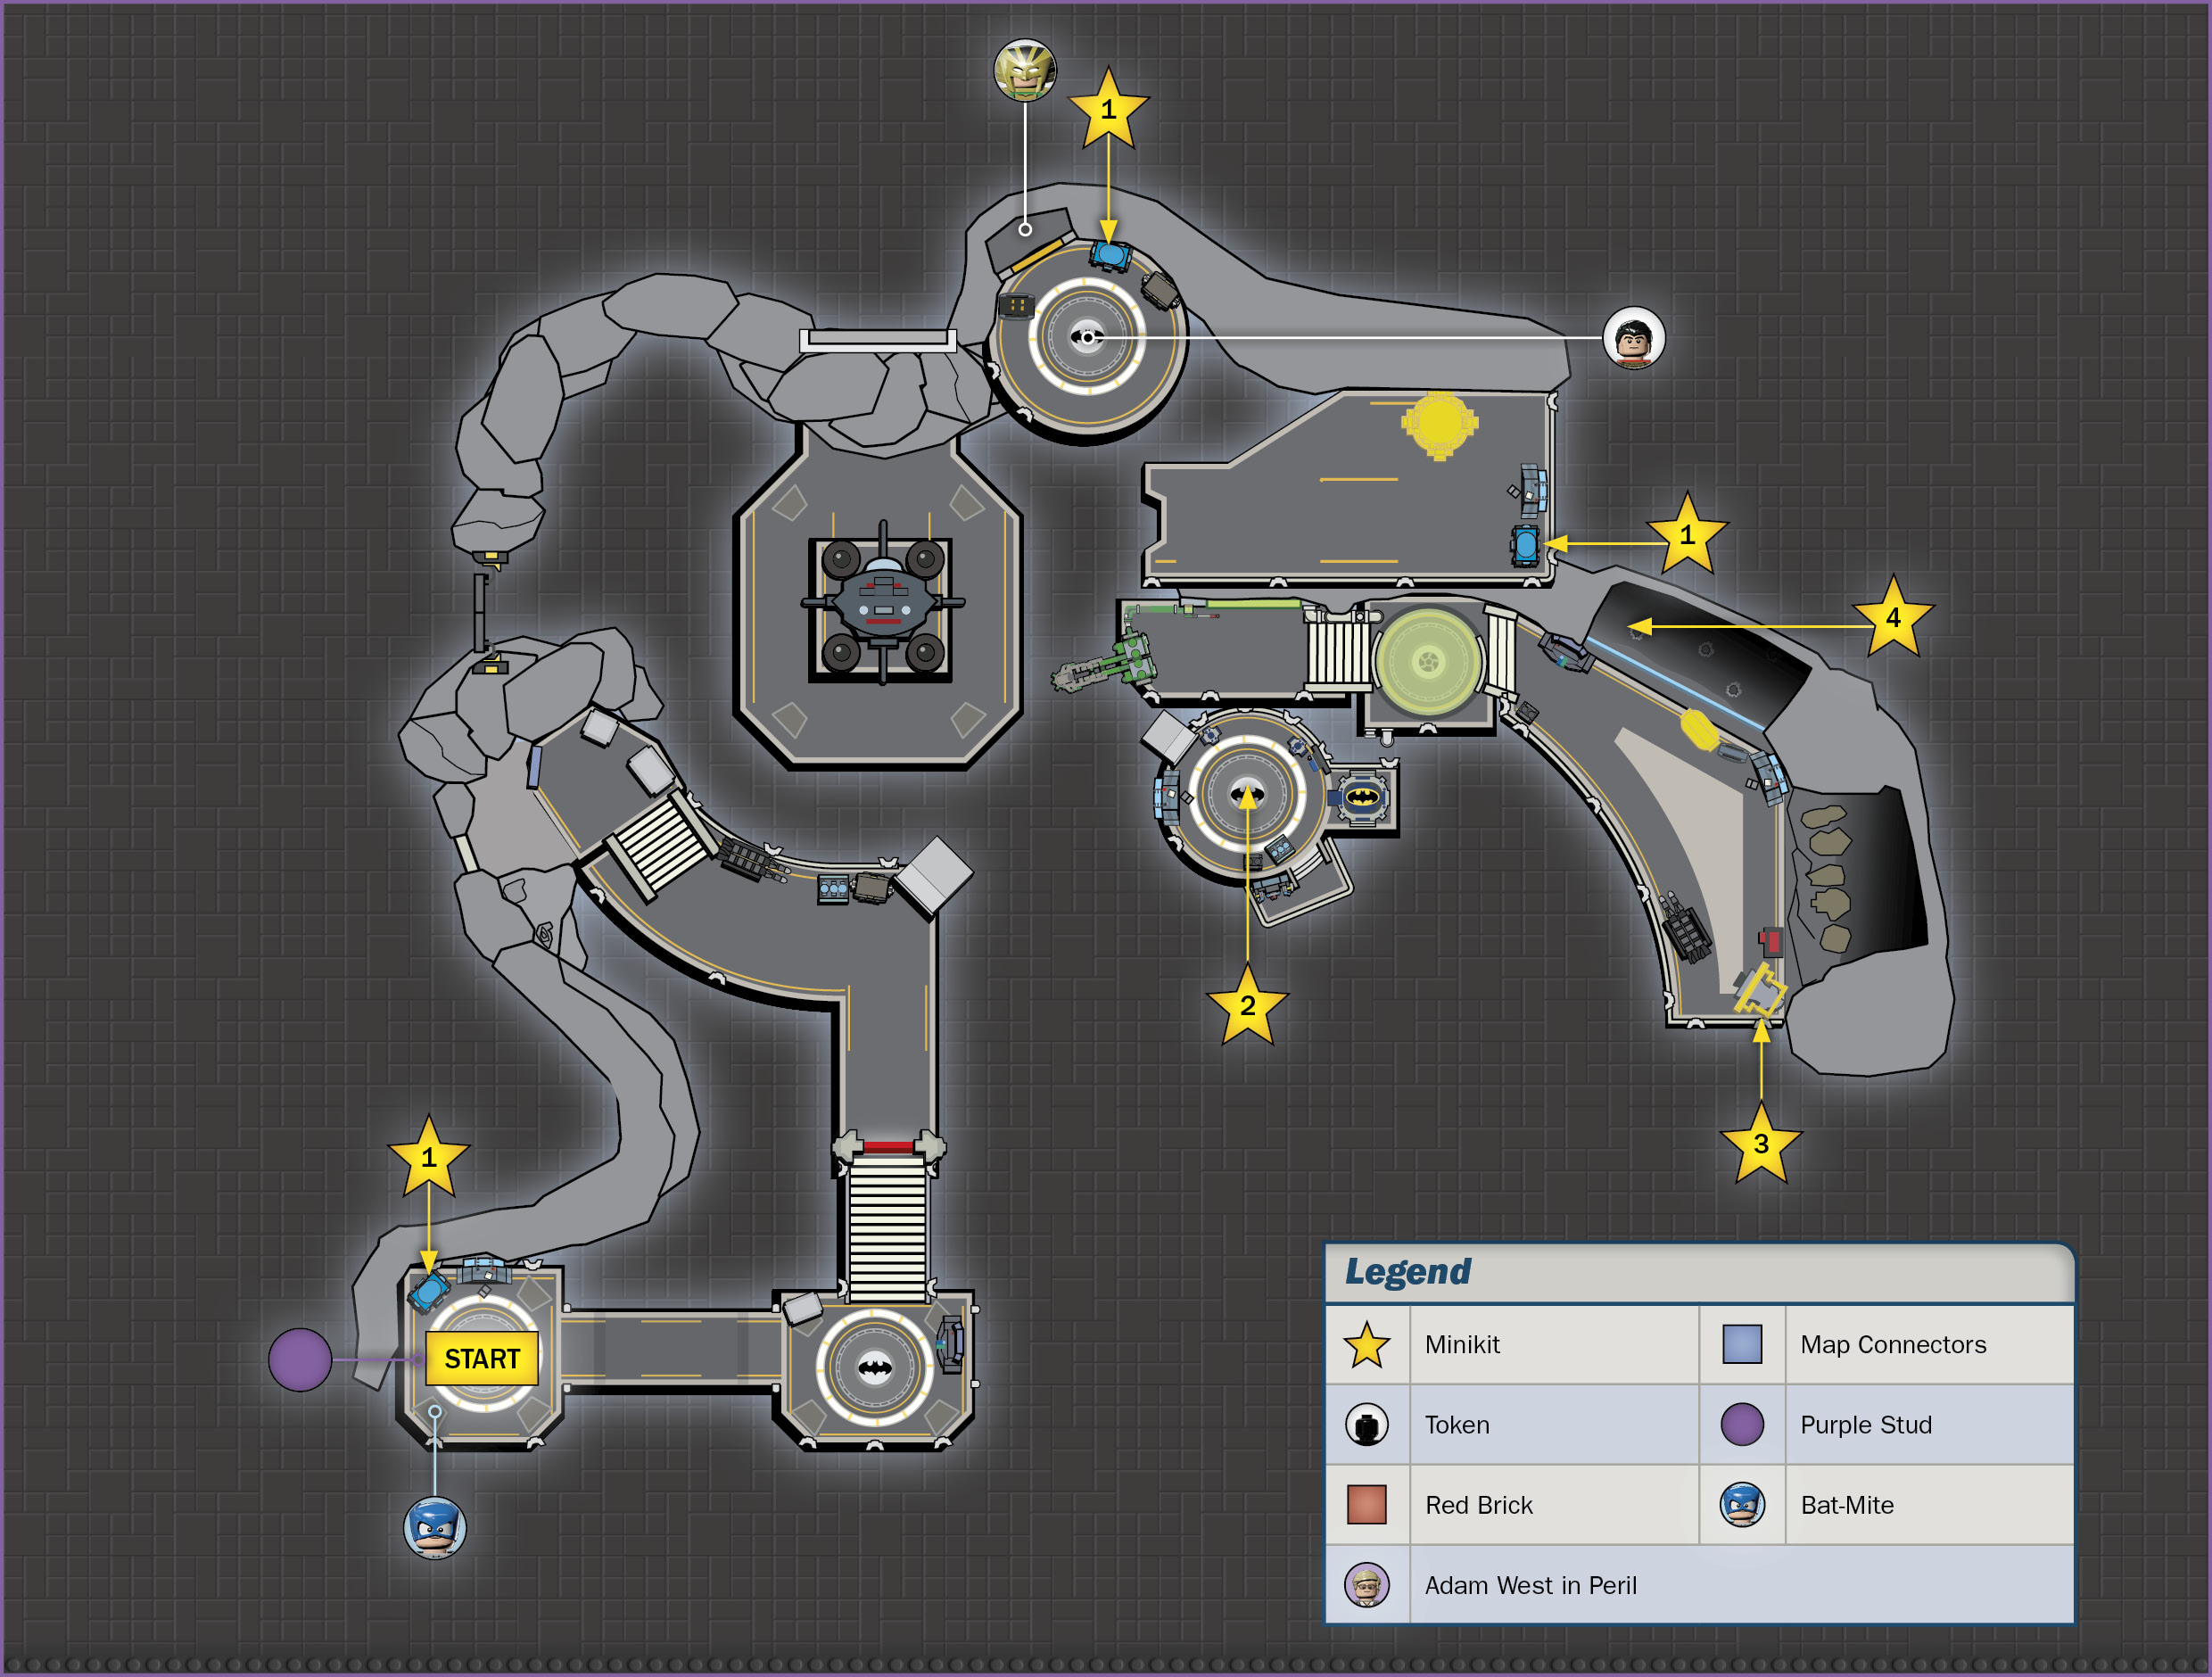
The Bat-rocket can deliver the Dynamic Duo to space, but it needs to be readied for the trip. Go upstairs and fire missiles from Batman’s Power Suit to destroy the silver security gate. Keep going up and destroy two silver crates with missiles, then build their bricks into a Toy Wonder terminal.
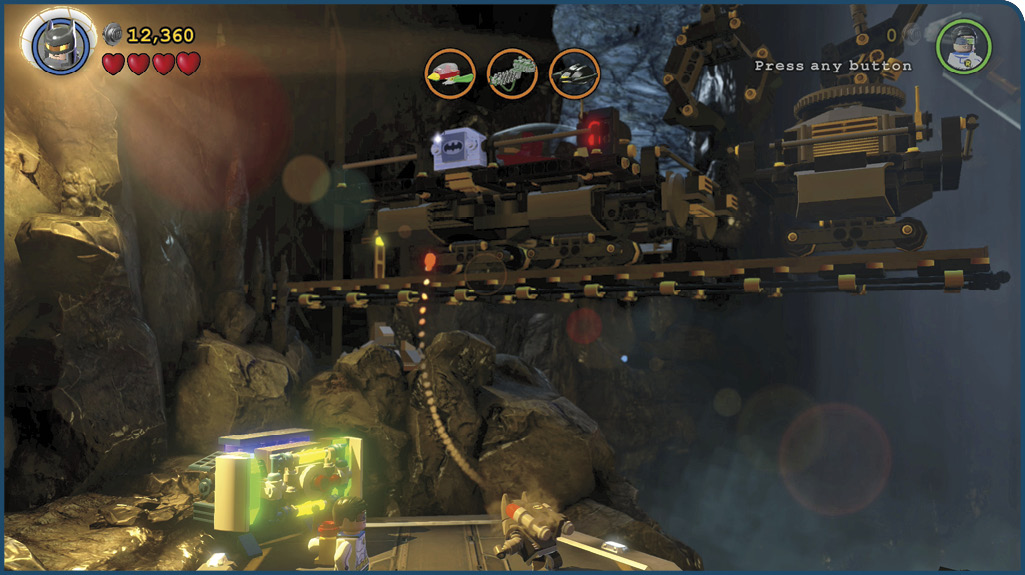
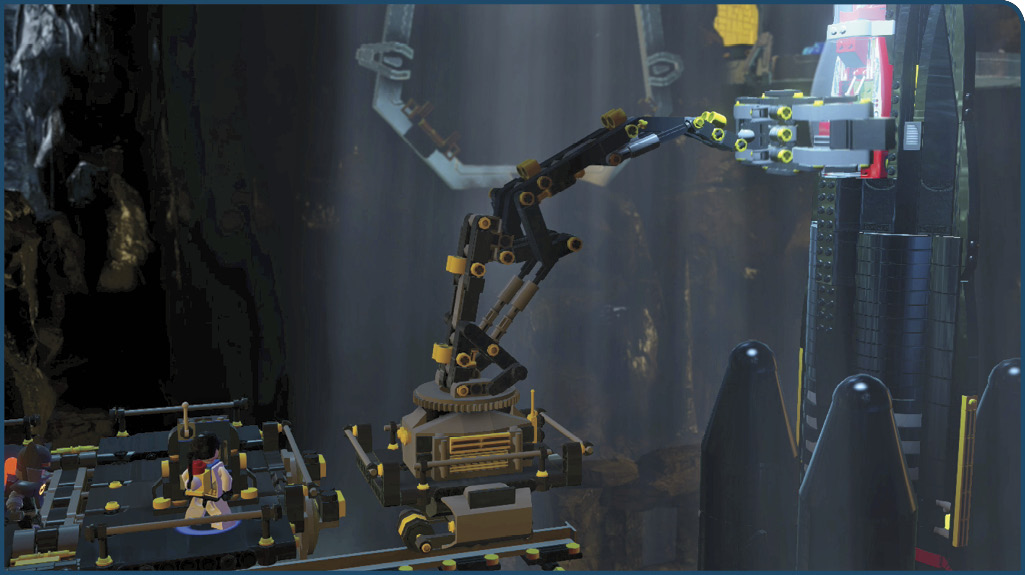
Tag to Robin and use his Techno Suit’s Toy Wonder to activate the terminal. A track extends overhead, delivering a crane nearby. Tag to Batman, hold the Attack button, and fire a missile at the silver object on the side of the track. This exposes an orange hook.
Tag to Robin and grapple the orange hook to zip up to the crane. Hack the Techno Panel by rapidly tapping the onscreen button, and the crane attaches the Bat-rocket’s cockpit. That’s step one!
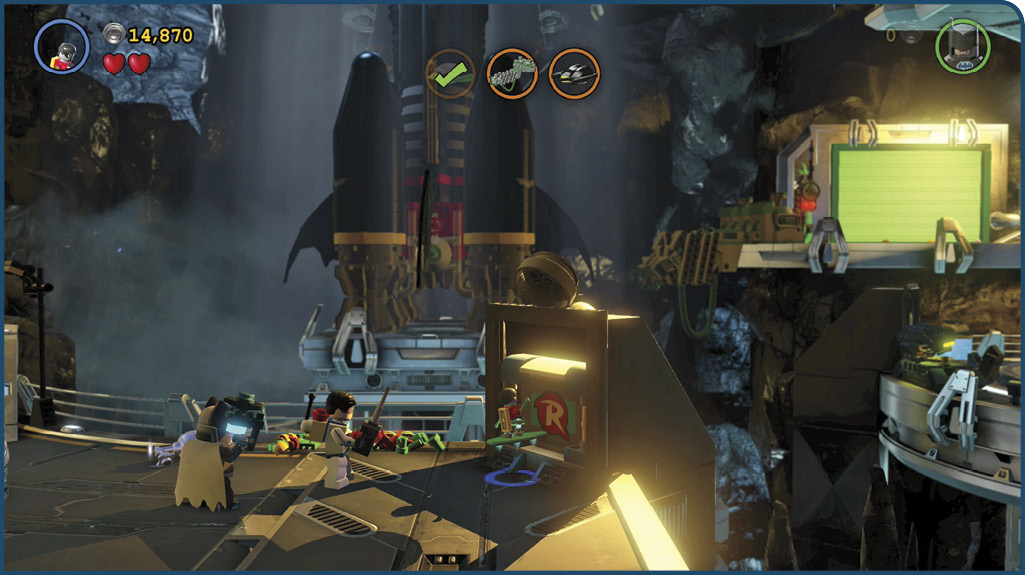
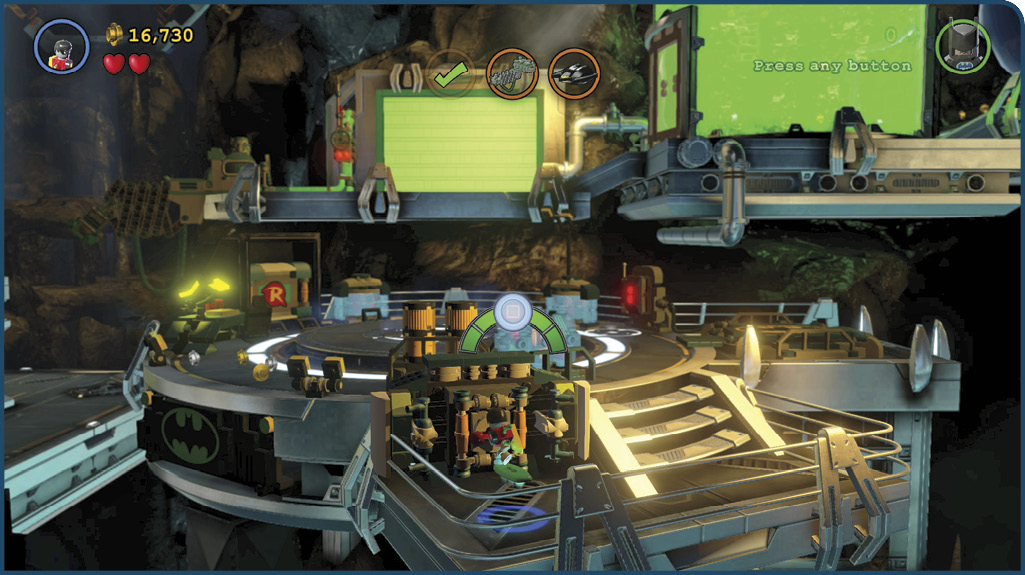
Next, you need to fuel the Bat-rocket. Backtrack downstairs to find a silver crate that fell when you attached the cockpit. Blast the crate and collect the Suit Token within to obtain Batman’s Sonar Suit! The Sonar Suit lets Batman shatter glass LEGO objects, just like the ones nearby. Press the Interact button to fire a powerful sonar blast that shatters the glass objects, exposing a Toy Wonder hatch and a crate of LEGO bricks. Smash the crate to scatter the bricks, then vacuum them all up with Robin’s Hazard Suit for later use. Switch to his Techno Suit afterward and hold the Interact button to send Toy Wonder through the hatch.
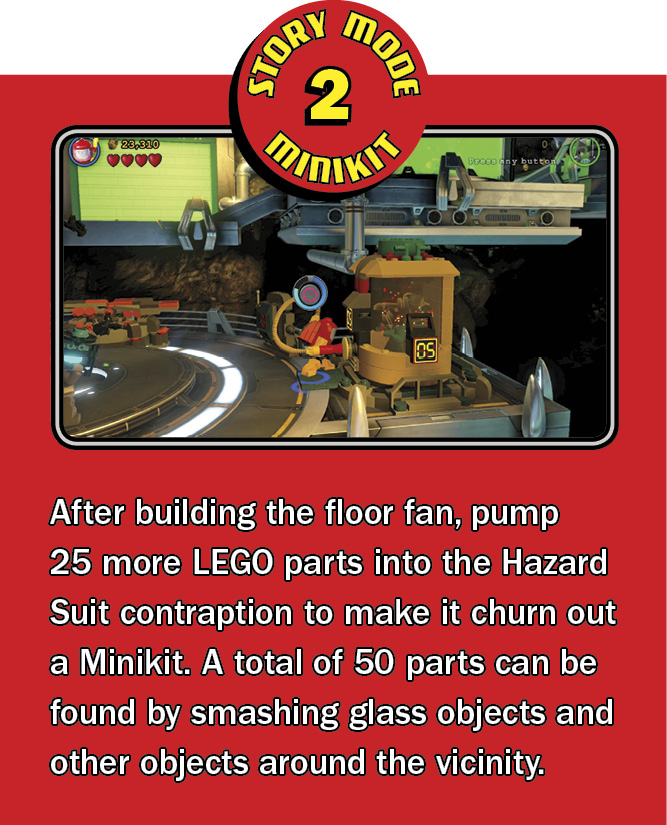
Toy Wonder emerges from a hatch on the right. Steer him down to the Toy Wonder terminal and activate it to extend a bridge for Batman and Robin. Cross the bridge and smash everything on the platform, using the Sonar Suit to shatter all of the glass objects as well. Hack the nearby techno panel afterward to make a Hazard Suit station rise nearby. Switch to the Hazard Suit and suck up all of the surrounding LEGO bricks, then pump 25 bricks into the contraption to build a large floor fan.
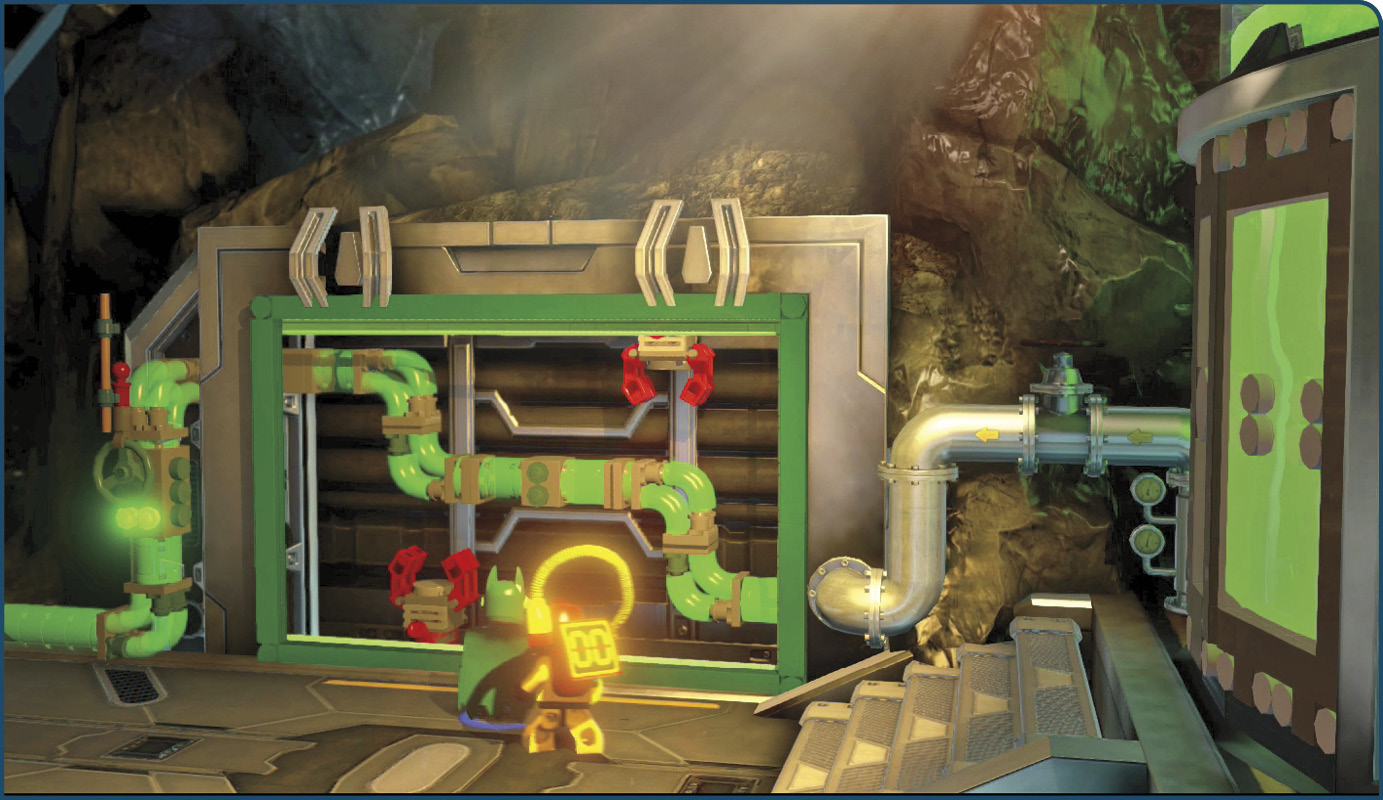
Use Batman’s Sensor Suit to detect an orange hook on the side of the fan. Grapple and yank the orange hook to start the fan, then jump into the updraft to reach a green LEGO wall. Use Batman’s Sensor Suit again to align the pipes beyond the wall (as pictured), so fuel can flow through. Jump and grab the handle of the nearby valve to turn it and send the fuel to the Bat-rocket.
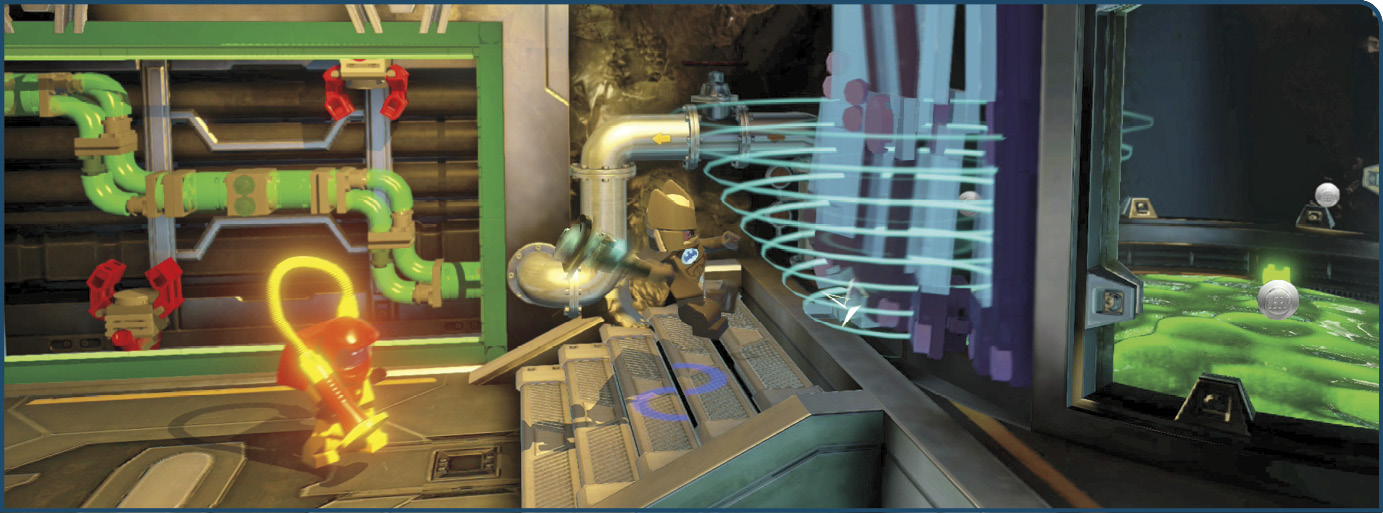
Filled with fuel, the rocket is nearly ready. You just need to attach its top part. To get up there, Batman needs his Space Suit. Go right and use the Sensor Suit to reveal that the fuel tank is made of glass. Shatter the glass with the Sonar Suit, then tag to Robin.
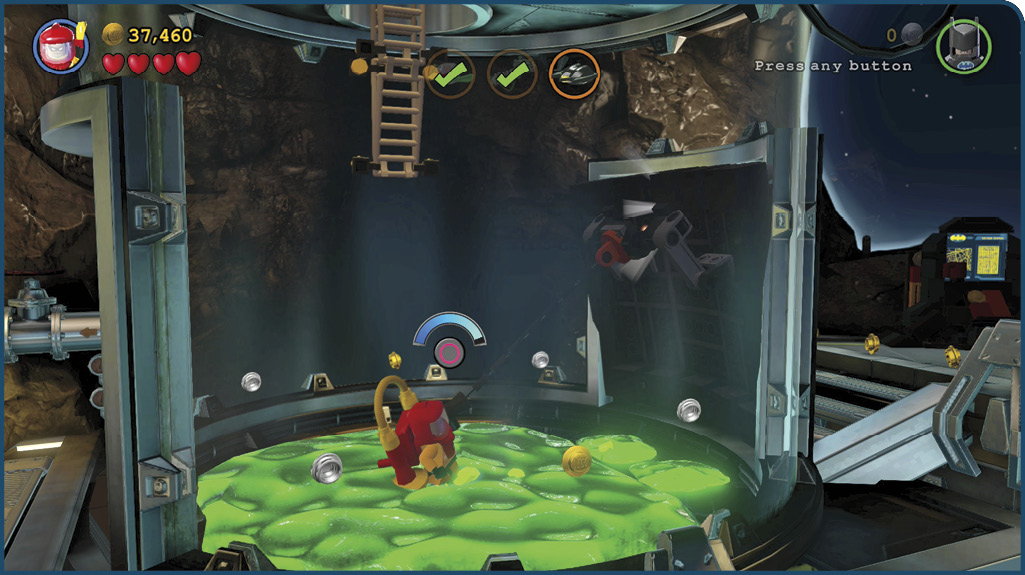
The remaining fuel is toxic, so put on Robin’s Hazard Suit and cross it. Grapple a hook on the tank’s other side to rip down a door that lets you pass through the tank and also creates a means for Batman to join you.
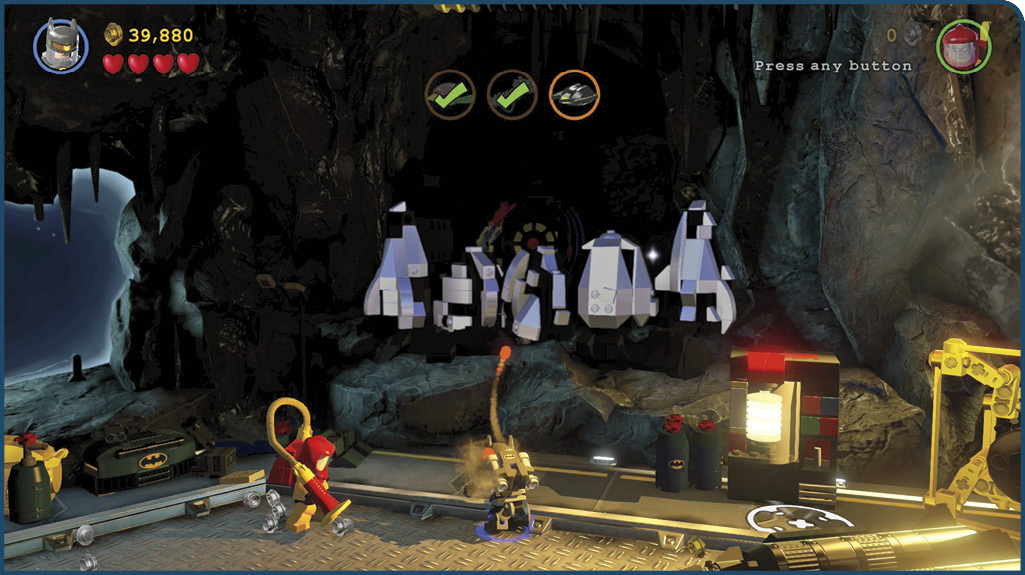
Once you’re past the fuel tank, use Batman’s Sensor Suit again to detect some silver rocks. Blast these with missiles from the Power Suit, then tag to Robin and charge up his Illumination Suit at the nearby charging station.
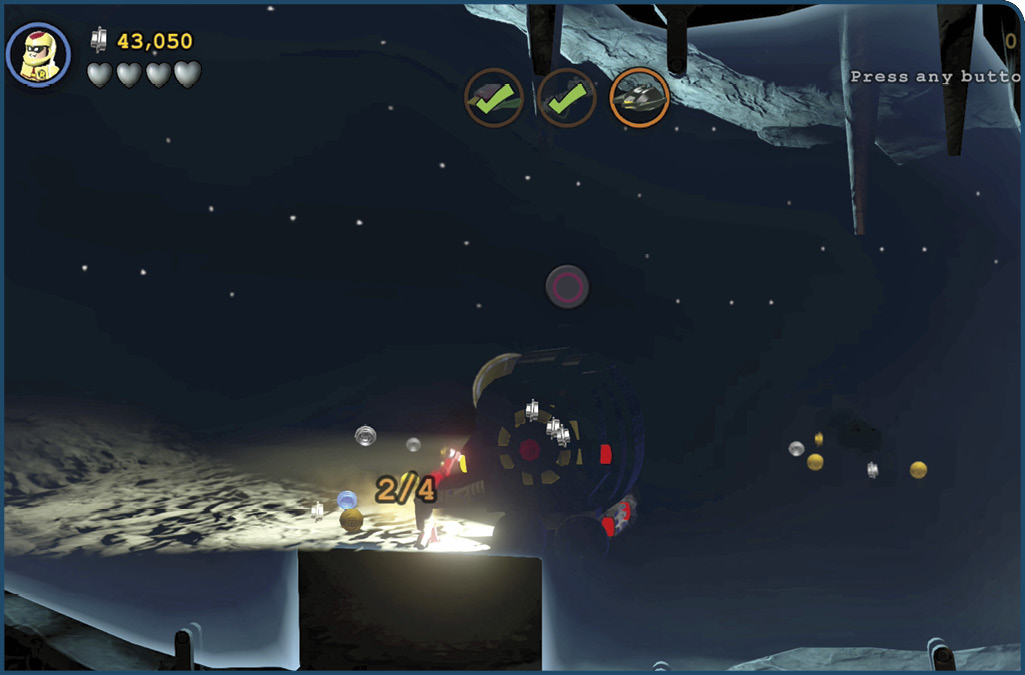
Use Robin’s Illumination Suit to light up the nook beyond the silver rocks, and you discover a moon buggy. Pilot the vehicle and drive into the dark area beyond. Drive to each ring of studs in the darkness and hold the Interact button to dig. A counter appears each time you finish digging at a spot. Dig at all four to discover the Space Suit Token and deliver it to Batman!
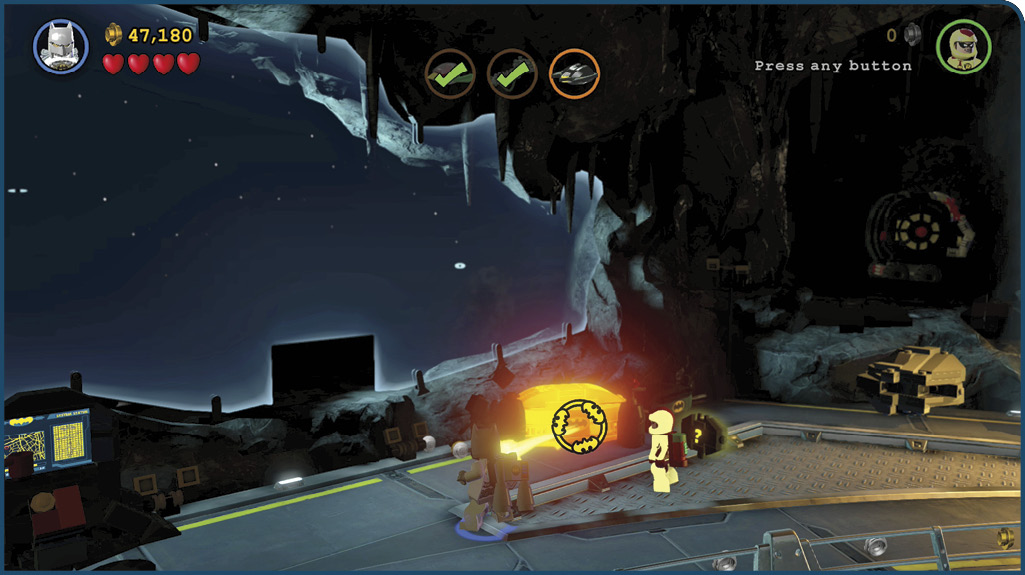
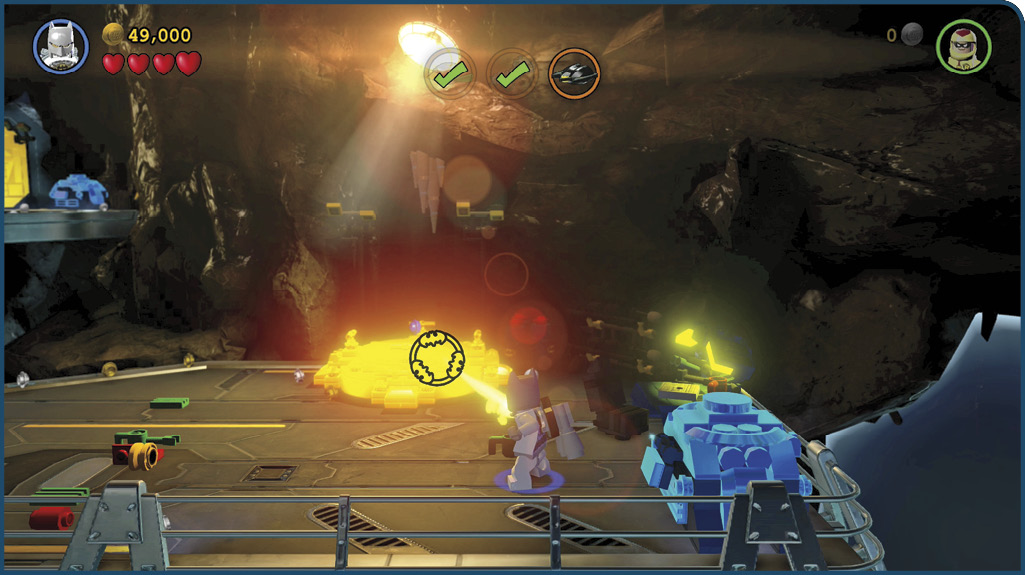
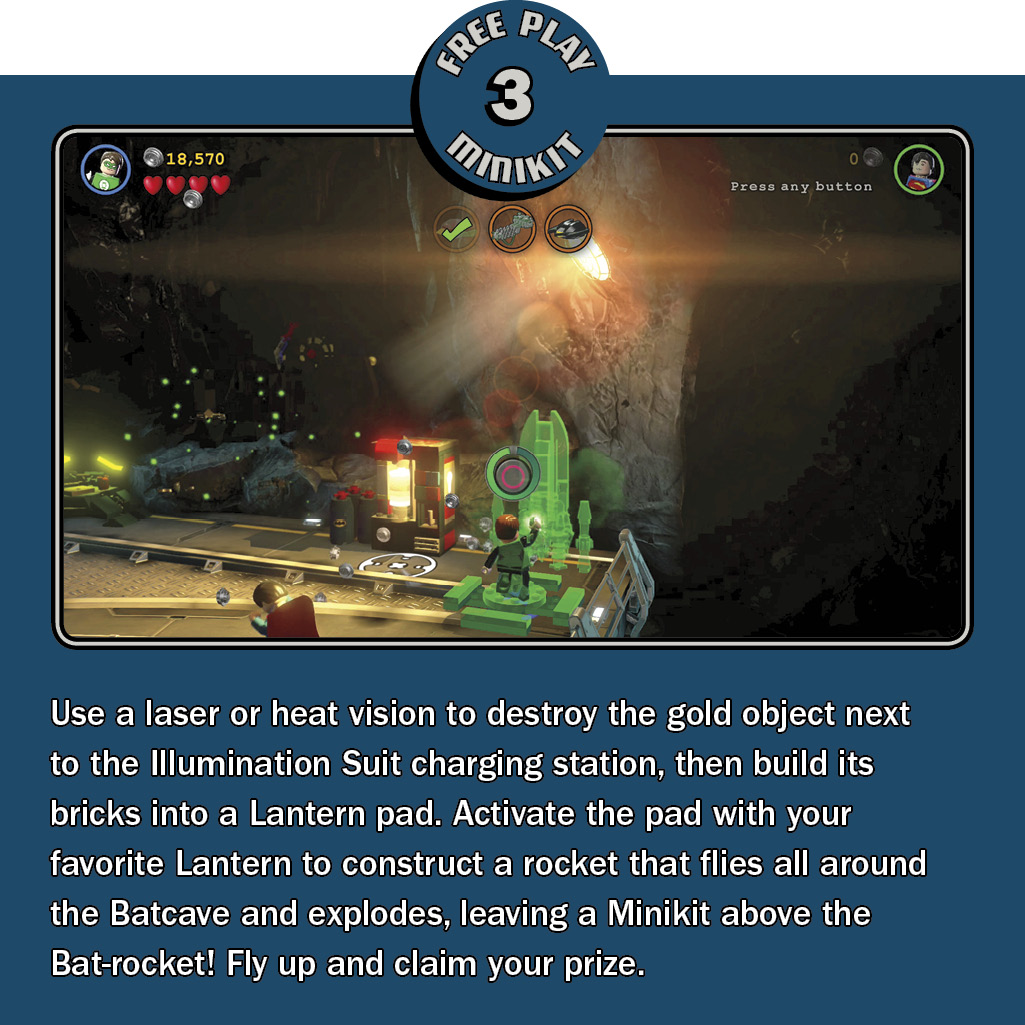
Tag to Batman and grab the Space Suit Token while Robin makes his way out of the back area. The Space Suit has a laser. Hold the Interact button and fire the laser at the nearby gold crate until it overheats and explodes, then build its bricks into a fueling station for the Space Suit’s jet pack. Fill the Space Suit with fuel by holding the Interact button. Like Robin’s Illumination Suit, the Space Suit consumes its fuel after a bit of use. The meter on the back tells you how much fuel is left. Refuel at the fueling station as often as you need!
With Batman’s Space Suit full of fuel, press the Jump button twice to take flight! Hold the Jump button to fly up high and land atop the large tank that held the Bat-rocket fuel. Use the Space Suit’s laser again to destroy the gold hatch up here. This lowers a ladder so that Robin may join you.
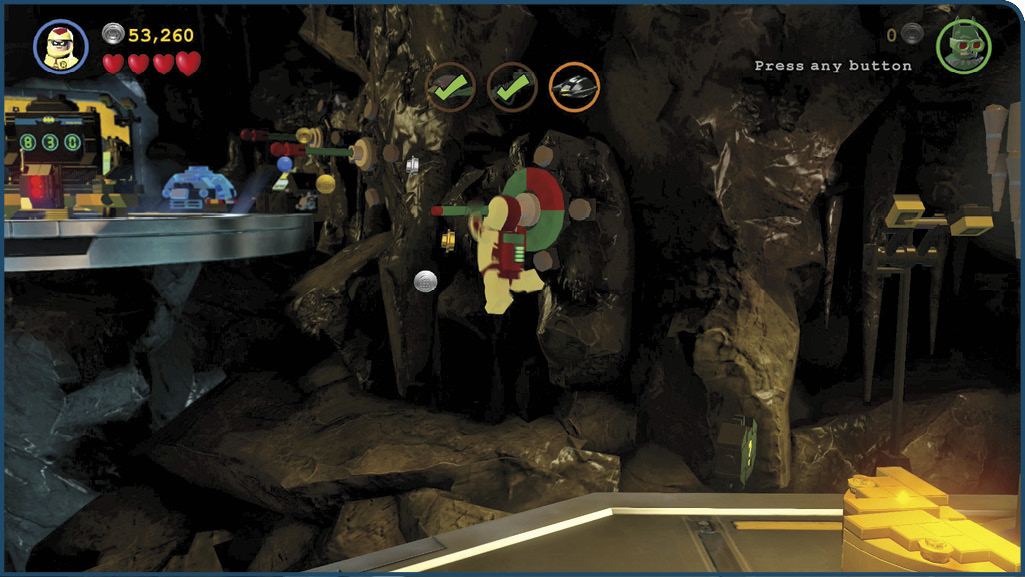
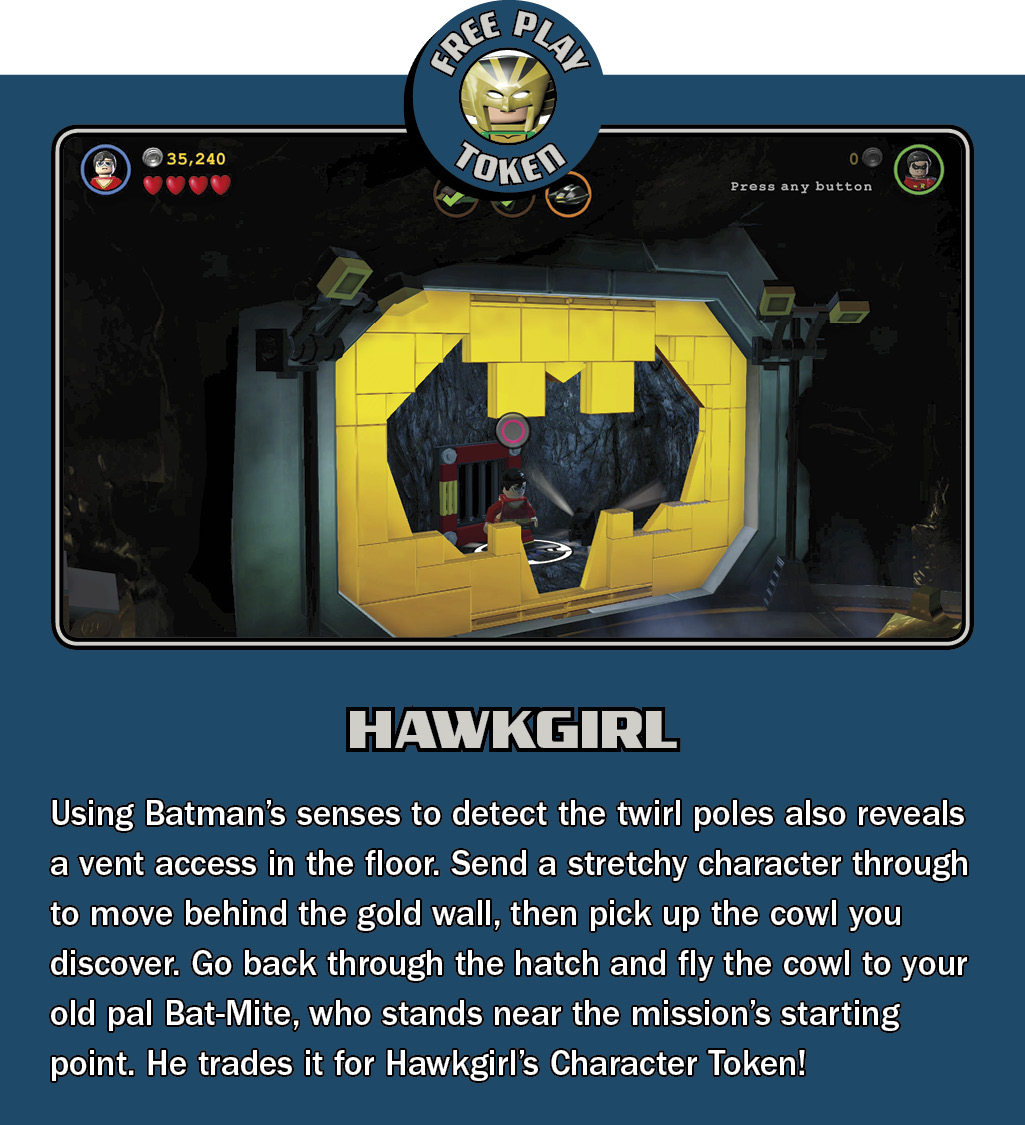
Fly to the background platform next, then use the Space Suit’s laser again to slice a bat symbol out of the gold wall. Build the bricks that tumble out into a computer terminal for Robin to hack, then use Batman’s Sensor Suit to reveal a row of twirl poles running along the right wall.
Tag to Robin and approach the row of twirl poles. The first one is missing! Hold the Attack button, aim at the socket, and then release the button to throw and lodge Robin’s twirl pole into the socket. Leap along the twirl poles afterward to join Batman near the computer. Hack the computer with Robin’s Techno Suit to explore another VR space!
Your objective is to locate three code blocks. Each block gives you one digit to the code that’s needed to pilot the Bat-rocket. The first code block lies within a simple maze. Find it in the lower-left corner and attack it to obtainthe code’s first digit. The space then shifts to a platforming obstacle course. Be careful not to fall on your way to the second code block!
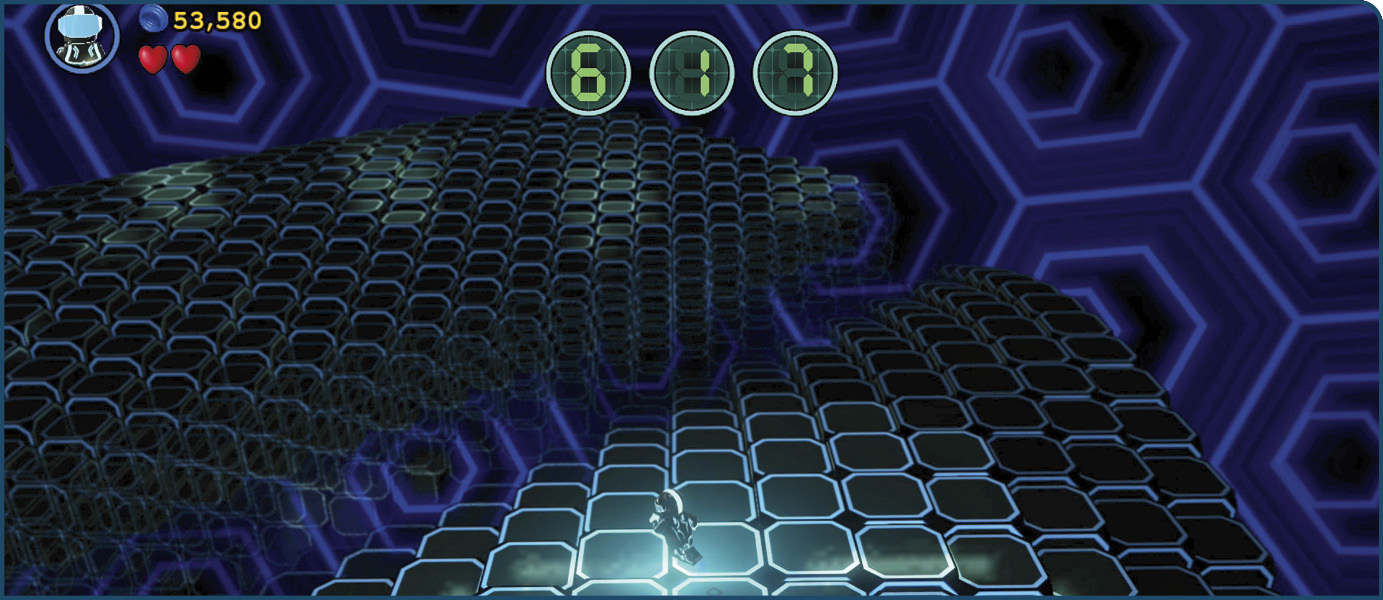
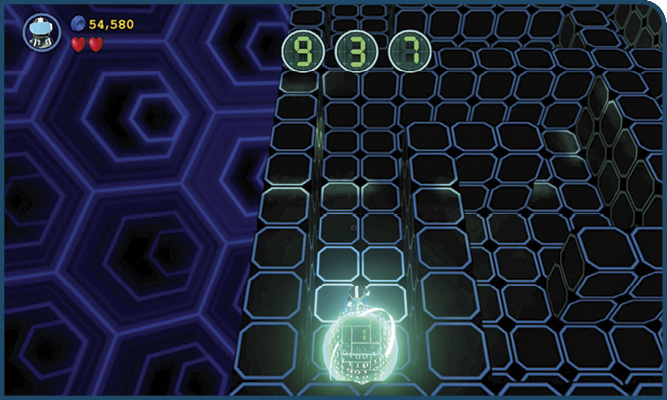
Claim the second code block, and the room changes again. To reach the final code block, you must ride the undulating waves of tiles. Run onto the tiles just as they’re about to reach their full height, then simply run along the wave until you reach the third and final code block. If you aren’t able to run along the top, you may not have timed it quite right.
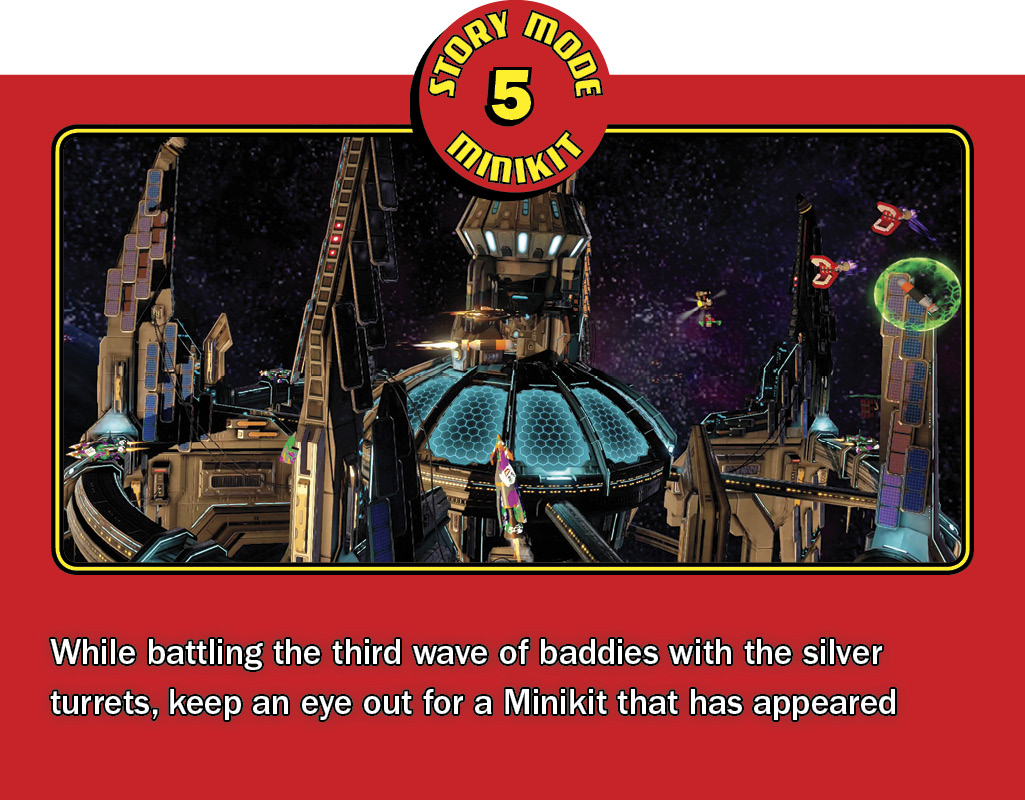
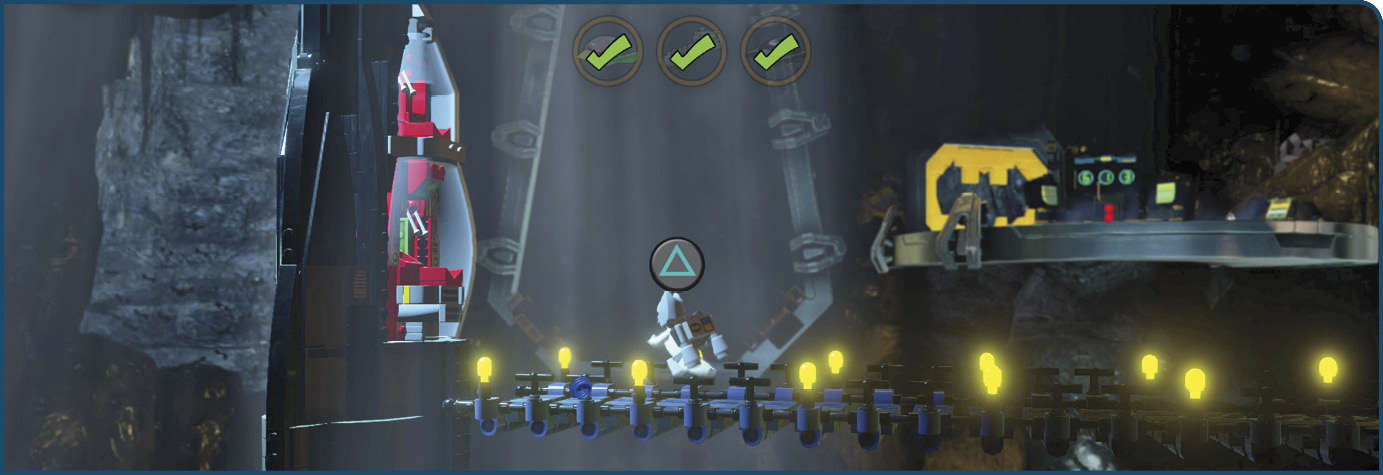
With the code secured, the top portion of the Bat-rocket is placed, and you’re finally ready to blast off! Return to the previous platform and cross the walkway, then hop aboard the rocket and lift off into space.