
Tom Clancy's Splinter Cell Blacklist Guide Walkthrough Ghost/Assault Tactics
Mission 9: LNG Terminal (Sabine Pass, USA)
GHOST
The LNG Terminal is well-suited for the Ghost playstyle. The confusing maze of flames and twisted steel is good for taking hostiles by surprise, and also offers a way to dispose of neutralized enemies by throwing them over railings and hiding them behind debris. As you advance through the wreckage, take care to avoid the Heavy Infantry soldiers. With the number of brutes that you will come across, you can quickly be overwhelmed, and the gadgets Ghosts carry are inefficient at incapacitating them. Despite this, ensure that you have Sleeping Gas and the Tri-Rotor equipped before stepping into the fray.
ASSAULT
If you expect to survive a firefight in the flames and twisted steel of the refinery, you had best come prepared for the battle ahead. Aside from the low-level infantry that you have come to expect, you will also face a large number of Commandos, as well as multiple Heavy Infantry soldiers. Because of this, be sure to have both Frag Grenades and Incendiary Grenades equipped, as well as Armor Piercing rounds in both your primary and alternate weapons. Use the environment to your advantage; all of the areas you encounter have multiple levels, which allow for quick escapes over railings and below collapsed catwalks.
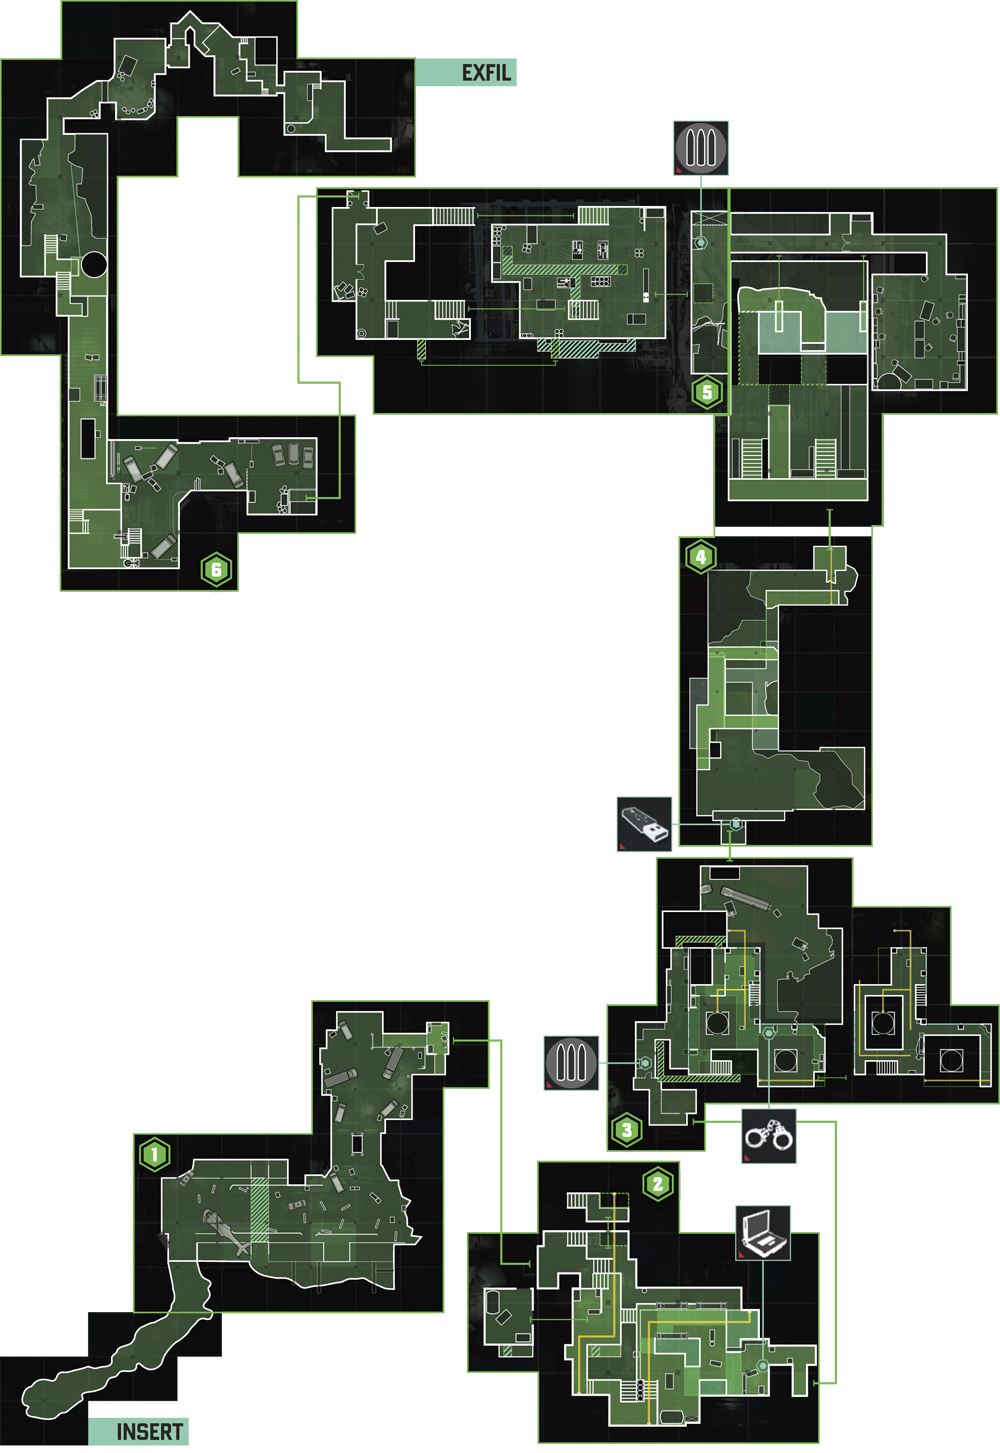
1: Refinery Entrance
GHOST
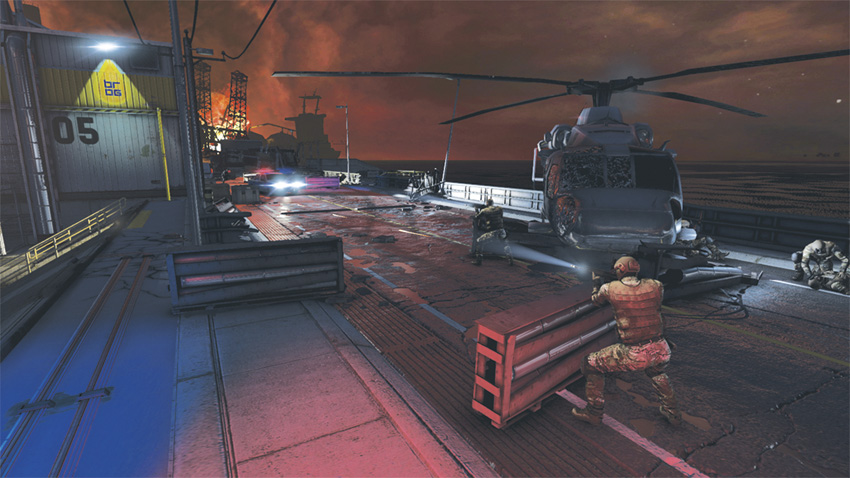
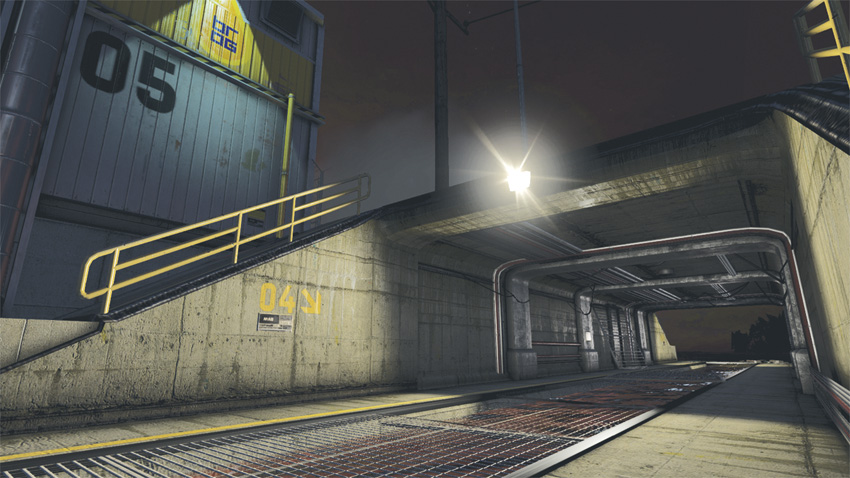
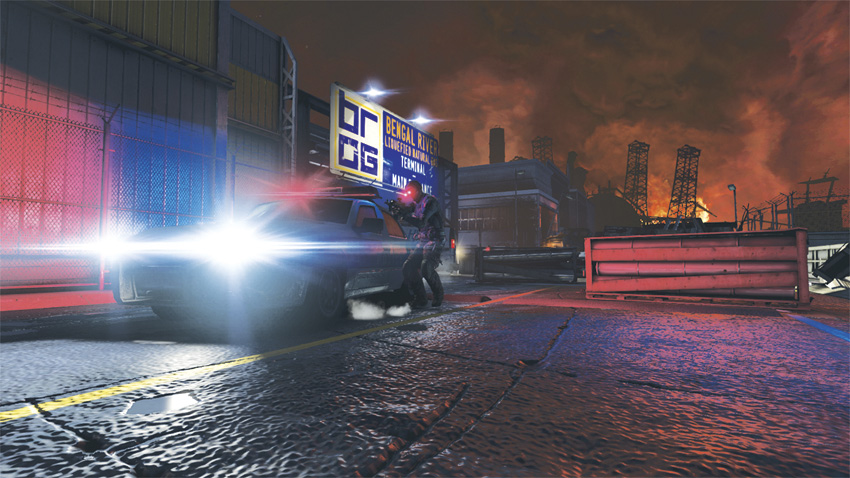
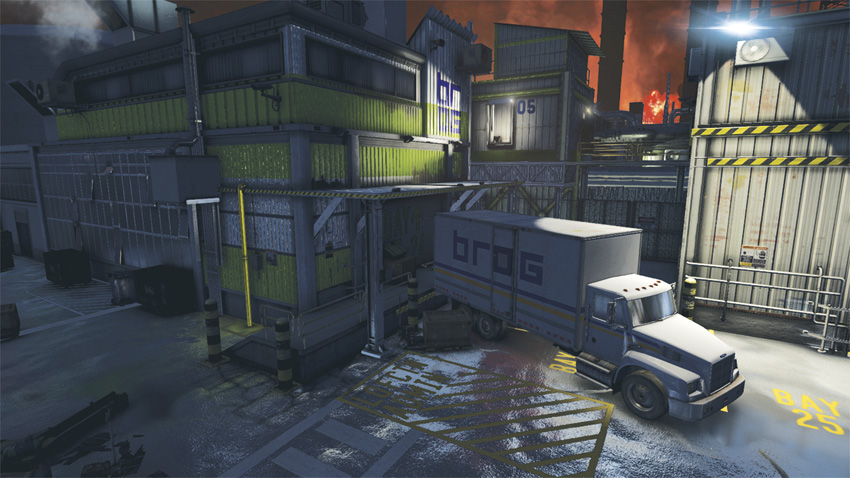
Circumventing the Engineers at the refinery entrance requires moving left past the helicopter and the police car at the start of the mission. This leads you to a chain-link fence down a slight slope from the road. Use this path to move toward the refinery (marked by a large “05”). Once at the refinery wall, move right to locate a pipe. Scale the pipe to grab hold of a ledge. Shimmy along the ledge to pass behind a fenced area near the entrance. Use the vehicles and crates near the entrance to bypass the Commandos that are engaging the Navy SEALs. Once you are past the entrance, locate a truck parked diagonally under an awning. Climb onto the truck to access the awning and then pass through an open window to the next area.
ASSAULT
As you enter into the refinery, the Engineers are engaged in a firefight with the Navy SEALs. Both sides of the road where the opposing forces are engaged in combat are accessible by way of a service tunnel that runs beneath the road, just past where the SEAL team’s helicopter has crashed. This tunnel makes for an excellent ambush point from which to lob grenades toward the Commandos. On either side of the Engineer forces, you should make use of the steel road guardrails for cover and to take the enemy by surprise. Spare your grenades and ammunition for the stronger enemies you will encounter within the refinery.
2: Refinery
GHOST
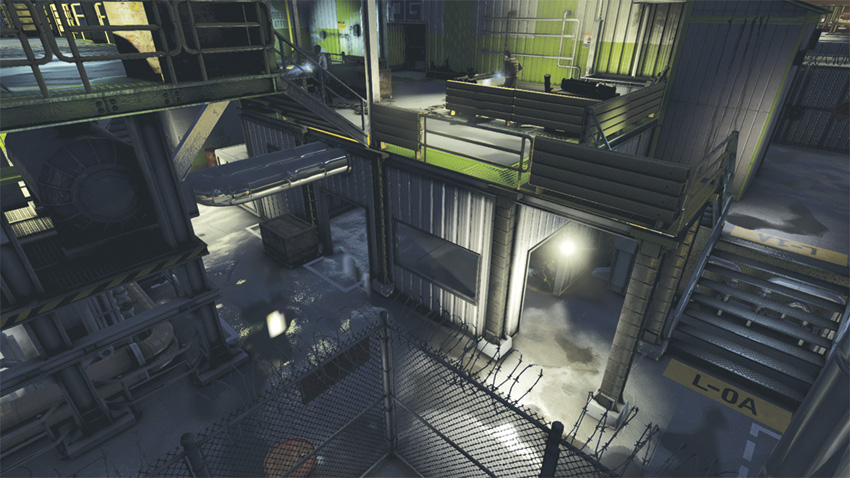
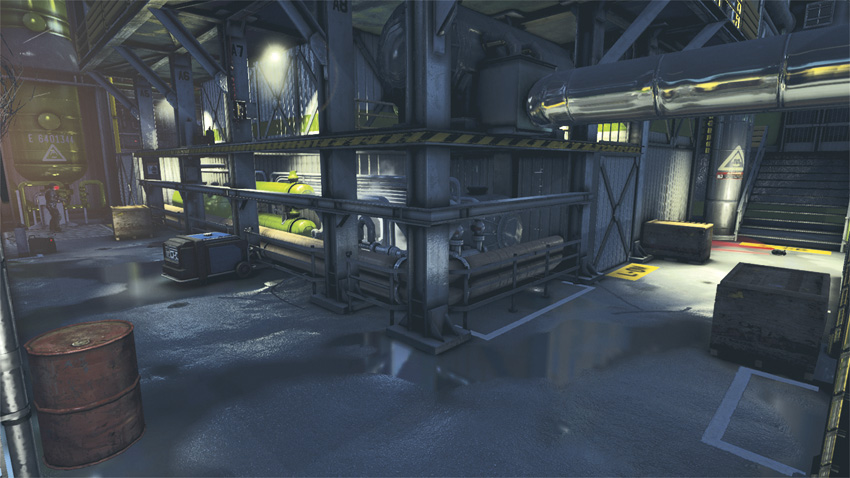
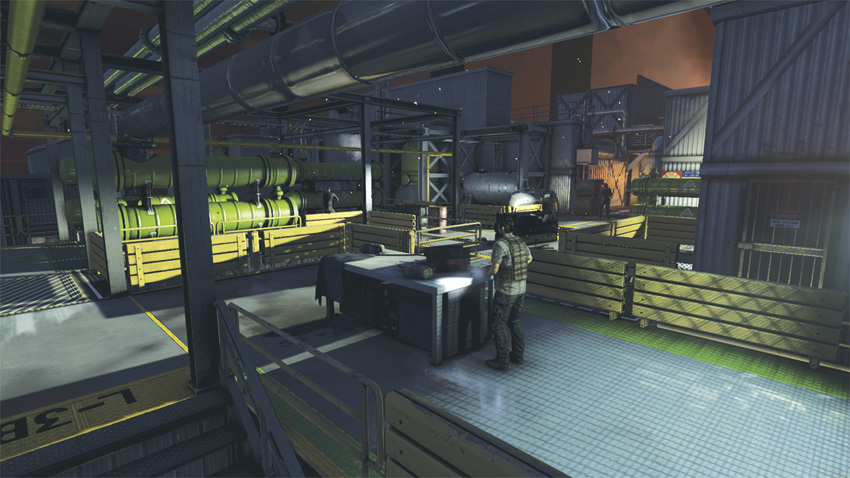
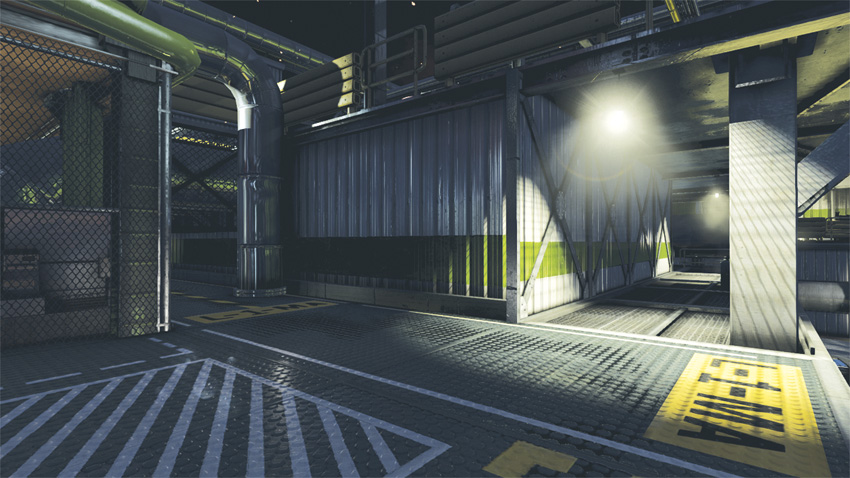
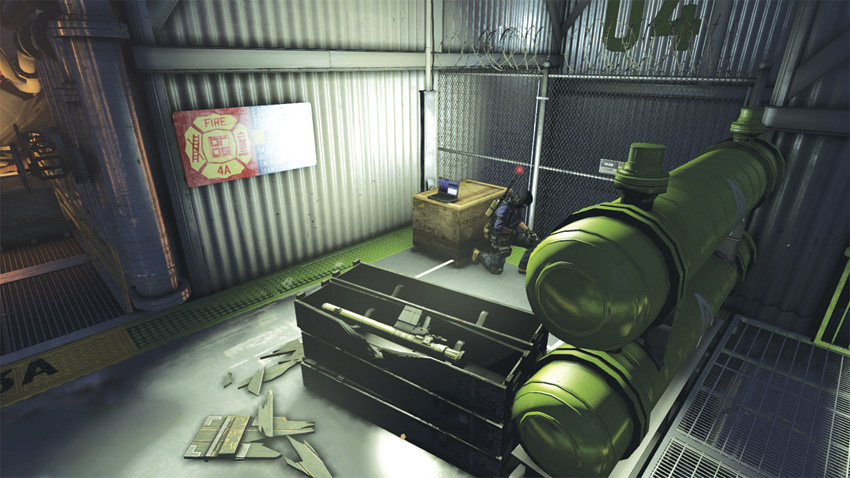
As you enter the refinery, proceed forward past the stairs and turn right, taking the first left to stay on the ground level. Take cover behind the generator on the right side of the path and use your Stun Gun to neutralize the Commando at the end of the path ahead of you. Proceed forward and climb the ledge to the right, waiting for the Drone to pass by. Once the Drone has passed you, climb up and pass beneath the fenced-in piping ahead of you. Once you have passed beneath the pipes, climb up to the railing above and throw a Sleeping Gas canister toward the area’s exit, where the Drone Operator is positioned. As the Drone Operator succumbs to the Sleeping Gas, use your Stun Gun to neutralize the nearby Commando. With both threats incapacitated, climb over the railing and proceed toward the exit, which is engulfed in flames. As you approach the pathway, turn right to explore the alcove where the Drone Operator was positioned. You find the Blacklist Laptop here.
Blacklist Laptop
The Blacklist Laptop is near the area’s exit. A nearby Drone Operator should be neutralized first to ensure that you aren’t interrupted while hacking the device.
ASSAULT
As you enter the refinery, climb the stairs to the left of the main path. From this elevated position, deploy the Tri-Rotor and navigate the device to the far corner of the area. The Drone Operator has taken position behind a row of pipes and will deploy Drones when you go loud. Use a Sticky Shocker to neutralize him, then recall the Tri-Rotor. With the Drone Operator out of commission, use your position and the cover it affords you to begin your assault on the enemy forces present here. It is best to have an ACOG Scope equipped on your weapon by this time, which grants a higher level of accuracy at range and increases your weapon’s lethality. Beware of the Commandos that are present here, and more will be coming from the left side of the space, but they are nothing that a Sleeping Gas canister can’t make quick work of.
3: Refinery (First Responders)
GHOST
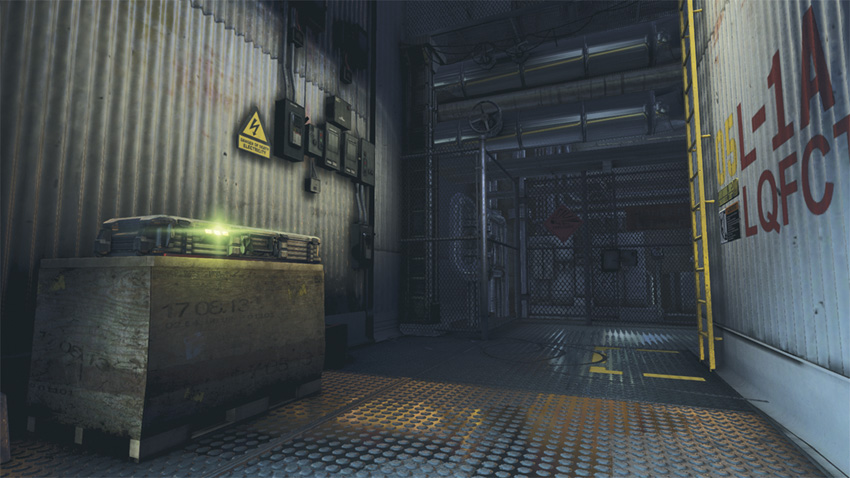
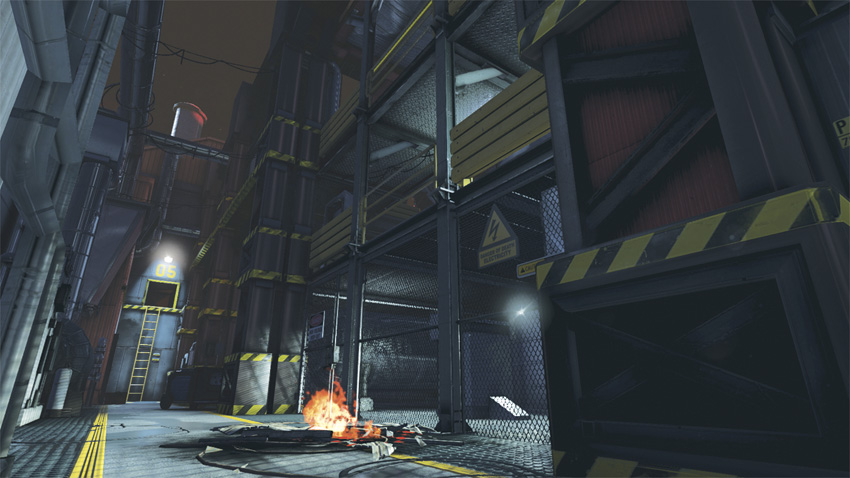
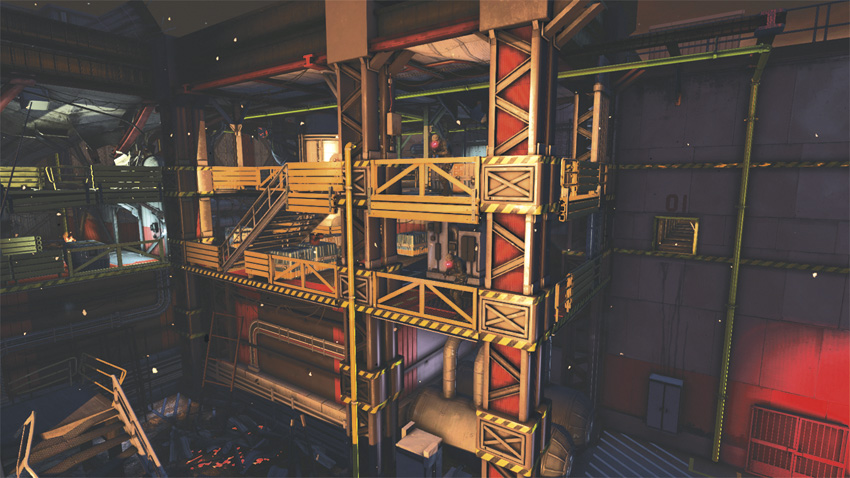
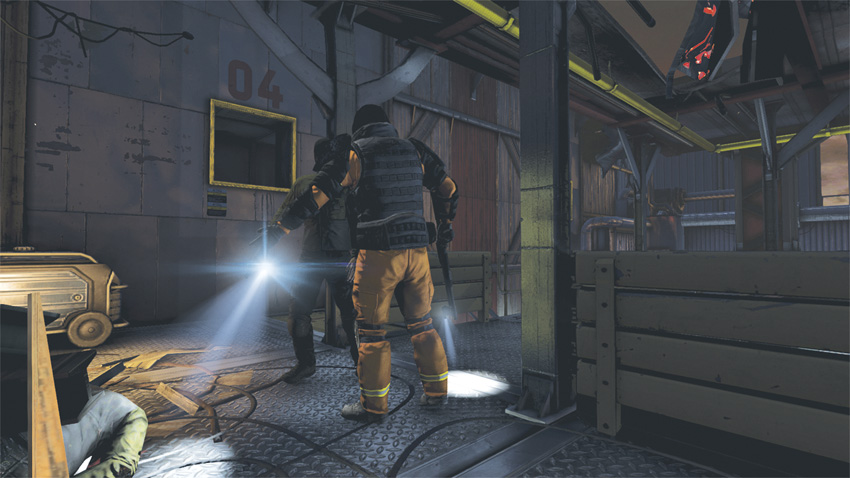
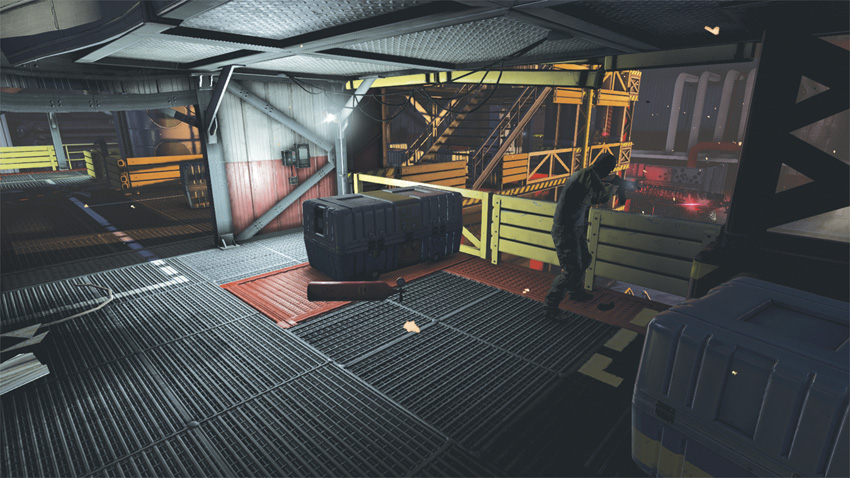
This portion of the mission requires you to neutralize all the Engineers that are present, and defend the first responders in the process. The refinery can be mazelike, with multiple floors and several sets of stairs. An efficient way of neutralizing hostiles while remaining unseen is to attract them to the railings and knock them out when they get close. After doing so, it is best to dispose of the bodies over the railings to ensure they are not awakened by their comrades. Because of this, begin your operation from the bottom floor, working your way up. The High Value Target is located within this area as well. Accessing him from the beginning of the area requires taking the first right and climbing up to the railing there. Attract the nearby hostile and neutralize him. Soon a Heavy Infantry soldier will walk through the area; when he does, attract him over and neutralize him in a similar fashion. With these two incapacitated, climb up and proceed down the path on the right, moving past the pillar. As you pass by a wall, the HVT is near the ledge to the left.
High Value Target
The High Value Target is within sight of a Commando, so make your capture swift and silent.
With the HVT captured, clear out the rest of the hostiles. Once you have taken out the last Engineer, drop down to the fire truck on the street below and speak to the Fire Chief to attain your next objective.
ASSAULT
During your defense of the first responders, you will encounter a few Heavy Infantry soldiers. These brutes can be deadly if you allow them to encroach upon you, so it is best to keep them at bay. From the ground level, climb up to the railing of the second floor and use Incendiary Grenades to make quick work of these brutes. While you draw their comrades to you, gun them down with your pistol. The maze of stairs and twisted steel gives you the advantage here. Aside from being able to climb up to the railings, you can enter two ventilation shafts that flank the space. Duck in and out of them, taking headshots at the enemy as they frantically seek out your position. Ensure that you remain detected as you rain bullets upon your foes to maintain your Combat score.
4: Refinery (Activate Safety Systems)
GHOST
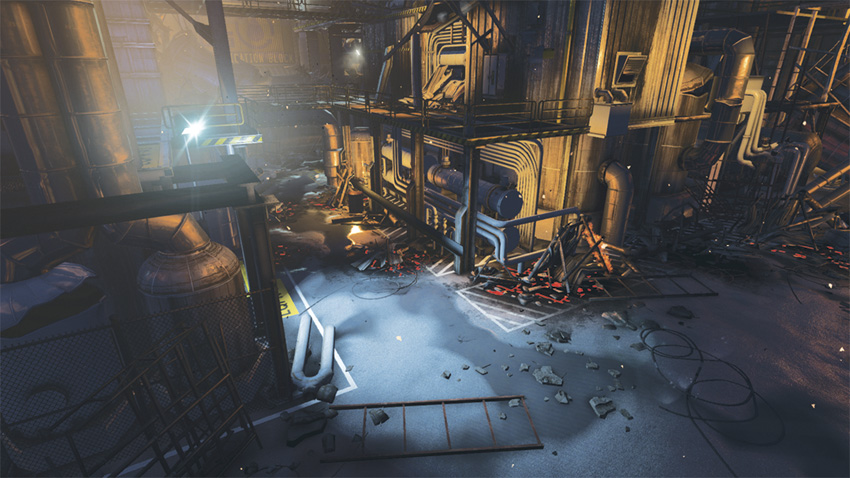
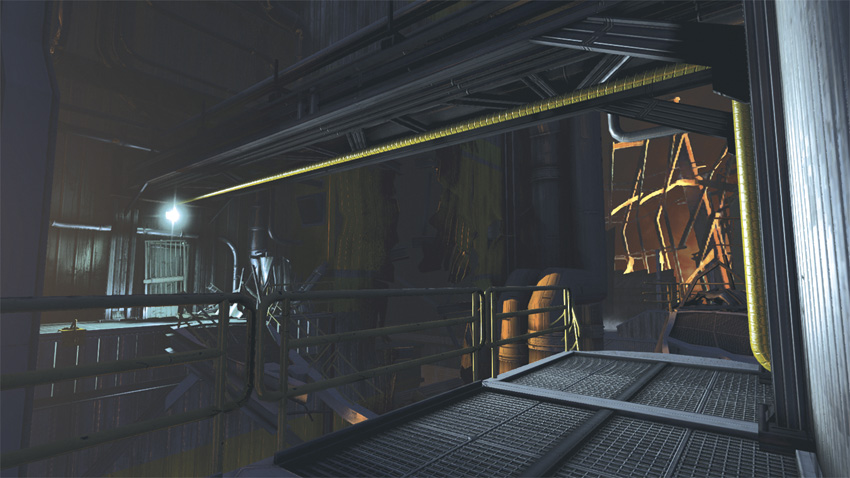
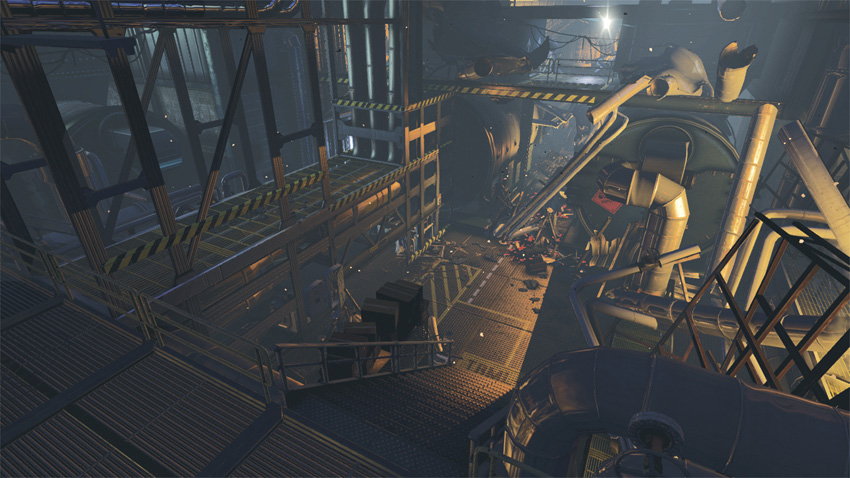
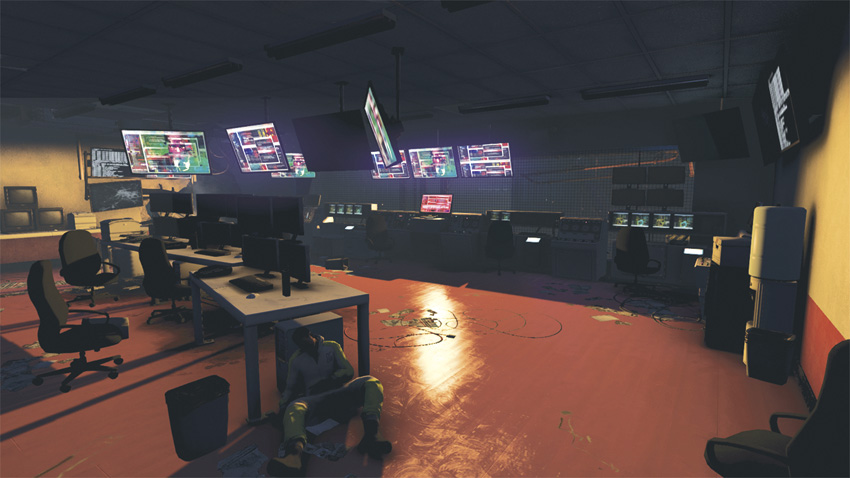
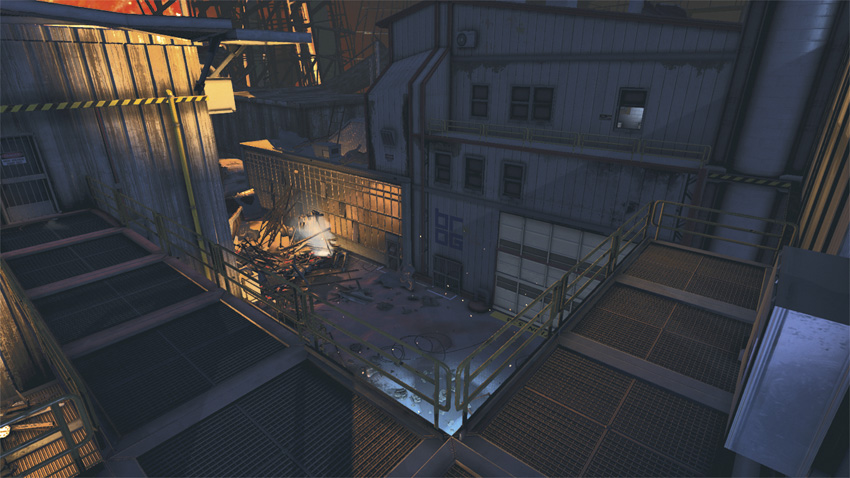
Run straight along the path and turn right at the end and climb up to the railing above. Go straight past the flames and climb the pipe on the wall to the left. At the top of the pipe, shimmy along the handholds and drop down to the catwalk. Continue on the catwalk and turn left at the junction. At the dead end, climb over the railing and shimmy along the ledge toward the building across the way from the dead end. Once you’re on the opposite side of the gap, climb up to the railing there and enter the open window to access a small office. Within it you will find the Dead Drop.
Dead Drop
Locating the mission’s Dead Drop requires stepping off the beaten path momentarily. On your way to activate the safety systems, head toward the open window across the chasm to locate a small office where the item is found.
Return to the junction and proceed down the path, running through the flames at the bend in the catwalk. When you come to a portion of catwalk that has collapsed, drop from the broken railing and shimmy along the edge to cross the gap. Once across, follow the catwalk to a pipe. Climb onto the pipe and use it to shimmy across a chasm to a platform that has a Rappel line attached. Rappel down the wall and breach the shutters to access the refinery interior. Run down the stairs, turn left and pass under the low overhang, then turn right. Climb up the pipe at the end of the path and shimmy along the ledge, climbing over the railing at the end. Follow the path past the flaming debris, climbing to the left at the end of the path. Scale the scaffolding and follow the ledge until you arrive at a catwalk that passes over the flames below. Climb onto it and turn right, passing by a safety area. Continue down the path to access the terminal and disable the virus.
ASSAULT
This objective does not feature any combat.
5: Refinery (Locate Engineer Leader)
GHOST
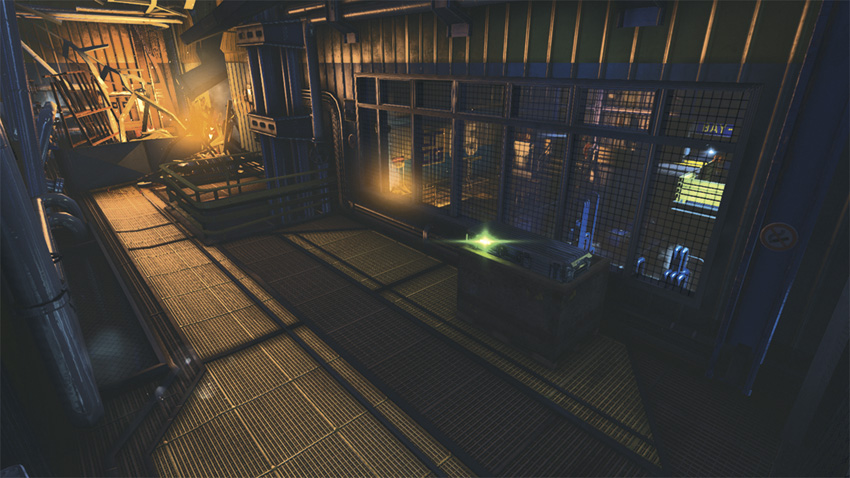
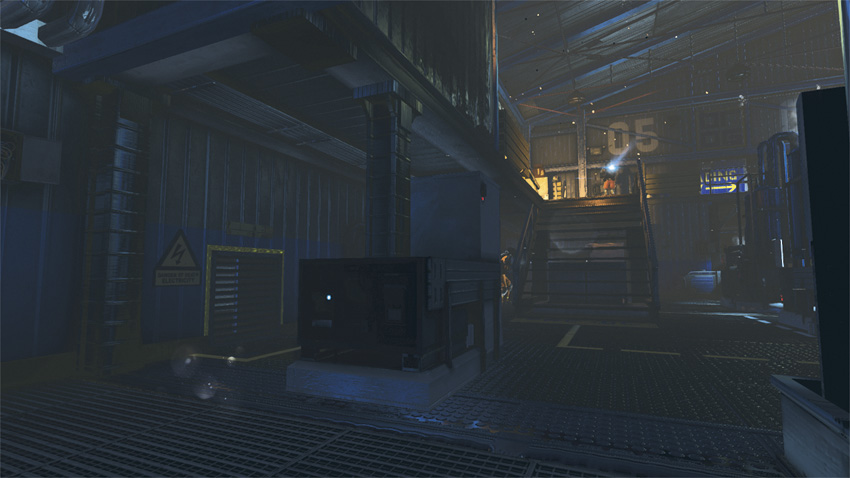
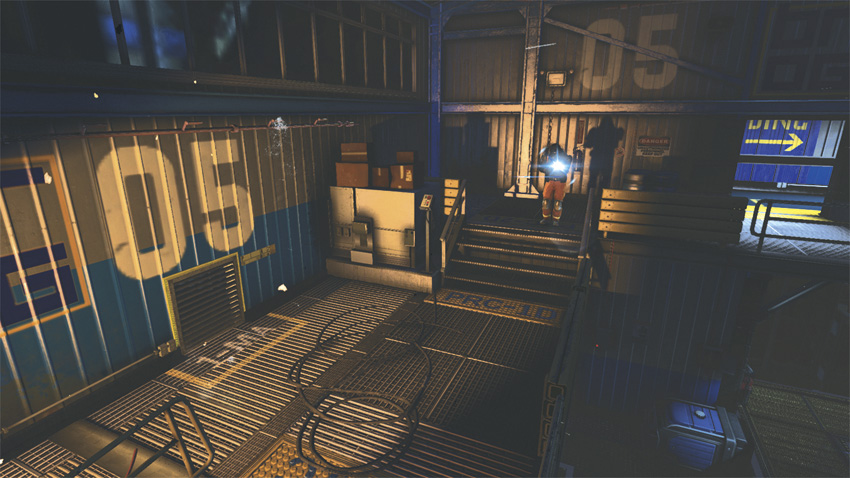
With the safety systems back online, backtrack to exit the control room and follow the newly opened path across the catwalk from the safety area. After passing through the doors, climb over the railing to the left and drop down to the floor below. After dropping down, head to the left and locate the vent on the wall. Enter the vent to pass behind a series of pipes. Before you exit the space, climb up to a ledge to access a vent that exits on the second floor, where two Heavy Infantry soldiers are patrolling. As you exit the vent, head up the stairs and take cover behind the barrels at the landing. Wait for one of the brutes to walk by you. When he does, stay low and creep by him, passing through the doorway to your left. Follow the path and soon you come to a Fast Rope leading to the next area.
ASSAULT
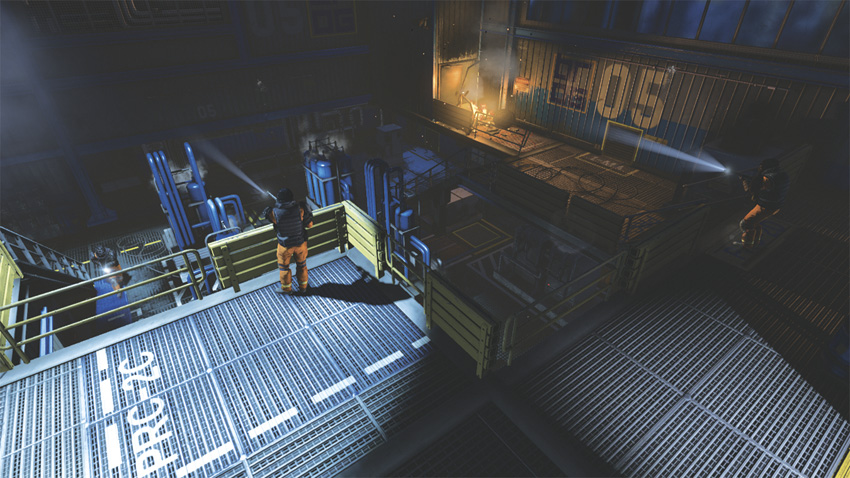
After disabling the virus and activating the safety systems, make your way across the catwalk past the safety area, and climb down from the ledge near the Supply Cache as you search for the Engineer Leader. After you drop down, you enter a small two-story space with four Heavy Infantry soldiers. Two of them remain on the balcony overlooking the space near the area’s exit. From the start of the area, head left and pass through the vent on the wall. Within the crawl space, climb to the ledge and exit the vent there. This leads to the second level, where the two brutes are on patrol. Wait for them to get near each other during their patrol and lob an Incendiary Grenade toward them. As the flames engulf them, the two Heavy Infantry soldiers on the floor below will attack. Take cover behind the nearby railing where the two hostiles fell, and take headshots at the two remaining foes. Focus on one enemy at a time, as they approach from separate stairwells. When one falls before the other, you can escape to the floor opposite the position of the remaining brute. This affords you the opportunity to regroup before entering the fray again.
6: Refinery (Chase the Engineer Leader)
GHOST
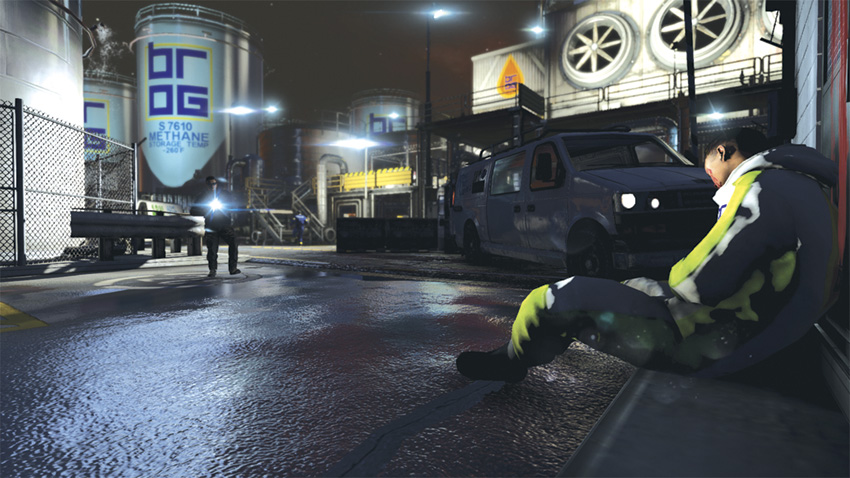
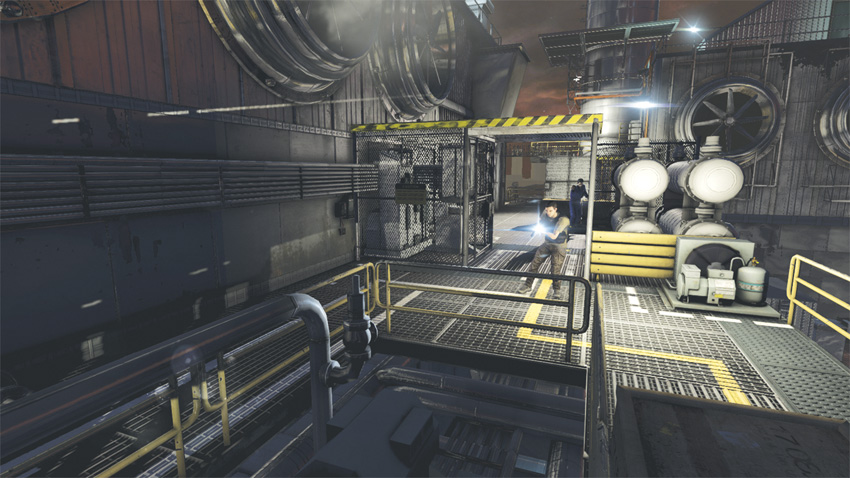
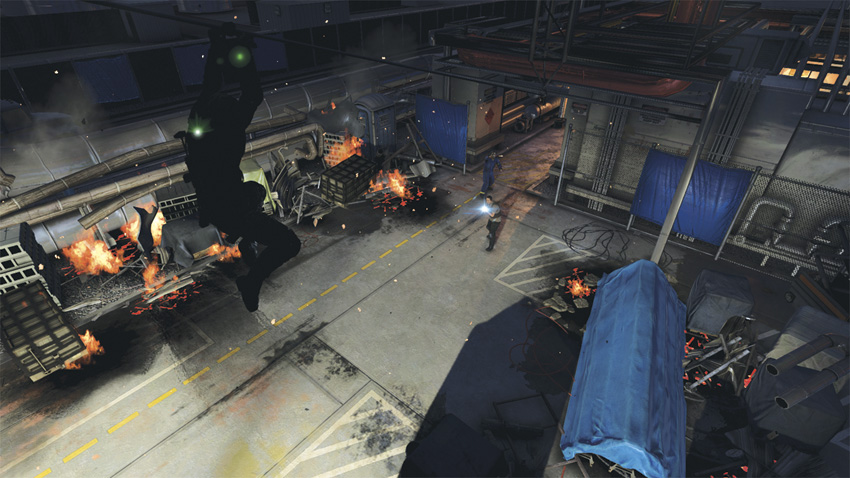
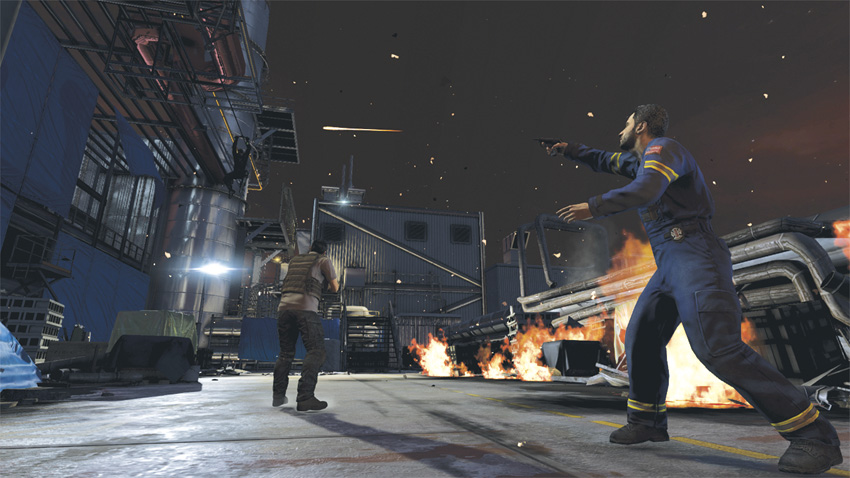
To peform actions that will count toward a Ghost playstyle use Sleeping Gas canisters and non-lethal weapons (Stun Gun and Crossbow) during your chase of the Engineer Leader.
ASSAULT
During your pursuit of the Engineer Leader, you will not have much time to fire on the hostiles you come across. Because of this, equip your Stun Gun, which delivers a charge that results in a knockout. Whether it is a Combat or Stealth Knockout is dependent on the state of detection you are in. As you advance, be aware that the time it takes for a full detection (indicated by the “Detected” text turning red) can either leave you vulnerable to attack or result in the Engineer Leader escaping. Although difficult, it is not impossible to maintain a Combat score during this portion of the mission. Be advised, most of the time your actions will result in Stealth kills if you do not give adequate time to be detected.