
Tom Clancy's Splinter Cell Blacklist Guide Walkthrough Ghost/Assault Tactics
Mission 10: Site F (Denver, USA)
GHOST
Infiltrating the Continuity of Government bunker is not difficult in itself, as the defenses present in and around the solar farm topside are easily circumvented. The difficulty for those attempting a full Ghost playthrough of this mission is the Commandos that are patrolling the interior of the facility. Along with these elite foes, you will come across Drones that will hinder your progress as well. One gadget that can counter both of these threats is the Sticky EMP. Aside from being able to disable the Drones, these little devices will disable the goggles of Commandos giving you time to bypass them. This is especially helpful when you encounter a squad of them in the atrium toward the end of the mission. When preparing your loadout, be sure to equip Sleeping Gas, Sticky EMPs, Sticky Cameras, and your tried-and-true Tri-Rotor. These four gadgets have been essential in your Ghost exploits during past missions and are definitely your greatest assets during this final offensive.
ASSAULT
As you engage in open combat during your infiltration of Site F, be sure that you are carrying both Frag Grenades and Incendiary Grenades. If you have not upgraded your Ops Suit yet, now is a good time. Expect heavy resistance once you are within the bunker, facing Commandos, Heavy Infantry soldiers, and Drone Operators simultaneously. This is a mission where you can quickly find yourself outnumbered and outgunned, so make preparations by outfitting yourself in Ops Suit upgrades that provide more alternate weapon magazines to ensure that you have sufficient rounds to get the job done.
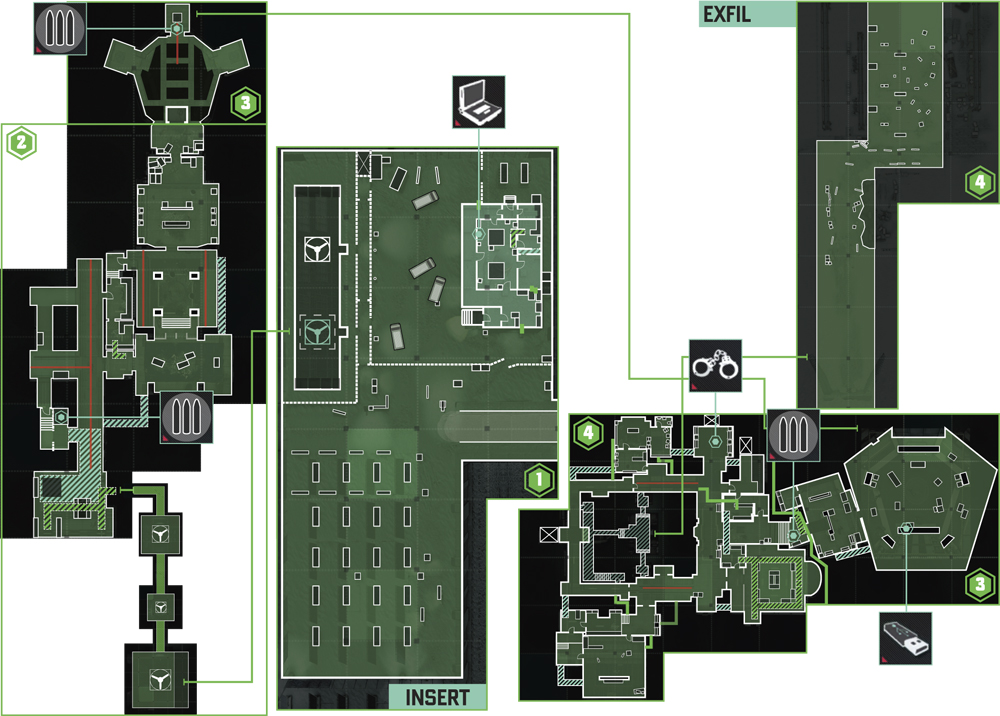
1: Weather Station
GHOST
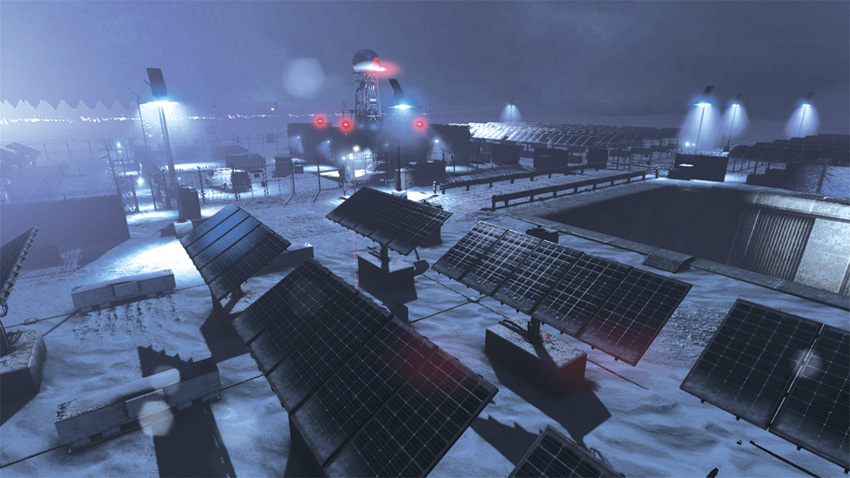
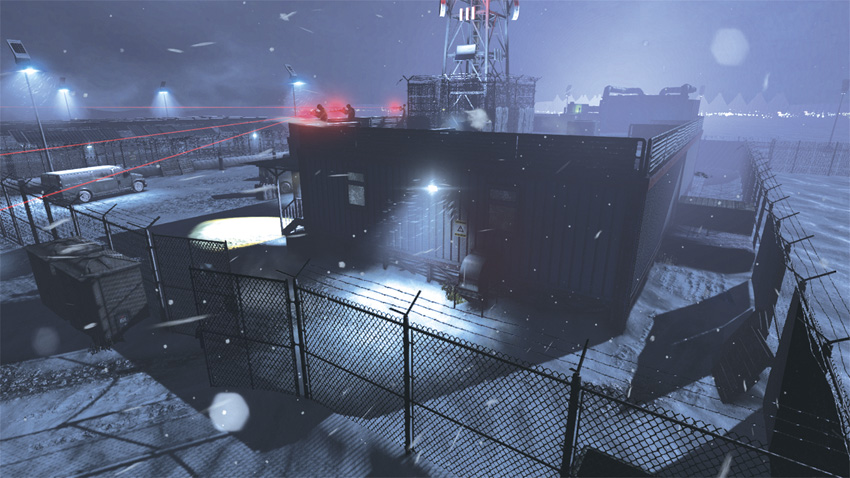
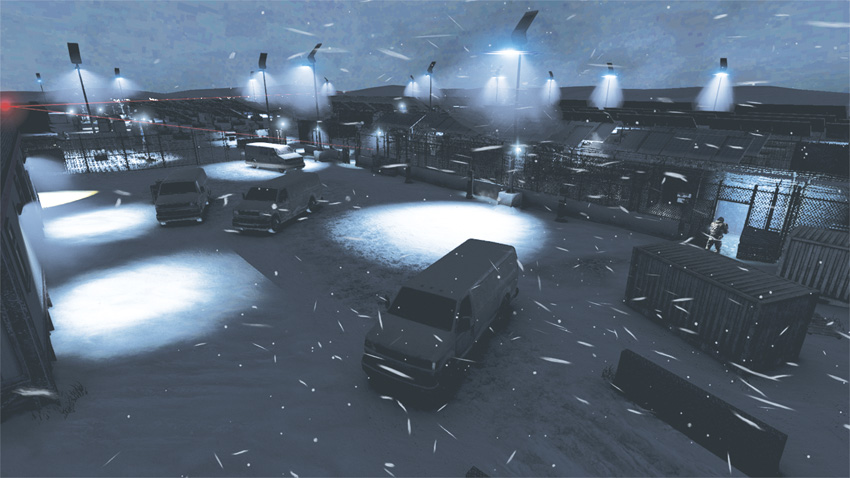
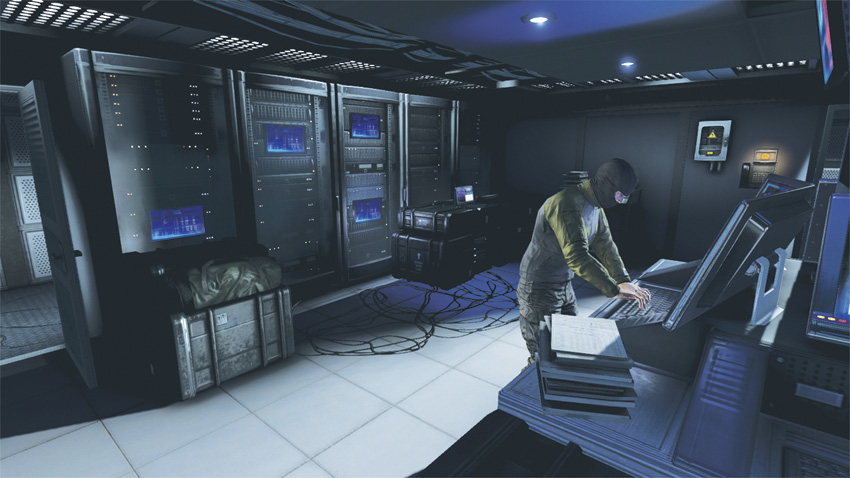
The mission begins in the solar panel field of Site F’s weather station. Approaching the weather station is made difficult by the three snipers on the rooftop, as well as a Heavy Infantry soldier patrolling the area around the solar panels. Avoid entering the solar panel area and stay on the periphery of the panels as you advance toward the station, switching from cover to cover during your advance. When you reach the end of the solar panel area, proceed to the right to move along the road barrier toward the crossing guard on the far right side of the area. From here, cross over the barrier and advance toward the weather station, then slip through a gap in the chain-link fence and move right around the weather station. Climb up to the roof of the station and locate the ventilation shaft. Use the shaft to drop into an office. From the office, pass through the vent to the left of the door, which leads into a restroom. Take cover near the restroom door and wait for the Heavy Infantry soldier to move to the left side of the room. When he does, throw a Sleeping Gas canister into the center of the room. While the two guards succumb to the Sleeping Gas, stay low and perform a Stealth Knockout on the Heavy Infantry soldier. The Blacklist Laptop is located on the right side of the room.
Blacklist Laptop
Hacking the Blacklist Laptop without being detected requires clearing the room of hostiles first.
Now locate the control panel on the left side of the room to disable the vent fan. Once the fan is disabled, backtrack through the vents until you arrive at the roof once again. From the roof, climb down the ladder to the right of the ventilation shaft. Once on the ground, follow the fence line to locate a fenced path leading to the large fans across the yard from the weather station.
ASSAULT
Before you go loud during your approach of the weather station, locate the Heavy Infantry soldier that is patrolling the solar farm. Stay low and get close; aim for headshots to eliminate him quickly. This will grab the attention of the rooftop snipers, so move to cover fast and avoid stepping in front of their lasers. If you wait within the solar farm, expect guards to arrive shortly after you go loud. Before they show up, make your advance toward the right side of the weather station, using the gap in the fence line to gain entry. Once within the fence line, head behind the right side of the building and climb up to the roof. Use a well-placed grenade on the roof to eliminate the snipers perched on the far side. By this time, the two Heavy Infantry soldiers and guards will be returning toward the weather station to investigate the chaos. There is only one ladder leading up to the roof, which makes this position an easy fortification to hold. Stay low and peek over the sides of the rooftop to pick off the guards as they scramble about the yard below. Once you have dispatched the threats, step into the weather station and disable the vent fan to infiltrate the underground bunker.
2: Bunker
GHOST
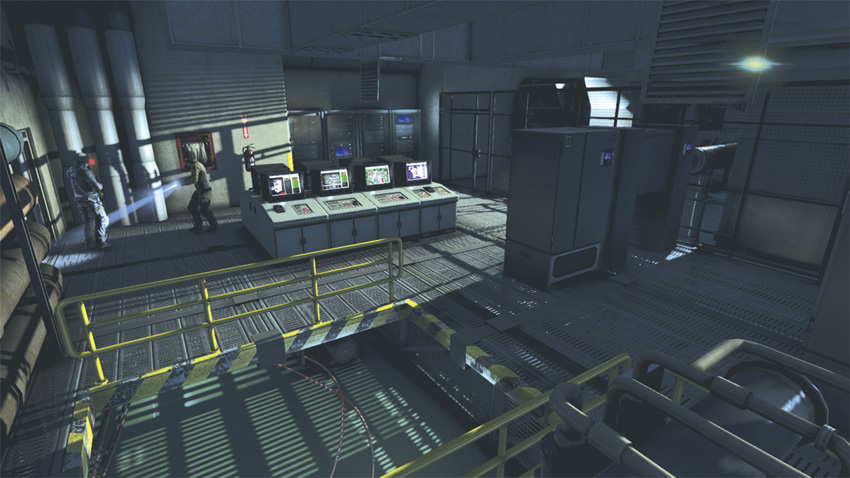
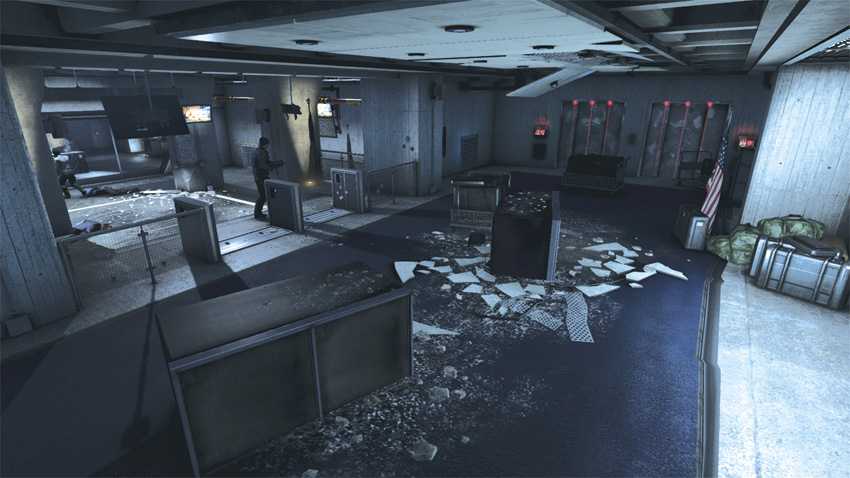
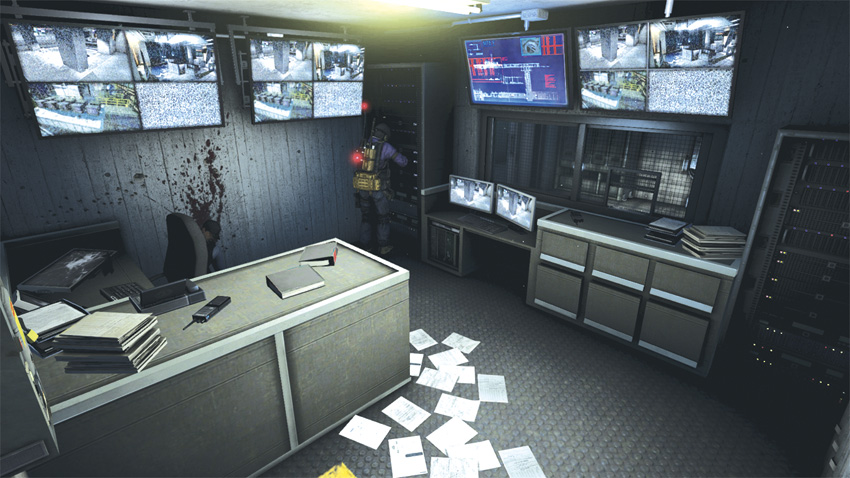
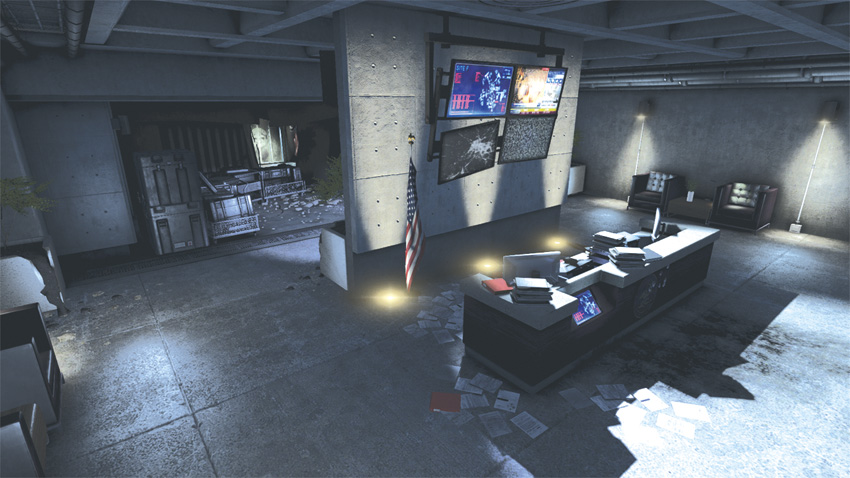
After navigating the laser grid within the ventilation system, you enter a small shaft that leads into the bunker. Inside the shaft, forego the exit directly ahead of you and follow the shaft to the right and drop down from the exit you find there. After dropping down, take cover and wait for the Commando to enter the room and speak with the guard. When he does, throw a Sleeping Gas canister to pacify both hostiles. Move past them and into the hall, entering the vent on the right side of the hallway. Follow the vent to its exit. After exiting, take cover against the wall on the right. To the right are two elevators and to their left is a vent. Use the debris nearby as cover to avoid the enemy patrolling the area. Proceed to the vent and enter it. Follow the vent to its end and take a moment prior to exiting to observe the movements of the guard patrolling outside. When it’s clear, exit the vent and pass through the open glass doors to your right. Pass by the desk and dividing wall as you proceed toward the back of the room. As you approach the destroyed path, you discover a Commando will emerge from the nearby elevator. Take cover near the handcarts, lure the enemy to your position, and perform a Stealth Knockout when he is within range. Climb over one of the ledges that flank the elevator and use the handholds to climb up to the catwalks overlooking the atrium area.
ASSAULT
After navigating the laser grids, take advantage of the position of the vent system to perform an Aerial Knock Out on the guard standing below the vent. In the hallway outside of the small control room is a patrolling Commando. Advance into the hallway and find cover. From behind cover, lure the Commando toward you. Once he is within range, take him as a human shield. Now that you have your hostage, get the attention of the other guard patrolling the halls, and go loud when he detects you. Retreat back to the control room and eliminate reinforcements as they arrive. Expect heavy resistance here, as Commandos will begin arriving and using Smoke Grenades to obscure your vision. A few well-placed Frag Grenades down the hallway should even the odds a bit. Take your time and wait for hostiles to approach you, as you can quickly waste your ammunition by firing down the hallway during this firefight.
3: Atrium
GHOST
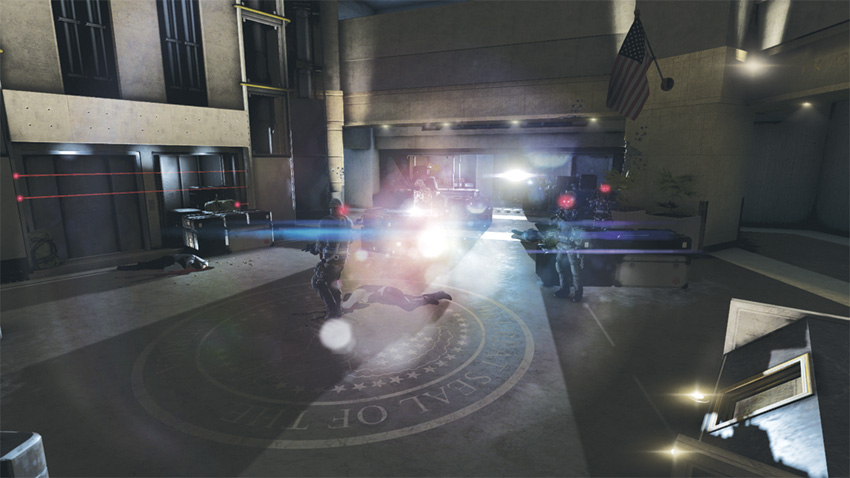
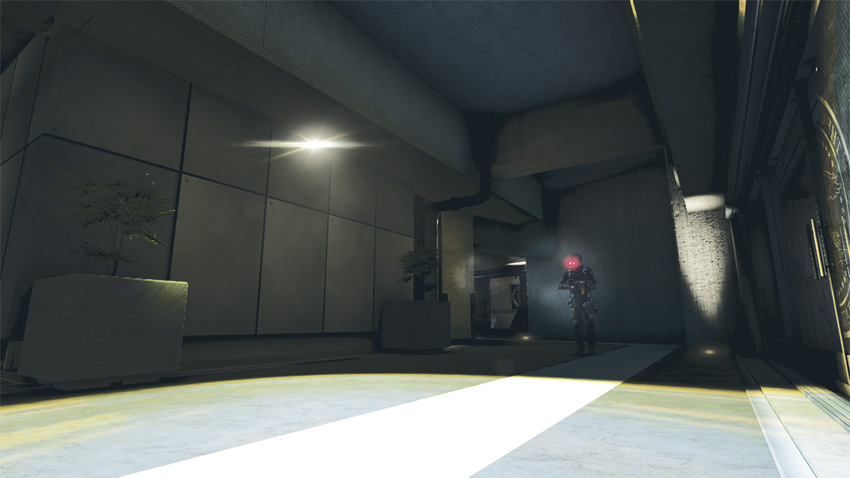
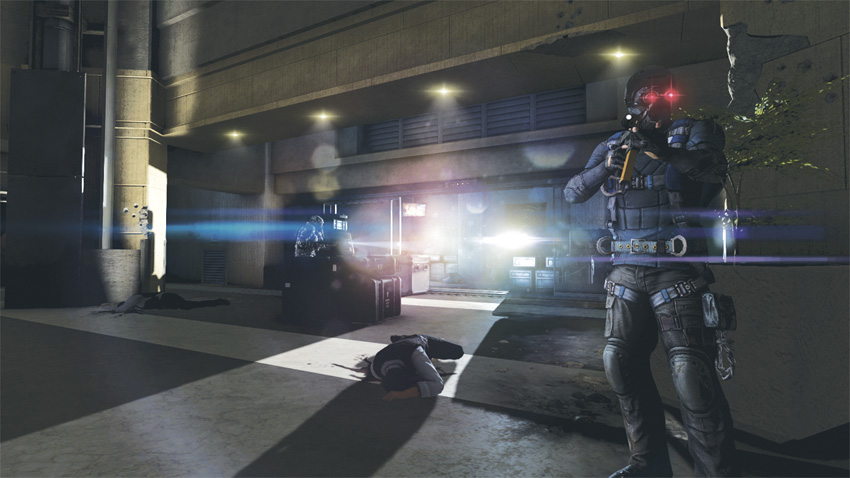
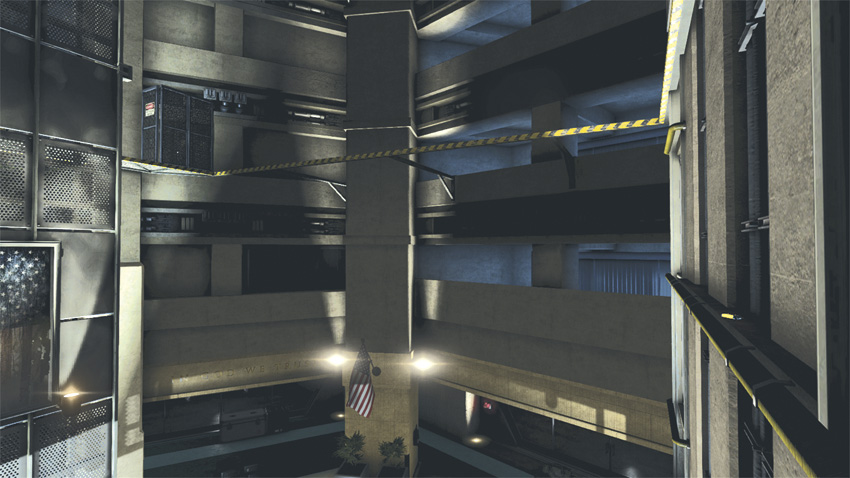
From the catwalks overlooking the atrium, locate the Rappel hooks on the far side of either catwalk. As you advance toward them, look down to observe four Commandos entering the space below you. Throw a Sleeping Gas canister down to them to neutralize these threats early. Use the Rappel hook to drop down to a lower level. Follow the catwalk to come to a shaft that is monitored by lasers. On the beam that spans across the center of the shaft there is a network port to hack. Shimmy along the ledges to access the network port. On the opposite side of the shaft from the network port, you find a ladder that leads down to a lower platform where a Rappel hook is located. Before rappeling down, shimmy to the opposite side of the span and climb onto the catwalk you find there. The far edges of the catwalk overlook the atrium below. Attached to the catwalk are beams that span the atrium and reach to the elevator shaft. Drop off the edge of the catwalk and shimmy along the beams to access the mission’s Dead Drop.
Dead Drop
The Dead Drop for the mission is located high above the atrium on a ledge attached to the elevator shaft.
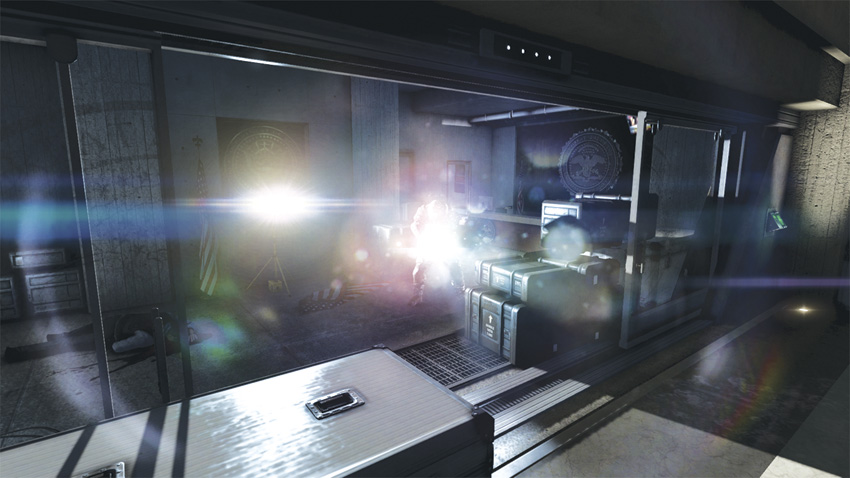
Head back to the Rappel hook and use it to rappel down to the atrium, which is swarming with Commandos. Now move clockwise around the room. Bypass the security camera and enter the vent just beyond the device. After exiting the vent, stay to the left and follow the wall to locate a supply closet. Enter the closet and pass through the vent inside to access the War Room.
ASSAULT
As you climb onto the catwalks overlooking the atrium, look down and wait for the four Commandos to congregate below. When they do, throw a Frag Grenade down among them. The resulting explosion efficiently eliminates the threats. Continue your descent to the atrium below. As you arrive at the Rappel hook that reaches to the atrium, the area is swarmed by Commandos and Heavy Infantry soldiers—perfect fodder for Incendiary Grenades. Before rappeling down, use the catwalk overlooking the atrium to throw one of your Incendiary Grenades to the ground floor to eliminate the two Heavy Infantry soldiers and any Commandos caught within the blast radius. With the Heavy Infantry eliminated, throw a Sleeping Gas canister to eliminate any Commandos that are still alive after the blast.
4: War Room
Ghost
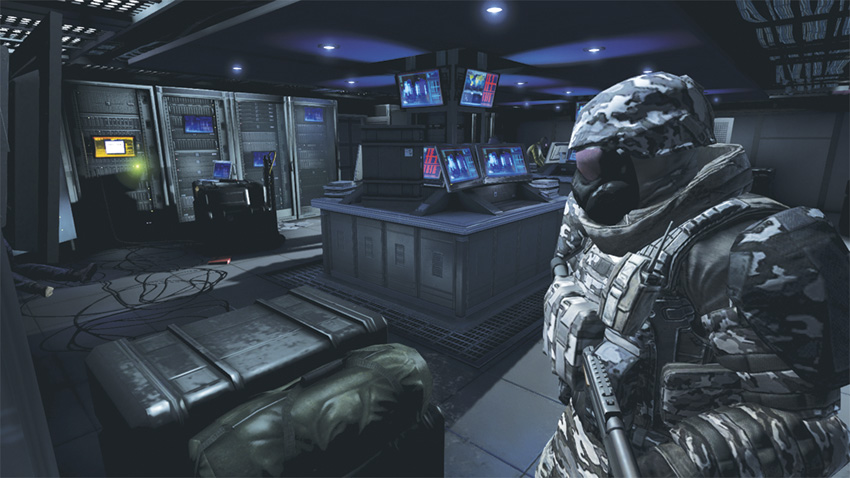
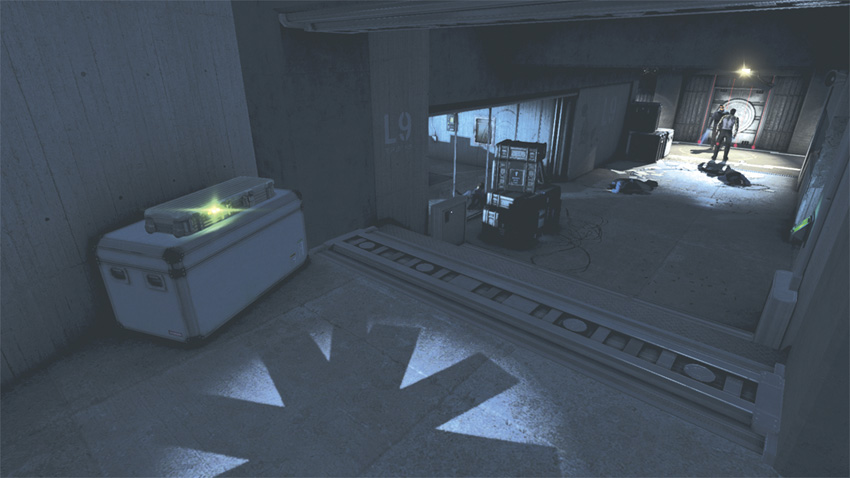
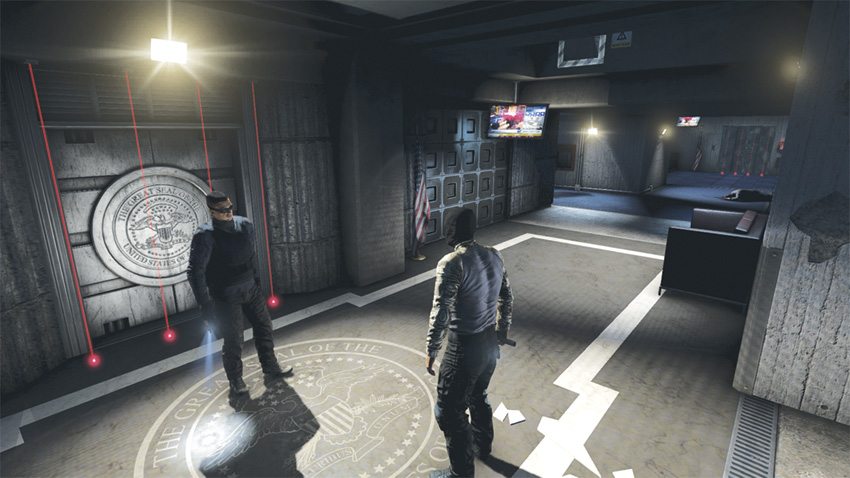
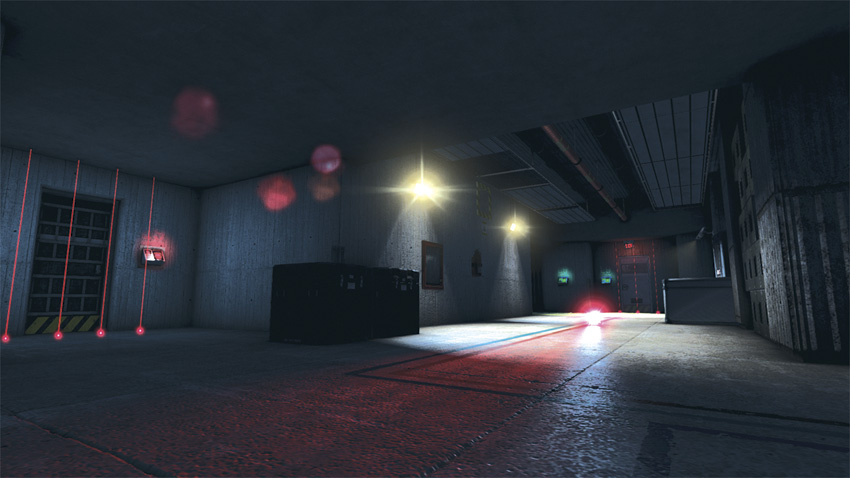
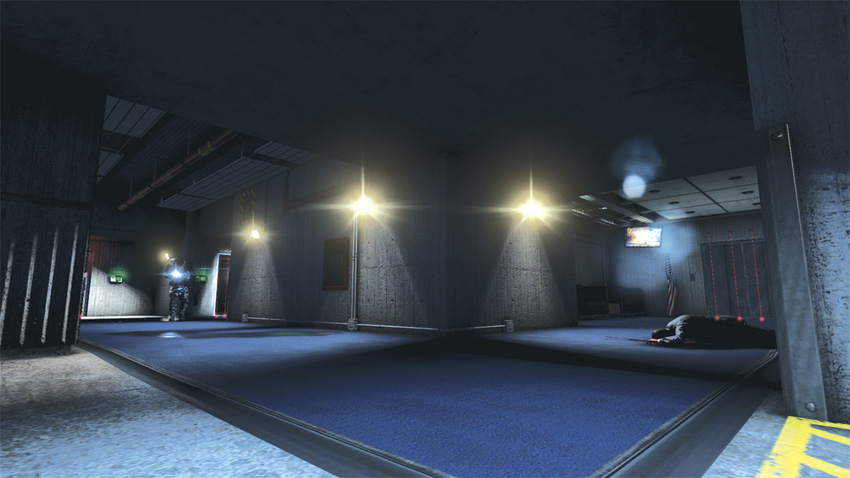
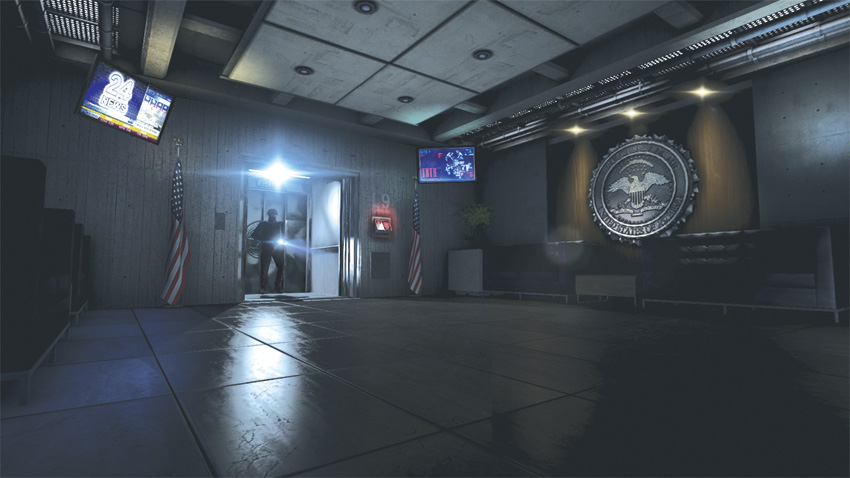
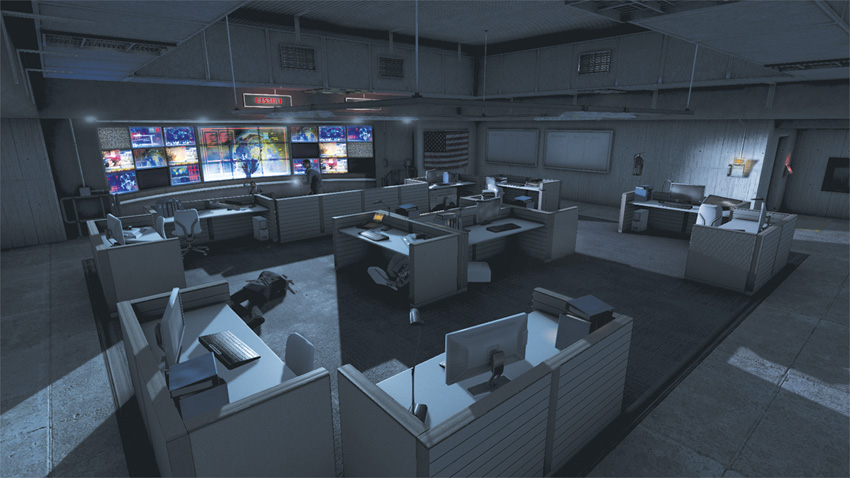
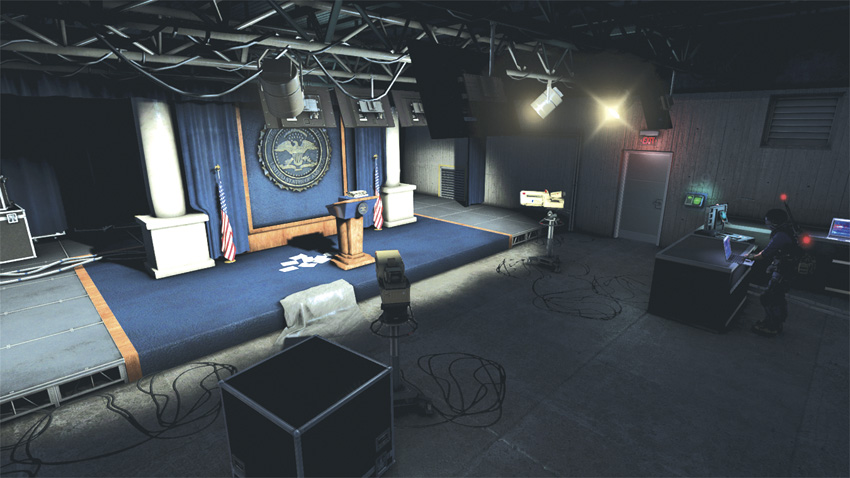
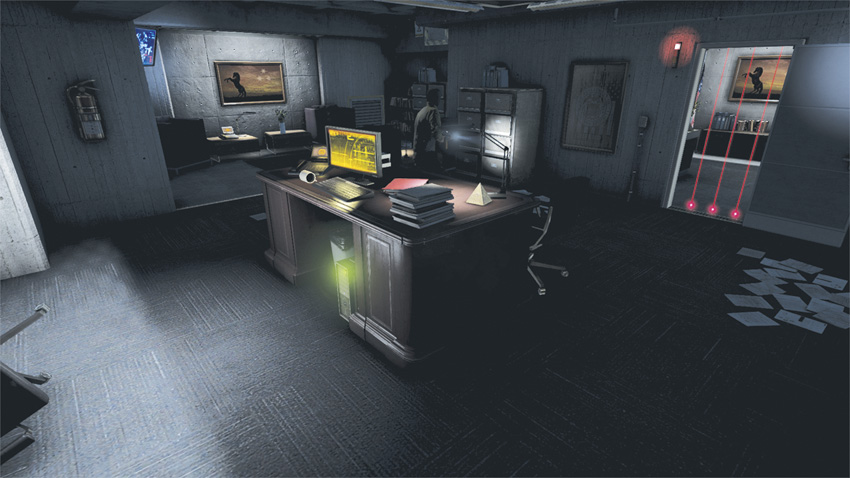
You must infect three computers with Charlie’s virus. It is best to infect all three with minimal backtracking to reduce the chance of being detected while you are doing it. From the beginning of the area, go after Terminal B first, which is located in the Intel Room.
Terminal B
After dropping down from the vent, move forward and enter the security room on the right side of the hallway. In the corner across from the doorway, you will find a hatch to enter a ventilation shaft. Follow the shaft until you emerge in a small break room. In this room, enter an overhead vent and follow the shaft to the Intel Room. Drop down from the shaft into the Intel Room and take cover against the low wall nearby. Using a Sticky Camera, release Sleeping Gas to neutralize the two guards that are patrolling the room. Once these threats are neutralized, plant the virus on the computer in the room.
Terminal A
From the Intel Room, exit into the hallway and jump up to the pipe running overhead toward a security camera. While on the pipe, deploy the Tri-Rotor and guide it into the shaft on the wall across from the security camera. Guide the device through the shaft. Once it exits on the other end, guide it into another shaft on the left wall. As the device exits into the Press Room, use a Sticky Shocker to neutralize the Drone Operator across the room from where the shaft exits. Recall the Tri-Rotor and use the pipe to bypass the security camera in the hallway. Enter the Press Room and plant the virus into the terminal behind the podium.
Terminal C
Now, only one terminal remains. To locate it, pass through the door to the right of the podium and up the stairs to pass through another door. In the left corner of this room, there is a hatch on the floor. Enter it and use the shaft to exit into a hallway. Be careful to not be seen by the Heavy Infantry soldier in this hallway. Make your way to the opposite end of the hallway and enter the vent you find there. After exiting the vent, enter the door on the left side of the room, which opens to the secretary of defense’s office. Neutralize the guard you discover within the office and plant the virus in the computer.
High Value Target
As you approach the elevator, the High Value Target for the mission arrives. Capture him without being seen by the Heavy Infantry soldier down the hallway before you continue.
Now that the HVT is in custody, proceed down the hallway and around the corner to the right. The Heavy Infantry soldier patrols this hallway, so wait until he is moving toward the secretary of defense’s office before you advance. At the end of the hallway, you will come across a door. To the left of that door is a vent. Enter the vent and pass through to a small maintenance crawl space. Use the control panel you find there to activate the virus and initiate the lockdown to draw Sadiq out and into the open.
ASSAULT
The War Room is perfect for attracting the hostiles into a trap. Drop down from the vent into the War Room halls. Two guards are engaged in conversation at the first junction. Fire on them to engage the detection phase. Wait for the hostiles to amass within this junction and deploy a Sleeping Gas canister to neutralize them. Expect Drones to arrive soon after, along with Heavy Infantry soldiers. There are two Heavy Infantry roaming the halls, so feel free to eliminate one with your remaining Incendiary Grenade, but keep in mind that another will soon be on his way. After all the hostiles are eliminated, the only threat left is the Drone Operator and his machines. The Drones are easily circumvented by running past them, as their explosives do not arm quickly enough as you pass by to cause you damage. From the start, run left, then right, and left again. You arrive at the Press Room, where the Drone Operator is found. Put a bullet in his head to end the robotic terrors, leaving you free to infect the terminals and complete the objective.