
Tom Clancy's Splinter Cell Blacklist Guide Walkthrough Ghost/Assault Tactics
Mission 3: American Consumption Chicago, USA
GHOST
Ending the terror plot in Chicago leaves you outnumbered and definitely outgunned. Many of the areas found throughout this mission present multiple paths that can be used to circumvent enemy patrols, conserving your supplies and preserving your life. Each of the areas present vertical options as well. From the catwalks found in the Festival Hall to the pipes that snake their way above the sewers, these high vantage points are extremely useful, so be sure to keep an eye out for them as the mission moves on. Aside from being positions from which to observe the movement of enemy patrols, they also help when you’re attempting to collect the three supplemental mission items (Dead Drop, HVT, and Blacklist Laptop). All three of these items are easy to bypass, but we will call them out as you approach the area where they are found. When preparing your loadout, take a moment to upgrade your Ops Suit (Pants) if you have the funds to do so. The extra magazines of ammunition, as well as gadget slots can prove their worth when attempting a Ghost playthrough on Perfectionist difficulty. In addition to that, keep your Sticky Noisemakers and Sticky Cameras (which should be upgraded with the Flash Charge) at hand, as these two trusty devices are indispensable tools of the Ghost arsenal.
ASSAULT
When you engage in a firefight during this mission, the place where you initiate the combat is what will determine if you survive. This mission affords you plenty of opportunities to take advantage of tight quarters that can be used to trap hostiles as they funnel in. Another advantage to be exploited is in elevations. Especially when facing down a large number of hostiles simultaneously, you will want to control the high ground. From these perches, you are less likely to be the victim of a grenade. Besides grenades, you will not come across any snipers during this mission—and the common hostiles are not the best marksmen. Prepare for this mission by ensuring that you have both Frag Grenades and the Tri-Rotor equipped, the latter is to deal with a Drone Operator that can quickly become a problem for you.
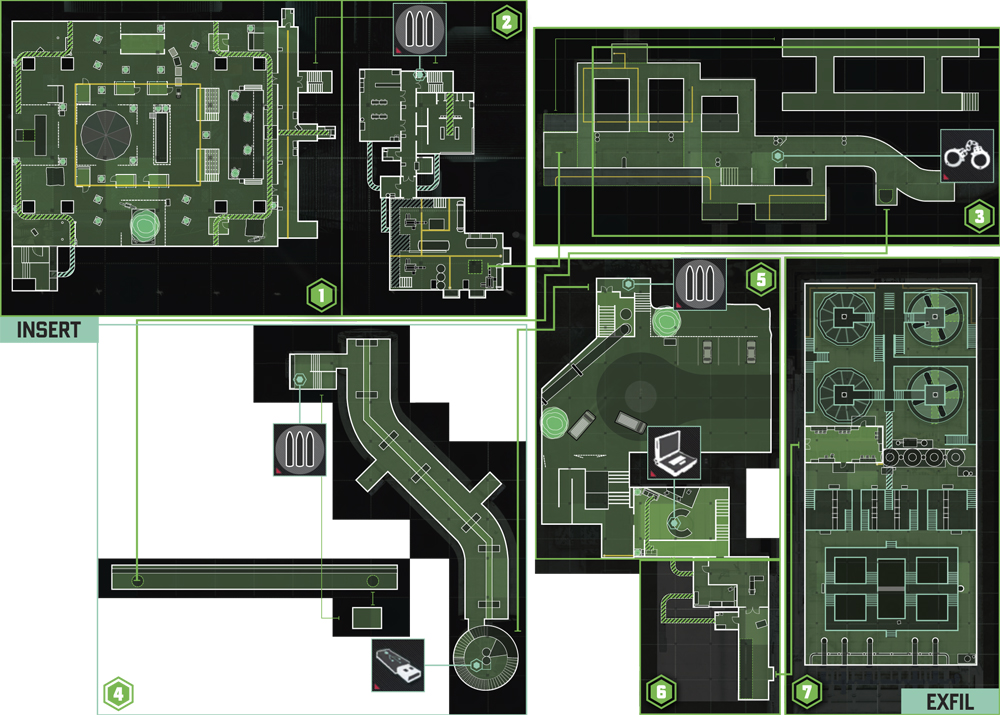
1: Festival Hall
GHOST
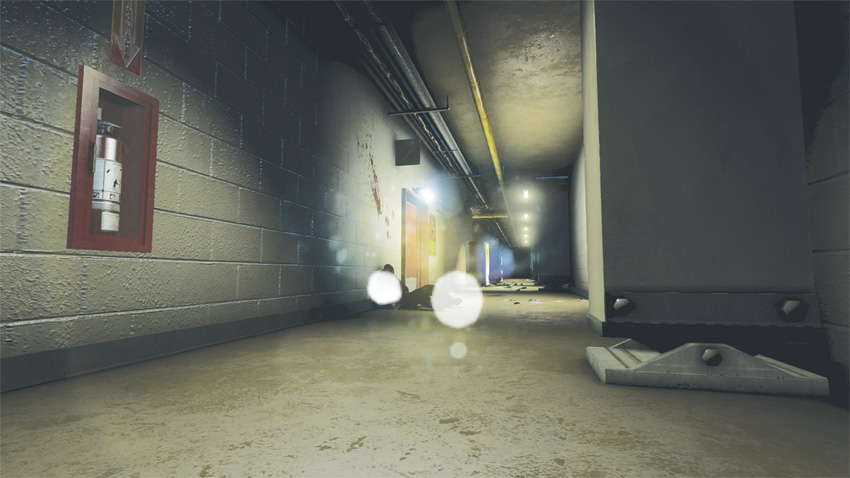
Entering the Festival Hall from the rooftop, you first observe the enemy from the safety of the catwalks that snake about the upper level of the space. Your objective from this point is to access a stairwell located in the hallway behind the stage area. From your entry point, this stairwell is to your right on the opposite side of the Festival Hall, just through a door to the left of the stage. While this door may seem like a promising access point, the area around the left side of the stage is swarming with hostiles that are hard to dispatch silently and nearly impossible to bypass undisturbed. Luckily, two other points grant access to this backstage stairwell. The first alternative is the door on the right side of the stage, which is not nearly as heavily guarded as its left side counterpart, but the danger of being discovered by a roving patrol is still a possibility. The second is a ventilation shaft that is accessible after passing behind the stage’s curtain and climbing onto a scissor lift backstage. Of your three options, the best is to access the vent and pass through it to a small janitor’s closet. From there, you have access to the backstage hallway and with some careful timing, the guards will never be aware of your presence.
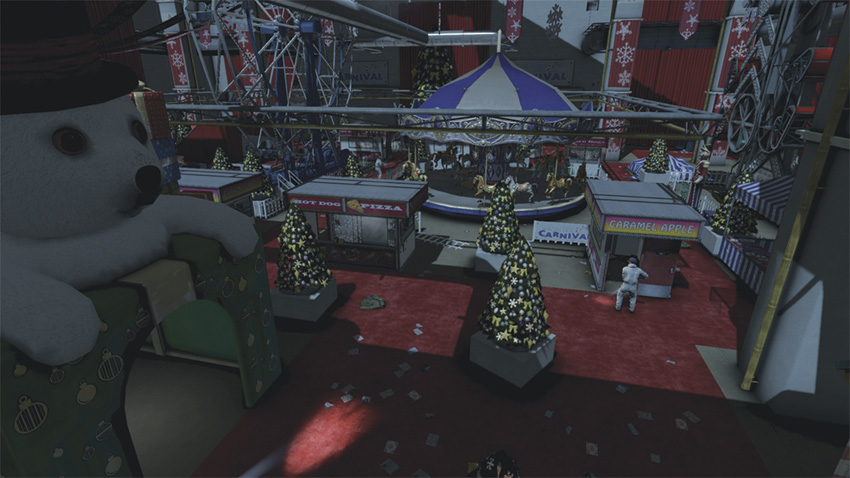
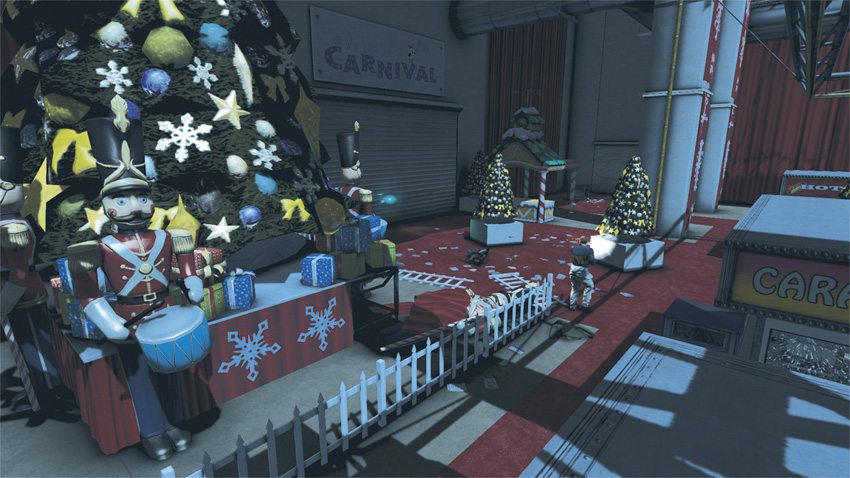
Upon entering the Festival Hall, make your way to the nearby column and slide down it to the ground floor. Once at ground level, make your way past the massive Christmas decorations to your right. Climb over the white picket fence and follow it into the shadows. Just past the Christmas display are two columns to the right of the stage. Use these as cover; wait for the nearby guard presence to lighten up or dispatch the guards by ambushing them from behind as they roam about. From the last column, beeline behind the curtain and climb into the ventilation duct to pass into the janitor’s closet.
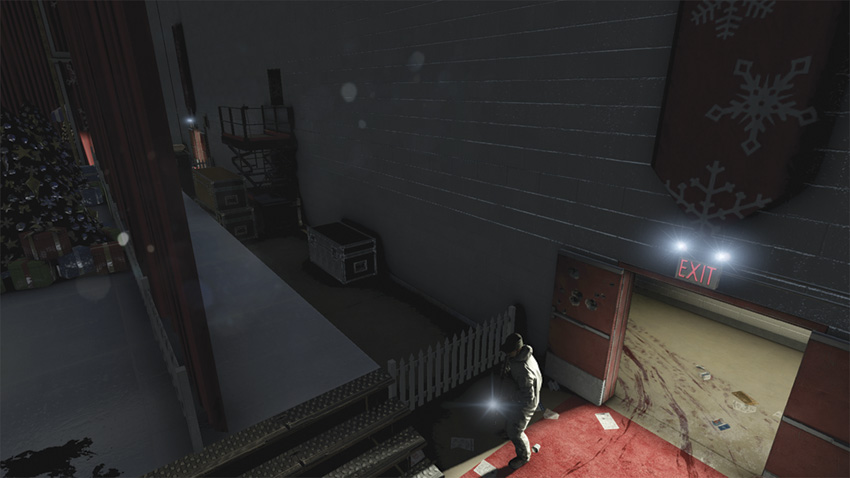
Before exiting the janitor’s closet, take a moment to peek under the door for the two guards roaming the hallway. Once they go their separate ways, exit and make your way down the hall to the right.
The exit will be to your right; pass through to begin the next objective.
ASSAULT
Your entrance into the Festival Hall places you on a catwalk that runs alongside the conduits and ventilation shafts high above the floor. This elevated position serves as an excellent place from which to attack. Using an unsuppressed Assault Rifle or Sniper Rifle, begin your attack by firing on the guard that is patrolling the area immediately below the insertion point. He is wandering about the Christmas tree displays below and unaware of where the shots are coming from. It is imperative that you focus on making headshots during this phase of your assault to conserve ammunition.
2: Basement
GHOST
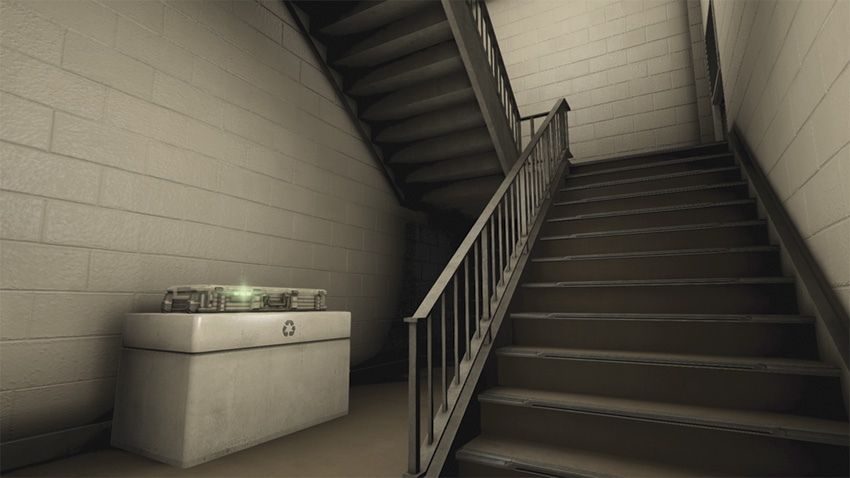
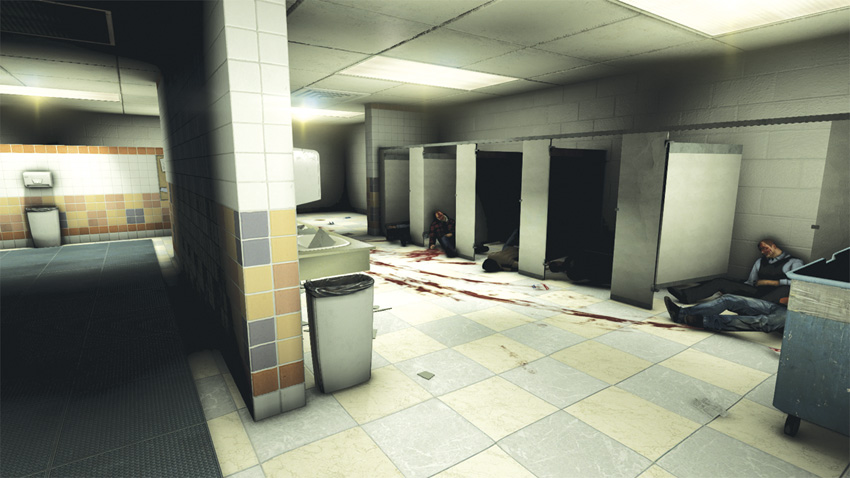
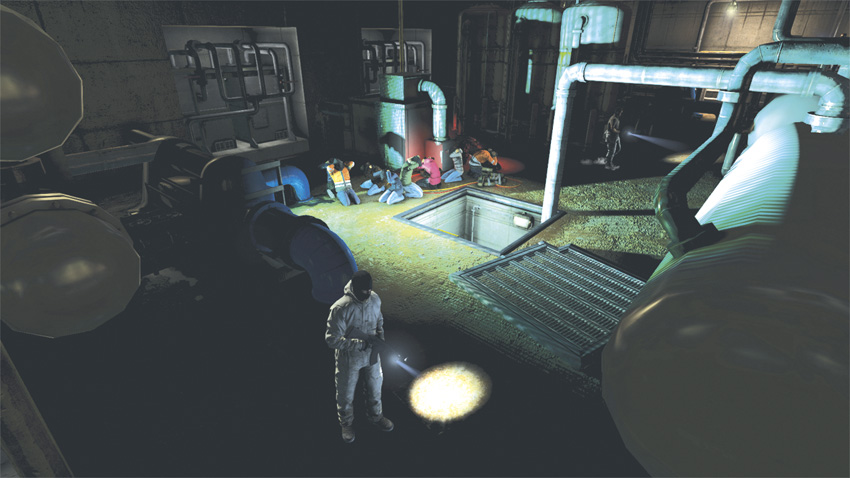
After navigating the Festival Hall, your exit is a stairwell leading into the bowels of the building. At the bottom of the stairs you will find a Supply Cache. The objective is to access the sewers via a maintenance entrance inside the boiler room. This time, not only do you have enemy guards to deal with, but you also have to ensure that your actions do not compromise the hostages being held within the boiler room. Two paths access the boiler room: a set of double doors and a ventilation shaft. The doors are out of the question when attempting to go Ghost, as you will pique the interest of the guards within the boiler room if you attempt to open them. As for the ventilation shaft, it is located in an electrical room with circuit breakers adjacent the double doors to the boiler room. Only one guard maintains a presence around the entrance to the boiler room and you can bypass him unnoticed when approaching by way of a vent that leads from the employee break room to the electrical room. Once inside the boiler room, it is best to stay within the shadows, using the pipes and machinery to provide cover near the far wall on your way to the sewer entrance.
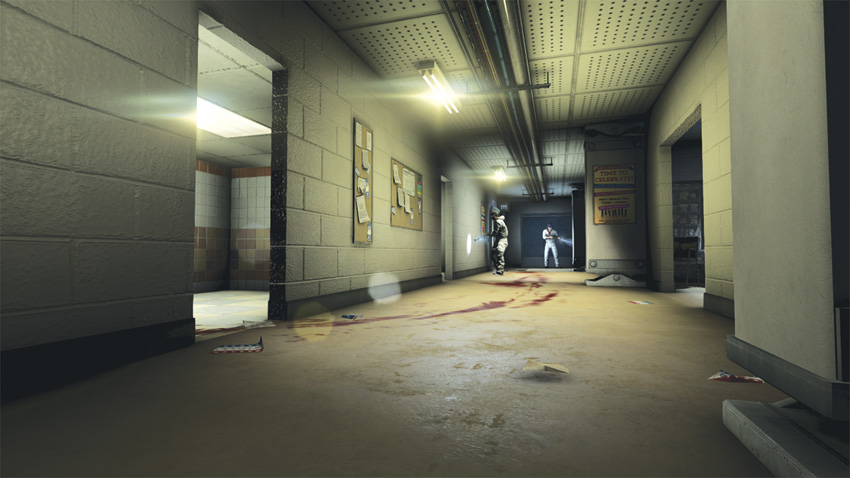
The most direct way out of the stairwell is through the double doors. From here, proceed across the hall and into the break room, which is dimly lit by vending machines. In the far corner, opposite the vending machines, locate the vent and enter it. The vent leads to the electrical room. Wait for the guard patrolling that area to step into the hallway before climbing down and entering the other vent to your right.
After crawling through the vent, you exit into the Boiler Room. Be careful; a guard patrols a path toward the vent and he can easily discover you. Move right from the vent, staying close to the wall. When you come to the set of stairs, take cover beside the pipe nearby. Now switch to cover along the machinery just past the stairs to the right. Continue to follow the wall, moving behind the machinery. At the dead end, take a moment to observe the patrolling guards. From this point, you can throw a Sticky Noisemaker to draw attention away from the nearby sewer access. When the attention of the guards is grabbed by your distraction, climb the nearby pipes and enter the sewer access to find the next area.
ASSAULT
After you enter the stairwell, head down to the lowest level. There is a Supply Cache here if you need to restock. Exit the doors and head left to set up behind cover. Begin the fight by allowing yourself to be detected by one of the guards that is within the hallway. Hold your position in this hallway, swapping cover when necessary as you wait for hostiles to flood into the hallway. Soon, the flow of enemies may cease. To lure out the guards within the boiler room ahead, open the doors leading to the boiler room and fire a headshot at the guard that is walking on the balcony overlooking the hostages. This will get the attention of the guards inside. Now fall back to take cover near the barricaded elevator and wait for the hostiles to flood in, eliminating them as they do so.
3: Sewers
GHOST
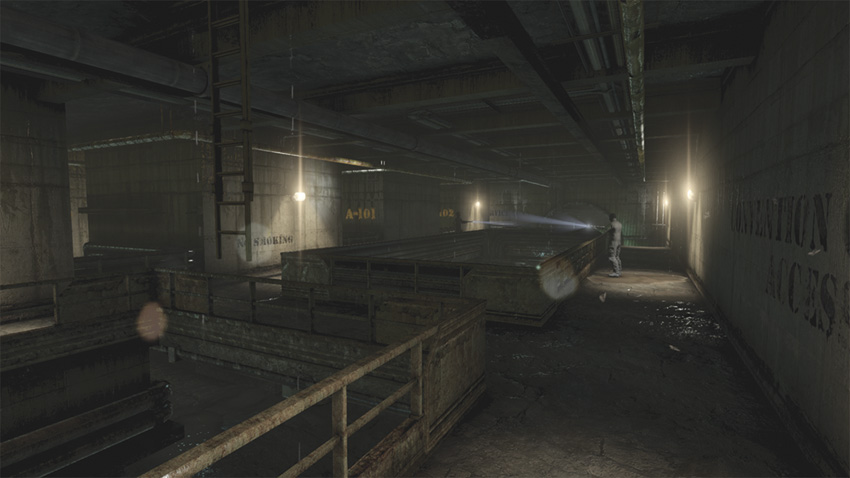
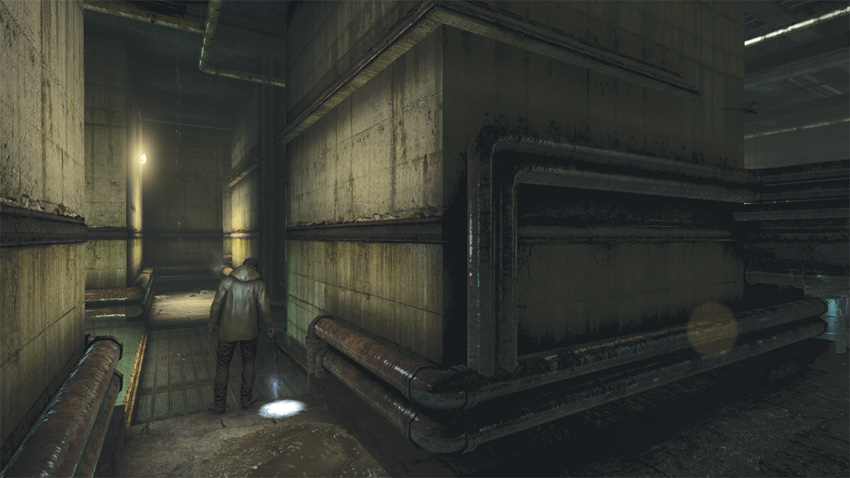
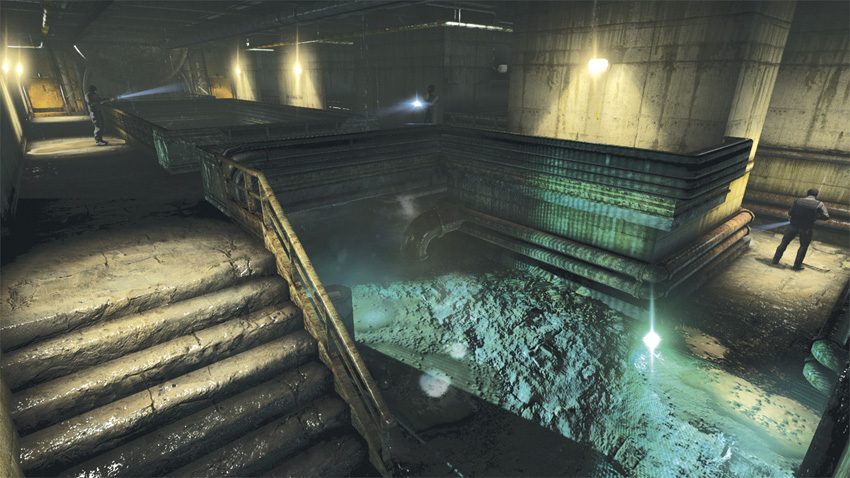
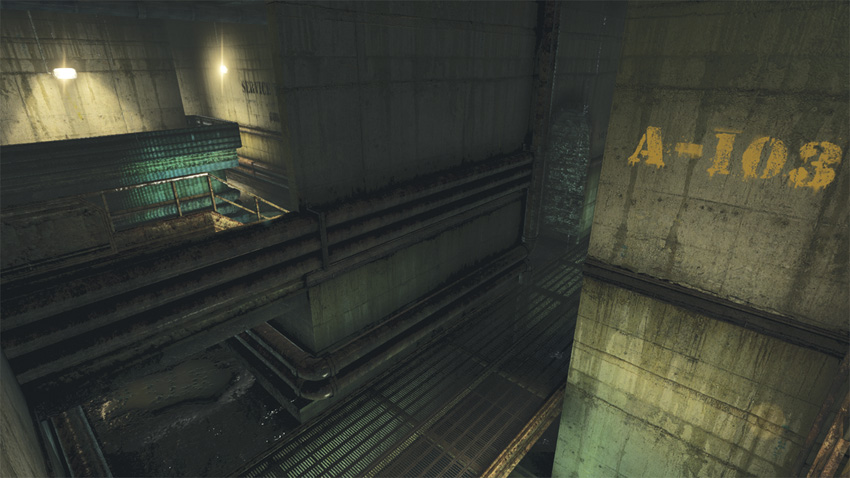
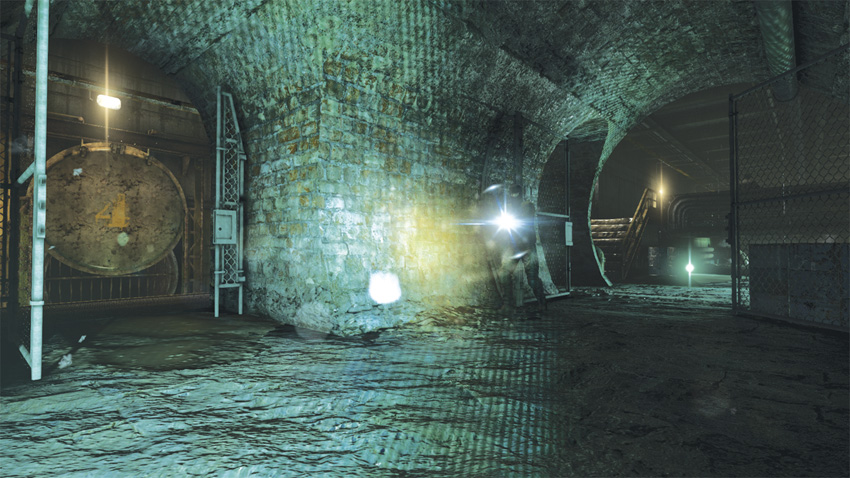
The dark, dank, confined sewers are packed with patrolling hostiles. Your objective here is to gain entrance to a series of maintenance tunnels by bypassing the guards on the opposite side of the sewers. Avoid staying on the ground here; instead, make use of the pipes overhead to traverse unseen. Here is where you will find the High Value Target for the mission as well, who just happens to maintain a patrol along a route you wish to take.
Once within the sewers, climb out of the runoff and onto the path to your right. Jump up to the overhead pipe and shimmy along the path. Soon, the path will curve. Wait for the nearby guards to look away before dropping down and then hurdle the railing and follow the curve. Follow the grated floor until you come to the end where a hall to the left opens up. Drop down the side of the platform here and wait. Soon the High Value Target will patrol this small walkway. When he does, capture him.
High Value Target
Await your prey in this small corridor to capture him out of sight of his comrades.
Use care when rounding the corner; a Heavy Infantry soldier frequents the chain-link fence area of the lighted corridor. Stay low and follow the path past the lights and enter the open hatch at the path’s end.
ASSAULT
After you come down the ladder into the Sewers, climb over the railing to your right. Take cover near the first bridge and lure the guard just ahead of you on the right. When he comes to investigate the sound, take him as a hostage. Now that you have a human shield, cross the bridge and approach the guard patrolling the far end of the left walkway. He will detect you as you approach, so be ready for the headshot. Now that you’ve been detected, continue to the end of the walkway and past the bridge. From this corner, use the Human Grenade ability and throw your hostage over the railing toward the service tunnel. When he explodes, he clears a large area of hostiles. Don’t rest yet; a Heavy Infantry soldier and the HVT are emerging from the service tunnel. Throwing a Frag Grenade into the tunnel can equalize the situation, but keep in mind that the Heavy Infantry soldier will still require a bullet to his head to put him down.
4: Maintenance Access
GHOST
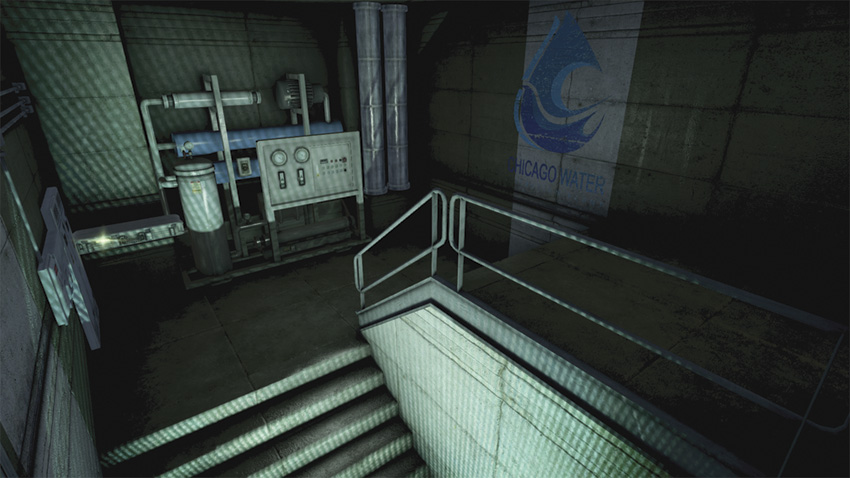
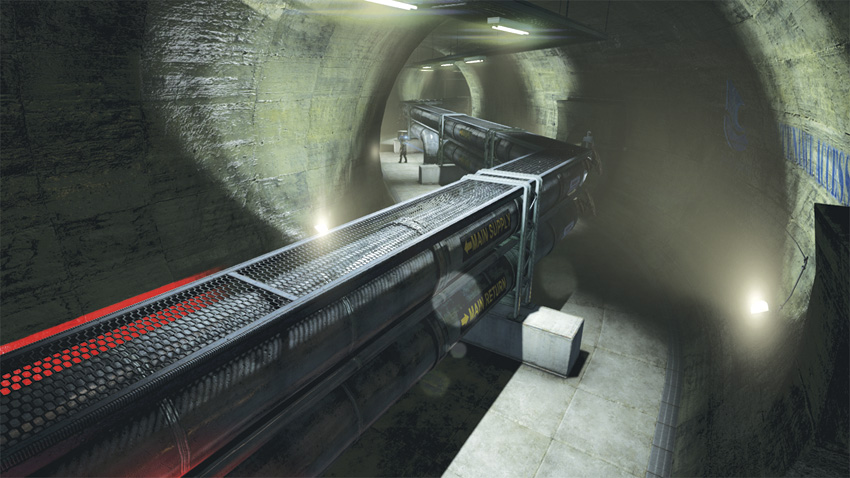
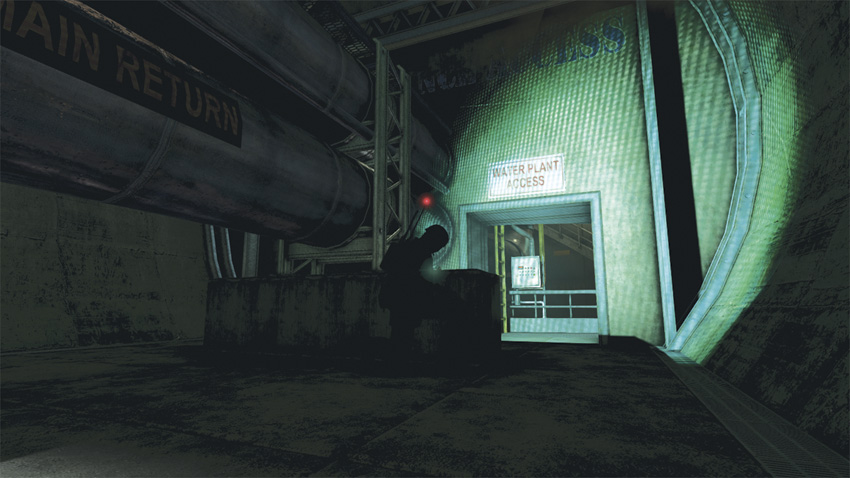
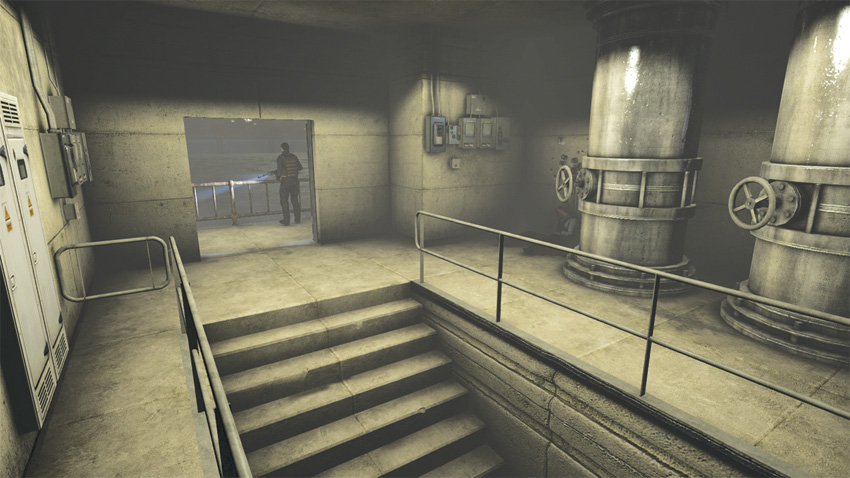
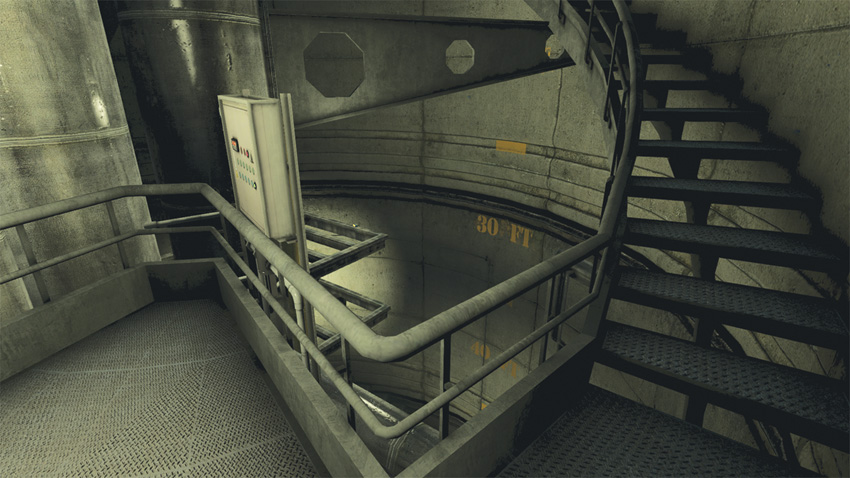
After the sewers, you enter a maintenance tunnel that leads to a stairwell to the area nearby the filtration plant. The first section of your trek through the tunnel takes you alongside a large pipe drawing its water from the filtration plant. A new enemy makes an appearance here. Small and slow-moving, a Recon Drone patrols the tunnel alongside the guards. The Engineer controlling the Drone is posted on the opposite side of the tunnel near the exit. Just past the Drone Operator, a stairwell leads to the surface and exits just in front of the filtration plant. Along the corkscrew path of the stairwell, you will also find the mission’s Dead Drop sitting atop a ledge. Recovering it requires a bit of climbing as you make your way upstairs. Once you arrive at the top of the stairwell, you step into a small valve room that exits to stairs that lead to the front entrance of the filtration plant.
Climb onto the pipe within the maintenance tunnel and progress along the catwalk until you arrive at the end of the tunnel. Climb down to the left to get behind the Drone Operator, staying low as you creep past him into the nearby open door. Climb the nearby ladder and navigate the ledges to locate and collect the Dead Drop before climbing onto the stairs.
Dead Drop
This Dead Drop is easy to overlook: Climb the ladder at the bottom of the stairs to access it without doubling back.
At the top of the stairs, wait for the guard to pass to the left of the door before exiting to bypass him unseen. If you need to do so, restock at the Supply Cache just outside before ascending the stairs to the entrance of the filtration plant.
ASSAULT
Before leaving the small control room to enter the maintenance tunnel, take a moment to restock at the nearby Supply Cache. Take cover near the entrance to the maintenance tunnel and use your Stun Gun to disable the small Recon Drone as it rolls by the doorway. Now that the Drone is disabled, deploy your Tri-Rotor and send it down the tunnel. Look for the Drone Operator at the end. Use a Sticky Shocker to neutralize the Drone Operator and thereby cut off Drone activity, which can be particularly dangerous here. Now, step out into the tunnel, allowing yourself to be detected by the guard to the left of the large pipe that runs the length of the tunnel. This starts the detection phase. To stand your ground during the firefight, use the concrete supports that hold up the pipeline. These supports are placed at equal distances and can be used to monitor both sides of the pipeline as you advance from one to the next. After the maintenance tunnel, climb the long, winding stairwell to the surface. As you exit the stairs, you’ll see a guard standing outside the doors leading to the surface. Take him by surprise to end him quickly.
5: Filtration Plant (Lobby)
GHOST
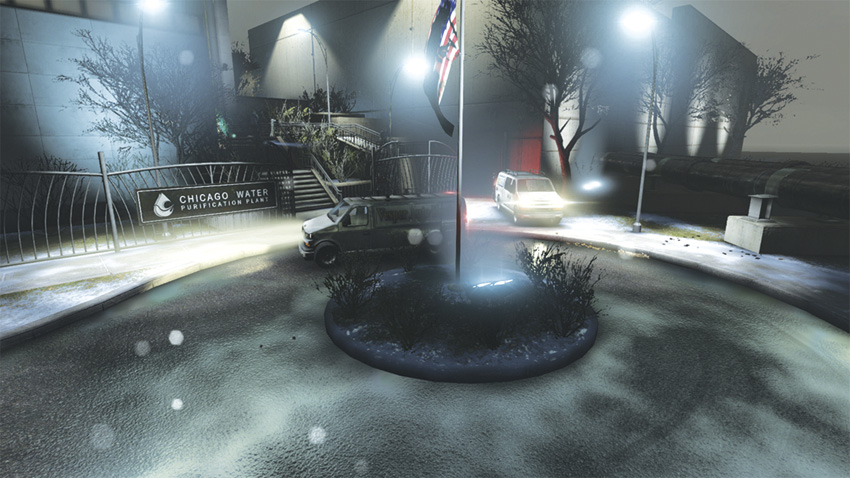
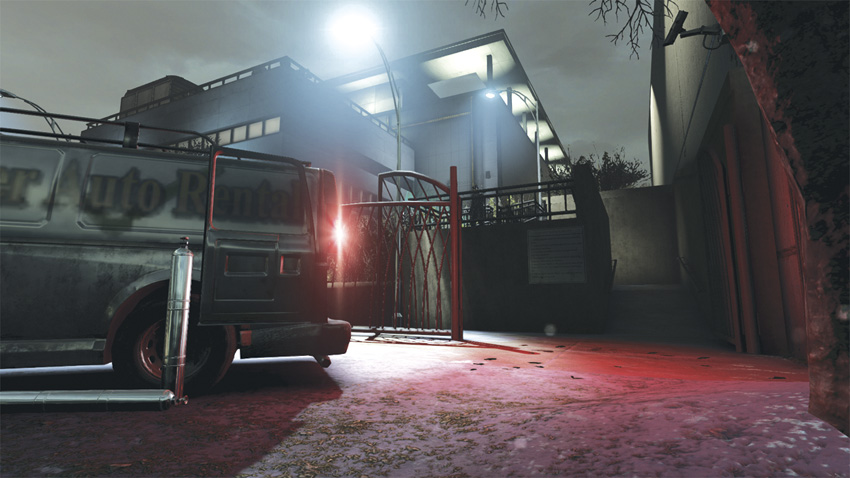
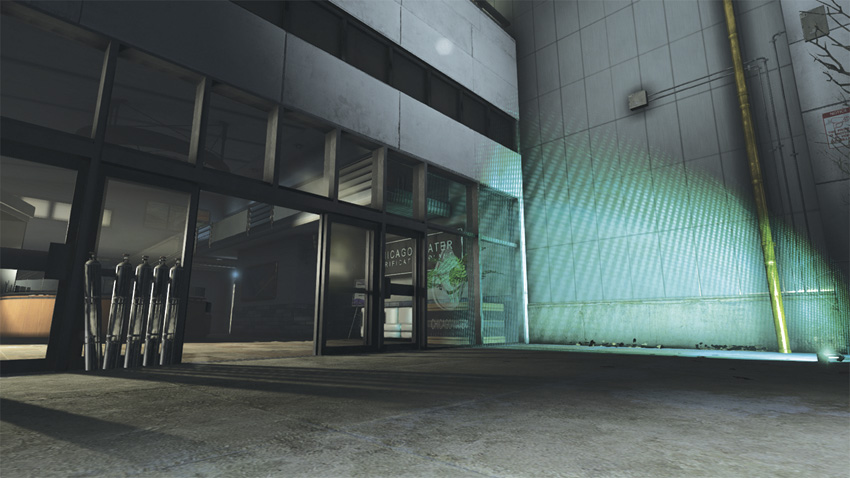
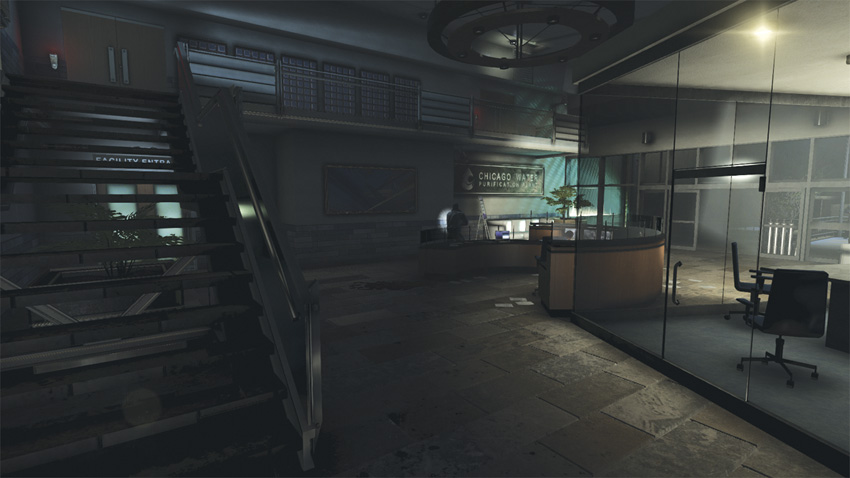
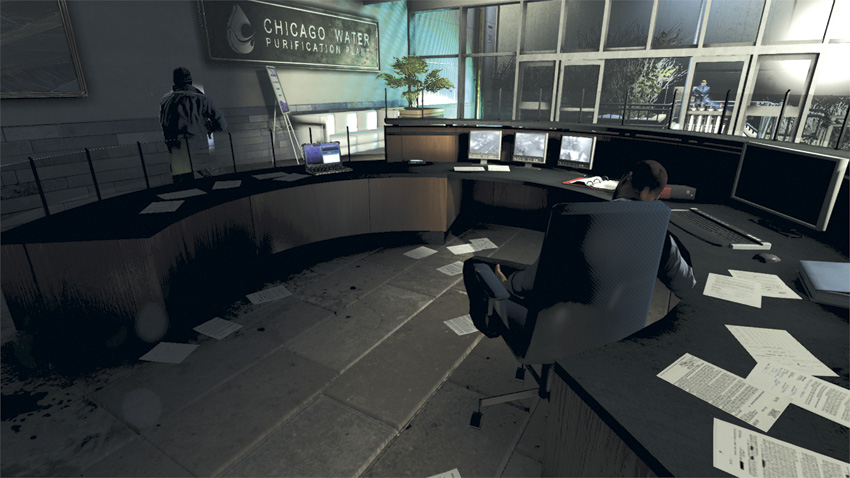
The lobby area and entrance to the filtration plant are lightly guarded, but the guards efficiently patrol the area, leaving no stone unturned. Two guards patrol the entrance while one wanders about the lobby, patrolling the first and second floor. Leading up to the entrance, there are two paths: a set of stairs to the left and a ramp to the right. Two white vans sit idling on the street and can be used for cover; because they have their headlights on, be sure to approach from the vehicles from the right to avoid detection. Although the front door is the obvious choice to access the lobby, scale the pipe running along the wall to the right of the entrance. This pipe leads to the roof, where a vent can be used to access the second floor of the lobby. However you enter the lobby, be sure to hack the Blacklist Laptop behind the reception desk on the first floor.
Approaching the entrance from the right side allows the walls of the ramp to serve as cover during your approach. Climb onto the railing at the first turn. Throw a Sticky Camera toward the entrance where the two guards are standing and use Sleeping Gas to incapacitate the threats. To the right of the entrance, scale the pipe running along the wall. On the roof, use the vent to reach the second floor of the lobby. Neutralize the guard inside before moving to the first floor, where the Blacklist Laptop is located. Once you’ve hacked the Laptop, use the door to the right of the stairs to access the security checkpoint.
Blacklist Laptop
On the receptionist’s desk you will find the Blacklist Laptop. Neutralize the nearby guard to eliminate the risk of detection while hacking the device.
ASSAULT
Stand at the water’s edge after coming out of the maintenance tunnel. Take a moment to restock at the nearby Supply Cache. When ready, ascend the nearby stairs and step onto the asphalt. Crossing this small patch of pavement to approach the Filtration Plant’s Lobby will result in a detection if you stay upright and sprint toward the vans parked nearby. Approach the building by way of the stairs on the left side, which affords better visibility of the entryway. With only three guards here, you can quickly overwhelm them if you act aggressively. Just be careful to not waste ammunition here. You will need it after you enter the Filtration Station.
6: Filtration Plant (Security Checkpoint)
GHOST
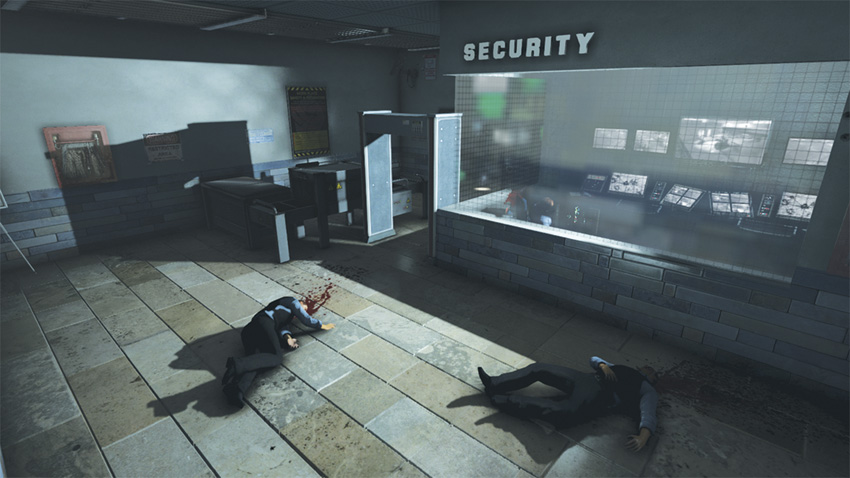
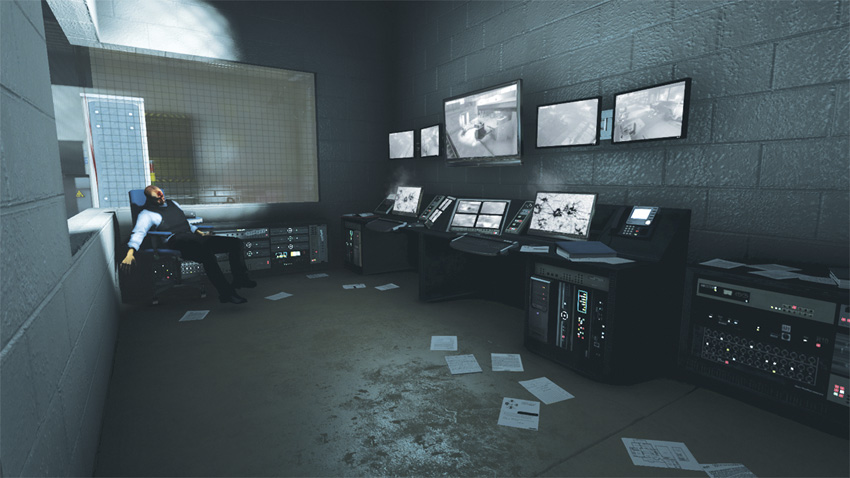
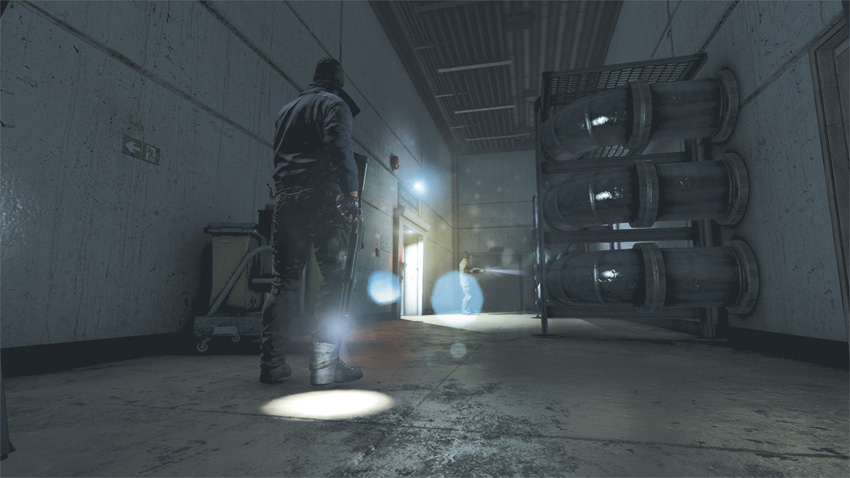
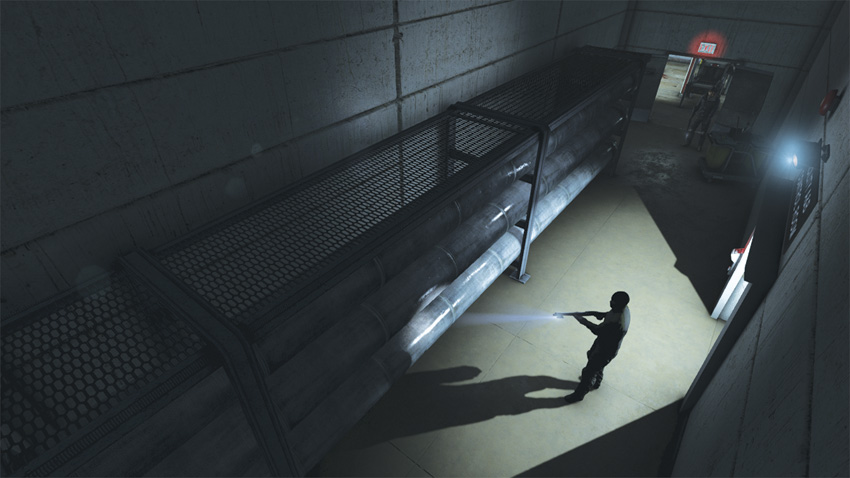
Just past the lobby lies a security checkpoint; although it’s unguarded, the metal detectors are still active and will set off alarms when you pass them. The nearby security office affords you with a vent that can be used to reach a janitor’s closet that opens to the hallway, where you’ll find the area’s exit. The two guards that patrol this hallway make leaving without causing a disturbance difficult. Use the closet to lure the guards into a trap without having to use any gadgets.
Enter the security office to access a vent that leads to a janitor’s closet. After turning the lights off in the janitor’s closet, lure one of the guards to the room and neutralize him when he gets close. Only one guard remains near the exit. Climbing the nearby pipes puts you in position to perform an Aerial Knock Out on the guard, clearing the path to the plant’s pumping stations.
ASSAULT
Once inside of the building, you come to a security office. To the left of the office is a metal detector. This detector is not in operation, so take cover near it and lure the nearby guard over to it. Take him as a hostage and enter the hallway just beyond the detector. His comrade near the exit will detect you as you approach, so eliminate him when he does. After killing the hostile that was guarding the exit, finish off your hostage with a melee attack before moving on.
7: Filtration Plant (Pumping Station)
GHOST
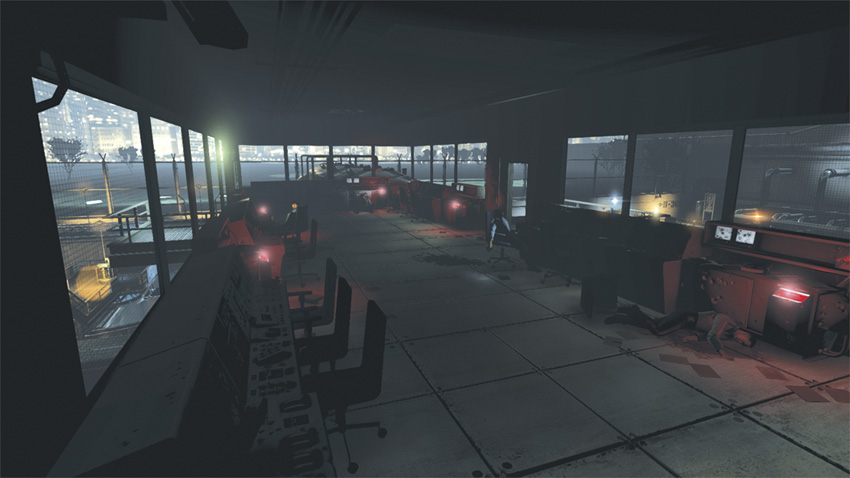
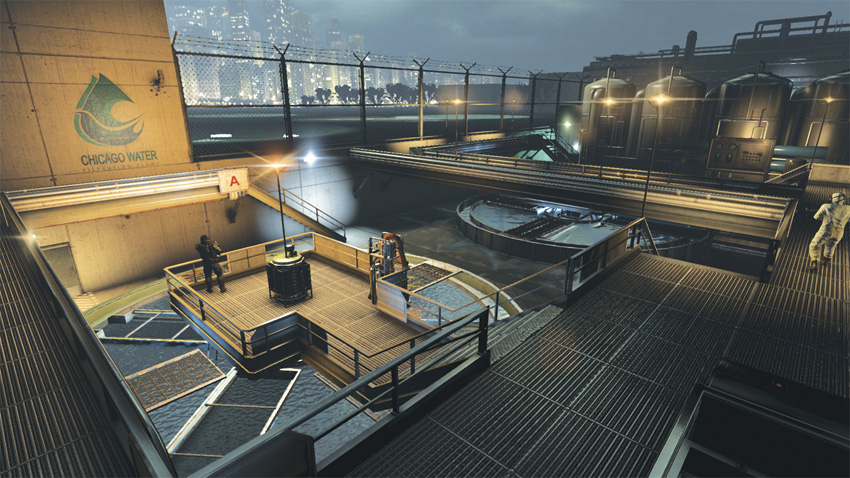
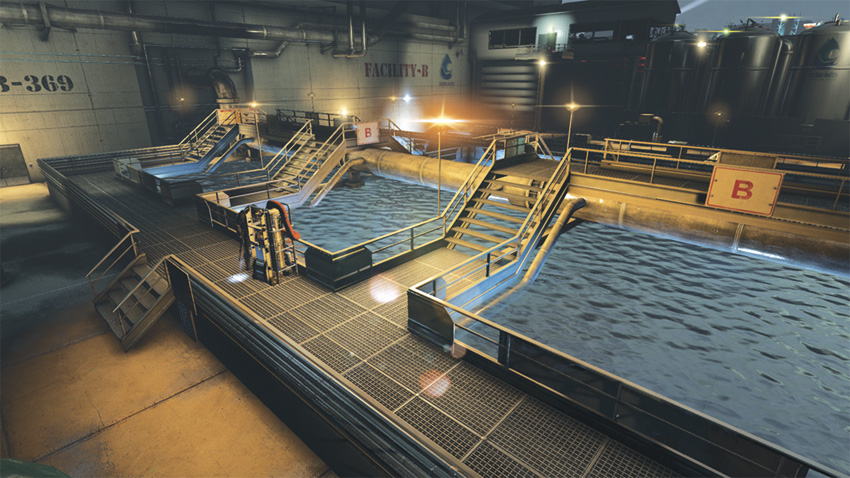
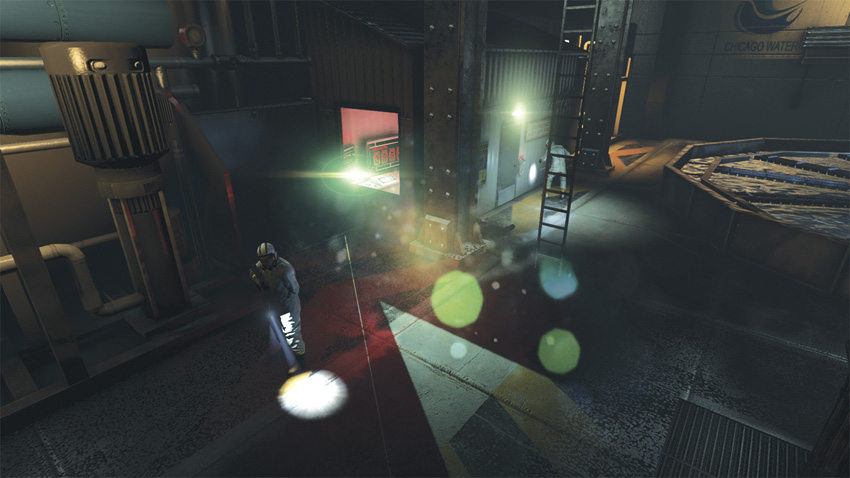
The pumping station is divided into two halves and each has a poison device that must be disabled. Both halves are a maze of stairs, catwalks, and pipes. With each side having a few enemies patrolling about, it is best to stay on the periphery. The control room that you begin in divides the two sides, but there is also a shortcut connecting the two halves that is relatively safe, with only one guard frequently patrolling the area. This shortcut is a small path along the wall dividing the two halves on the station’s far end. While most of the hostiles here are your standard fare, standing guard near each device is a Heavy Infantry soldier. When attempting to disable the poison devices, take care to ensure that this threat is walking away from the area before you tamper with the device. From the control room, it is best to begin the objective on the right side of the facility toward Objective B, as the end of the mission requires you to close an outflow valve that is located just below the control room and on the facility’s left side (Objective A).
Exit the control room toward Objective B. Climb over the railing to the left and shimmy along the ledge until you come to a pole. Continue moving toward the left side of the station; head downstairs and follow the wall, climbing up and over the railing. Stay low while moving along the path and climb onto the platform to your right at the bend. After climbing up to the platform, you will see the objective (B) and the Heavy Infantry soldier guarding it. Wait for the Heavy to walk away and then approach it, staying low to avoid the attention of the guard walking about at ground level. Disable the pump and move on toward Objective A. Backtrack toward the control room. Locate and move toward the holding tanks in the far corner of the facility. Use the path that cuts past the holding tanks to access the facility where Objective A is located. After passing through the shortcut, Objective A is within sight. Stay low as you move toward the objective. Climb onto the pump, taking cover to stay low until the Heavy Infantry soldier guarding it walks away. After you disable the second device, you must close the facility’s outflow valve. This valve is located beneath the control room. Double back toward the control room, passing beneath the catwalk where the heavy soldier was patrolling. Cutting between the pumps, you will be able to bypass both guards on your way to the valve. When you enter the valve room, be sure to close the door behind you to reduce the possibility of being discovered.
ASSAULT
Because the Filtration Plant is divided into two halves, you must consider where you begin your rampage. From the control room, attack Facility B first. This is the half that is to the right of the control room. Beginning the firefight on this side affords you the advantage of surprise. After you have come down to ground level, use a Frag Grenade on the two guards across the gap from where you drop down. They will be near the filtration tank, conversing with each other. After throwing the grenade, run to take cover: The kills will count as Combat Kills and a detection. The advantageous aspect of taking cover is that hostiles begin searching for you and you can kill them while detected, which awards even more Combat Kills. The key to surviving in this open area, where only pipes and catwalks suffice as cover, is to stay constantly in motion. Focus on killing the Heavy Infantry soldiers first. Each half of the Filtration Plant has one of them stationed near the filtration tanks, where the pumps are found. Once these brutes are dead, the remaining soldiers quickly fall prey to you.