
Tom Clancy's Splinter Cell Blacklist Guide Walkthrough Campaign
Mission 7: Transit Yards Philadelphia, USA
Objectives: Disarm Four Bombs, Capture the Engineer
Recommended Loadout
- Gadgets: Smoke Grenade, Flashbang
- Goggles: Sonar Pulse
- Ops Suit: Tactical Mesh (Torso), Covert (Gloves), Tactical Mesh (Pants), Nanopolymer Coating (Boots)
- Pistol: 5.7 USG with Armor Piercing Ammo and Holo Sight Optics
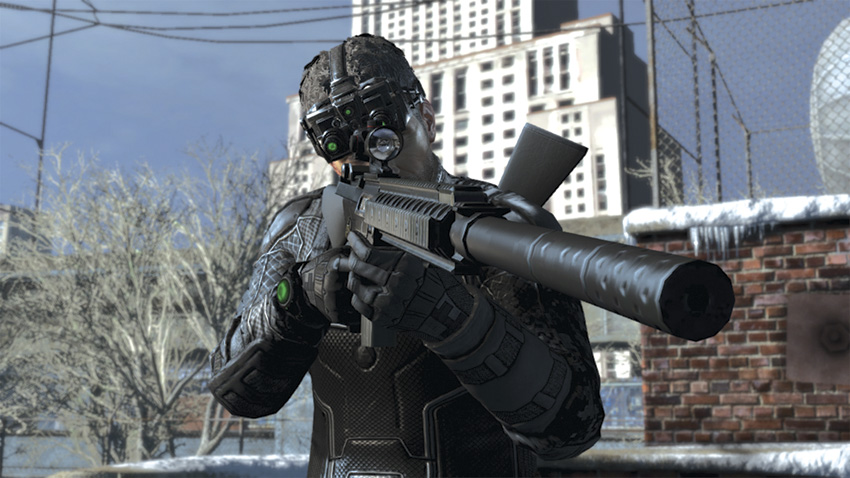
- Alternate Weapon: SR-25 Sniper Rifle with Extended Mag and Armor Piercing Ammo
- Special Weapon: Stun Gun
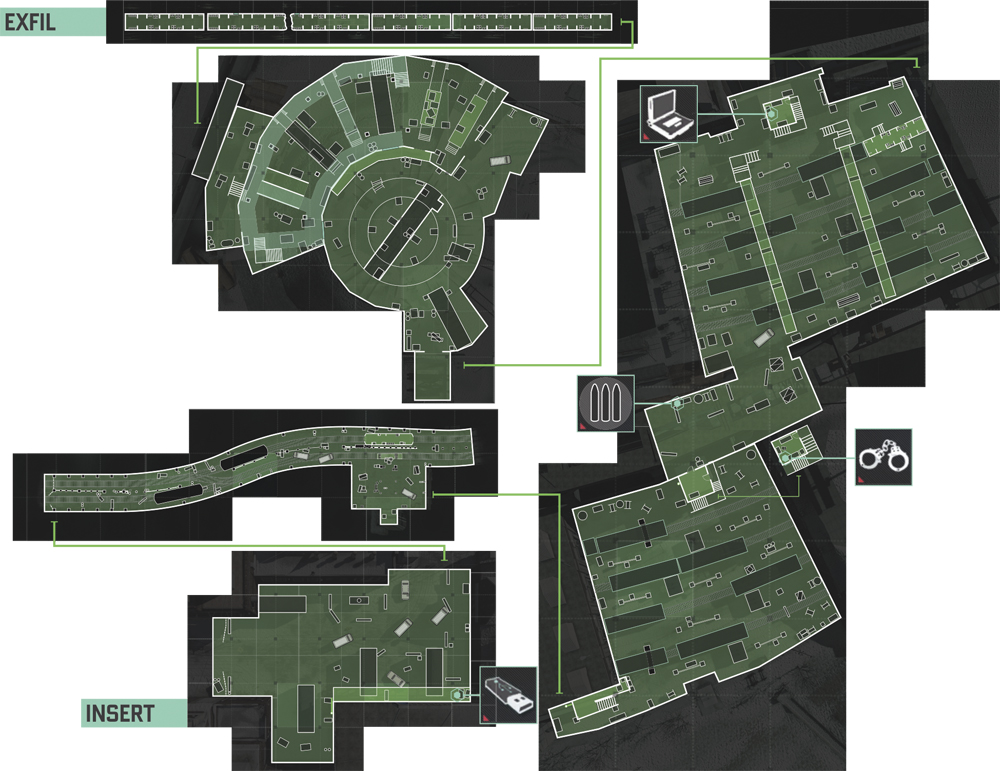
Disarm the First Bomb
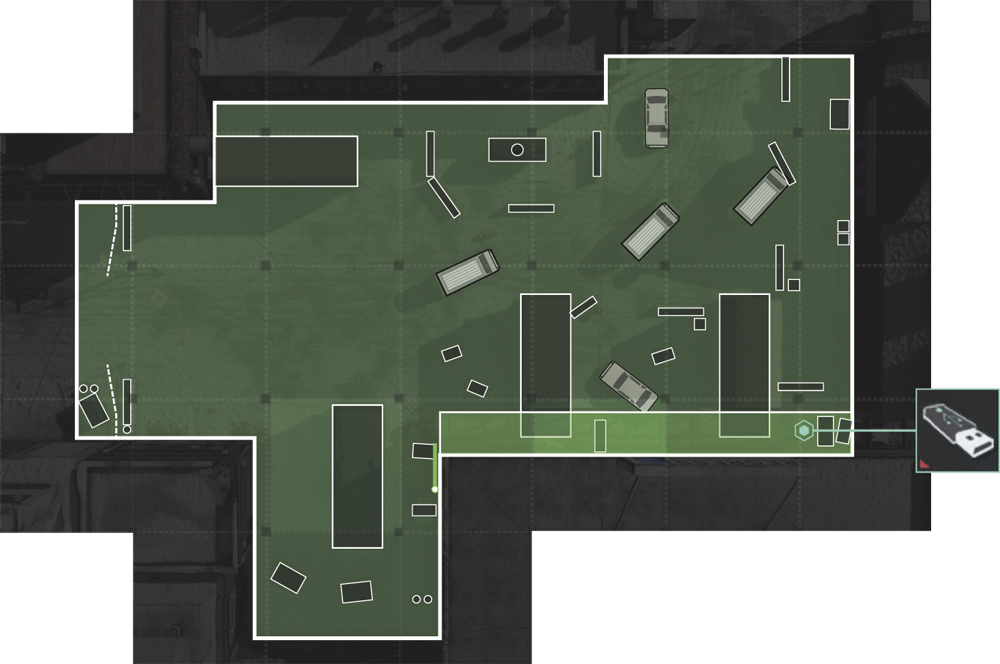
There’s no time to waste after hitting the ground in Philadelphia. As soon as the driver of the lead van is killed, mass chaos ensues. Hostiles are everywhere, and Briggs is actively engaging them, drawing their fire away from you. It’s time to get moving.
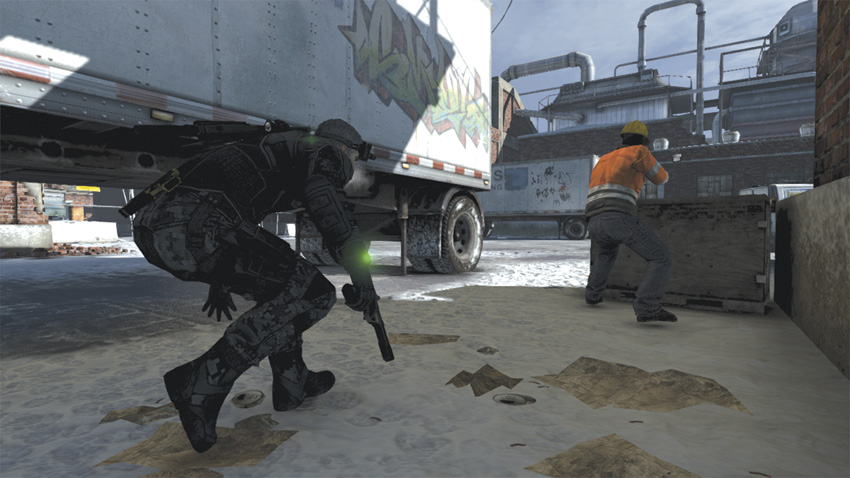
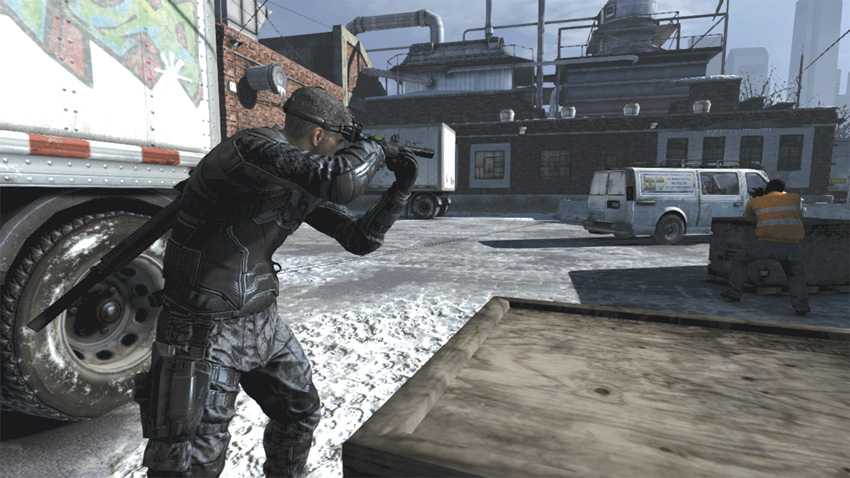
Climb over the edge and drop to the ground below. Head to your right, and go around the semi-trailer. Approach the hostile from behind and take him down with a hand-to-hand strike to fill up your Execute Ability. Crouch, turn the corner to your right, and move slowly against the wall. Your Radar shows another hostile around the opposite corner; target him from cover and eliminate him.
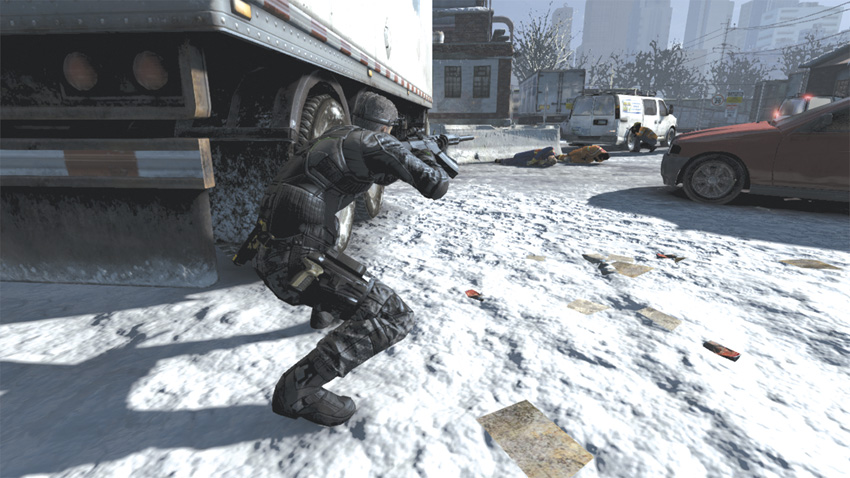
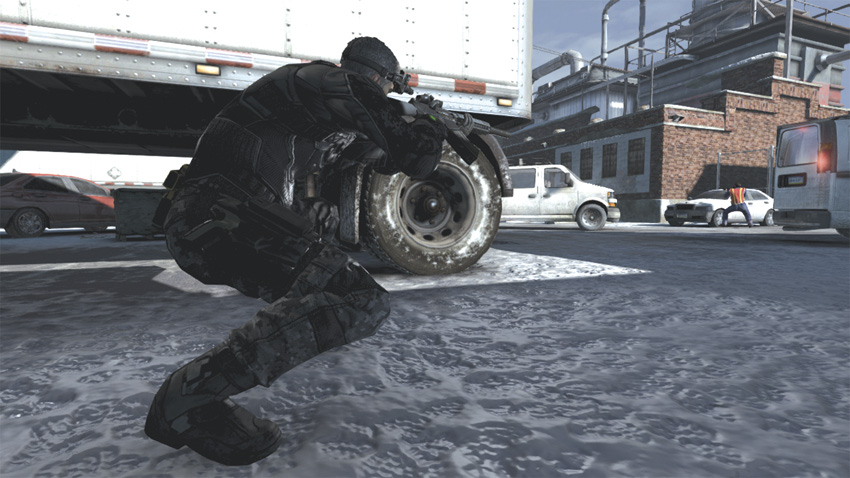
Continue moving around to your right, behind another semi-trailer. Check your Radar again to see four more hostiles. Mark the three closest to you, and then use your Execute Ability to take them down. Take cover near the crate in front of you and slowly approach the fourth hostile. Use a hand-to-hand strike to dispose of him. Move to your right around a third semi-trailer and approach the van with the bomb. Check to make sure there are no hostiles remaining, and shoot them if there are any. Once Briggs gives the signal that no more enemies remain, you’re clear to disarm the device. However, before doing this, return to where you killed the first hostile, to the right of the first semi-trailer, and climb up the yellow pipe to the gantry above. Go to the end of the walkway and grab the Dead Drop. Now disarm the bomb!
Disarm the Second Bomb in the Tunnel
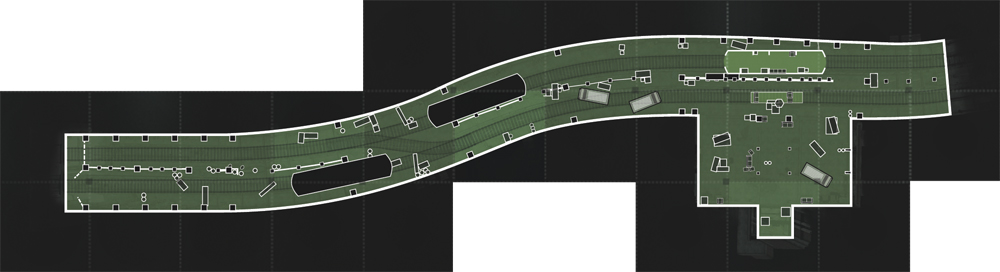
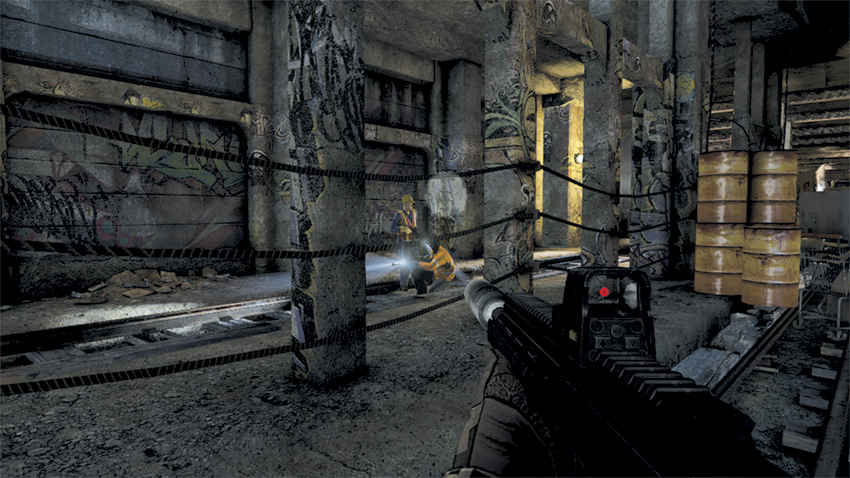
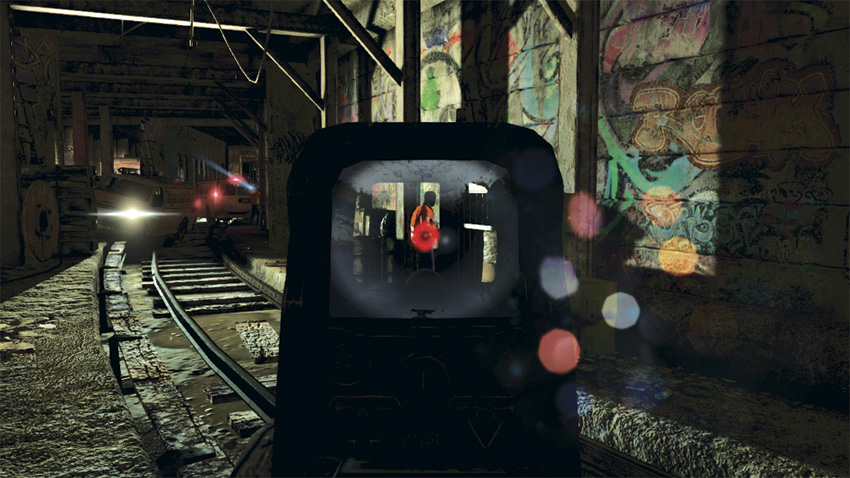
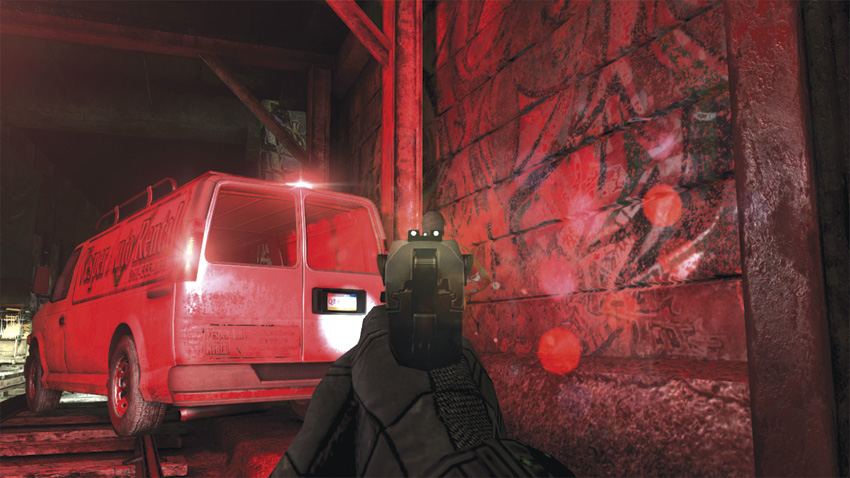
Playing as Briggs, you start in a tunnel filled with hostiles and a bomb that needs disarming. From the tracks on the right side, move forward, staying close to the middle. Look at your Radar; the first two hostiles are located to your left, across the center divide. Without hesitation, take them both down using your silenced assault rifle. Staying on the right, continue down the tunnel about 75 yards to the next enemy. Eliminate him and continue toward the two vans. From your Radar you know that there are two hostiles in the vicinity of the second van; one is wearing a helmet. Quickly kill the first one with a shot to the cranium, and then silence the other helmeted one with a few to the chest..
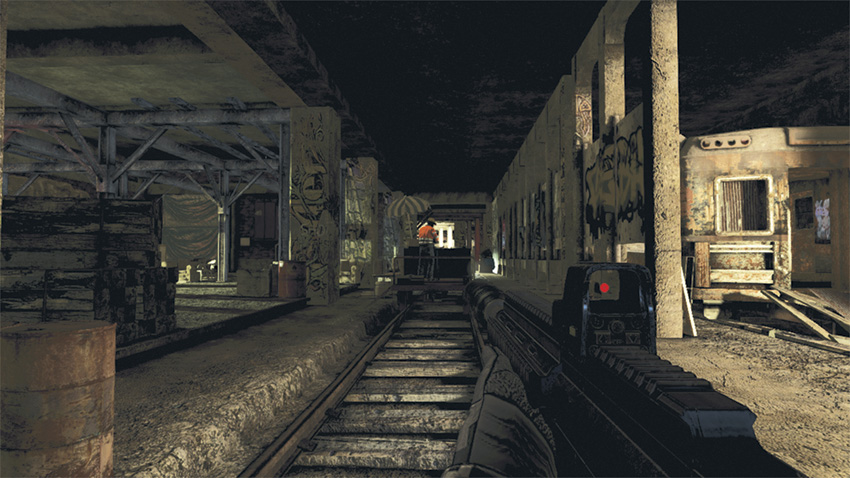
Next, switch to the left side of the track and go through the boxcar in front of you, exiting out the back. Check your Radar; two hostiles are in your immediate proximity, and the sound of an elevator in the distance signals that others are on the way. Head toward the back of the tunnel to take care of the hostile closest to you, and then turn around and go back the way you came. Switch to your assault rifle and gun down the hostile immediately in front of you.
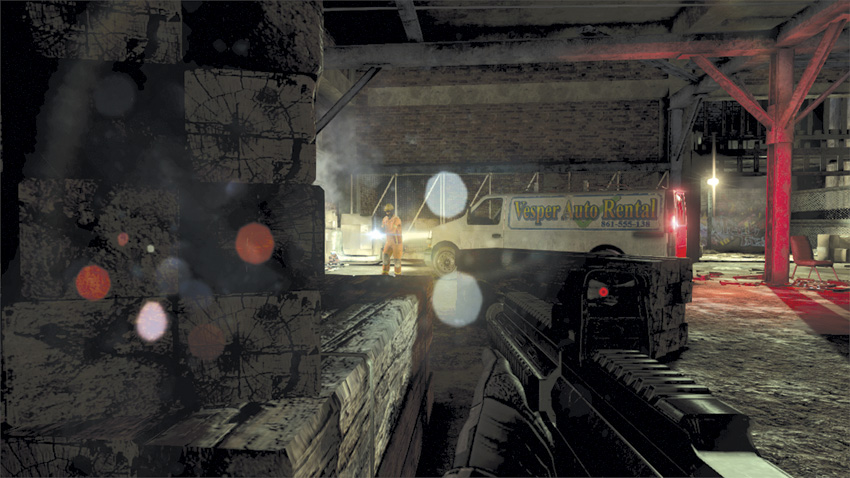
Now take cover next to a stack of railroad ties, within view of the van with the bomb, and eliminate the hostile standing near the hood. Maintain cover and swivel to your right and gun down the last remaining enemy. Now head to the van and disarm the device.
Disarm the Third Bomb in the Subway Yard
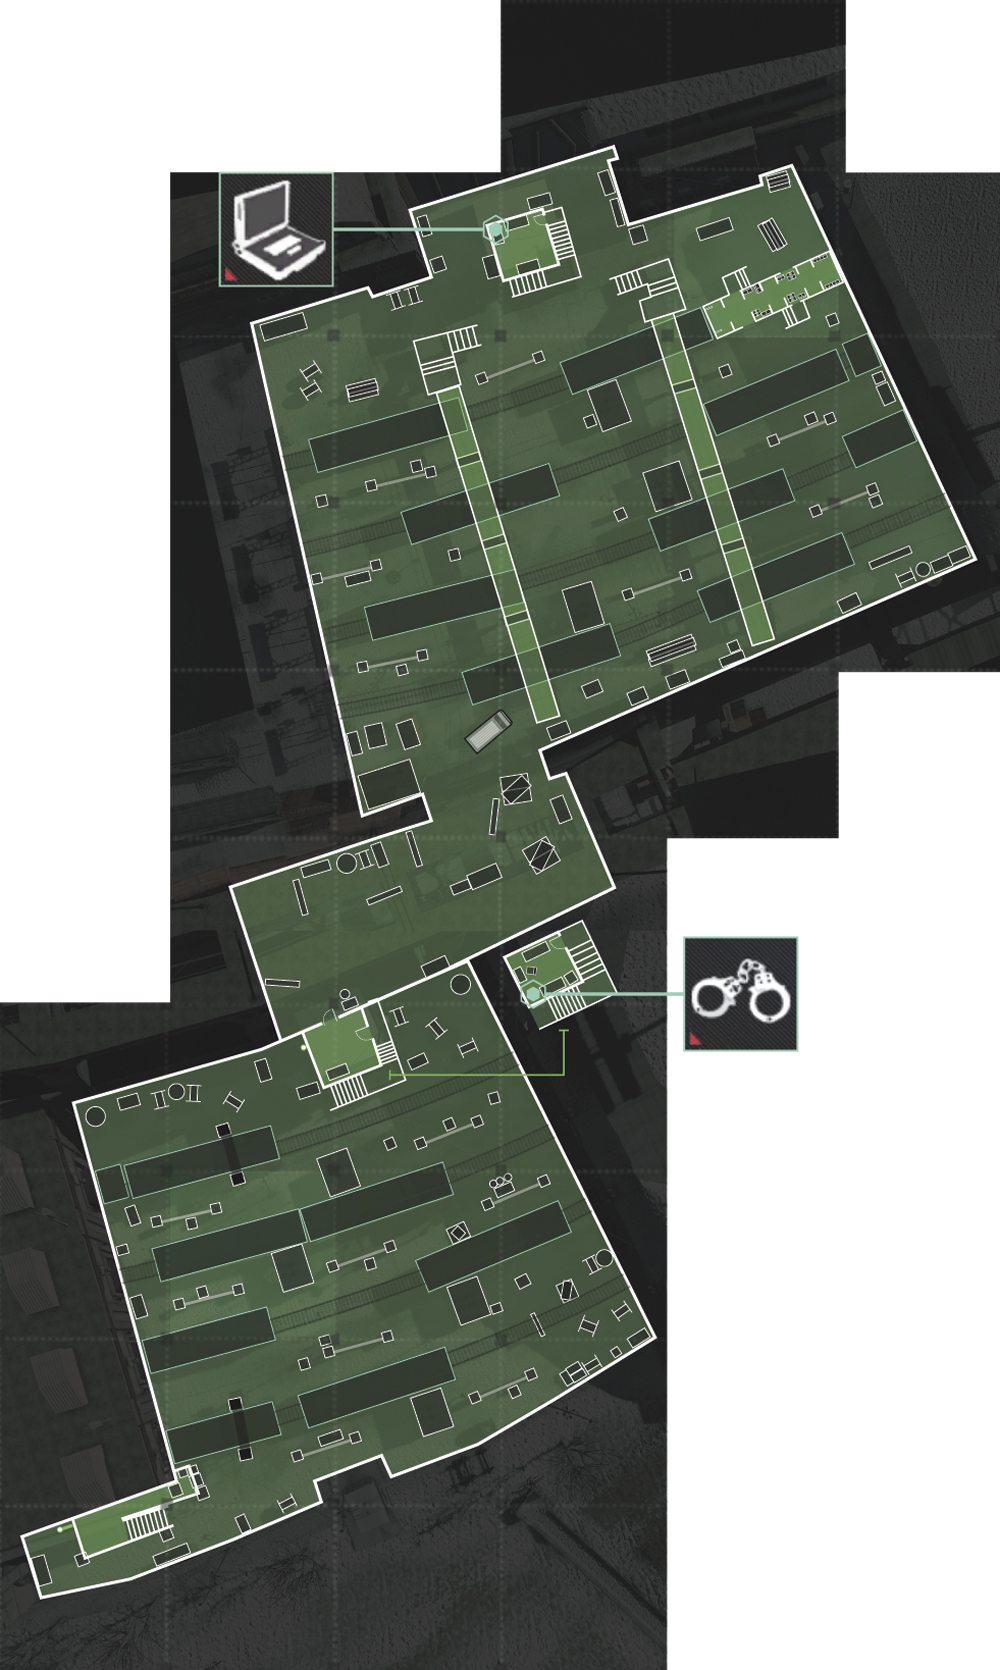
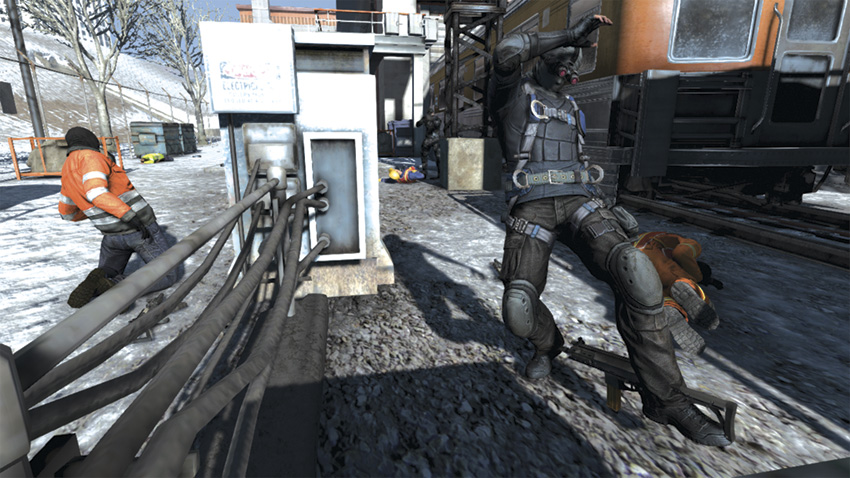
As Briggs reaches and deactivates the second bomb, you arrive at the Subway Yard. Start by running to the wall in front of you and climbing up the yellow pipe to access the gantry above, noting the sniper in the distance to your left. While crouching, move to the front of the gantry near the railing. Below you, one train car-length away, are three hostiles, and underneath you to your left is another. Mark the three in the distance, and then hop the railing to your left and crouch above the hostile closest to you. As he kneels down, eliminate him with a Death From Above attack, and then immediately use your Execute Ability to drop the others.
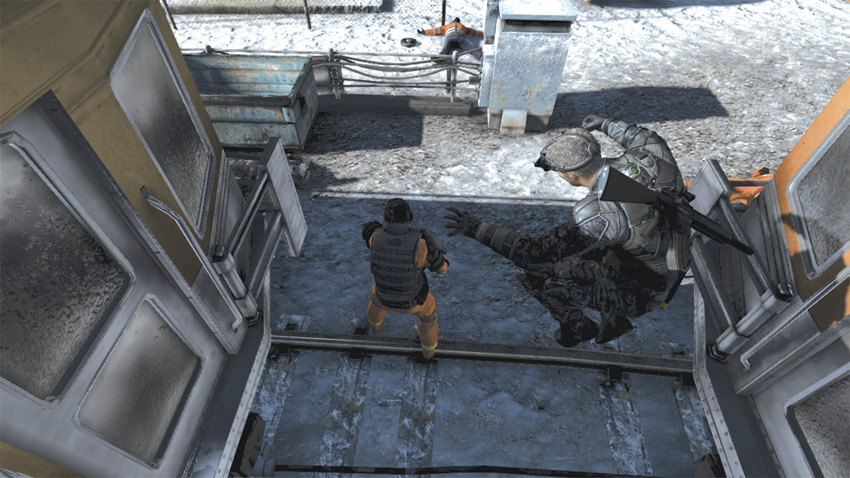
Climb back up to the top of the train car and check your Radar. Near the car on the left is a Heavy Infantry soldier. Wait for him to get within range and then kill him using a Death From Above attack. Move to your left and climb over or around train cars, stopping on top of the car on Track 3. Mark the two hostiles in the distance and use your Execute Ability. Drop to the ground and head toward the dead men. Crouch and move alongside the train car on Track 1, and eliminate the hostile nearby with a hand-to-hand strike. Move past the corpse and take a left toward the control center.
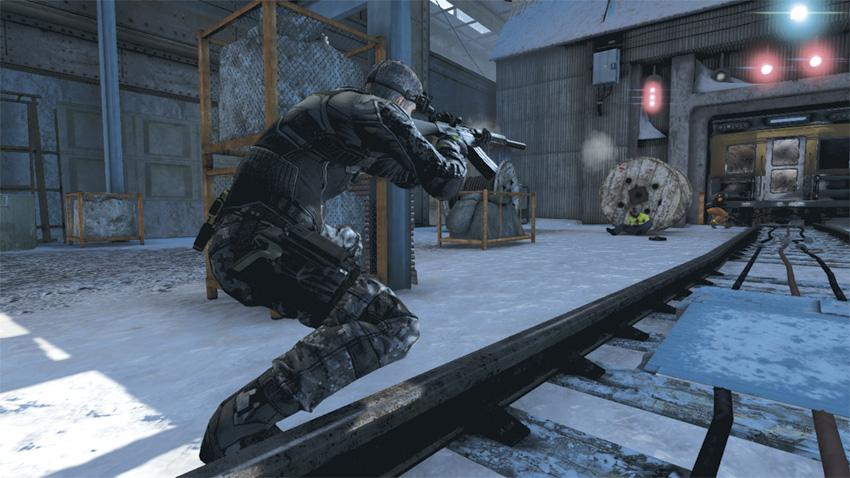
Bypass the structure for now and head toward the other end of the yard. Near the darkened wall is another hostile: a Heavy Infantry soldier. Kill him and go back to the control center to nab the High Value Target. Tag him, bag him, and then climb over the railing behind you to the second Subway Yard.
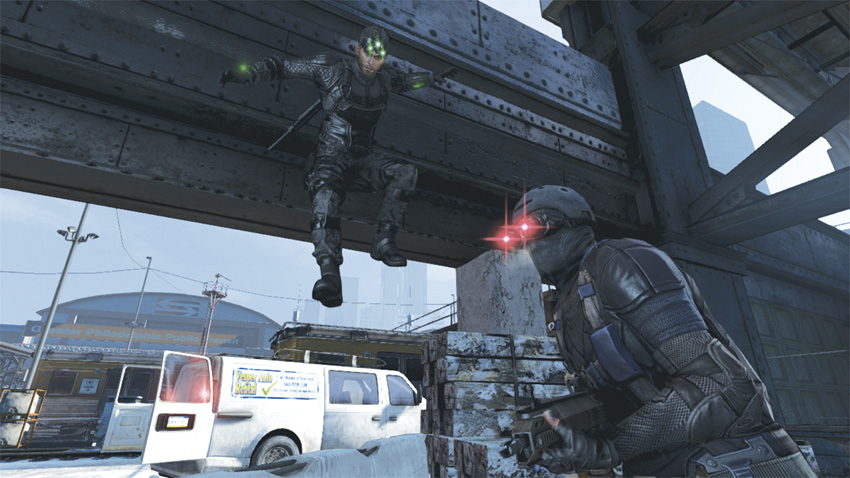
On the ground, head straight for the Supply Cache to replenish your ammo, and then make a beeline toward the stone barricade in front of you. Hop over it and climb up the metal girders on your left. Moving to the right, Grim tells you the bomb has been moved out of the van and onto a train. Pause above another stone barricade near the two hostiles having a conversation: a sniper on a gantry and a Commando on the ground. Wait for the Commando to leave the conversation and walk underneath you, then take him out with a Death From Above attack. Immediately look up and plug the sniper. Go around the corner, take cover next to the dumpster, and eliminate the hostile walking toward you.
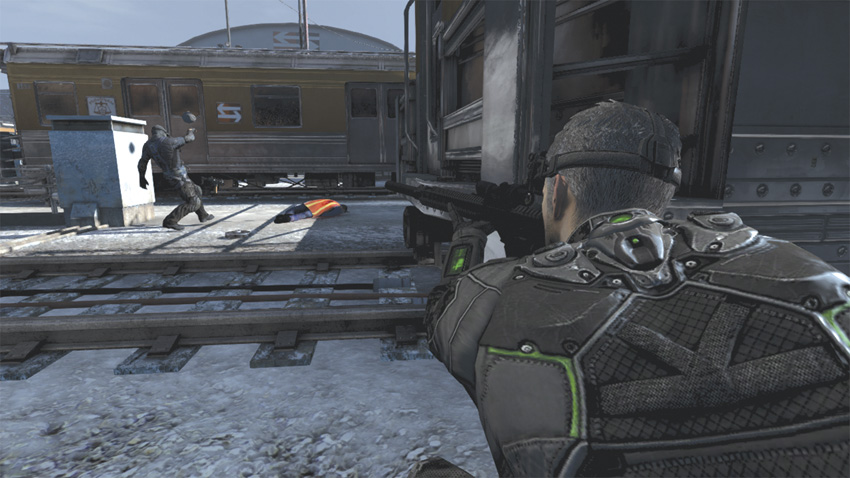
Take cover next to the train car in front of you and check your Radar. Move to your left, alongside the car, and take down the Commando across from you, near the two dead subway workers. Head toward the trio of corpses and go to the fence to your left, then follow it down to the other side of the yard. Near the last train, crouch and peek to your left. Above and in front of you, perched in a control center, is a sniper scanning for intruders. Quickly take cover behind the large wooden spools nearby, target the sniper, and kill him.
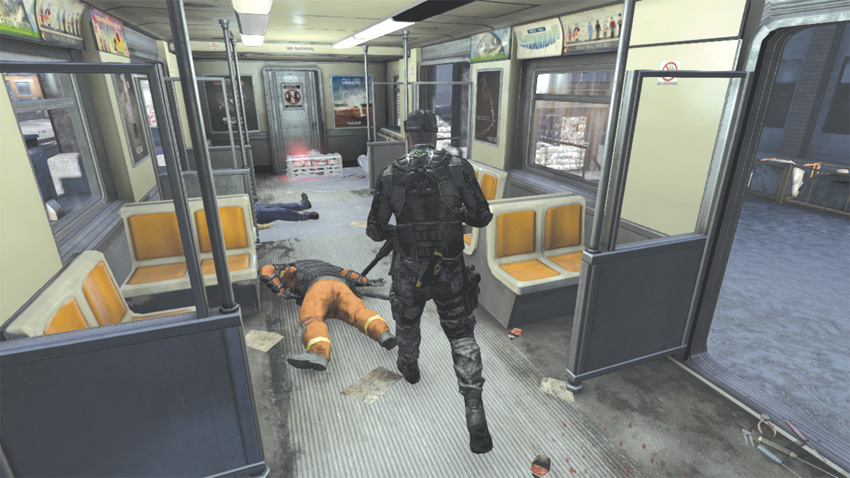
Go around the spools to the left and head to the structure in front of you. Move to the subway car on your right, target another sniper in the distance, and eliminate him. Go into the control center where you killed the first sniper and hack the Blacklist Laptop. Exit the building and go to the last car on Track 1 to find the next device. Mark the two hostiles inside, use your Execute Ability, and then disable the third bomb.
Disarm the Bomb at the Roundhouse
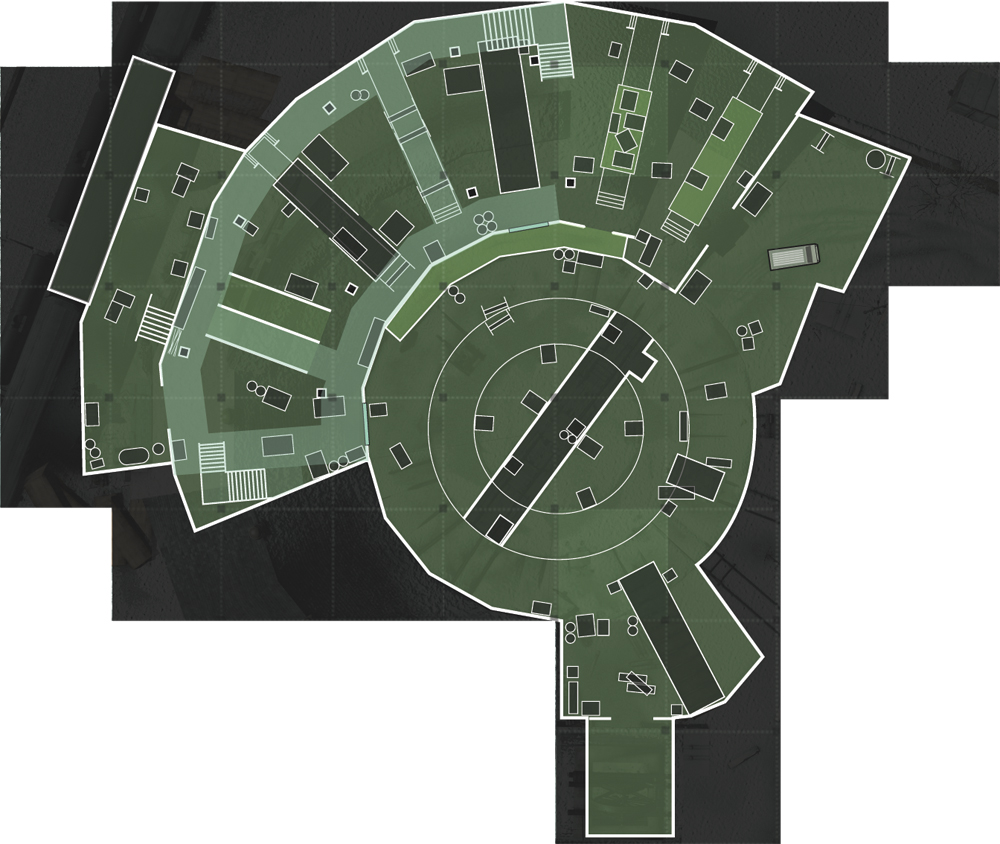
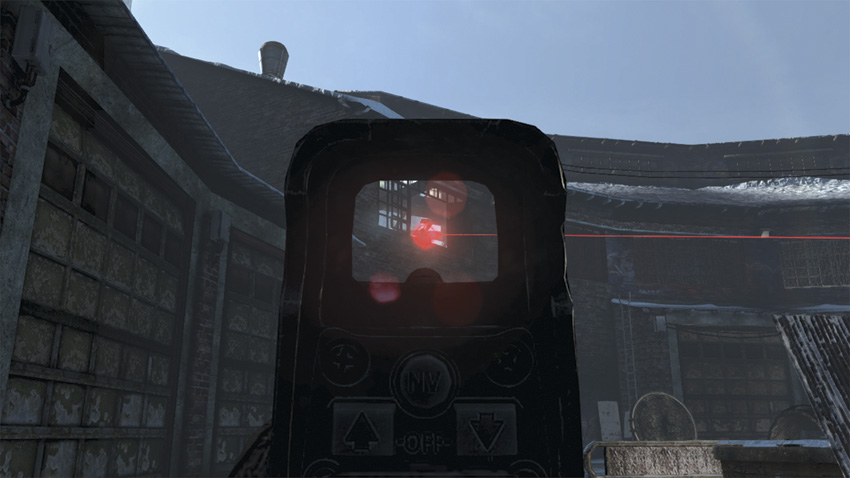
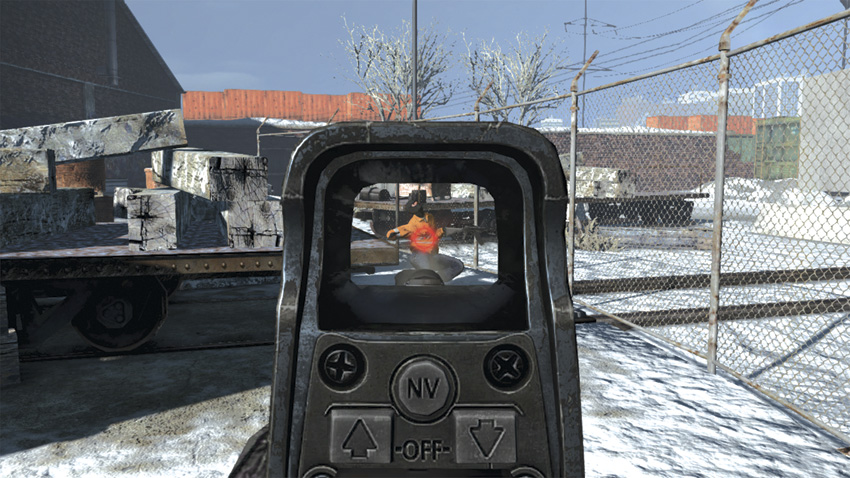
Playing as Briggs again, move forward through the large, metal cylinders and take cover on your left near the roundabout. Look up at the Roundhouse and quickly target and kill the sniper in the window. Next, kill the enemy in front of you, and then swivel to your right to kill another enemy. Turn 45 degrees and walk back to where you started. Make a quick sweep of the area to uncover another hostile. Just past him, coming out of the Roundhouse, is another. Eliminate them both and head back where you felled the other two hostiles.
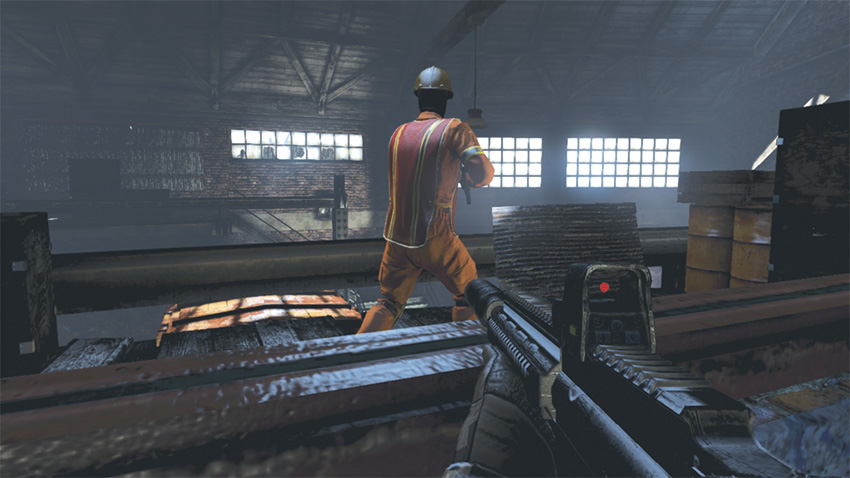
Run along the left side of the building and take the ladder up to the second floor. Crouch and move along the roof to the first open window. Check the ground as you go and silently eliminate any hostiles you may have missed. At the window, check your Radar to spot your next target. Silently move into range behind him, and when his back is turned, enter through the opening and take him down with a hand-to-hand strike.
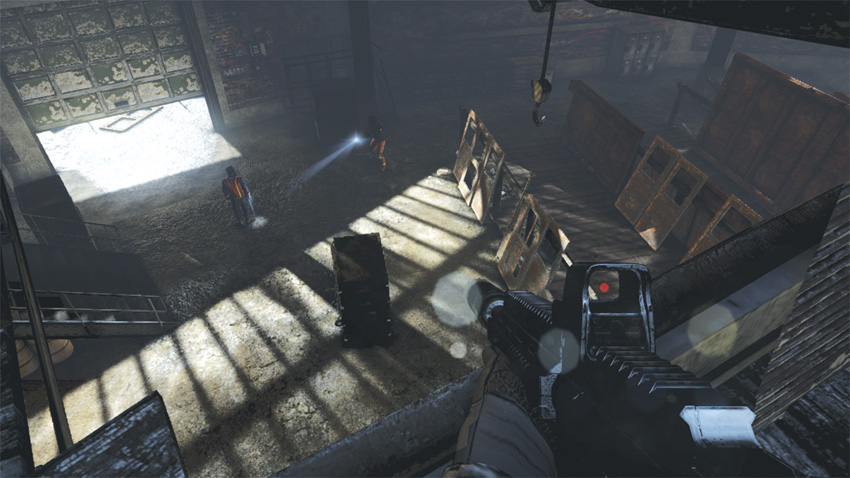
Once inside, move to your left to find the dead sniper. Down below you, two hostiles, including a Heavy Infantry, discuss when to detonate the bomb you are trying to disarm. Leave them alone for a moment and continue around to the right to check for any nearby hostiles. If none are present, go back to the dead sniper and head down the staircase to your right and deal with the other two.
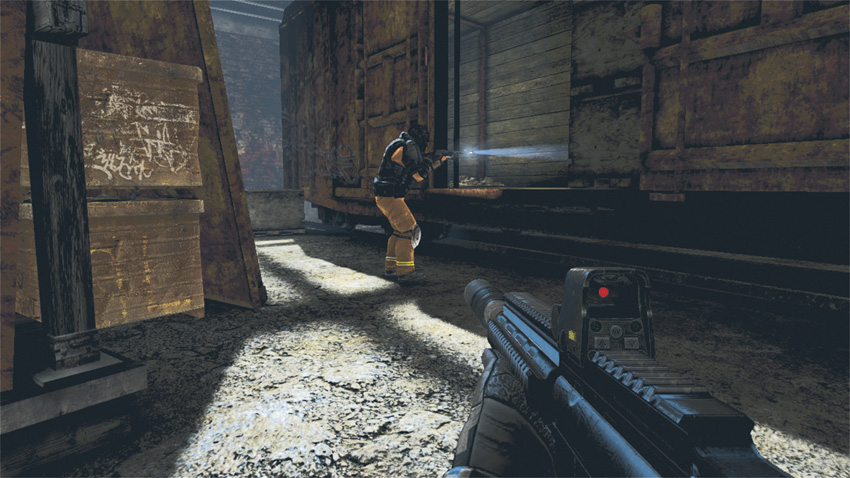
You don’t want to engage both enemies at the same time, so pause near the bottom of the first landing. Wait for the Heavy Infantry soldier to walk away to patrol the area, and then take down the lone hostile. Silently move toward the Heavy’s position; once his back is turned, target the back of his head and shoot him in the base of his skull. Continue the search and hunt down any hostiles remaining in the Roundhouse. Once every enemy has been eliminated, follow the waypoint marker to the fourth device and deactivate it.
Capture the Engineer
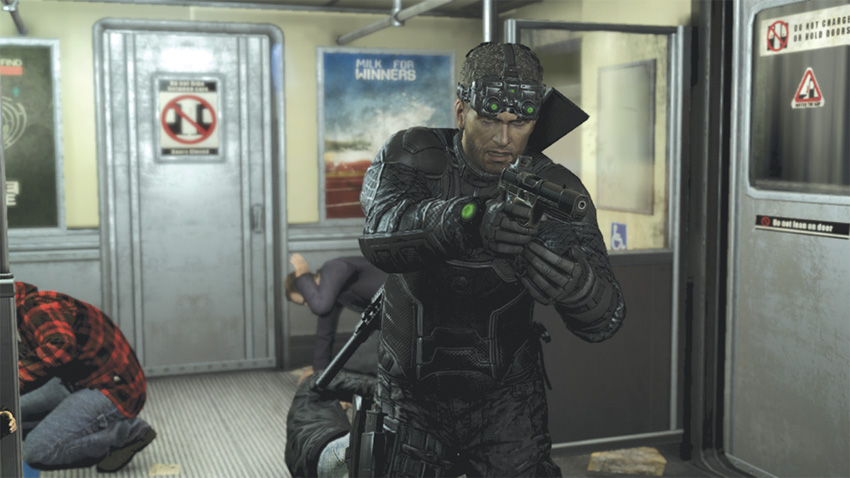
While Briggs disables the fourth bomb, you locate the leader of American Freedom on a speeding train loaded with other hostiles and innocents. It’s time to fight your way through the train and apprehend the Engineer, while neutralizing all the hostiles.
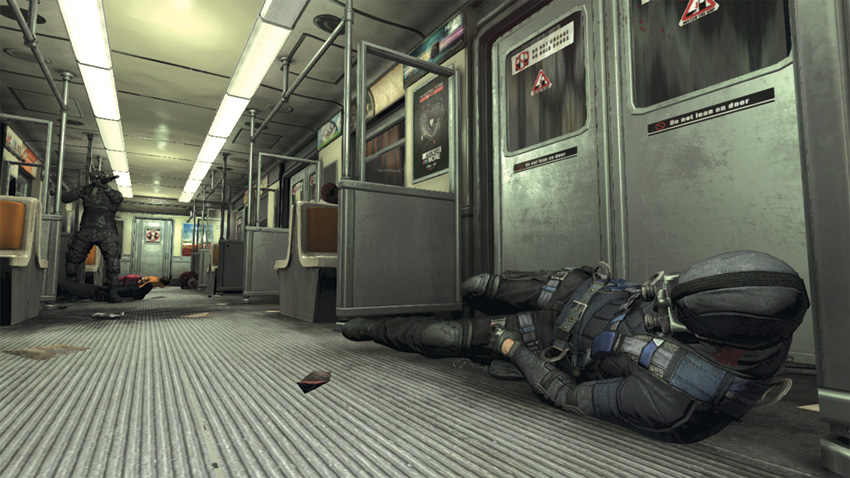
Take cover immediately to your left, firing at the hostiles as they disappear into the next car. Head after them and arm your Flashbang grenades. Go through the door at the far end, and then enter the second car. Take cover to your left and throw a Flashbang at the enemies. While they’re disoriented, run up and kill the first two enemies with lethal hand-to-hand strikes, shoot the third in the head, and then go into the next car. In the third car, throw another Flashbang at the hostiles and bury a bullet in each of their heads before moving on.
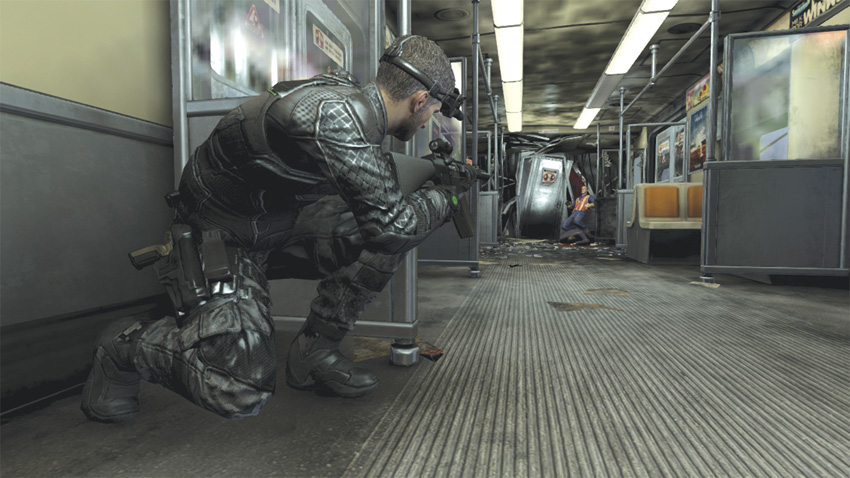
When you approach the door to the fourth car, the train is rocked by an explosion. Upon entering the car you see the far end leading to the fifth car is damaged: It’s a twisted mess of metal and fire. Go toward the wreckage and climb out the window on the right side. Once outside, move to your right, to the far end of the car, and reenter the train through the third window, just past the second set of passenger doors. Kill the two hostiles inside, follow the waypoint marker, and enter the sixth car. Once inside, Mark the final two hostiles and use your Execute Ability to kill them.