
Tom Clancy's Splinter Cell Blacklist Guide Walkthrough Ghost/Assault Tactics
Mission 8: Detention Facility (Guantanamo Bay, Cuba)
GHOST
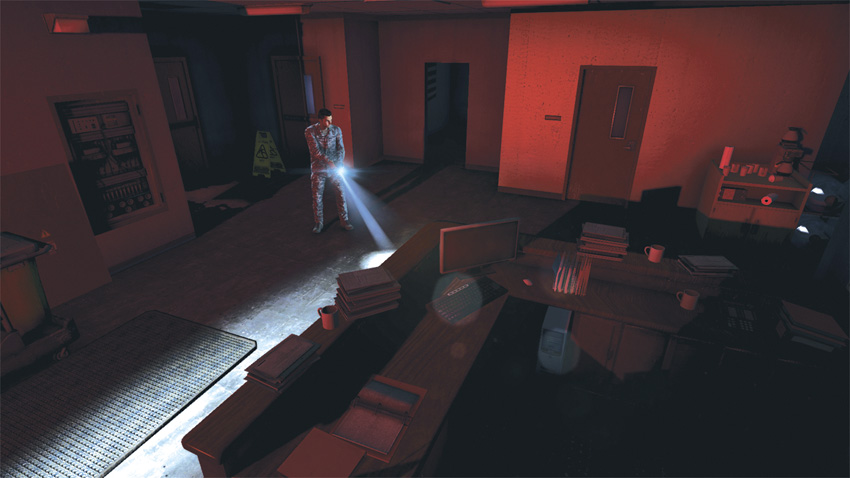
Infiltrating the Detention Facility of Guantanamo Bay requires you to perform the Ghost playstyle. After your interrogation of Reza Nouri, you have only your special weapon, which unfortunately is outfitted with a flashlight. Because of this, any use of the weapon must be decisive and quick, as guards notice the bright beam of your flashlight and investigate its source. Throughout the first half of the mission, you are ill-equipped to handle anything beyond one or two enemies at a time, but you soon acquire your mission loadout. When preparing this loadout, focus on nonlethal gadgets and weapons. Ensure that you are equipped with the Stun Gun, Sleeping Gas, Sticky Camera, and Tri-Rotor if you expect to tip the scales in your favor during your infiltration.
ASSAULT
Since the guards of the Guantanamo Bay Detention Facility are United States soldiers, you are barred from using lethal means to pacify your foes. This makes for an extremely difficult run during an Assault playstyle. Achieving Combat scoring during this mission will rely on your being seen, allowing for a detection status, then using nonlethal means such as Sleeping Gas or the Stun Gun to perform a Combat Knockout on the opposing forces you encounter. If your actions result in the death of a soldier at any time, the mission will be scrubbed and result in a failure. Be careful and engage your enemies with discretion, as being detected can result in your being quickly overrun.
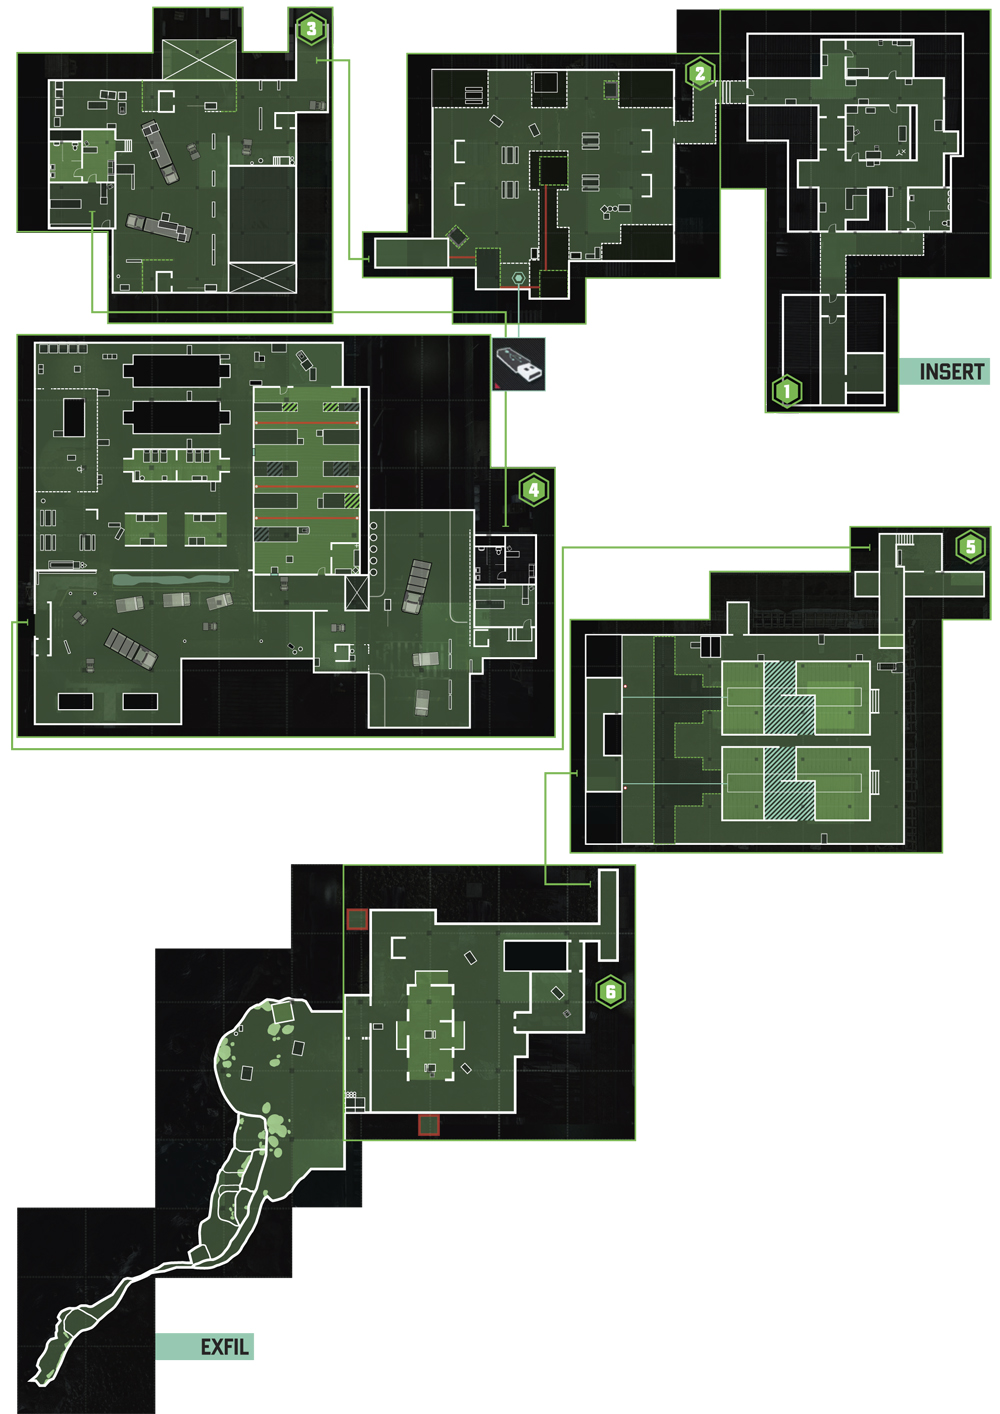
1: Interrogation Cells
GHOST
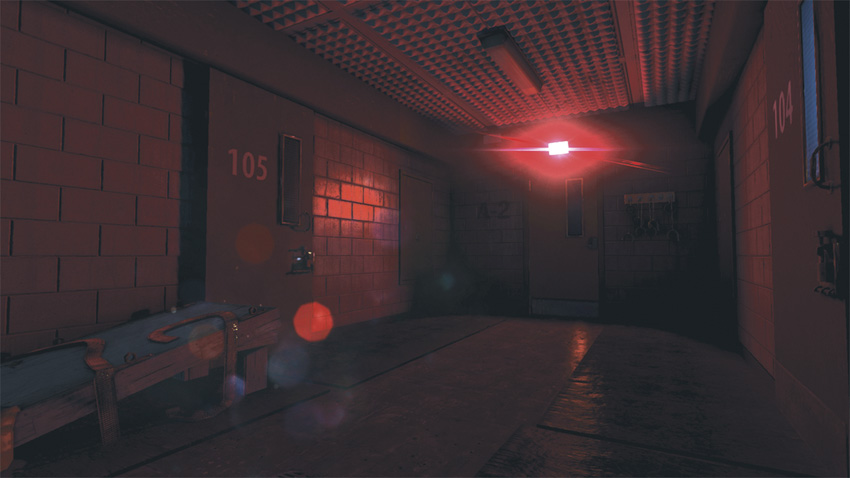
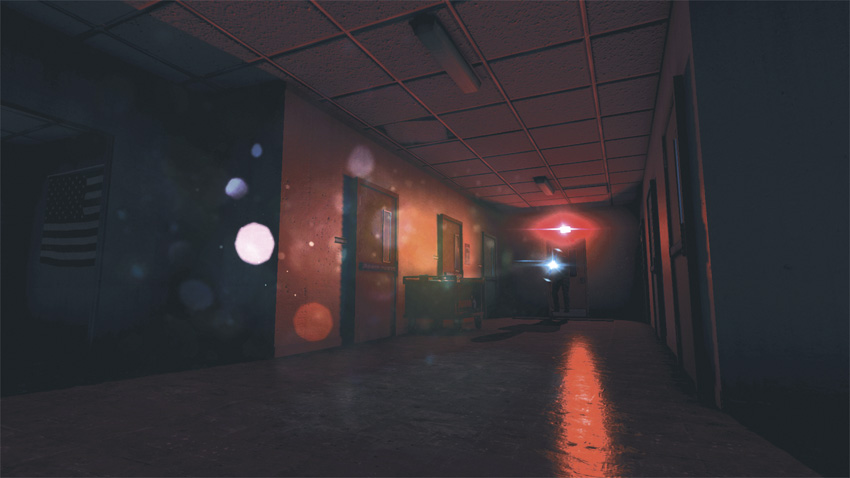
After your interrogation of Reza Nouri, your next priority is to make your way to the field office and acquire the gear Briggs has left for you there. As you open the second door to exit the interrogation area, use your Stun Gun to neutralize the guard outside. Now, take cover near the door across from you and open it. One guard is inside to the left. Lure him to the door by using the Attract command. When he approaches the doorway, perform a Stealth Knockout on him. Enter the building and proceed straight. When you enter the small room with the American flag to your left, take cover and attract the guard in the hallway to you. Once he is within range, perform a Stealth Knockout on him. Enter the hallway and turn left. The exit is at the end of the hall.
ASSAULT
During both the Interrogation Cells and the Prison Yard, you must remain undetected. Because of this, any actions that result in an Assault playstyle score are unacceptable here.
2: Prison Yard
GHOST
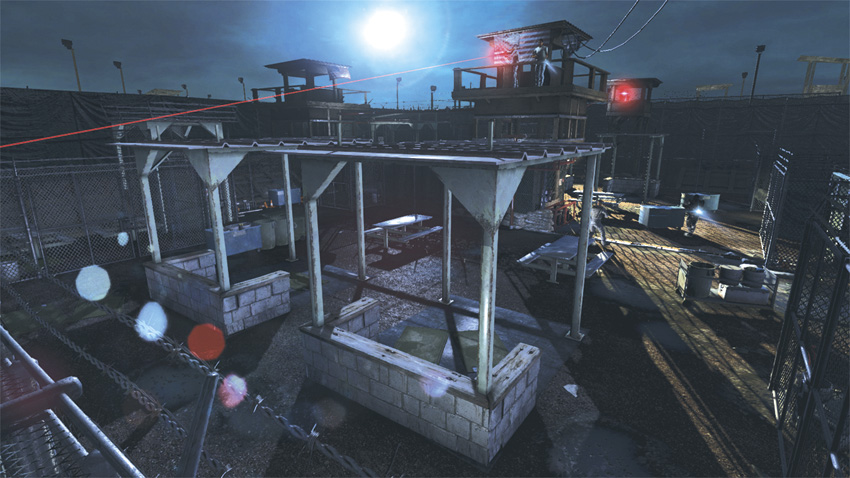
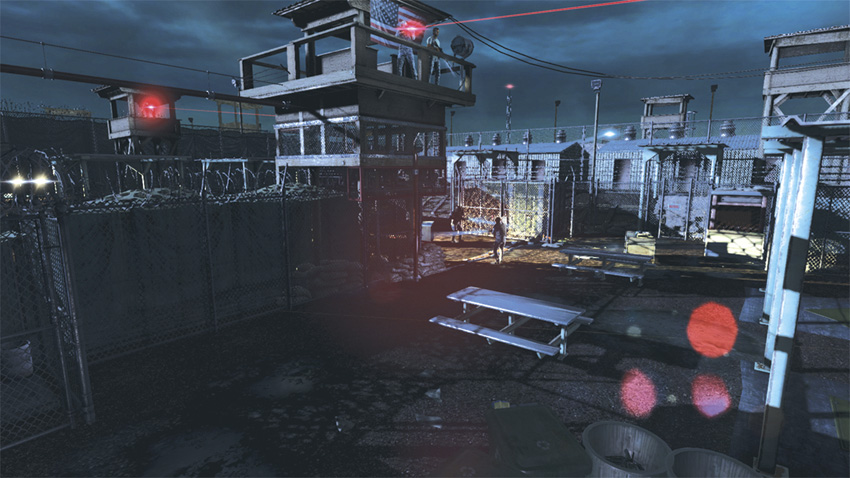
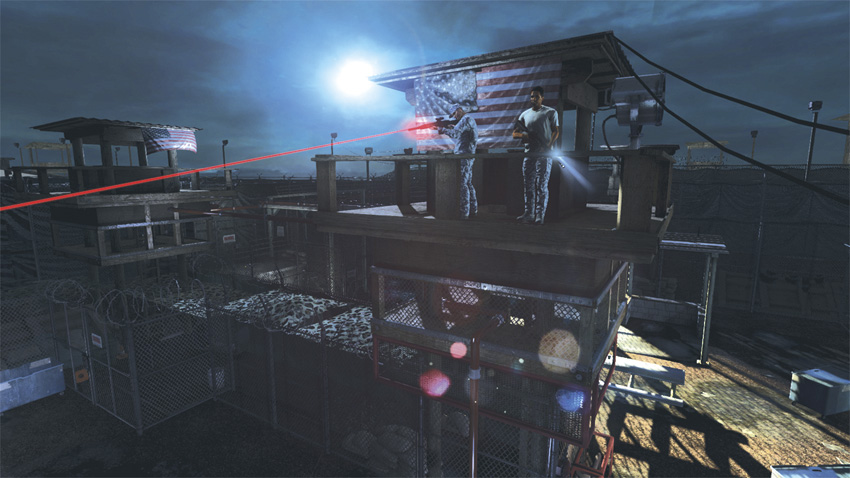
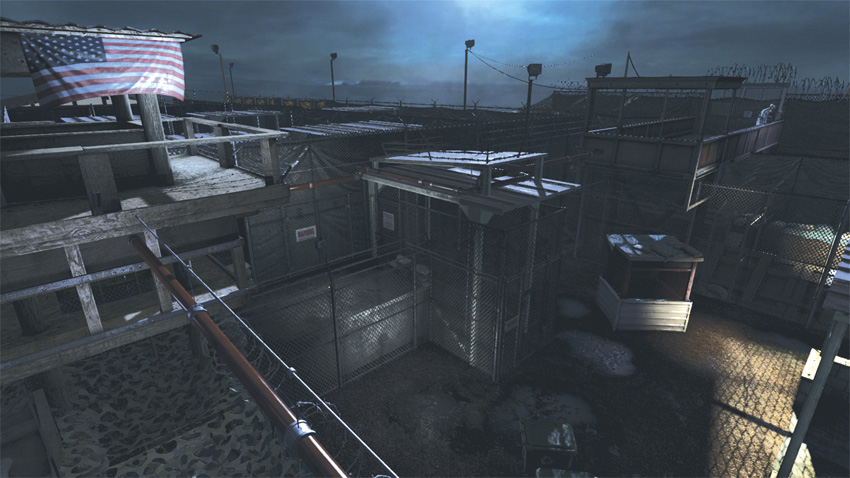
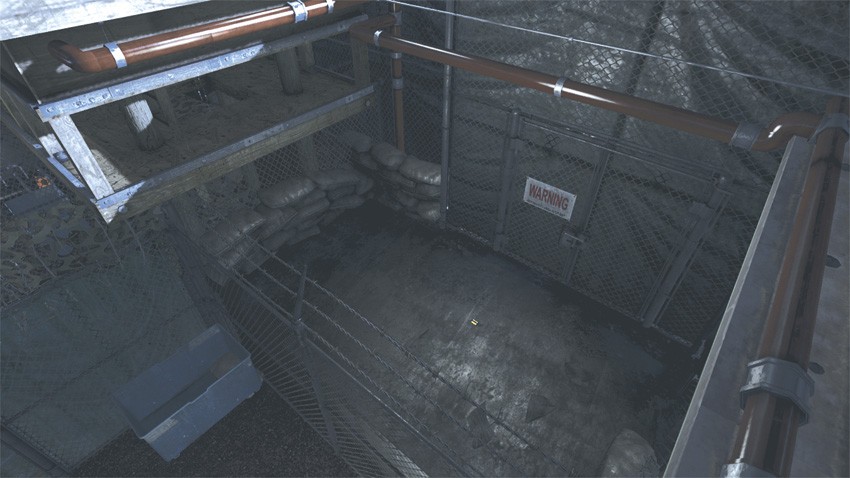
Before entering the yard area, you pass through a brief security area. Take cover at the chain-link that opens into the yard. Use a cover swap to move into position behind the nearby brick wall that serves as a base for a covered area. Once behind the low wall, move left to position yourself by the path running between the two covered areas. Aside from the two snipers that watch this area, there is also a guard on the catwalk of the guard tower directly in front of you, as well as the Heavy Infantry soldier and guard that roam the rec area. Wait for the guard to walk to the left side of the yard. When he does, move through the path to the left, staying low as you advance toward the guard tower. Climb the pipe that runs up to the guard tower and shimmy left along the ledge to access a second pipe that spans the gap over a barbed wire fence to an unmanned guard tower. Once you have a handhold on this guard tower, shimmy to the right until you are over another barbed wire fence and drop to the catwalk there. On this catwalk you will find the Dead Drop for the mission.
Dead Drop
Locating the mission’s Dead Drop requires a bit of climbing and careful maneuvering.
After collecting the Dead Drop, climb onto the ledge across from the guard tower. Shimmy around the ledge to access another pipe that spans the gap to another guard tower. After using the pipe to cross, wait for the guard to approach the railing of the guard tower and knock him out when he does. This eliminates the last threat between you and the entrance of the Detention Center, where the field office and your gear are located.
ASSAULT
During both the Interrogation Cells and the Prison Yard, you must remain undetected. Because of this, any actions that result in an Assault playstyle score are unacceptable here.
3: Detention Center Entrance
GHOST
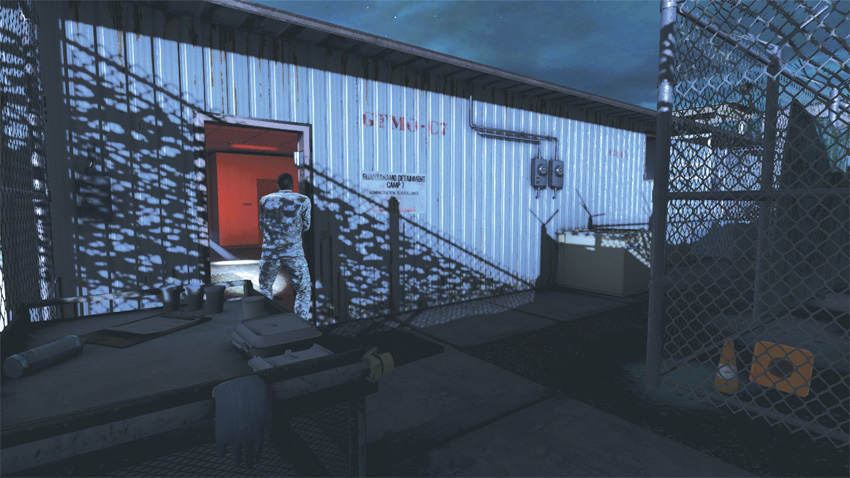
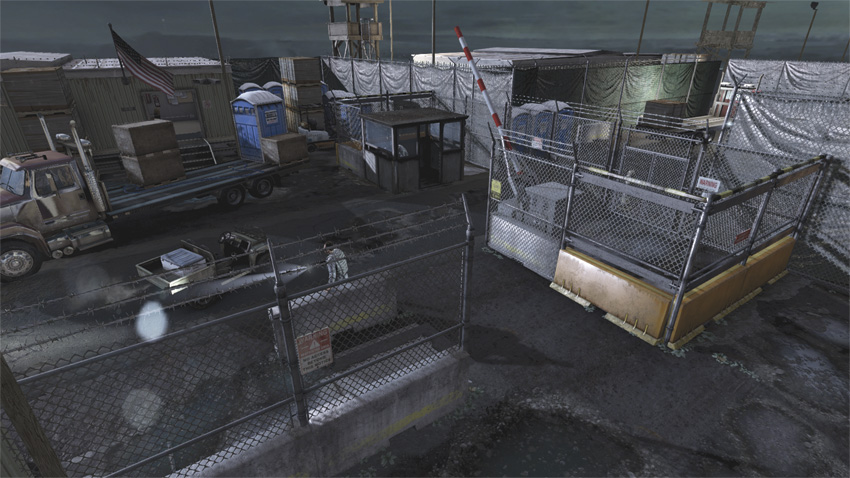
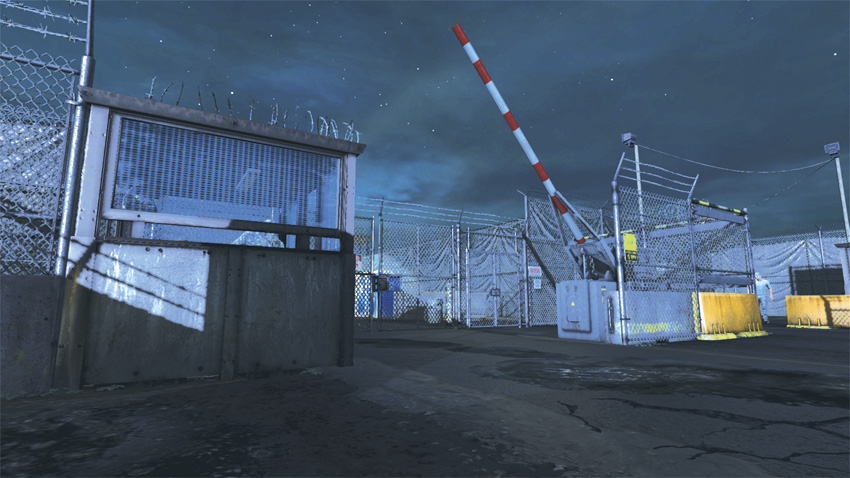
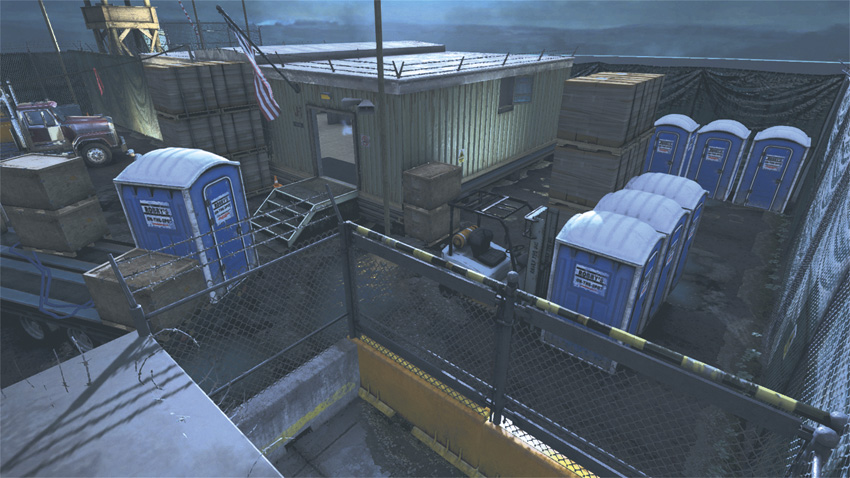
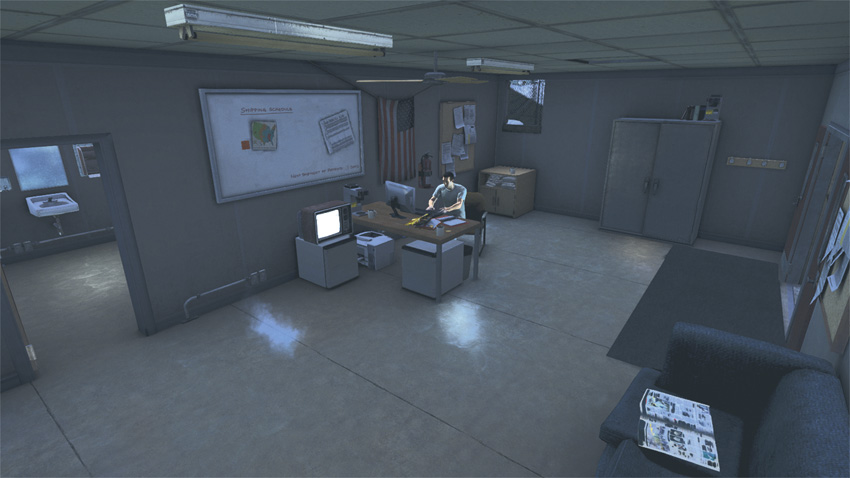
With the entrance to the Detention Center within your sights, stay along the fence to the right. When you come to a fence that encloses the crossing guard, climb over it and take cover, then wait for the two guards conversing near the entrance to disperse. Once the guards disperse, use cover swaps to shift from the crossing guard to the right side of the guard shack. Once you are behind the guard shack, power to the facility is restored. As the lights come back on, climb over the fence behind the guard shack and stay to the right of the port-a-potties. Where the row of toilets ends, turn left and locate the open window on the side of the building there. Climb up to the window and peer within, wait for the guard inside to walk into the restroom before climbing through. Once inside, move straight into the locker room across the way.
ASSAULT
As you approach the entrance to the Detection Center, you may want to remain inconspicuous. Without your gear (which is located in the field office just beyond this area), you can defend yourself only with a limited number of charges from your Stun Gun. These charges will run out quickly as the soldiers storm you, so if you do decide to go loud, do so after you have entered the field office and can allow the soldiers to funnel to you.
4: Warehouse
GHOST
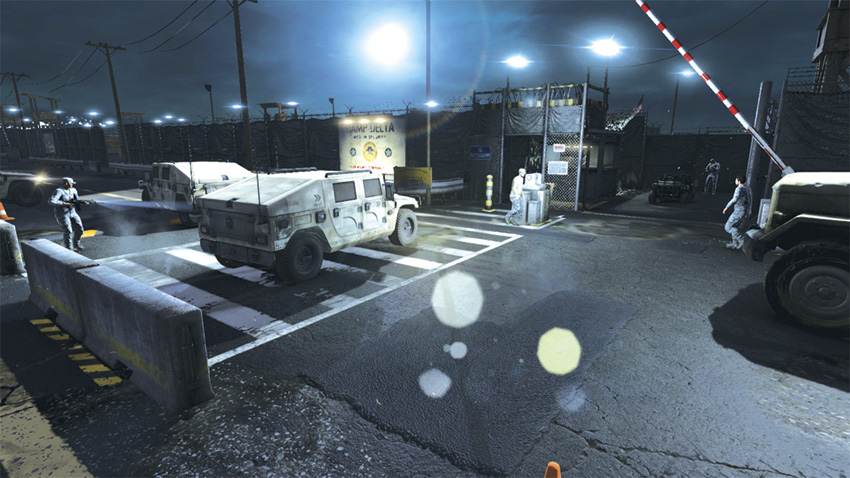
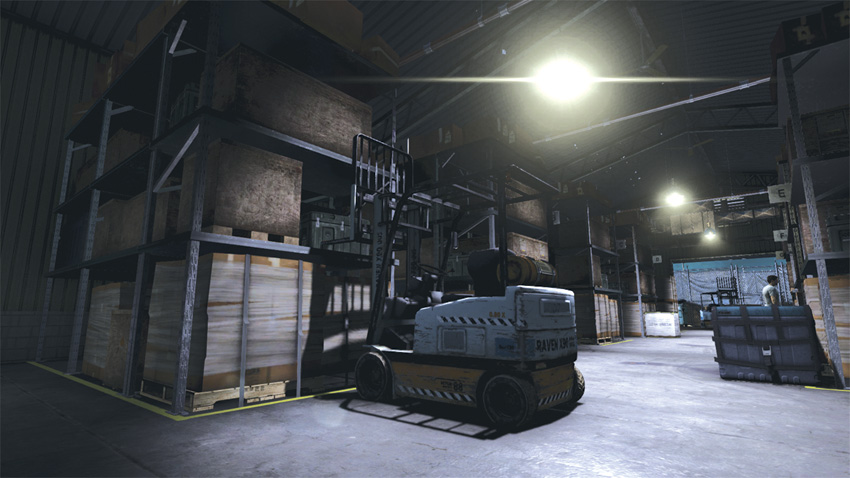
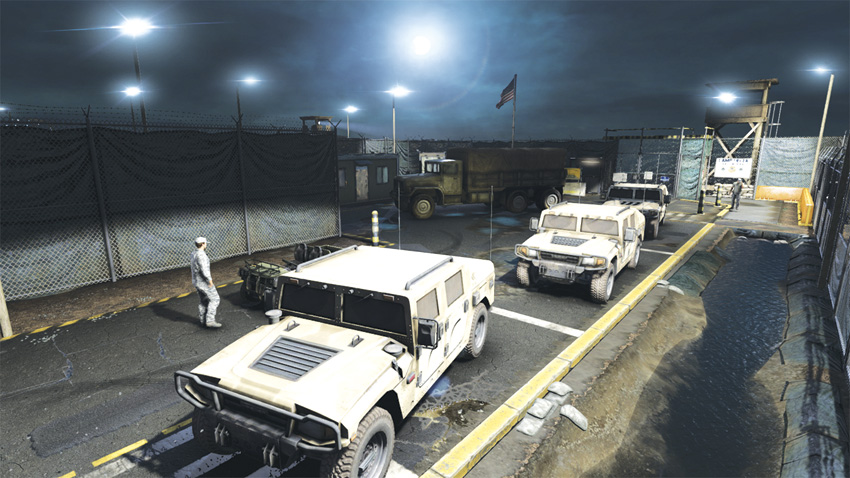
Now that you have your gear back, it’s time to rendezvous with Briggs for extraction. Exit the locker room and turn right, taking cover by the small guard shack until the guard beyond it turns his back to you. When he does, advance toward him, staying low, and knock him out. The two guards near the truck are preoccupied with their conversation and do not see you. A third guard patrols the area across the road. To circumvent these three guards, take cover on the left side of the nearby vehicle and wait for the soldier in the guard shack to walk away. When he does, follow his path, which leads around the back of the guard shack. From here, you can directly access the warehouse. Do not enter the warehouse by the door; instead, look for the window to the left that you can climb through. Once inside, stay to the left side of the warehouse, and climb onto the racks to avoid the soldiers that are patrolling the building. As you progress, you find an open window on the left side of the warehouse. Use the racks to reach the ledge and climb through. Once you have passed through the warehouse window, hold onto the window and neutralize the guard patrolling below with the Stun Gun. Drop down and proceed toward the road to the right of the window, where several vehicles are parked. Use the vehicles as cover and cross the road. Follow the fence on this side of the road, moving behind the two buildings, past the flag pole, and through the checkpoint.
ASSAULT
Now that you are fully equipped, you can engage the soldiers here with a bit more bravado. When going loud here, take advantage of the first area immediately after you leave the locker room. The gated area proves to be a useful place for catching multiple targets with a single Sleeping Gas canister; just be sure that you are in a state of detection before deploying the gas, or your score may count as a stealth action. Once within the Warehouse, place Proximity Shockers about and allow the soldiers to chase you after a detection, and lead them straight into your traps. The camp outside is dangerous because of the Heavy Infantry soldier that lurks about. Also, should you allow yourself to be detected here, expect another guard dog and Heavy Infantry soldier to enter the fray. This time, the Heavy is also equipped with a ballistics shield, which makes for an even more difficult fight. If this occurs, retreat from the area quickly.
5: Prison Cells
GHOST
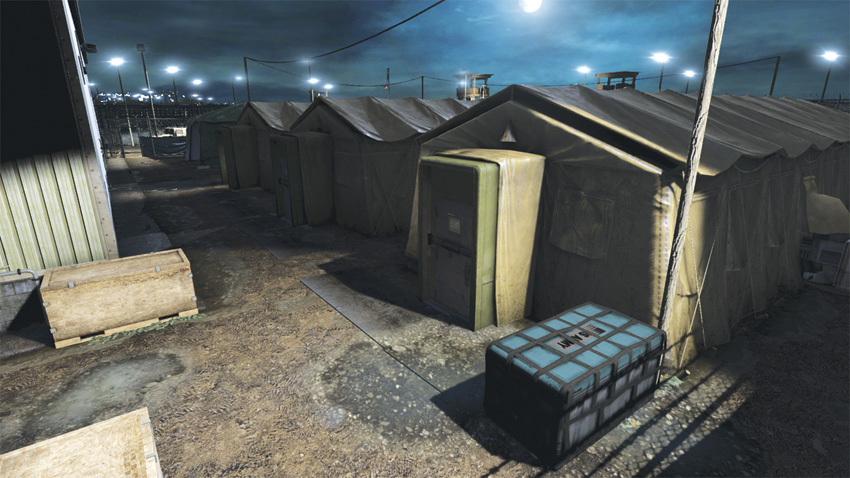
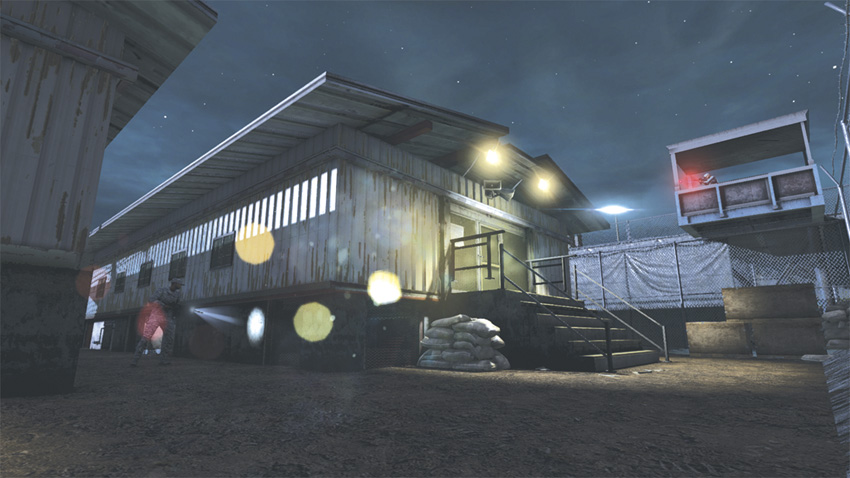
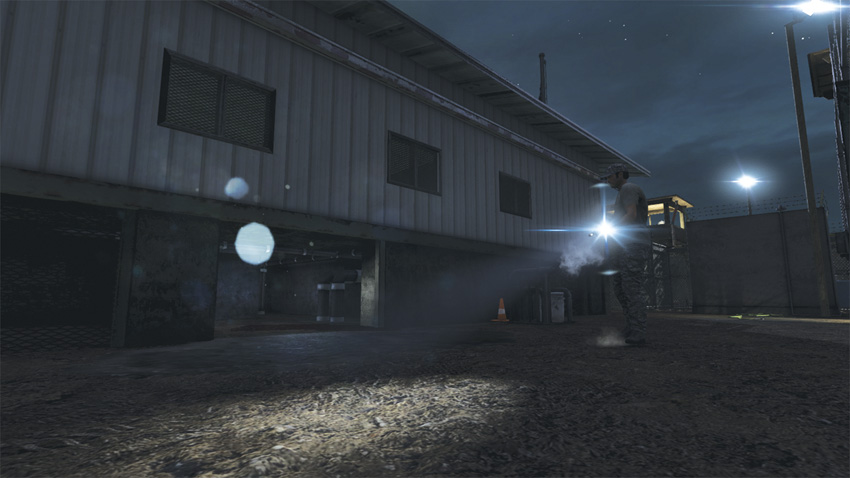
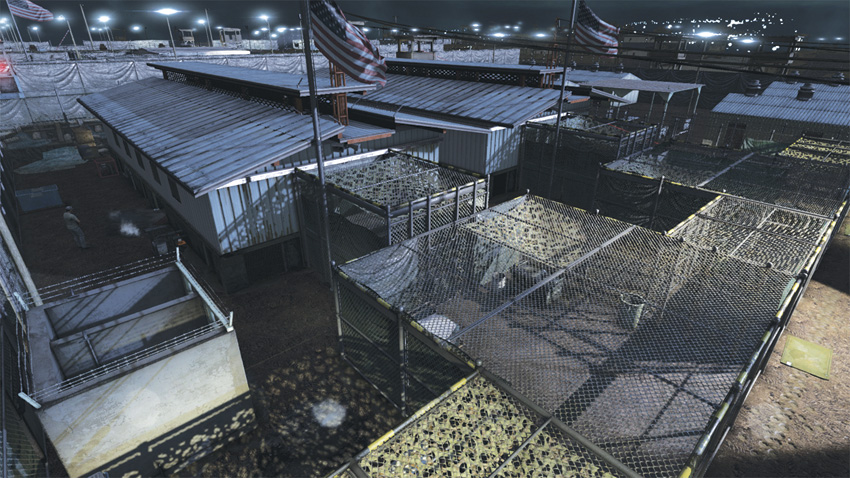
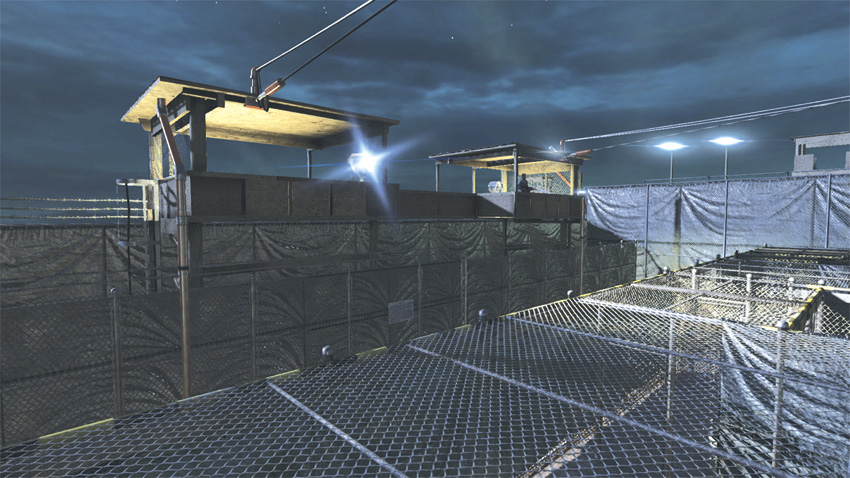
Once you are through the checkpoint, scale the stairs and neutralize the sniper overlooking the camp. From the sniper perch, throw a Sticky Camera down toward the guards conversing between the buildings and use Sleeping Gas to neutralize them. Climb over the railing and drop down to the ground below, quickly moving between the two buildings. Continue along this path until you come to a locked fence. Hang from the fence and throw a Sticky Camera toward the spotlight overlooking the fenced area. Use the Sleeping Gas to neutralize the guard patrolling the elevated catwalk. Climb onto the top of the fenced holding area and peer over the edge. There is a guard dog that roams this causeway between the fence and the holding area. Perform an Aerial Knock Out to pacify the animal. On both sides of the balcony are pipes that reach from the balcony to the ground. Use one of these to climb up to the balcony. From the balcony, drop down the opposite side from where you approached to enter a derelict area of the Detention Center formerly known as Camp X-Ray.
ASSAULT
In the cell area, you begin on an elevated platform used by a sniper as a watchtower. Allow yourself to be detected, then fire a single Stun Gun charge at close range to end the danger. If you are willing to take the risk, stay on this elevated platform and attract the attention of the guards below. When they detect you, use Sleeping Gas canisters to dispatch the forces on the ground. Be careful when doing this, the sniper in the tower across the way will be taking shots at you while you do.
6: Camp X-Ray
GHOST
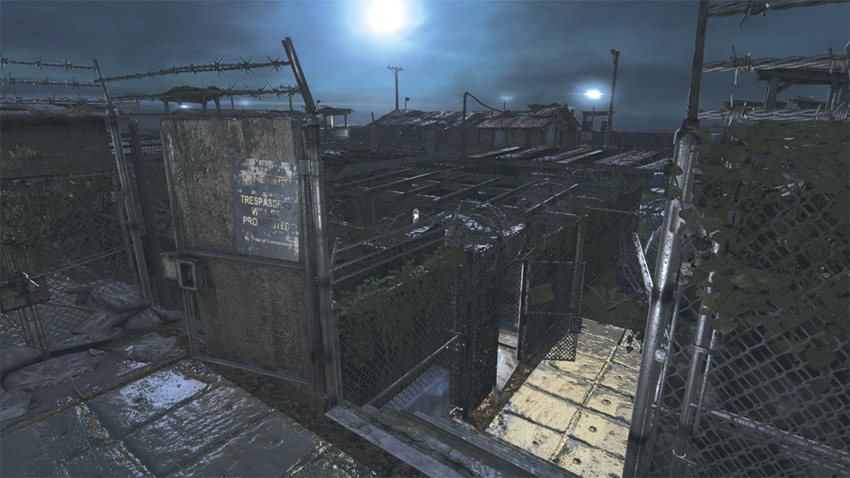
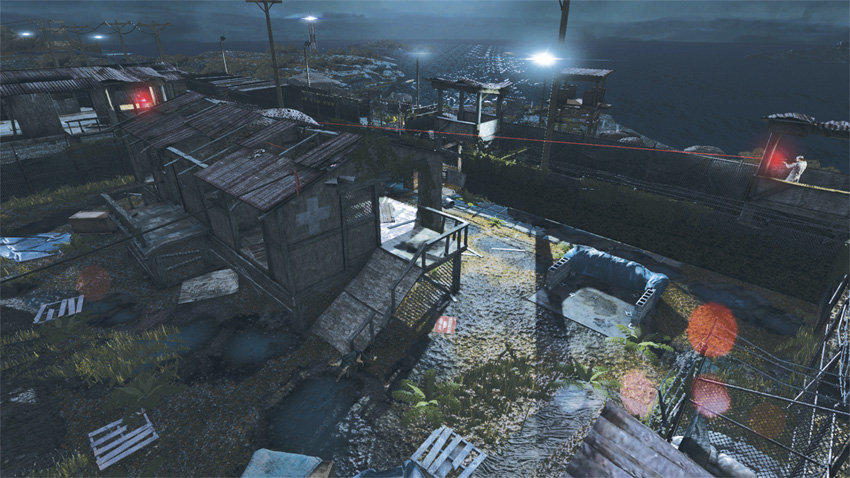
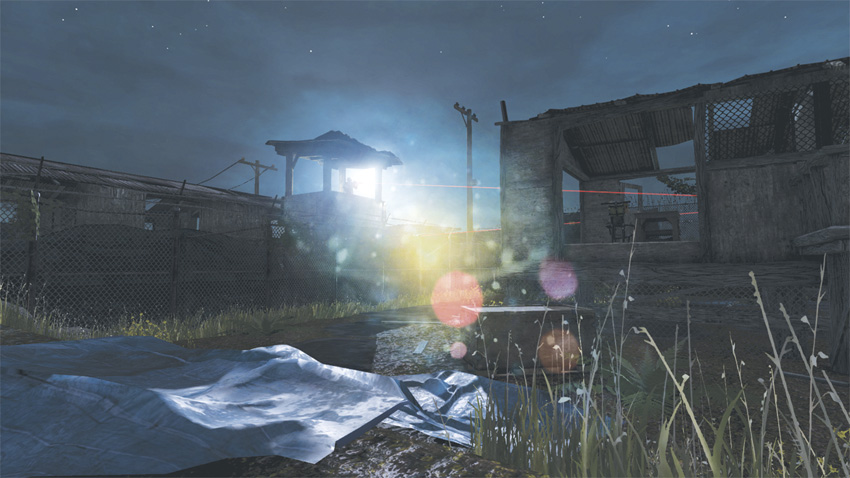
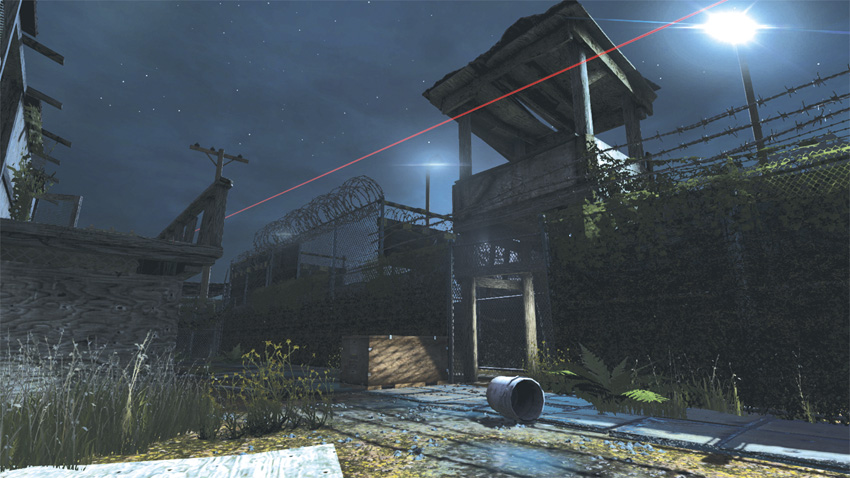
Enter Camp X-Ray, proceed down the stairs, and take the first left that you come to. As you exit this fenced area, take a moment to check that the guard dog roaming about is on the far right side of the camp. Stay low and approach the crate to your left. From behind the crate, throw a Sticky Camera at the sniper in the guard tower ahead of you. Use the Sleeping Gas to neutralize him. With the path clear, proceed around the left side of the derelict cabin. Continue to follow the fence line until you come to an opening on the opposite side of the cabin. Enter the opening and turn left. Cut the fabric there to locate a fence that you can climb to exit the camp.
ASSAULT
As you enter the derelict ruins of Camp X-Ray, your best option for earning an Assault score is to attract the attention of the guard dog. Before you do this, place a Proximity Shocker in your path so that the animal is incapacitated when he approaches you. Allowing yourself to be detected by the snipers can be fatal, but if you can remain behind cover after being detected, throw a well-placed Sleeping Gas canister into their perches to make quick work of them.
7: Yucatan Airstrip
GHOST
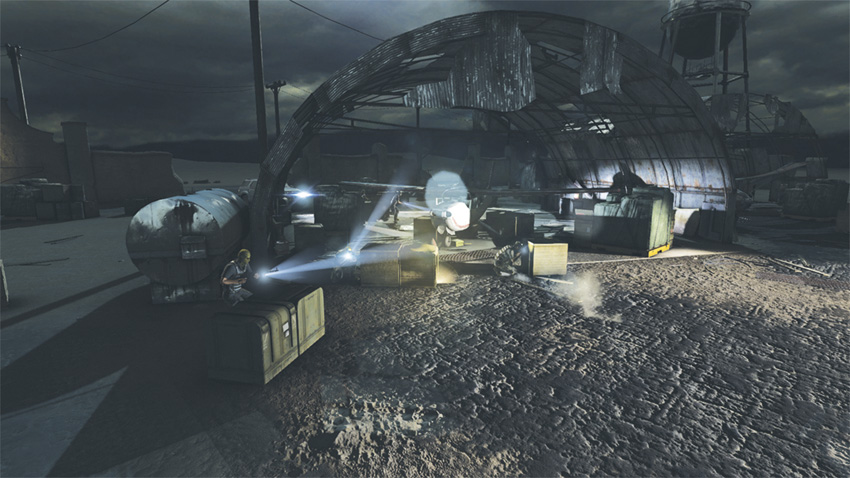
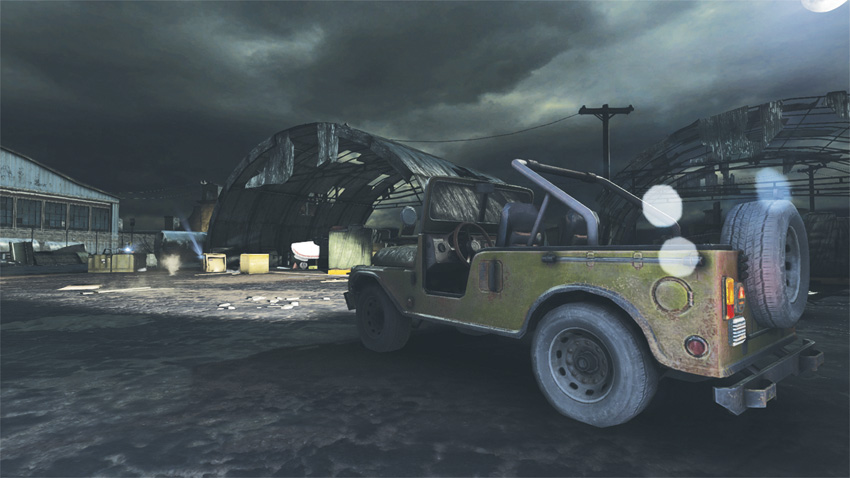
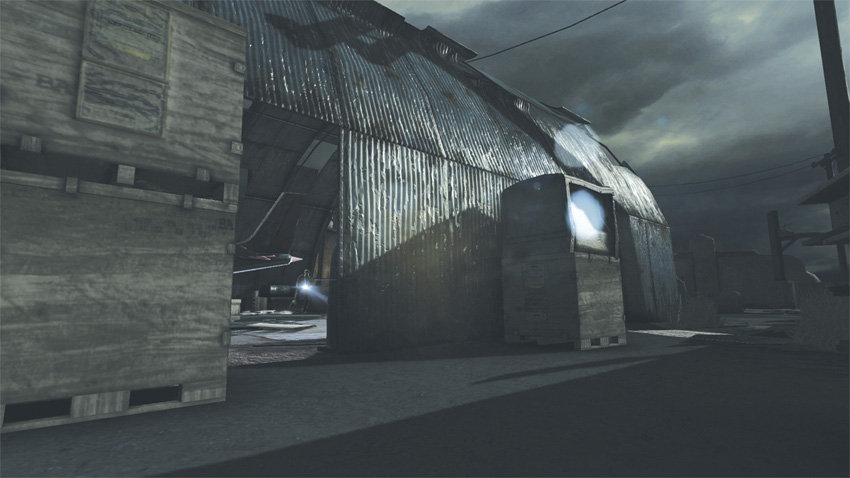
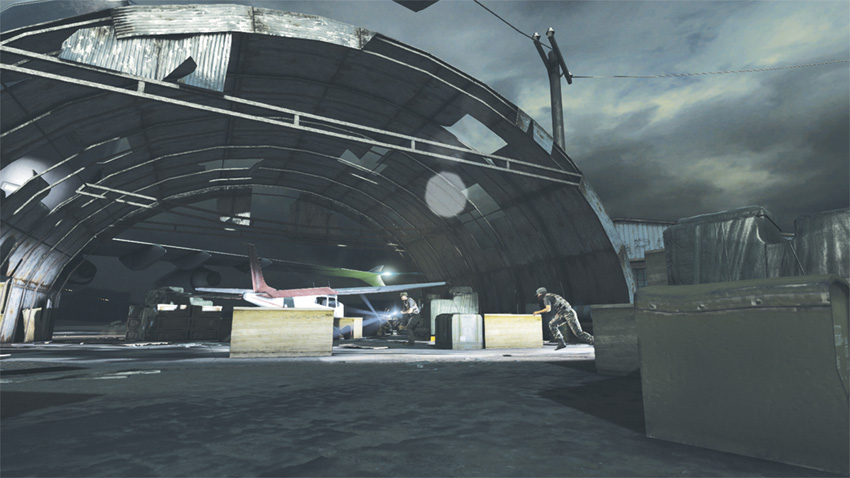
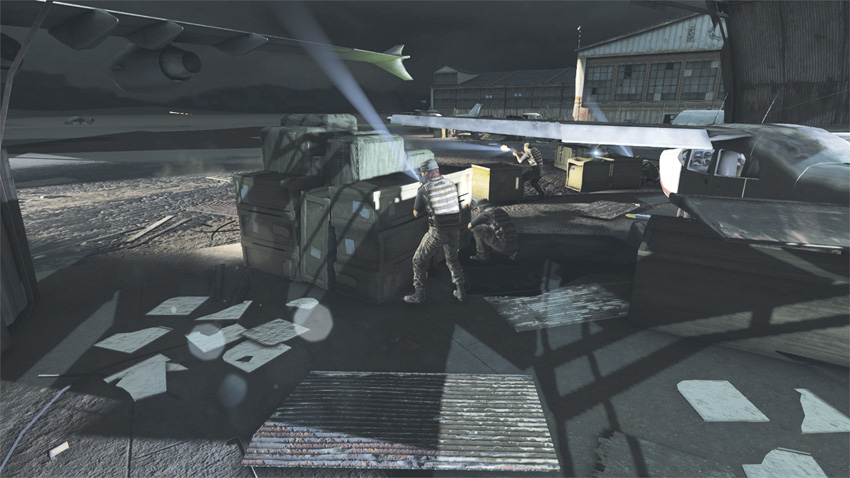
During the airstrip firefight to protect the Paladin, you are engaged in all-out combat, making any form of stealth attack difficult. This is where you will find the High Value Target, as well, who needs to be apprehended silently if you expect to take him alive. So, although a complete Ghost playthrough is nearly impossible, your apprehension of the HVT must be completed with stealth. To do this, at the start of the phase, immediately proceed forward and to the right, circling around the back side of the hangar where the hostiles are holed up. One by one, pick them off using either nonlethal melee attacks or your Crossbow (which is equipped with Sticky Shocker bolts). The HVT is the hostile wearing a patrol cap and covering his face with a red bandana.
High Value Target
While the HVT may seem elusive, pick through the first wave of hostile forces to capture him in the chaos.
ASSAULT
The restrictions of the Detention Facility are dropped during the escape from the Yucatan Airstrip, so feel free to unleash hell upon the opposition. Staying alive here can be difficult, so try to not be reckless. At the start of the firefight, move forward and take position on the right side of the hangar in front of you. A small doorway in the side of the structure allows you to attack from cover. Another advantage here is that this doorway is placed between two crates, which offer some protection from the rear should an enemy attempt to ambush you. For the duration of the battle, expect hostiles to focus their fire toward the Paladin, so use your arsenal to get the jump on foes as they scramble about the airstrip seeking blood.