
Tom Clancy's Splinter Cell Blacklist Guide Walkthrough Campaign
Mission 6: Special Missions HQ Tehran, Iran
Objectives: Infiltrate Qods Force HQ, Escape Prison, Download Qods Intel, Escape from Tehran
Recommended Loadout
- Gadgets: Sticky Noisemaker, Tri-Rotor, Smoke Grenade, Flashbang
- Goggles: Sonar Pulse
- Ops Suit: Tactical Mesh (Torso), Covert (Gloves), Tactical Mesh (Pants), Nanopolymer Coating (Boots).
- Pistol: 5.7 USG with Armor Piercing Ammo and Holo Sight Optics
- Alternate Weapon: SR-25 Sniper Rifle with Extended Mag and Armor Piercing Ammo
- Special Weapon: Stun Gun
Shadow the General
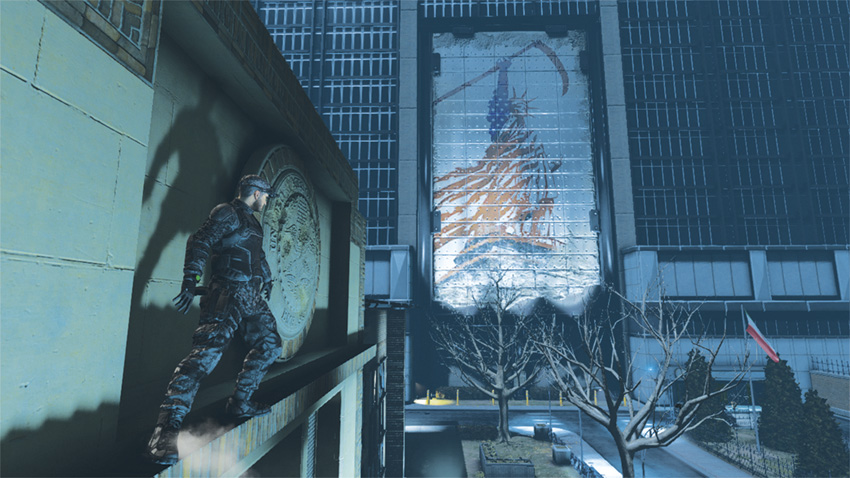
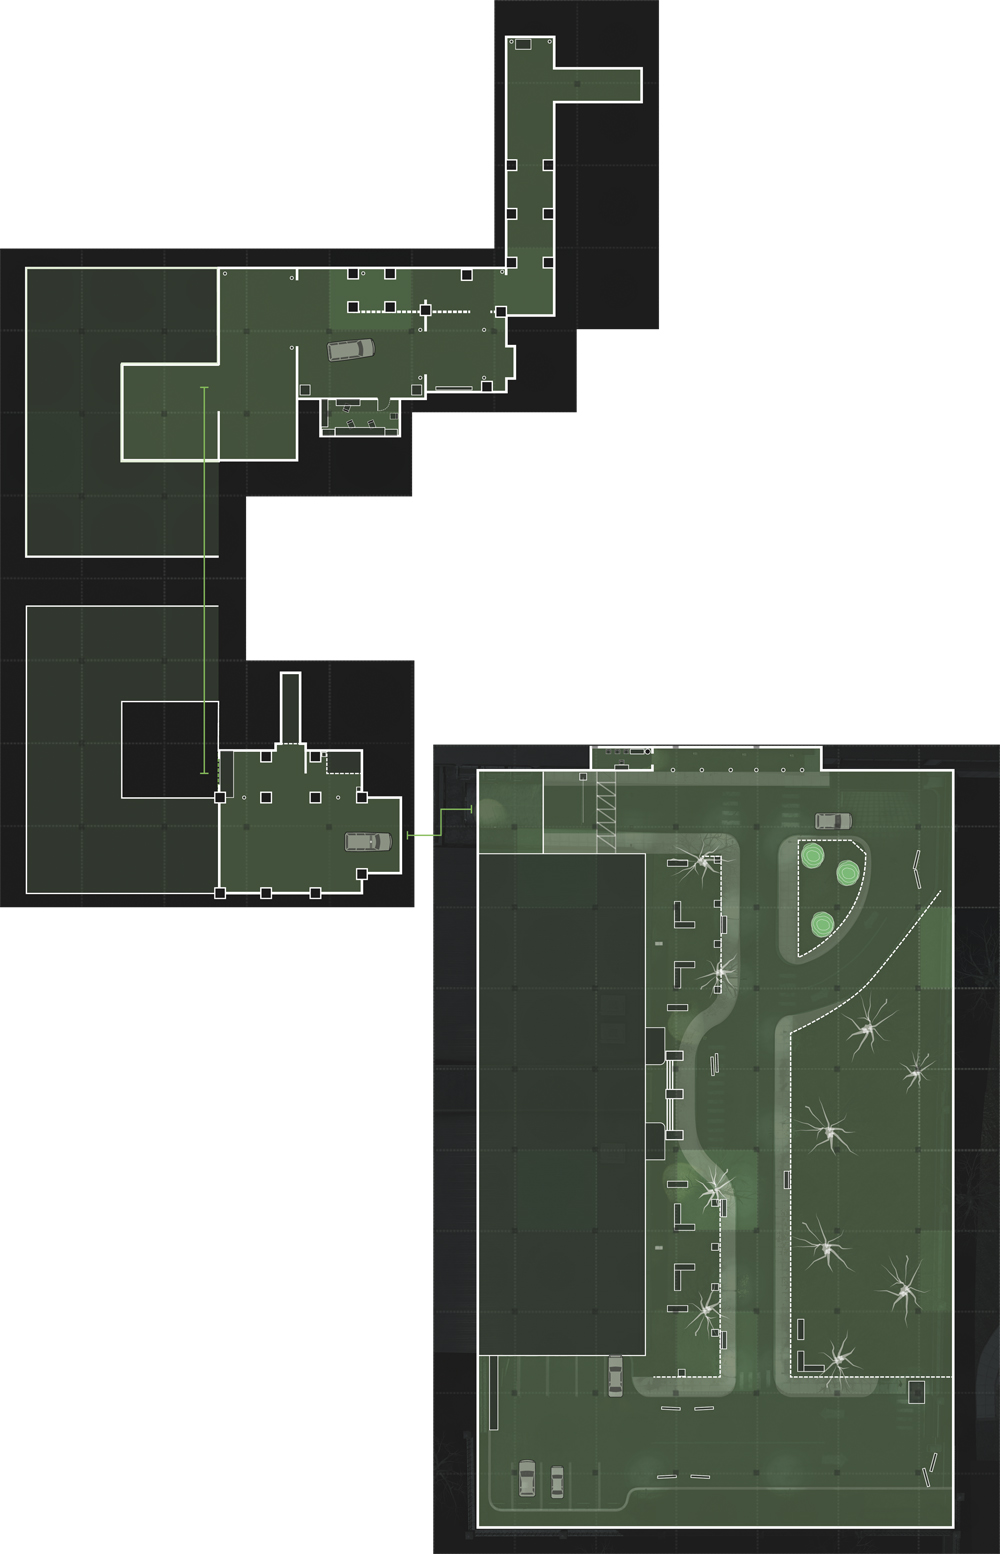
After securing his aid and exiting his car, head for the wall in front of you and shinny up the yellow pipe. Make your way around the building to your right, avoiding detection by the guards patrolling the grounds below. Drop to the ground near the first set of floodlights, walk around the narrow column blocking your path, and then climb back up the wall, using windowsills as handholds. Continue moving right, and just above the front door you find a Hidden Path. Drop to the ground again near the last pair of floodlights, walk around another narrow column blocking your path, and then climb back up the side of the building a third time. Follow the wall around the side of the building to your right, and then climb through the metal latticework to the building across from you, uncovering another Hidden Path in the process. Once on the other side, move to your left to the yellow pipe, slide down the ground, and enter the garage through the front gate.
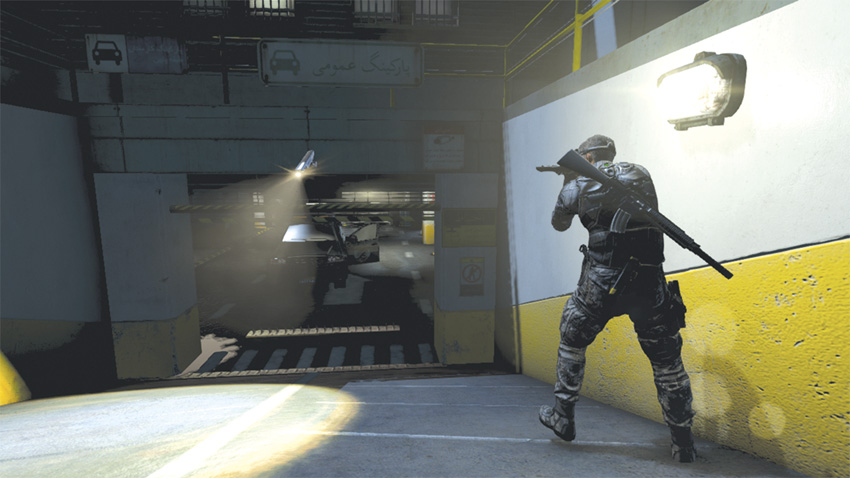
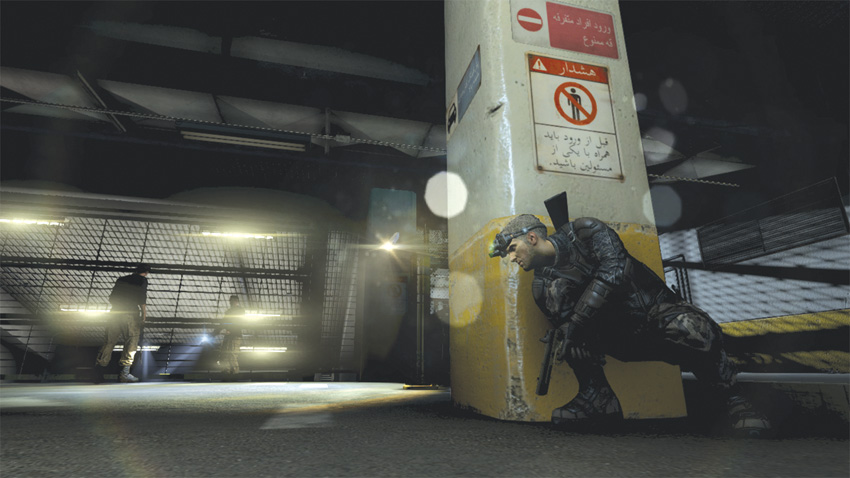
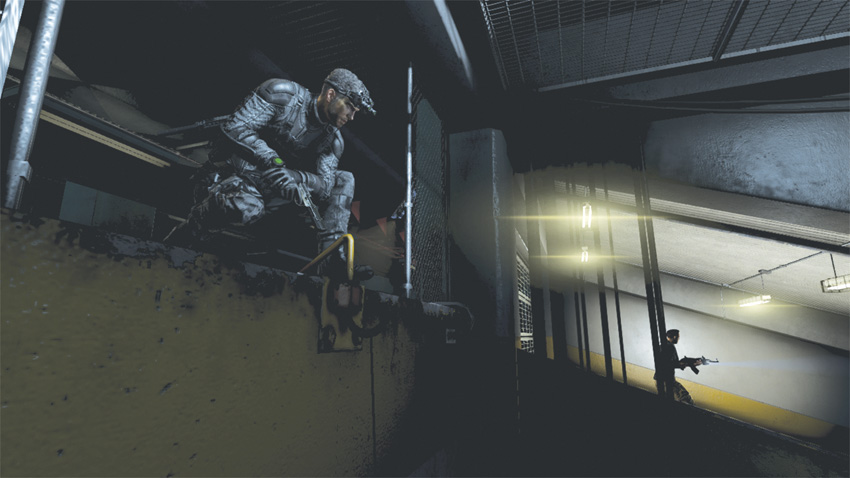
Grim alerts you that the phrase Rohani spoke to a guard moments ago wasn’t consistent with his usual diction. He could be setting you up for a trap. Having no choice but to continue, take cover along the right side of the garage behind the first column to avoid detection by the lone guard. When he’s not looking in your direction, shoot out the fluorescent light near him to create darkness. Next, shoot out the surveillance camera. After Rohani gives the all clear, make a beeline for the opening in the fence to the right of the camera. Repel down to the bottom floor, avoiding detection by the hostiles patrolling the garage, and wait for the General to signal it’s clear to continue. Moving on, Rohani explains he’s taking you through an area with heavy surveillance and you need to stay close to him to safely pass through the electronic checkpoints. Apparently you left him no other option but to go this way.
Escape the Prison
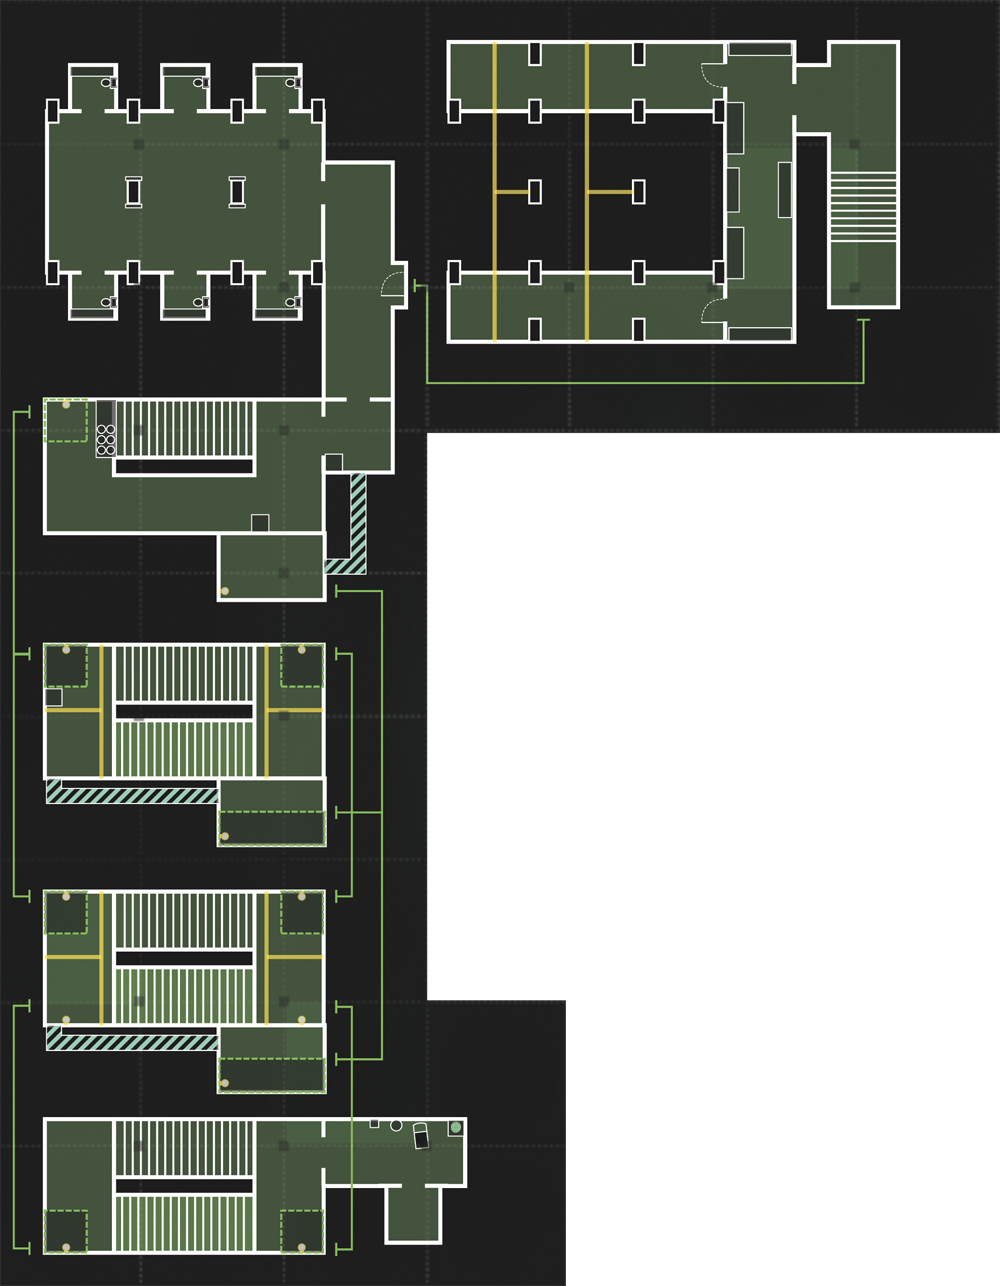
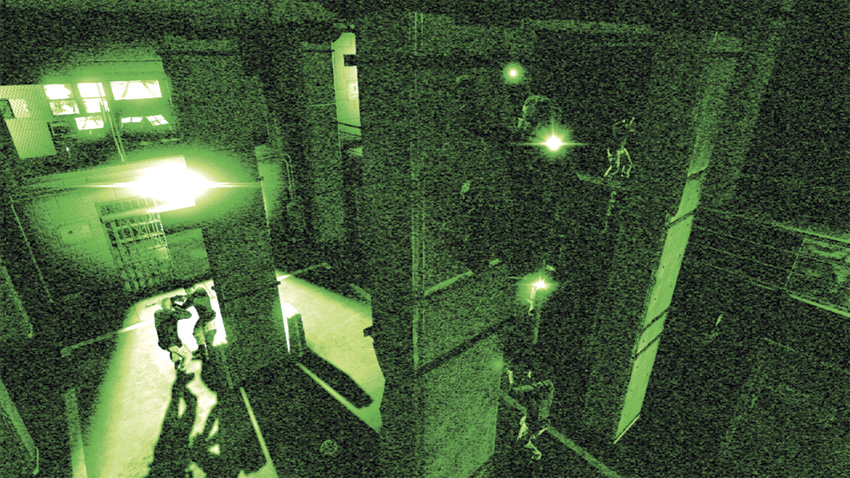
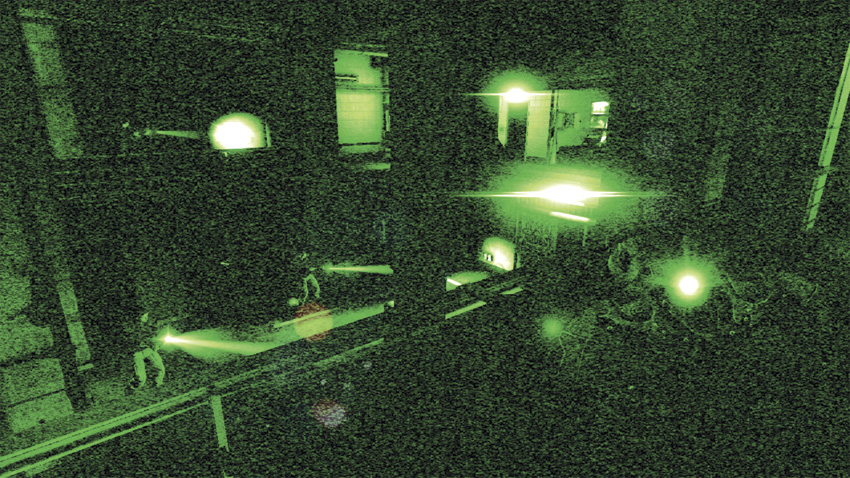
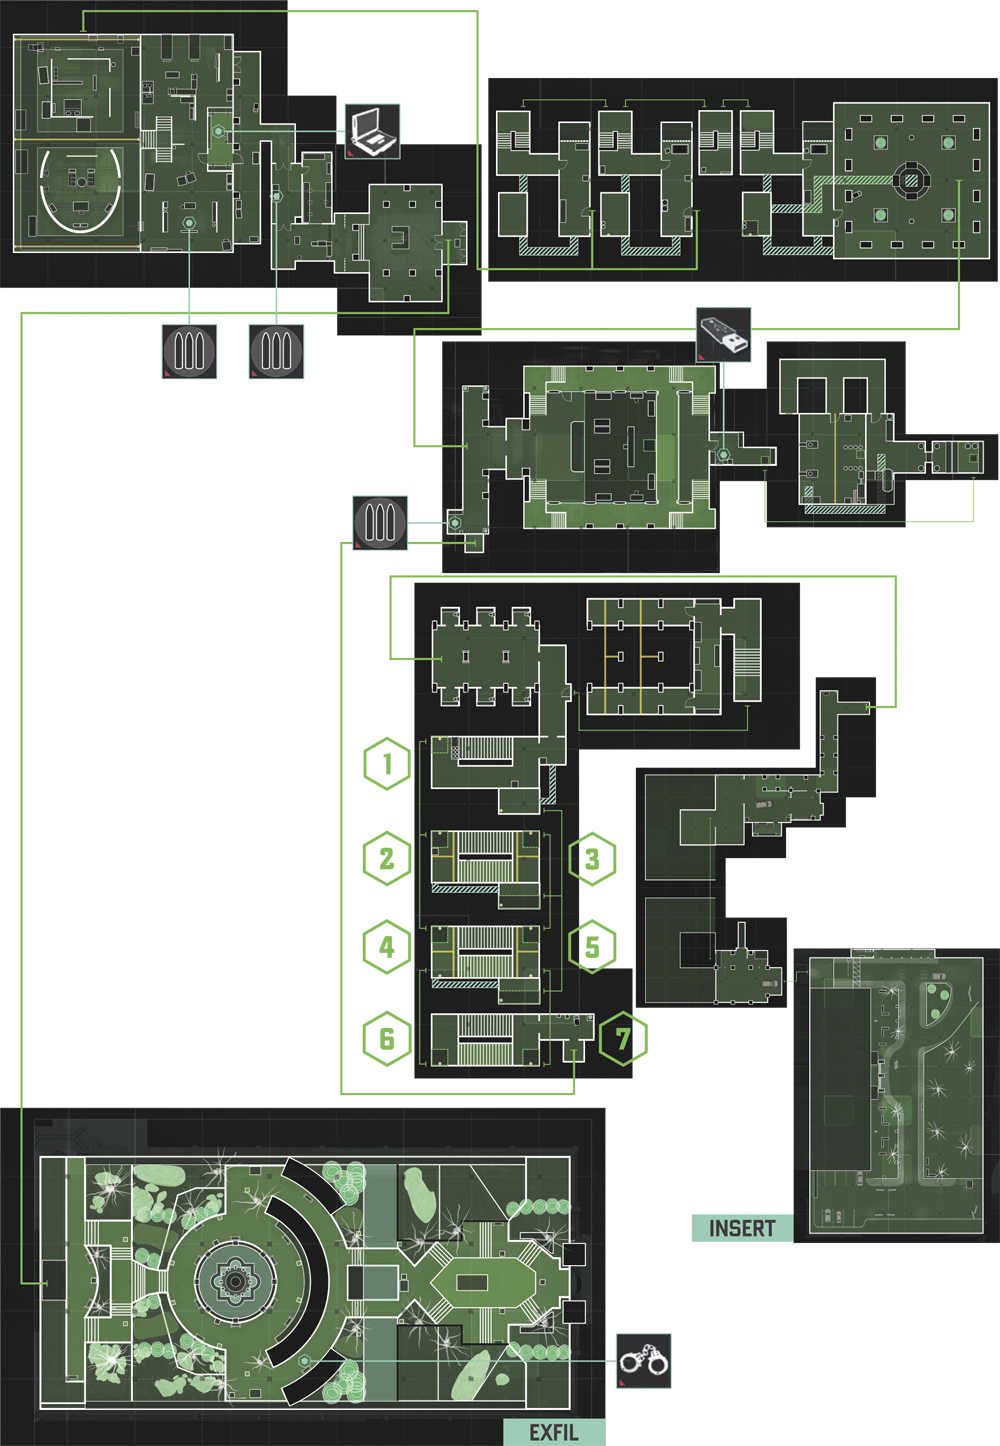
You start crouched behind a column, with guards all around you in a state of panic and confusion. Turn on your night-vision goggles, climb up toward the ceiling, and grab the pipe. From here you have a good view of your surroundings. At ground level is an open court with holding cells lining the sides, and on the second level there’s a prison control room with walkways on either side overlooking the court below.
Immediately you see two hostiles on the second level, one searching each walkway. Move to your right to discover a Hidden Path, and then eliminate the first hostile. Drop down to the walkway below and crouch behind the covered railing. Carefully look across to the other walkway, and then target and eliminate the other hostile with a sniper rifle shot. Remain crouched on the second level and move along the walkway, marking three hostiles below. When the icons above their heads all turn red, use your Execute Ability to take them out. Consult your Radar to locate and eliminate the remaining two hostiles. Follow the waypoint marker to the exit and continue your search.
Locate the Servers
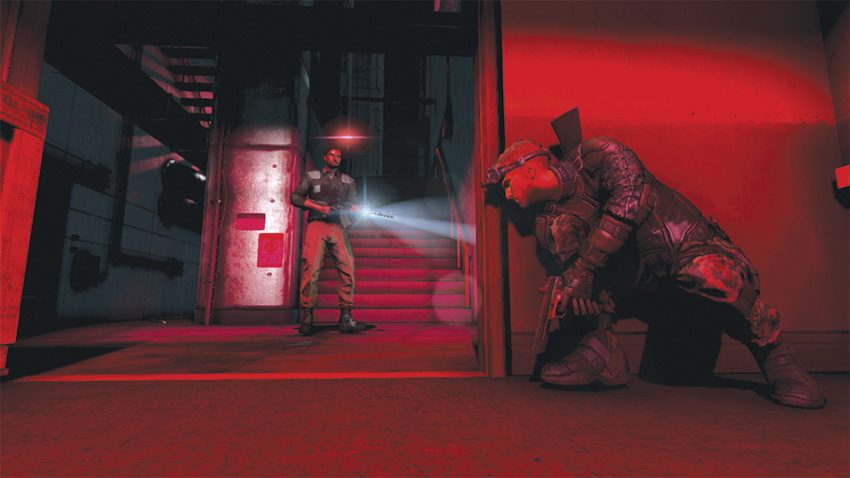
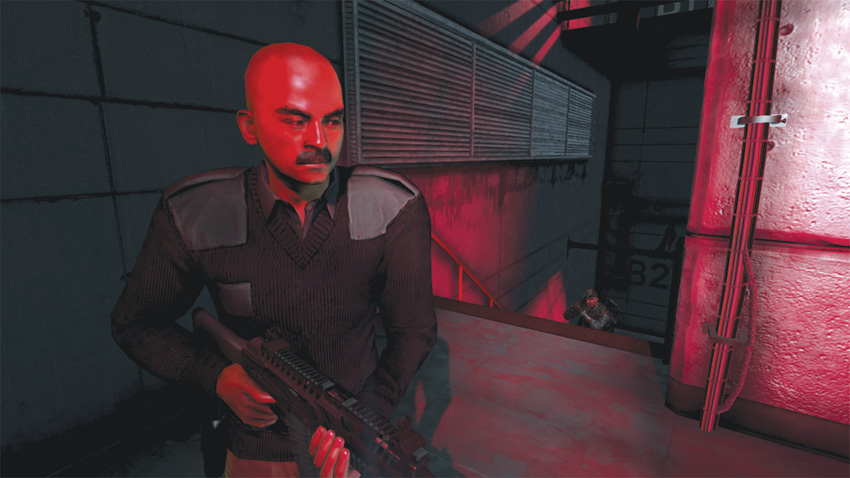
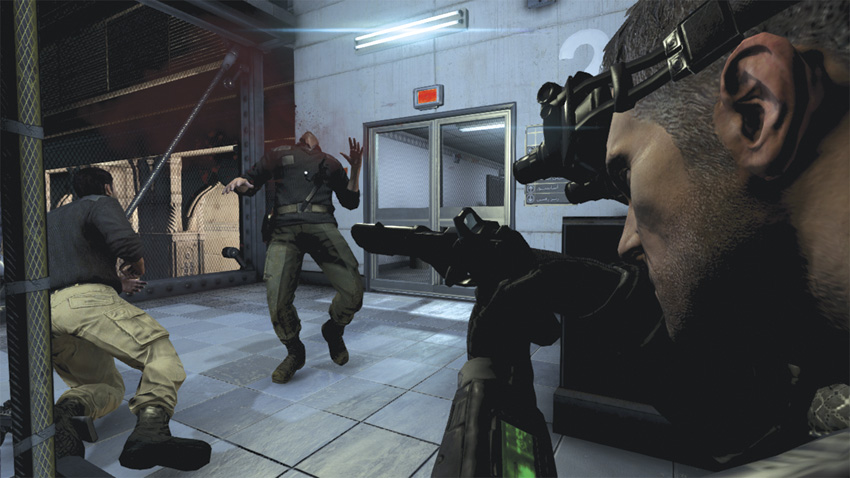
You emerge in a small room adjacent to a stairwell leading up. Grim chimes in that Charlie hacked Qods’ security to kill the main power, and you have a brief window to reach the server vault before backup generators kick in. Charlie informs you that there’s an elevator close by, but it’s sealed off. You need an RFID tag to get through.
Enter the stairwell and begin your ascent.
Using your Radar, you spot two hostiles patrolling the area. The first guard is nearby. Approach the first landing and look for the beam of his flashlight to mark his location. Use the cover of darkness to your advantage and take him down with a hand-to-hand strike. Continuing ascending. The second hostile is in between the second and third landings. Take him down and move forward. 0
Two more guards appear on your Radar. When you reach the fifth landing, the backup power generators come online, flooding the stairwell with0 light. Both hostiles are talking to each other on the sixth landing, just outside the doorway you need to go through. While they’re distracted, mark them both, get within range, and use your Execute Ability. Go through the doorway and get in the elevator.0
Requesting a situational report on your trip to the Signals Vault, Grim says that she’s been monitoring the Qods Force communication, and they’re calling in a quick-reaction force to sweep the building floor by floor to find you. Charlie then gives you two options for entering the vault: going through the cooling vent underneath the vault, or going through the rear of the vault and hacking your way in.
Gain Access to the Signals Vault
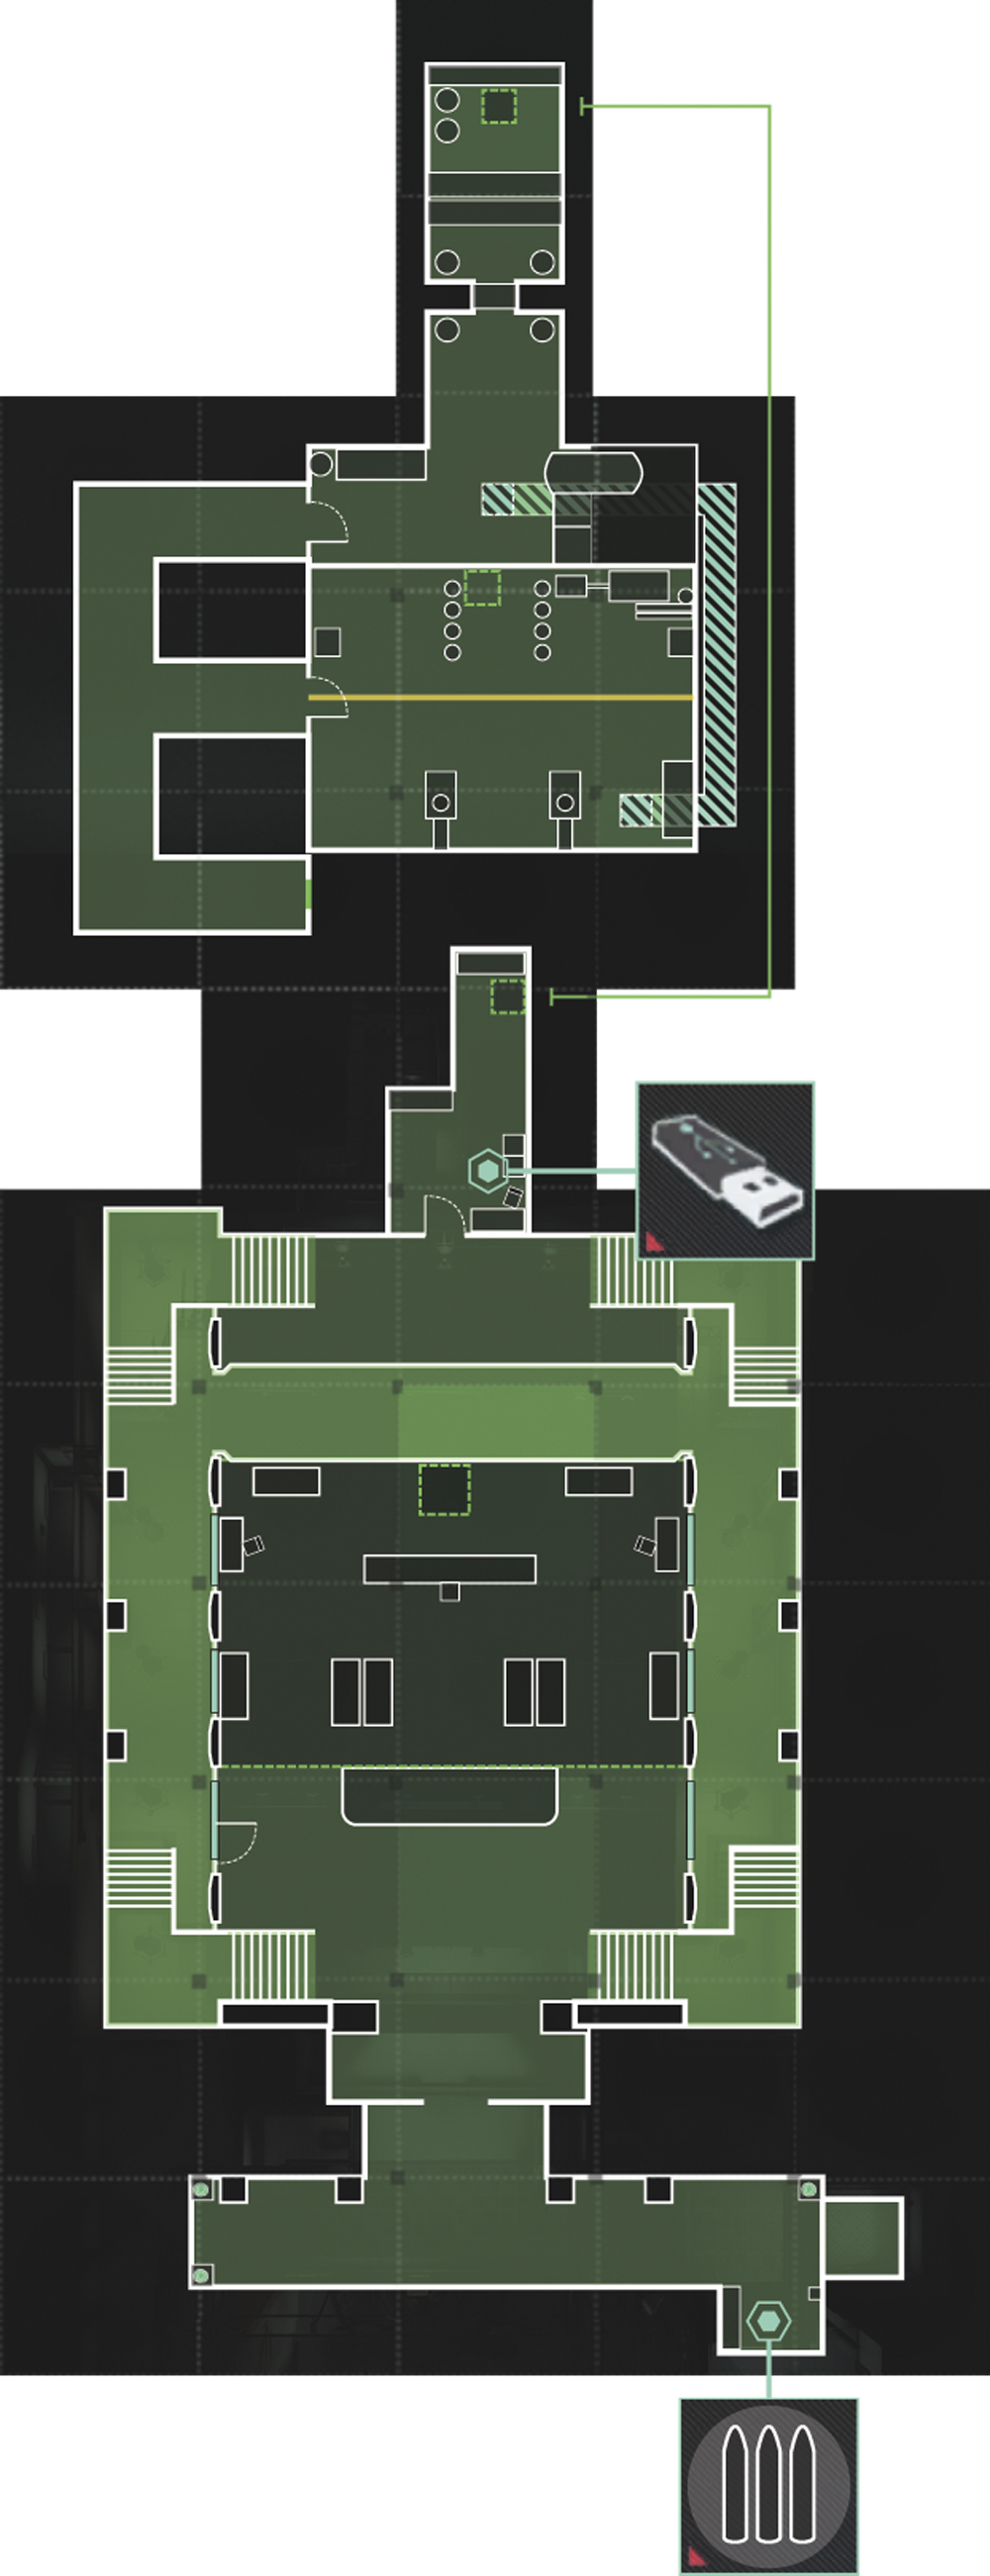
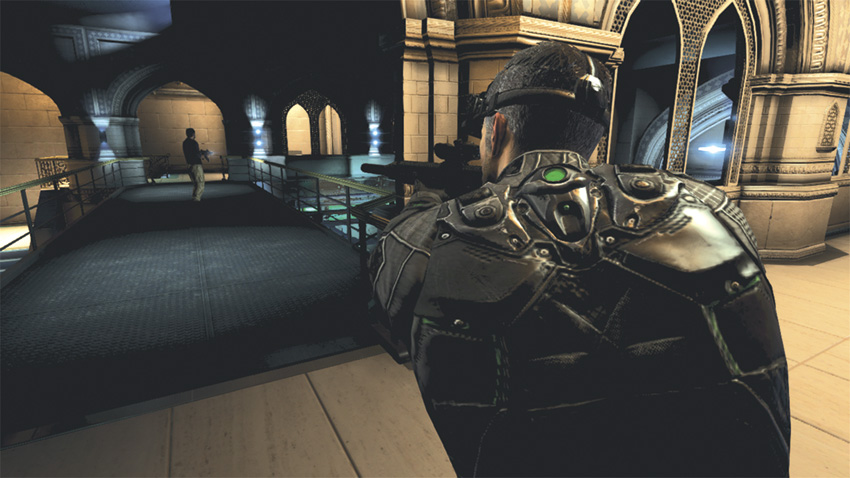
After exiting the elevator look immediately to your right to spot a lone guard. Kill him, then stock up on supplies from the Supply Cache directly in front of the elevator. Walk over to the fallen guard; pick him up and head through the security door. Go immediately to your left and hide the body in the darkened corner, behind the stone archway. In front of you is the highly fortified Signals Vault, where your prize awaits. Getting in won’t be easy.
Given the two options Charlie mentioned for infiltration, going through the cooling system underneath the vault is preferred. To get a sense of your surroundings, deploy the Tri-Rotor. From the starting position, gain altitude, go to the left, and scan the left corridor. At the back of the room behind the vault are two guards: one patrolling above the vault and one manning a control center outside the vault underneath him. In the back of this room is the entrance to the cooling system. Fly around the room to see that there are no other hostiles, except for the two inside the vault. Recall the Tri-Rotor and head toward the control center.
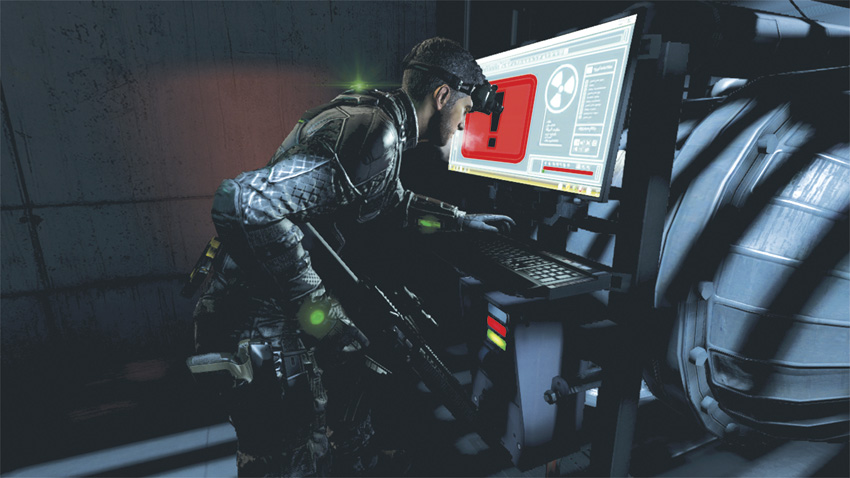
Leaving your hiding place, use the same route as the Tri-Rotor, eliminating the two hostiles along the way. Enter the control center, grab the Dead Drop, and walk to the back of the room. On the ground in the corner is an opening leading down underneath the Signals Vault. Take the ladder to the bottom, and then go to your left and use the computer to vent the cooling system.
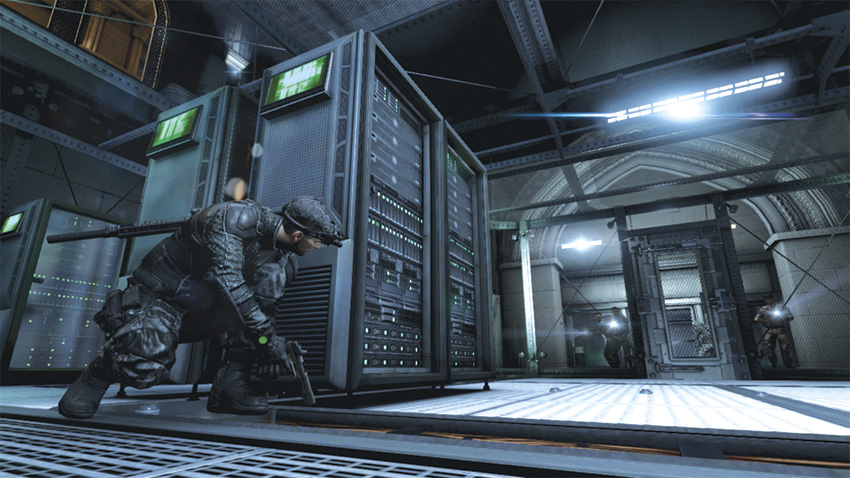
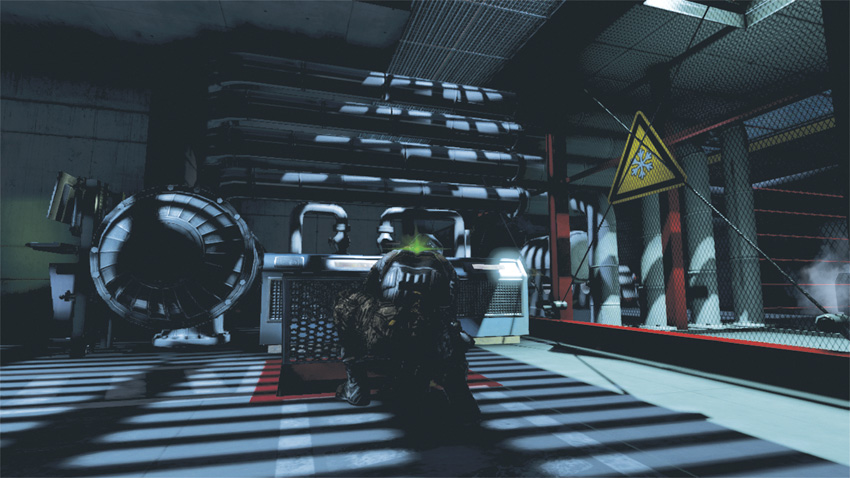
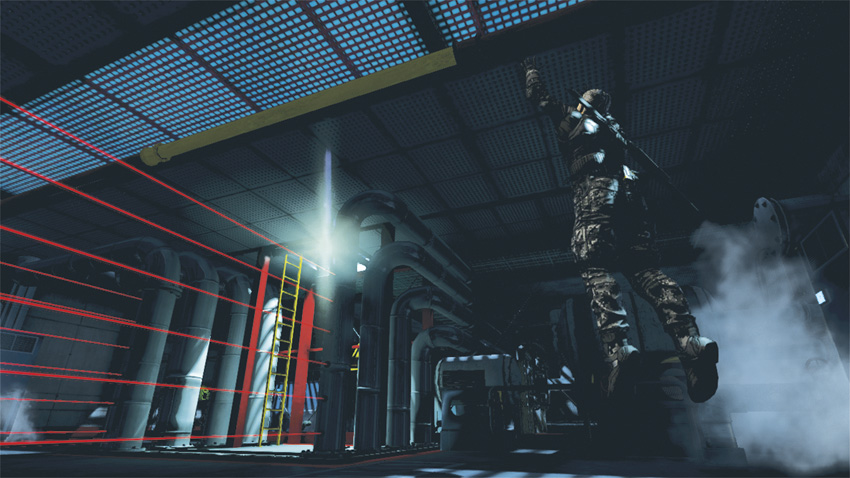
Once safe, enter the vent on the floor in front of you and follow it all the way to the end. You exit the vent near a set of motion sensors. Jump up to the yellow pipe above you, move to the other side, and drop down undetected. Note you are now standing between two sets of motion sensors. Walk forward and climb up the ladder, pausing at the top. Right in front of you are two hostiles. Mark them and use your Execute Ability to take them out. Pick up one of the bodies to move safely through another set of motion-sensors, and then insert Charlie’s special flash drive into the computer and begin the download.
Within moments, a group of six hostiles enters the area—four come through the front doors and two more from behind you near the control center. They fan out to search the entire area, looking for intruders. Take cover using the server cabinet in front of you and wait. As soon as the transfer is complete, grab the drive and exit the vault the same way you entered.
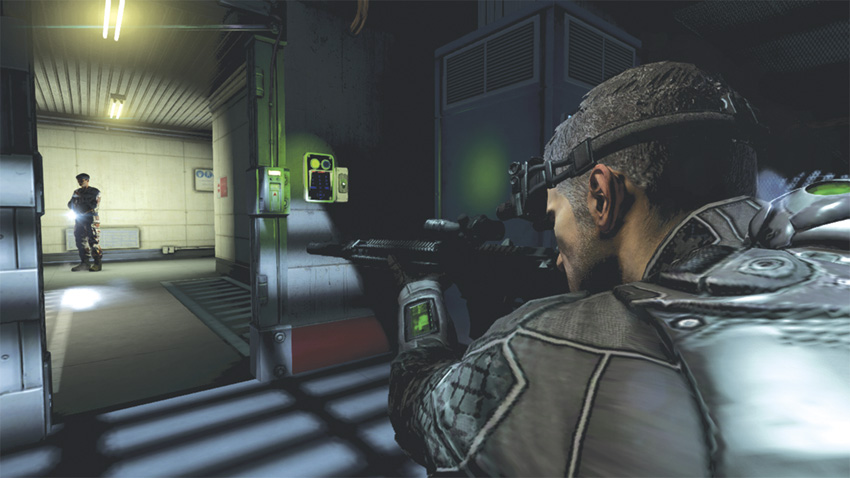
Once below, jump up and grab the yellow pipe. This time, move in the other direction toward the doorway, which is now open. Be careful, as a hostile is patrolling the hallway beyond. Wait for him to come into the room, and take him down using a Death From Above attack. Move forward and peek around the corner. Proceed up the stairs and take cover alongside the wall. Shoot out the fluorescent light above you and the one above the door in front of you. Check your Radar; three hostiles are in the vicinity, including a Heavy Infantry solider. Wait for each to pass in front of the door, and take them down one by one. There are still two more hostiles alive in the back near the control room.
Go through the door and to your right, then head up the stairs into the hallway above. Consult your Radar as you go to find the remaining guards and eliminate them. Once that’s done, exit through the front door and head toward the large, plate-glass window and fast rope to the atrium below.
Fast Rope to the Atrium
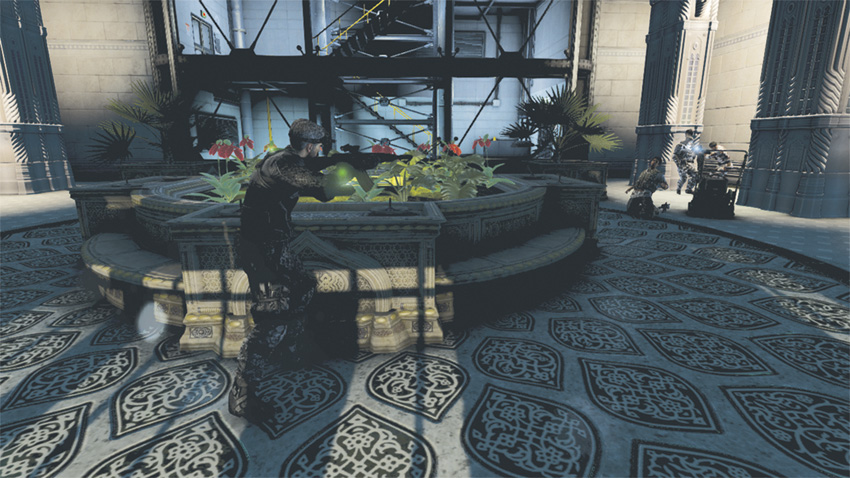
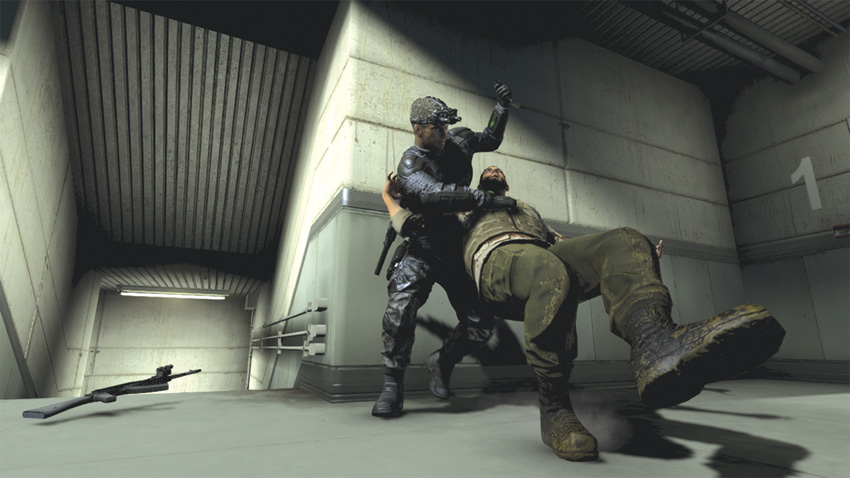
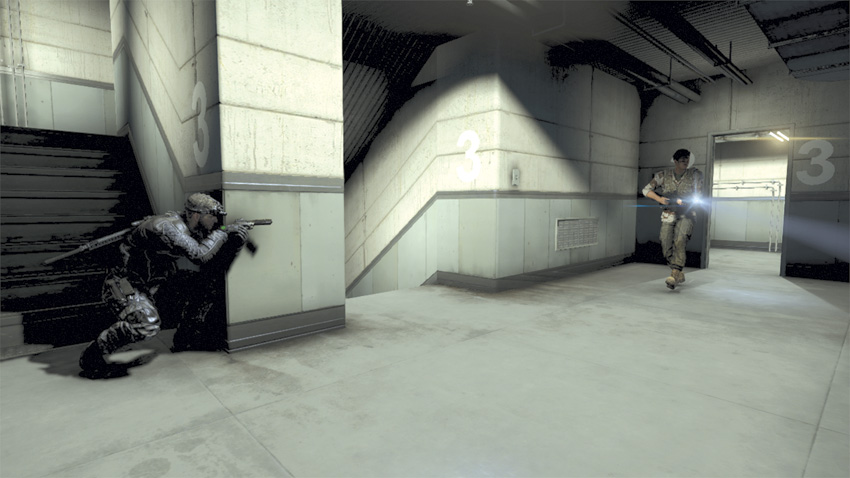
After hitting the ground in the atrium, immediately equip your sniper rifle and run to the right side of the circular stone planter in front of you. From your left, three hostiles emerge from a doorway, including a Heavy Infantry soldier. Mark them, and when the are within range, use your Execute Ability and kill them.
Check your Radar to see two more hostiles in the general vicinity. Hunt them down and eliminate them. Next, head downstairs via the winding staircase. Check your Radar again to locate any remaining hostiles and dispatch them. Now proceed to Level 3 and follow the waypoint marker to the Kill House.
Kill House
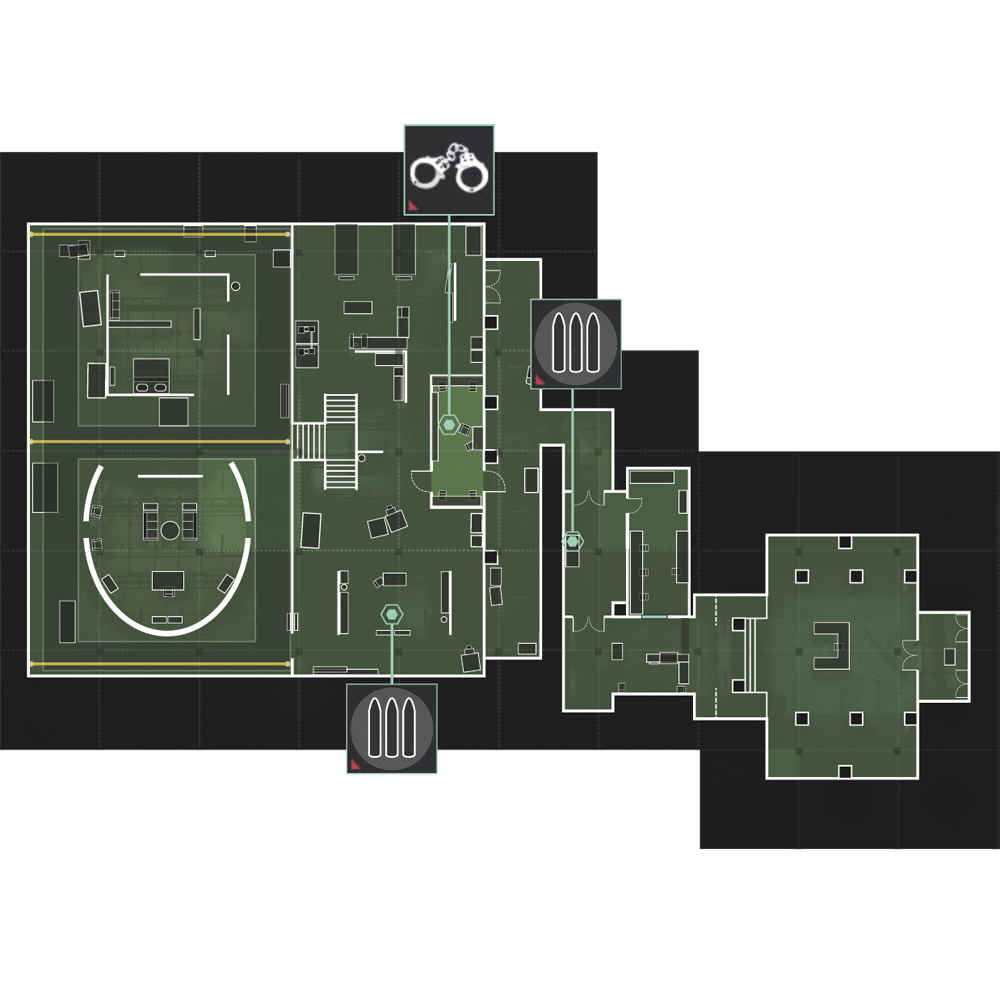
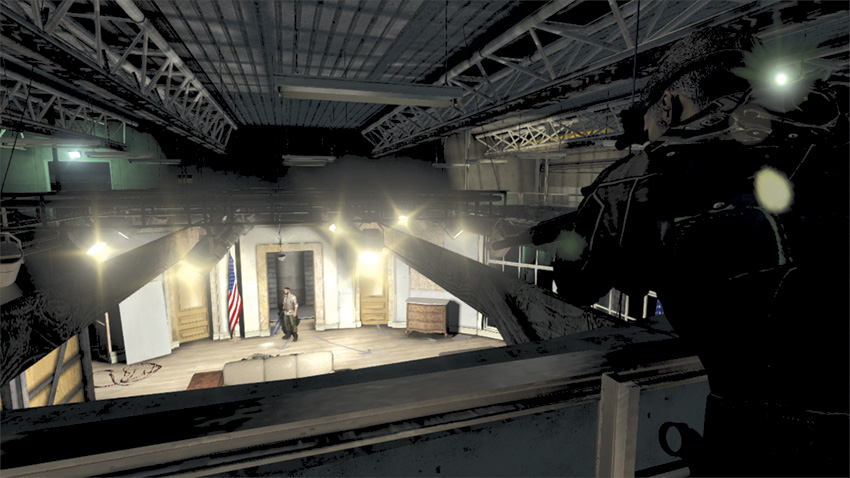
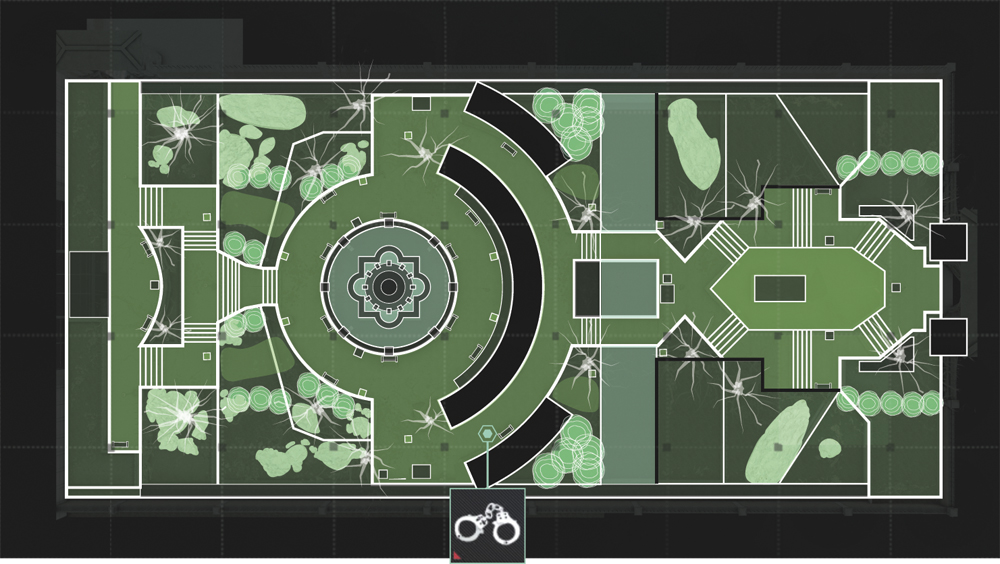
The Kill House is a sound stage, with one area mocked up to look like a bedroom, and another area mocked up to look like the Oval Office in the White House. Floodlights are positioned all around the room below you, creating darkness in the gantry above. You start on the gantry in a corner overlooking the bedroom.
Make sure your sniper rifle is equipped, then move to your left and turn the corner. About 50 feet away you see one hostile emerge from a doorway on your left. He comes to a stop next to another hostile, a Heavy Infantry solider, and begins speaking with him and another guard patrolling the area below them in the fake Oval Office. Your Radar indicates that there are two other hostiles, both of whom are out of view, patrolling the floor below.
Mark the three visible hostiles, move within range, and then use your Execute Ability to take them down. Your actions alert the men below, who then call for backup. Three more hostiles appear on your Radar, meaning you have five to deal with. Fortunately they don’t know where the shots came from, so you can continue to use the darkened balcony space to your advantage.
Shoot out the fluorescent light above the doorway to your left, pausing to see if any other hostiles are coming, and then move to the far end of the gantry. As you look down below, you see two hostiles searching the fake Oval Office. Eliminate them, and then drop to ground level. Move to the far back wall, opposite your starting position, and look for another doorway (it also will be lit from above by a fluorescent light). Check your Radar. Three hostiles remain, and all are located beyond the door.
Crouch and move quickly toward the door, shooting out the light in the process. Pass through to the other side of the door. Two hostiles should be in range right near you. Eliminate them and head toward the Supply Cache to refill your supplies. Beyond the case at the end of the room is the final hostile. Dispose of him from long range and enter the office on your right to hack the Blacklist Laptop. Leave the office through the second door in back and turn to your left to see a lit security doorway.
Within a few seconds, another hostile will walk through the door. Take him out, and then pick him up to enable you to access the hallway beyond. Go through the metal doors and into the security control room to the left. Once inside, access the terminal so that Charlie can override the doors.
Escape from Tehran
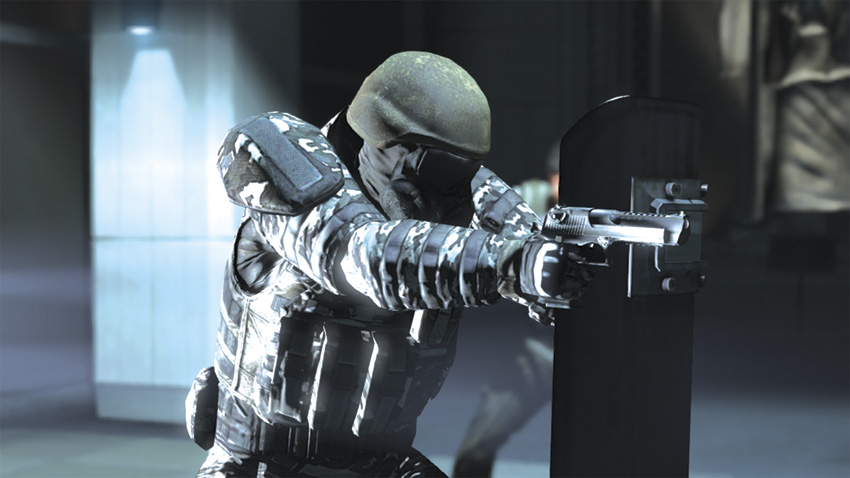
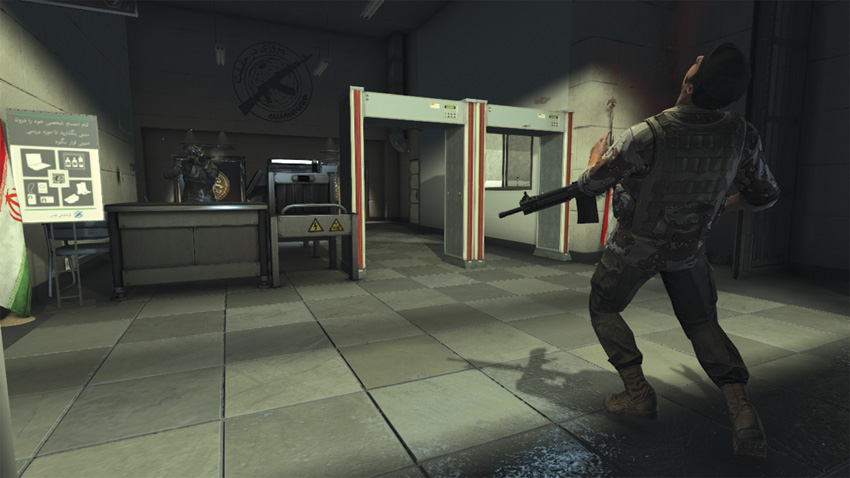
While Charlie works his magic, Grim chimes in that more security forces are on their way. Before long, the gates blocking your exit begin to open, allowing you to proceed. Just then, four special forces troops burst through the front doors, tossing Smoke Grenades into the room. Among them is a new enemy, a shield-bearing Heavy Infantry soldier.
Jump back over the table behind you, next to the security gate, and take cover. Mark the two hostiles to your left, making sure your sniper rifle is equipped. Kill them when they are in range, and then take cover near the column in front of the table. Target the Heavy, wait until you get a clear head shot, and then take him down. Once he’s eliminated, jump over the railing in front of you and go after the hostile on the right side. After you put him down, head out the front door.
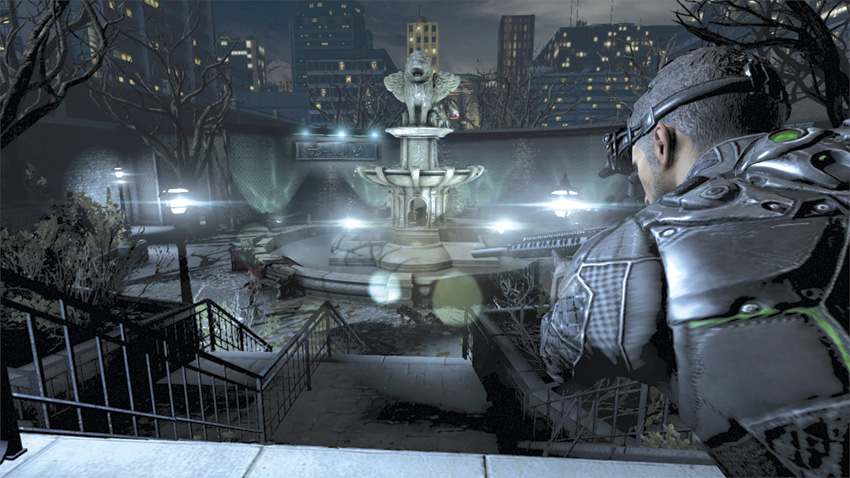
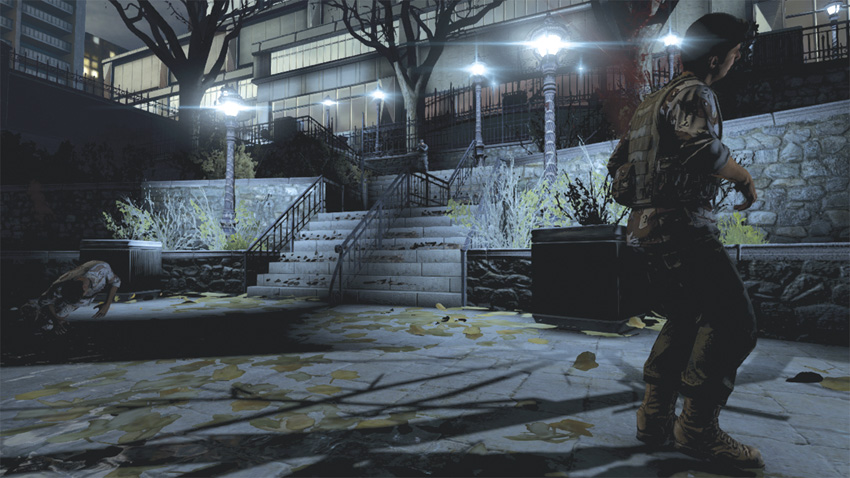
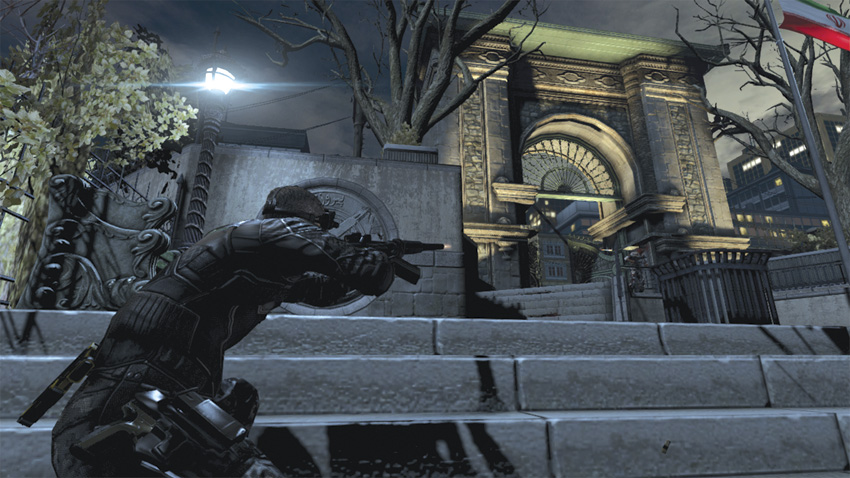
Once outside, Grim informs you that reinforcements are on their way to your location. As far as exfiltration, Briggs is en route—a fact that you’re not too fond of. Regardless, you’re to meet him on the far side of the exterior garden.
Head to your right and down toward the large fountain. Mark the three hostiles standing next to it and use your Execute Ability. If your gauge isn’t full, two quick headshots will do the trick. Continue moving around to the right of the fountain toward the wall in front of you. As you near the wall, a flashlight beam appears from around the corner. Hide behind the tree and wait. Within seconds a High Value Target appears. Tag him and bag him, and then continue on around the wall.
Moving forward, Grim informs you that there are hostiles between you and the escape van, and some are wearing heavy combat armor. To your right you see two short sets of stairs leading up: the first is close to you and the second is about ten yards past the first. Go to the second set of stairs, crouch, and head up. At the top you see two hostiles, including a Heavy Infantry soldier with a shield. Target the Heavy and take him down with a head shot. Next, kill the other enemy, who’s across from you on the other walkway. Continue up the staircase in front of you. Check your Radar to see two final hostiles, including a dog. Mark them, and then use your Execute Ability to kill them. Now, head to the van where Briggs awaits.
Drone Combat
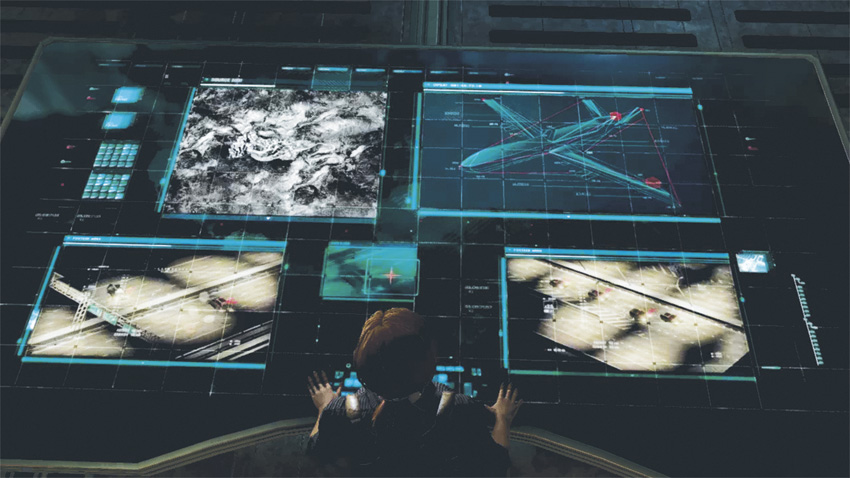
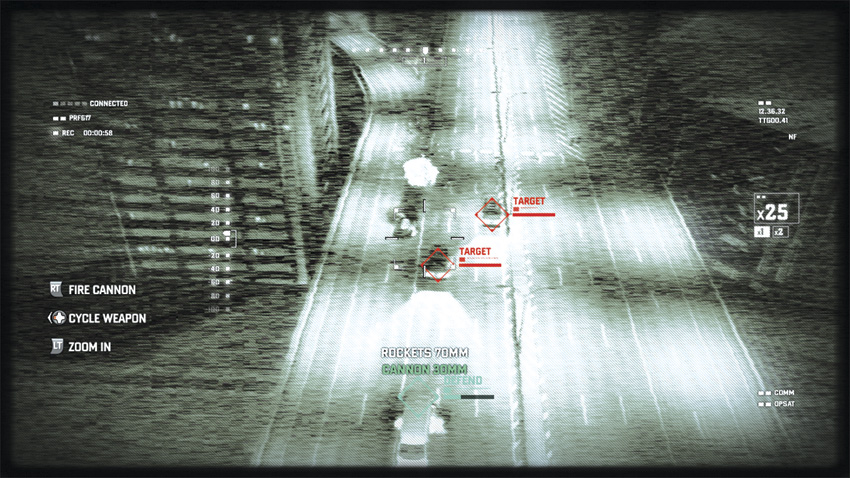
As you speed away from the headquarters, Grim reports at least a dozen hostile vehicles are on their way to intercept you. The only way to escape is to send a UAV Drone in to eliminate them from the sky. However, doing so could implicate the United States in the operation. Unfortunately, there’s no other choice if you want to survive the mission.
Viewing the getaway van from the Drone’s cam, target the hostile vehicles one at a time and eliminate them. Once they are all destroyed, you and Briggs will be out of danger, and back aboard the Paladin to continue the hunt for Sadiq and to stop the Blacklist.