
Tom Clancy's Splinter Cell Blacklist Guide Walkthrough Campaign
Mission 5: Abandoned Mill London, UK
Objectives: Plant Tracker, Find Sadiq, Extract with Briggs
Recommended Loadout
- Gadgets: Smoke Grenade, Flashbang, Tri-Rotor
- Goggles: Sonar Pulse
- Ops Suit: Tactical Mesh (Torso), Covert (Gloves), Tactical Mesh (Pants), Nanopolymer Coating (Boots)
- Pistol: 5.7 USG with Armor Piercing Ammo and Holo Sight Optics
- Alternate Weapon: SR-25 Sniper Rifle with Extended Mag and Armor Piercing Ammo
- Special Weapon: Stun Gun
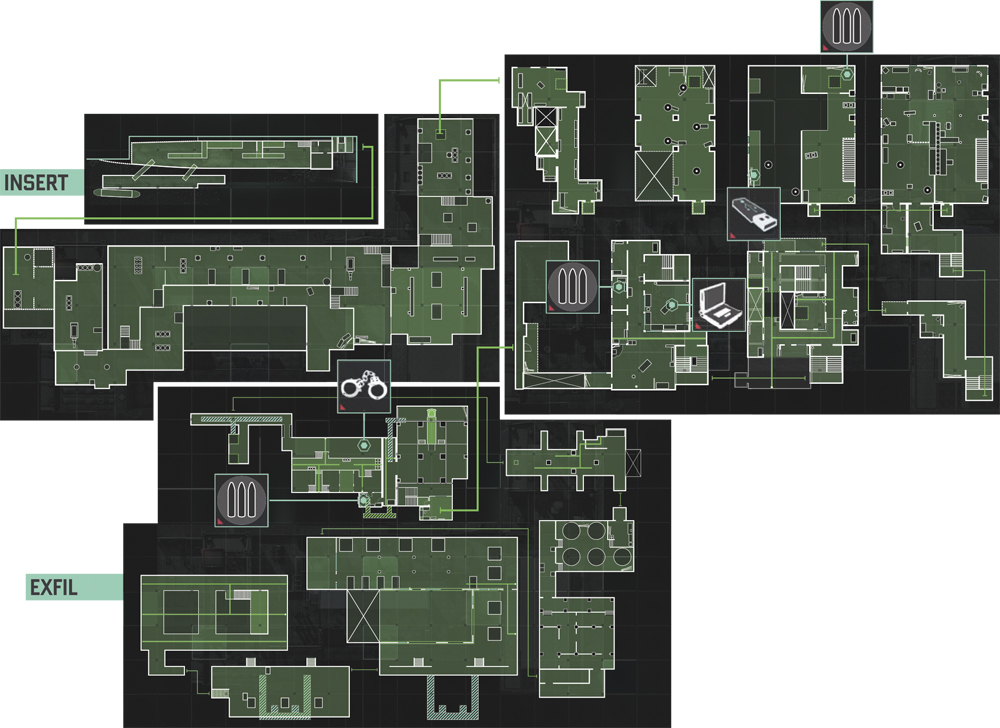
London Calling
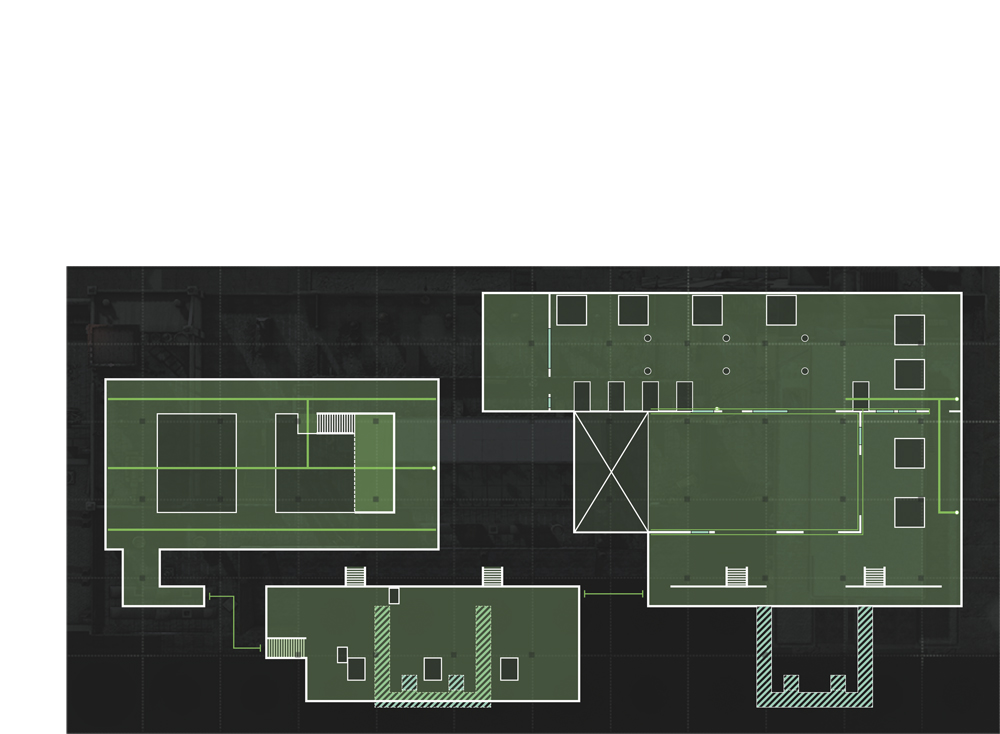
It’s a cold, rainy night when you arrive in London. Before you’ve even begun, a shot pierces the air to take down a guard standing watch at the pier, thanks to Briggs, who is currently on his way to take up point at position Bravo. Grim confirms that the operatives who used Nouri’s stolen passports are holed up inside, and the best option for infiltration is from the roof. Head toward the waypoint marker, and take out the dog and the lone sniper at ground level before starting your journey skyward.
Activity at the Mill
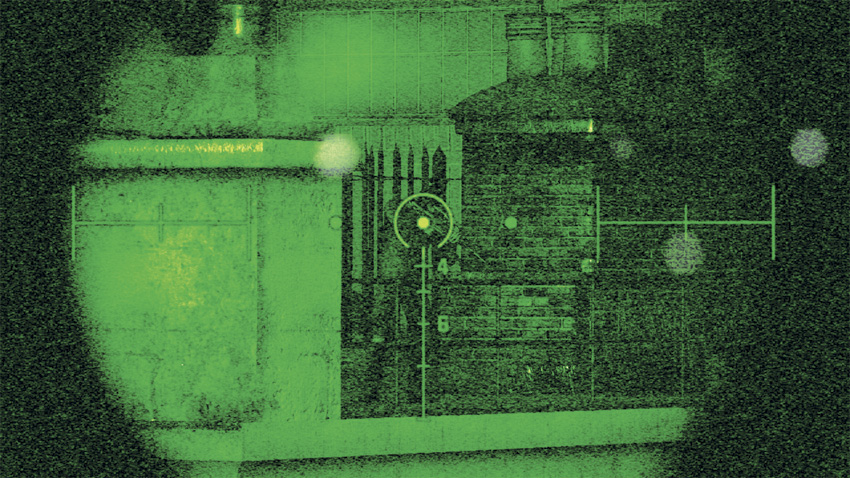
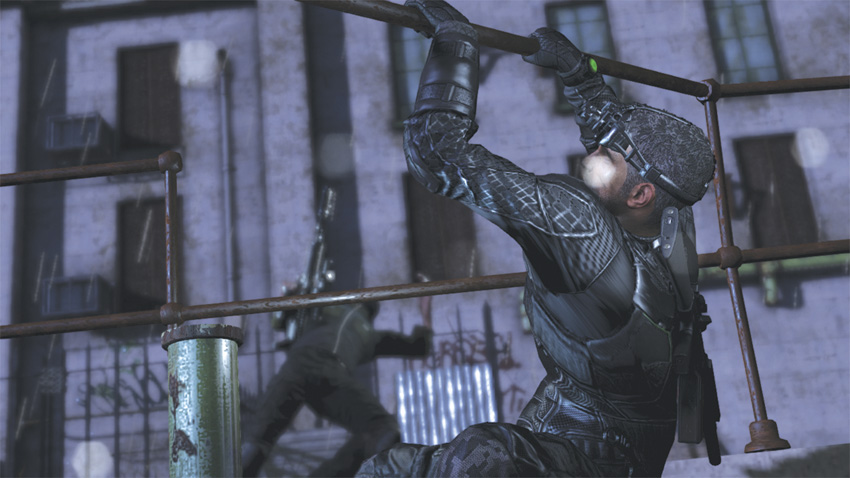
Heading up the factory wall, Briggs takes position guarding your six. From his perch at position Bravo, Briggs notices a truck leaving the mill. Odds are it’s moving cargo. As you near the first rooftop, Briggs conveys the location of a sniper close to your position. Just then, the railing you’re holding onto breaks away, alerting the enemy to your presence. With your life literally hanging in the balance, Briggs takes the man down with a quick sniper shot.
Investigate Engineer Cell
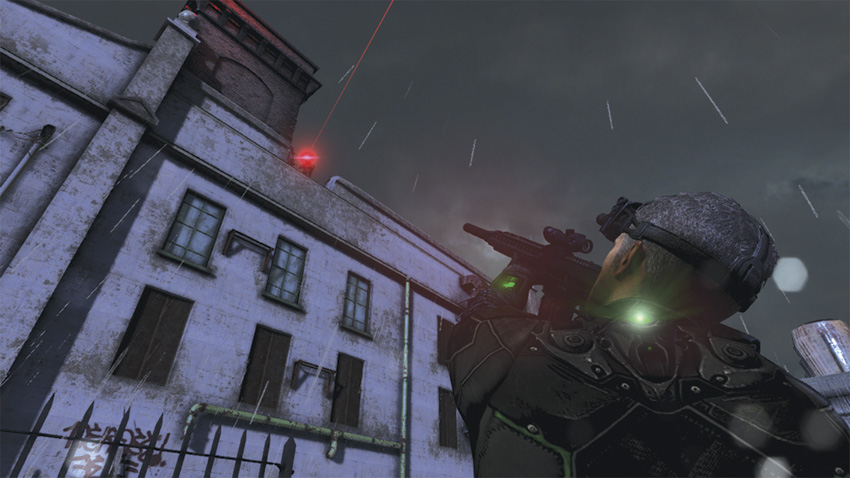
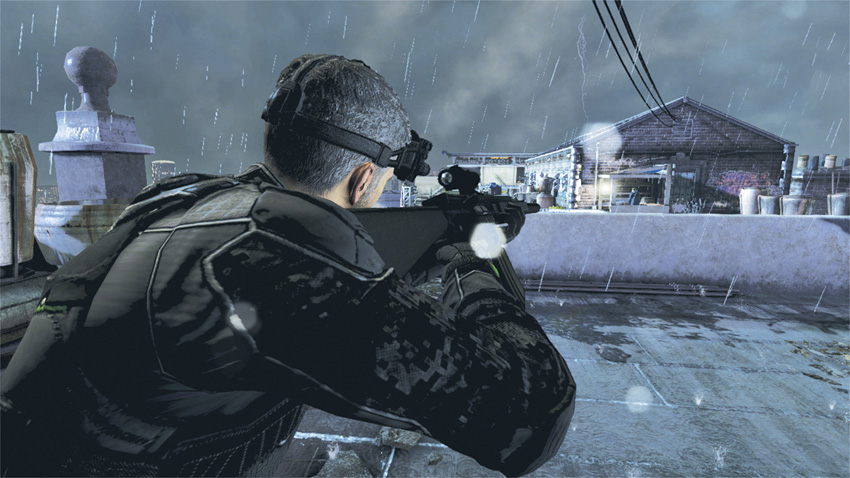
On solid footing once again, quickly look up and take aim on your next target. Fortunately the thunder and rain provided cover for the previous shot, or you would be caught dead to rights. Snipe him from where you’re standing. Continue on up and climb through the opening. You will now have a sweeping view of the entire rooftop. Directly across from your position is your next target: a lone guard that’s taking cover from the rain under a makeshift structure. After taking him out, sprint forward and drop down to the lower roof below.
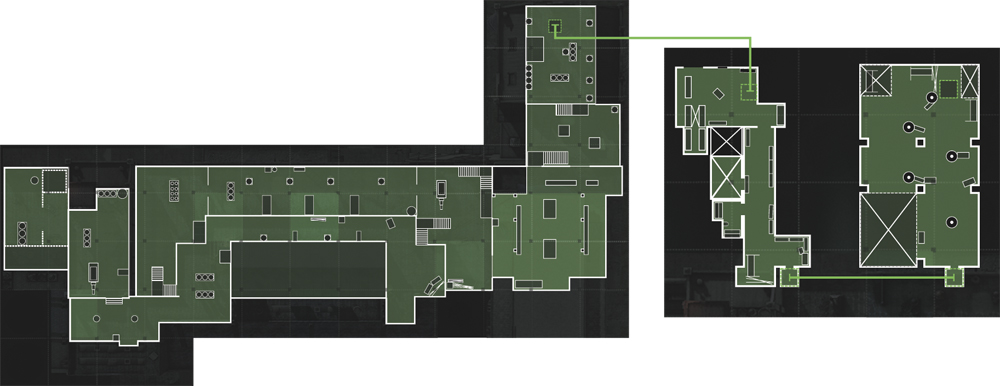
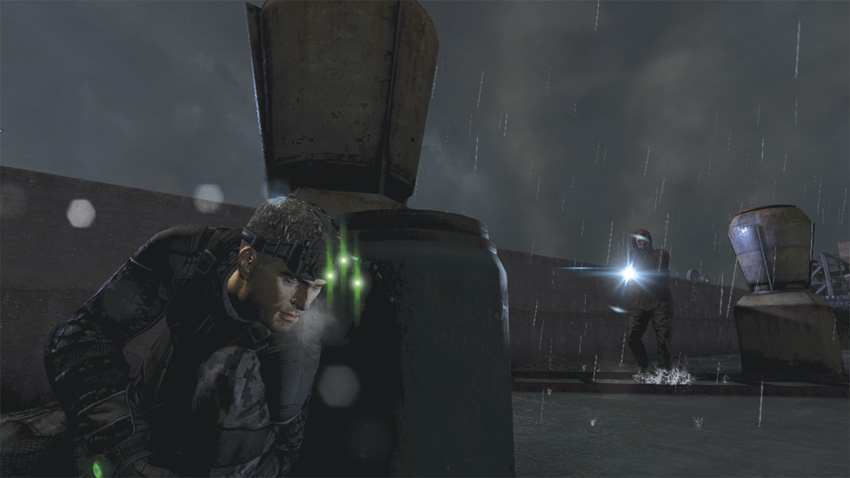
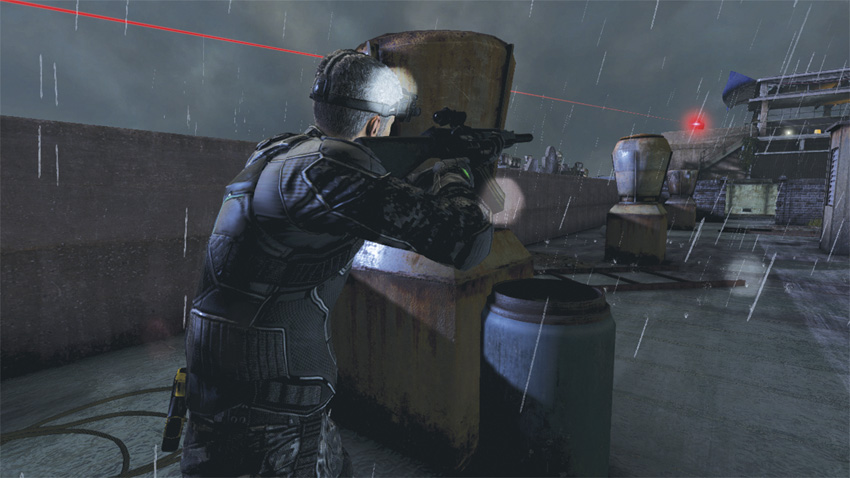
Move straight ahead and take cover along the wall to your right. In the distance and slightly above you is another sniper. However, of more immediate concern is the guard patrolling the area in front of you. Using cover, move in close to him and take him down with a lethal hand-to-hand strike. Remain in cover and take aim at the sniper and kill him with a sniper rifle round of your own. Head straight for his corpse and take up position on the gantry.
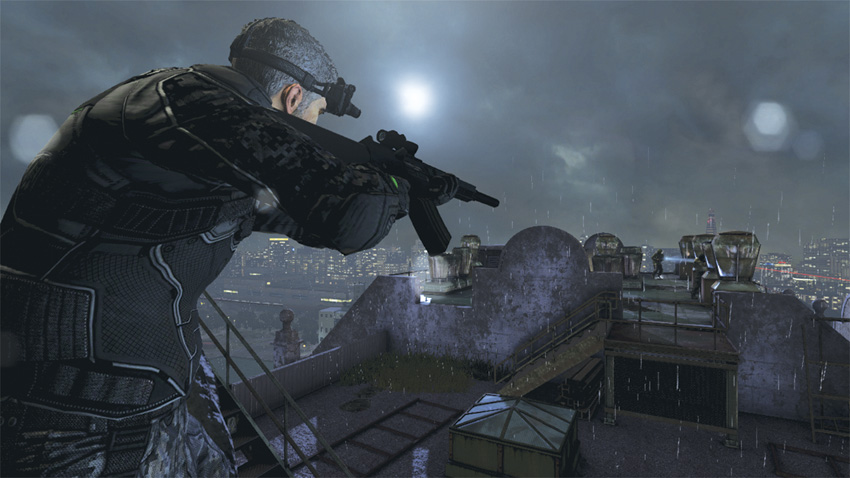
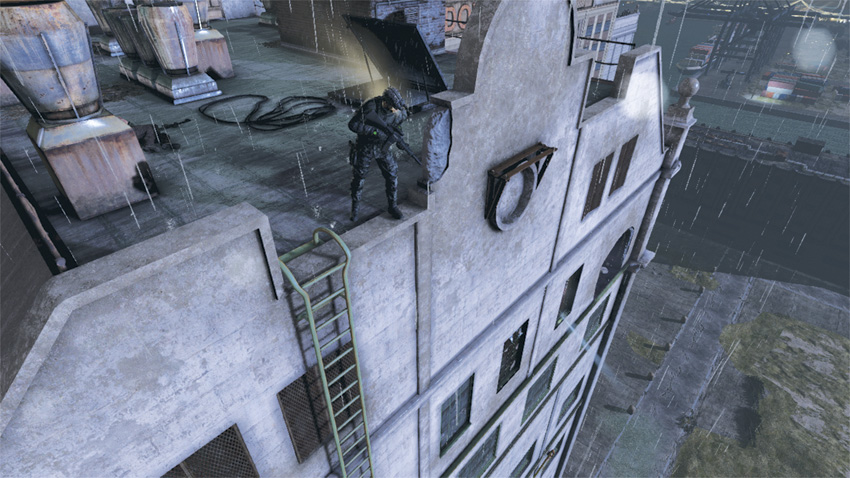
Rotate to your right so that you have a clear view of the adjacent rooftop. Looking through your sniper rifle scope, you should be able to spot two more hostiles. Simply look for their flashlight beams. Since they have no idea that you’re lurking about, you’re free to aim from your current spot and take them down safely from a distance. Two headshots later, the coast is clear. Leave your post and head toward the far right side of the roof, facing the London skyline, to find a metal ladder conveniently placed along the side of the building. Climb down the ladder to the lip below, and then move to your right to the hole in the wall. Peek inside to find your next target and take him down. The coast is now clear to enter the mill.
Abandoned Mill Interior: Living Quarters
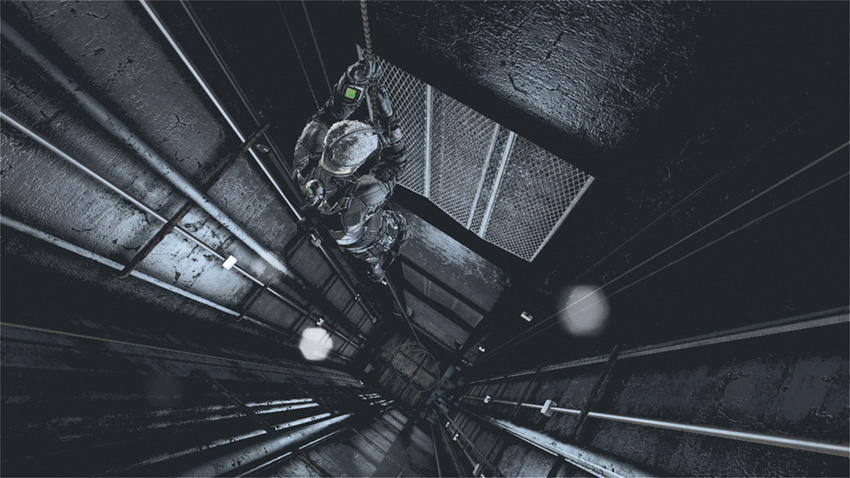
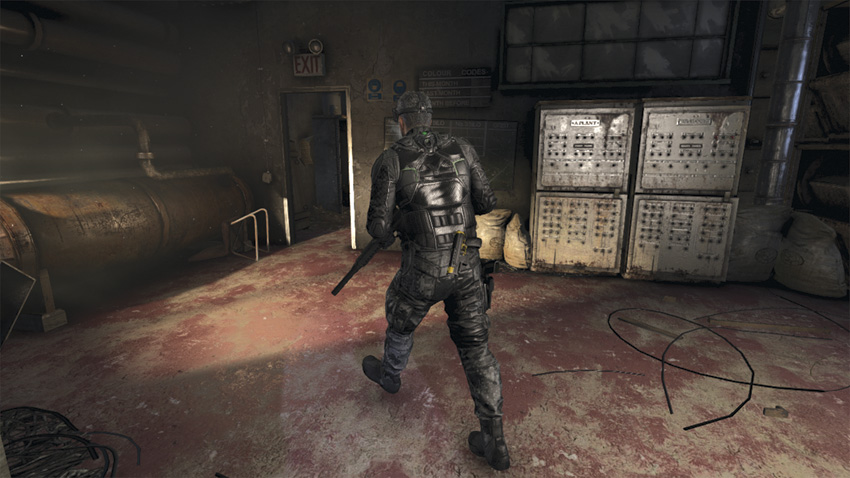
Once inside, walk toward the “Exit” sign in the left corner of the room and continue through to the next hallway. Follow this short passage to the far end, where you will find a darkened elevator shaft. Use the Fast Rope and take a quick trip down. As you approach the bottom, Grim chimes in that they identified the men Nouri sent to London. They were not just muscle, but specialists: chemical engineers, snipers, and tactical operatives. Worse still, SMI has been tracking the truck Briggs saw since it left the mill and it has hit every tunnel in the city, and the men have swapped vehicles more than once. There’s a pretty good chance the cargo they’re carrying is connected to the next attack.
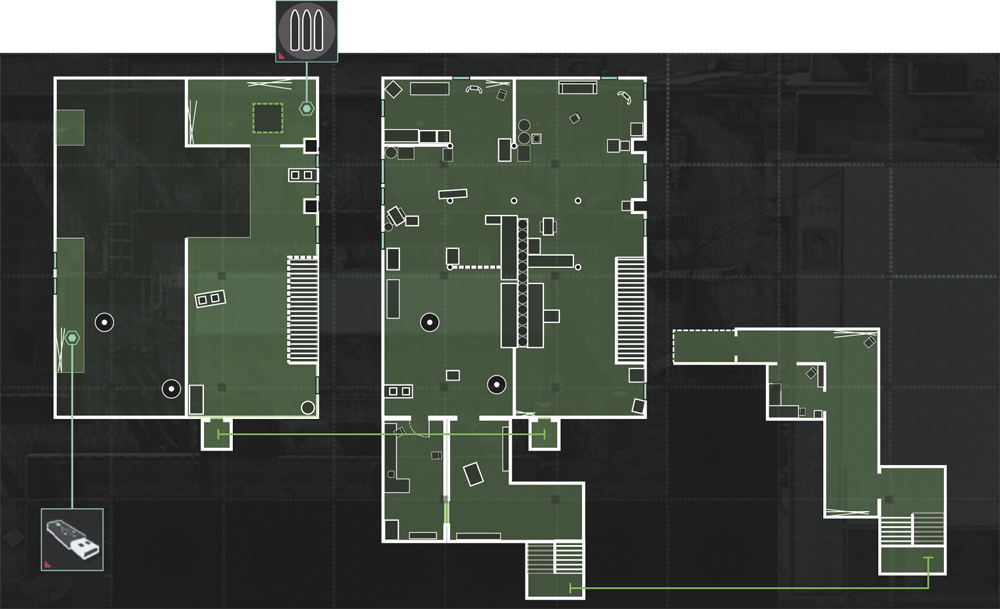
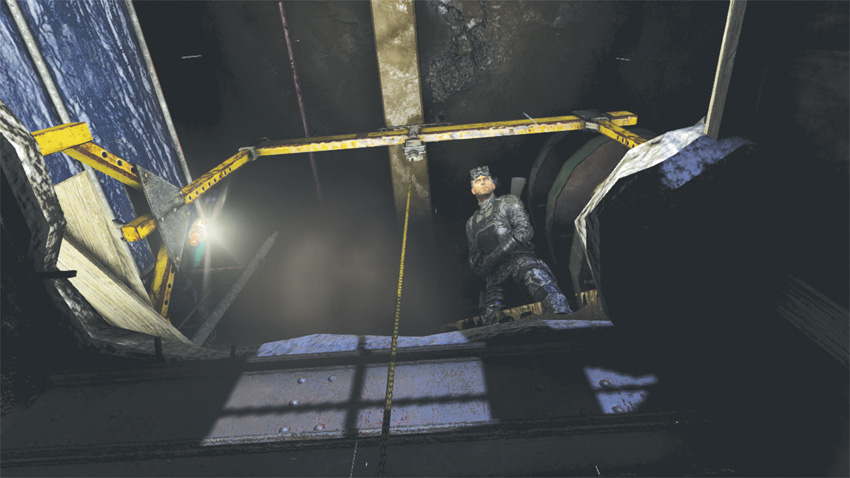
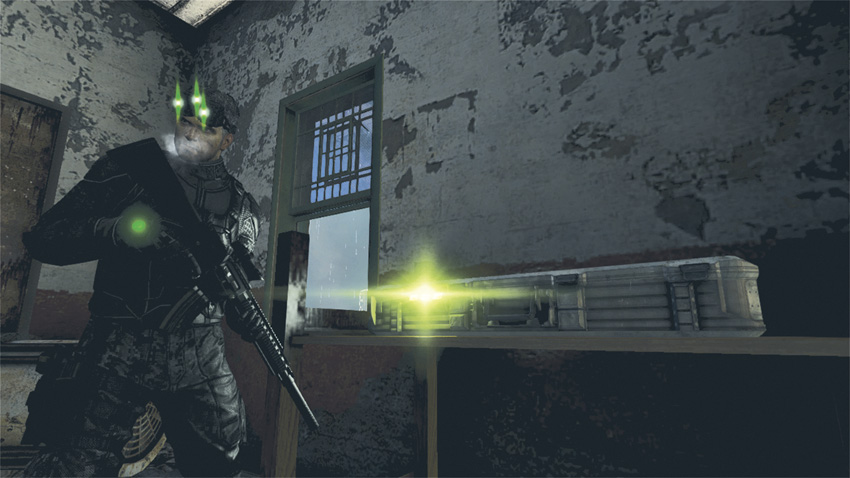
Without a moment to lose, exit the elevator shaft and head straight for the floodlights at the room’s far end to another Fast Rope leading down through a massive hole in the floor. Once at the bottom you find a Supply Cache to refresh your ammo and supplies, and you hear voices coming from beyond the tarp in front of you. You seem to have come across a makeshift living quarters. When you attempt to use your sonar goggles to see who is behind the tarp, you find that your vision is jammed thanks to a Drone Operator located somewhere nearby. Now is an excellent time to deploy your Tri-Rotor and perform a little recon to see how many hostiles there are.
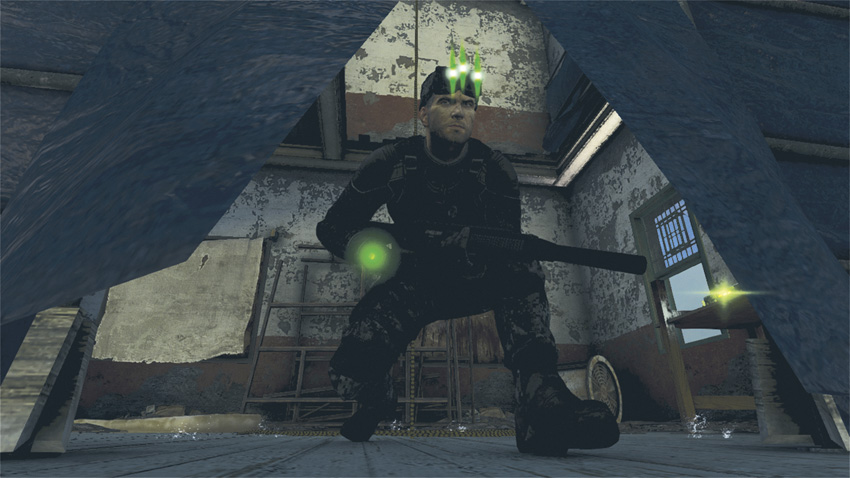
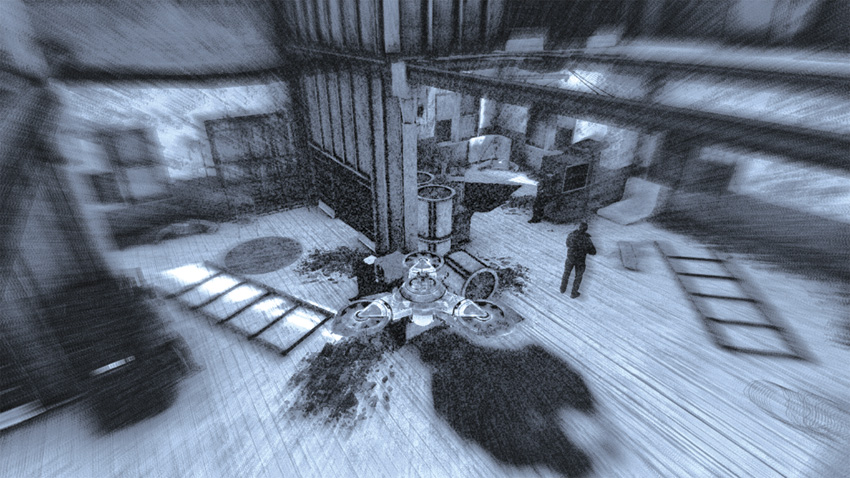
Once the gadget is online and ready for action, fly the Tri-Rotor out the window directly in front of you, orienting it so that it’s facing the side of the building. Move it to the left and reenter the building through the first open window. Maintain altitude and make a sweep of the floor, flying the device above the hostiles’ sight lines. Through the feed you see that there are six enemies in all, including a Drone Operator, who is located in an office in the far right corner. You will also see the Dead Drop on a ledge above the hostiles along the far wall to the right of the Drone Operator. Grab this last, after all the threats are eliminated. As soon as you have a good idea where everyone is, recall the Tri-Rotor and go to work.
First, replenish your ammo and supplies, and then check your Radar to make sure there aren’t any hostiles near you. Once it’s safe to proceed, cut through the tarp and slink through to the next room. Before beginning your assault, make the surrounding area as dark as possible. You can do this from your vantage point by shooting out the various light sources located around the room below.
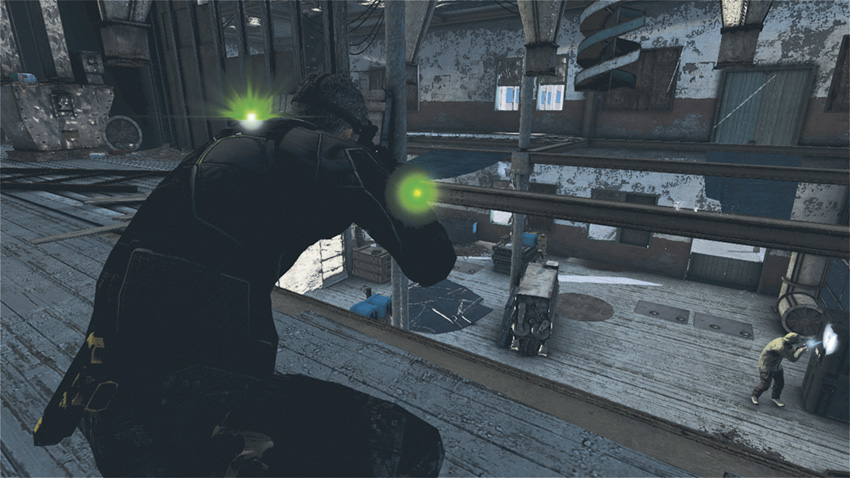
Start by extinguishing the source directly in front of you. Next, look down to spy the two floodlights immediately below you. Use your pistol to darken these with two silenced shots. Now equip your sniper rifle and look to your right, where you should see two more floodlights. Shoot out both of them. By now the hostiles sense that something isn’t quite right and begin a more vigorous search of the floor. Additionally, the Drone Operator begins sending out drones to aid in the effort.
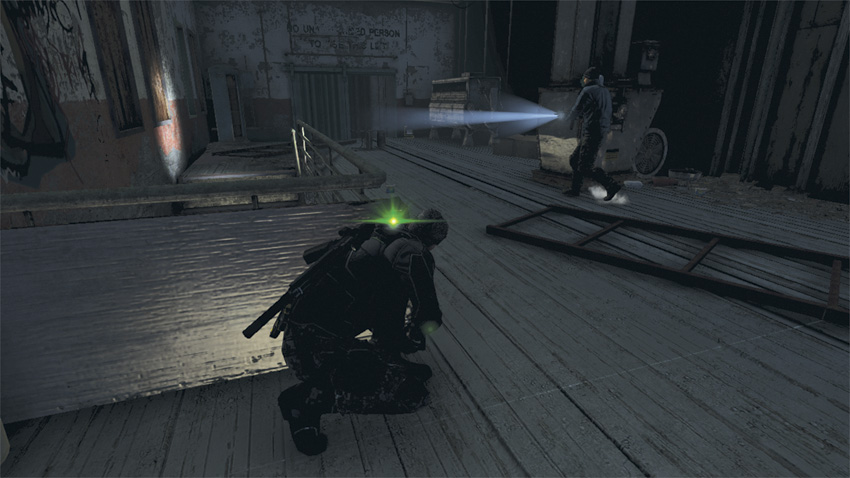
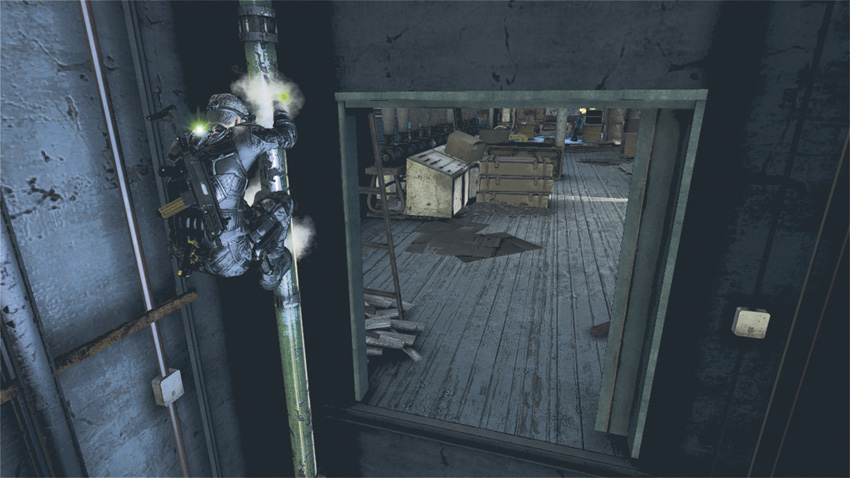
While crouching, move from your position and head straight for the back of the room, where you will find a barren elevator shaft. As you pass by the staircase on your left, take a quick peek over the railing to see if anyone is coming up. If someone is approaching, pause and wait for them, and then kill them with a hand-to-hand strike. Be sure to throw the body out the window so that no other hostiles will stumble over it, should more come looking. When it’s safe to proceed, drop down into the elevator shaft, grab the yellow pipe next to you, and slide down to the next floor. This also happens to be another Hidden Path.
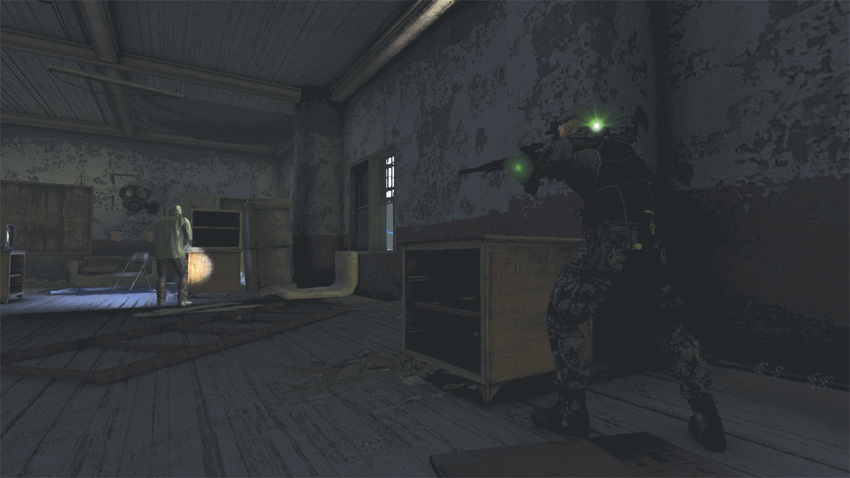
After reaching your destination, make sure the coast is relatively clear and then exit the elevator shaft. Crouch down and move forward to take cover behind the crate in front of you. If you encountered a hostile upstairs, that should leave three making a sweep in your general vicinity. Use your Radar to locate their positions, if you don’t have immediate visual confirmation, and systematically silence them.
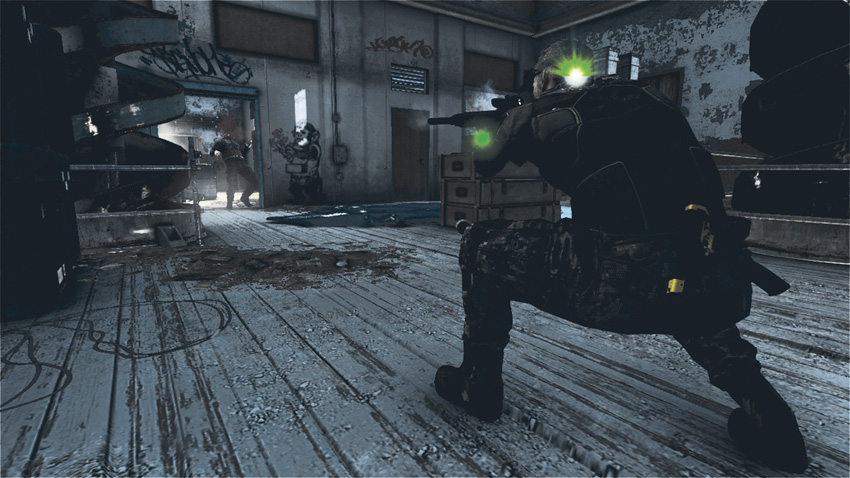
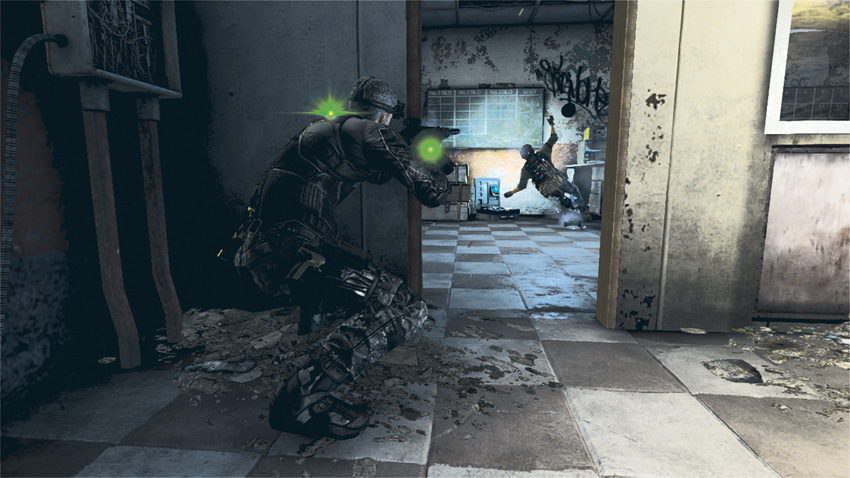
After the first three (or four) hostiles are eliminated, exit cover and proceed in the direction of the yellow power generator that is just beyond the crate. Look to your left: You should see your next two targets. Take them down and make a U-turn around the generator and other crates in your way. Just beyond the shiny tarp in front of you should be another hostile. Kill him and move in the direction of the Drone Operator, who is hunkered down below a desk in the office to your right. Remember to be on the lookout for Recon Drones, as they have a way of sneaking up on you when you’re not paying attention.
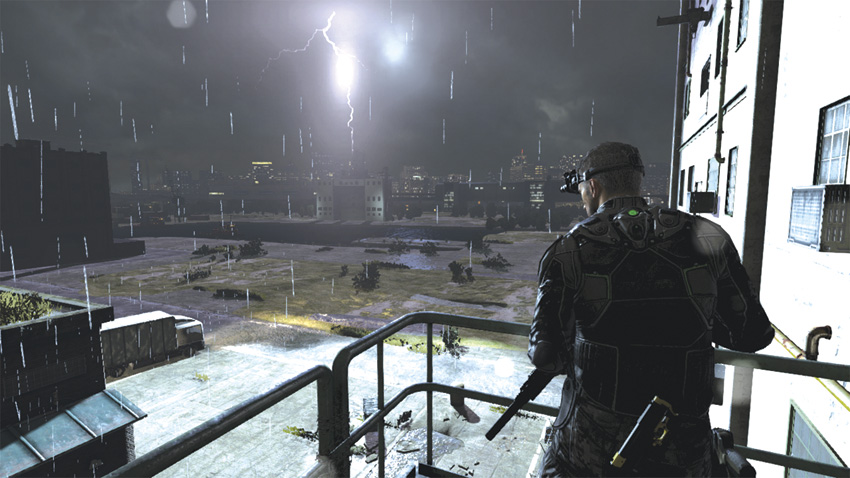
As soon as you eliminate the Drone Operator, go and grab the Dead Drop. Now follow the waypoint marker to a stairwell in back and walk down. At the bottom of the stairs is an office to your left containing a Supply Cache. Restock your supplies and continue following the waypoint marker until you end up on a metal gantry. As you reemerge into the cold, rainy London night, you notice another truck is leaving the mill. As Charlie starts tracking this vehicle, you tell the team you’re heading to the Loading Bay.
Reach the Loading Bay
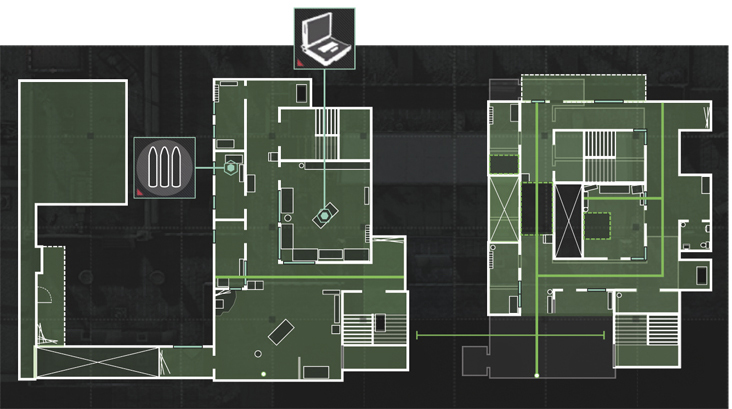
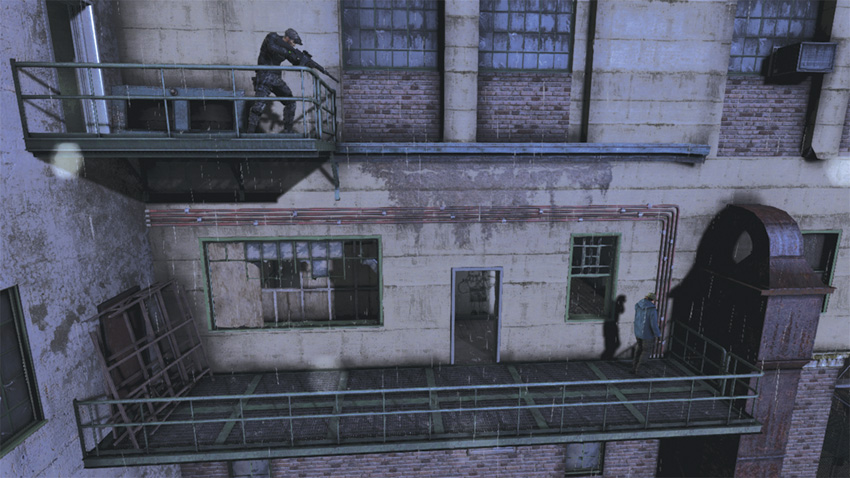
Looking down from your location, you spy a gent on the gantry below. Currently, he’s engaged in a phone conversation with someone inside. To get a better sense of what awaits you, hunker down and use your Tri-Rotor to sweep the area below to see how many hostiles await you.
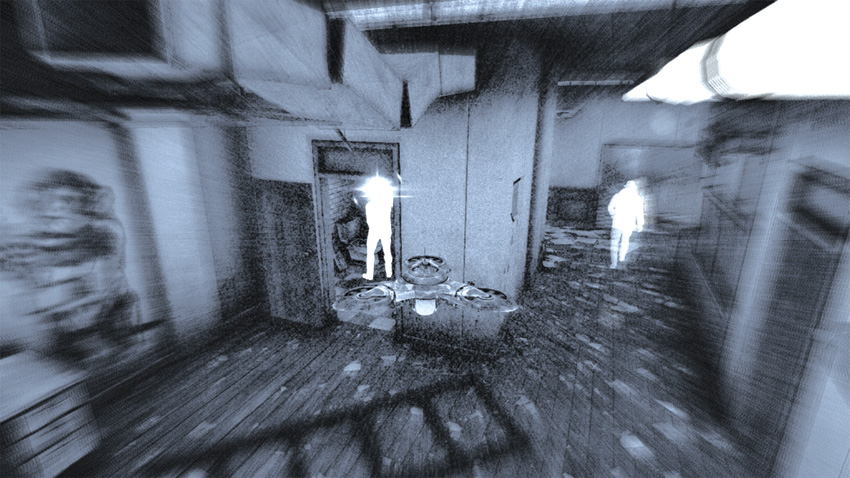
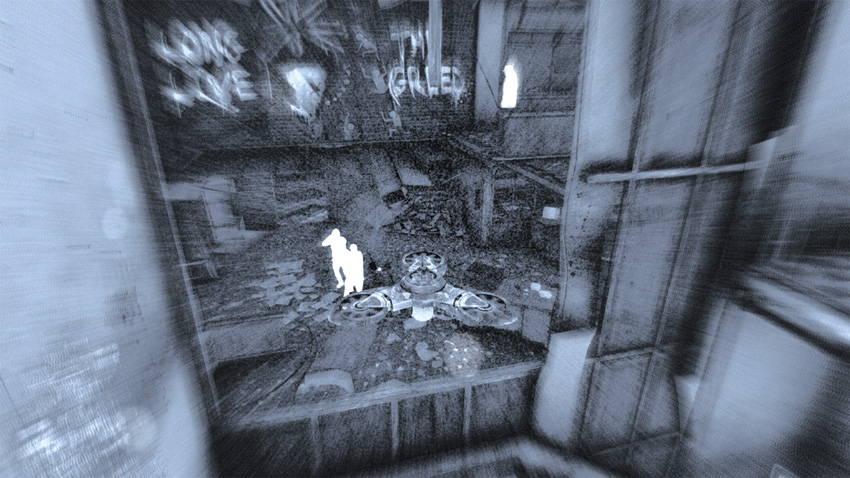
As soon as he finishes his conversation, launch the device, Mark him, and follow him, staying far enough behind so as not to be detected. Working your way around the hall to your left, make note of the stairwell to your right and another target walking toward you. Mark him and continue on. Fly the Tri-Rotor as close to the ceiling as you can without bumping into anything; you should see another stairwell going down in front of you. Go into the stairwell and look to your right to see two more hostiles standing in front of what looks like an oil drum with a fire burning inside. Just above them you see the hostile you are following.
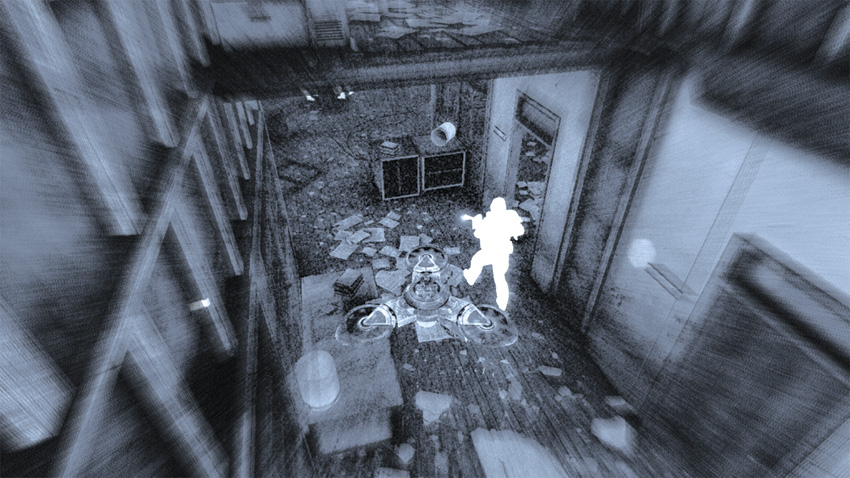
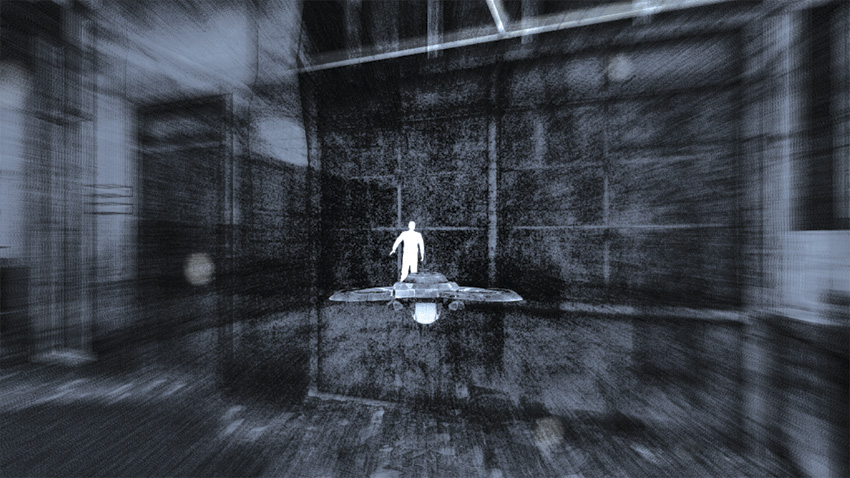
Continue flying the Tri-Rotor down the stairwell, and then turn to your left. Maintain altitude just below the ceiling, follow the pipes around to the right, and proceed down the next hallway. A Heavy Infantry soldier is patrolling the area. Continue moving forward. You notice rooms off to your left and an office to your right, which contains another hostile. At the end of the hallway is another staircase, this one leading up near your starting point. Recall the gadget and get down to business.
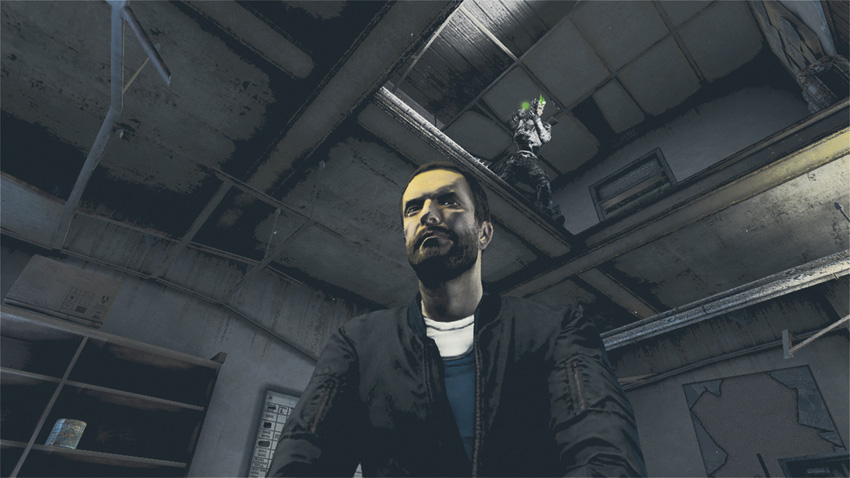
Your first target is the hostile you tailed with the Tri-Rotor. After taking a little stroll, he returned to the balcony. Check your Radar to see if any hostiles are nearby. When the coast is clear, drop down and make the kill. Proceed inside and follow the same route you navigated while flying the Tri-Rotor. You should see a Mark icon floating nearby, indicating the hostile you tagged earlier. Jump up to the pipes affixed to the ceiling and inch forward. Create darkness by shooting out the floodlight to your left, and wait for your next target. Once he’s in range, execute a Hanging or Death From Above kill. Drop down to the floor and enter the door on your right. Look through the gaping hole in the floor to see a third hostile and the Blacklist Laptop. Eliminate the target, and then hack the laptop.
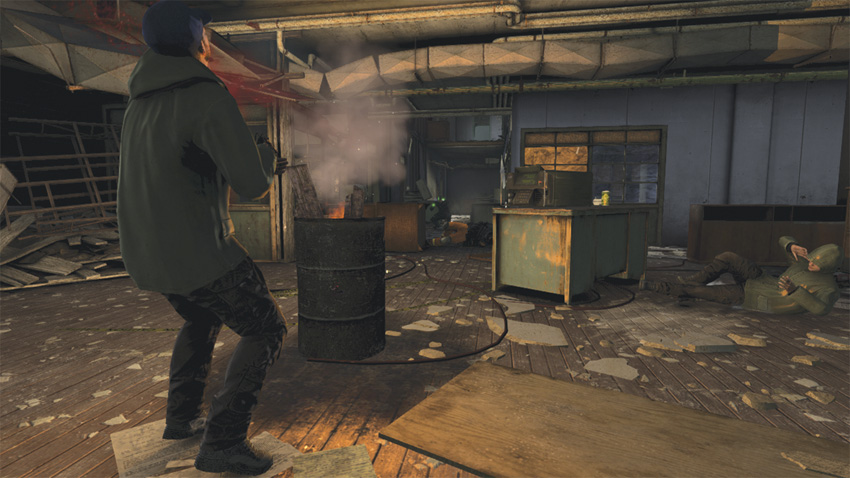
Three more hostiles remain, including the Heavy Infantry soldier. The two hostiles that you saw standing near the burning oil drum during your surveillance should still be there. Mark them, equip your sniper rifle, and wait for the Heavy to pass by your location, heading in their direction. Quietly open the door and target the Heavy. In one fluid motion, take down the dangerous hostile and activate your Execute Ability to eliminate the two standing near the drum. Head past the dead men and exit the area. In the next room, climb over the window and move to your right toward the opposite wall. Climb up the railing and go through the door.
Plant Tracker in Truck
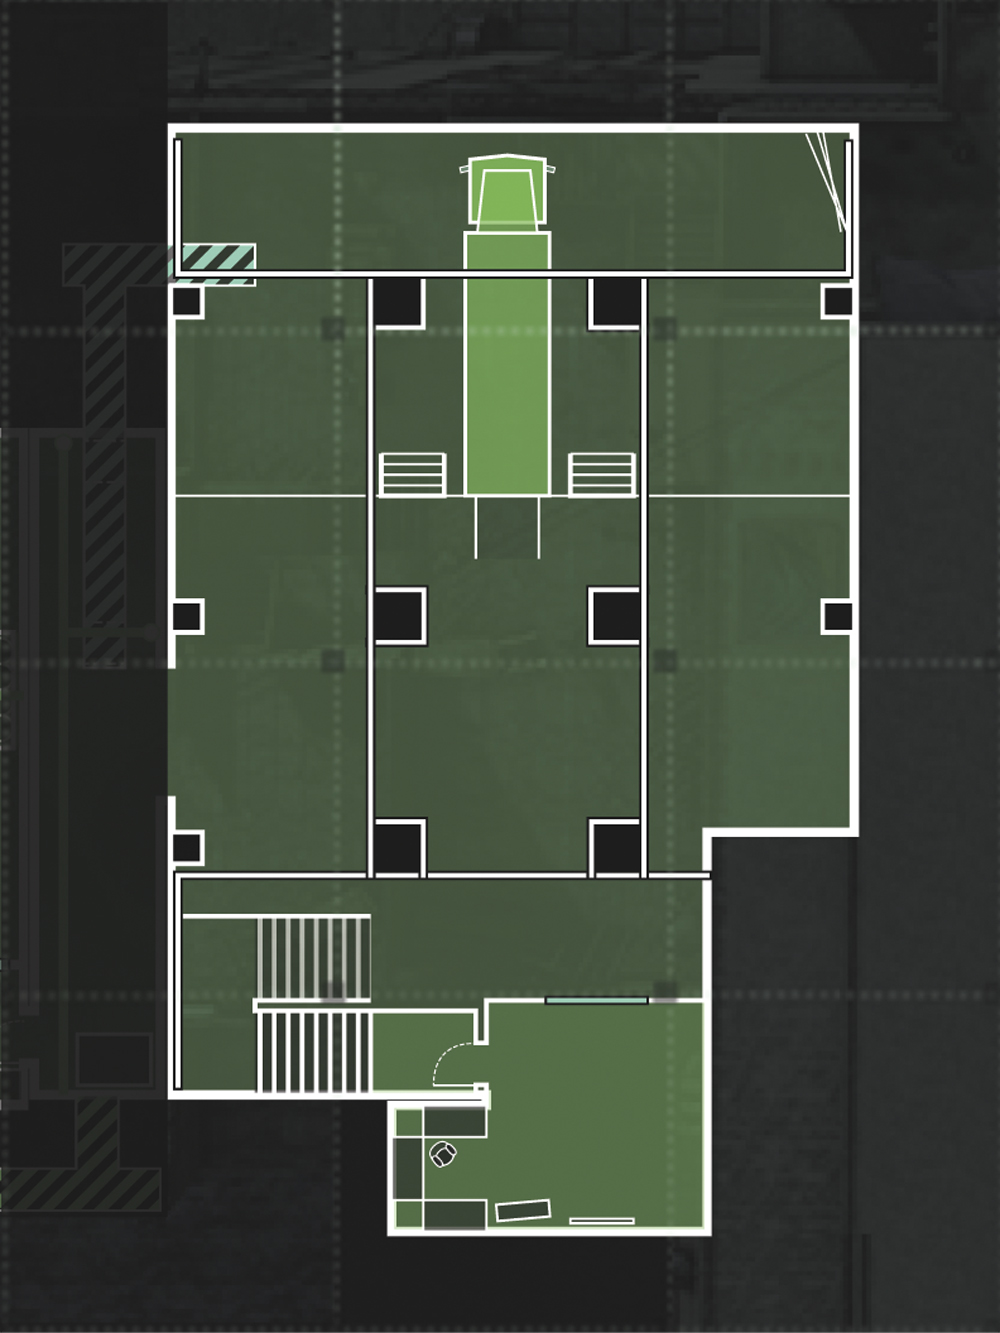
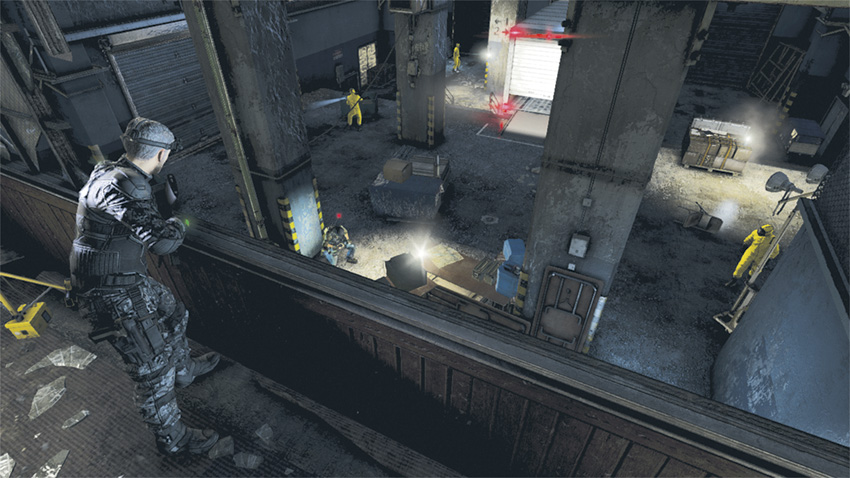
Looking through the office into the loading bay, you see three men in HAZMAT suits and one Drone Operator. The key to successfully planting the tracker is to get inside the truck undetected, while leaving all the hostiles untouched. Getting past the workers won’t be easy. To even the odds and increase your chances for success, begin by shooting out the floodlights to your right. For good measure, shoot out the floodlight next to you in the office.
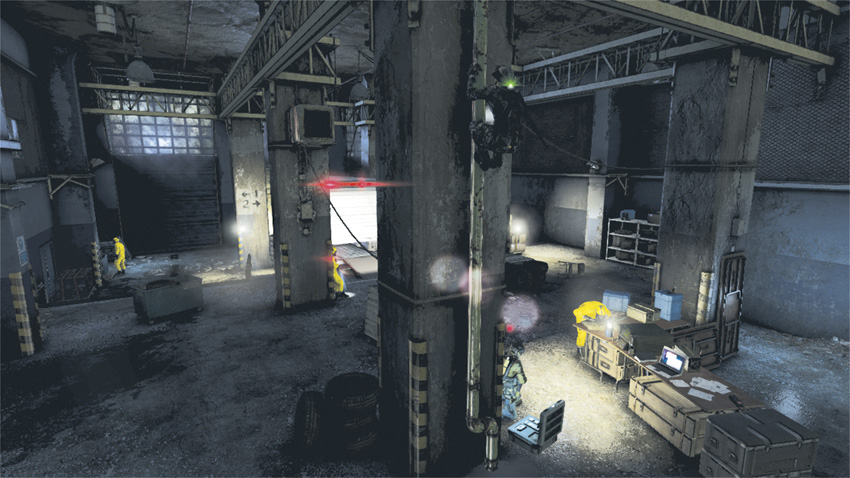
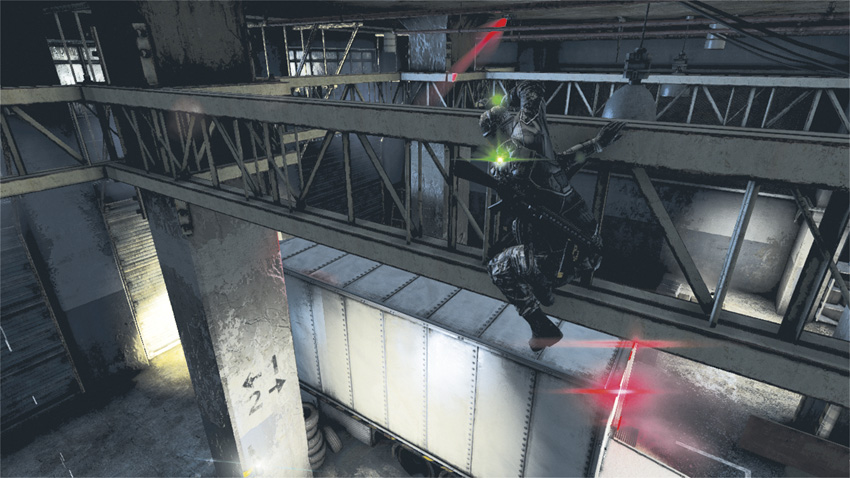
You have two options for leaving the room: through the window or through the door to your left. Take the door. Immediately drop into a crouch and head down the first flight of stairs. As you reach the landing, head for the yellow pipe in front of you and climb up. Move to the right along the ledge and transition to the metal support beam on your right. Move to your right a couple more feet, and then climb up and over to the opposite side. Continue to your left, making your way to the front of the truck, which is below you. Position yourself over the roof of the truck and drop down on top of it. Move to the passenger’s side of the vehicle and drop down to the ground. Make your way to the rear of the truck, and when no one is looking go inside.
VX Nerve Gas
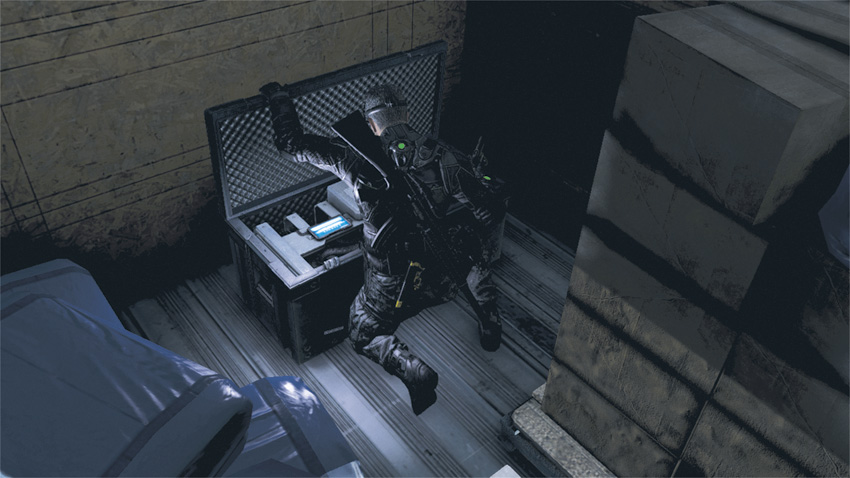
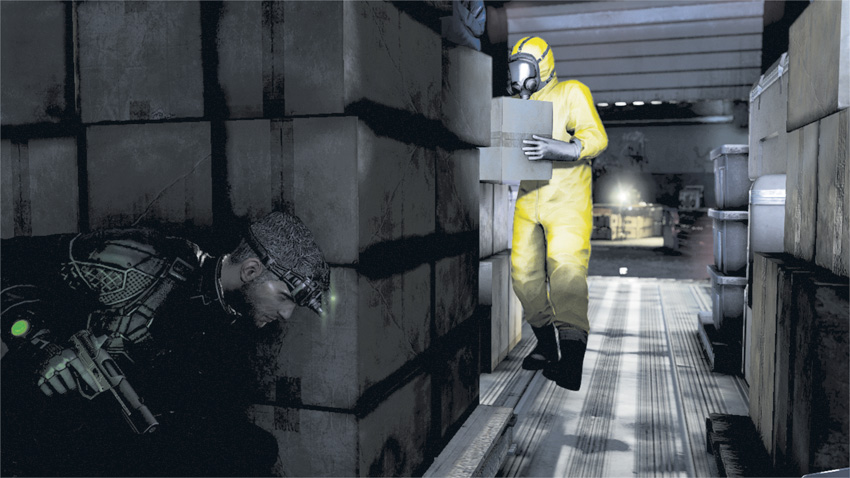
As you open the container to plant the tracker, Grim chimes in to tell you that the manifest you found contained components to make a VX nerve gas derivative chemical weapon. By opening the bomb-containment unit, you put yourself at risk for passive exposure, and it doesn’t take much to receive a lethal dose. However, the only way the mission is a success is if they don’t locate the tracker. As you exit the truck, Charlie informs you that he’s been scrubbing calls funneling through a cell-phone tower near the mill, and one particular call proves very revealing. After listening to a snippet of conversation, Grim relays that the SMI pulled a partial-recognition hit identifying the caller as Sadiq. There’s a good chance he’s somewhere in the facility. After receiving the location on your Opsat, you head out to look for the Blacklist mastermind.
Locate Sadiq
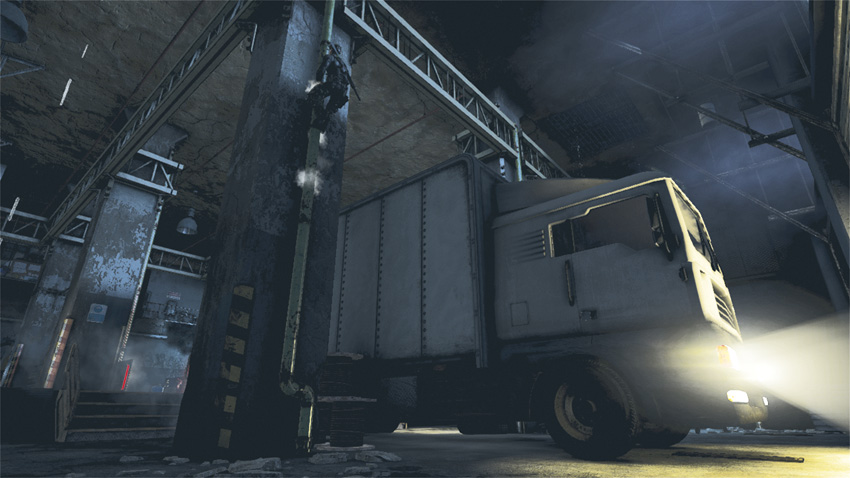
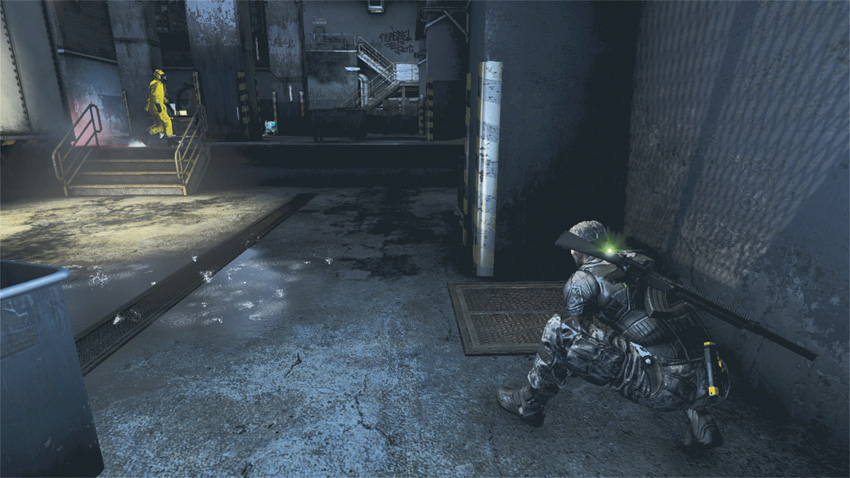
The first thing is to leave the loading bay alive, and without using lethal force. After exiting the truck, walk toward the stone column near the front of the truck. On the side facing the garage, you will find a yellow pipe is affixed to it. Mount the pipe and climb to the top. Grab ahold of the metal girder at the apex, and then work your way over to the wall to your right. Move over a foot or two and slide down the yellow pipe to the floor.
Once on the ground, open the grating on the floor directly in front of you and enter the vent below. Follow the crawl space up and around to the left, and exit up through the last grate. Starting in a crouch, follow the waypoint marker to the back of the room and leave through the door. You’re now weapons-free again.
Chemical Lab
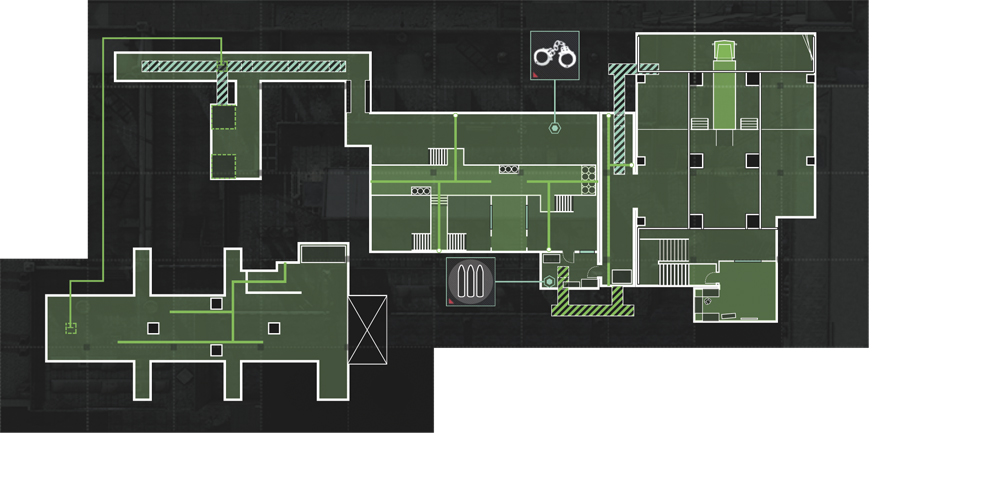
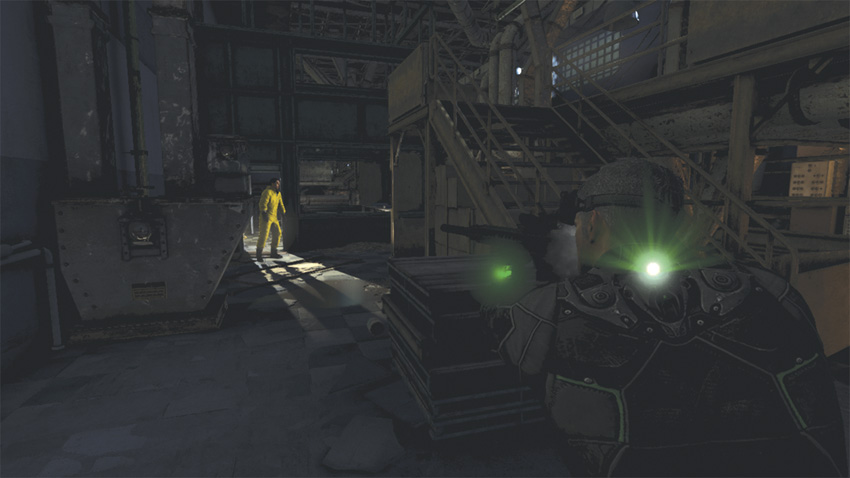
As you begin your search for Sadiq, you are forced to go through the heart of the operation: an engineer chemical lab. To make matters worse, you begin to feel the effects of the exposure to the VX nerve gas from the truck as your vision becomes slightly blurred. First, shoot out the floodlight in the room and restock your supplies. Exit the room through the broken windowpane, but try not to create too much noise by stepping on the shattered glass on either side of it.
In front of you is a High Value Target. Leave him alone for the moment; instead, crouch and move to your left, where a hostile is standing in a doorway. It’s possible that a second hostile is behind him, approximately five feet away. Equip your sniper rifle and take them both down. If the second target moves away, let him go and deal with him later. Now, head back toward the High Value Target and take cover behind the stack of wooden pallets. Using Attract, get his attention, and then tag him and bag him when he is within range.
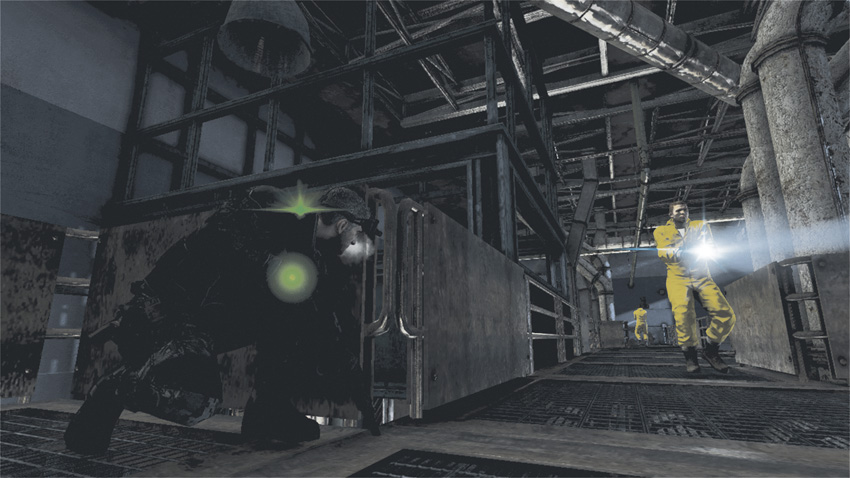
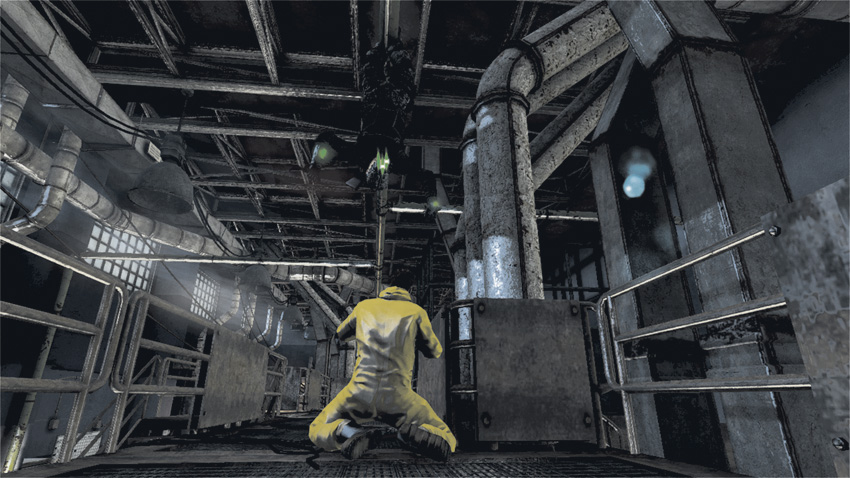
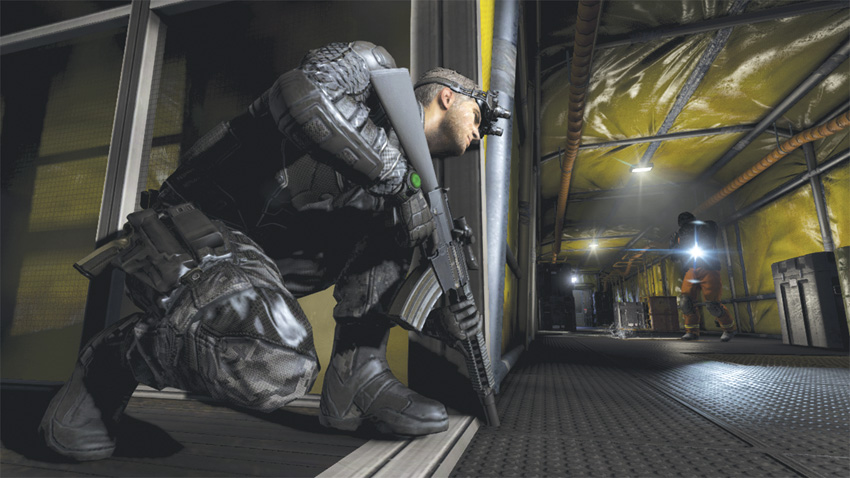
Next, move up the stairs to your left to the catwalk above and immediately take cover. Look at the Radar to see two more hostiles. Quickly take down the first one. Then, still in a crouch, move out of cover toward the second hostile. As you get close to your next target, avoid detection and jump up to the yellow pipe above you. Continue forward, and, when prompted, perform a Death From Above attack. Continue a few more feet to the end of the catwalk, and then climb over the railing and drop to the ground. Before walking through the corridor in front of you, check your Radar. Around the corner to the left is another hostile: a Heavy Infantry soldier. Wait for him to come into view and take him down with a sniper rifle blast to the head. Move forward and take an immediate left into the corridor.
Look down in front of you and walk to the grate in the floor. Open it, drop down into the vent below, and head toward the opening in front of you. As you move forward, Charlie tells you that your vitals look bad. Briggs is willing to move in, but you need him to cover your exit. Sadiq is the priority, not you. Grim tells you a decontamination station is blocking your route, which could mean difficulty when you arrive at your destination.
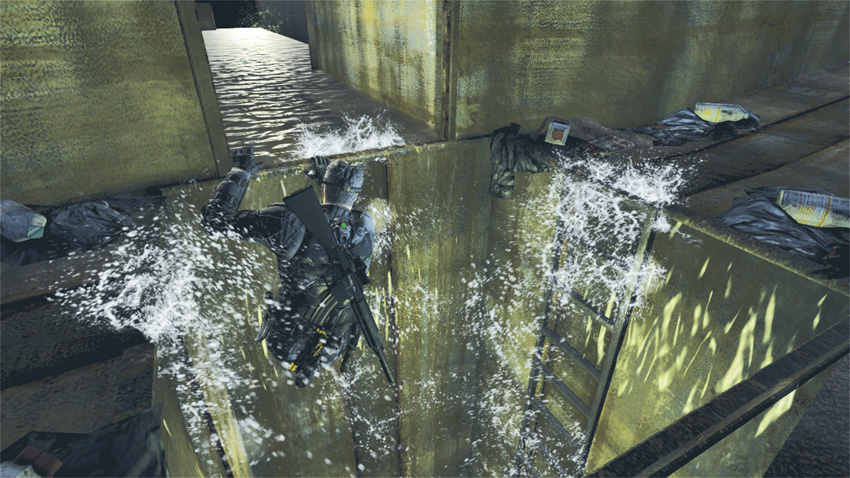
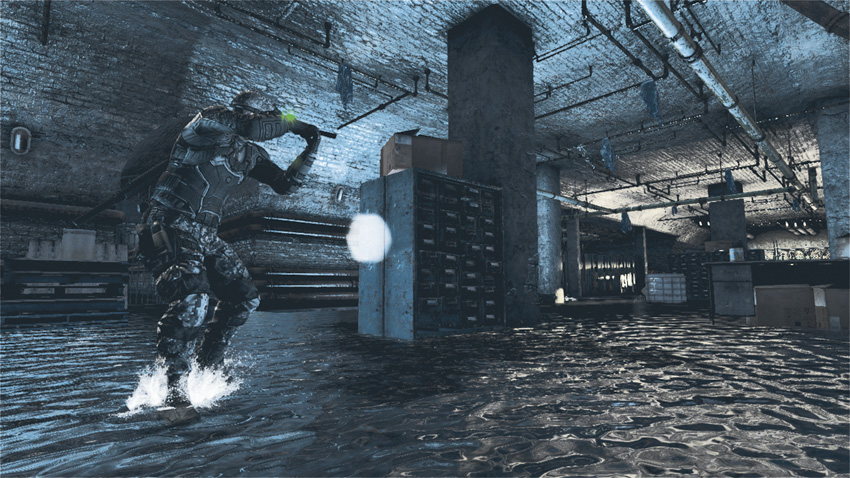
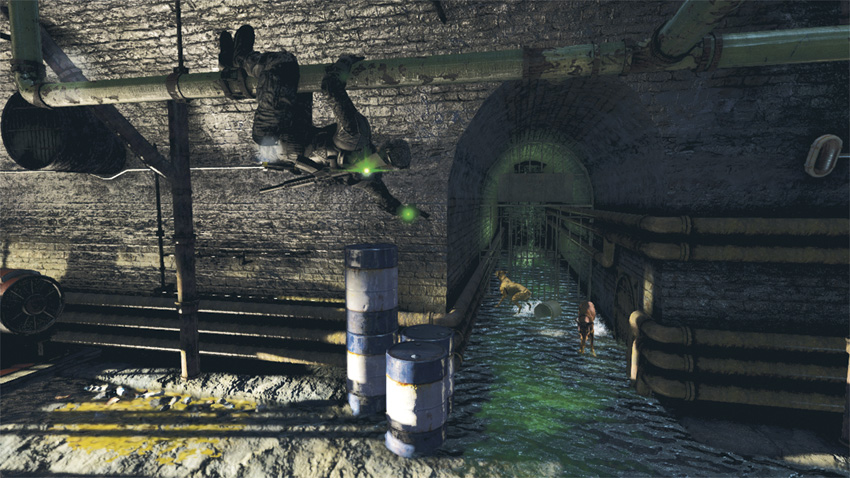
Reaching the opening, drop down, hold onto the lip, and maneuver to the opposite side. Grab the ladder in front of you and slide down. You drop into an area that is partially flooded, and water is leaking from the ceiling above you. Close by, you hear dogs sniffing, growling, and barking. Checking your Radar, you see that there are three of them down here. Walk along the right side of the room, jump up to the yellow pipe above you, and move forward. When the canines are in range, put them all down with three shots from your pistol, and then drop down to the floor. Move to the back of the room and go down the hallway to your right. At the far end, begin climbing up the wall using the rungs found in the concrete. As you head skyward, you really start to feel the effects of the VX gas: Your vision becomes increasingly blurred and you start breathing hard. At the top you fall to the floor.
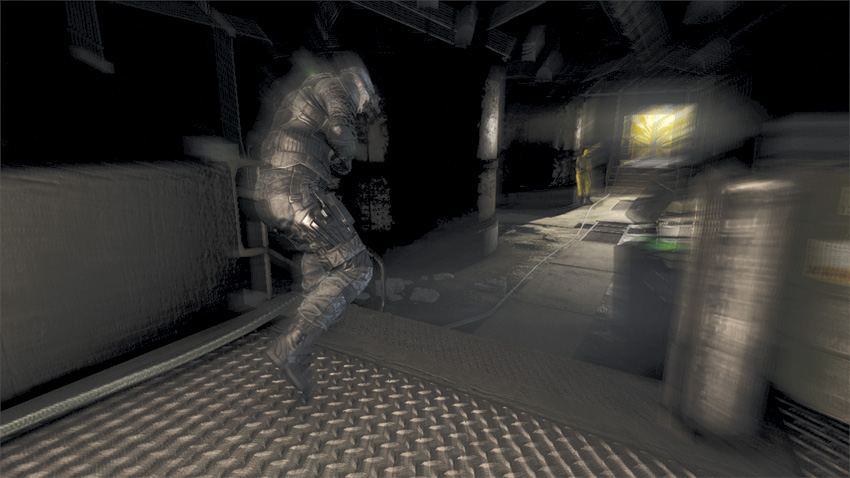
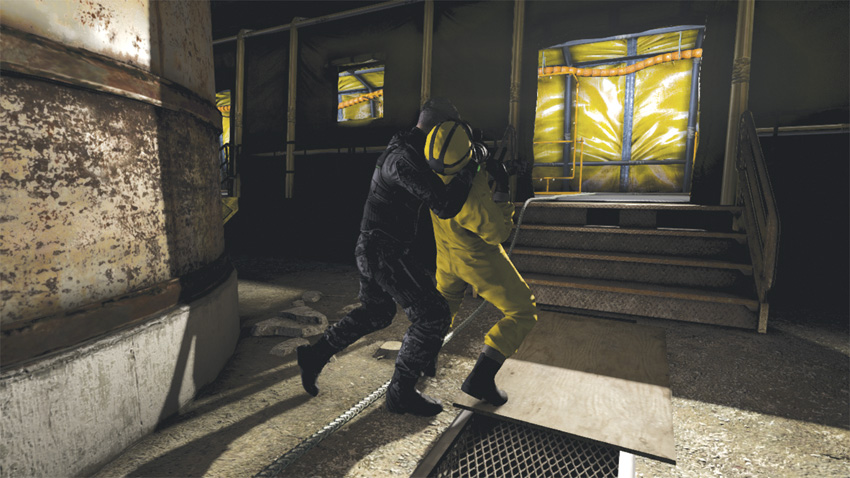
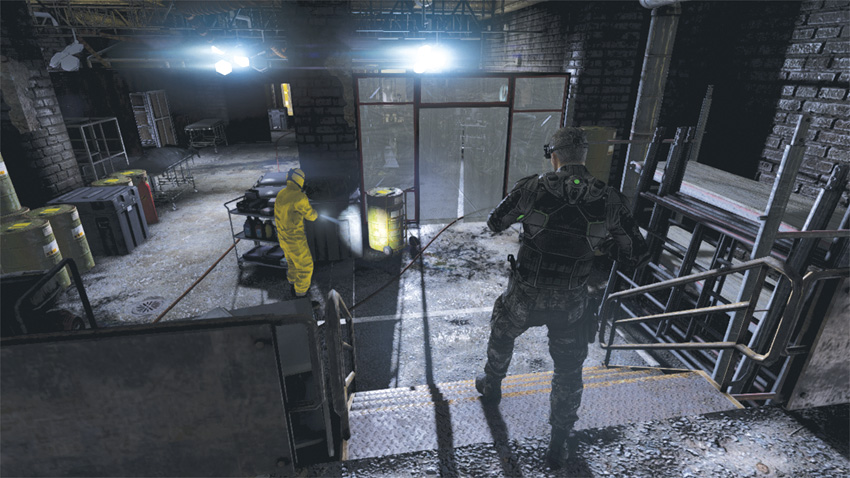
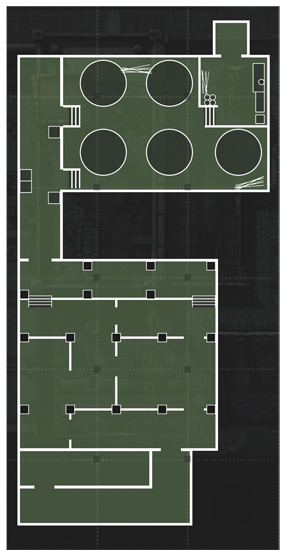
The exposure to the VX gas is really taking its toll now. Grim fears for your life, and knowing you need help, Briggs leaves his post to come and get you. After you rise to your feet, start walking forward in the direction of the waypoint, through the decontamination station. You are unable to use any weapons or gadgets, and your Radar is out of commission. However, you can still perform hand-to-hand takedowns by approaching hostiles from behind. Within minutes of staggering your way through the chemical lab, and before reaching the waypoint, you pass out. You awaken, seated in a chair with your hands tied behind your back, face-to-face with Sadiq.
Extract with Briggs
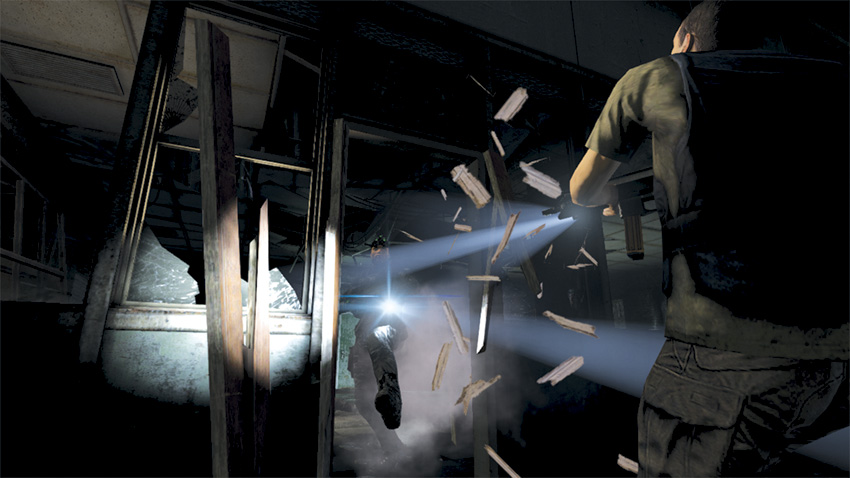
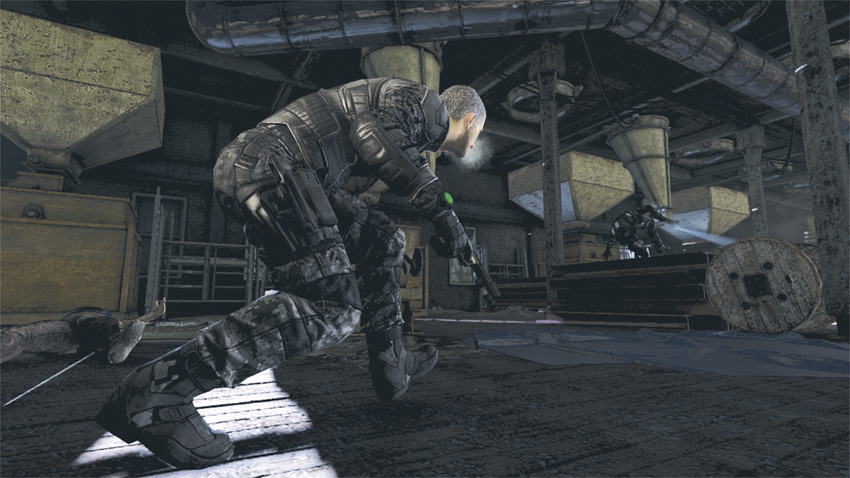
Following close behind Briggs, you are taken by surprise as Commandos drop through the ceiling. Escape isn’t going to be easy. Briggs takes cover and starts firing at the Commandos, but he can’t take them all by himself. It’s time to take action.
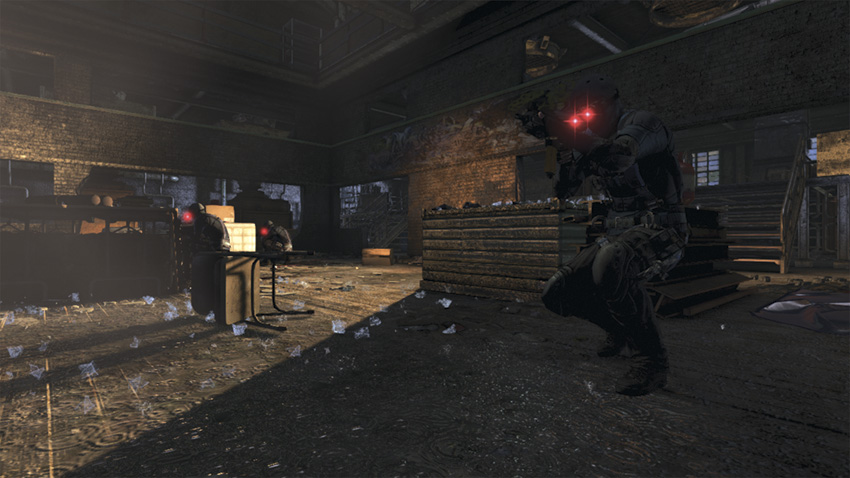
From cover, move forward, shooting out the lantern in front of you. Hop over the wall, take cover next to the container to your left, and peek around the corner to locate your first target. Silence him using a hand-to-hand strike and retake cover in the same spot. Make sure the Commandos are actively engaged in combat against Briggs, and then quickly leave through the opening in the back of the combat zone.
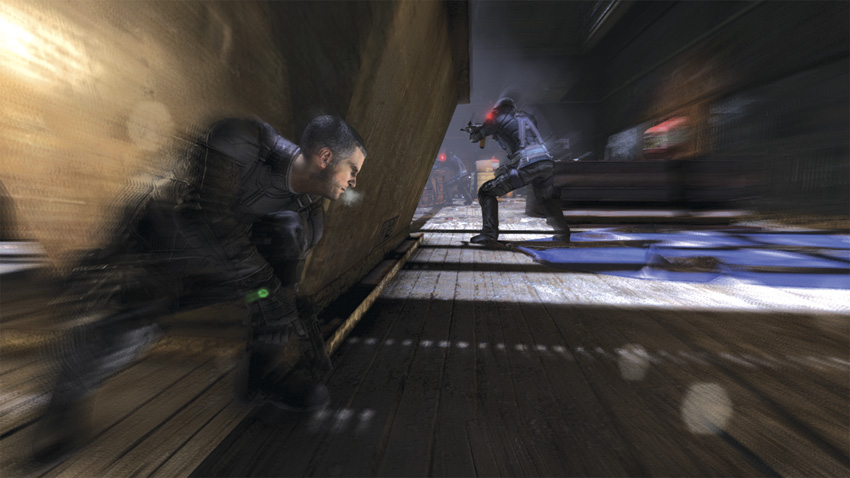
Crouch and go underneath the platform in front of you, then move to your left. Exit through the first opening to your left and approach the Commandos from behind. Using your Radar, locate the remaining three hostiles and eliminate them with hand-to-hand strikes. Once they are all dead, regroup with Briggs and head upstairs.
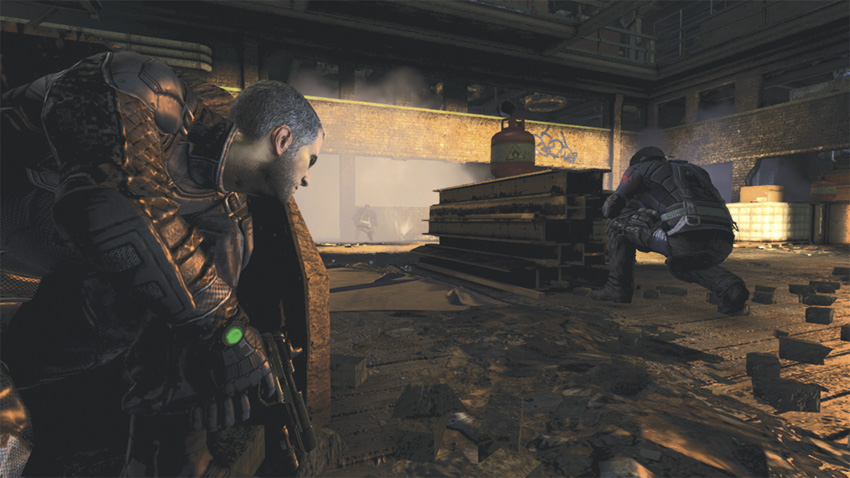
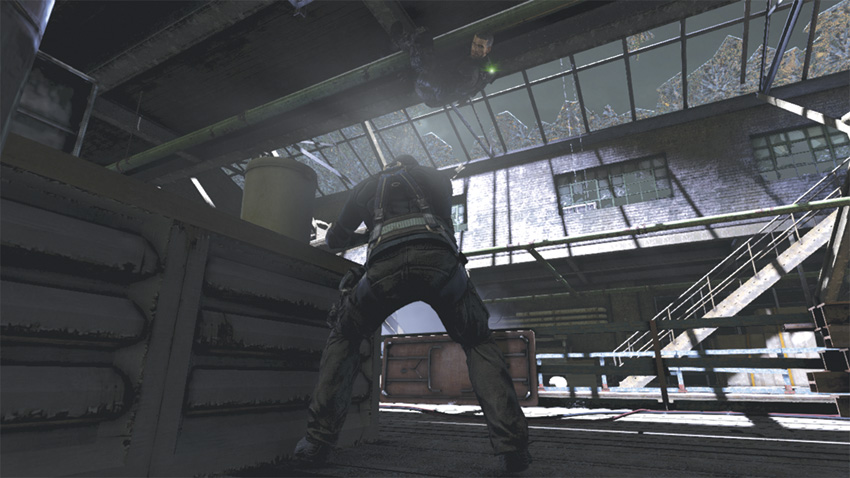
Three more Commandos are waiting for you near the exit. Your blurred vision and ability to remain steady while firing your weapon make this encounter difficult; you must strike the first hostile from above. While Briggs provides cover fire, jump up to the yellow pipe above you and move toward the Commando that is taking cover near the back of the room on the right side. When in range, perform an Aerial Takedown. Even though it wasn’t a lethal strike, he won’t be rejoining the fight. Hop back up to the pipe and slither to the two remaining hostiles. Let Briggs kill the Commando on the center walkway, and move toward the other Commando on the left side of the room. Get in range and perform an Aerial Knockout. Drop to the ground, head for the back door, and make your escape.