
Tom Clancy's Splinter Cell Blacklist Guide Walkthrough Campaign
Mission 10: Site F Denver, USA
Recommended Loadout:
- Gadgets: Sticky Noisemaker, Flashbang, Tear Gas
- Goggles: Sonar Pulse
- Ops Suit: Nanopolymer Coating (Torso), Covert (Gloves), Nanopolymer Coating (Pants), Nanopolymer Coating (Boots)
- Pistol: 5.7 USG with Armor Piercing Ammo and Holo Sight Optics
- Alternate Weapon: SR-25 Sniper Rifle with Extended Mag and Armor Piercing Ammo
- Special Weapon: Crossbow
First Stop: The Fake Weather Station
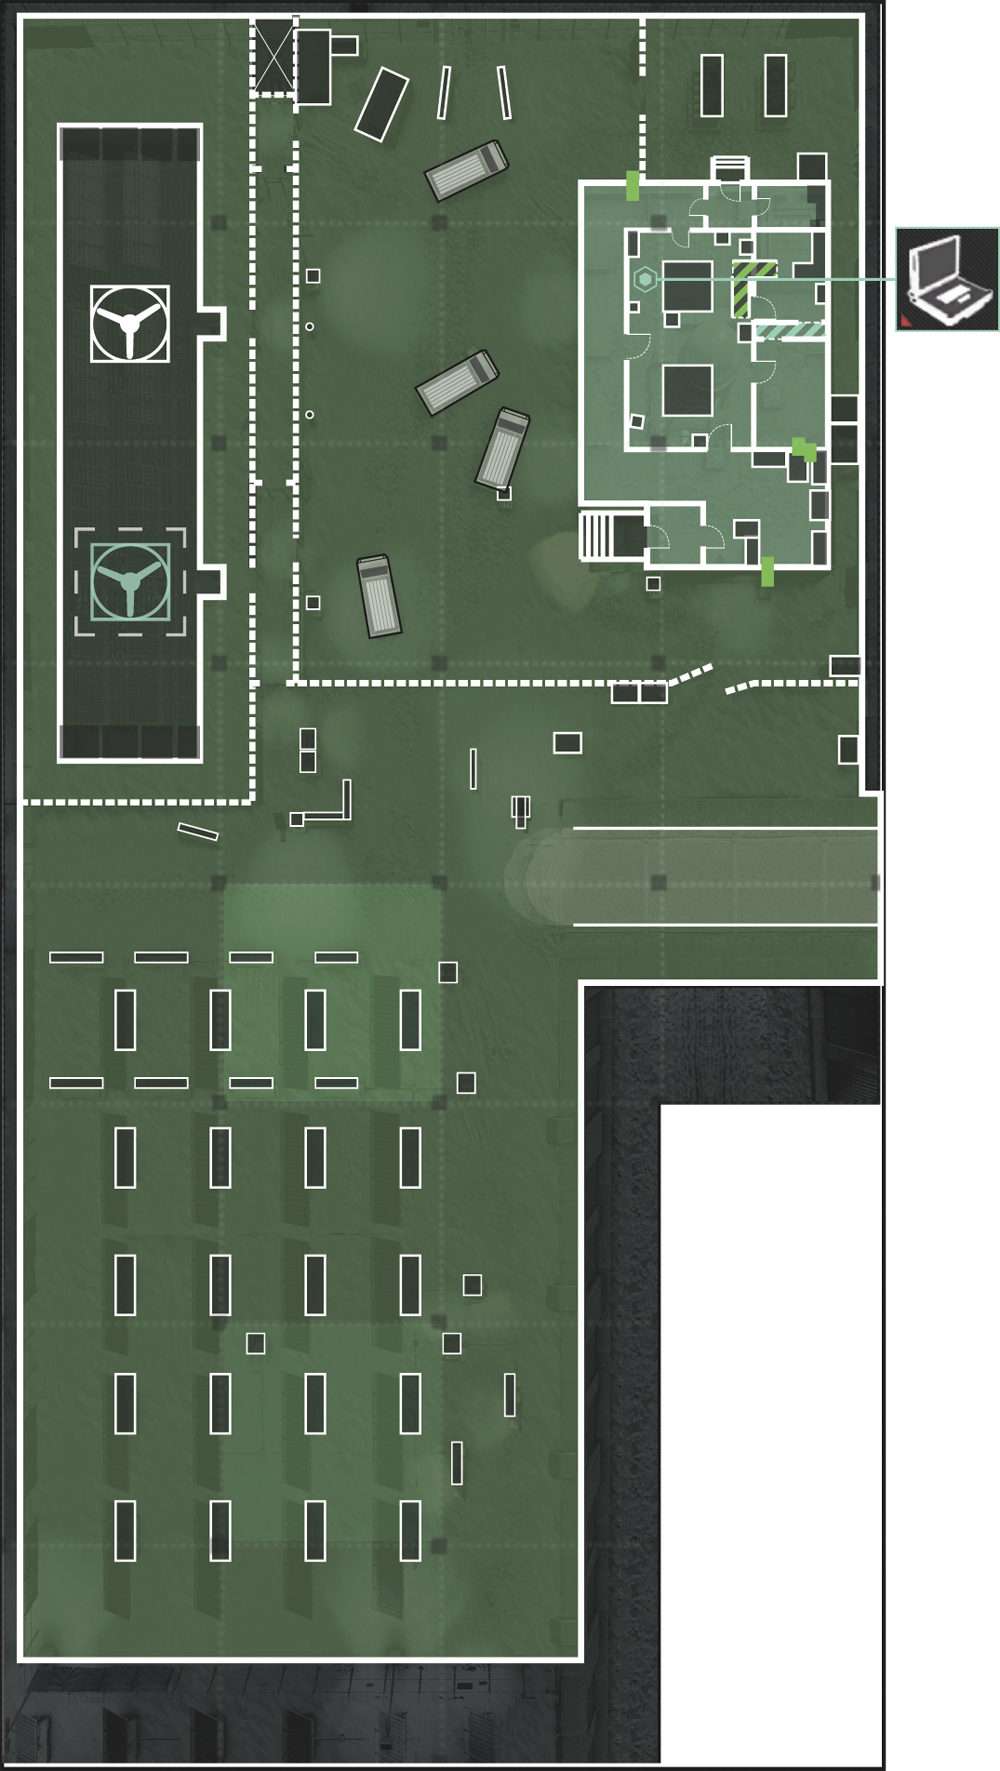
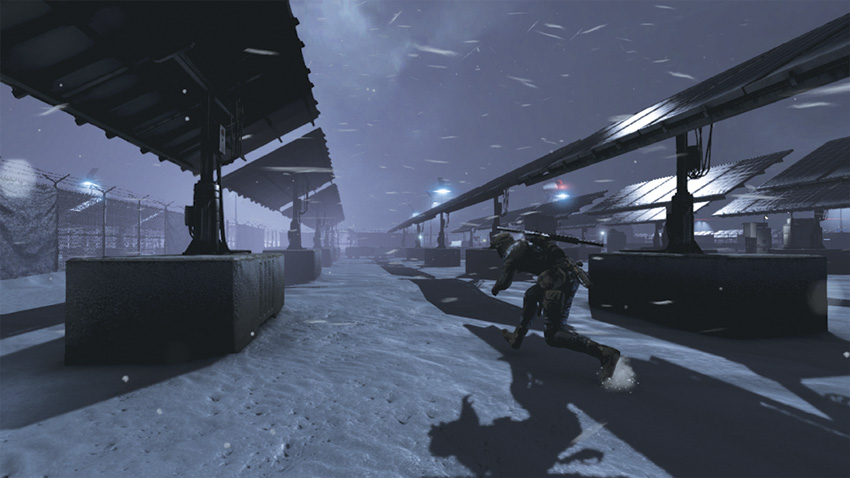
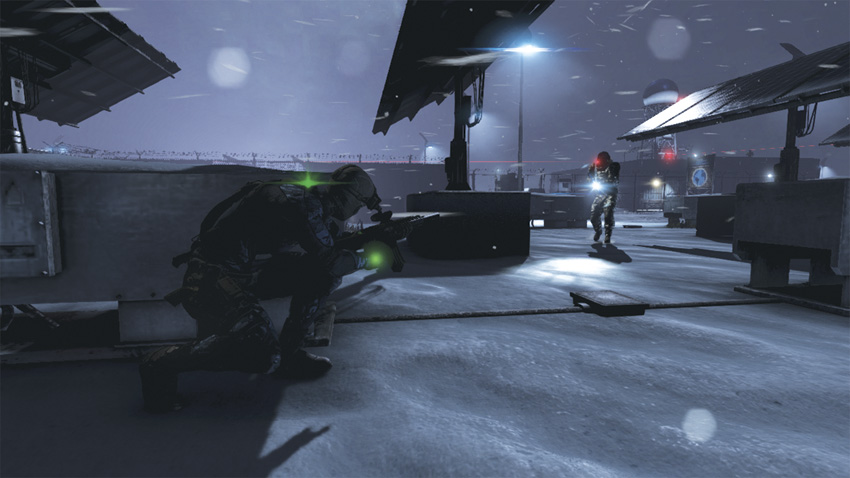
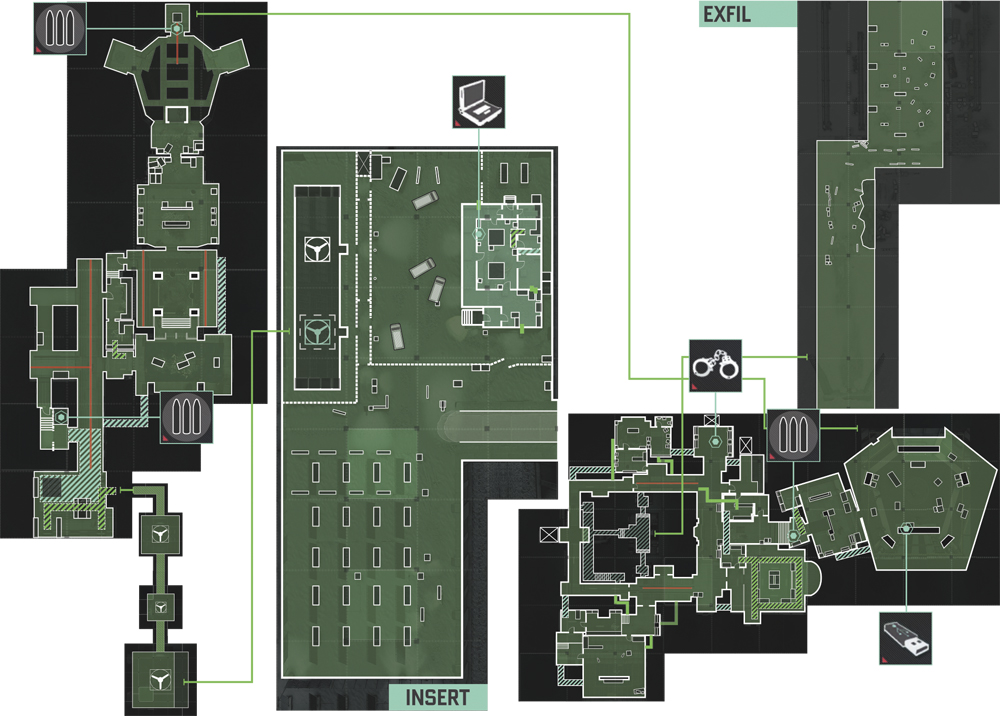
Make your way through a hole in a fence; you are in an area with four rows of solar panels. Drop into a crouch and head to your left until you’re between the third and fourth rows, and then turn and head toward the fake weather station. About 50 yards down is a Heavy Infantry soldier patrolling the grounds, and beyond him on top of the station are three snipers standing watch. Make sure you’re not in their line of sight and kill the Heavy.
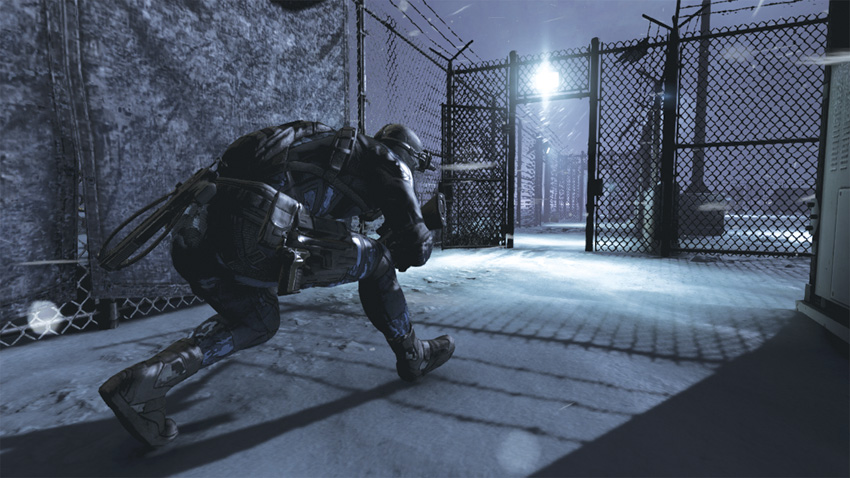
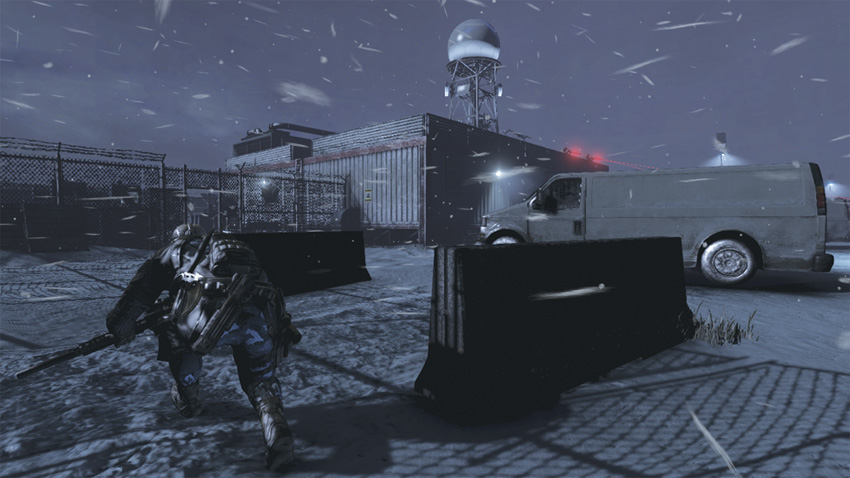
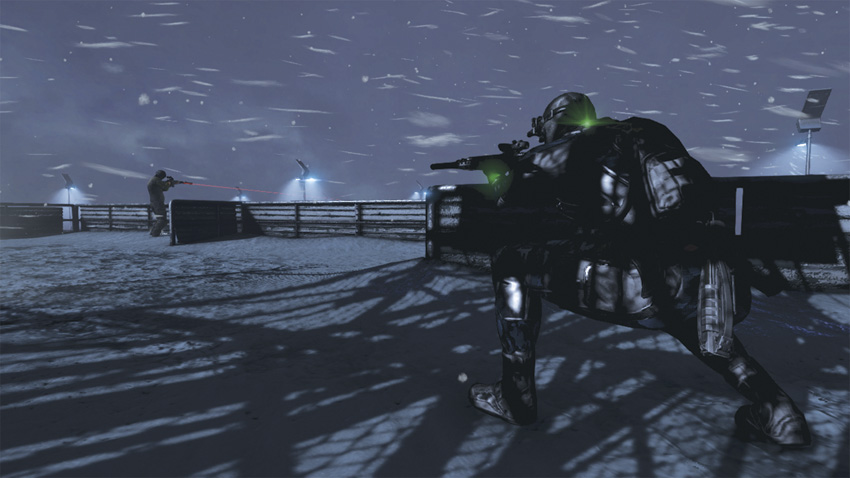
Staying crouched, continue to the fence in front of you and go through the opening. Use the low wall next to you as cover, move all the way to the back of the fence line, and go through the opening to your right. Another Heavy Infantry soldier is patrolling the grounds here. Hunt him down and kill him, and then head to the back of the building and climb up the ladder to the roof to deal with the snipers. One is on the roof’s opposite side, while the other two are along the right side. Move forward and equip your Tear Gas grenade, then throw the grenade between the two snipers who are close together. Sprint toward them and use hand-to-hand strikes to kill them, and quickly shoot the other sniper. Now it’s time to shut down the fans.
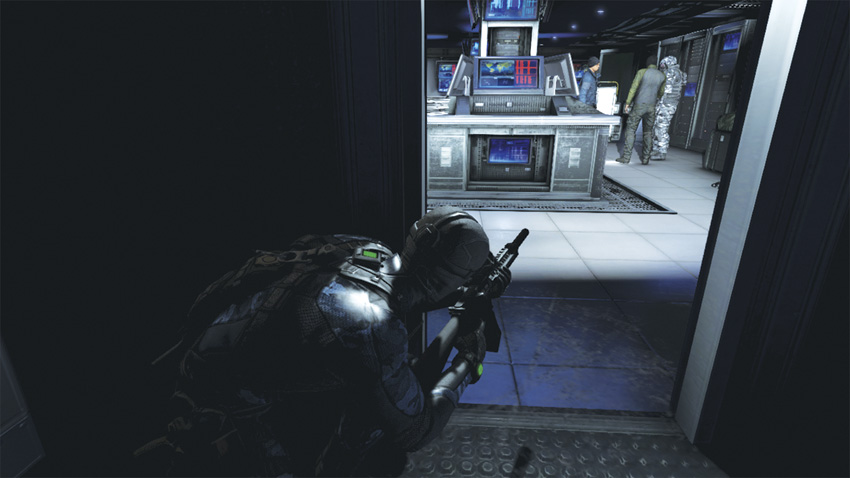
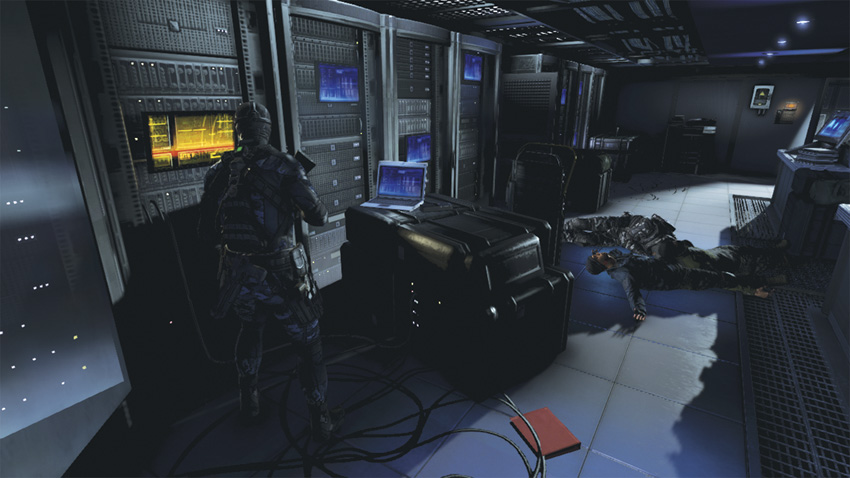
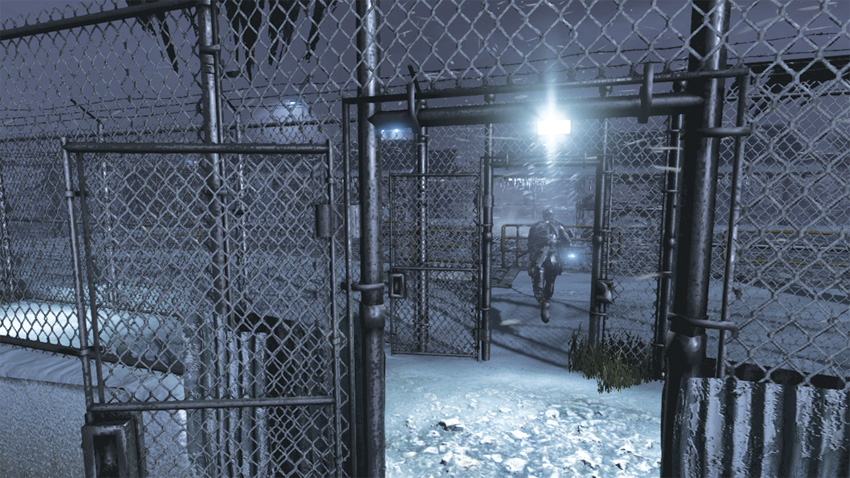
Go back down the way you came, and enter the building through the back door next to the ladder. Once inside, close the door behind you and check your Radar. Three more hostiles are between you and your goal. Make sure none of them are close by, crouch down, and open the door to your right. Look into the next room; you see all three men are standing near a computer station. Mark them and then unleash your Execute Ability to kill them all. Head to the console and shut down the fans, and then hack into the Blacklist Laptop, which also happens to be in the room. Exit the weather station through the front entrance and continue across the courtyard to the fence in front of you. Go through the two openings, following your waypoint marker, to your next destination.
Infiltrate the Bunker
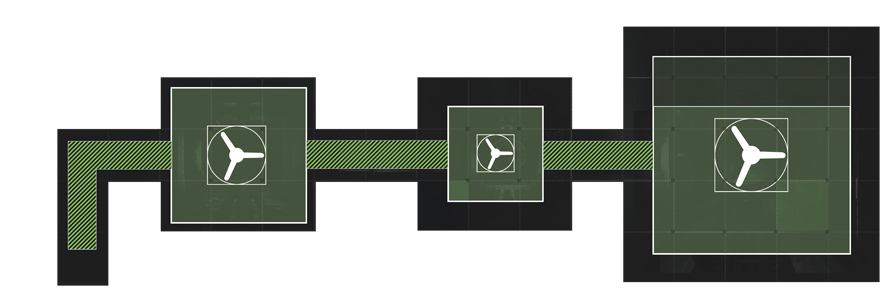
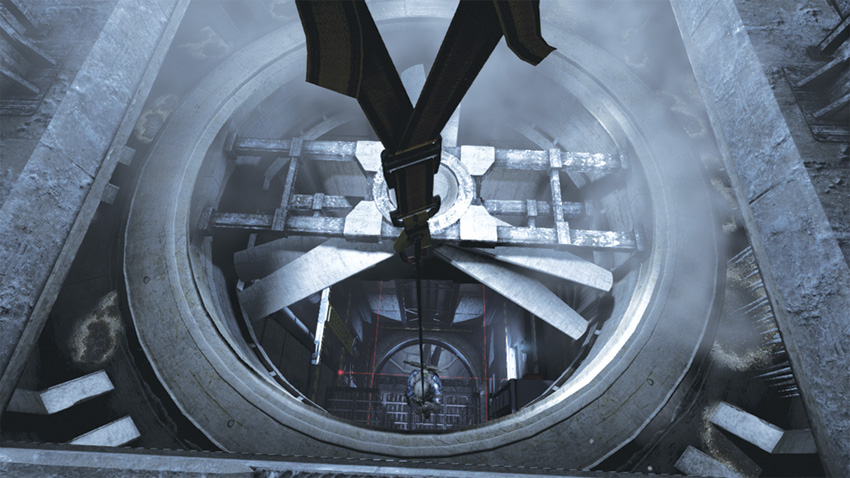
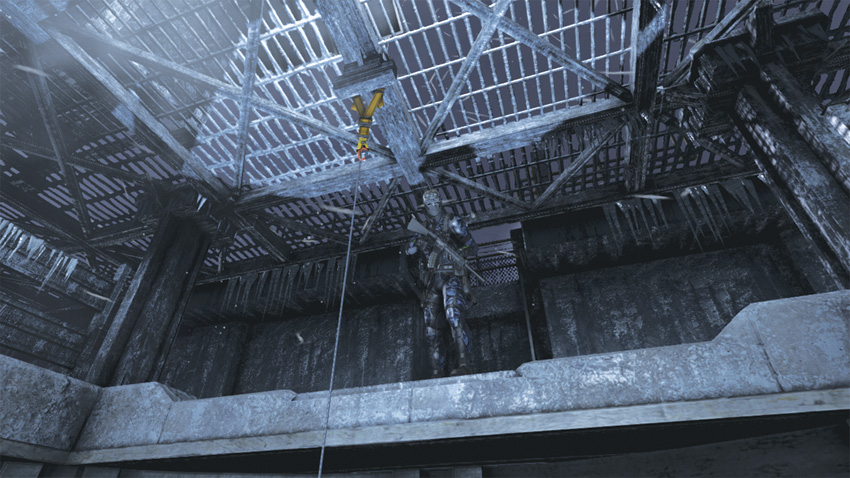
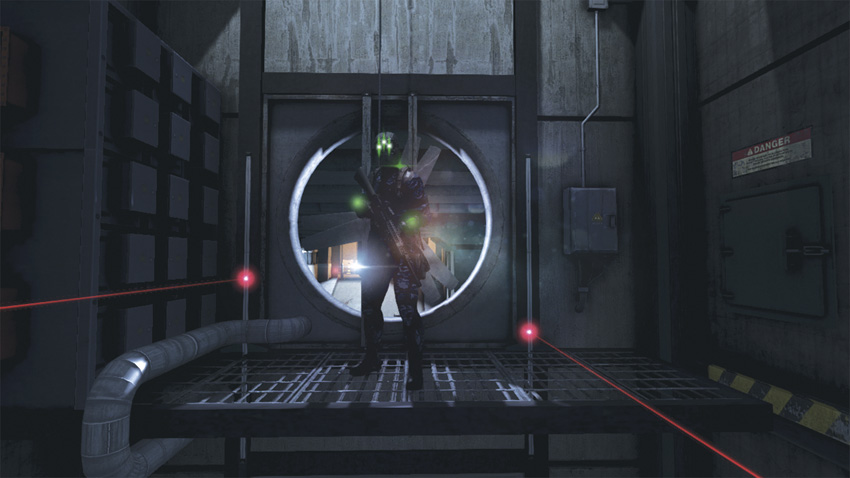
After reaching the fan, use the Fast Rope to drop down into a large ventilation duct. Once on solid ground you will notice red intruder-detecting lasers moving inside the duct. To progress, you must navigate around them without setting off the alarm.
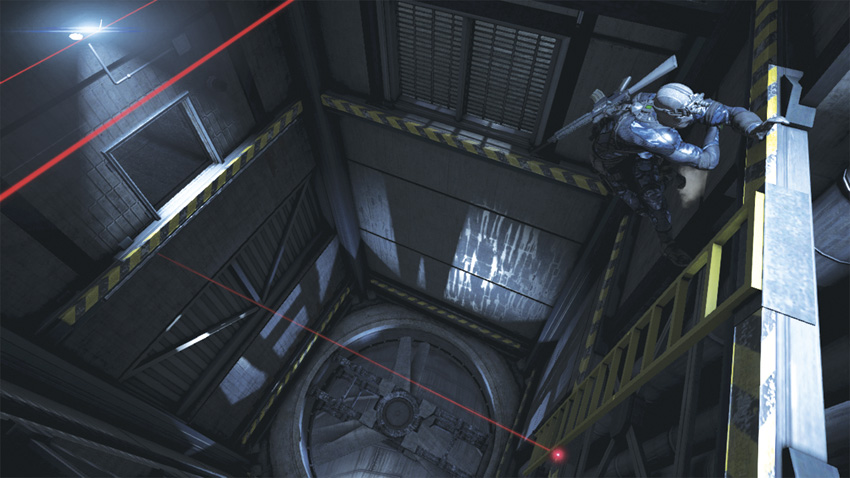
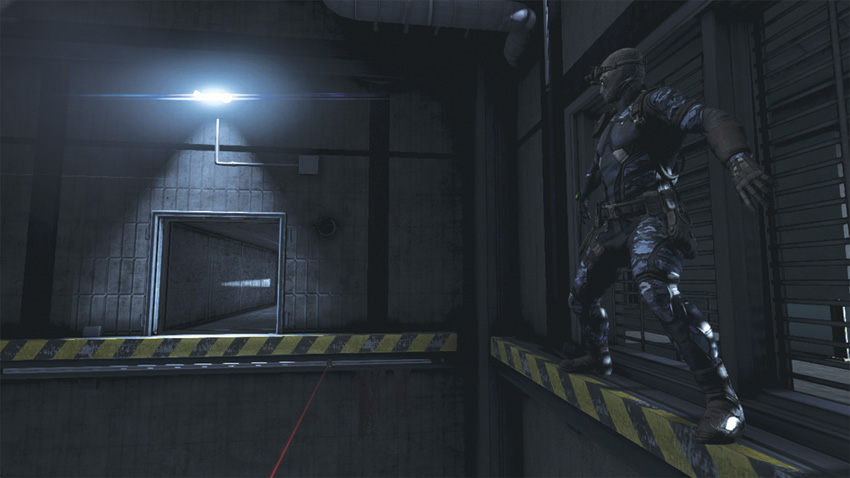
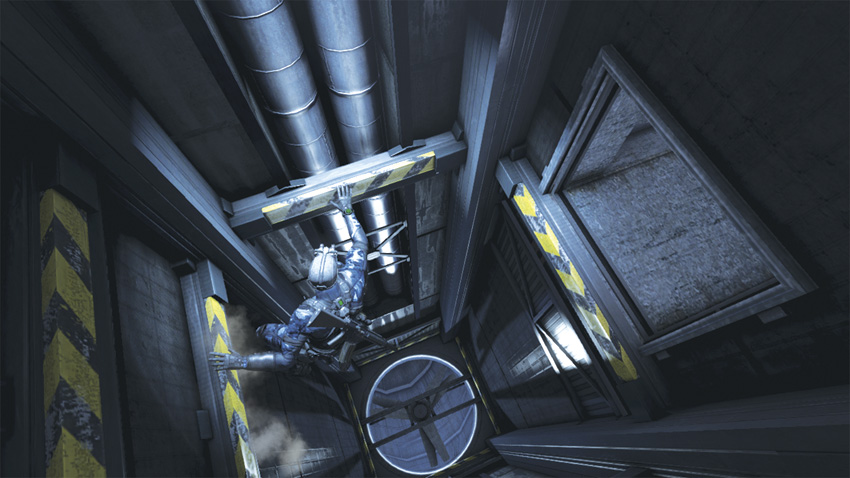
First, drop down and grab ahold of the ledge underneath you. Move on around to your right, avoiding the laser moving vertically, and grab the ladder. Inch your way down and grab the next ledge, avoiding the horizontal laser. Now move to the next ledge to your left and climb up into a standing position. Shimmy to your left, avoiding another vertical laser, and drop down and grab the next ledge. Move to your left, avoiding another horizontal laser, and enter the vent above you and move forward to the next section. Thankfully, no security devices are located here. Drop down to the third ledge from the top, move all the way to your right, enter the vent above you, and move forward to the next section.
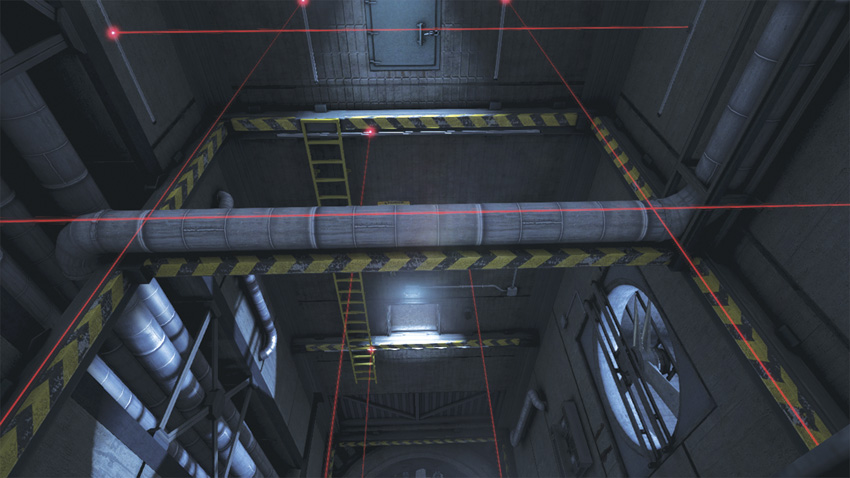
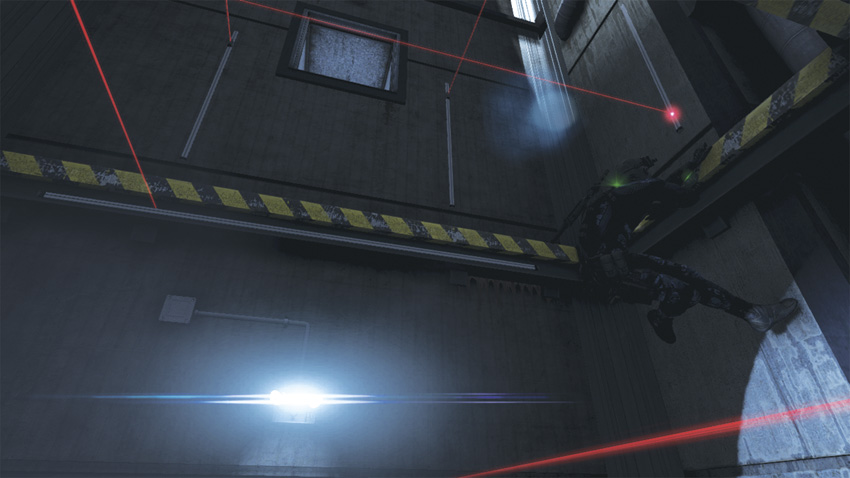
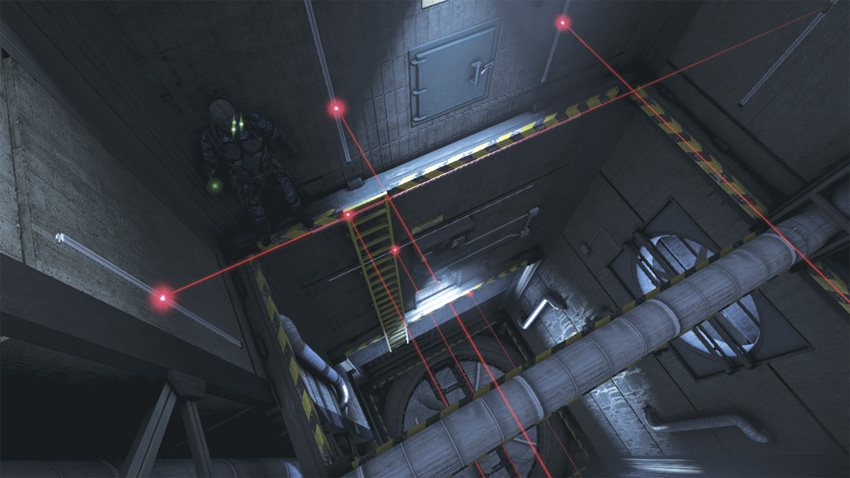
Looking down, you see more lasers here than there were in the first section. Drop down two ledges and climb up onto the second one in a standing position. Looking around; you are now in between two vertically moving lasers, with a horizontal laser coming dangerously close to your feet. When clear, shimmy to your left, onto the next ledge, and drop down. Continuing to your left, move to the adjacent ledge, and then switch to the other side. Quickly move to your left to the next ledge, and climb up into a standing position. Shimmy past the vertical laser to your left onto the next ledge and then hold. You are now near the corner, in between to lasers moving vertically.
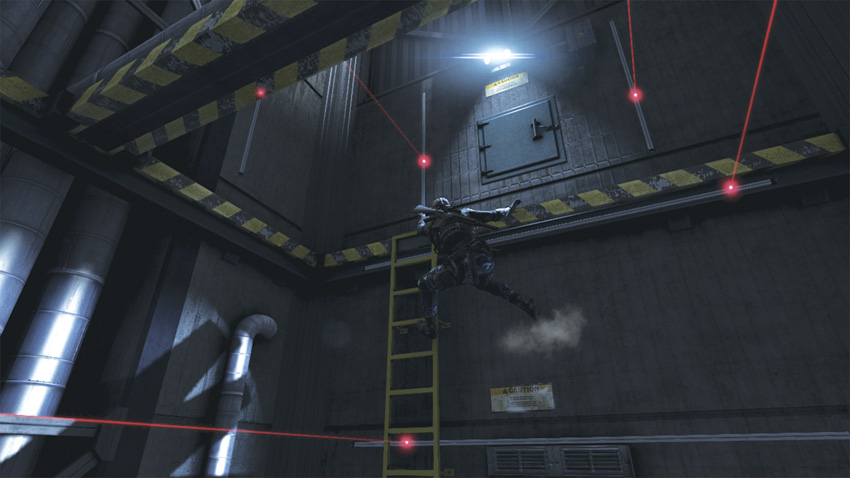
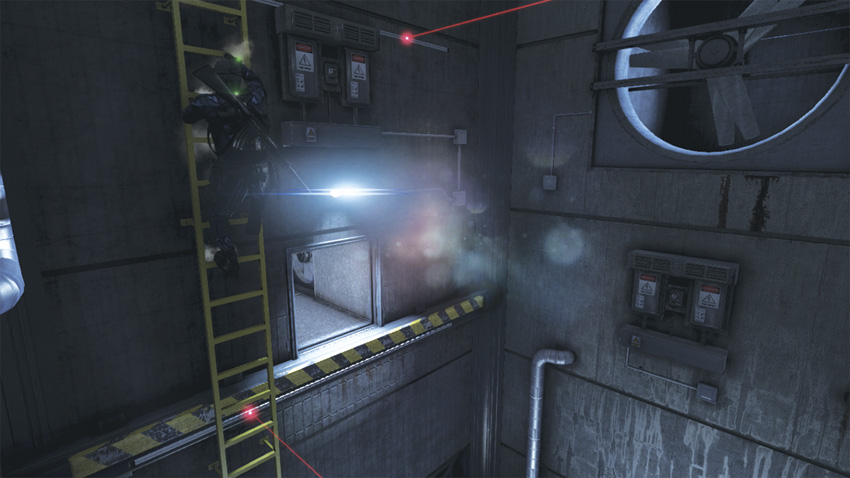
When it’s clear, move until you are underneath the emergency light, which is above a “Caution” sign, and hold. You are now in between two vertical lasers, with two horizontal lasers moving below you along the ledge. When it’s clear, drop down to the ledge, move to your left, and grab the yellow ladder. Quickly move down the ladder toward the ledge below you. One more laser moving horizontally stands between you and the next vent opening. When it’s clear, move and grab the ledge, and then head up into the vent.
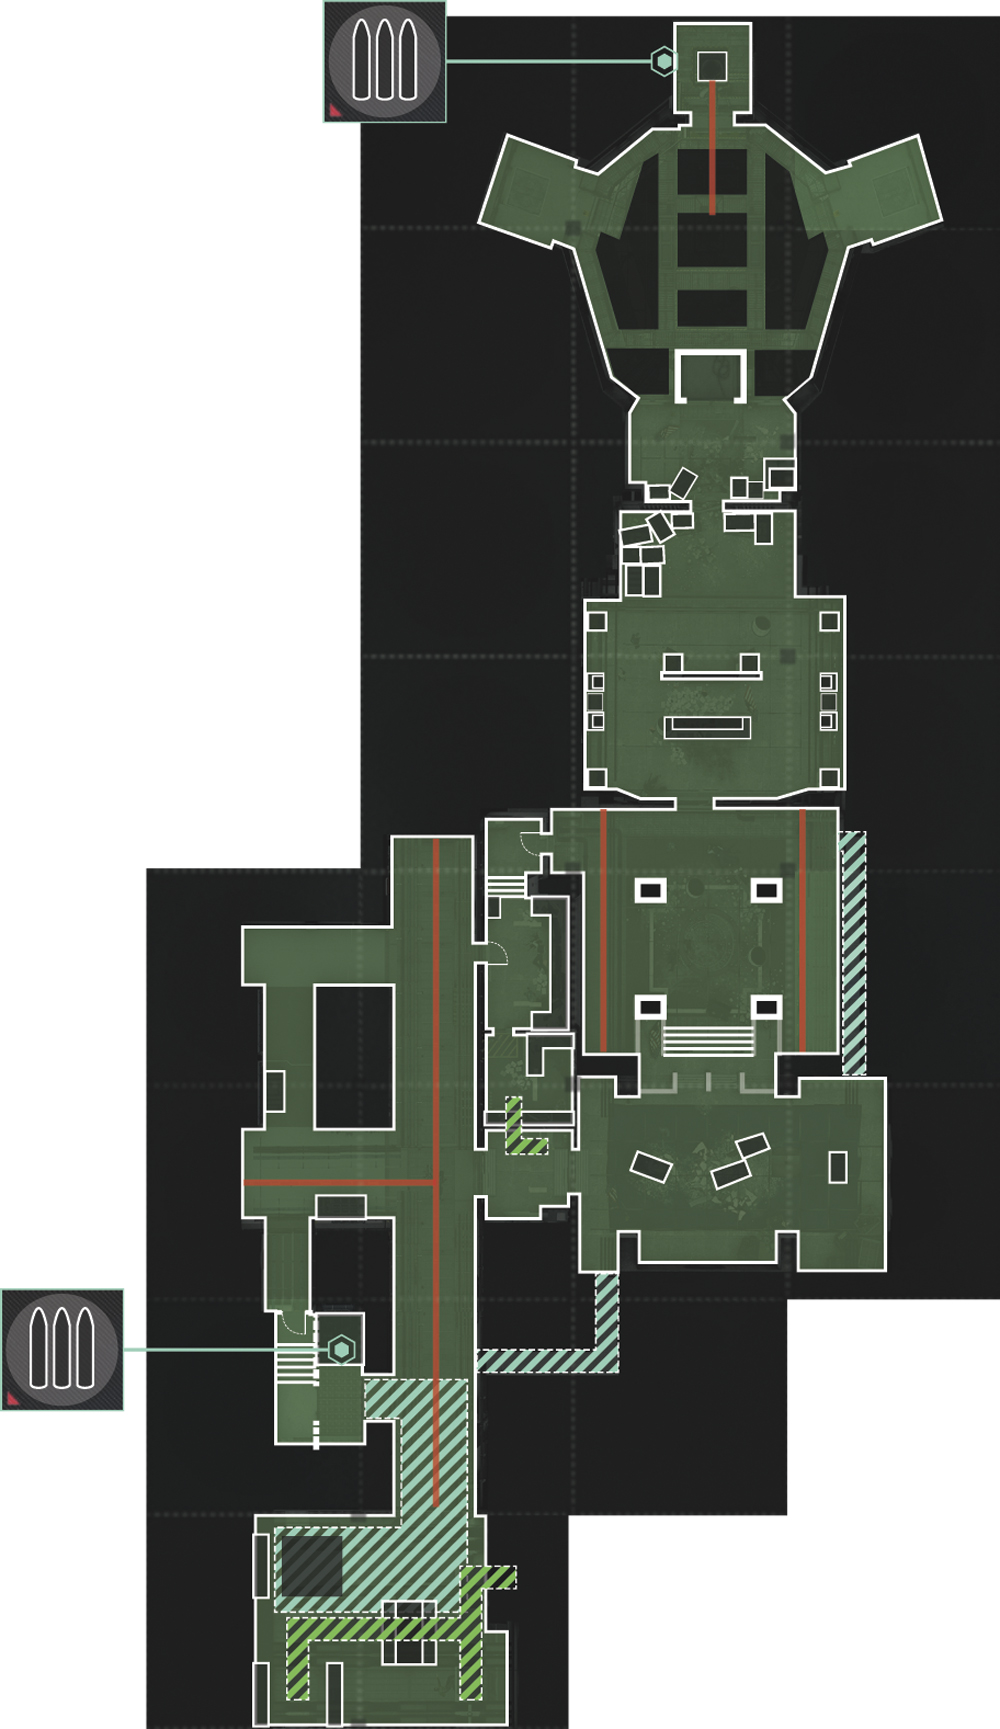
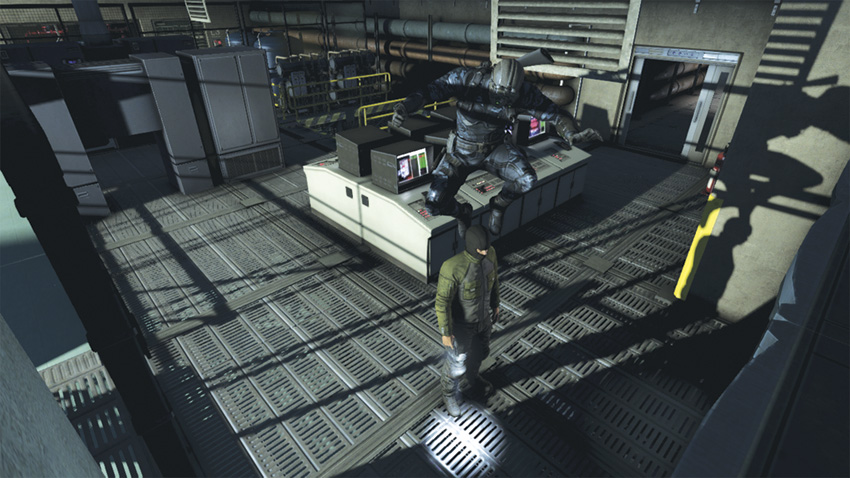
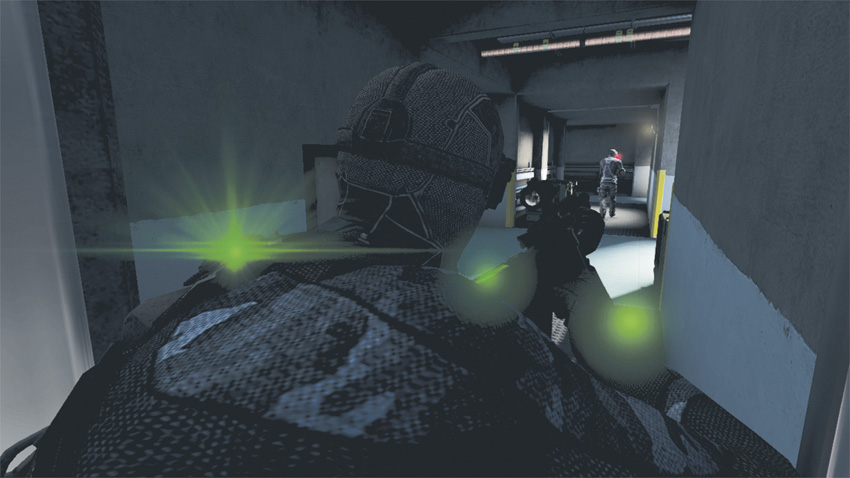
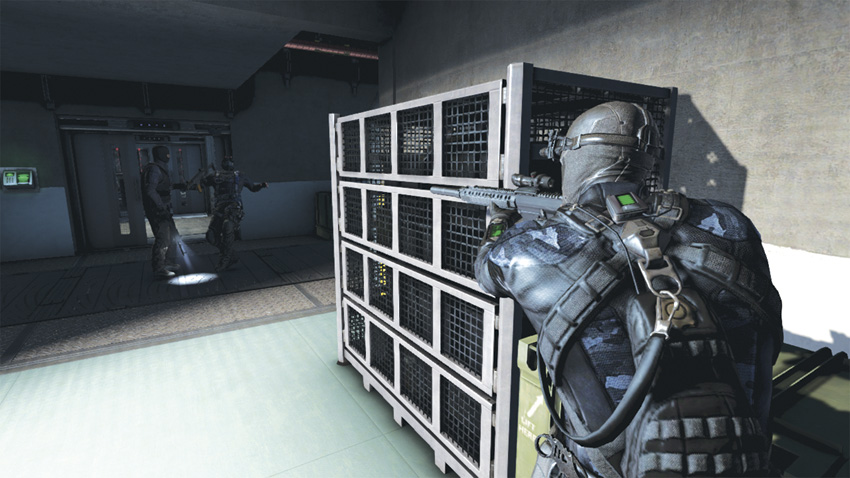
Move toward the fan in front of you and pause at the opening. Use a Death From Above attack on the hostile below you and enter the bunker. Head forward to the opening in the floor, drop down, and follow the path to the end where you find a Supply Cache to restock your ammo and gadgets. Now go up the staircase to the door and turn off the lights. Open the door and pause, as right in front of you, with his back to you, is a Commando. Wait for him to take four or five steps in the other direction and then kill him using your sniper rifle. Take cover against the wall next to you and walk to the corner. To your right are two more hostiles. Mark them and eliminate them using your Execute Ability. Move from cover to your right and proceed into the next room.
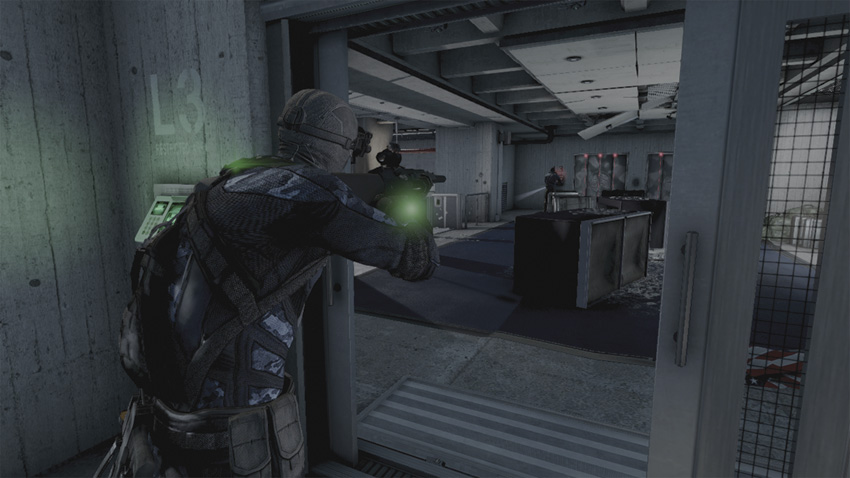
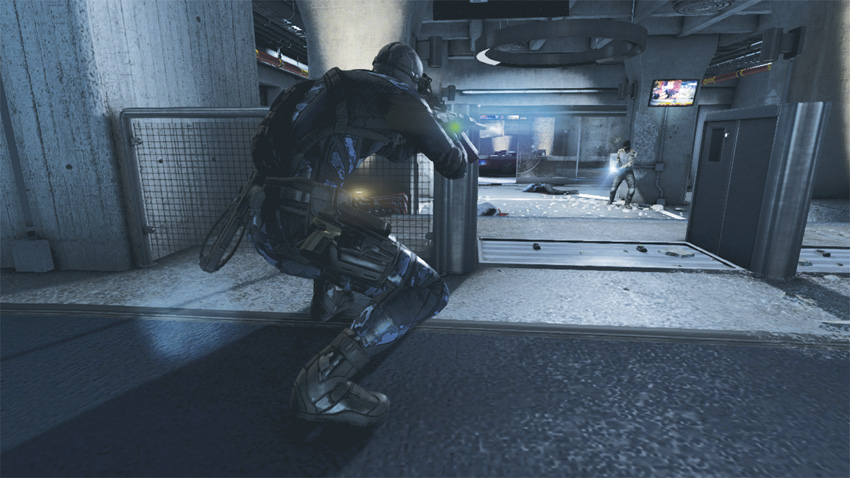
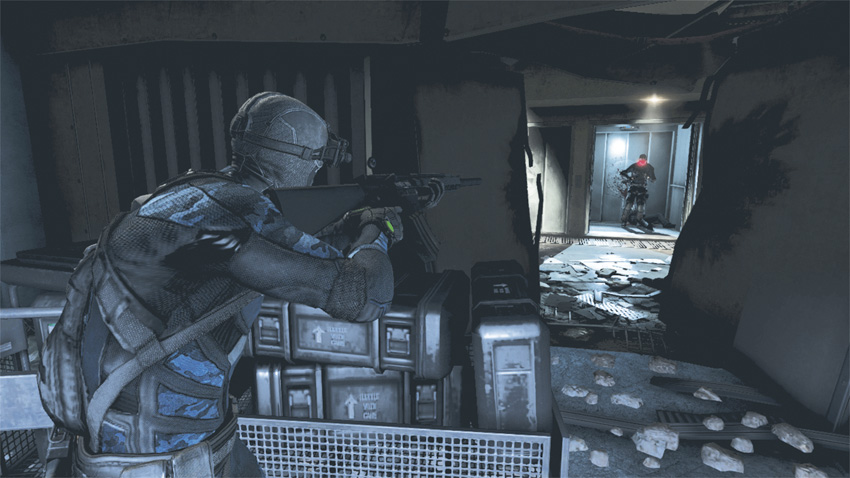
In front of you near the far wall is another hostile. Kill him with a silenced shot and move forward. Turning to your left is another enemy on patrol, near the front entryway to the bunker’s inner offices. Kill him and walk toward the entrance, but don’t go through it. Instead, go through the door to your left. Check your Radar and follow the signal to the next hostile, a Drone Operator. Kill him with a hand-to-hand strike, and then retrace your steps back to the waypoint marker and go through the glass entryway and around the desk. As soon as you see the elevator in front of you, slow down. Within a couple of seconds the doors will open and a Commando will come out. Kill him and walk to the left.
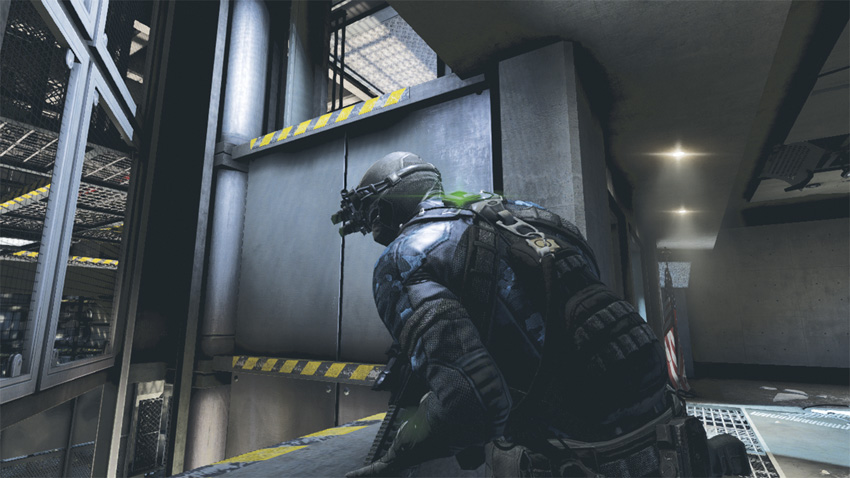
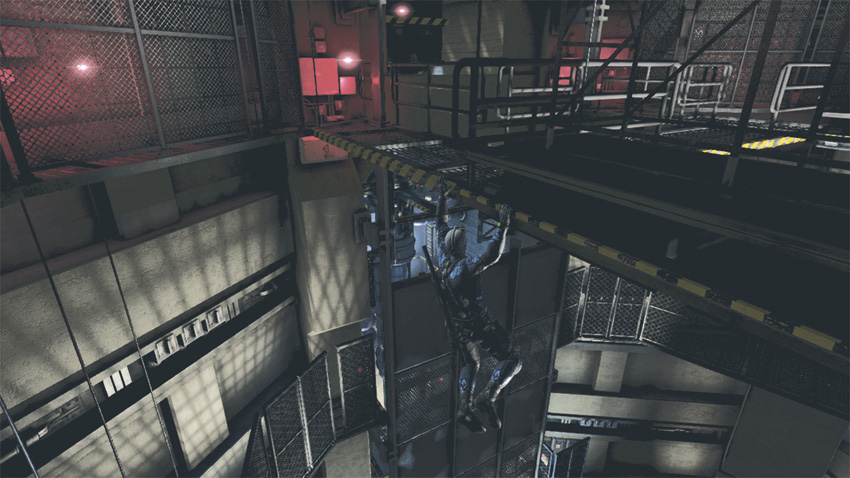
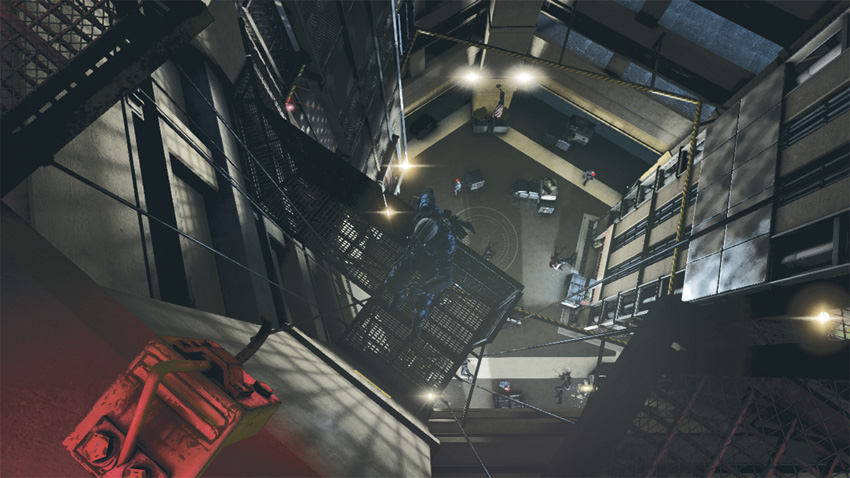
Approach and climb over the ledge in front of you. Move to your left and climb up into the nook above. From this position, move out onto a catwalk overlooking an atrium below and go to your left. When you come to the railing blocking your way, drop down to the ledge below you and continue moving to the left. When you’re past the blockage, climb back up to the catwalk and follow it around to the left. Climb up into another nook and make a U-turn where you find a Rappel hook. Grab hold of the rope attached to it and rappel to the metal walkway below.
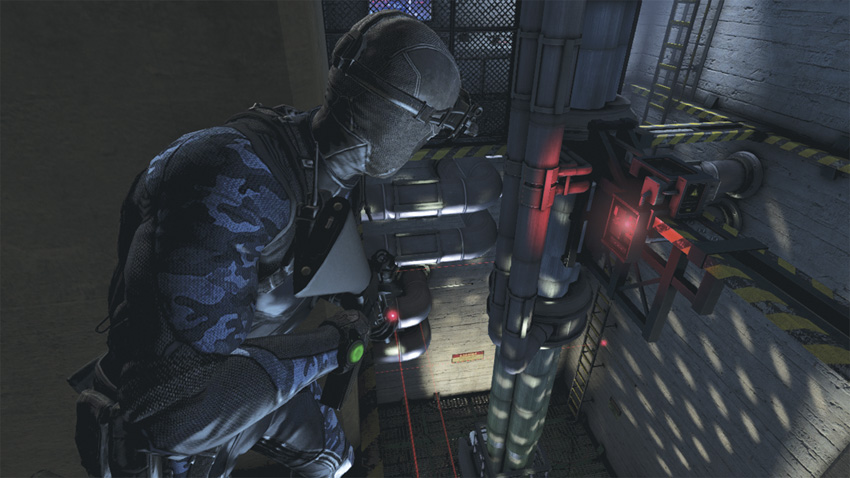
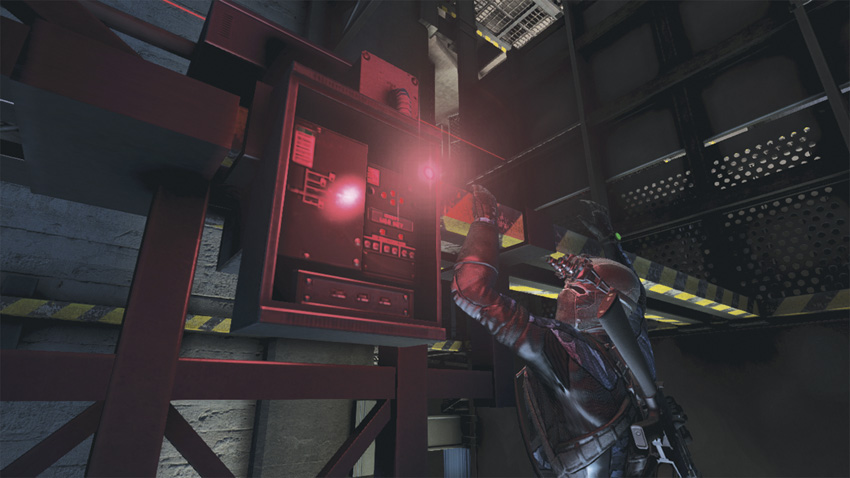
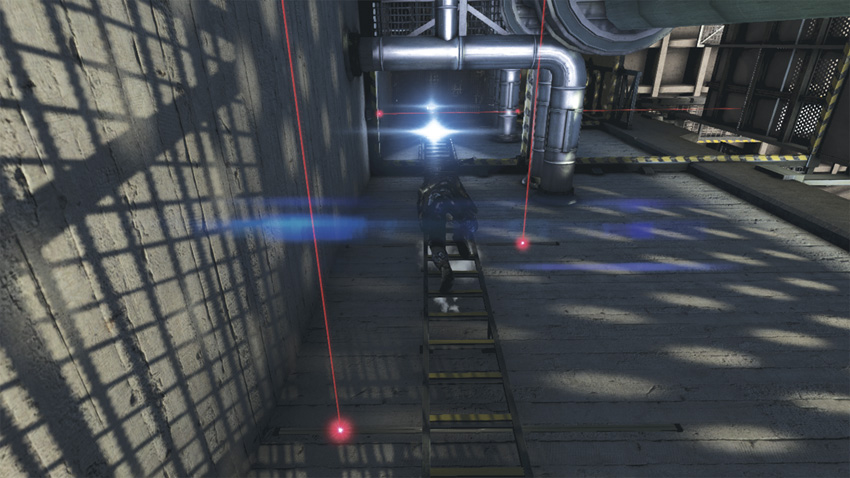
Once on solid footing, go to your right and follow the walkway until it ends. You are now staring at a large, open area with ledges all around you, red-laser security sensors, and the first of four network ports. Drop to the ledge in front of you and follow it all the way around to your left until you reach the port, then apply the first of four viruses Charlie gave you earlier. Once that’s complete, move slightly to your right and switch sides. Continue to your right to the adjacent ledge, and then climb up and over it. On the other side, move to your left and get onto the ladder. Look down to see two red-laser security sensors. Climb down and navigate between them, and then slide down the ladder the rest of the way to the catwalk below.
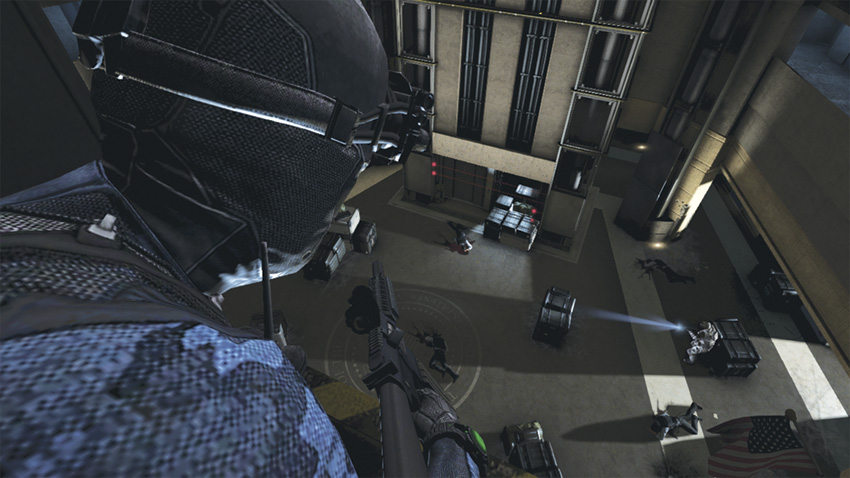
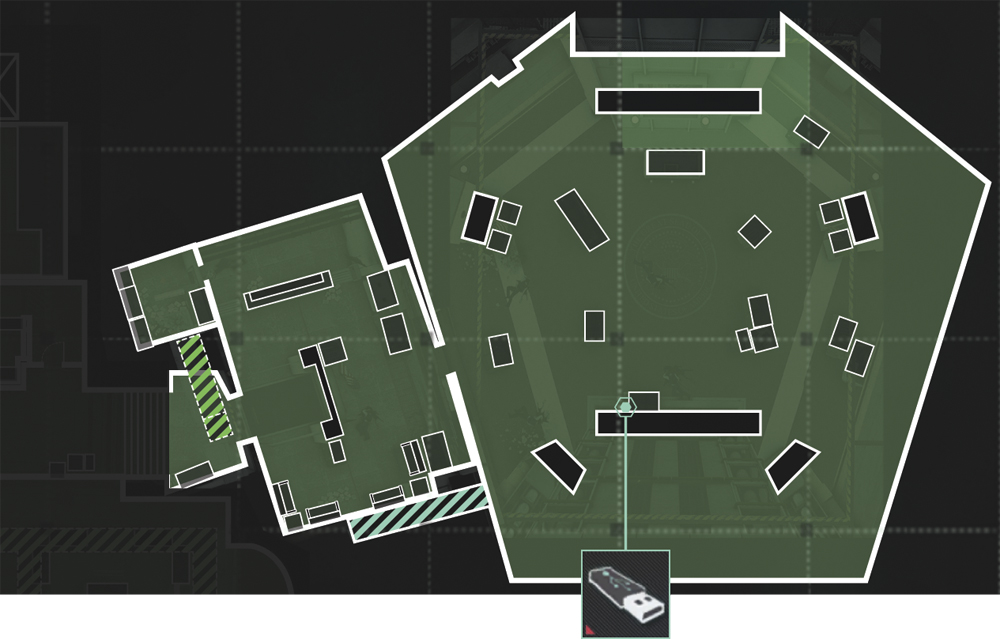
Restock your ammo and gadgets at the Supply Cache, then walk to your right and climb onto another ledge. To your left is a Rappel hook, but ignore that for now. Instead, follow the ledge to the catwalk on the opposite side and climb up. Walk to your right and look down. Below you is an atrium, and patrolling the floor are seven hostiles, including Commandos and Heavy Infantry. Directly across from your position on another ledge is a Dead Drop. Head there first, before engaging the hostiles. Drop down to the ledge below you and climb all the way around to the flash drive’s location and collect it. Once it’s in your possession, return to your starting place and rappel down to the atrium floor.
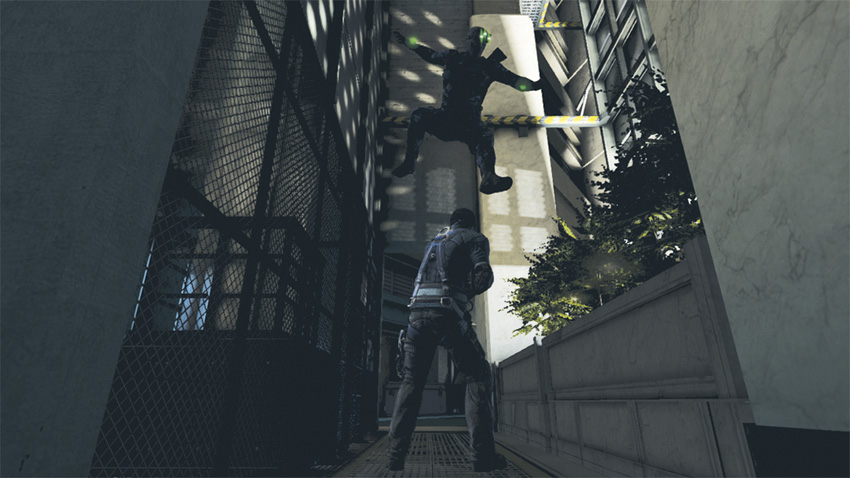
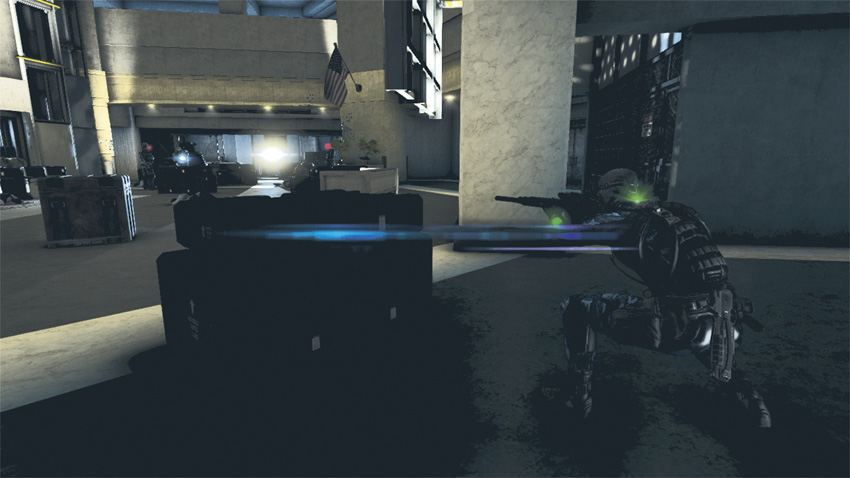
As you near the bottom, take a look down at a lone Commando. Get into range, then kill him using a Death From Above attack. As you hit the ground and finish off the hostile, you will already be in cover behind a planter, so there’s no need to worry about being spotted just yet. Now, turn to your right and Mark the Commando standing all by his lonesome. Through the plants in front of you, Mark two more hostiles: a Commando and a Heavy Infantry soldier. Move to your left and take cover behind a crate. Across the atrium in front of you is an elevator. Close to the elevator on your left is a lone Commando; close to the elevator on your right is another Commando, but not one of the ones you marked. First, kill the Commando to your left. Now, swivel to your right and quickly kill the un-Marked Commando, and then use your Execute Ability to kill the other three Marked hostiles.
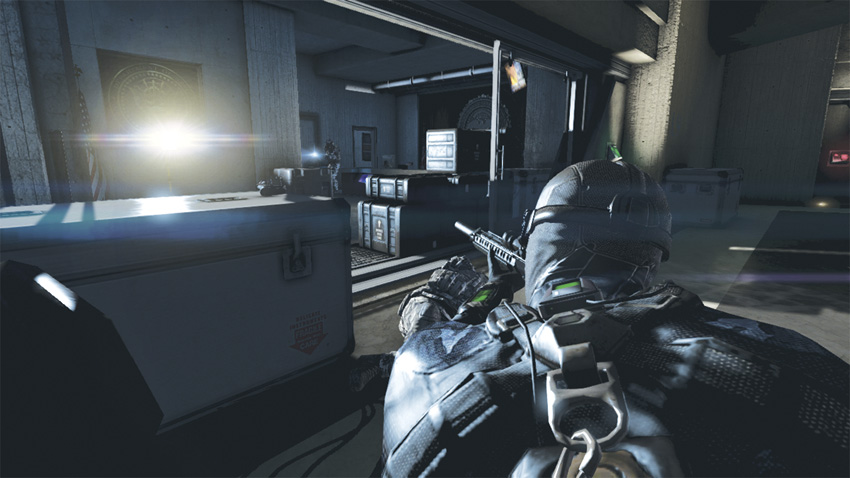
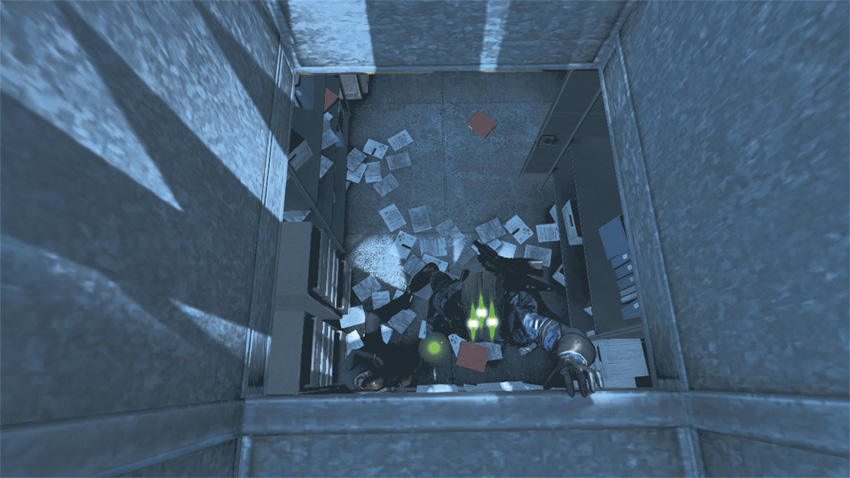
Leave cover and head straight for the floodlight in front of you. Go through the sliding glass doors, which are blocked from closing by crates, and head to your right. Patrolling near the desk should be a Heavy Infantry soldier. Kill him and leave the area through the door in the right corner of the room. Go through the door into another room, and then look toward the ceiling and climb up into the vent. Crawl about five feet and drop down to the ground, near a Supply Cache. After restocking your ammo and gadgets, it’s time to apply the last three viruses and cripple the bunker.
Sabotage the SECDEF Office: Cut Communication
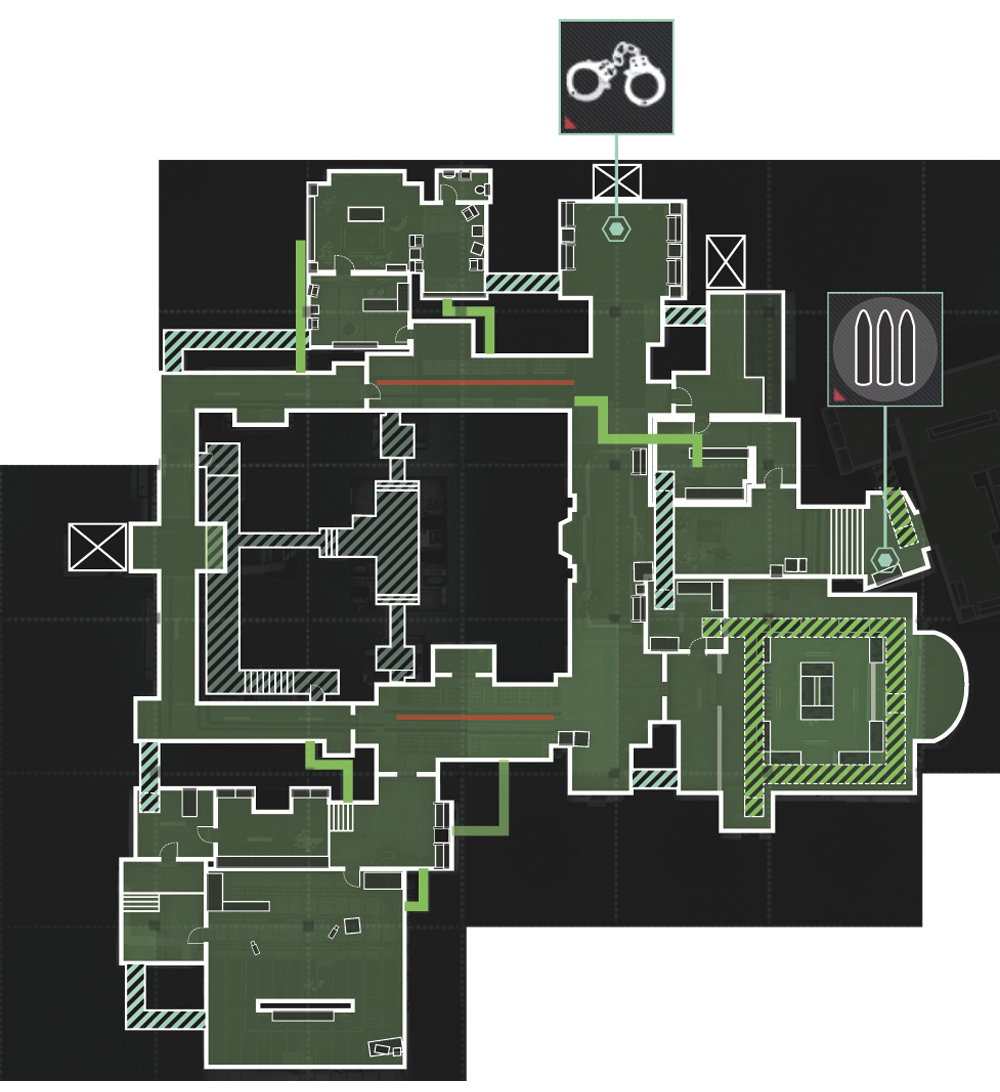
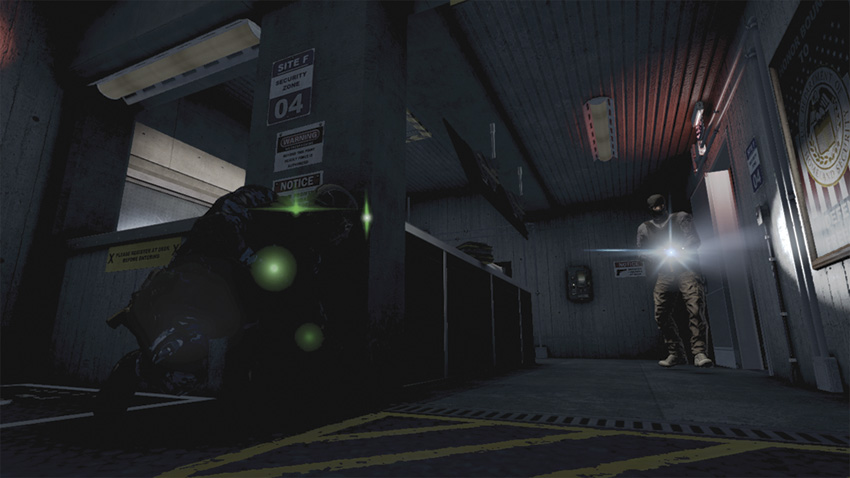
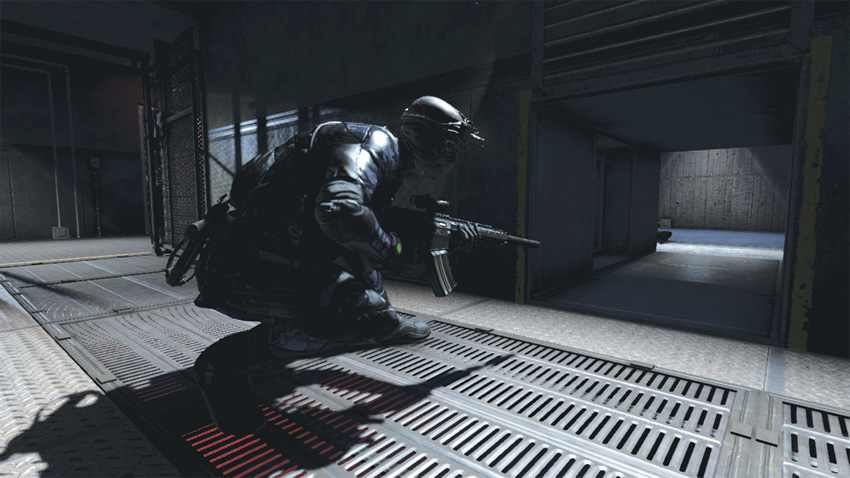
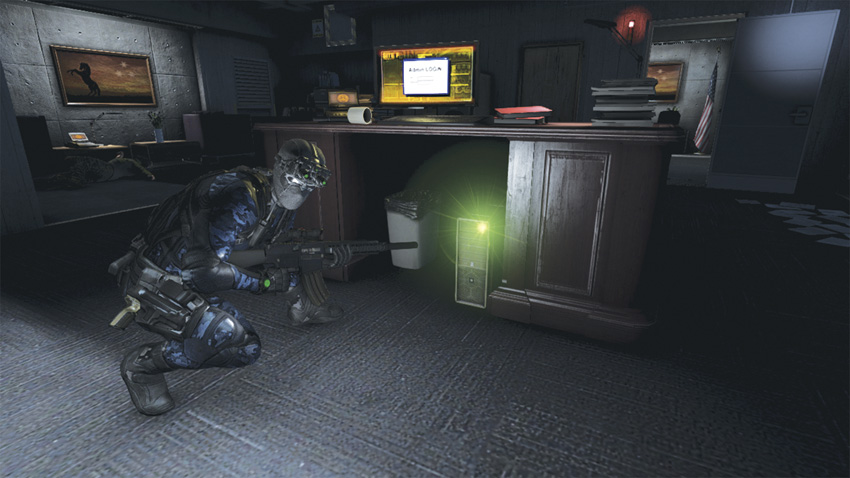
Down the hall in front of you are two hostiles. Ignore them for now and go into the room to your right. Take cover to your left and wait. When the hostile comes into the room, use a hand-to-hand strike to eliminate him, and then exit the same way he came in. Turn immediately to your left and shoot the Heavy Infantry soldier in the hallway. Go to your right, through the opening, and then enter the vent. At the exit, pause and hold tight, making note of another vent directly across the hallway. Now check your Radar. To your right is the High Value Target. Wait for him to get close, exit the vent, and then tag him and bag him. Leave him behind and enter the other vent. Slowly exit into the room on the other side. Check your Radar for the position of the hostile nearby and kill him. You are now in the SECDEF Office. Go to the computer behind the desk and apply the first virus.
Sabotage the Press Room: Cut Ventilation
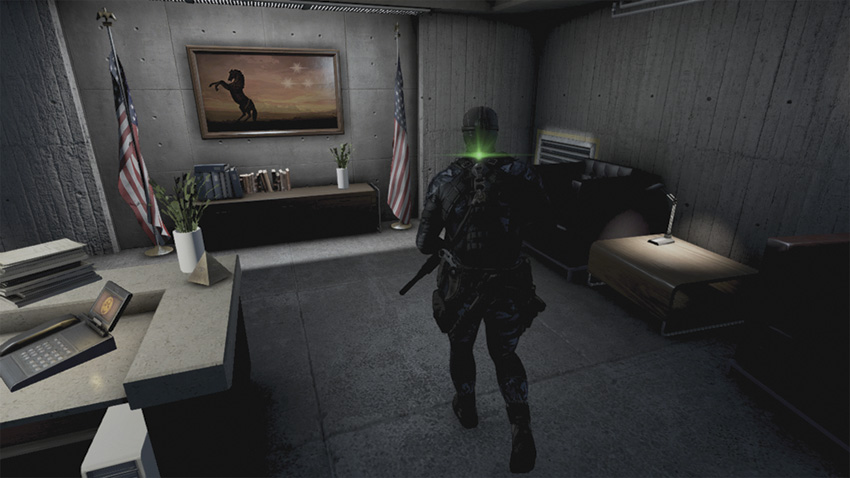
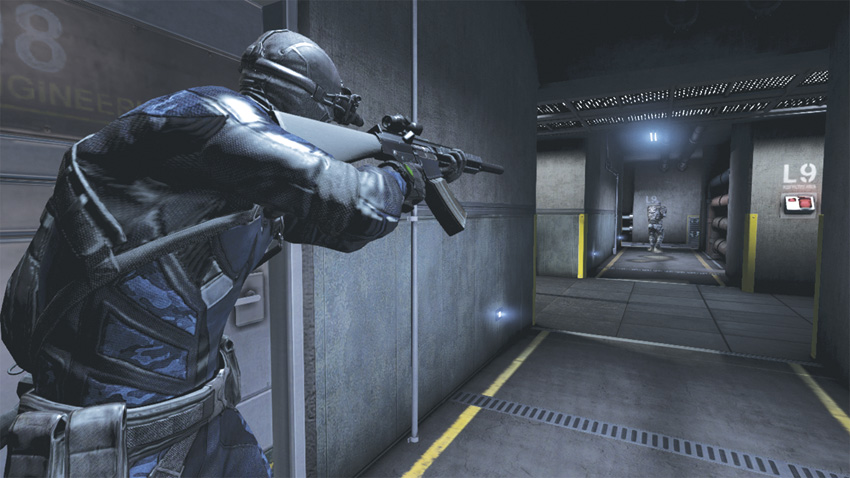
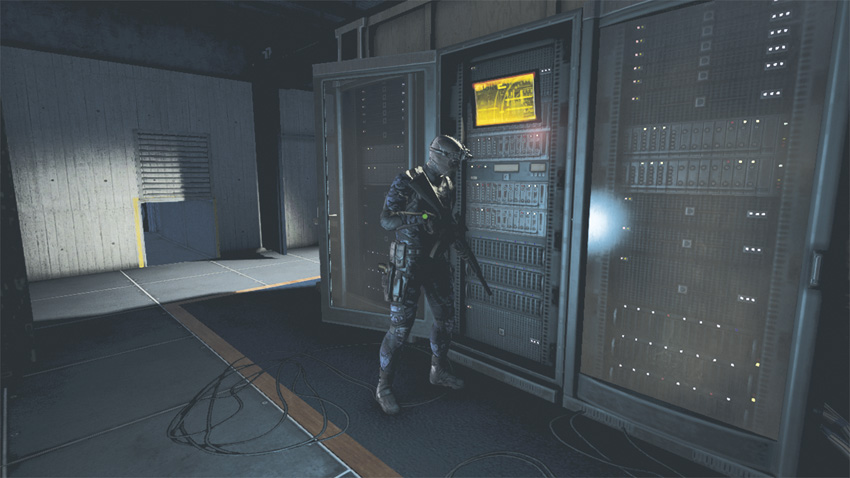
Once complete, exit the room through the door in front of the desk, turn to your right, and enter the vent. Follow it to the end and another Hidden Path. Exit the vent, and then quickly target and shoot the Heavy Infantry solider in the hallway beyond. Go to the end of hall, right were the hostile lies dead, and enter the vent near the floor. Crawl through it and exit into a small room. Go through the door in front of you, and in the following room, enter the vent near the floor; this reveals another Hidden Path. Slowly exit the vent at its conclusion. You are now in the Press Room, which contains the next objective and a Drone Operator. Follow the waypoint marker to a tall server stack located at the back of the room. Apply the second virus, and then kill the Drone Operator.
Sabotage the Intel Room: Disable Security
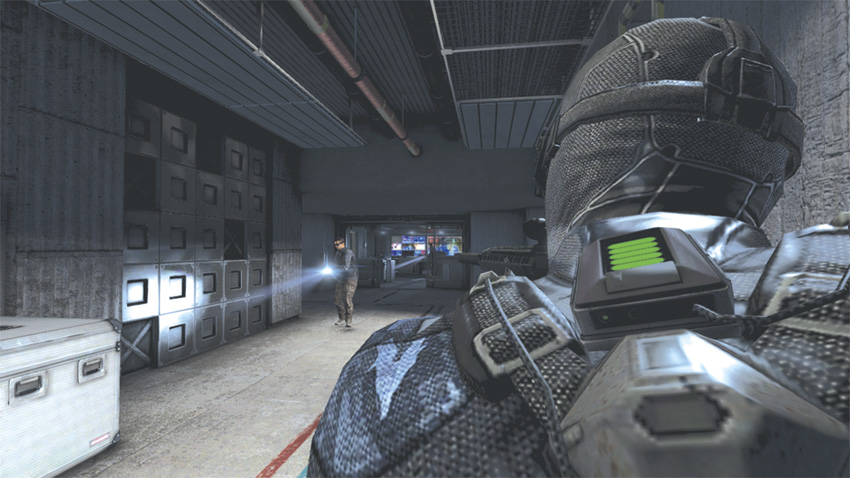
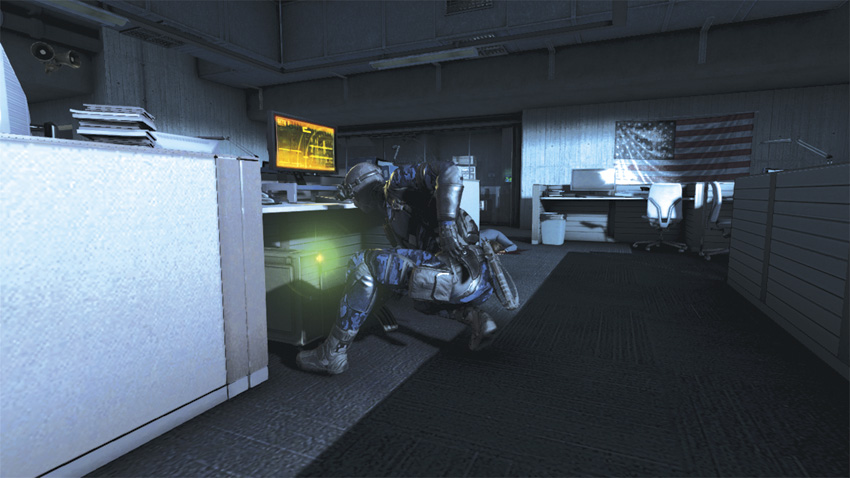
Now, exit through the door to his right, and check your Radar. Kill the nearby hostile, and then shoot the security camera that’s scanning the area. Go to your right and slowly approach the room down at the far end of the hallway. As you get close, check your Radar. Nearby are the final two hostiles. Kill them, and then go behind the desk to apply the last virus. Now it’s time to activate all the viruses and trigger the lockdown in the bunker.
Full Lockdown
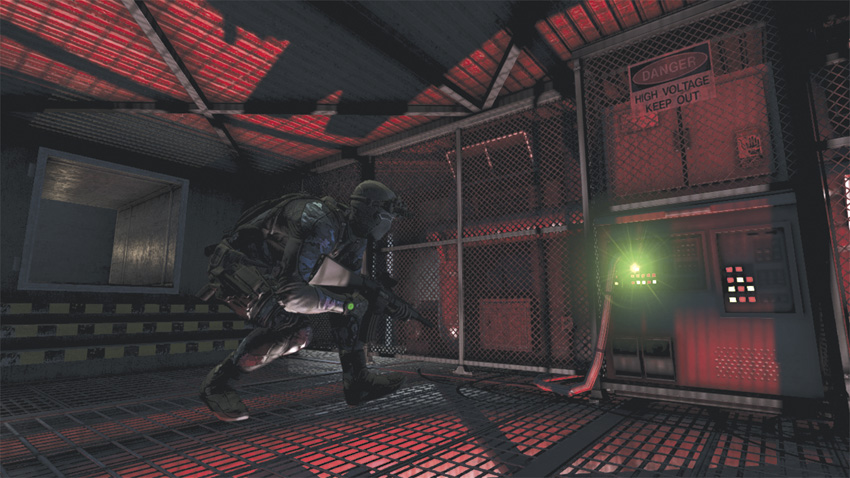
Exit the room and go to the right. Go down the hallway until you can make a left, which should be near the body of a Heavy Infantry solider that you killed earlier. Go toward the “Exit” sign above the door at the end of the next short hallway, and then enter the vent down and go to your left. Follow the passageway to the waypoint marker to reveal another Hidden Path that leads you to the final control panel. It’s now time for full lockdown!
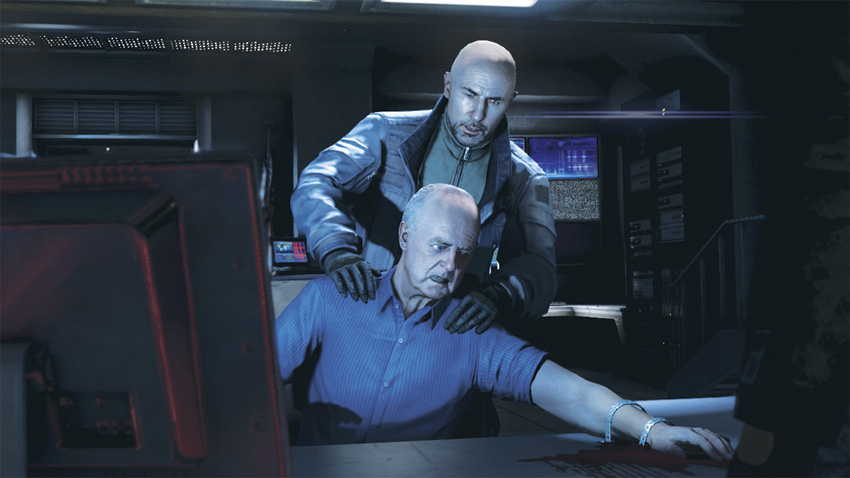
Meanwhile, Sadiq is trying to coax access codes out of the secretary, who is sitting in a chair with one arm fastened to a table. The codes will enable him to obtain highly confidential files full of military intel. The secretary refuses, stating that giving Sadiq access will enable him to destroy America and start a world war. Sadiq replies he has no interest is starting wars. He’s after the only weapon that matters anymore: information. Sadiq leaves the secretary to respond to a report that his men have captured someone attempting to infiltrate the bunker.
The Man Behind the Mask
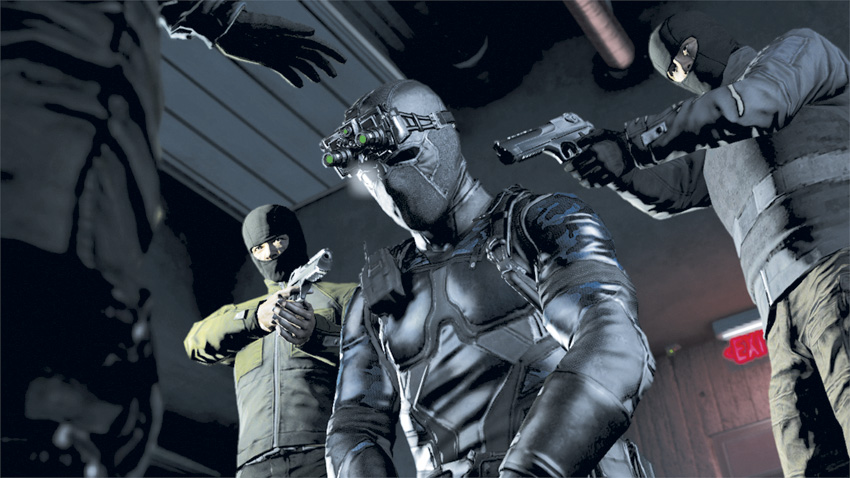
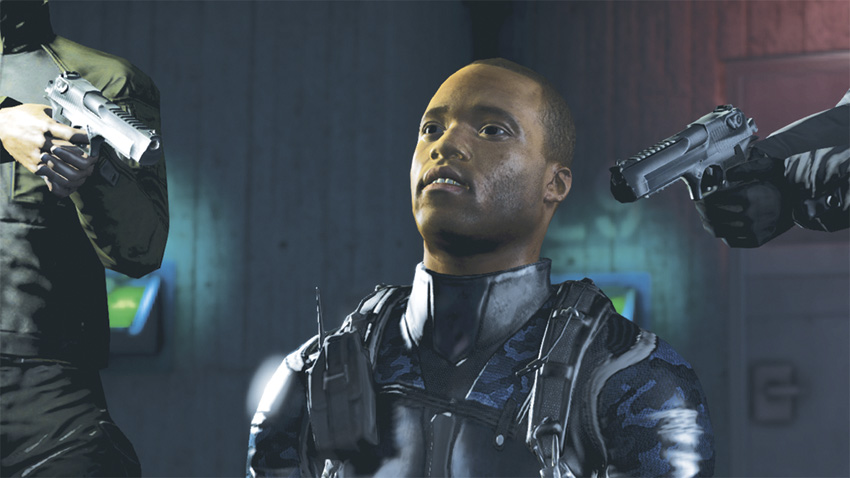
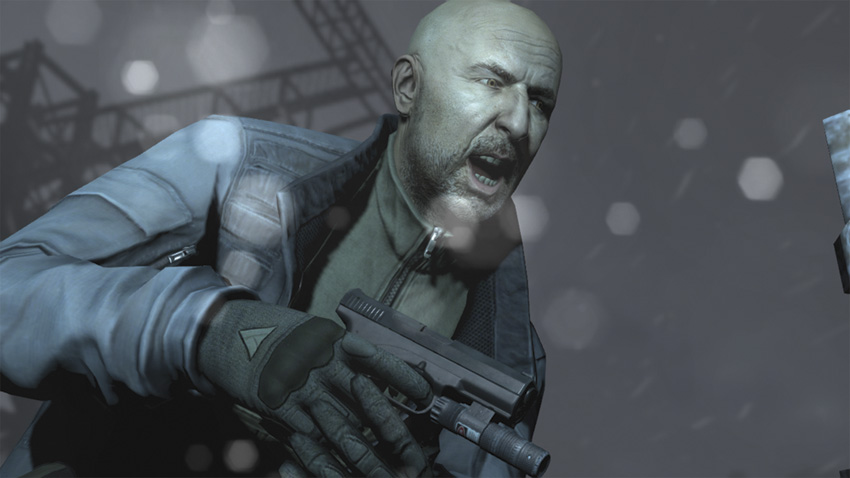
Sadiq approaches the captive operative, who is kneeling on the floor, and takes the karambit out of the captive’s holster. Lauding the operative for being tenacious, Sadiq removes his mask to reveal … Briggs. Immediately Sadiq wants to know where you are. Briggs makes a veiled attempt to ask where Sadiq’s taking him, but Sadiq is too smart for that. He takes the karambit and cuts into Brigg’s jaw to remove the subdermal radio embedded within. Before smashing the device under his boot, Sadiq speaks into it to let you and the team know they have Briggs.
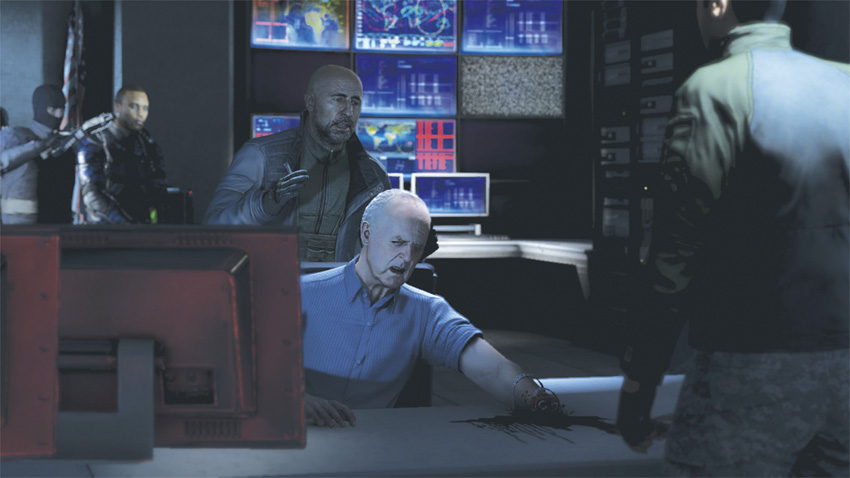
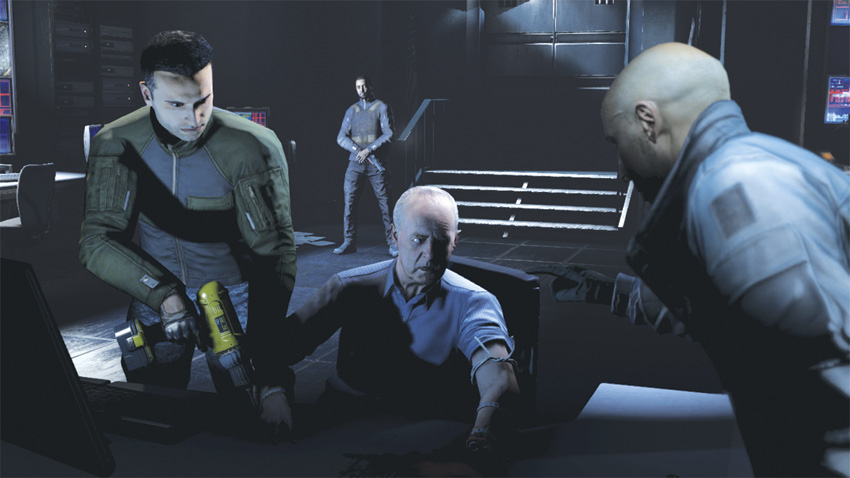
Returning to the secretary of defense, Sadiq sees that his left hand has been completely removed, and that he is bleeding all over the place. Knowing if the secretary dies, their siege is all for nothing, Sadiq tells his agent to hand him a tourniquet. After it’s applied, Sadiq tells him to go to work on the other hand. Not wanting to go through any more pain, the secretary finally agrees to give Sadiq what he wants.
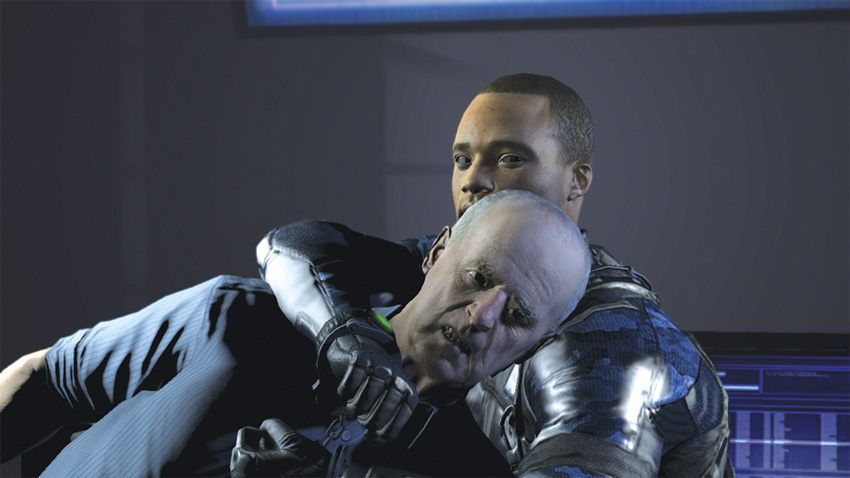
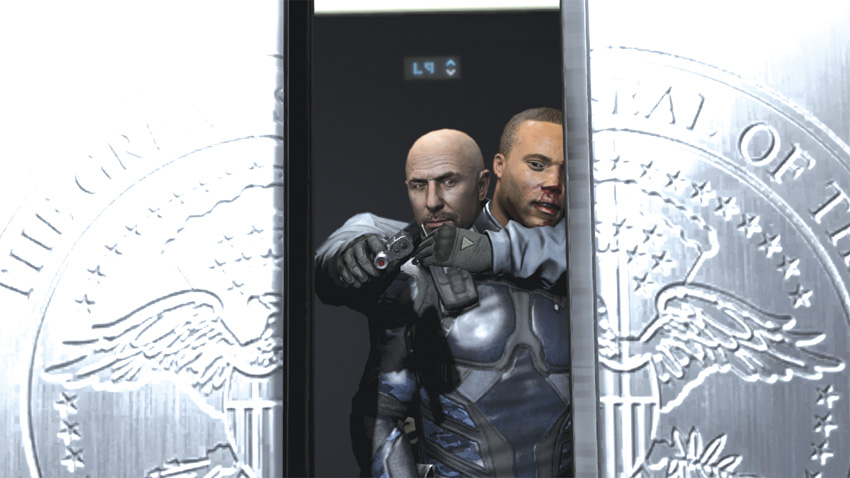
Soon, as the secretary begins to transfer the files, Briggs escapes the clutches of his captor and grabs the elderly man. Briggs puts the secretary between him and Sadiq, using him as a human shield. Sadiq and his men immediately raise their firearms, pointing them in Briggs’ direction. Sadiq is ready to call Briggs’ bluff, as he doesn’t think Briggs has the guts to kill the secretary. As Sadiq readies to shoot, Briggs exercises the Fifth Freedom and kills the secretary. Stunned and angered, Sadiq moves in on Briggs and severely beats him. Afterwards, he tells Briggs to take him to the Paladin.
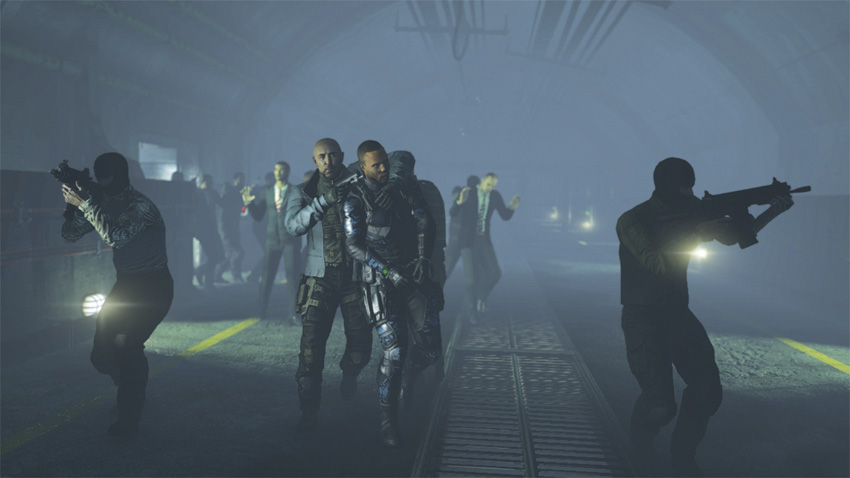
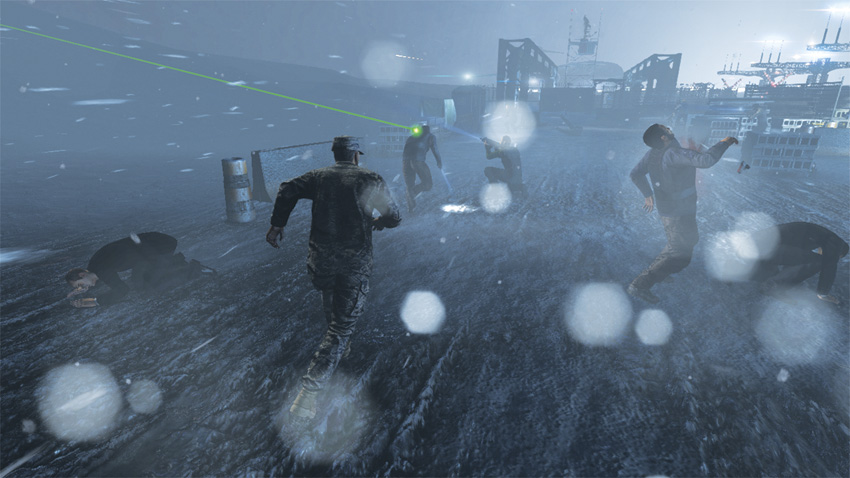
Emerging into the cold, snowy Denver night with hostages in tow, Sadiq has Briggs positioned in front of him like a human shield. Trailing behind the group, the last hostage in line, you appear, dressed in military fatigues and being led by an armed gunman. As you head toward the plane, Grim tells you that Sadiq cannot leave Denver, and that you must stop him in any way possible. In a brazen move, you escape your captor’s grip and take his gun. Snipers open fire and start killing the other captors around you. Running forward, you catch up to Sadiq just as he shoots Briggs, sending your partner to the ground in a heap. Briggs sits up as you get close to him, telling you he’s okay. You’re concerned he’s going to bleed out, but Briggs looks you in the eye and tells you to go get Sadiq.
To Catch Sadiq
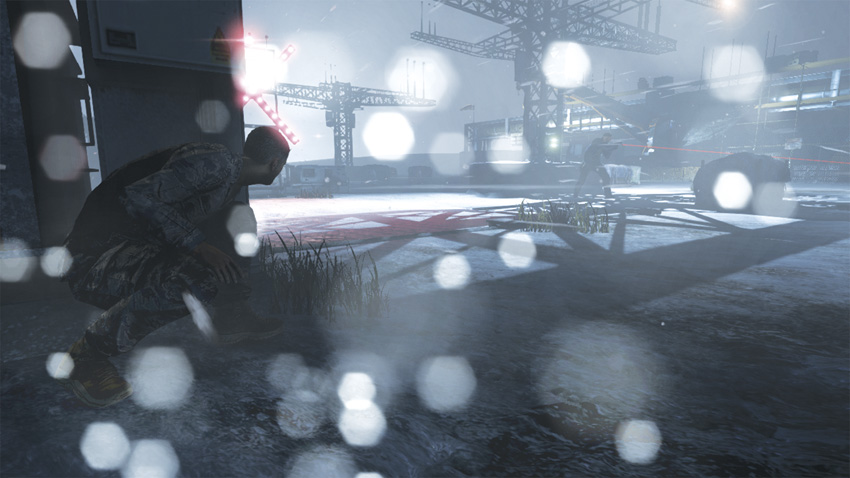
Continuing the chase, you find Sadiq taking cover behind a barrier in a dark part of the airfield. You hear the click of his gun as he tries to fire off a couple of rounds at you, but Sadiq is out of ammo. You then raise your weapon to take down Sadiq as he reloads, but you’re out of ammo, too.
Move from cover when safe and work your way toward Sadiq using whatever barrier or crate you can to hide behind. Be careful that he doesn’t see you, or he will start shooting at you and using grenades to flush you out. Once you’ve successfully moved behind him, engage Sadiq in hand-to-hand combat.
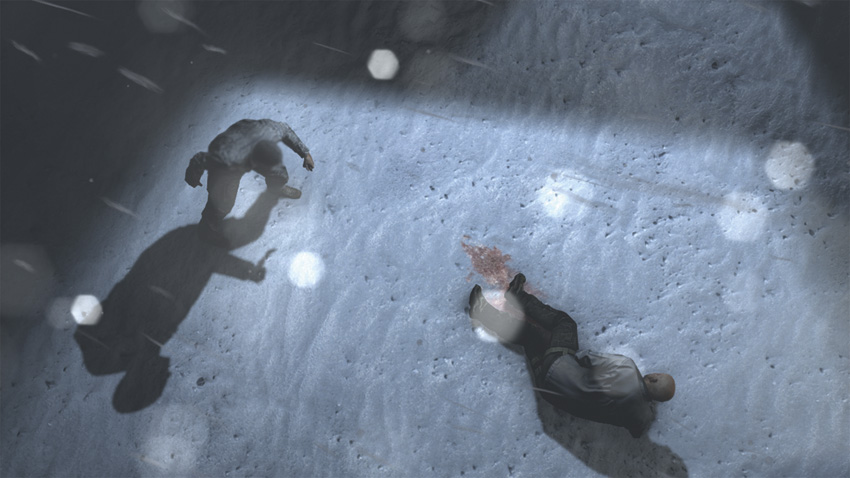
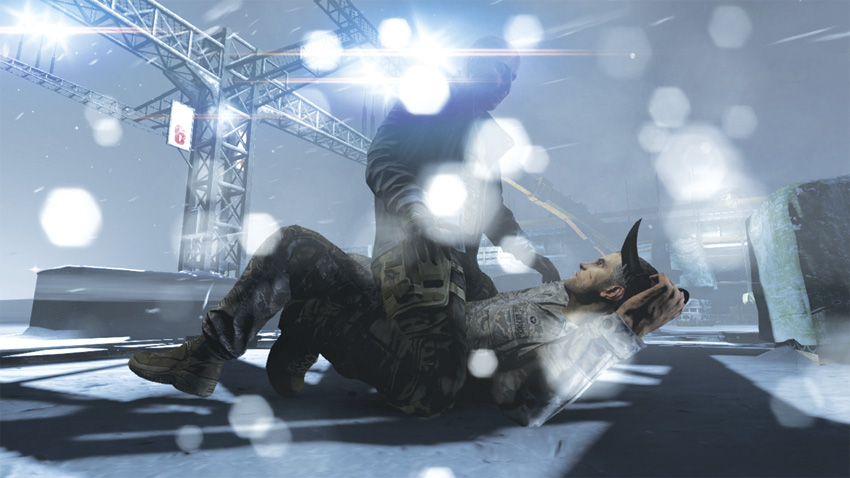
As the two of you struggle, you grab his gun hand and turn it back toward his body. Getting your finger over the trigger, you’re able to fire off two rounds into Sadiq’s left shoulder. Despite his wounds, he fights you off and runs away. As you get up and move forward to chase him, Sadiq grabs you from behind and starts to pummel you. Reaching up, you grab the karambit holstered on Sadiq’s belt, and then the two of you struggle for leverage. You finally win out and turn Sadiq onto his stomach, slicing his knee and rendering him immobile. Like Briggs, you choose to exercise the Fifth Freedom. But instead of killing Sadiq, you let him live.