
Tom Clancy's Splinter Cell Blacklist Guide Walkthrough Ghost/Assault Tactics
Mission 1: Safehouse Benghazi, Libya
GHOST
Cutting through the alleys and tenements of Benghazi as a Ghost requires purposeful and direct progress. The first half of the mission consists of minor encounters, where there are only a few enemies at a time to be concerned about. After the second half of the mission begins, enemy encounters will consist of roving patrols with guard dogs, making silent and undetected progression difficult. If you are engaging this mission for the first time, your equipment loadout is limited to only a few gadgets. In this case, an ideal equipment loadout for a Ghost playthrough would include both Sticky Noisemakers and Sticky Cameras. In addition to those gadgets, equipping the Stun Gun is necessary, if you should have to dispatch an enemy from beyond melee range.
ASSAULT
Your mission through Benghazi will place you in a game of contrasts when attempting an Assault playthrough. While areas such as the rooftop allow for the wanton violence of the Assault playstyle, doing so put you at risk from grenades and flanking tactics. Limit your open conflict to the confines of the apartment and police station interiors, where hostiles are forced to funnel toward you and they can be picked off with ease. When preparing your loadout for this mission, ensure that you have a firearm that is unsuppressed. Ideally, this should be your alternate weapon, which can be equipped with both an Extended Mag and Armor Piercing ammunition. As for gadget choices, be sure to bring along Smoke Grenades, which can be used to disrupt and confuse enemies if the firefight gets too hot.
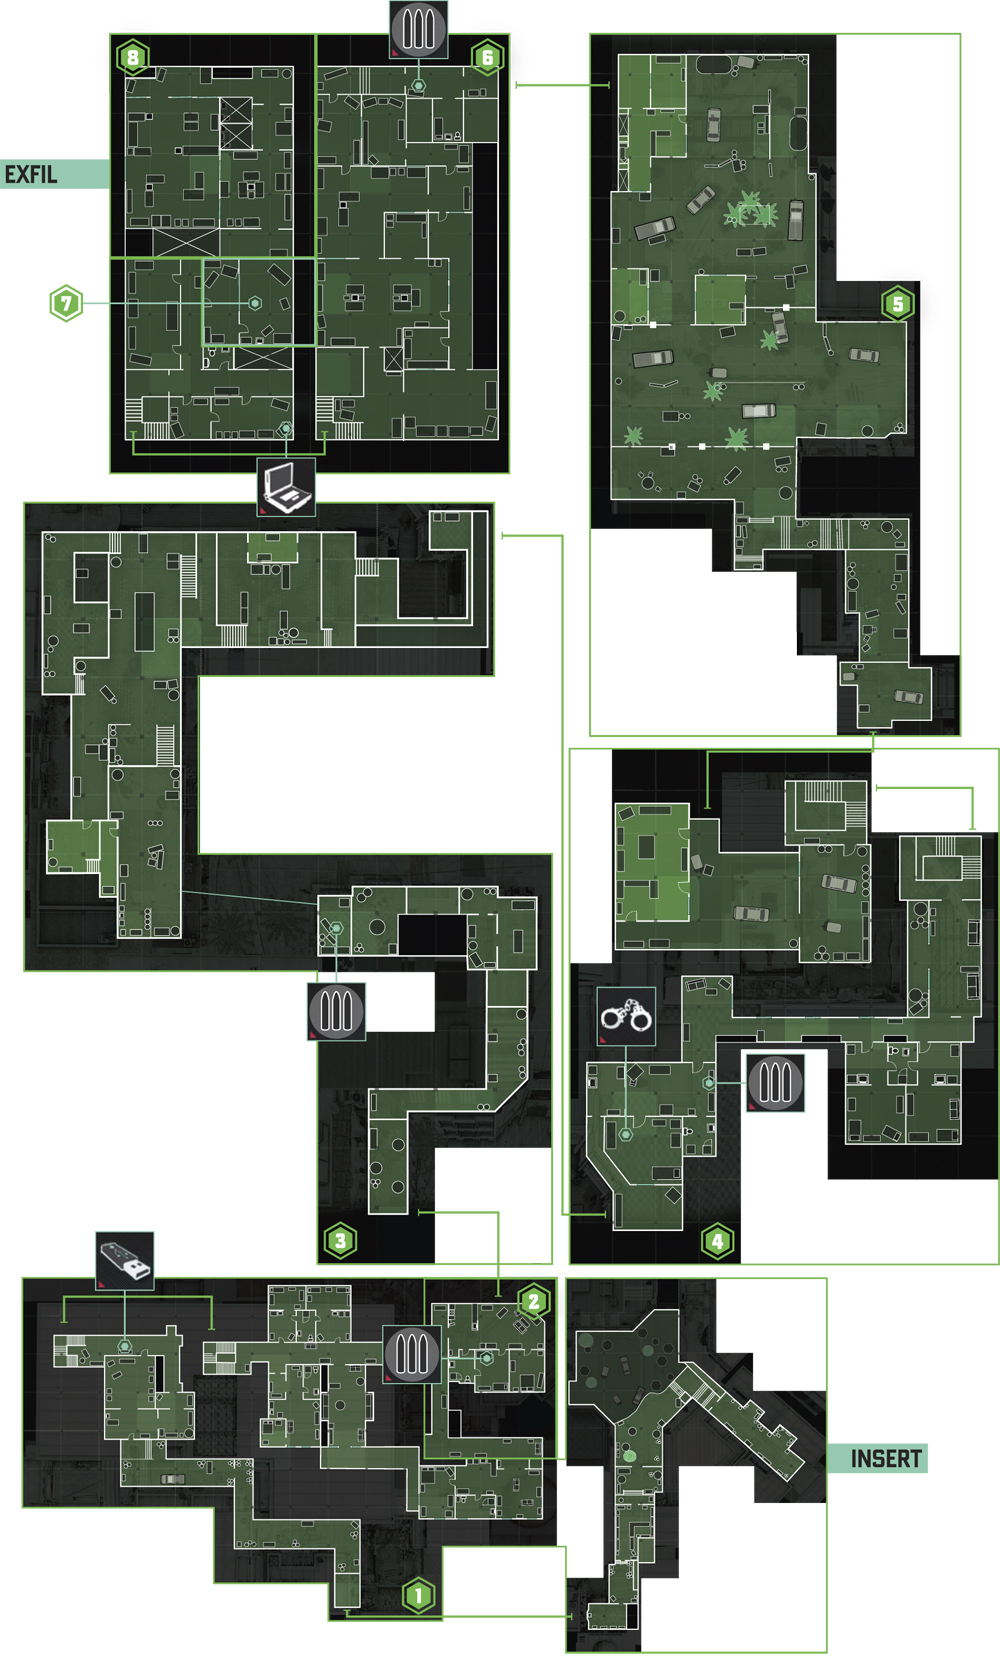
1: Apartments (1st)
GHOST
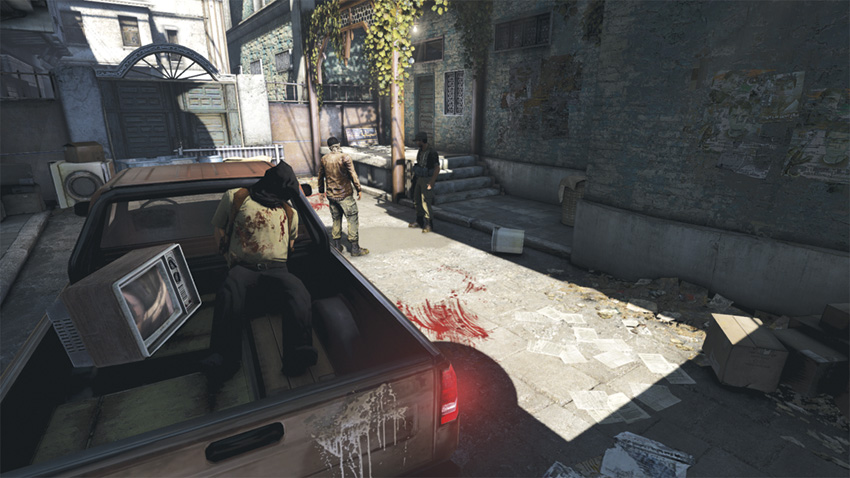
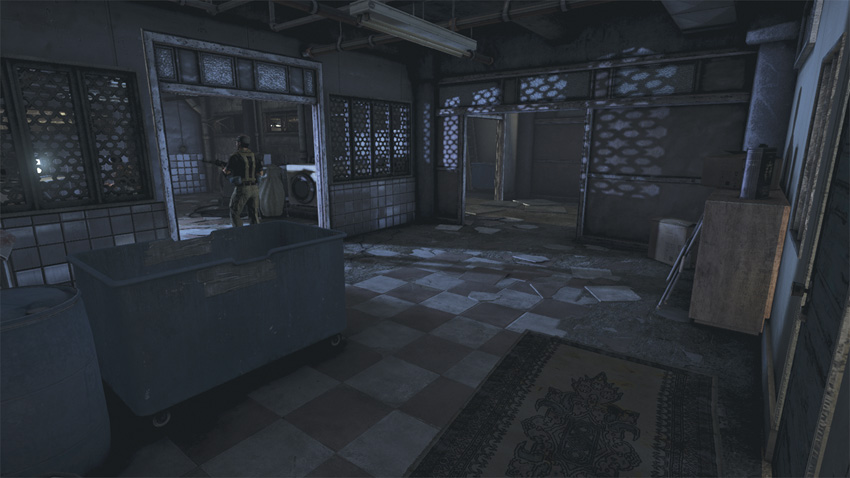
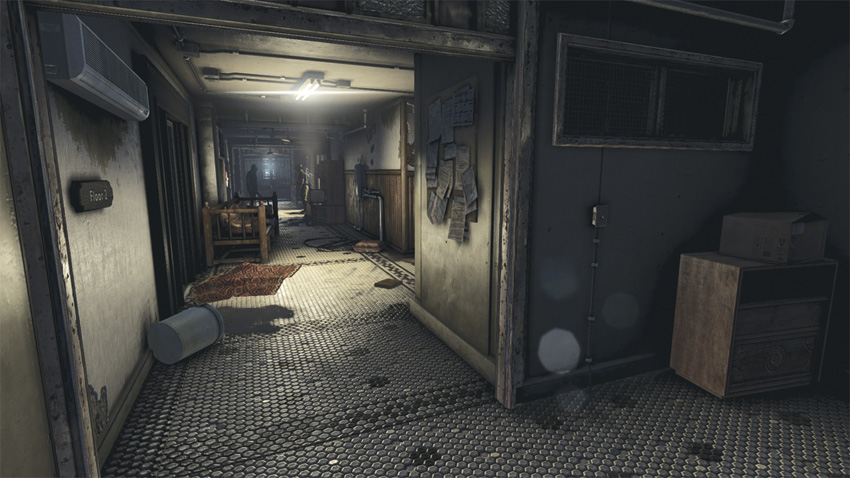
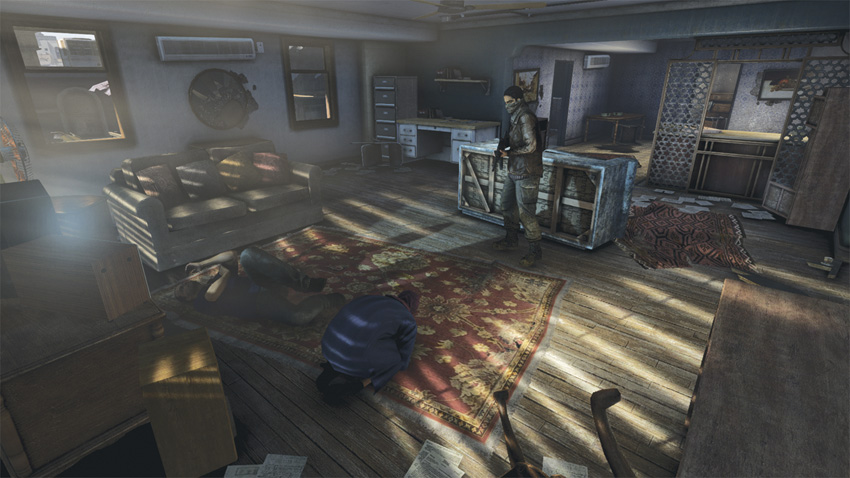
Your first goal in the mission is to familiarize yourself with the “Execute” system. After following the tutorial for marking your enemies, instead of engaging the hostiles, opt to leave them undisturbed by taking cover on the driver’s side of the truck. Make your move once they are done with their conversation. Just be sure that both guards have left the small courtyard area before doing so. Making your way through the apartments undetected requires that you use the cover swap technique quite often. The tight quarters and maze of adjoining rooms connected by hallways afford you the opportunity to leave all of the hostiles within this area undisturbed—which earns you a substantial bonus as well. As you switch from one area of cover to another, it is important to note that you do not have to be behind a wall to remain out of view—just simply be within the shadows. One important caveat to note: Avoid the temptation to shoot out lights or otherwise interact with the environment in this area. Unless you are attempting to lure a guard into your trap, try to leave these rooms and halls the way you find them to avoid unwanted attention.
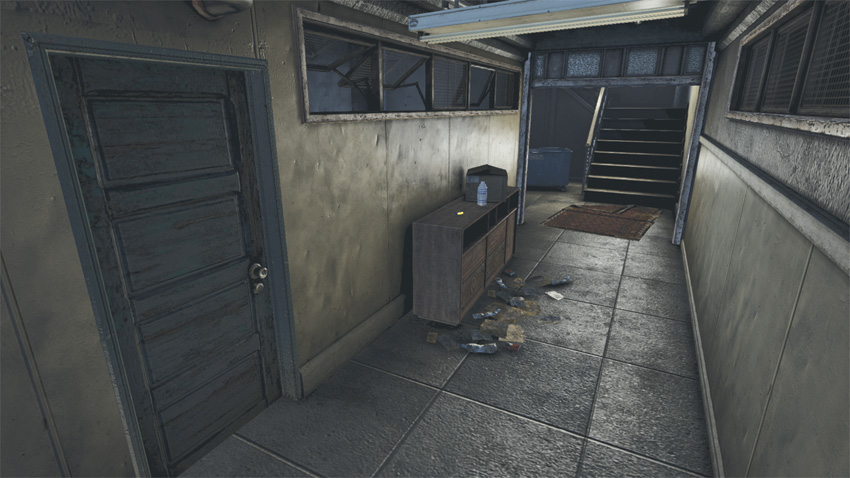
Dead Drop
Don’t forget to grab the Dead Drop before ascending the stairs to the second floor of the apartment building.
ASSAULT
Early on, the apartment building affords a chance to go loud and do so strategically. Taking human shields as you progress is essential to staying alive when navigating the confines of the hallways and rooms as you make your way to the Safehouse. Dividing your progress through the apartments as a series of engagements ensures that you do not hastily put yourself into the line of fire unnecessarily. As you progress, three hostiles serve as particularly convenient human shields, allowing you to neutralize the remaining enemies in the area from relative safety. Getting this sequence of events started is dependant on waiting for the first two guards to finish their conversation, allowing one of the guards to go inside the apartment while you dispatch his comrade in silence. Take this guard hostage, then quickly clear the room around the television. At the top of the stairs, turn off the hallway light and when one of the guards comes to investigate, take him hostage to clear the hallway and adjacent room.
2: Safehouse
GHOST
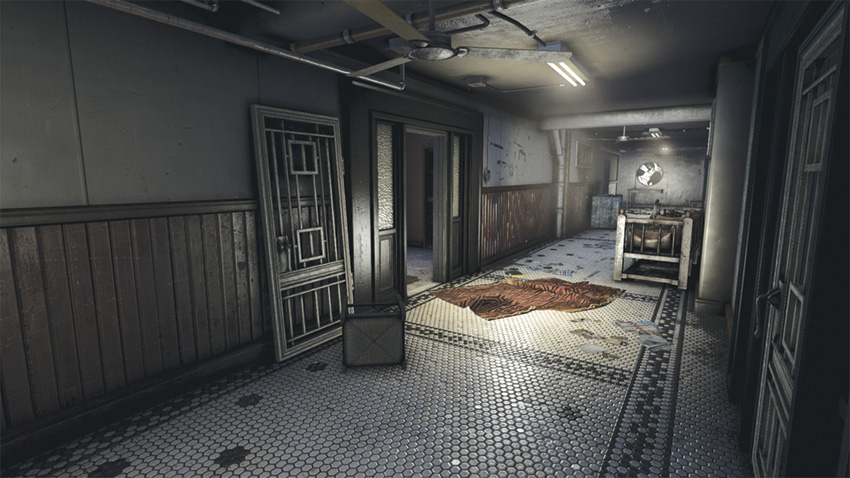
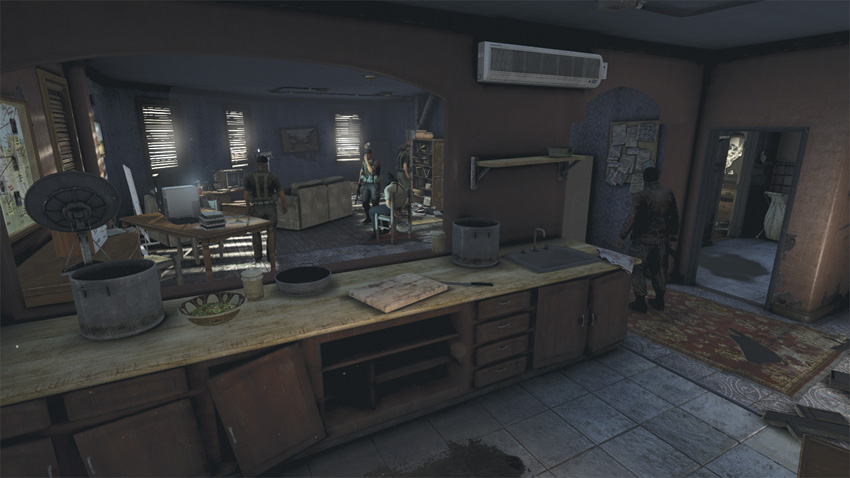
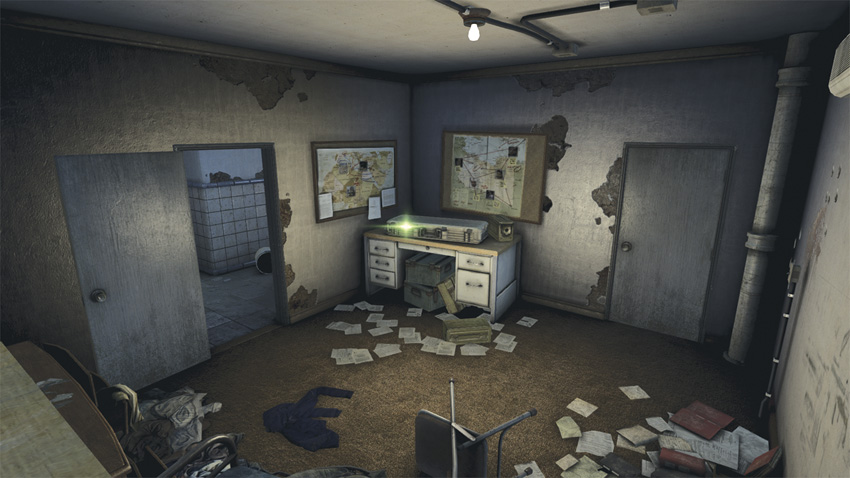
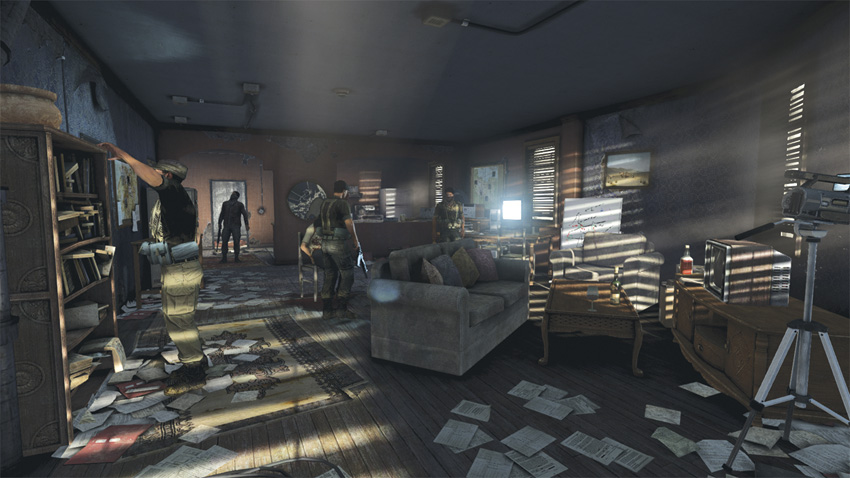
When you find yourself outside of the apartment where Kobin is believed to be held, you will be required to clear the room of the militia guarding him. There are two options here, the first is to lure the guards out of the apartment by using Sticky Noisemakers or by shooting out the hall lights. The second requires a bit more preparation. Here’s a brief step-by-step of how to clear this room in true 4th Echelon fashion:
Step 1: Approach the apartment quietly, taking cover near the right side of the door.
Step 2: Switch cover to the kitchen cabinets on the left side of the guard nearest the door.
Step 3: Throw a Sticky Camera toward the two guards on the far side of the room and release its Sleeping Gas.
Step 4: As the two guards fall, quickly perform a Stealth Knockout on the guard nearest you.
Step 5: The guard that was near the computer will be alarmed, but he hasn’t detected your location yet. Throw a Sticky Noisemaker near the open door across from the kitchen, when he goes to investigate the sound, perform a Stealth Knockout from around the corner.
ASSAULT
With four guards within the Safehouse to eliminate, a hostage and a little deception is necessary to clear the room efficiently during your assault. Your approach to the Safehouse should be done with care to ensure that the guards within are not aware of your presence. The layout of the apartment makes it possible to clear the room by simply charging in with your guns blazing, but doing so risks wasting ammunition. An effective assault on the Safehouse requires two critical steps:
Take the guard near the door as a human shield, then strafe to the left and await the detection. Once you are detected, fire on the enemy near the computer to the left.
Then follow up by killing the two remaining guards on the right side of the room before killing the guard you have taken hostage.
3: Rooftops
GHOST
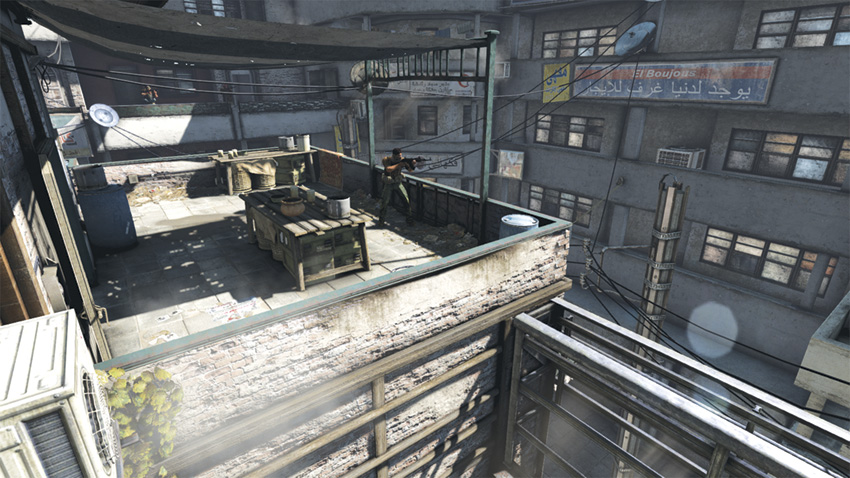
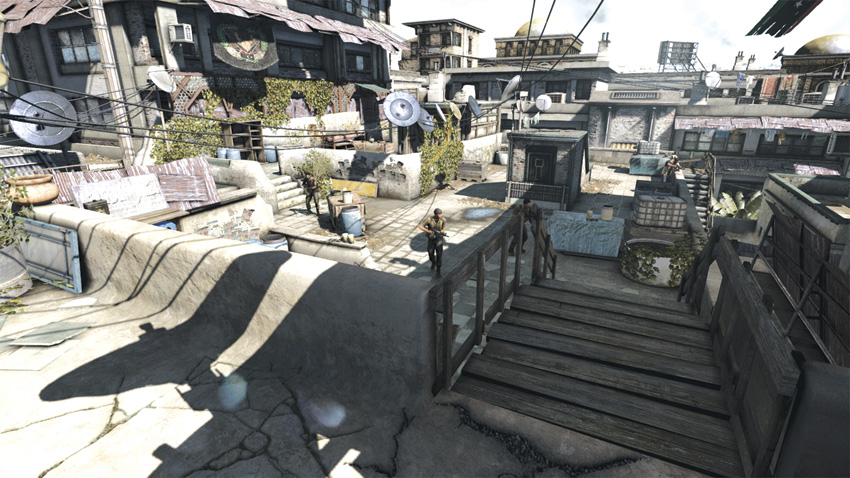
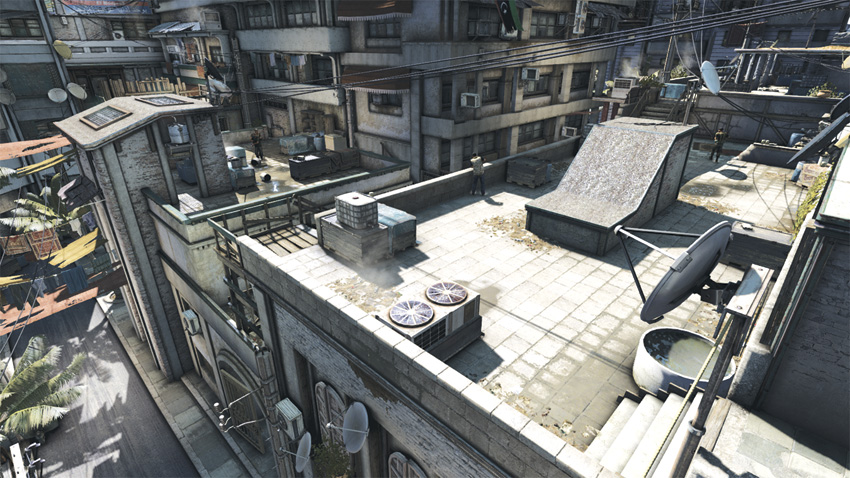
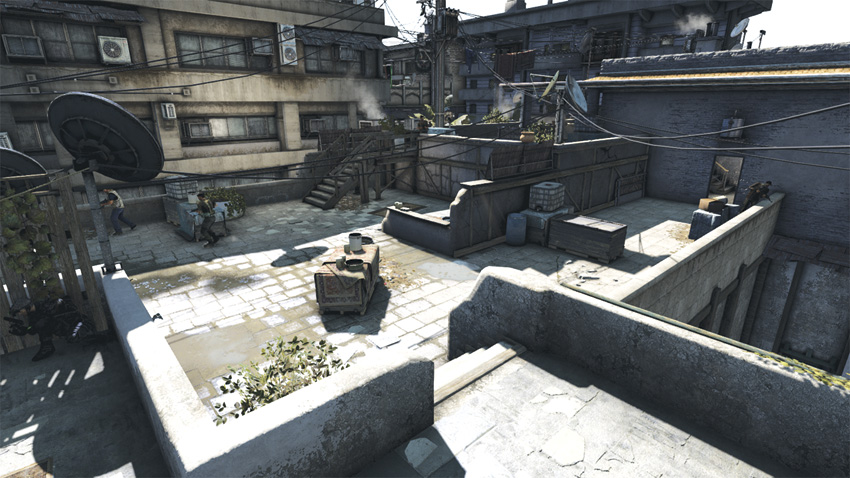
Traversing across the rooftops undetected can be difficult given the long sight lines and lack of obvious cover from the roving guards that you find here. Leaving enemies undisturbed requires avoiding the rooftop. Instead, traverse the area by hanging from the side of the buildings to move hand-over-hand along the ledge whenever possible. If you stay on the far edges of the rooftop, the ledges and scaffolds provide a path that makes detection difficult.
Be careful; the rooftop after the wooden scaffold is patrolled by three guards that frequently are within sight of one another. It is best to dispatch the nearest of the three guards before climbing back onto the rooftops to bypass his comrades.
ASSAULT
Outnumbered and outgunned, going loud as you cross the rooftops can quickly prove fatal. Take a moment before you engage the enemy here and allow them to cluster together while patrolling. From behind cover, throw a Smoke Grenade behind groups of hostiles as they approach, drawing their attention toward their rear. After the zipline, stay behind the low wall overlooking the center of the first rooftop. Mounting your assault from here provides the enemy with little chance of flanking you without being seen. Although it is easy to monitor the stairs to the right, be careful; the door where you landed with the zipline leads to the left side of the rooftop. The greatest threat to you here is grenades, so be ready to fall back quickly to the pillars behind you if you must.
4: Apartments (2nd)
GHOST
High Value Target
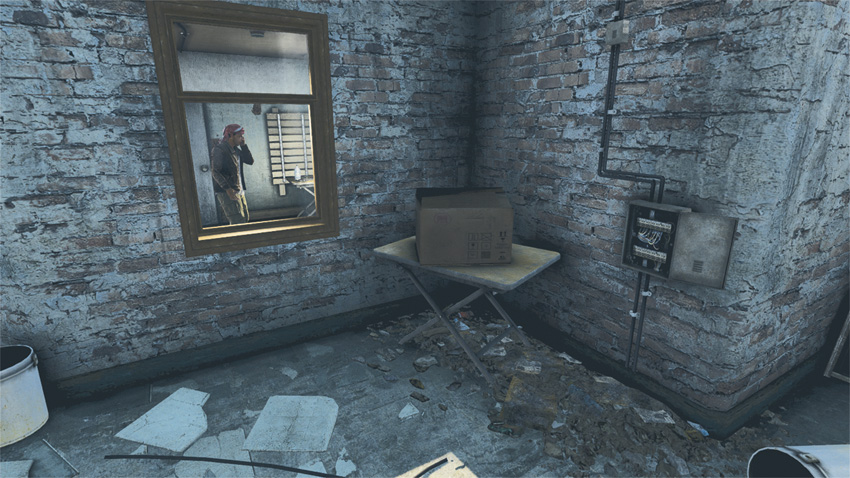
The High Value Target is located immediately after you descend from the rooftops. Enter through the window to catch him by surprise.
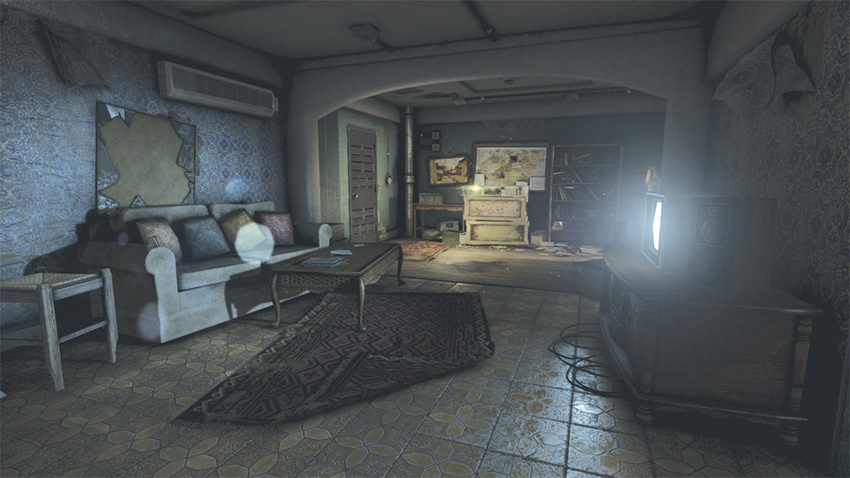
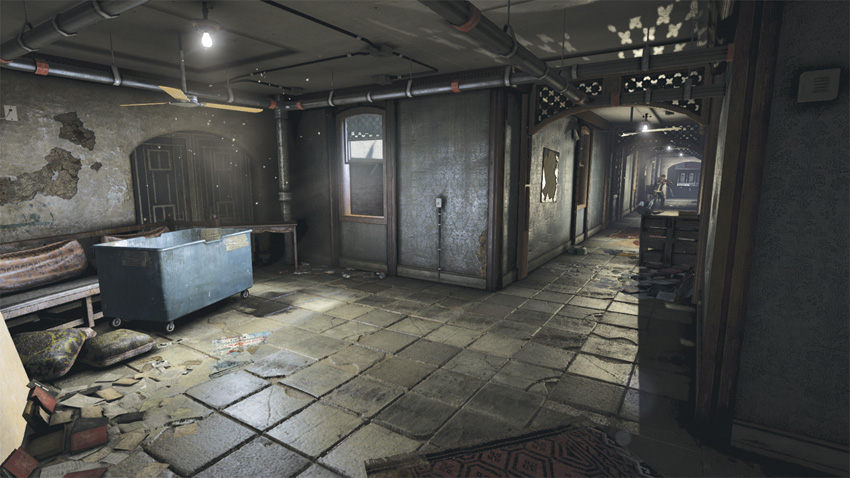
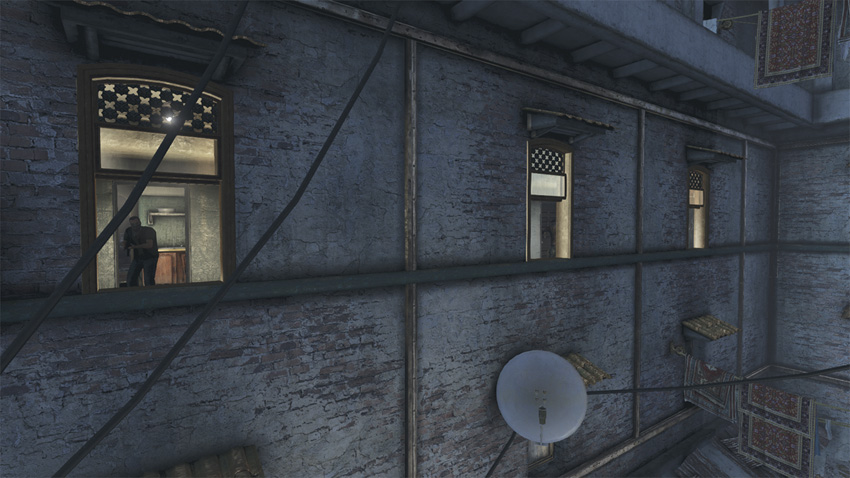
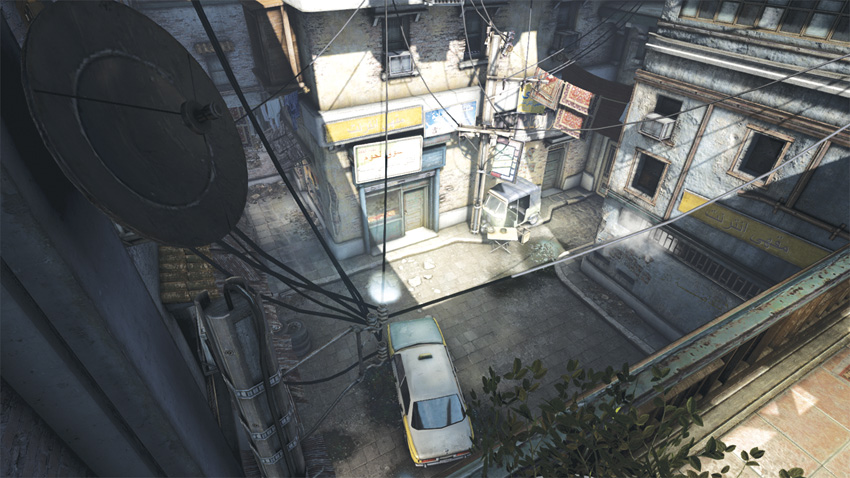
After capturing the High Value Target at the start of the area, you find yourself within the apartment hallway. Plenty of guards are roaming the hall and the adjoining apartments. Instead of navigating the gauntlet, climb out of the nearby window and move along the ledge. Enter the last window to reach end of the hall. After you successfully bypass the hallway, the real difficulty is in sneaking past the patrolling guards on the street below. The only cover in this small patch of asphalt is a car that unfortunately is on the opposite side of the area’s exit.
There are two paths leading to the street as well. The first is a stairwell across from the hallway’s exit.
The second path requires climbing over the nearby balcony and dropping down to the street below. Use a Sticky Noisemaker to draw the attention of the patrolling guards to the alley across the way.
With the guards’ attention diverted, drop down and turn the corner to your right, then climb over the gate to exit the area.
ASSAULT
After traversing the rooftops, you find yourself within a second apartment building. The first hostile you encounter is the High Value Target for the mission, so be sure to capture him alive. After your encounter with the HVT, you exit into a hallway where militia are terrorizing citizens and pulling them from their homes at gunpoint. Across the hall, near the open window, there is a light switch. Flipping this switch turns off the lights within the hallway and attracts the attention of the nearby guard, while obscuring your presence for the hostiles down the hallway. After exiting the hallway, climb over the railing of the balcony on the left to climb down to the street below. By this time, the militia that were prowling this small patch of asphalt should have entered the nearby auto garage on their way up to the apartments, and you can pass unhindered.
Turn off the lights and take the nearby militia hostage when he investigates. Walk your hostage down the hall toward his comrades; you may have to use the Attract command to be detected within the dark hallway. Should the guard you are hiding behind perish, use the apartment doorways on your right as cover while you pick off the remaining enemies.
5: Police Station (Exterior)
GHOST
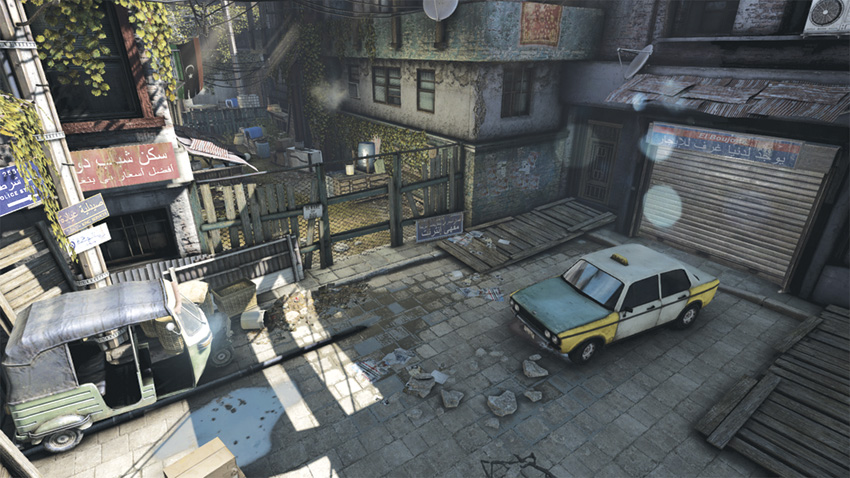
Your next obstacle lies ahead: A lone guard dog patrols on the other side of a chain-link fence. Use a Sticky Camera to lure the animal in close before releasing Sleeping Gas to put the animal down and pass through the area unhindered.
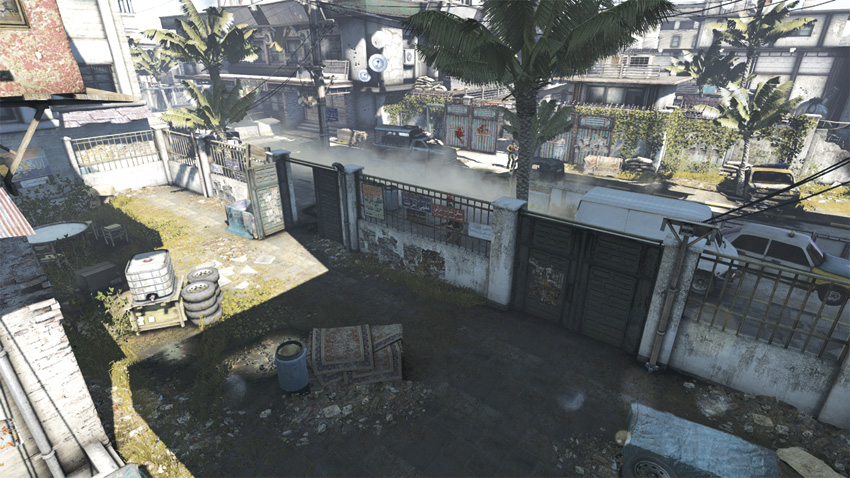
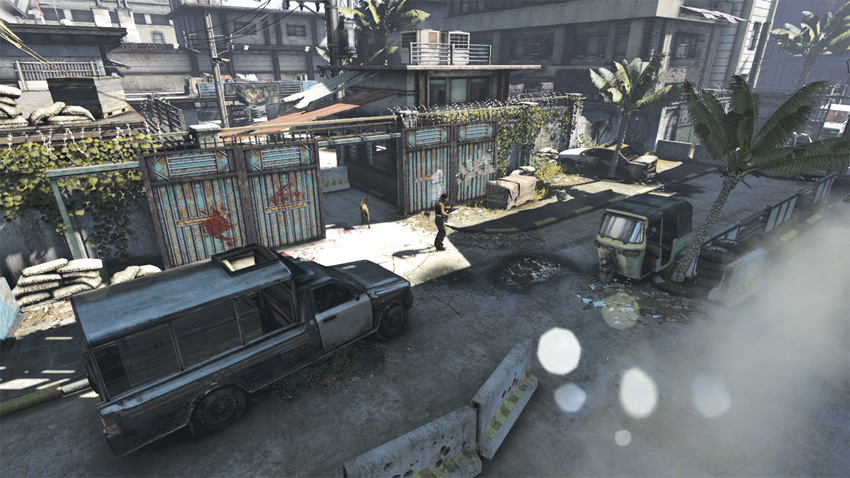
Your approach toward the Police Station is divided into two sections. The first of these is a two-lane road that is patrolled by guards and contains moderate cover provided by abandoned vehicles and the short aluminum divider between the lanes. Entering the Police Station compound requires crossing this road and entering either by way of the main gate, or the much more covert option of scaling the concrete wall that runs the length of the compound. Take your time and use the wall and iron gates prior to the roadway as a survey point before crossing.
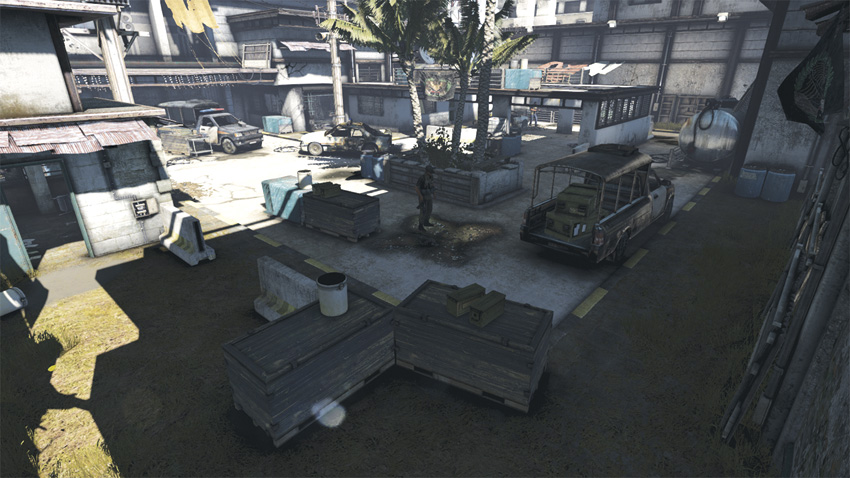
The second section of your approach is within the walls of the compound. Several guards patrol this area, as well as a lone guard dog that can be dangerous if he discovers your scent. The yard of the compound does feature vehicles, crates, and low walls for cover, so be sure to use them to your advantage. Switching cover as you cross the yard is a quick and efficient way to traverse the area and avoid being detected. Stick to the far left or right walls of the compound, avoiding the exposed center that is frequently patrolled by the dog.
When crossing the road, stay to the right side. The damaged section of wall on the compound’s right side makes a great infiltration point. After climbing the wall, be sure to take cover by the nearby crates. If one of the guards is suspicious, wait for him to get close and then deal with him accordingly. Continue following the wall to your right, taking cover by the nearby vehicle.Stay low as you advance toward the garage. Climb atop the structure and locate the two satellite dishes across the way. Between the satellite dishes is an open window. Climb through to gain access to the Police Station.
ASSAULT
Your approach to the police station requires you to cross a two-lane road. With guards roaming about on the road and within the compound, be ready to hold your position across the road from the police station compound. Begin your assault by killing the guards conversing near the gate. Spare your ammunition by taking the one nearest the gate hostage and using a headshot to eliminate his friend. Keep your hostage close, the guard dog will be descending on you by now and you’ll need some means of deflecting the animal before you put it down. Remain near the gate and fire from cover only when you have a clean shot, the distance here can equate to plenty of missed shots and wasted ammunition. When approaching the compound, enter by climbing over the damaged stone wall on its right side. This side offers cover with more visibility of the compound, which can prevent the hostiles from getting the jump on you.
6: Police Station (Interior)
GHOST
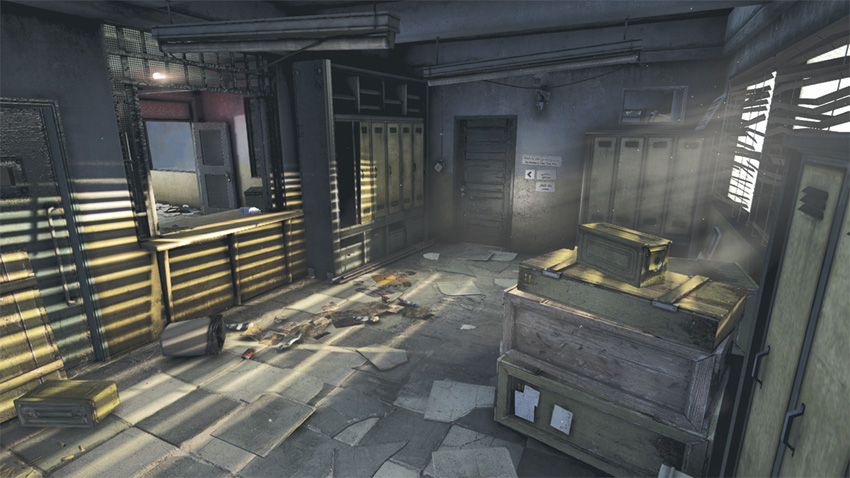
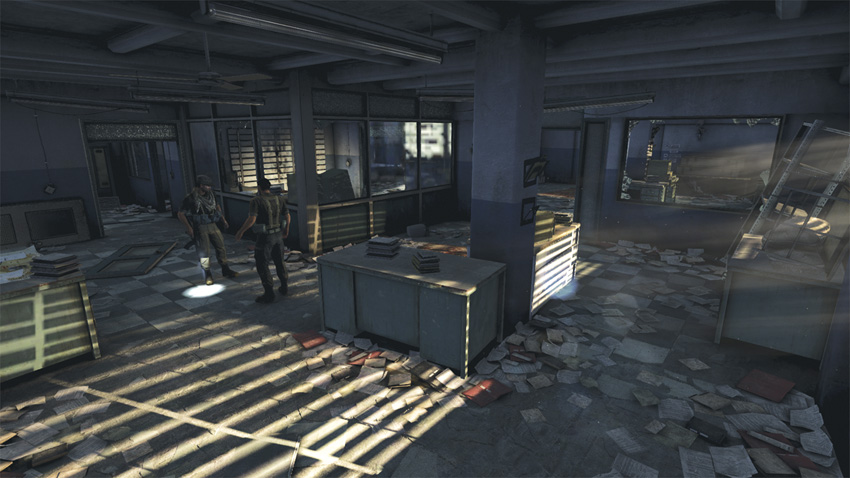
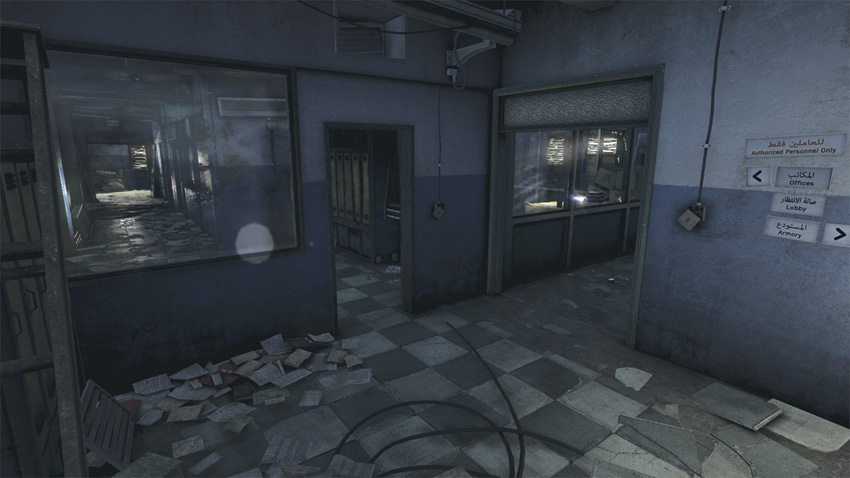
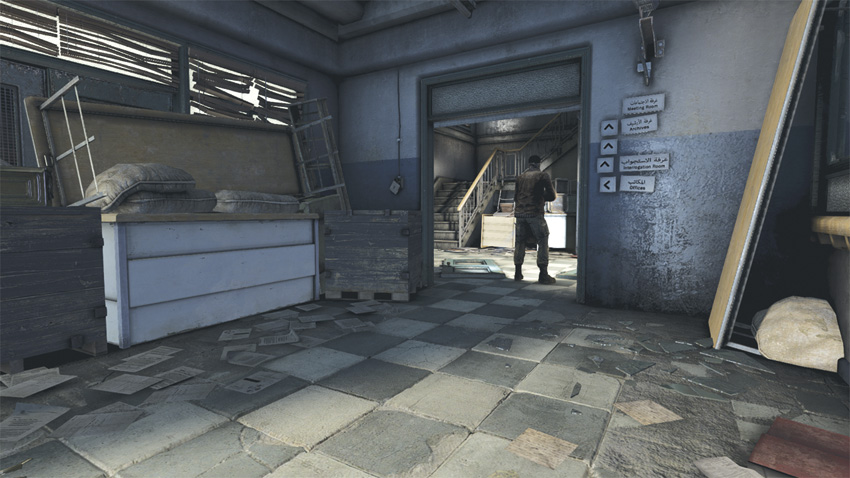
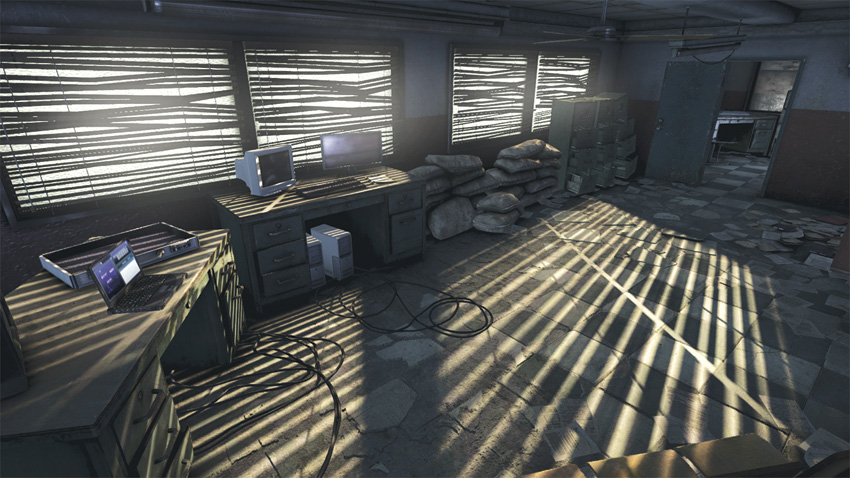
The interior of the Police Station leaves little room for error. The staircase leading to the interrogation room is on the opposite side of the building. Avoid passing through the first door you encounter, as it exits to an open office area where you can easily be detected. Instead, climb over the nearby counter to locate a door that exits on the left side of the Police Station. The narrow hallway across from the door may seem like a deathtrap, but only one guard tends to patrol this area. Eliminate or wait for him to walk back toward the rear of the building before advancing. Use the small office at the end of the hall to hide from the roving patrol and monitor activity near the staircase. Climb over the counter and ascend the stairs when the path is clear.
Blacklist Laptop
The second floor is unguarded, so take a moment to locate the Blacklist Laptop before entering the interrogation room.
ASSAULT
The interior of the Police Station is rife with cover that can be used to your advantage. This is an location where you benefit from holding a position and allowing hostiles to approach you, picking them off as they charge you. After the brief walk through the jail cells, you enter a room with a counter to the left. Climbing over this counter places you in a small area with two windows and a door. From this vantage point, you can control the flow of guards that are in the hallway just outside. The window farthest from the door is bulletproof as well, so although you will not be able to fire through it, your enemies will be unable to as well.
After climbing over the counter, stand in front of the window nearest the door to be detected by the guards in the hall.
With the guards on full alert, the window nearest the doorway provides a vantage point to gun down hostiles as they approach.
Take cover behind the window farthest from the door if the firefight is too intense; doing so can give you a moment to recover from the onslaught.
7: Interrogation Room
GHOST
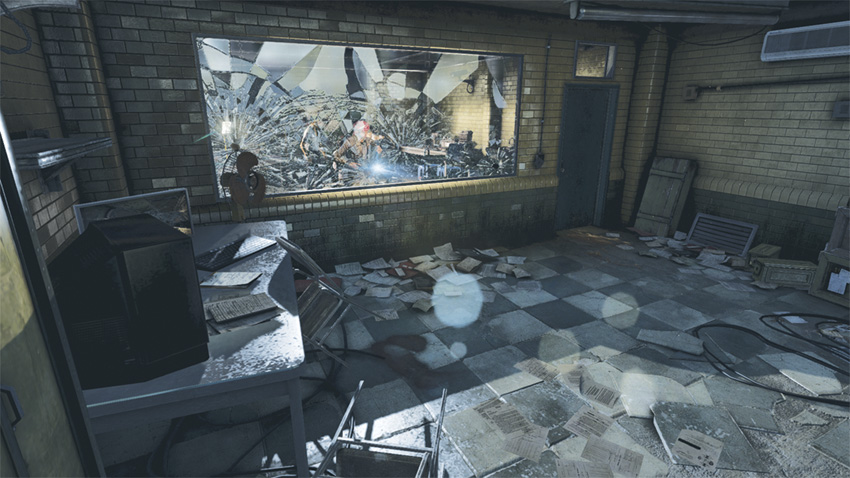
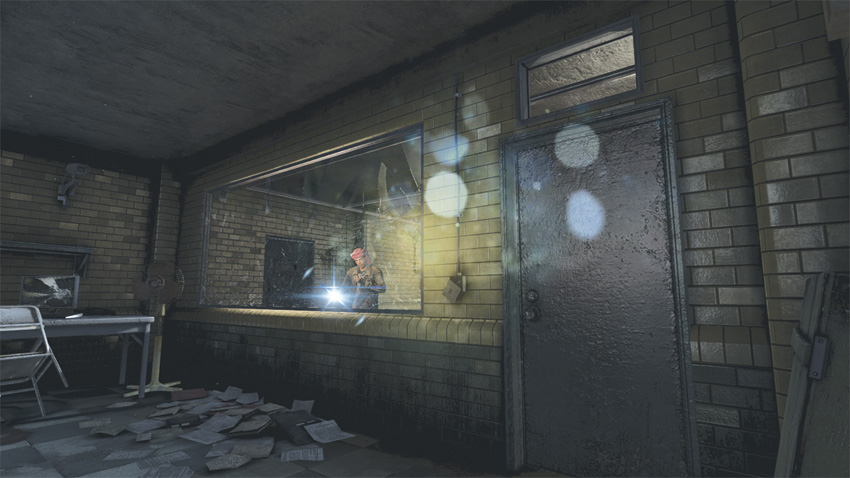
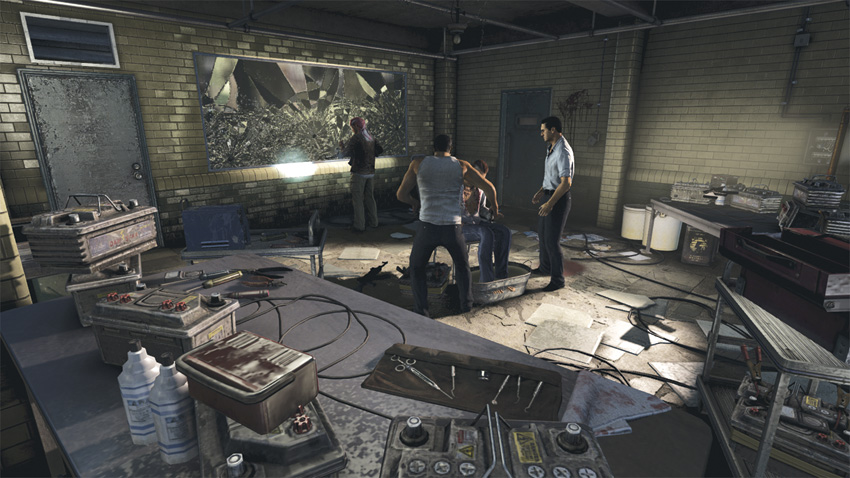
On any difficulty other than Perfectionist, liberating Kobin from his captivity can be accomplished in true Ghost fashion. The one-way glass prevents Kobin’s captors from detecting your entry into the room. From here, you can mark all three of the hostiles, equip your Stun Gun, and use the Execute Ability to dispatch all three of them before they know what hit them.
ASSAULT
On the second floor of the Police Station, you discover the interrogation room where Kobin is behind tortured mercilessly. Lucky for you, the fiends are unaware of your presence because of the one-way glass. Use this to your advantage. Just above the door is a small open window. This window is perfect for throwing a Smoke Grenade into the room and flooding it with smoke. Once the three hostiles are on alert, use an unsuppressed weapon to fire through the glass, dropping your targets one-by-one before the smoke clears.
8: Escape with Kobin
GHOST
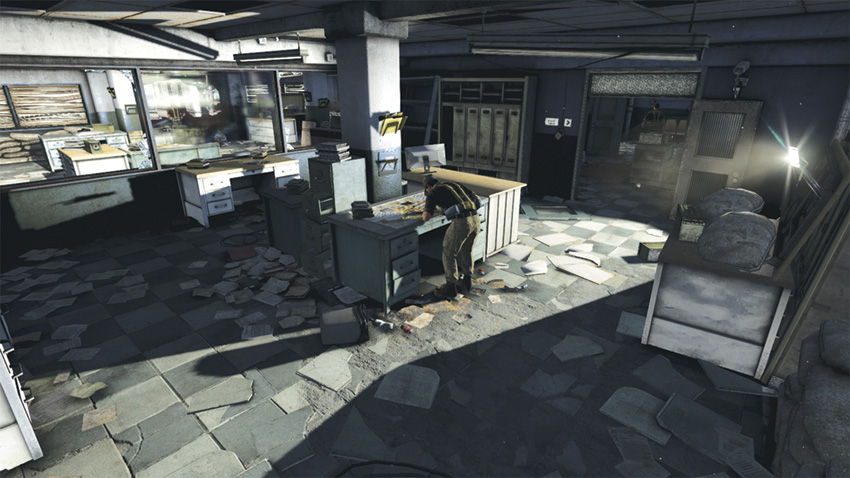
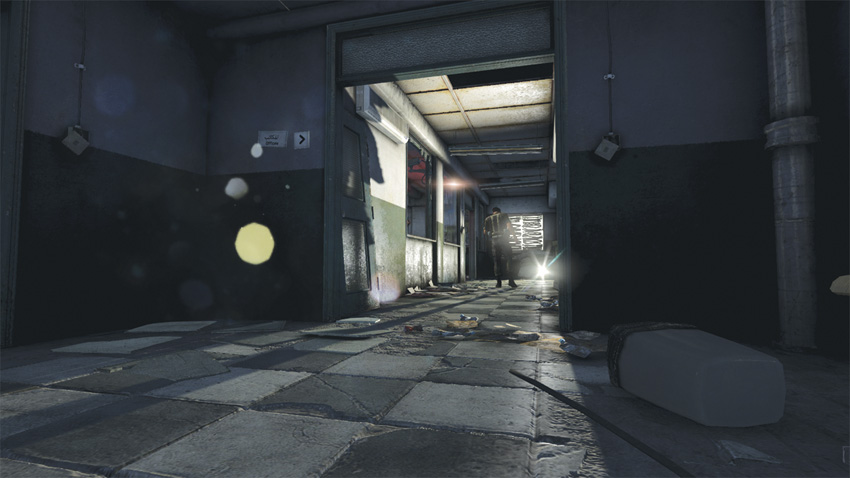
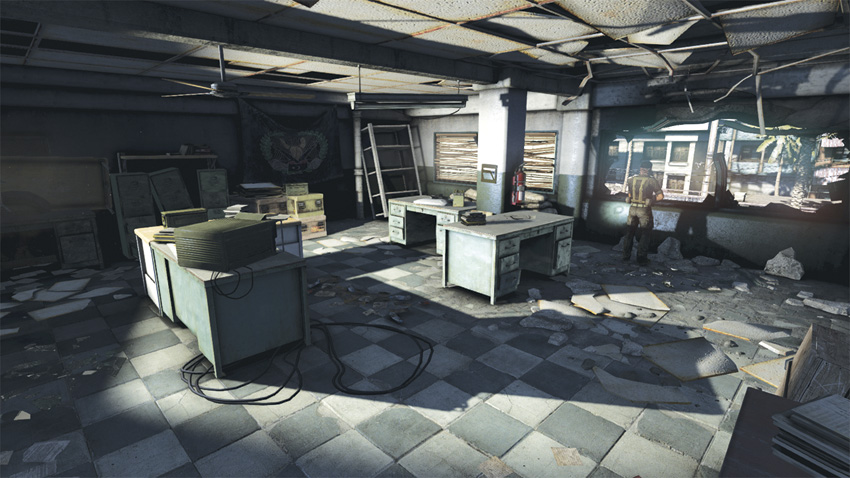
Escaping from the Police Station with Kobin requires that you remain undetected. If the two of you are discovered, reinforcements will arrive and you will have no choice but to engage in open combat. Maintaining Ghost here is dependent on having at least three charges left in your Stun Gun after you rescue Kobin. As you drag Kobin toward the exit, fire on the guards only when they are alone and not within view of their comrades. The first guard should be dropped when he goes to inspect the documents on the desk near him, the second guard when he stops to use his phone in the hallway, and the third when he is stationary near one of the desks in the office area.
ASSAULT
If you happen to be detected while “escorting” Kobin from the building, reinforcements will arrive on the scene. The arrival of the enemy also results in your being pinned down with Kobin near the exit, where you must hold your ground while preventing Kobin’s death. Don’t expect to get any help from your friend in cutting down the hostile force pouring into the small office space, however. Avoid the area immediately near the exit. Enemies flood in from both the door and windows that open into the room, take cover near the door to the right of the exit. As enemies flood into the room, you will be relatively unseen before you fire a shot. To protect Kobin, throw a Smoke Grenade near him when the action gets too hot. This will slow the barrage of bullets tearing apart the walls and furniture around him.