
Tom Clancy's Splinter Cell Blacklist Guide Walkthrough Ghost/Assault Tactics
Mission 5: Abandoned Mill London, UK
GHOST
The floor plan of the Abandoned Mill is equally as much of a threat to you as the enemies are. This is a location that is best explored by utilizing ledges and windows to navigate around the area as opposed to neutralizing hostiles as you progress. You will encounter a good number of snipers, Commandos, and guard dogs during the course of this mission. When preparing your loadout for this mission, ensure that you are carrying Sticky Cameras, Sleeping Gas, and the Tri-Rotor. With these three gadgets to accompany your tried-and-true Stun Gun, you will be a spectre haunting the halls of this decrepit structure.
ASSAULT
The Abandoned Mill is rife with opportunity for mounting an all-out Assault on the enemies. All of the areas, with the exception of the Loading Bay, are suitable for going loud. Although the open spaces are a disadvantage for the Ghost playstyle, they are well-suited for picking off hordes of enemies because they are forced to traverse these spaces to close the distance between you. Remember to draw in enemies as opposed to charging toward them. Not only does it prevent injury, but it conserves ammunition at the same time. When preparing your loadout, it is wise to bring both Frag Grenades and the Tri-Rotor. The Tri-Rotor is useful in neutralizing Drone Operators before you engage the enemy, thereby preventing the flood of Drones that waste your ammunition while you try to keep them at bay.
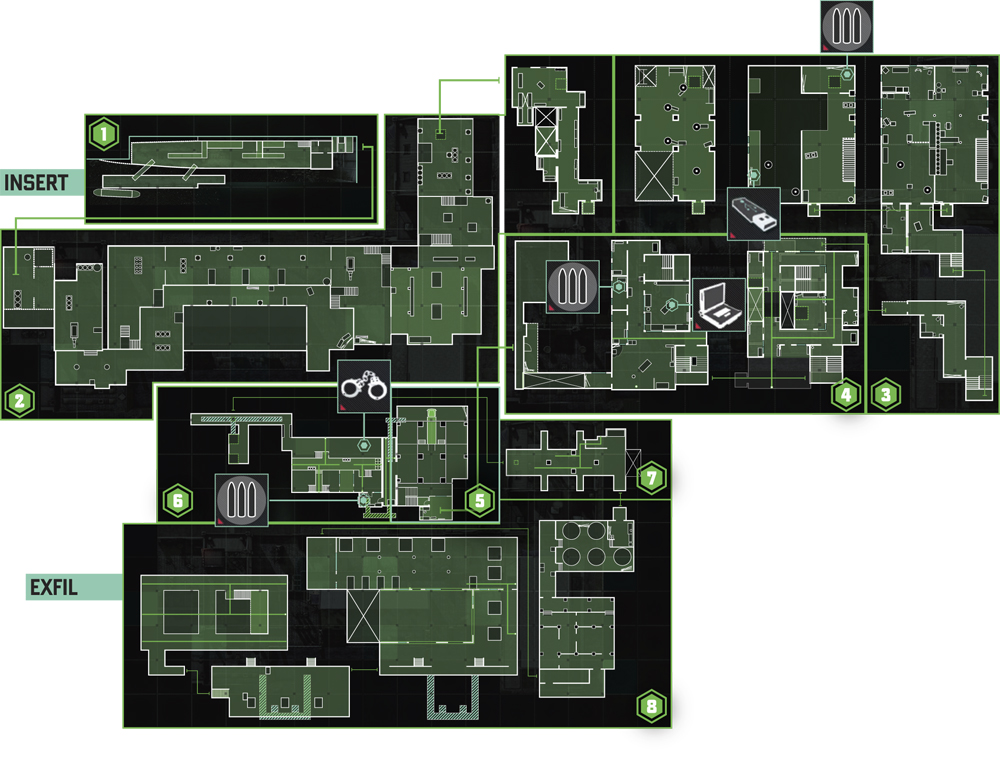
1: Docks
GHOST
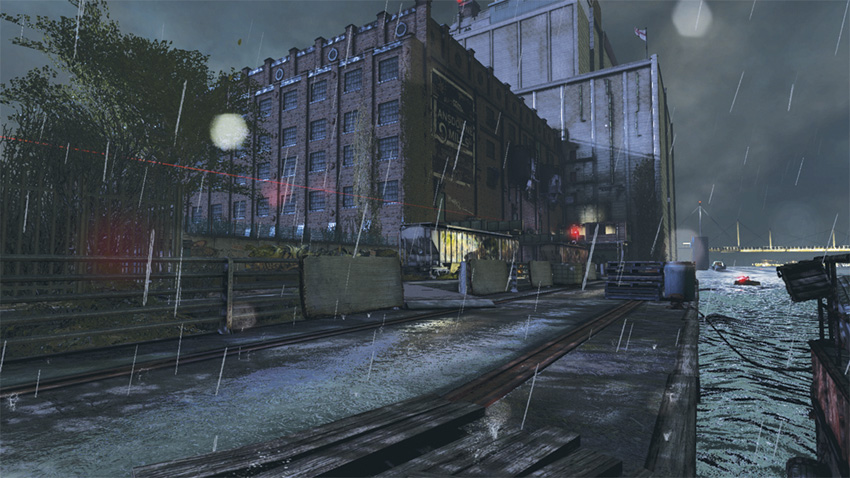
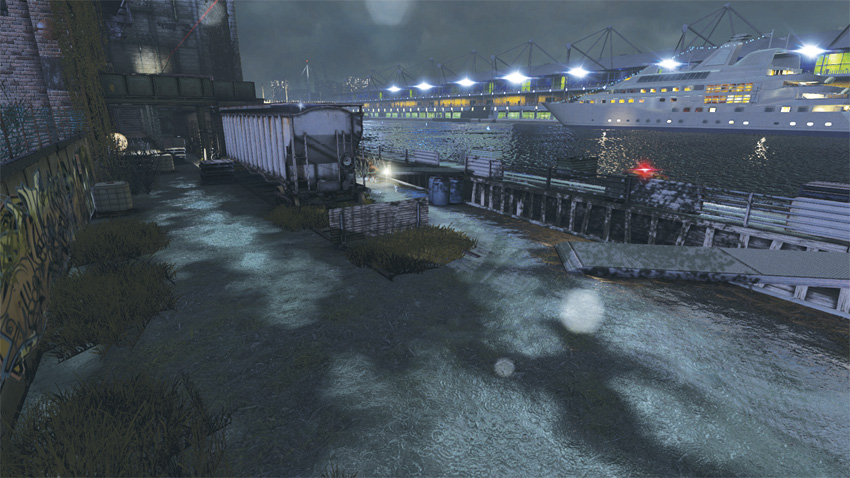
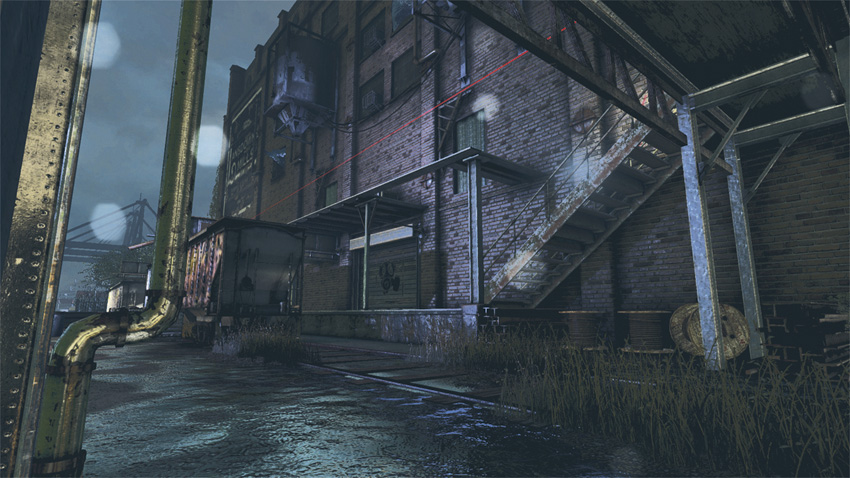
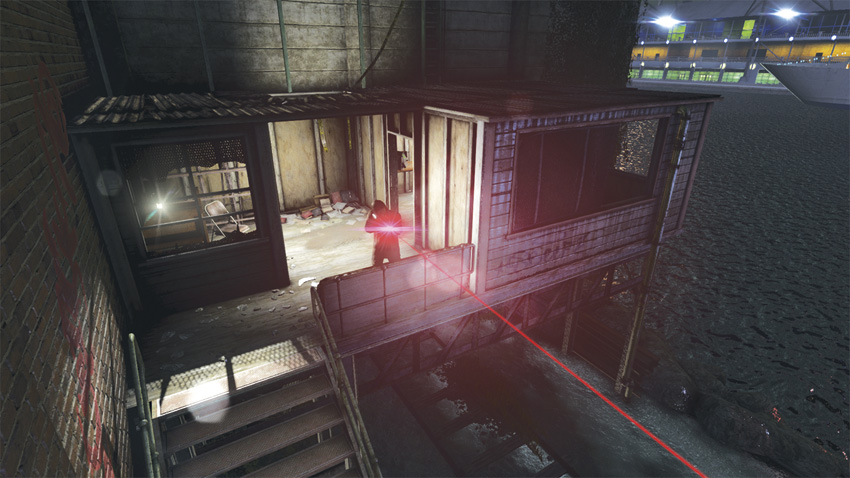
Your insertion point places you at the bank of the river that runs past the old Lansdowne Mills building. From here, you will have to scale the building and access the rooftops. This area is lightly guarded by a guard dog that prowls around the nearby train cars, and a sniper that has taken position in a small room overlooking the railway entrance. The sniper is the lesser threat here. Two planks cross from the dock to the loading bay area of the mill. Take cover beside the plank nearest you. From cover, throw a Sticky Camera toward the train car just beyond the plank. Use the Sticky Camera to attract the guard dog to it and then pacify the animal with Sleeping Gas. When the animal is down, cross the nearby plank and continue past the train car. Stay low near the wall on the left side of the train cars. The sniper up ahead will be unable to see you until you cross under the last awning just before the stairs that lead to his perch. If he is standing near the stairs, wait a moment for him to walk back into the small room before advancing. Either way, as long as you stay in the shadows against the wall, it will be difficult for the sniper to spot you. After scaling the stairs, climb onto the roof of the sniper’s room and navigate the series of handholds and pipes on the wall to access the roof.
ASSAULT
Begin your assault early. Run past the first train car, staying near the left wall until you come to the sniper perch. Use the pipe on the right side of the structure that supports the small room the sniper is using for refuge to climb through the window. Once inside, use the Attract command to earn a detection from the sniper when he is outside near the stairs. At this point, the dog comes running to your location. Allow the animal to enter the shack, neutralize it, and then step out and end the sniper with a headshot.
2: Rooftops
GHOST
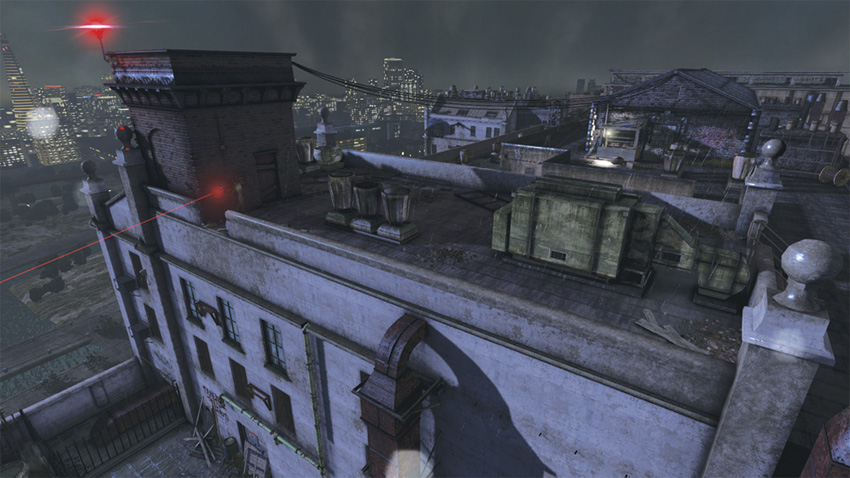
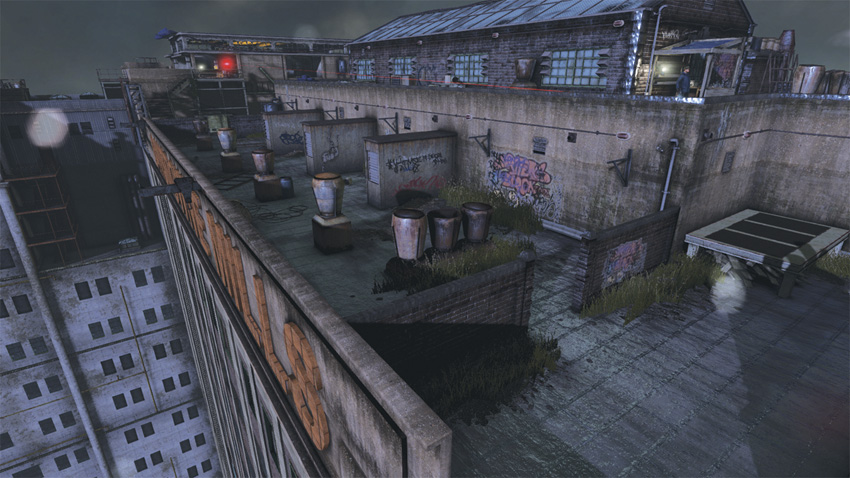
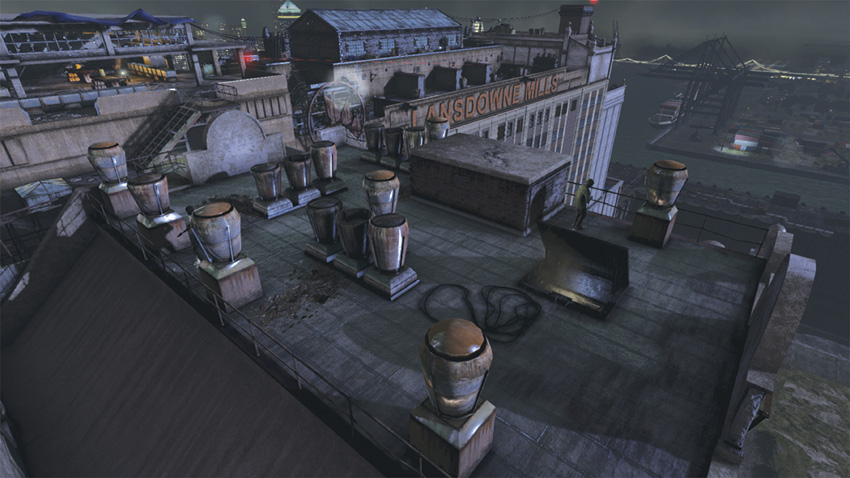
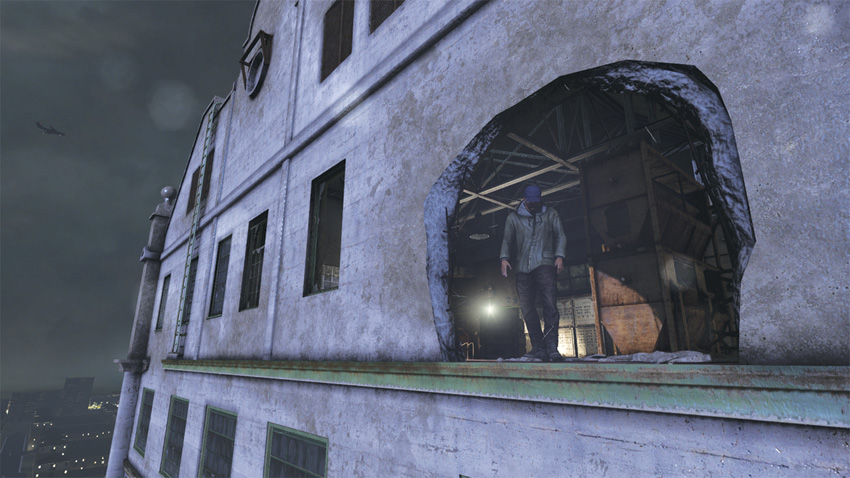
From the roof, there is one wall left to scale. At the top of the wall, a sniper is perched and looking in the direction of your climb. Lucky for you, he’s not looking down. It is possible to continue on your way without harming him, but you also risk being seen by him while crossing the rooftops. Climb the wall and get under his position, then perform a Stealth Knockout to neutralize him. Now, begin to move across the roof. You have two path choices; opt for the lower path. After taking the stairs down, proceed forward and forego turning right. Instead, climb over the ledge and shimmy toward the opposite end of the roof. When you come to the “M” of the “Lansdowne Mills” sign, climb back over the ledge to bypass a metal support. Before you do, take a moment to release your Tri-Rotor. You are just within the range needed to neutralize the sniper ahead with a Sticky Shocker. After doing so, climb over the ledge and onto the roof. Continue toward the staircase where the sniper was standing. Scale the stairs and go left.
Go down the stairs you find there, turn left and move toward the small patch of grass beneath the low ledge. Climb onto the ledge and turn left and climb over the railing. Use the railing to shimmy to the left, bypassing the two guards on the rooftop. When you reach the end of the railing, climb back onto the roof and drop off the ledge that will be to your left. Hanging from the ledge, move left to the ladder, then navigate the handholds until you come to a large hole in the side of the building. Climbing through the hole places you within a small room with one guard. There is plenty of cover here, so bypass the guard by luring him toward the far side of the room and behind the large racks. As he goes to investigate the sound, use cover swaps to quickly cut through the room. Once you have entered the hallway, simply follow the path until you come to an open elevator shaft. Use the Fast Rope to access the next area.
ASSAULT
Surviving the rooftops while engaging in direct combat requires baiting the enemy. From the moment you scale the wall and engage the sniper on the ledge, allow yourself to be detected. Eliminate the sniper, then hole up near the low wall overlooking the stairs below. From here, you can monitor the approach of enemies as they rush to engage you. Stand your ground and soon the number of reinforcements will dwindle. As you move forward, maintain the high ground to level the field when engaging the snipers that lie in wait ahead. Maintain your distance and use either an Assault Rifle or Sniper Rifle to engage these targets at distance.
3: Living Quarters
GHOST
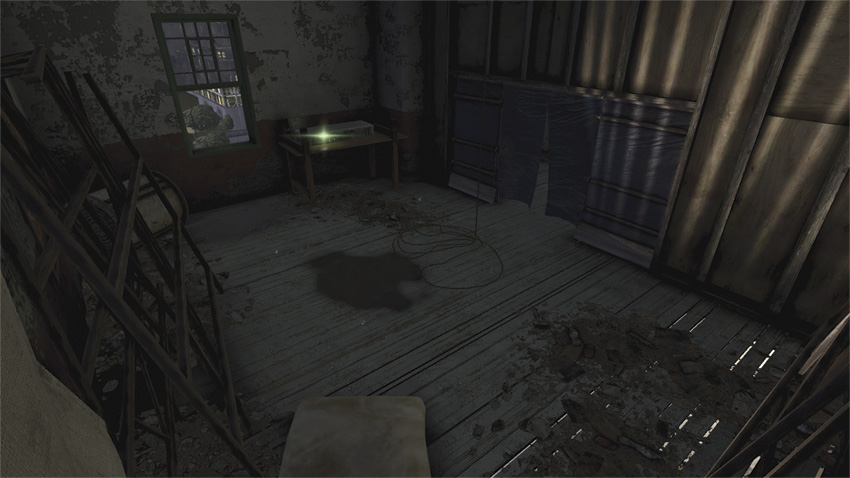
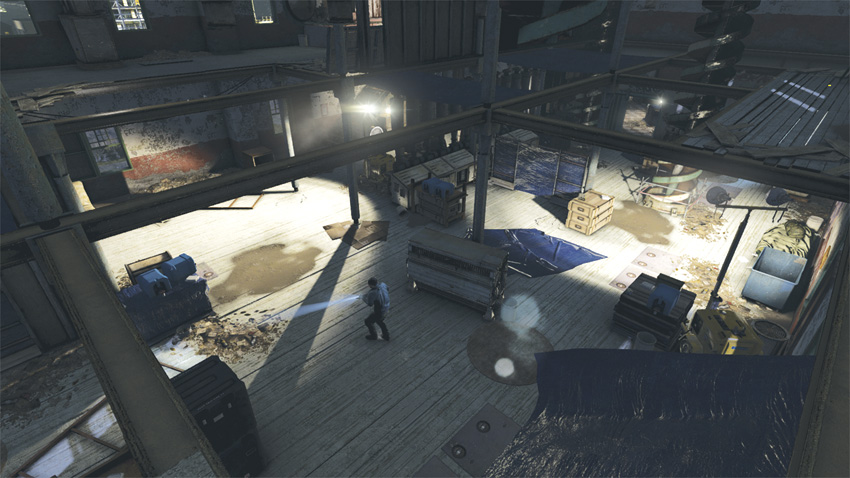
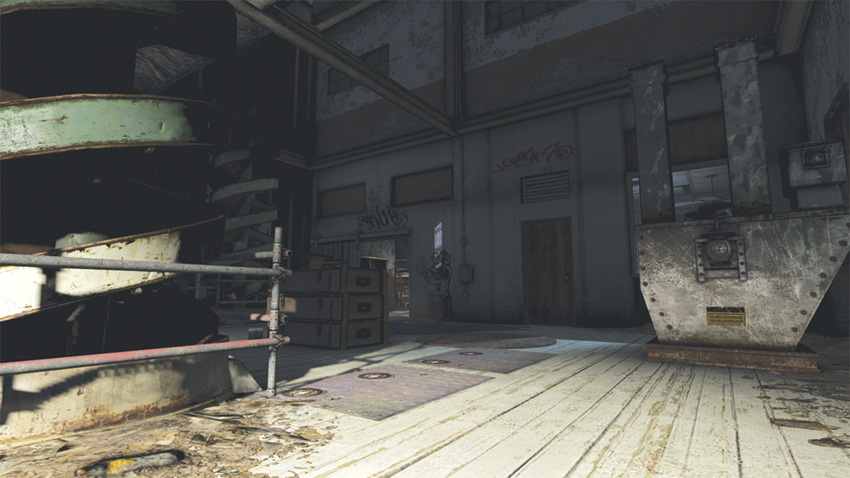
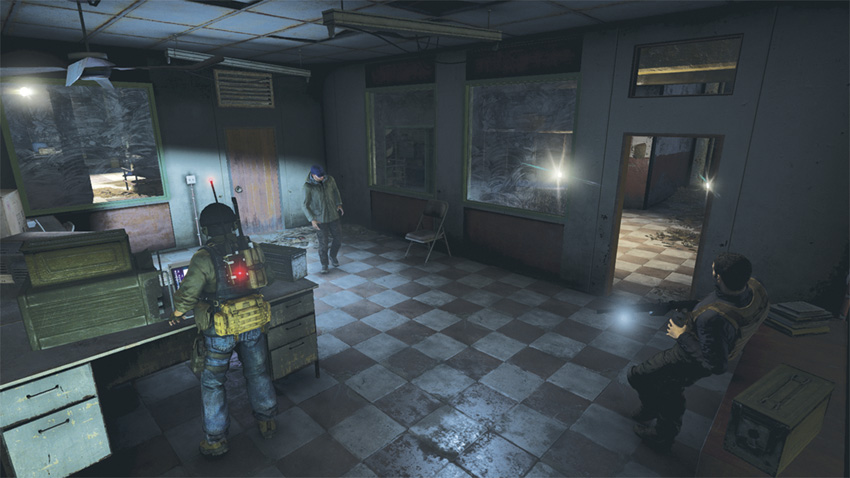
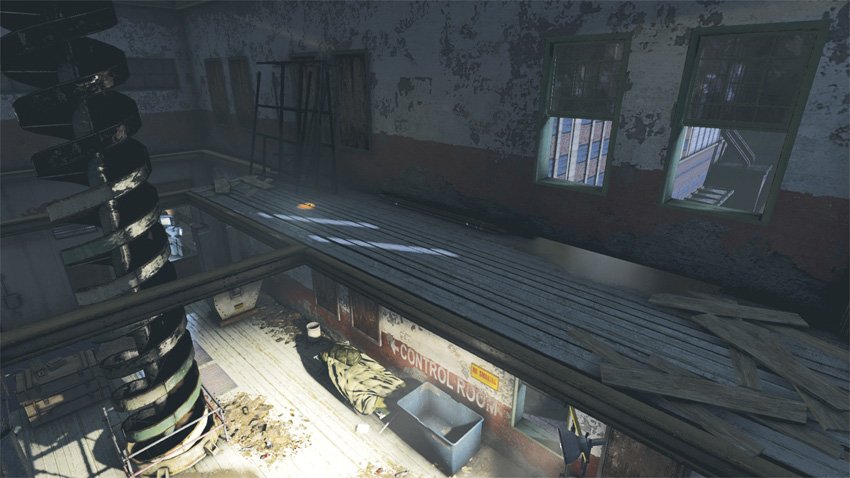
After using the Fast Rope in the elevator shaft, climb out of the elevator and proceed toward the opposite side of the room. Another Fast Rope is found here; use it to safely go to the lower levels of the mill. From the Fast Rope, you land within a room with a Supply Cache. Exit this room by climbing out the nearby window. Once outside, drop down to the ledge and shimmy left. When you come to a pipe, use it to slide down to another ledge. Shimmy to the right this time and climb up to the window at the end of the ledge. Take a moment to survey the room and wait for the guard inside to approach the television. When he does, climb into the room and stay low as you approach the open window to the right.
Climb out of this window and drop down to the ledge. Shimmy to the right and climb up to the open window you come across. Wait for the guard inside to leave the table before entering the room.. When he walks away, climb inside and head to the right, climbing out of the open window on that side of the room. Now outside again, drop down to the ledge and shimmy right; soon you will come to a pipe. Climb onto it and make your way into the open window on the floor above you. Once inside, turn to the right to locate the Dead Drop.
Dead Drop
Collect the Dead Drop before moving on because you will be exiting the area soon.
After collecting the Dead Drop, move to the end of the platform. On the floor below you are two doorways. The open door is the one you need to pass through. Hang from the platform and wait for one of the guards to patrol the room below you. When he heads back toward the nearby control room, drop down and follow him, staying low as you shadow him. As he enters the control room to the right, continue toward the left to access a staircase leading down. Follow the stairs to enter a hallway, the small office found here has a Supply Cache. Just beyond the office is an exit leading out to a balcony. Pass through the exit to enter the next area.
ASSAULT
Going loud in the Living Quarters requires you to make use of the Tri-Rotor. Deploy the device and locate the Drone Operator in the office near the area’s exit. Neutralize him using a Sticky Shocker before you engage the enemy. By doing this, you prevent the waves of Drones that would come to locate you, causing you to waste ammunition in the battle. With the Drone Operator neutralized and an active Detection, use an Assault Rifle or SMG to charge through the Living Quarters, dropping hostiles where they stand, and increasing your Combat Kill multiplier in the process.
4: Offices
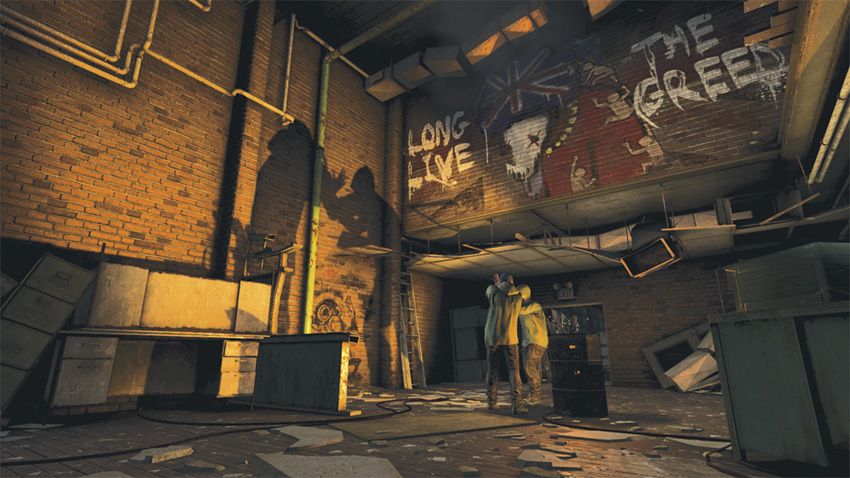
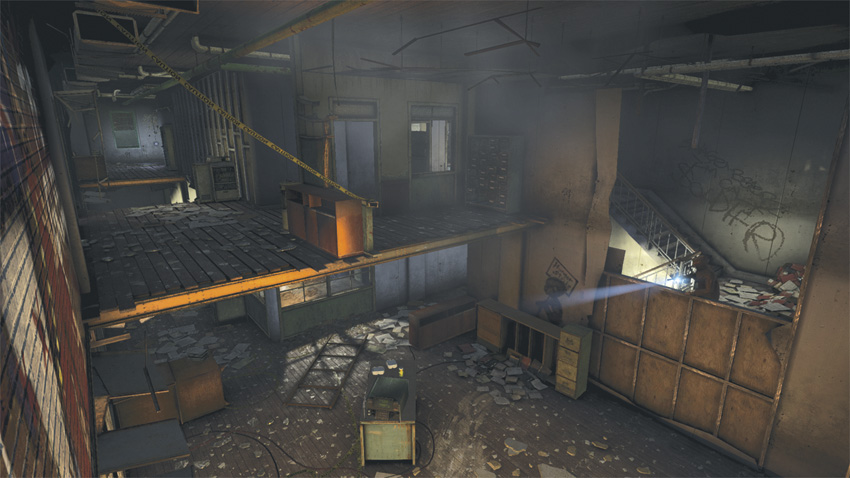
GHOST
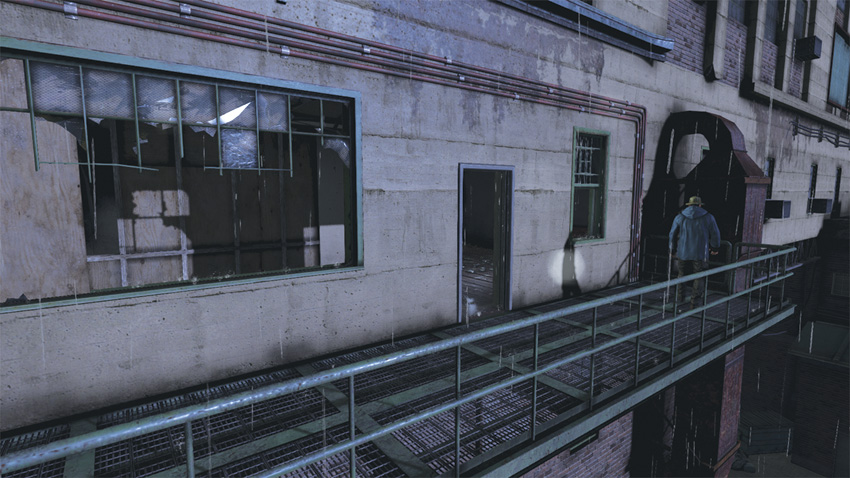
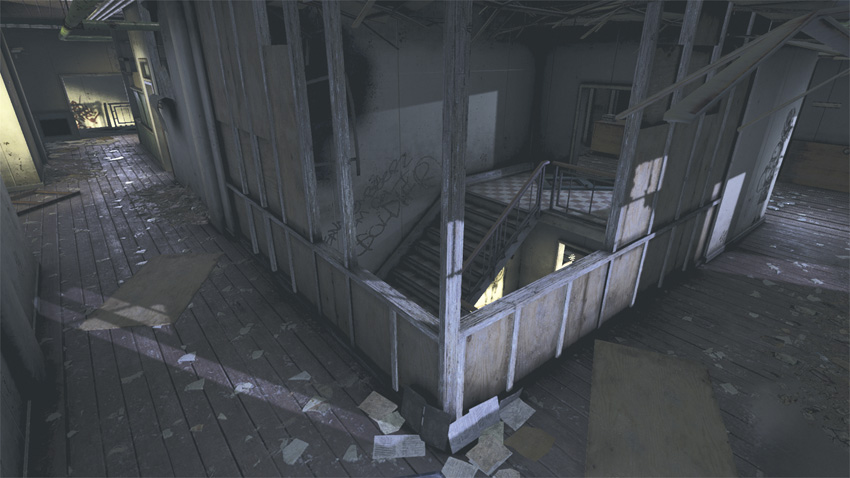
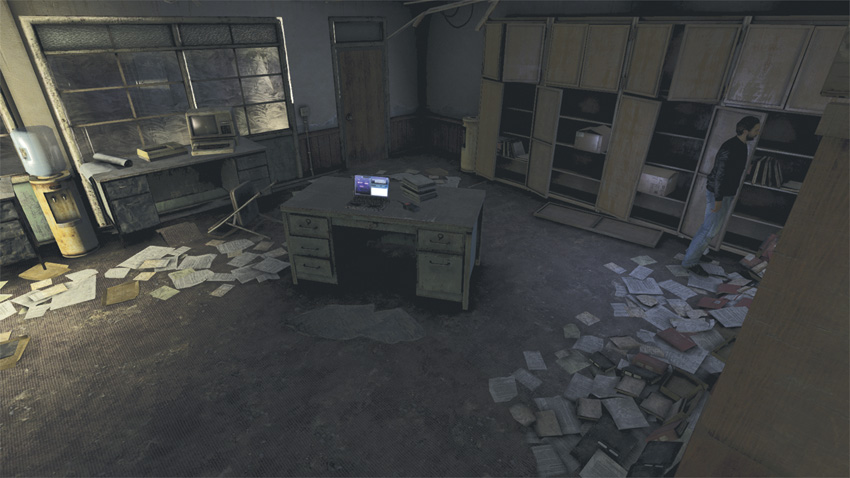
Climb over the railing of the small balcony. Just below you is a larger platform, as well as the entrance to the offices of the Abandoned Mill. You will come across a guard here. Neutralize him with an Aerial Knock Out before moving on because he could pose a problem for you later. Pass through the nearby door and turn right. Follow the hallway until you come to a portion of the floor that has collapsed. Use the overhead pipe to shimmy across the gap. Once you’re on the other side, drop down and turn left. On the left side of the hall is a small room with a hole in the floor. Use the hole to drop down to the office below, where the Blacklist Laptop is found. Be careful when doing so; there is a guard in the room with the Laptop that you will have to deal with.
Blacklist Laptop
Securing the Blacklist Laptop is a simpler task if you neutralize the enemy standing guard over it.
After hacking the Laptop, you have to exit the room and proceed to the exit while avoiding detection. The Heavy Infantry soldier wandering this floor doesn’t help the situation either. Take cover near the doorway and exit the office, moving right and into a stairwell leading to the upper floor. Exit the stairwell and turn left, using the overhead pipe to once again negotiate the collapsed floor. Stay on the pipe, following it over the bonfire area, and then using it to climb down the brick wall on the opposite side of the room. Once you’re on the ground, stay low and sneak past the guards that are standing near the fire; the exit path is to the right of the pipe. Once you come to a barricade, climb over the railing to your right and shimmy around the room to a small platform. Enter the door you find there to continue onward.
ASSAULT
Before entering the Offices, take the guard that is outside on the balcony as a hostage. Your first target (resulting in a detection) should be the Heavy Infantry soldier roaming about the floor below you. Enter the building and proceed to the right. With your hostage as a human shield, go down the nearby stairs to the lower floor. Wait for the Heavy Infantry soldier to walk by, allowing yourself to be detected. Use a few well-placed headshots to drop the brute. At this point, if your hostage is still alive, knock him out , as he will hinder more than benefit you. Step out from the stairwell and head right, taking cover in the alcove there. Use this cover position to fire on the enemies as they flood toward you from the far end, where the bonfire is burning bright. When the flow of approaching enemies begins to slow, head back upstairs and perform a final sweep of the area before moving on.
5: Loading Bay
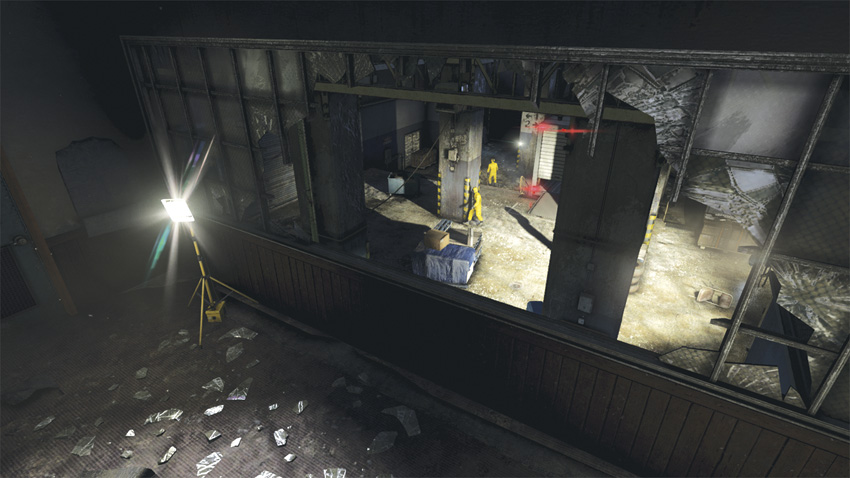
GHOST
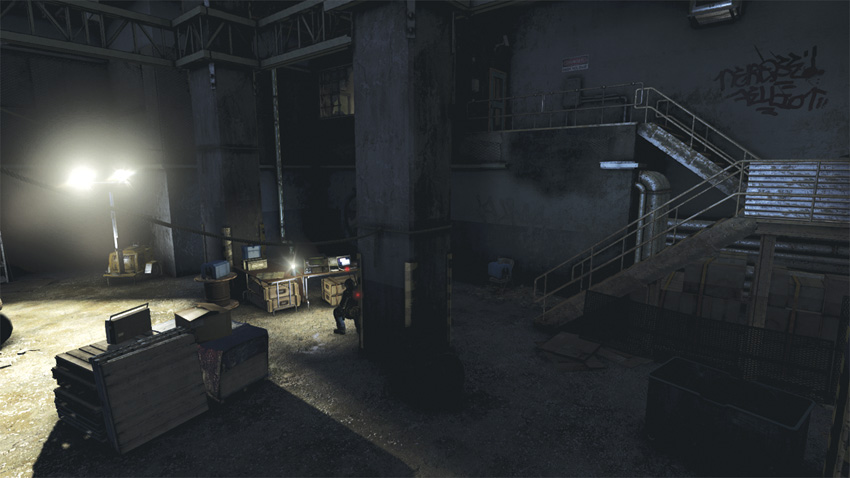
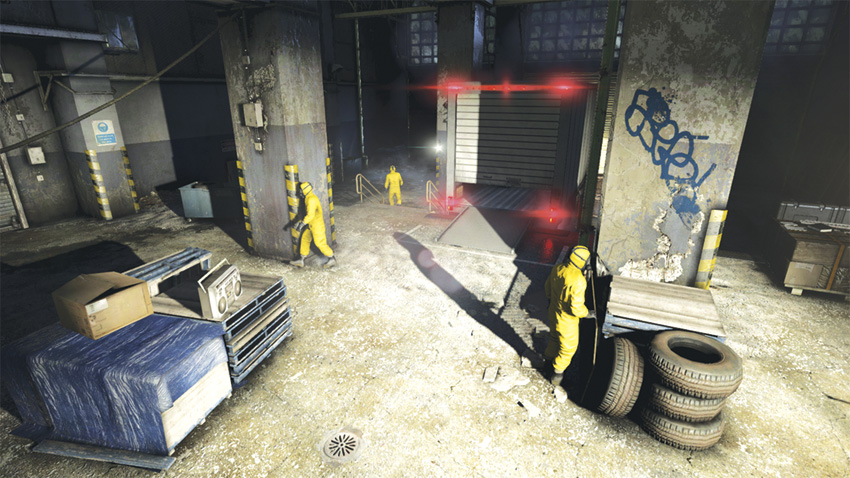
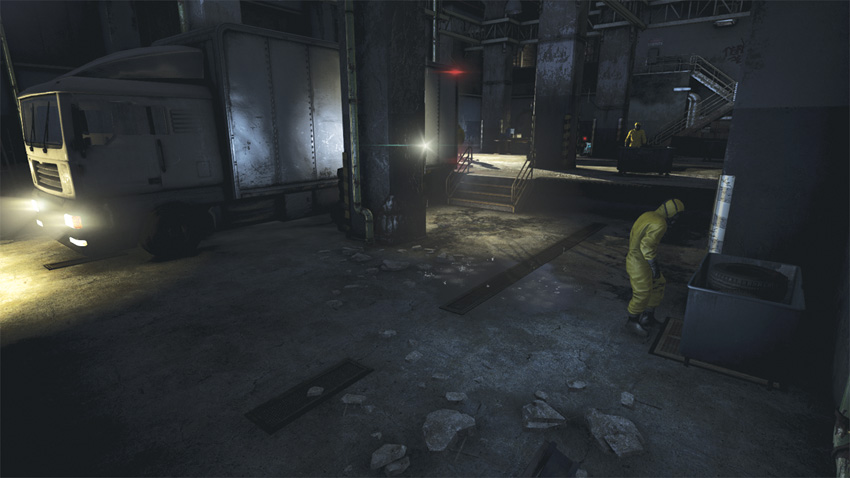
When planting the tracking device on the truck in the loading bay, two conditions apply. Remain undetected and no hostiles can be touched. Before exiting the office, throw a Sticky Camera on the pillar beside the Drone Operator. With the camera in place, exit the office and proceed down the stairs. At the bottom of the stairs, take cover within the dark alcove to your left. Activate the Sticky Camera and use it to monitor the three technicians—the guards dressed in the yellow HAZMAT suits. Occasionally, they meet near the spotlight and engage in conversation. When this happens, stay low and against the left wall to bypass them. Do not proceed toward the truck until you are at the loading dock’s drop-off; this perpendicular angle will limit the time you spend in the light.
Now that the tracking device has been placed, you have to escape the Loading Bay under the same conditions as when you entered. You begin this objective on the rear of the passenger’s side of the truck. Move toward the front of the truck, staying low as you proceed. Come around the front side of the vehicle and move toward the pipe running up the far wall on the driver’s side of the truck. Near this pipe you will find a grate on the floor. Open it to enter a ventilation shaft. Follow the shaft, and soon you will come to a dead end with another grate as your exit. After exiting, turn left and climb the pipe on the wall. Shimmy along this pipe to bypass the halfway opened roll-up door without being seen. Pass through the door at the end of the space to begin the next area.
ASSAULT
6: Chemical Lab (Entrance)
GHOST
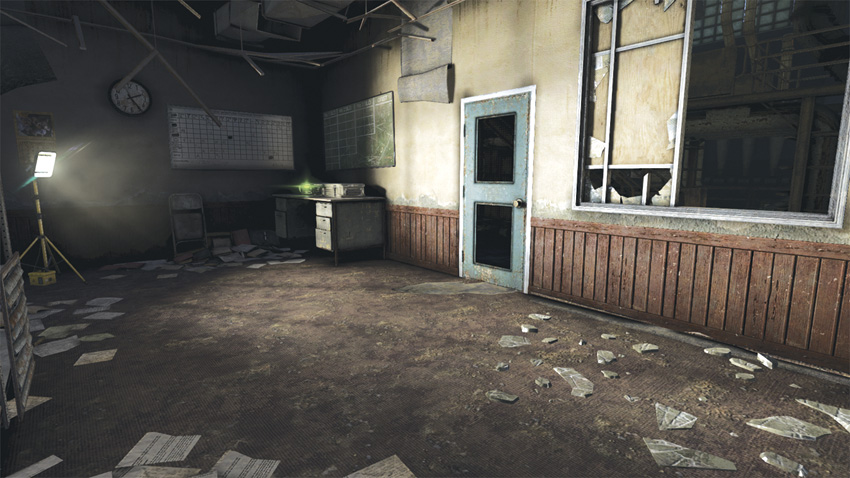
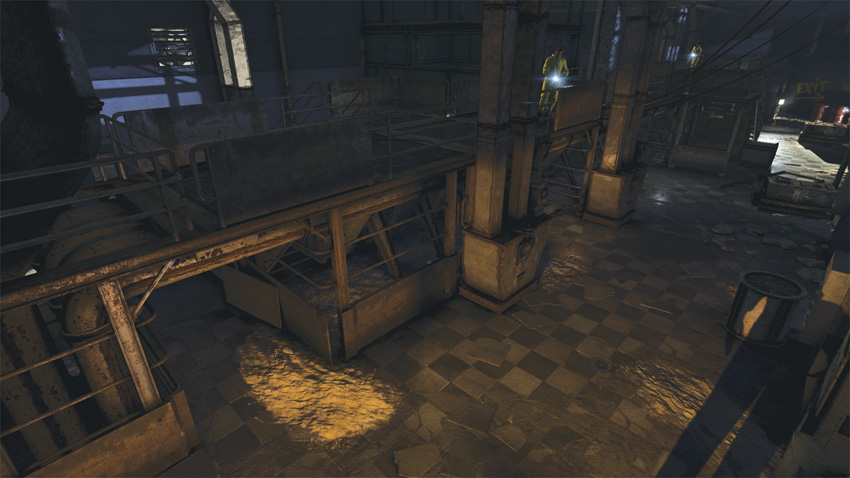
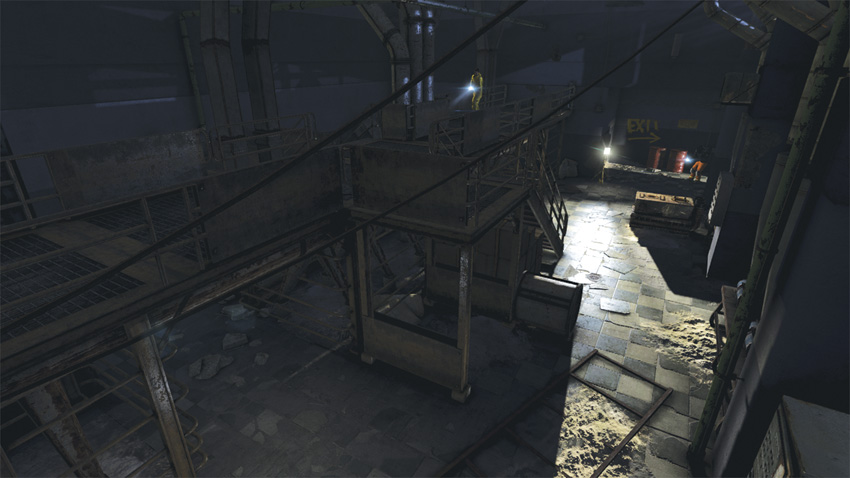
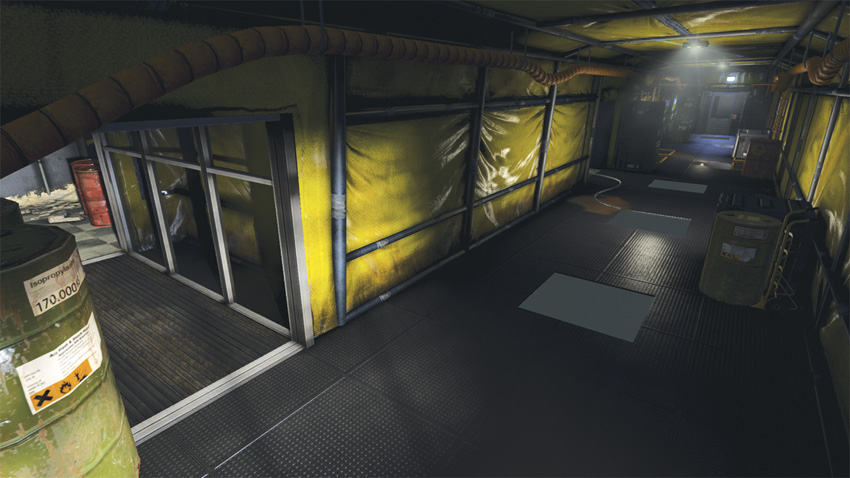
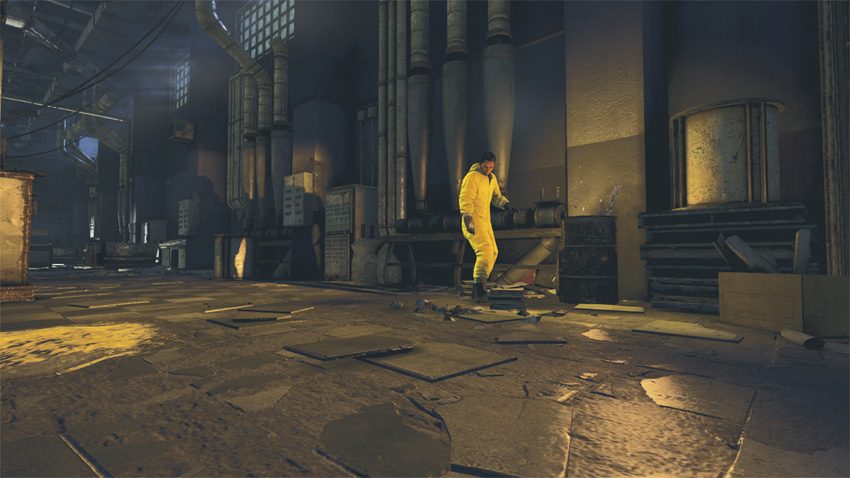
This area begins within a small room. In the corner, you will find a Supply Cache to restock, if needed. Exit the room through the broken window and proceed forward; just beyond the overhead catwalk you will find the High Value Target. Stay low, taking cover under the catwalk, and fire a single shot with your Stun Gun to pacify the HVT so you can bag him.
High Value Target
The HVT is the technician that lights the fire in the barrel. If he walks away before you can bag him, wait in the office for him to return.
With the HVT in custody, stay on this side of the catwalk and use cover swaps to move toward the exit. When you arrive at the final set of stairs leading up to the catwalk, you may have to perform a Stealth Knockout on the nearby guard that is patrolling around the stairs. Once it is safe to do so, proceed through the tunnel to the right. Be careful here; a Heavy Infantry soldier is patrolling the halls. Once within the hall, look to the floor for a grate. Open the grate to enter a small shaft used for water runoff. Follow it until you come to a large shaft running straight down. Drop down here and shimmy along the edge of the shaft to take hold of a ladder on the opposite side of the pitfall. Use this ladder to descend to the Sewers safely.
ASSAULT
As you go into the Chemical Lab, exit the small office where the Supply Cache is located and throw a Frag Grenade into the office to your left. This action initiates the detection status. Across the room from the office door you just exited, the HVT is approaching an oil drum to start a bonfire. Finish him off and move up the stairs nearby. Fire on the hostiles on the catwalk from behind cover to prevent wasting ammunition. The real threat here is the Heavy Infantry soldier, who at this point will likely be approaching the catwalk to get on from the stairs on the opposite side of the room. Take cover and let him pass you, then perform a melee kill from behind to secure a Combat Kill.
7: Sewers
GHOST
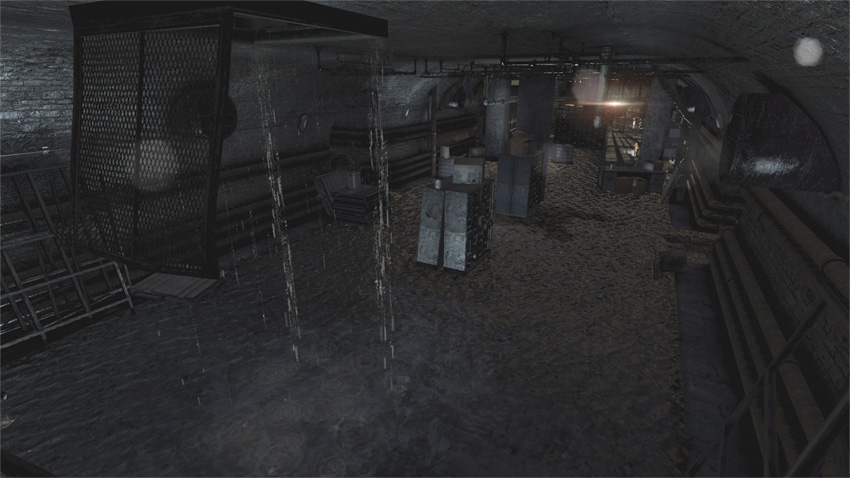
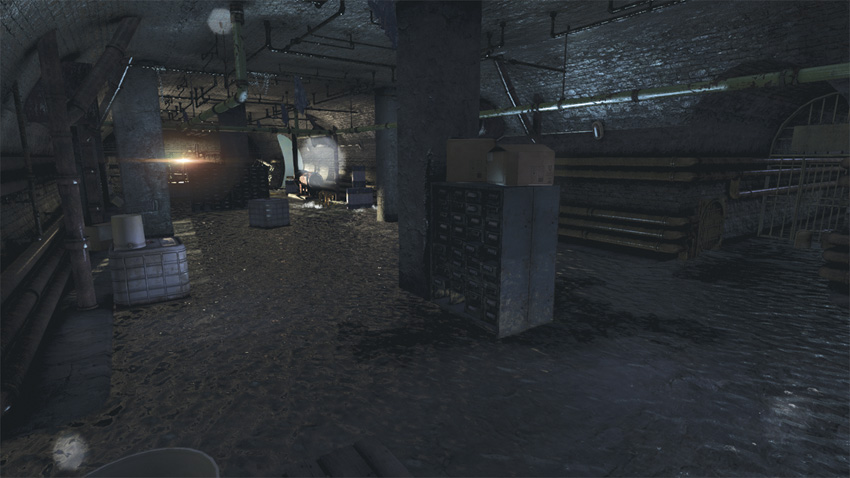
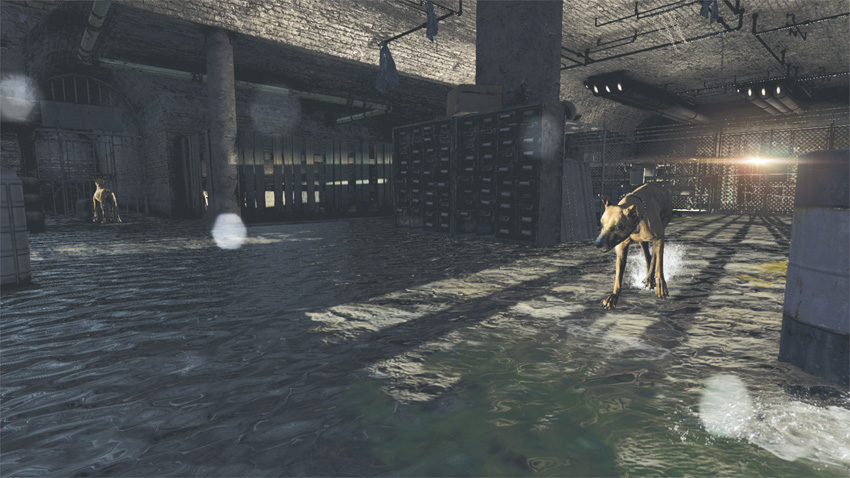
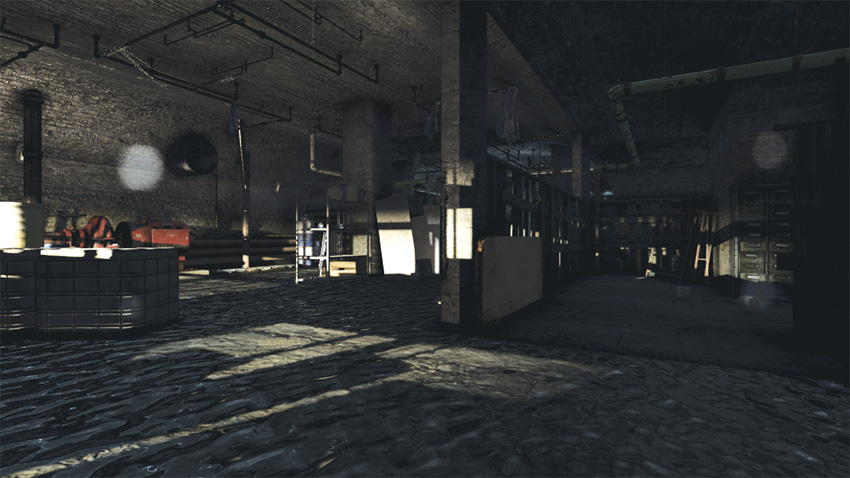
Once you are within the Sewers, quickly move forward and locate the pipe running overhead on the right side. Jump up to this pipe and shimmy along toward a junction. Turn left at the junction and continue on the pipe. When you come to the end of the pipe, you will be in an area behind a wooden fence. Before dropping down, deploy the Tri-Rotor and fly it toward the area where you entered the sewer. Use the Attract command to lure the guard dogs away from your location. When the dogs begin to seek out the Tri-Rotor, recall the device and then drop down from the pipe and dash toward the ladder, which serves as the exit from the area.
ASSAULT
Within the sewers, your only enemies are the three dogs that patrol here. Jump onto the pipes running overhead and allow the animals to detect you. With the detection, you can use your Stun Gun to neutralize the animals while conserving ammo and earning Combat scoring.
8: Extraction
GHOST
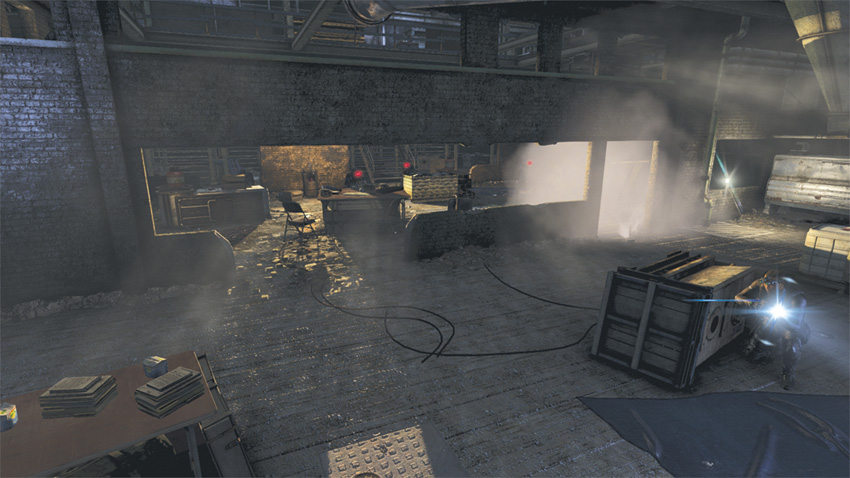
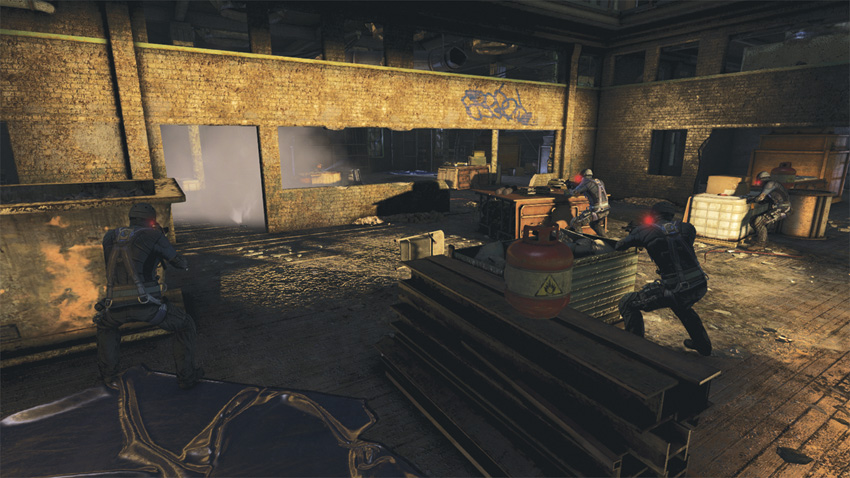
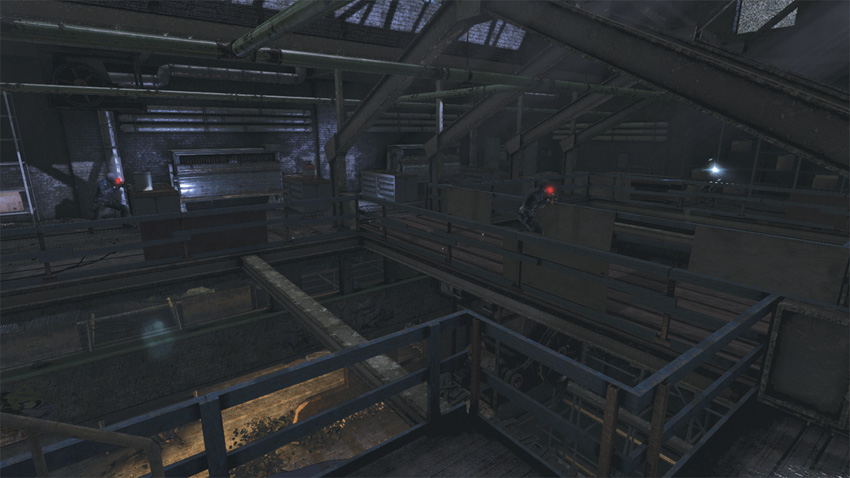
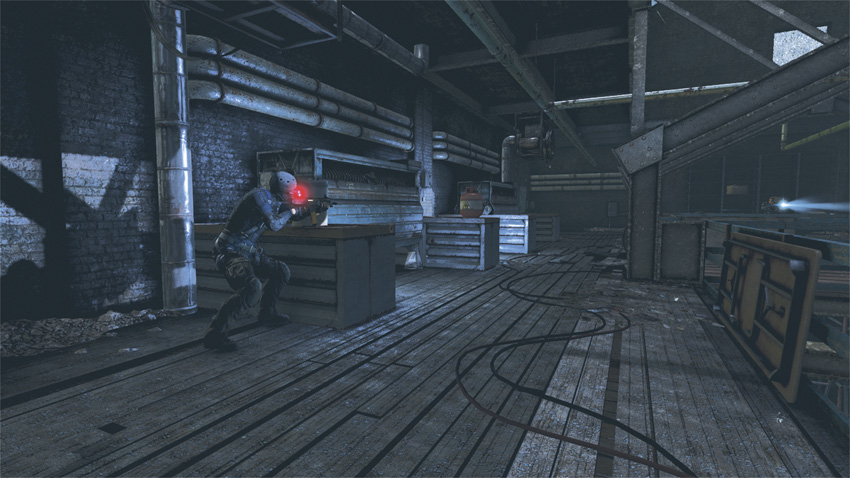
If you’re trying to go full Ghost during this portion of the mission, you can do so by allowing Briggs to do the heavy lifting. While Briggs engages the enemy head-on, take your time and approach the Commandos from the rear, picking them off with nonlethal melee attacks to continue boosting your Ghost scoring. Be careful when attacking during this sequence, as Commandos are extremely aware of their surroundings and are quick to notice you picking off their comrades. After the first wave of enemies, follow Briggs up to the next floor and use the overhead pipe to get behind the Commandos and neutralize them with Aerial Knock Outs and melee attacks.
ASSAULT
This portion of the mission is well-suited to the Assault playstyle. Let Briggs engage the Commandos from the front while you flank the enemies from the left. Before opening fire on the Commandos, take a moment to note the locations of the red propane tanks. There are two on each floor, on opposite sides of the engagement area. Use these to take out a few Commandos with one round, sparing your ammunition. As soon as you can, acquire a PFS-12 from the body of a fallen Commando. Be sure to switch this weapon to Burst Fire or Single Shot to prevent wasting the limited ammunition you have for the weapon. After clearing the first floor, follow Briggs to the second floor and use the propane tanks on that floor to eliminate the few Commandos that you encounter here.