
Tom Clancy's Splinter Cell Blacklist Guide Walkthrough Ghost/Assault Tactics
Mission 6: Special Mission HQ (Tehran, Iran)
GHOST
Infiltrating the Special Mission HQ requires the help of General Qod, and while he is more than willing to help at the start of the mission, he soon leads you into an ambush. With that, the dynamic behind the mission quickly changes and you find yourself locked behind RFID-encoded doors, requiring that you take hostages to move about the facility. You will have frequent encounters with Heavy Infantry soldiers, including some carrying ballistics shields that make the use of Stun Guns and Sleeping Gas difficult. Efficient use of your environment is the key to completing your mission and surviving until extraction. Prepare for this mission by equipping the Tri-Rotor, Sticky EMP, Sticky Camera, and Sleeping Gas. These four gadgets all serve a specific purpose once you are within the labyrinth that this locale presents.
ASSAULT
Going loud inside of the Special Mission HQ can be of benefit to you. The combination of tight hallways, copious amounts of cover, and plenty of light switches to shroud the room in darkness make you a one-man death squad. Don’t be careless with your ammunition though, you will need every round you can scrounge up to cut down General Qod’s forces. For this assault, be sure to bring along both Sleeping Gas and Frag Grenades (or Incendiary Grenades if you have purchased them). Spare your Frags for the second half of the mission, where you will begin to encounter Heavy Infantry soldiers more often. Most doors that you encounter within the facility are RFID-encoded and if you do not have a hostage, you will have to place a body by a door to keep it open.
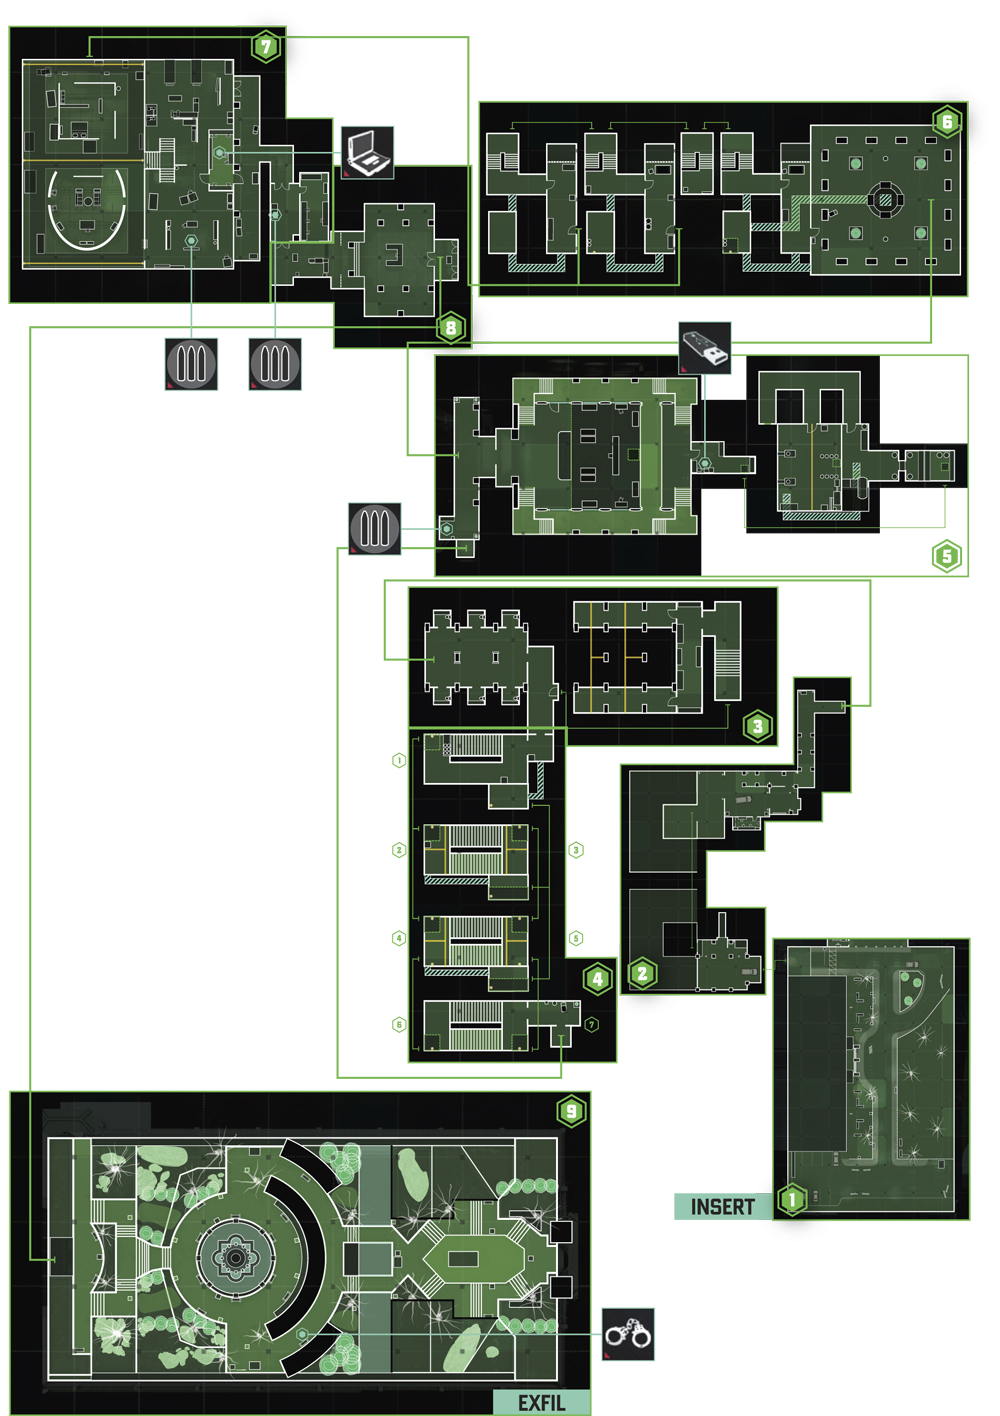
1: Qod’s HQ (Exterior)
GHOST
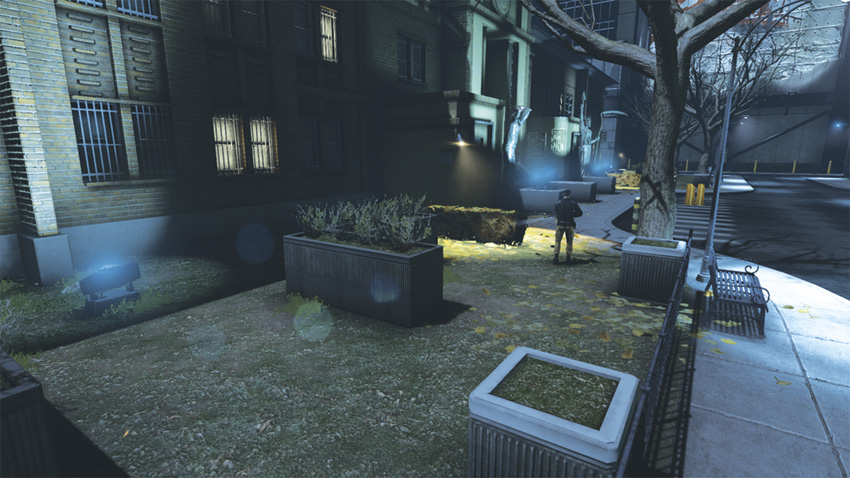
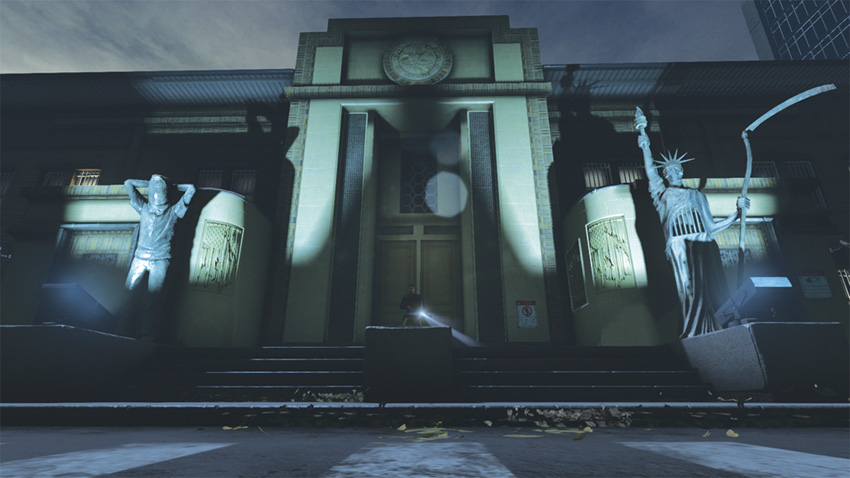
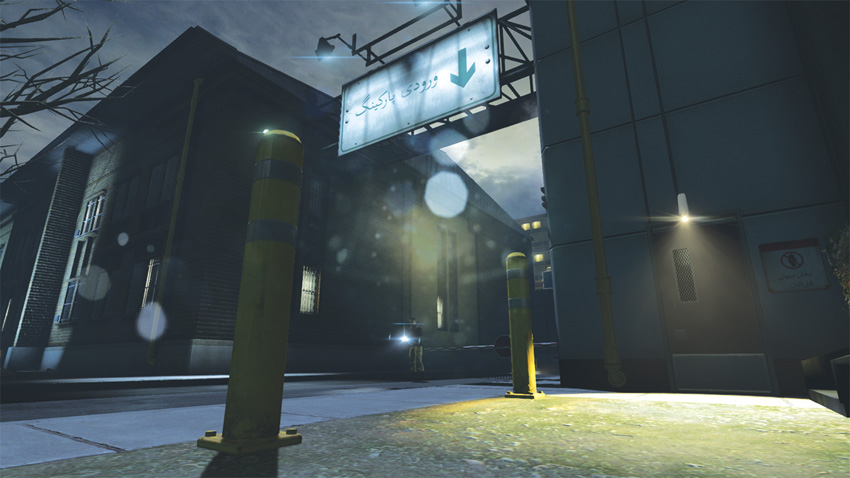
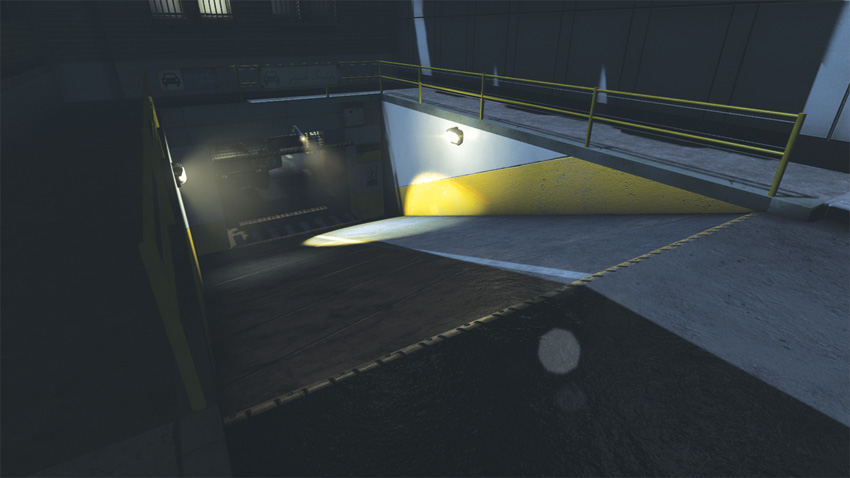
Infiltrating the Special Missions HQ with the help of the General requires you to remain undetected without engaging any of the guards—even with nonlethal means. Maintain a path that is close to the building as you shadow the General. As you near the front of the building, stay low against the wall to avoid the camera attached to the wall near the entryway. From atop the wall, wait for the General to come distract the guard before moving on. After scaling the second wall near the entryway, take note of the camera’s position before dropping down to the other side. Continue following the wall, taking care to avoid alerting the guard that patrols near the spotlight ahead. When you come to the end of the building, climb the yellow pipe running to the top of the building. Shimmy along the brick around the corner, eventually moving to the steel scaffolding over the checkpoint leading to the parking garage. After crossing the scaffold, you come to another yellow pipe. Wait for the General to approach the checkpoint before climbing down the pipe. Once on the ground, make your way into the parking garage, avoiding the gaze of the camera over the entrance in the process.
ASSAULT
2: Parking Garage
GHOST
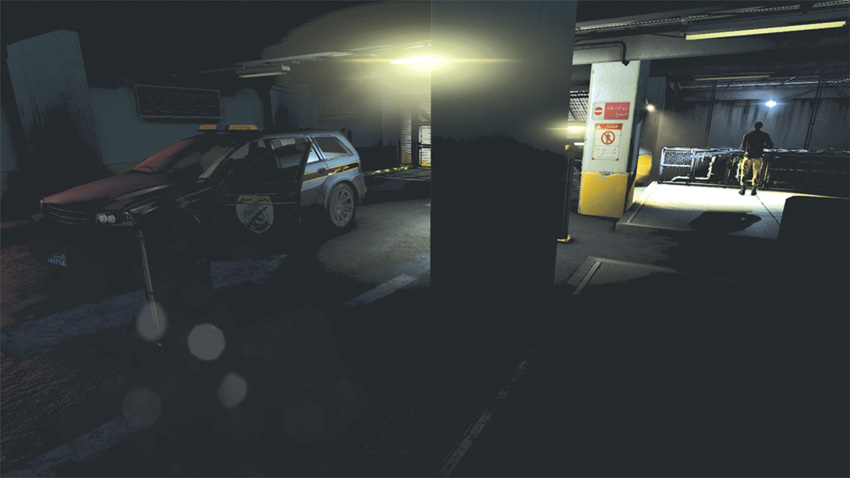
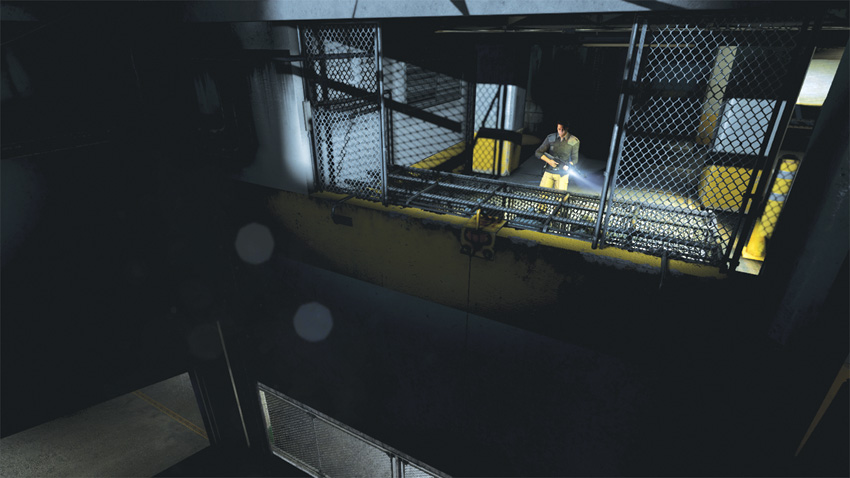
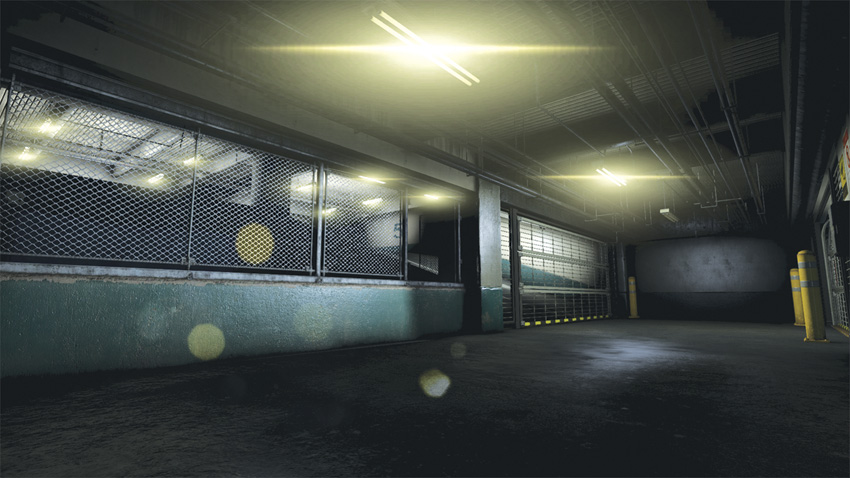
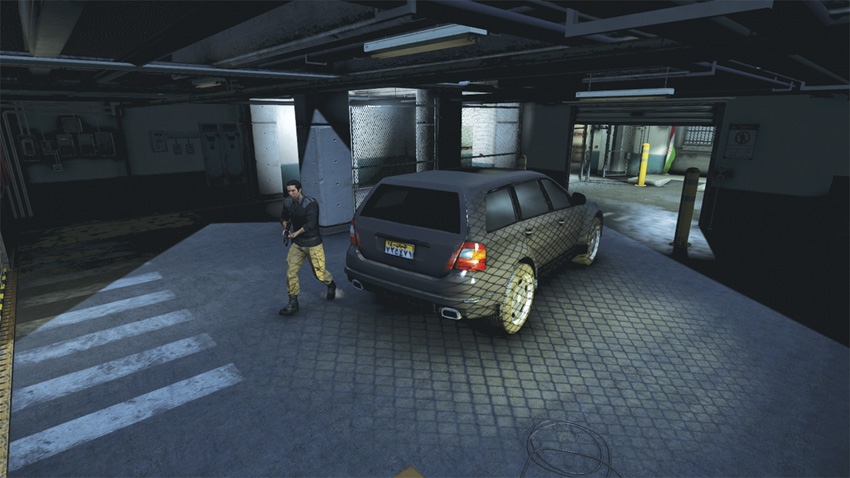
Within the garage, use the dark corners and abundant shadows to your advantage. As you step into the garage, a guard stands near a gate to the right and above him is a camera. Wait until the guard steps away from the hole in the gate, timing your movement to coincide with the sweeping camera. A rappel line is here, so hook in and drop over the ledge. You are now within a large shaft running through the center of the garage. Just one floor below, a guard is looking in your direction, sweeping his flashlight and scanning the area just beneath you. When this guard walks away, wait for him to head down the ramp to a landing two floors below, in front of a chain-link fence. Before passing by the chain-link, wait for another guard two floors below to finish his search before quickly rappeling to the lowest level. Climb through the nearby fence and follow the General into the bowels of the facility.
ASSAULT
3: Prison
GHOST
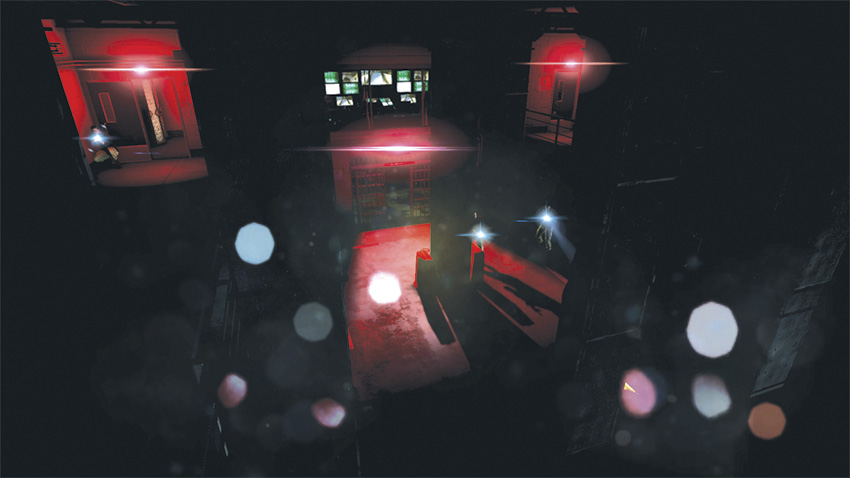
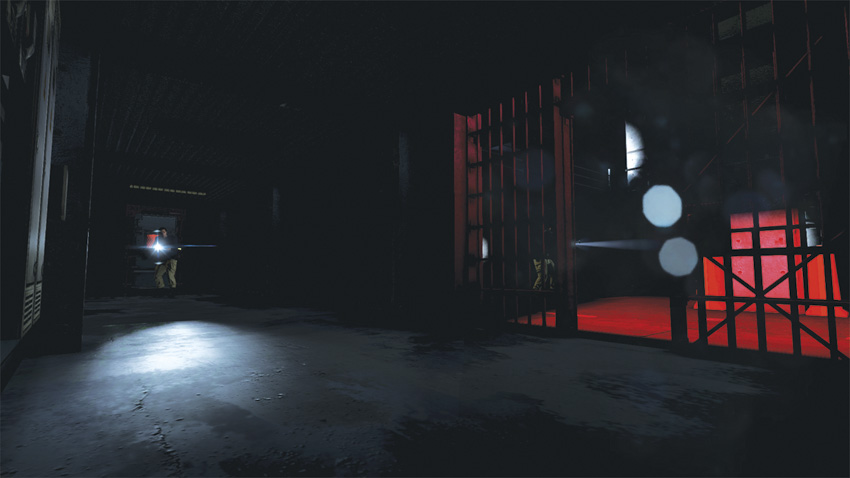
Because you were ambushed, a detection is inevitable. This prevents a Hostiles Undisturbed scoring event. If you wish to earn points toward the Ghost playstyle, you will have to neutralize the guards through nonlethal means without being seen after waiting for the active detection to end. At the start of the ambush, climb onto the pillar that you have taken cover against. At the top, climb onto a pipe, this pipe leads to both balconies. Each balcony has a guard that is searching for you. Avoid neutralizing the guards on the balconies. First, throw a Sleeping Gas canister down to the ground floor to incapacitate the guards there. Then use the pipe to monitor both sides of the prison, performing Aerial Knock Outs whenever you are able. Be careful, if you allow a guard to stumble over his comrade, he will awaken him.
ASSAULT
General Qod’s ambush is the first time you are able to go loud during the mission. Avoid the hostiles on the ground floor and use the pillar to climb up to a pipe that runs the width of the room. Shimmy along the pipe and drop down on one of the balconies. Through the darkness, eliminate the guard on the balcony with you. Next, throw a Sleeping Gas canister to the ground floor. The large cloud of gas floods the cell block and pacifies the guards within.
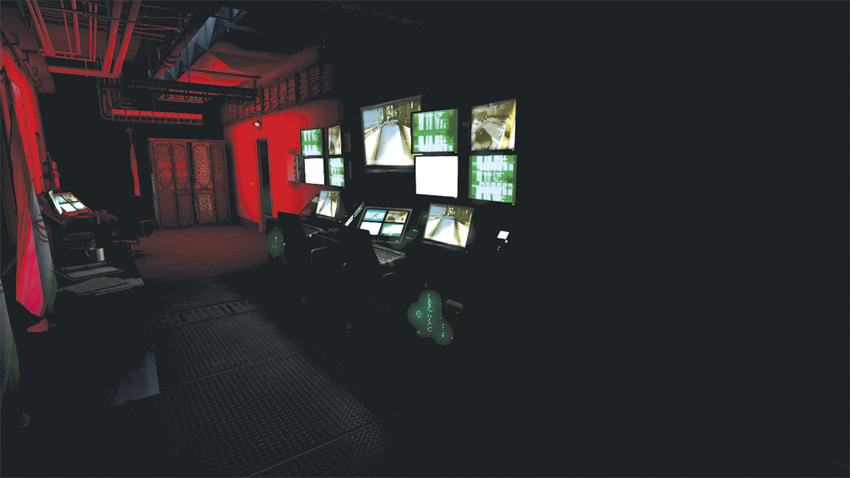
Continue your assault of the second floor, clearing the floor of hostiles. Pass through the door inside the control room where the two balconies meet. As you move downstairs, stay alert and check your corners for enemies as you proceed toward the area’s exit.
4: Stairwell
GHOST
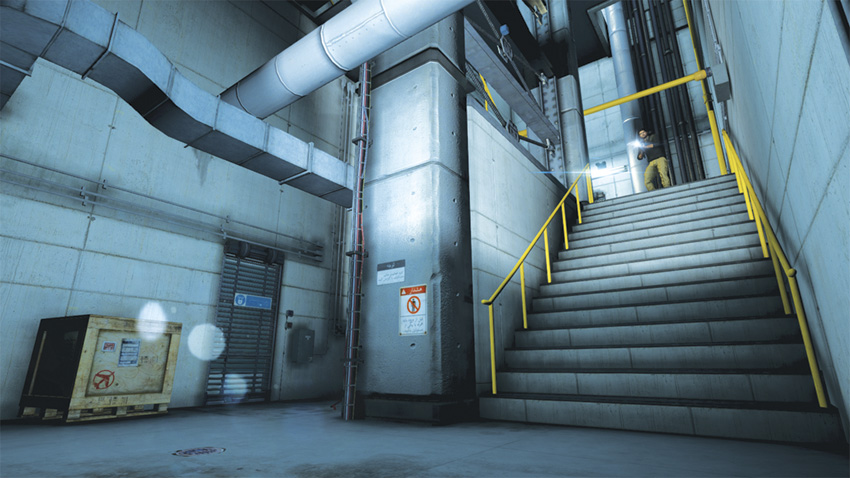
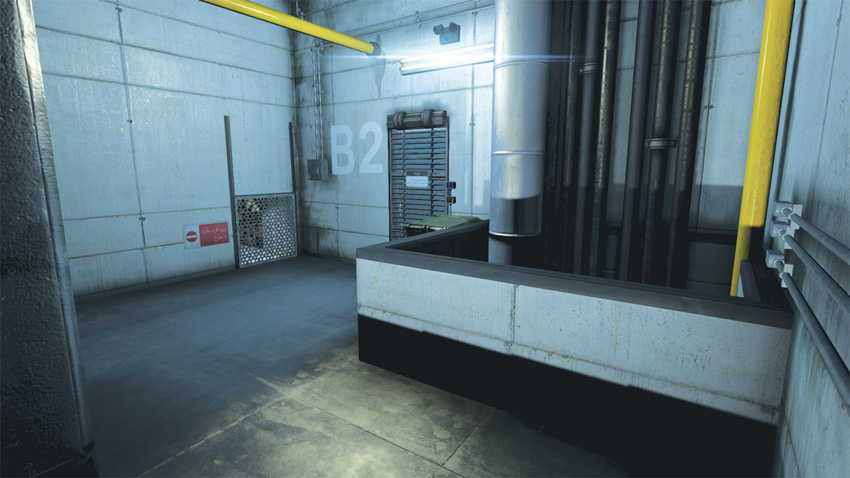
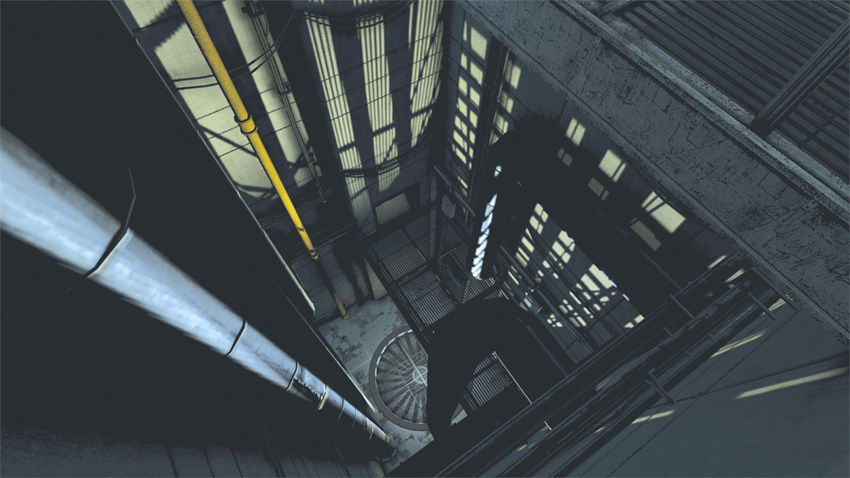
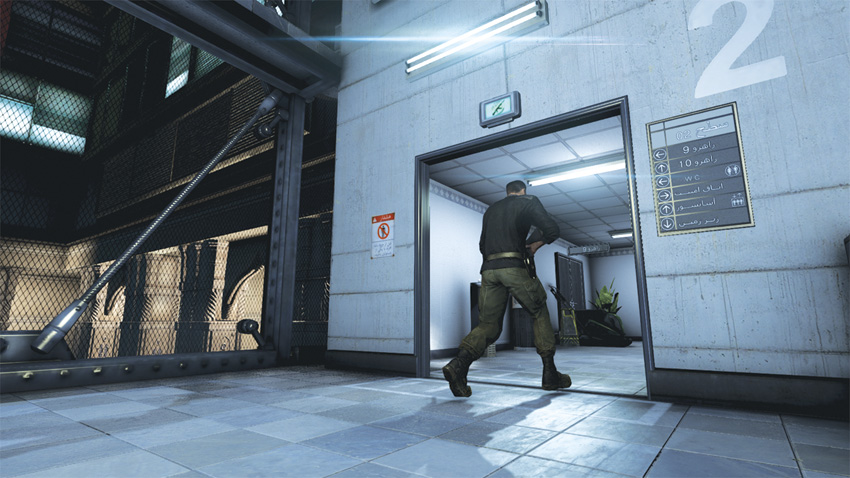
After narrowly escaping the prison, enter the vent across from the door instead of proceeding to the stairwell. Exit the vent, then climb up the nearby yellow pipe to a platform where another vent is found. Proceed through this vent and you will exit into the stairwell. Turn right and proceed up the stairs two floors. At this point, the lights will turn on again. On the next floor, two guards are having a conversation. Wait until one of them walks away before proceeding up the stairs. Take cover before stepping onto the landing and wait for the remaining guard to approach. When he comes within range, take him hostage and proceed through the nearby sliding doors. In this hallway, you may stumble across his comrade; neutralize him with your Stun Gun before approaching the elevator to the right.
ASSAULT
After exiting the prison, turn right and take cover near the bottom of the stairs. Lure the guard on the floor above to investigate the ground floor and take him hostage when he does. Proceed up the stairs, checking the adjacent stairwell as you climb each flight. You meet two hostiles in the stairwell before the lights come back on. At that point, kill the third guard coming down the stairs. At the top of the stairs is a sliding door. This door is RFID-encoded, so as long as you are holding your hostage the door will open. Just past the doors, expect one or two guards to be holed up there. To make quick work of these foes, turn your hostage into a human grenade and push him toward the guards in the hall. Should the explosion blow the bodies far from the door and it locks, locate one of the bodies that you left in the staircase. By carrying a guard’s body, the doors will slide open, granting you access to the elevators within.
5: Server Vault
GHOST
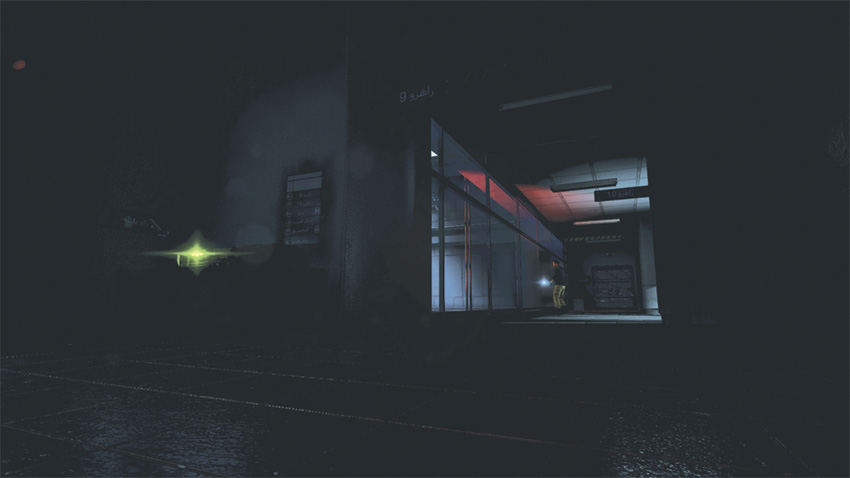
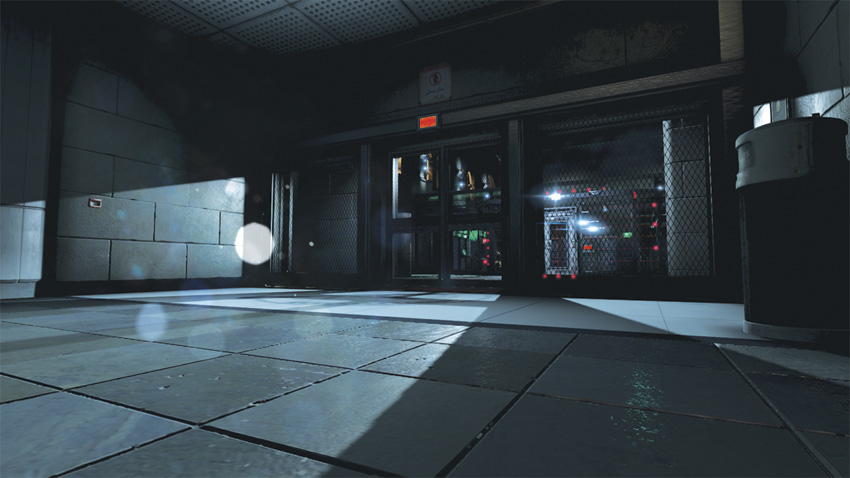
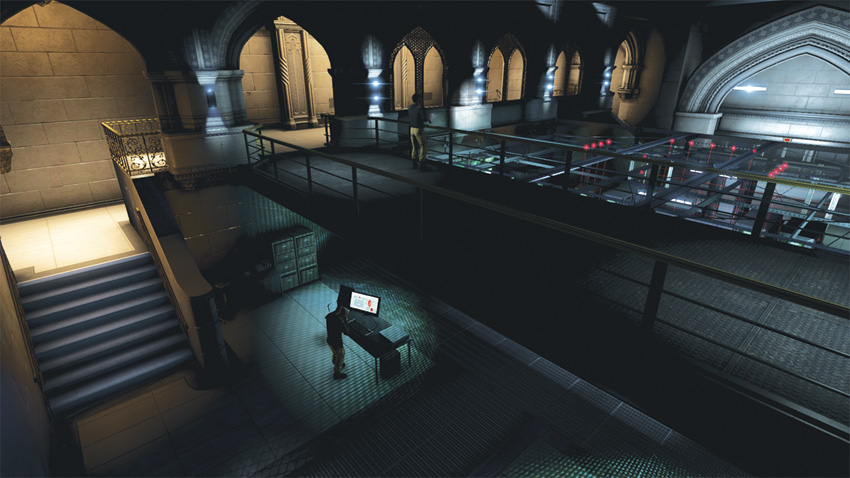
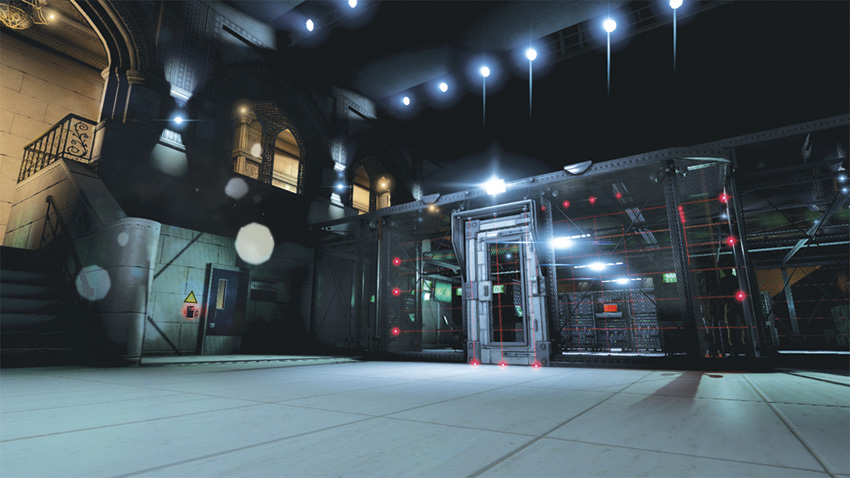
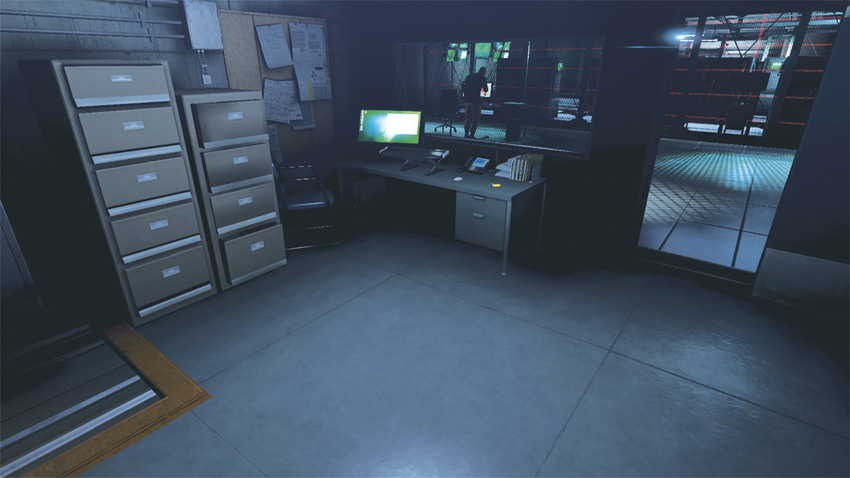
Step out of the elevator, take cover among the shadows, and wait for a guard to approach the window down the hallway. Sneak up and take him hostage, using him to enter the vault. Once inside, duck into one of the alcoves near the entrance and knock out your hostage. From the concealment of the alcove, deploy the Tri-Rotor. Locate a guard patrolling a balcony on the far side of the room. Use a Sticky Shocker to incapacitate him. Now, locate the guard at the computer console below the balcony and neutralize him as well. Recall the Tri-Rotor and locate the light switches at each stairwell. Once the vault is dark, head to the second floor. Proceed to the opposite side of the room, down the stairs, and into the office there to claim the Dead Drop. Just outside the office is the computer console that one of the guards was using. Interact with it to lower the laser grid securing the vault. This attracts the attention of one of the technicians. Stay within the shadows to evade being detected by the guards that enter the room. Enter the vault and interact with the console to begin data extraction.
Dead Drop
Be sure to pick up the Dead Drop before shutting down the grid. The patrols get heavy after you do so and you risk detection when claiming it.
The data extraction takes a minute and a half. During this time, take cover near one of the servers and maintain a view of the vault entrance. During this time, more guards enter the room, including a Heavy Infantry soldier. Once the extraction is complete, throw a Sticky EMP followed by a Sleeping Gas canister out of the vault entrance. The Sticky EMP will disable the vault lights and the cloud of Sleeping Gas will incapacitate any hostiles within the area—except the Heavy Infantry soldier. Quickly make your escape through the sliding glass doors across from the vault and slide down the nearby Fast Rope.
ASSAULT
Mounting an assault on the Server Vault requires isolating your enemies. Start by drawing the three guards not in the vault to the room’s entrance by allowing yourself to be detected before taking cover near the sliding door. Next, turn off the light switches at the stairs that flank the room. With the room cast in darkness, disable the laser grid to open the vault. Head back to the front of the room, but this time climb onto the vault. From this elevated position, fire on any hostiles that are attempting to enter the room. When the only enemies left are within the vault, drop down and cast a Sleeping Gas canister into the vault to eliminate the threats within. After you begin to extract the data, the entry door opens again, this time the guards that enter are accompanied by a Heavy Infantry Soldier. From the console, throw a Frag Grenade in the direction of the guards, then pick off the Heavy with headshots. Once the extraction is complete, exit the Server Vault and use the Fast Rope outside to descend to the Atrium.
6: Atrium
GHOST
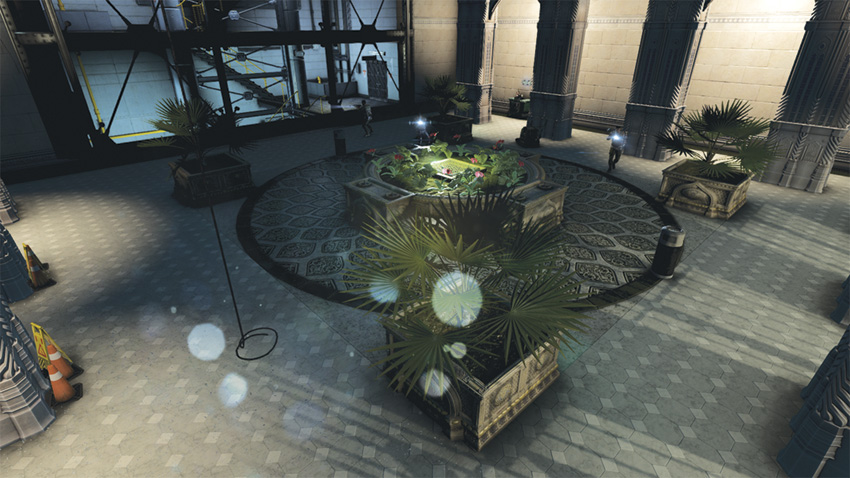
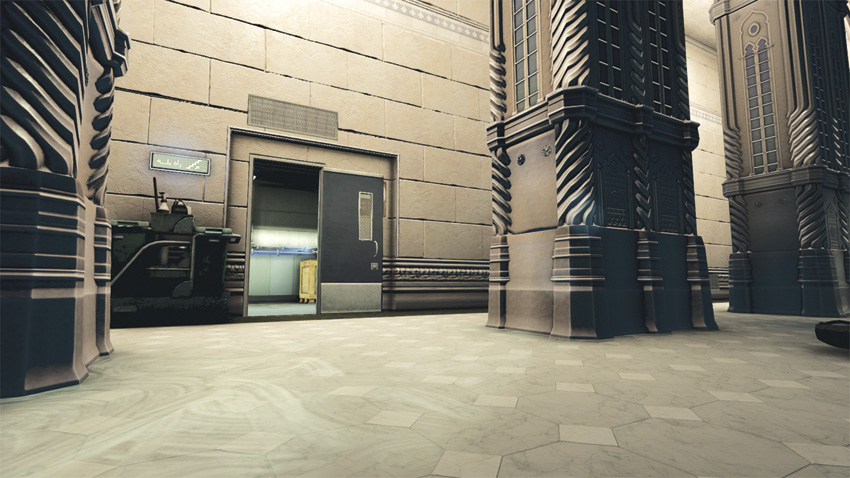
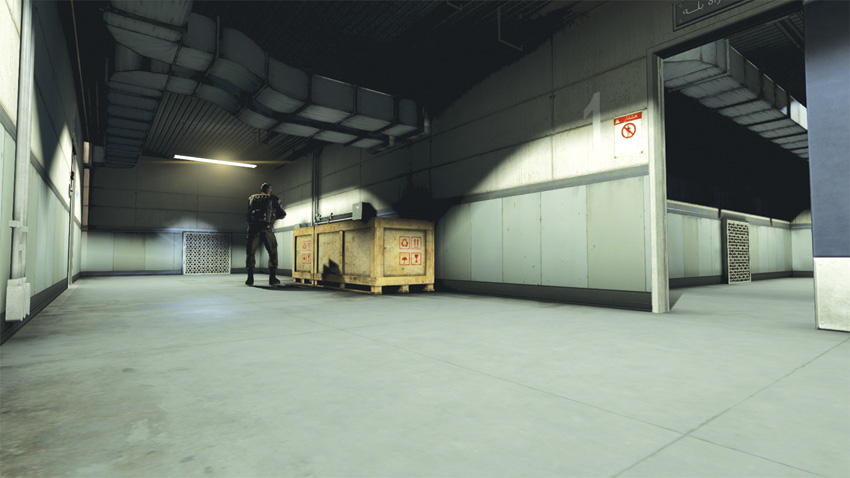
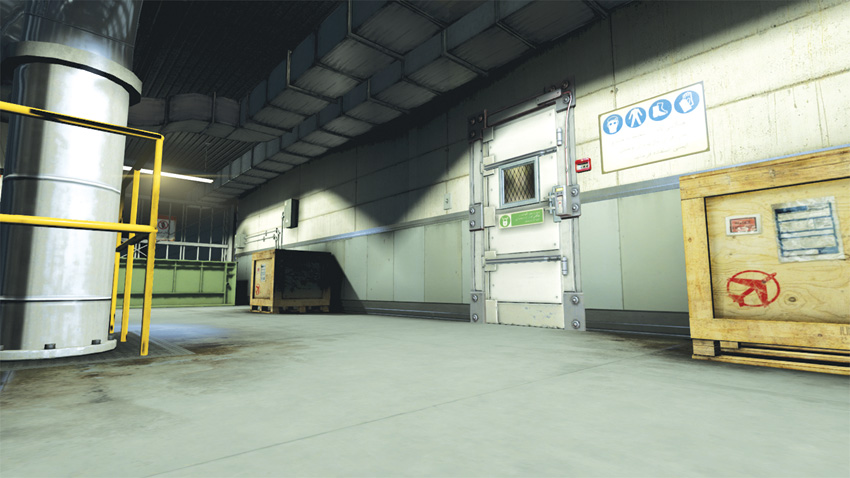
Once within the Atrium, a few guards enter the small space accompanied by a Heavy Infantry soldier. Stay among the shadows on the Atrium’s left side by switching cover often. The Heavy tends to stay near the door across the Atrium from where you began. Avoid the door and enter the vent just to the left of it. Follow the vent until you are within a large ventilation shaft with a yellow pipe on the wall. Climb onto the pipe and shimmy down to the bottom level. Enter the open vent to your right and follow it. Once you exit the vent, the exit is to your right.
ASSAULT
After descending into the Atrium, soldiers begin to flood in from the door on the opposite side of the room. Your first priority should be to neutralize the Heavy Infantry soldier that is among them. Once the Heavy is down, utilize the cover to cover technique and Sleeping Gas to keep the remaining guards pinned to the area near the doorway until they have all fallen. Make your way through the door and proceed to follow the winding stairwell until you arrive at Level 3 and exit out into the Kill House.
7: Kill House
GHOST
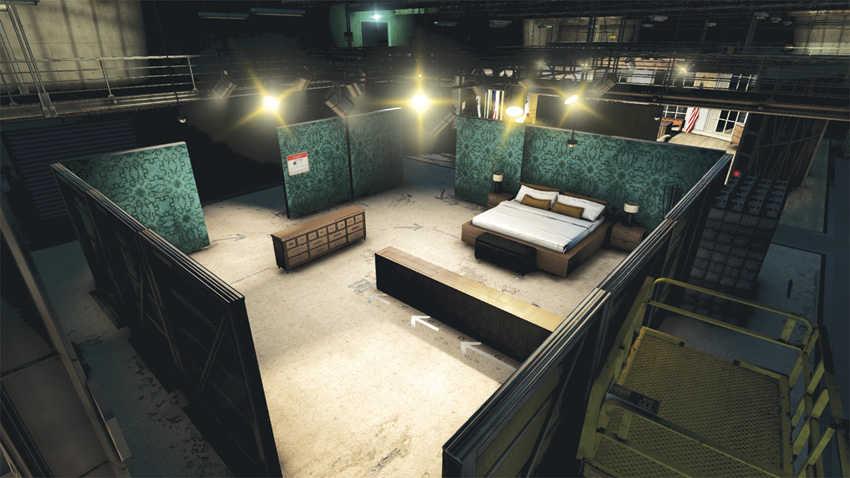
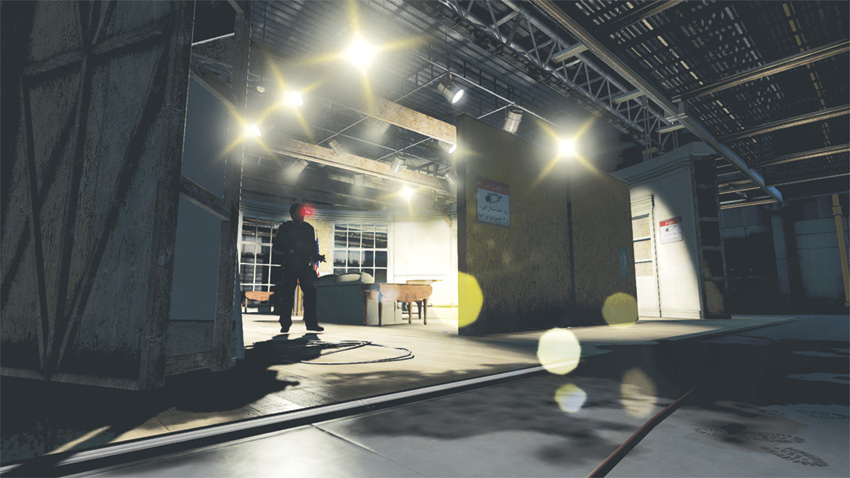
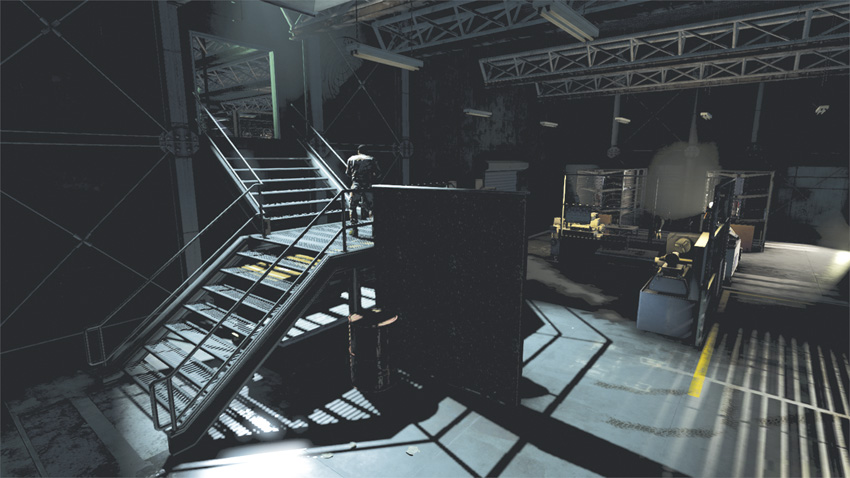
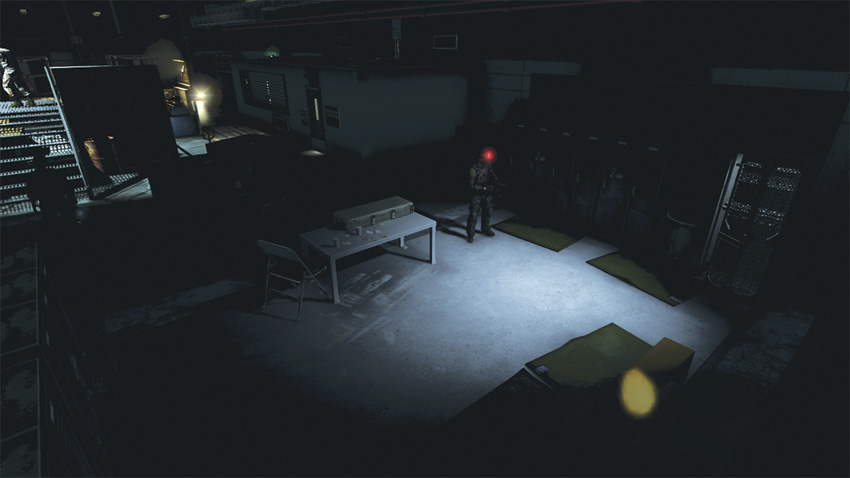
When you enter the Kill House, you begin on the catwalks overlooking what appear to be movie sets, including a fake Oval Office. Avoid dropping down to the lower level, as Commandos patrol the sets. Proceed counterclockwise along the catwalks, when you approach the catwalk on the opposite side of the room, climb onto the overhead pipe. Wait for the patrol to pass beneath you and perform an Aerial Knock Out. Drop down from the catwalk and locate the doorway with a floodlight above it. After passing through it there is a Commando at a table to your left. Use the Stun Gun to incapacitate him. Nearby is another guard, so use your Stun Gun on him as well. As the guard falls to the ground, enter the office on the right-hand side of the room. Within, you will find the Blacklist Laptop; hack it before passing through the door on the other side.
Blacklist Laptop
Before hacking the Laptop, close the door behind you to ensure that you are not interrupted.
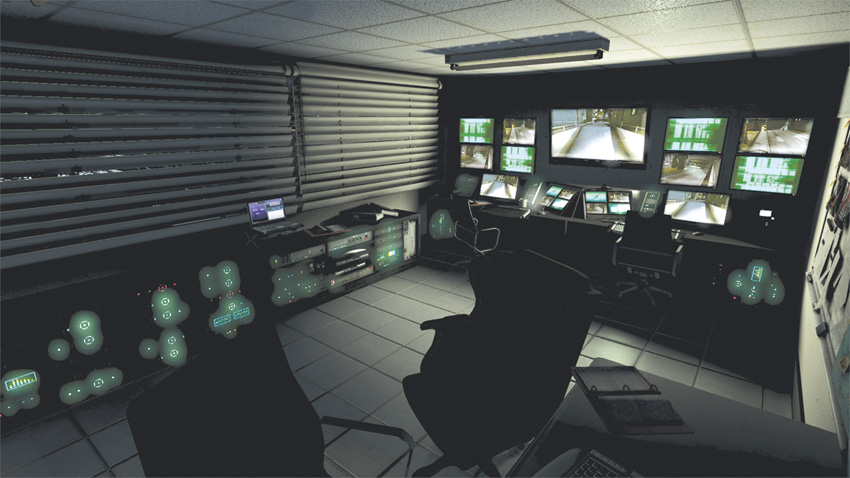
After you exit the office, take cover behind the janitorial cart in the hallway. The nearby sliding glass door is RFID-locked, but luckily a guard enters the hallway on his patrol. When he does, lure him over and take him hostage. Once through the door, knock out the guard and pass through another set of doors. Enter the security control room to your left and access the terminal so that Charlie can override the door locks. Now, with the doors under Charlie’s control, exit the security control room and pass through the door on your left.
ASSAULT
Inside the Kill House, engage the enemy from the catwalks. Your first target should be the Heavy Infantry soldier that walks along the center balcony that overlooks both sets. This balcony will serve as your main point of ambush as hostiles attempt to reach the catwalk via the second floor entrance it connects to. Stay in motion while on the catwalks, as most of your foes will hole up in the fake Oval Office. Circle the set and pick them off as you acquire line of sight. Before passing into the next room via the second-floor entrance, take cover near the entry and survey the floor below. To the right side of the room, you may see the familiar red lights of Commando goggles in the shadows. With bodies lying in your wake, proceed through the entry and down the stairs. In the middle of the room, there is a control room. Pass through the room into a hallway where another RFID-encoded door stands before you. Stand near the door and make some noise to attract the guard to you. When the door opens, quickly finish him off. Pass through the now open door and proceed to the security control room. Patch into the terminal to allow Charlie to open the doors ahead of you.
8: Foyer
GHOST
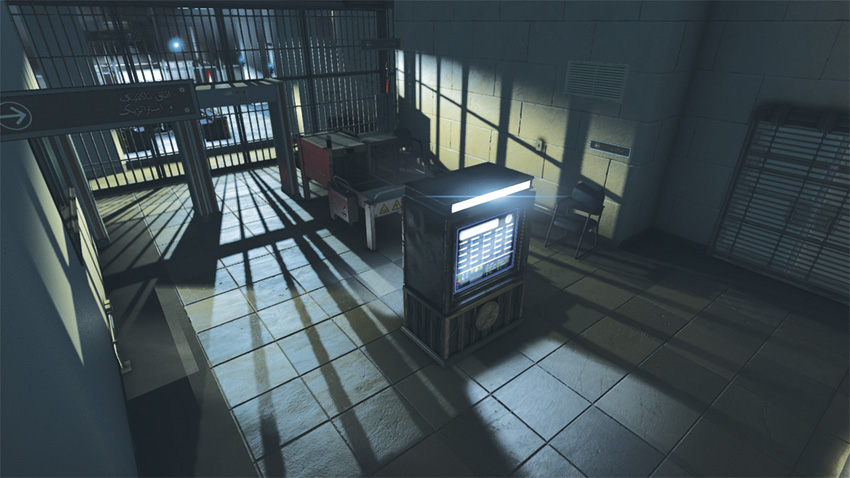
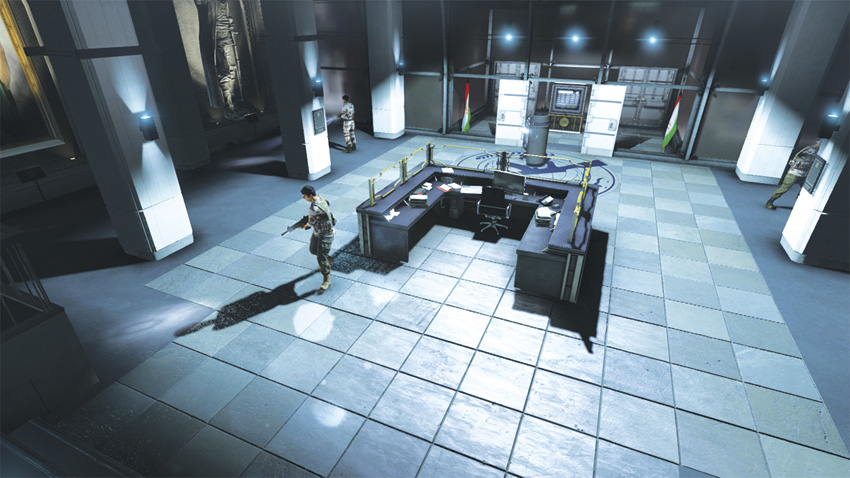
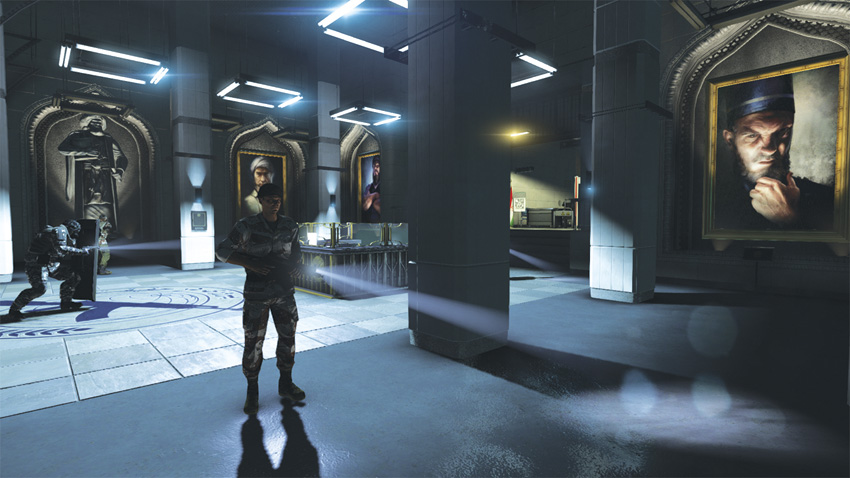
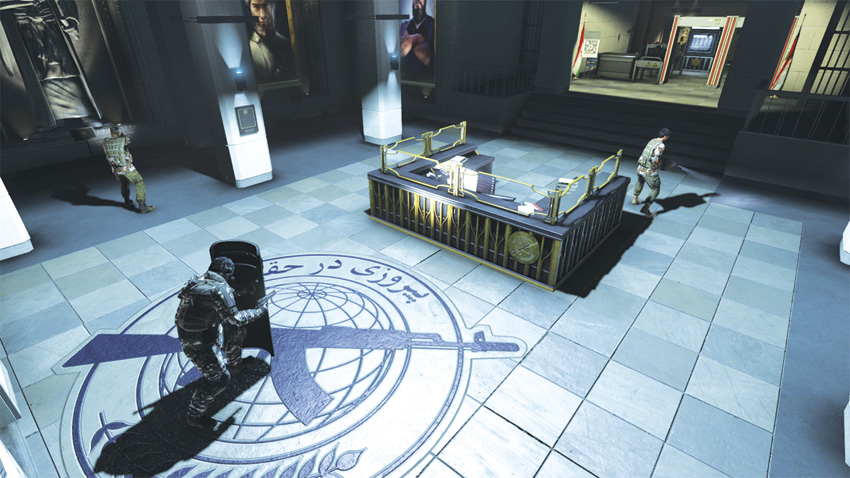
Now that you are entering the foyer, flip the light switch to the right of the metal detector. With the lights off, climb over the nearby table to bypass the machine. While you wait for your team to remotely open the gate, some unwelcome visitors arrive. Several guards fill the room, including a Heavy Infantry soldier with a ballistics shield. The darkness you have created is how you will bypass the guards unseen. As you pass through the room, stay close to the pillars should you need to take cover quickly. Proceed along the room’s periphery to avoid the gaze of the Heavy near the room’s entrance. Stay low as you sneak behind him and out the front doors.
ASSAULT
After exiting the security control room, you come to a metal detector set before a gate. While Charlie works on getting it open, turn off the light switch to the right. Once the gate is open, four guards and a Heavy Infantry soldier with a ballistic shield enter the foyer. Throw a Frag Grenade toward the far side of the room where the Heavy is positioned. The explosion rocks the guards, so take the opportunity to fire upon them. Even when detected, the lack of light here results in Combat Kills with little effort, as long as you remain in constant motion. Once the room has been cleared, proceed through the double doors and out into the gardens.
9: Gardens
Ghost
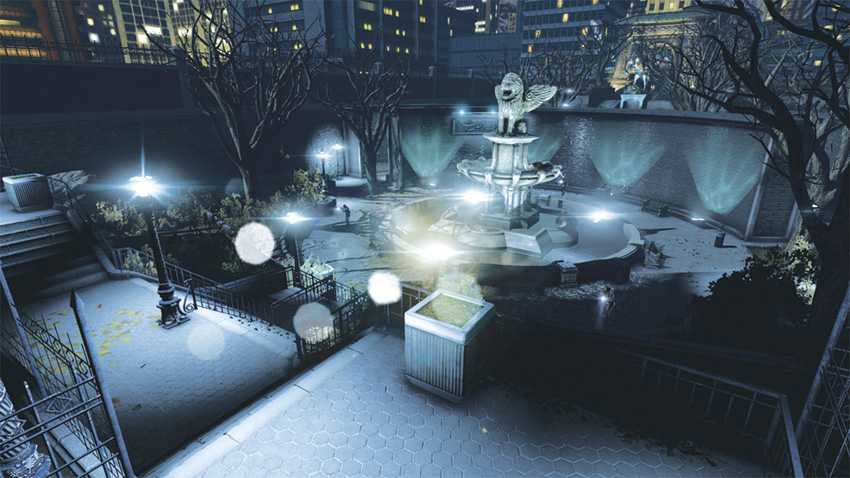
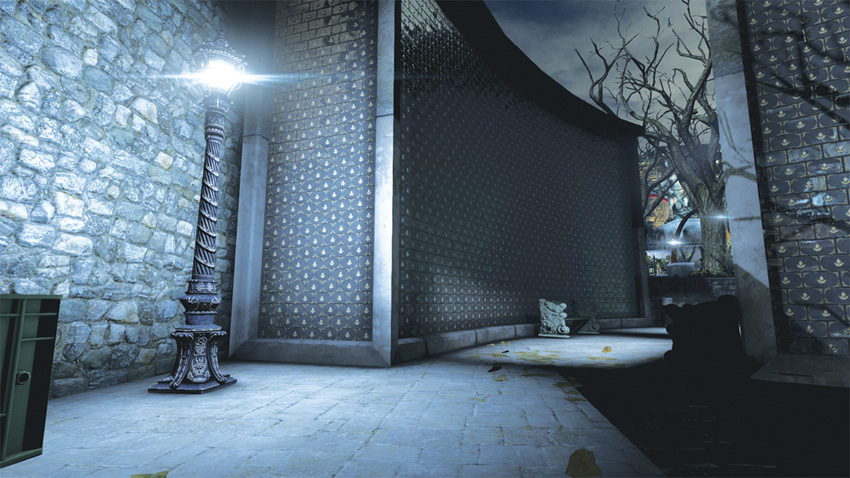
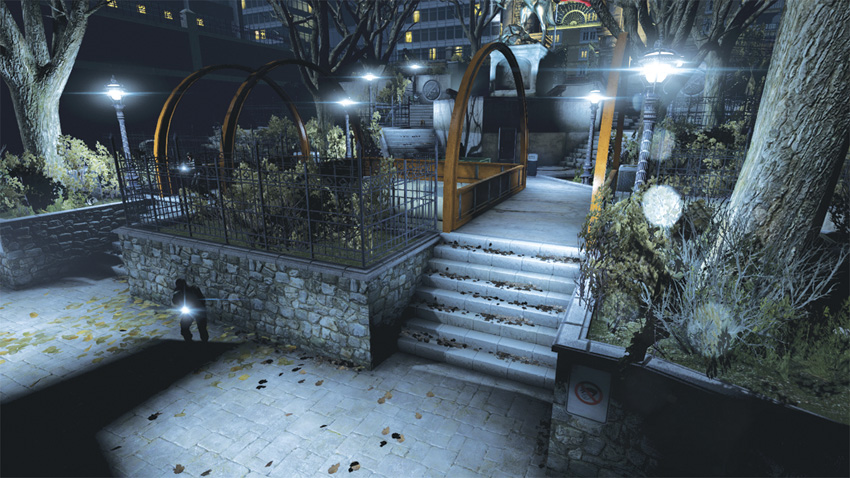
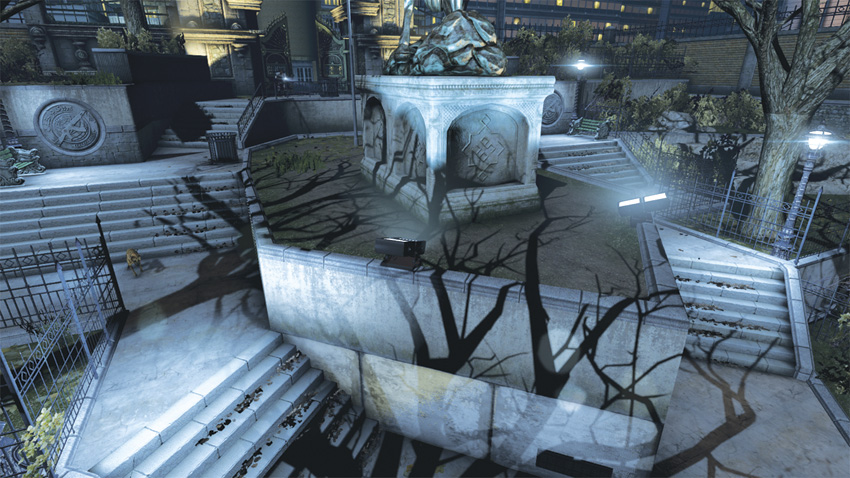
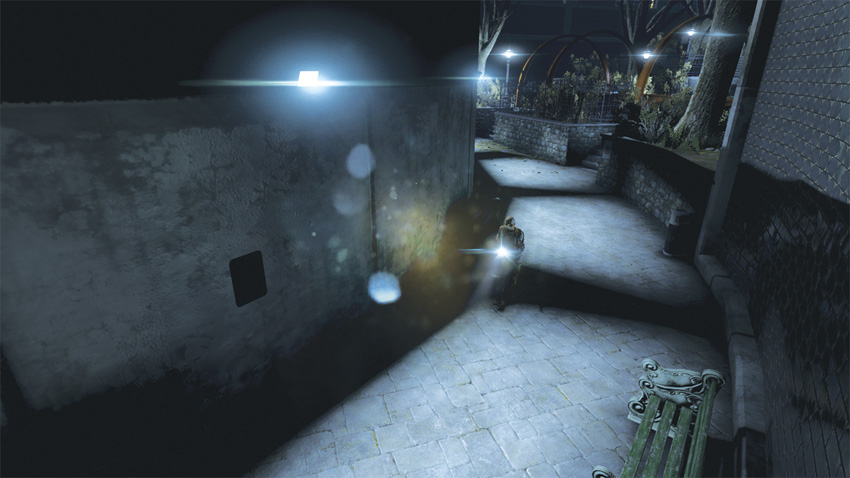
Traversing the gardens without detection or violence requires effectively using the shadows. As you proceed toward the large fountain, follow the stairs to the right, leaping over the railing on that side and hiding in the darkness. As you step down, hug the wall, only stepping into the light when necessary. Continue along the path until you see another set of stairs leading up to the street. In this tight space, you will find the High Value Target for the mission. Stay hidden within cover against one of the benches and wait for his path to cross yours.
High Value Target
Stay in the shadows to bag this HVT.
Now that the HVT is in custody, continue toward the stairs leading up to the street. The first set of stairs leads to two bridges. Avoid climbing the stairs and instead climb onto the ledge on the far right and drop into the small runoff canal. Jump up and hang from the right side of the bridge. Standing between the two bridges is a Heavy Infantry soldier carrying a ballistics shield. In addition to that, a guard frequently patrols the nearby stairs. When the Heavy is looking away, climb onto the grassy ledge to the right of the bridge. Stay low, pass behind the Heavy, and climb onto the ledge behind him. Once atop the ledge, stay in the shadows of the stone monolith by passing on its right side. There is a dog up ahead as well; throw a Sticky Camera toward it and use Sleeping Gas after attracting it. One more guard stands between you and the extraction point. Drop down to the stairs on the right and climb onto the ledge to circumvent the stairs. Remain in the shadows here and throw your last Sticky Camera to the side of the guard opposite of you. Attract the guard to pull him away from his post, then simply pass through the gate to rendezvous with Briggs.
ASSAULT
Within the gardens, start the firefight by lobbing a Frag Grenade toward the fountain at the base of the stairs. Try to time the throw so that two of the guards are standing near one another. This little piece of chaos results in a detection. Wait at the steps for the guard dog to come running, and shoot him before he can get close. Stay near the fountain, using it for cover as hostiles enter the area from both the left and right sides. When the flow of hostiles is minimal, proceed until you come to the twin bridges. Waiting across the way is a Heavy Infantry soldier with a ballistics shield. Allow the Heavy to see you from across the bridge to draw him toward you. After you dispatch the Heavy, cross the bridge. If you killed the dog earlier, you can advance to the exit unopposed.