
Tom Clancy's Splinter Cell Blacklist Guide Walkthrough Campaign
Mission 4: Private Estate Ciudad Del Este, Paraguay
Recommended Loadout
- Gadgets: Sticky Noisemaker, Flashbang
- Goggles: Sonar Pulse
- Ops Suit: Classic (Torso), Classic (Gloves), Tactical Mesh (Pants), Tactical Mesh (Boots)
- Pistol: F40 with Armor Piercing Bullets
- Alternate Weapon: SR-25 Sniper Rifle with Extended Mag and Armor Piercing Bullets
- Special Weapon: Stun Gun
Infiltrate Perimeter
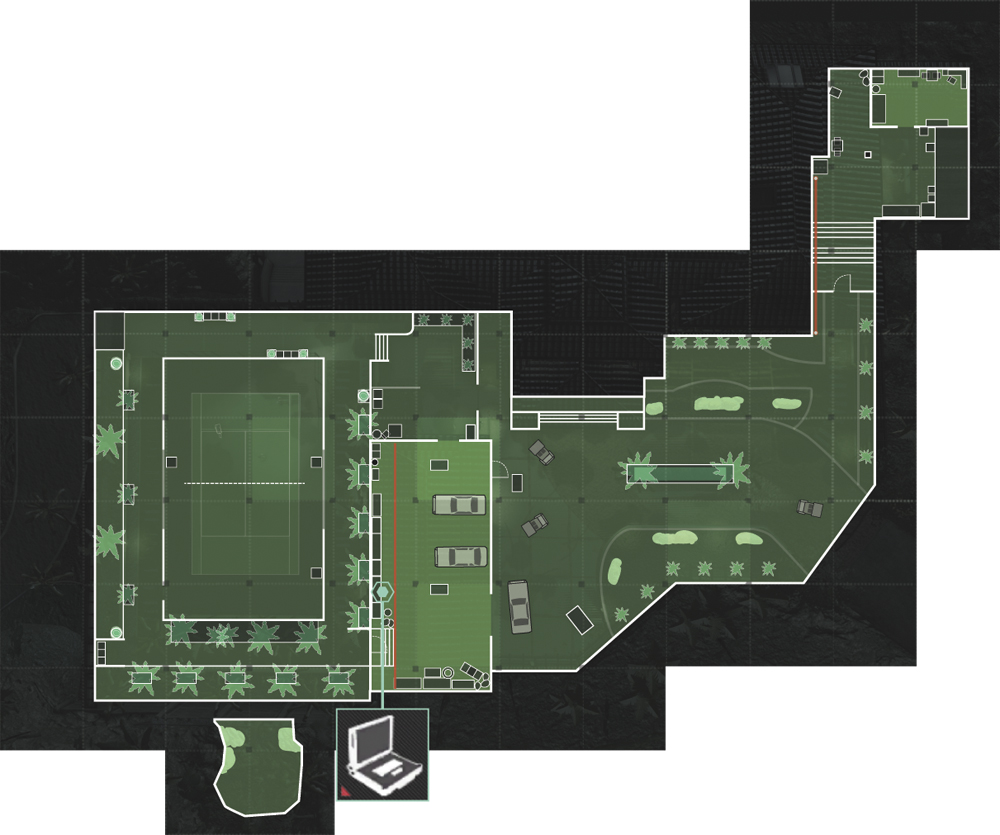
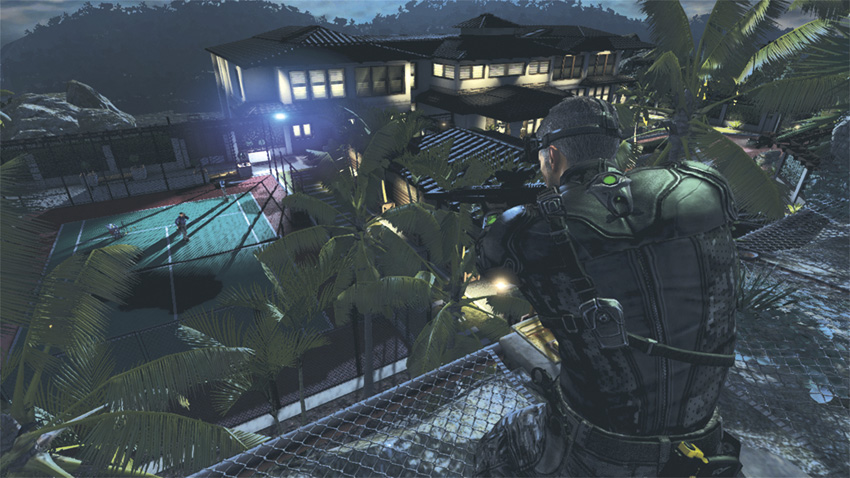
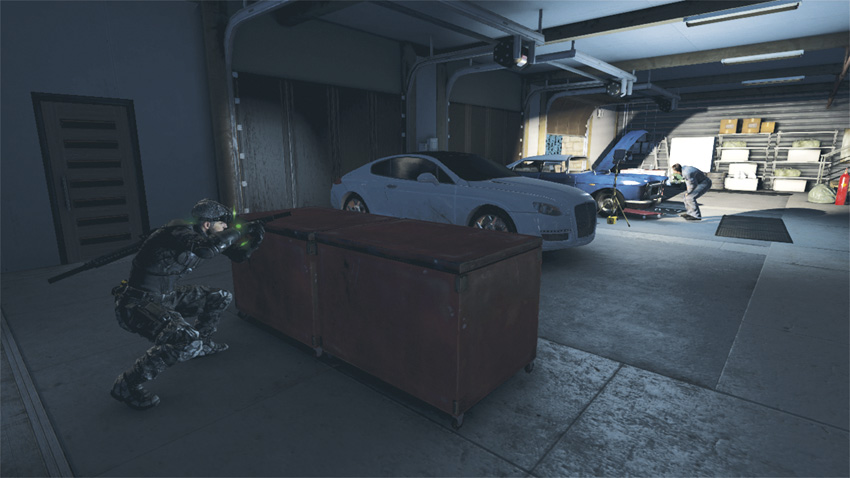
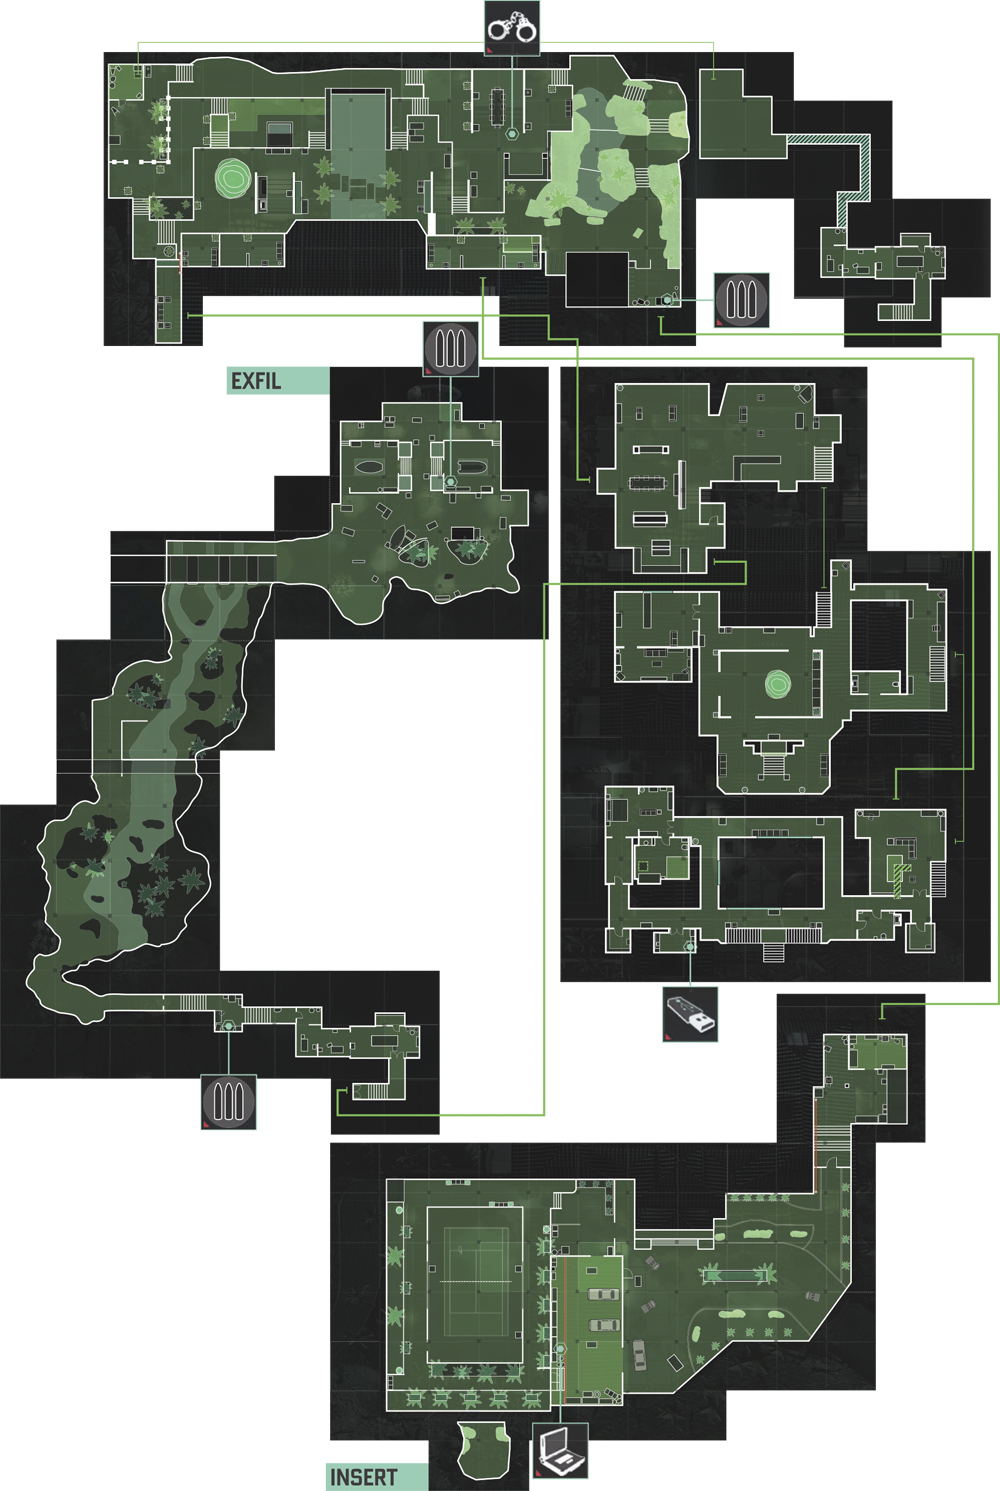
You begin your mission above the tennis courts with a bird’s-eye view of two guards on patrol. You have no need to worry about anyone else entering this area of the estate, so equip your sniper rifle and eliminate both men from your lofty vantage point. Repel down to ground level and work your way along the wall to the garage on your right. At the far corner you’ll find a handy bin in which to stash any bodies you might need to hide. Snipe the light fixtures near the door to snuff out their fluorescent glow and enter the garage, immediately taking cover. Peeking from your hiding spot, you see a man hunched under the hood of a car with the engine exposed. Beyond him is a wide-open door big enough to drive the car through that leads to a large side yard. You can hear voices of men as they patrol the grounds, plus the barking and growling of a dog. First, deal with the hostile in front of you. Once he’s taken care of, hide his body in the bin you passed on your way in. Next, make sure no one is coming, and then snuff out any floodlights or fluorescent lights in the vicinity. Now head to the opposite side of the garage to hack into the Blacklist Laptop that is sitting on a desk in the far corner.
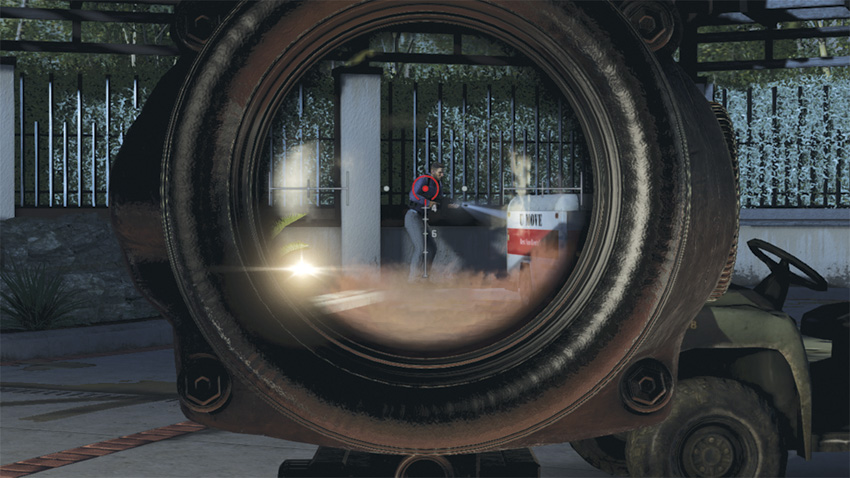
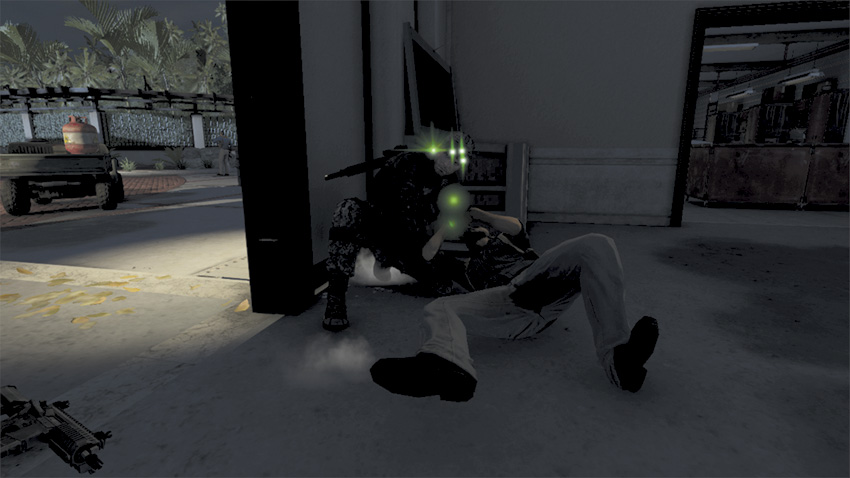
Once you are finished with the laptop, crouch and silently approach the open garage door. Turning on your sonar goggles, you are able to make out three more hostiles plus the dog. Head back to where you entered the garage and follow it into the courtyard. Now begin systematically eliminating the threats. Once they are taken down, follow the waypoint marker, which leads you to a room and the security monitoring station.
Cut Power to the Estate
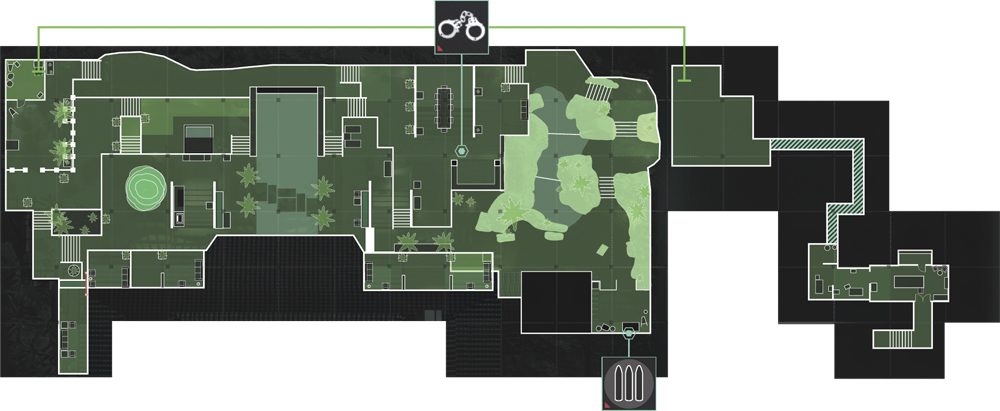
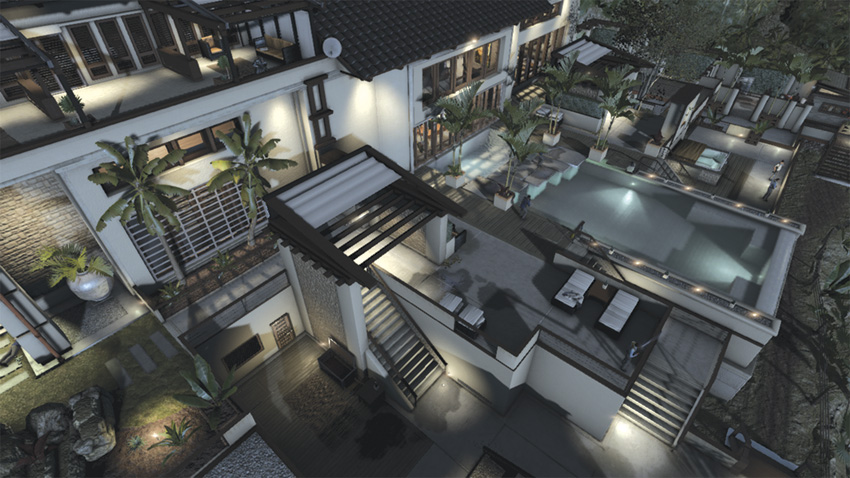
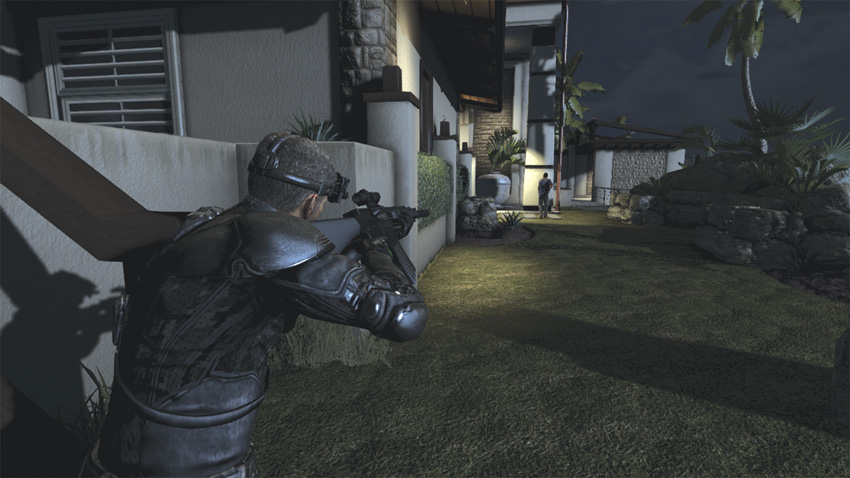
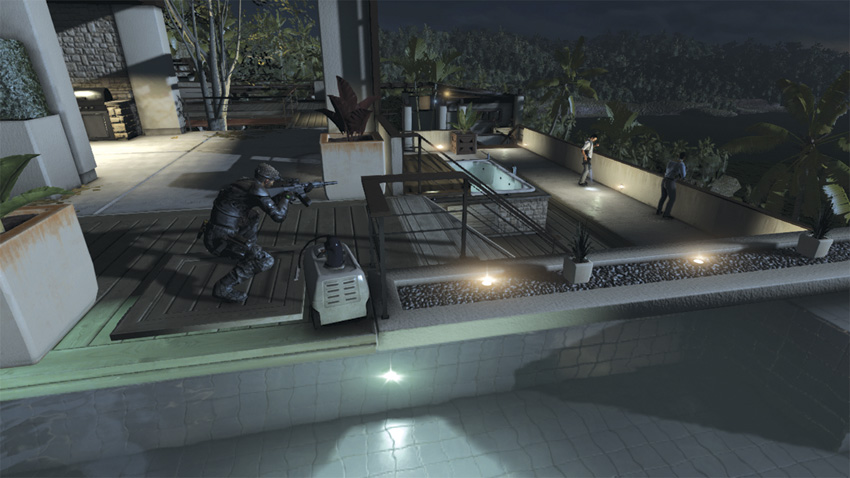
After jumping through the window Charlie unlocked for you, stock up on ammo at the Supply Cache. The first guard should be close by and to the left, making sure the doors to the estate are secured. While he’s preoccupied, take him down. Now, climb up the pipe nearby where you killed him. From your lofty vantage point you can see the rest of your targets. Down below you near the barbeque grill and patio are a High Value Target, a hostile, and a dog. To your left near and around the pool are five more hostiles. Time to get to work.
Drop down to ground level and capture the HVT, and then hunt down the other enemies. Once they are all eliminated, you are able to access the utility shed to shut down the power.
Lights Out!
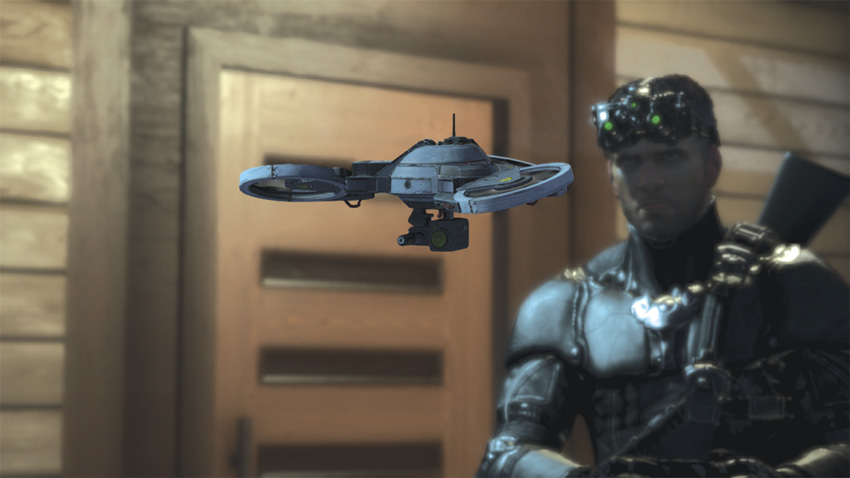
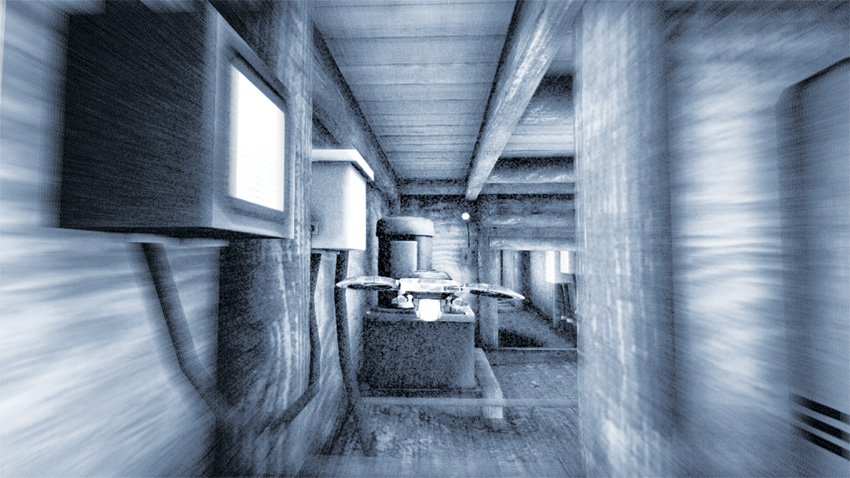
You deploy the Tri-Rotor and Charlie gives you the all clear that there is no lag in the data transmission. It’s time to find the circuit breaker. As soon as the Tri-Rotor’s visual feed comes through, check the ground below it: You should see two pipes running parallel to each other along the ground. Begin by following the path of these pipes. Once the device reaches the far wall, turn it to the left and head toward the light. As it gets close, you will notice an opening to the left. Go through the opening and continue moving forward until you dead-end at another wall, and then fly the Tri-Rotor up about two feet.
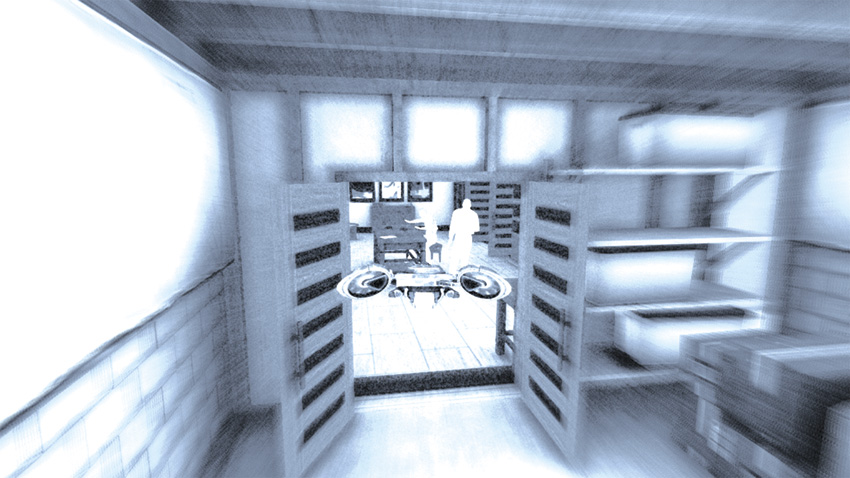
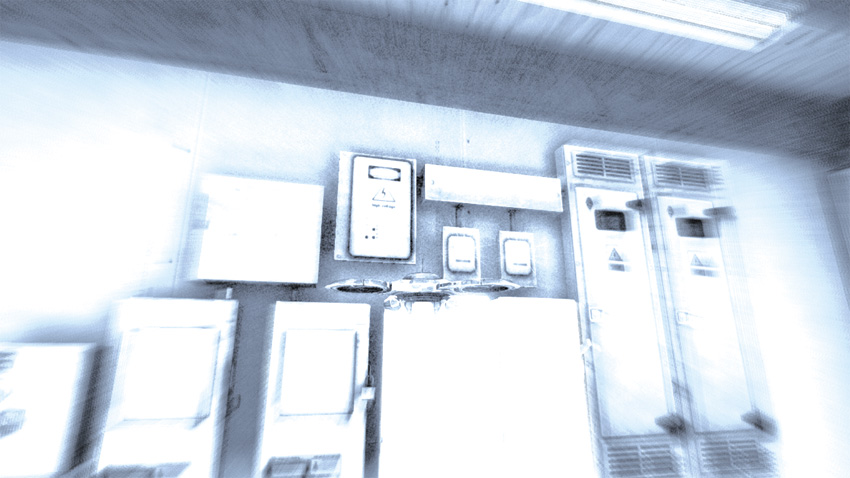
When you reach the top of the next stretch, you see a thick, dark pipe to your right. Fly the device forward alongside it, and then around to the right. Now, simply follow the tunnel through to the finish, where you will eventually end up in a wine cellar containing two men preoccupied in conversation. Maintaining altitude, veer the Tri-Rotor to the left along the top of a shelf filled with bottles. Five feet in the distance you should see a doorway below you. Keeping the device hidden from the occupants’ view, fly into the room, where you will find the circuit breaker. Target the small, white box labeled “Danger,” and hit it with a sticky shocker. Now it’s time for the real fun to begin!
Finding Nouri: To the Panic Room
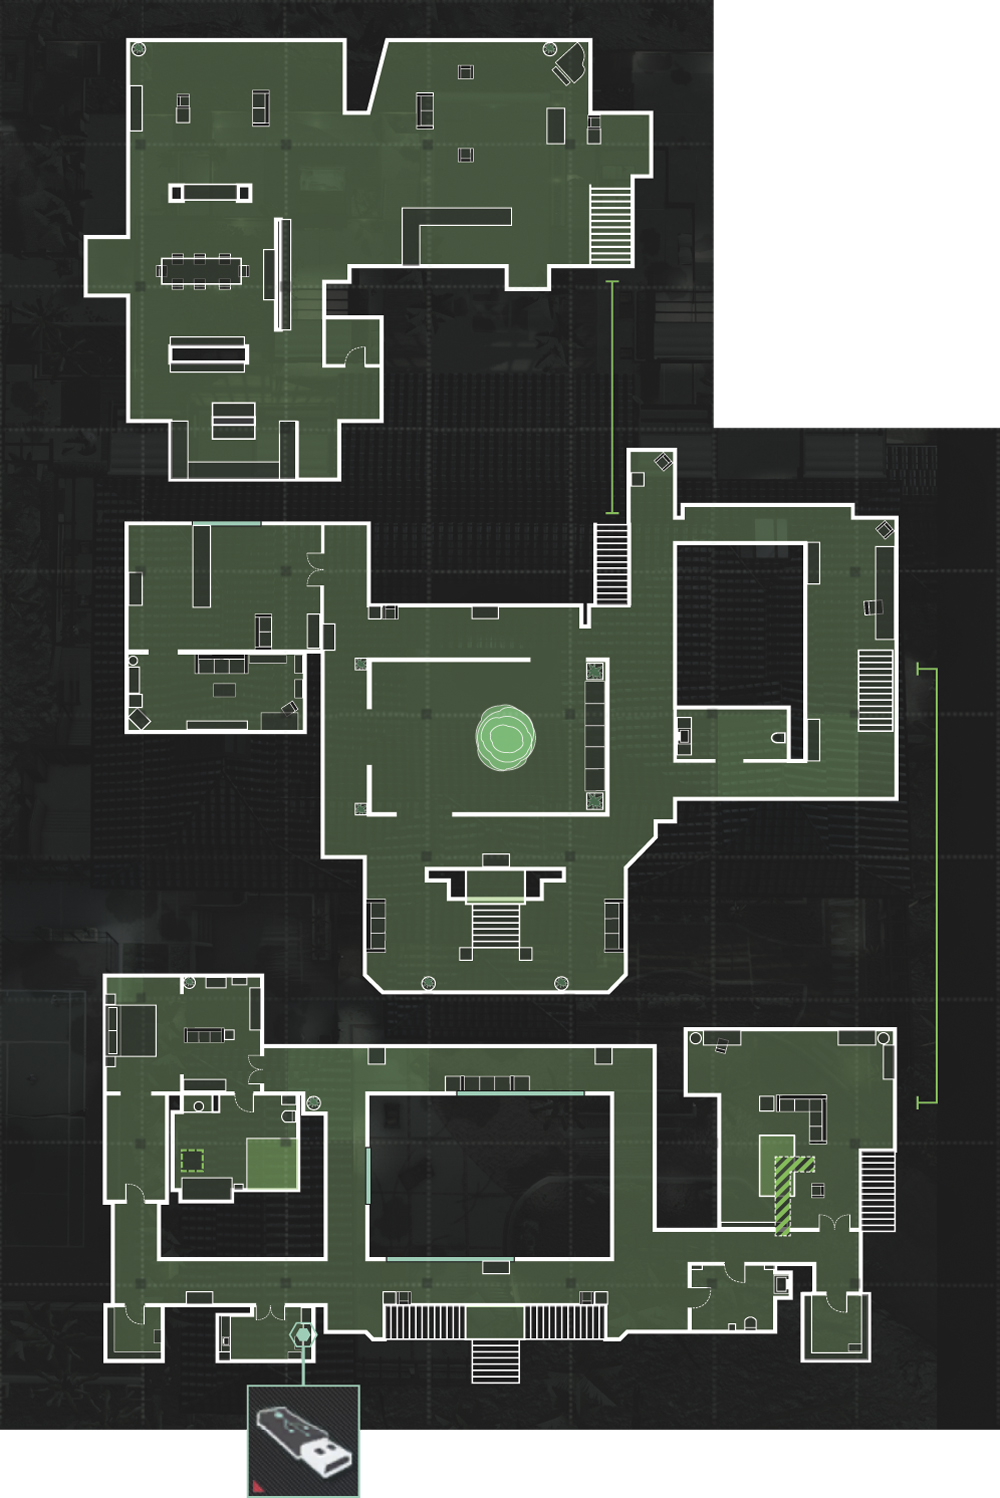
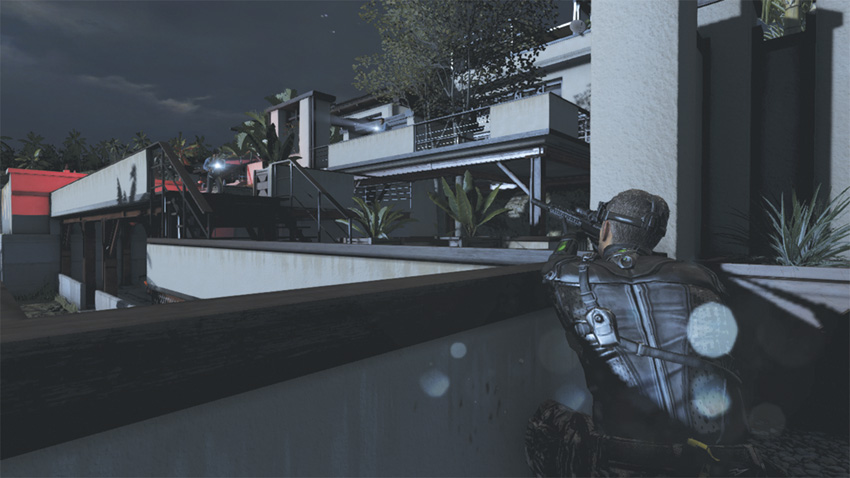
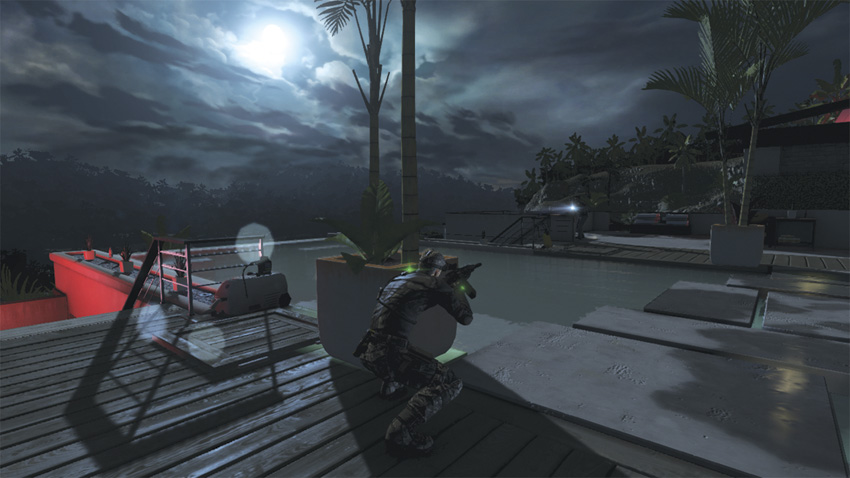
With the circuit breaker blown and the lights extinguished throughout the estate, all the guards are on high alert. All around the shed, guards are combing the grounds looking for intruders. You have the advantage, as they don’t know where to concentrate their search.
As soon as the lights go out in the shed, exit and look immediately to your left. The first guard should run past you, giving you your first kill. Continue moving to your left and post up along the corner railing. Three guards and a dog are searching the grounds, and one guard is on the second-story balcony. From this vantage point you should be able to pick off each one. Once the four hostiles and the canine are eliminated, head back over near the pool to take care of the three remaining guards. If you lose sight of any of them, use your Radar and your sonar goggles to locate their positions.
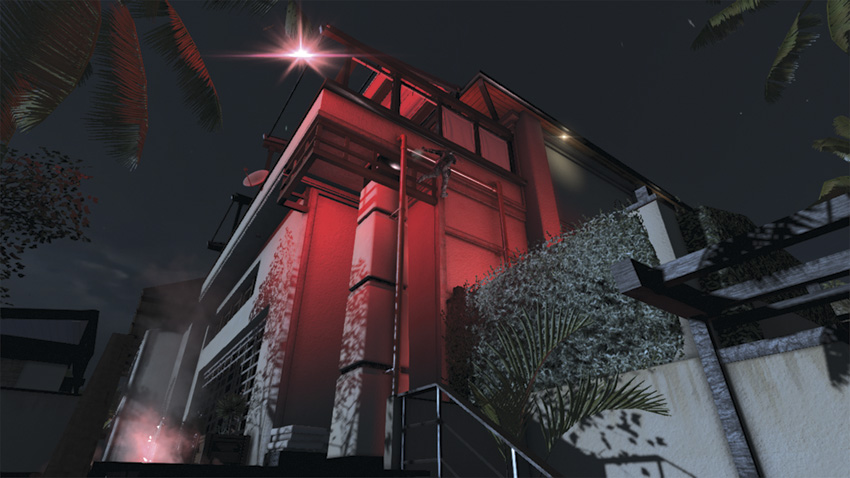
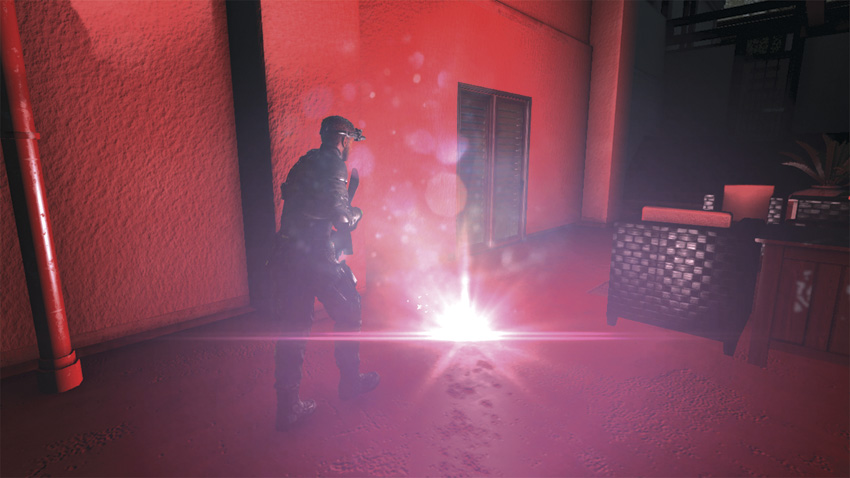
At this point you have two options to enter the estate. The first option is through a door on the second-floor balcony, which can be accessed by backtracking to where you connected to the Opsat computer (you’ll find a pipe you can climb up to the right of a flare on the ground). Or you can enter along the side, back near the shed. Since the goal is to be proficient at Panther style, head toward the side opening. Like the balcony entrance, you will find a flare on the ground there, too, and directly next to it a pipe leading up the side of the building. Climb to the top of it, and then move hand over hand to the right and drop down to the ground to enter the estate.
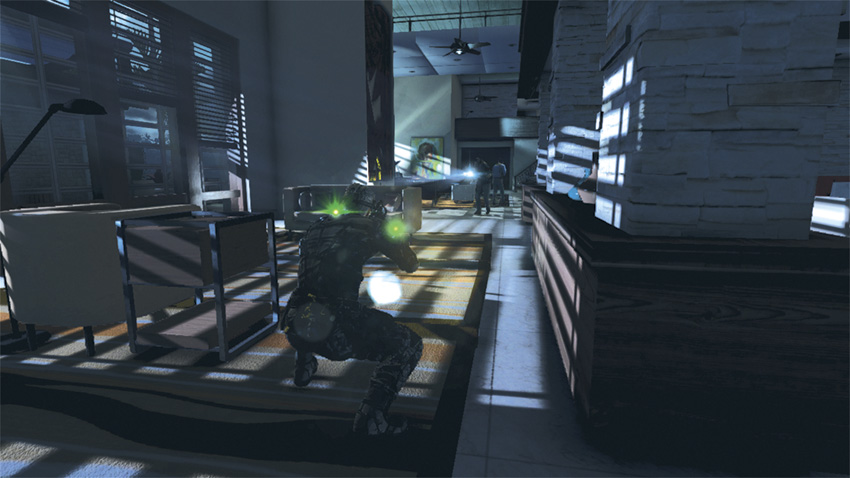
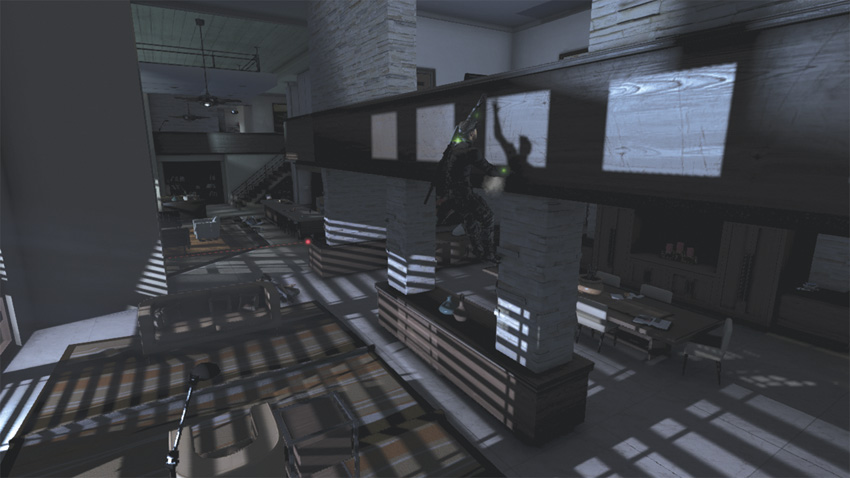
Drop to a crouch, move forward slightly, and look to your right to spot your first target and first infrared laser. Take him down without tripping the alarm, and then move to your left to take cover behind the chair. Look into the living room to spot the next two hostiles. You can easily take them down with two, quick sniper rifle shots. Look to your ri.jpgght and climb up the wall to a room on the second floor.
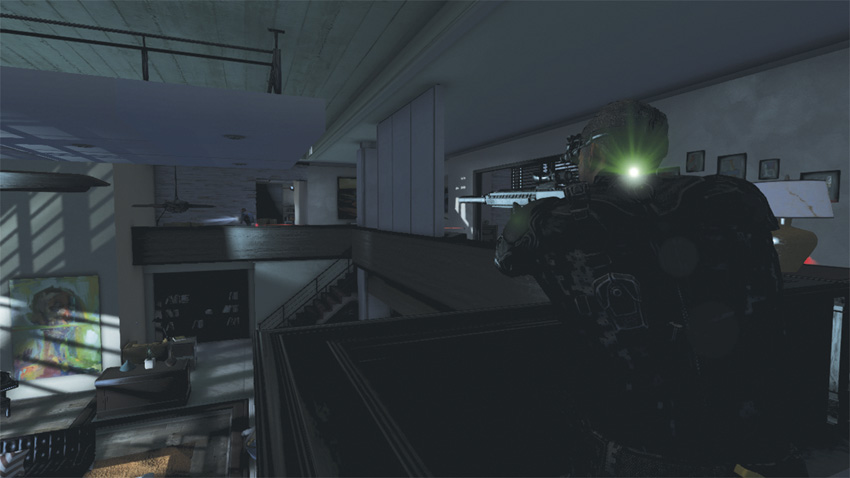
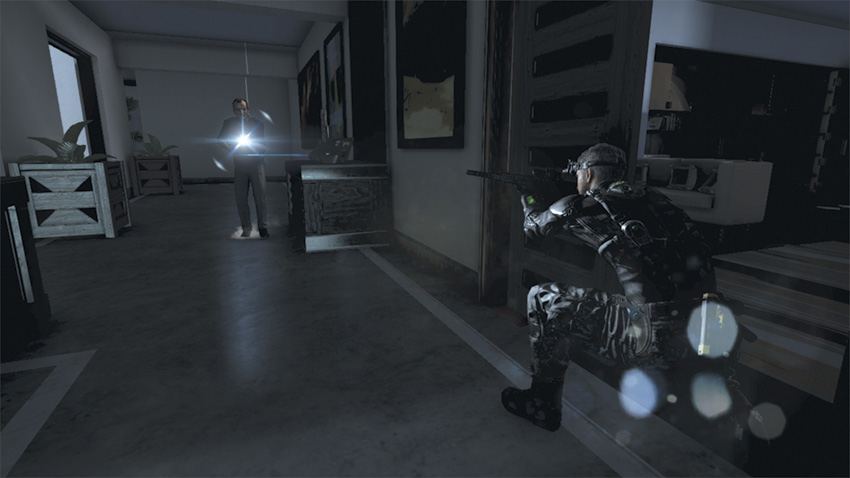
Move toward the double doors and activate your sensor goggles. You should see another hostile just on the other side. Wait for him to move away from the doors, and then exit the room and shoot him from behind. Maintain cover and look directly in front of you near the staircase, where the next hostile is waiting. Again, a shot from your sniper rifle should do the trick. Move along the wall in the direction of the first hostile, checking your Radar as you go. At the end of the short hallway, head to your left and follow it until you reach the staircase on other side of the house, bypassing any doorways you see. Along the way you will encounter one to two more hostiles.
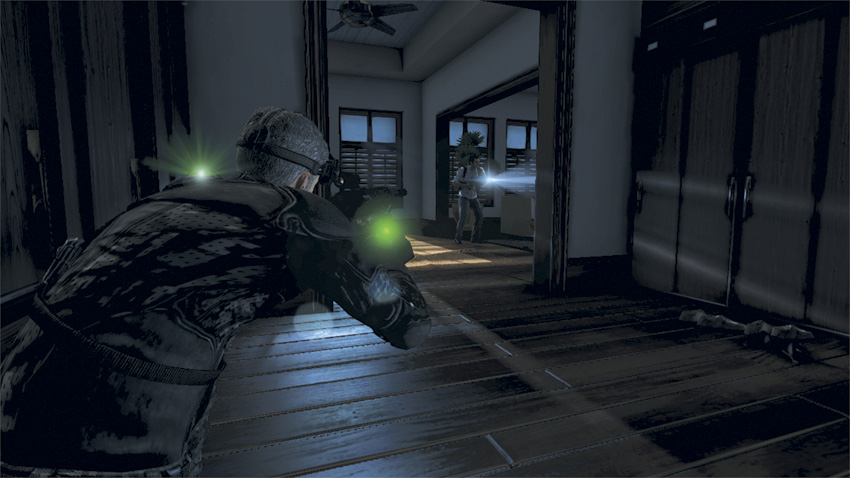
Head to your left at the top of the stairs and follow the next hallway down to the right. Along this wall you find another power box, and at the end of the hallway another infrared laser. Two more guards are in the vicinity. Deal with them swiftly and continue straight to the next hallway, directly beyond the motion-detecting beam. Stop in the laundry room to your left to pick up the Dead Drop, and then resume your trek down the hall, orienting to your waypoint marker. Take down the last remaining guard before heading into the bathroom and breaching the door to the panic room.
The Great Escape
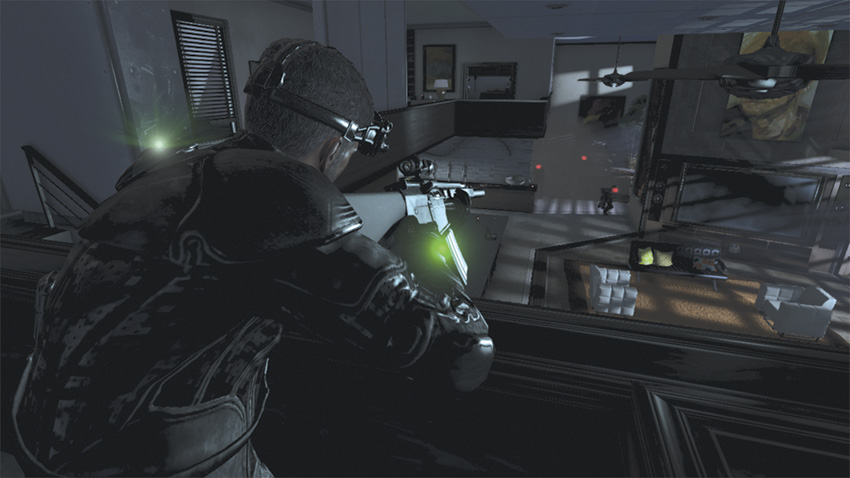
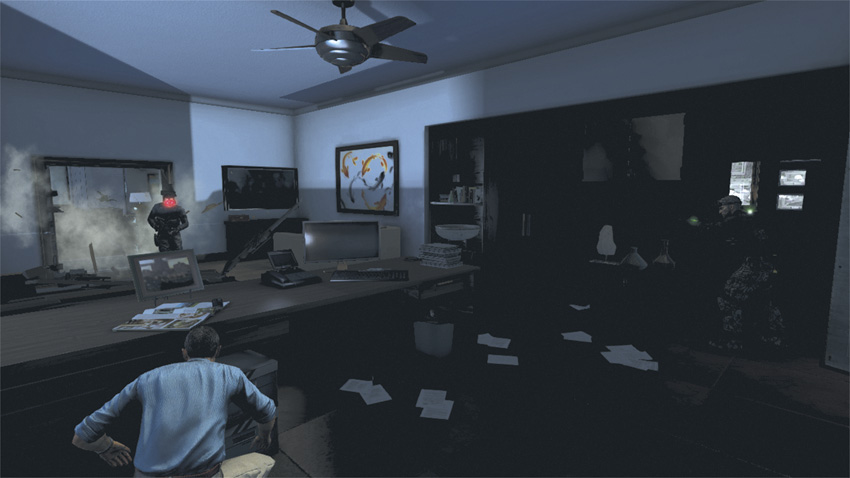
You exit into the room beyond and Nouri takes cover behind a desk, while you are left to tackle the first two Commandos out in the hallway. No need to worry about infrared lasers at this point; just concentrate on eliminating the hostiles. Your first two targets are located near the staircase directly in front of you. Take aim at the first Commando positioned near the railing, and then look to the right for the other. If you lose sight of him, consult your Radar or activate your sonar goggles.
Once they’re eliminated, allow Nouri to run downstairs and take cover. Standing at the top of the staircase next to the bannister you see four more Commandos coming into the living room. Mark the three Commandos in front and below you, and then kill them using your Execute Ability. Target the fourth and final Commando to your left and eliminate him before he can get a bead on your position.
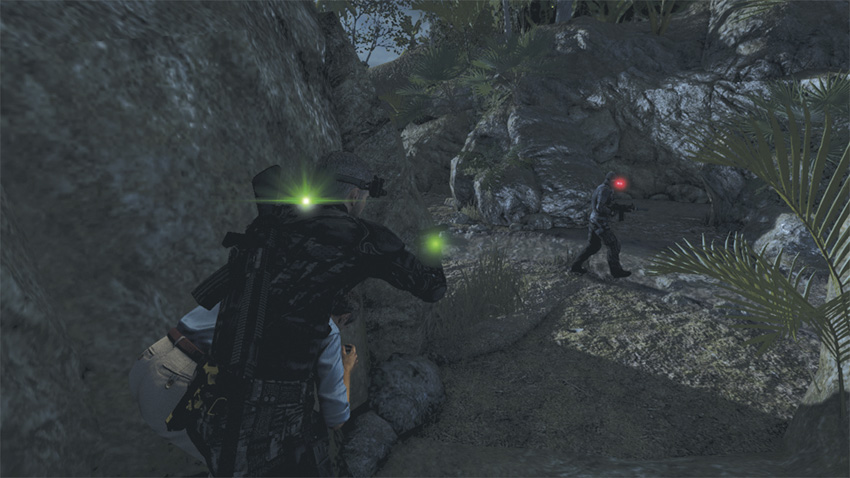
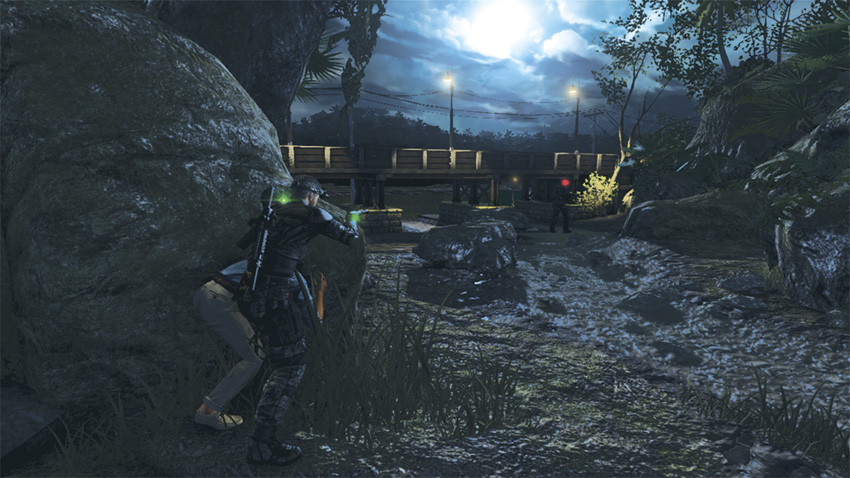
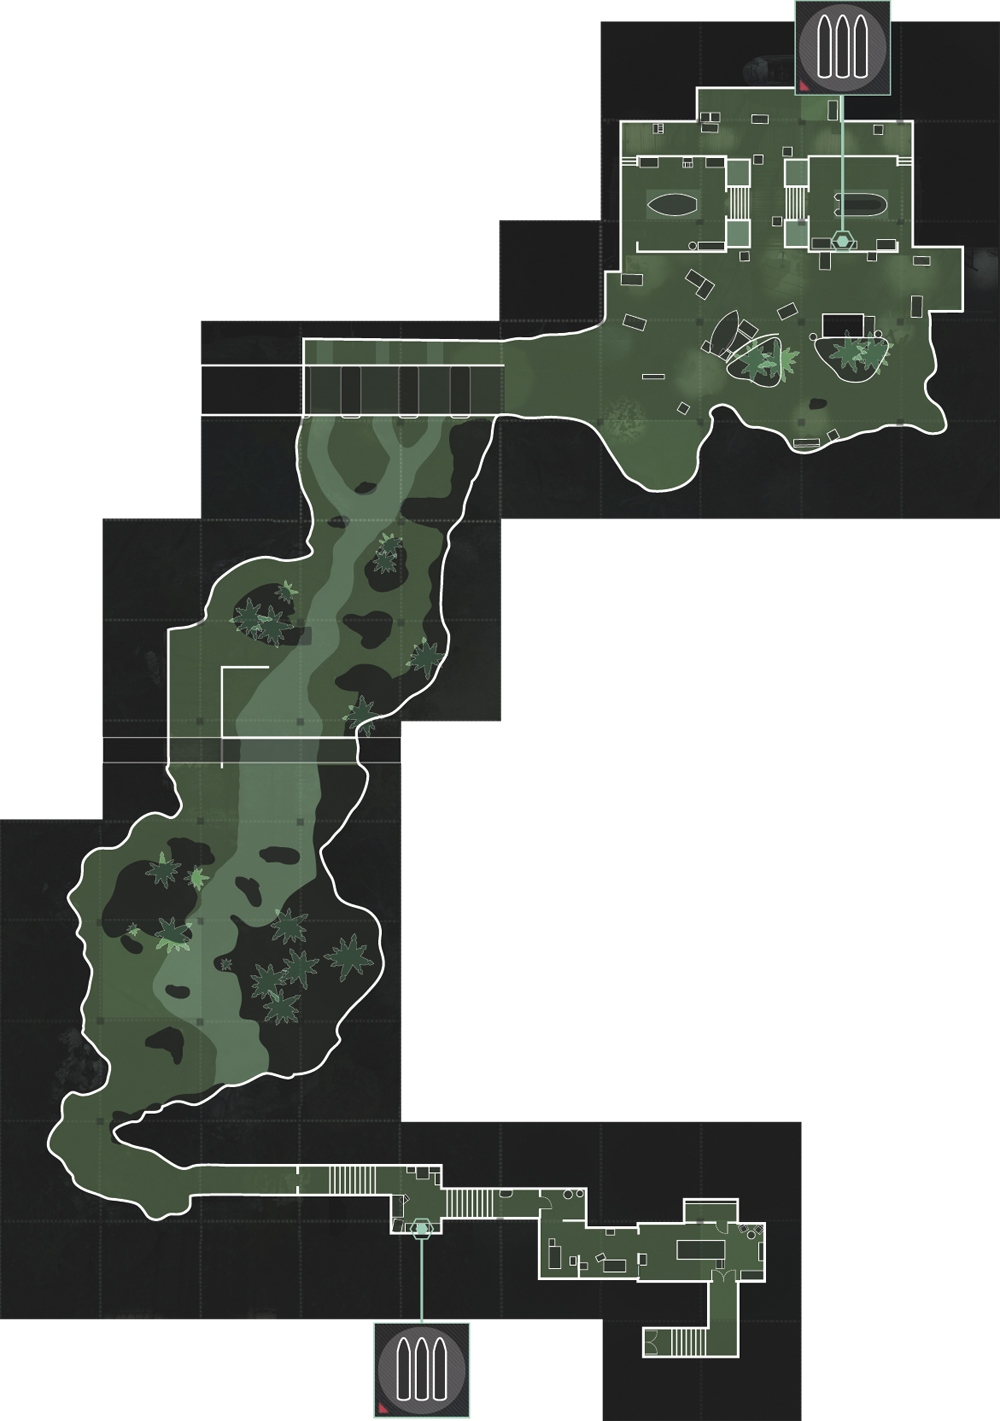
Following Nouri, you begin the descent to the tunnel underneath the estate. Grim relays that your only option for escape is to follow the riverbed to the dock, where a boat is waiting. Nouri starts telling you he’s basically supplying Sadiq with soldiers in return for cash. What Sadiq does with those soldiers is his own business. As you both emerge outside, you grab Nouri to make sure he doesn’t run for it and lead him forward. You’re very close to the boat, and the only things standing between you and the docks are three hostiles, provided you avoid detection.Move to your left, navigating around the large rock formation and checking your Radar for Commandos. One appears to your right behind the rock. Bang. A few feet farther are two more Commandos. If you haven’t been detected thus far, these are the last hostiles you will encounter before arriving at the boat.
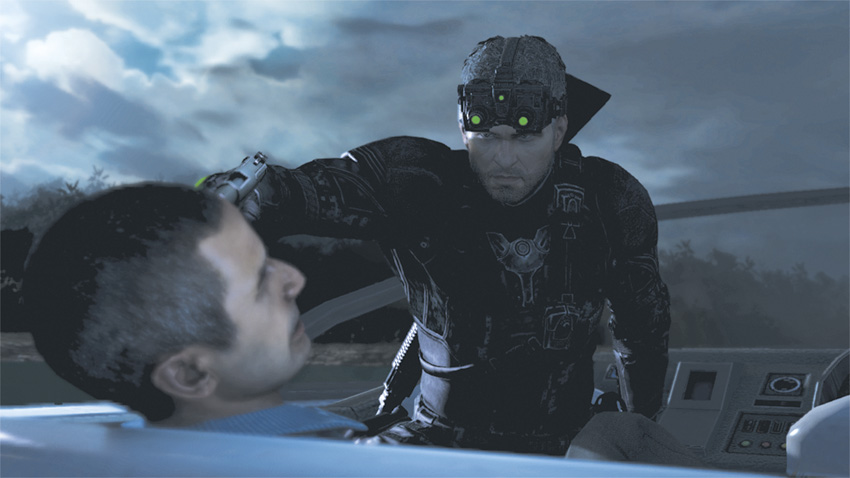
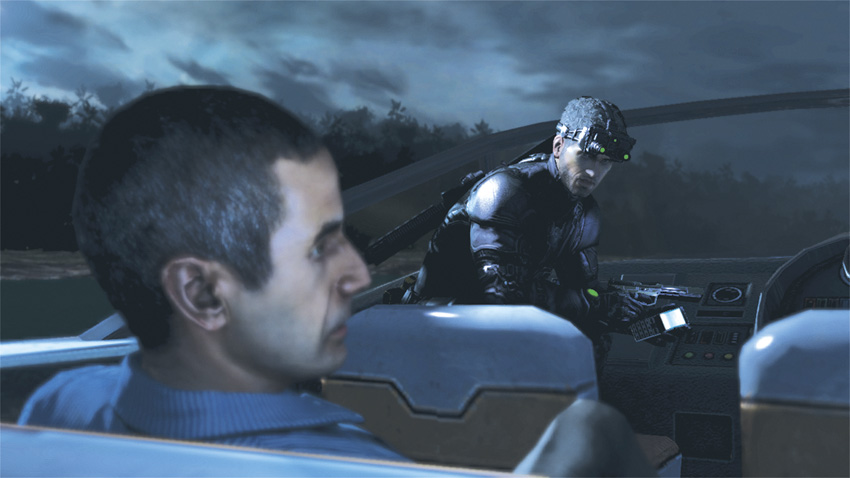
When Nouri and you are safely aboard, you persuade him to give you information regarding the operatives he gave Sadiq. He kindly obliges by handing you his cell phone; on it is a file with all their names and passport numbers. Before going anywhere you send the file to Grim so that she can verify the information. Once she confirms that the intel is good, you’re on your way. Mission accomplished.