
Tom Clancy's Splinter Cell Blacklist Guide Walkthrough Ghost/Assault Tactics
Mission 7: Transit Yards (Philadelphia, USA)
GHOST
Passing through the Transit Yards as a Ghost calls for taking the high road, climbing over scaffolds and using the trains that litter the yards as platforms from which to get the drop on your enemies. For two sequences during this mission you will take control of Briggs. During the first of these sequences, it is difficult to complete your objective as a Ghost. The only nonlethal weapons found in Briggs’s loadout are the two Sleeping Gas canisters and two Proximity Shockers he carries. It is best to conserve these supplies until you are in the Roundhouse, which is Briggs’s second sequence in the mission, this area allows for a Ghost playthrough, as enemies can be left untouched. As is true with the loadout preparation for Ghost missions, it is helpful to carry both Sleeping Gas and the Tri-Rotor, should you have to neutralize your foes.
ASSAULT
Going loud during the assault on the Transit Yards can be difficult if you remain exposed for too long a period. Make use of the environment to get the jump on hostiles by maintaining an elevated position or using land mines to your advantage to eliminate hostiles quickly and efficiently. With the long sight lines afforded during this mission, avoid using Shotguns and SMGs here, which suffer from power loss when fired at distance. Prepare your loadout to include Frag Grenades, Sticky EMPs, and Sleeping Gas canisters. The Sleeping Gas may not seem to be an Assault-style gadget at first, but allowing yourself to be detected prior to deploying these nonlethal devices results in Combat Knockouts of any alerted foes, while sparing your Frag Grenades for Commandos and Heavy Infantry soldiers that are armored and deadlier compared to your standard thugs.
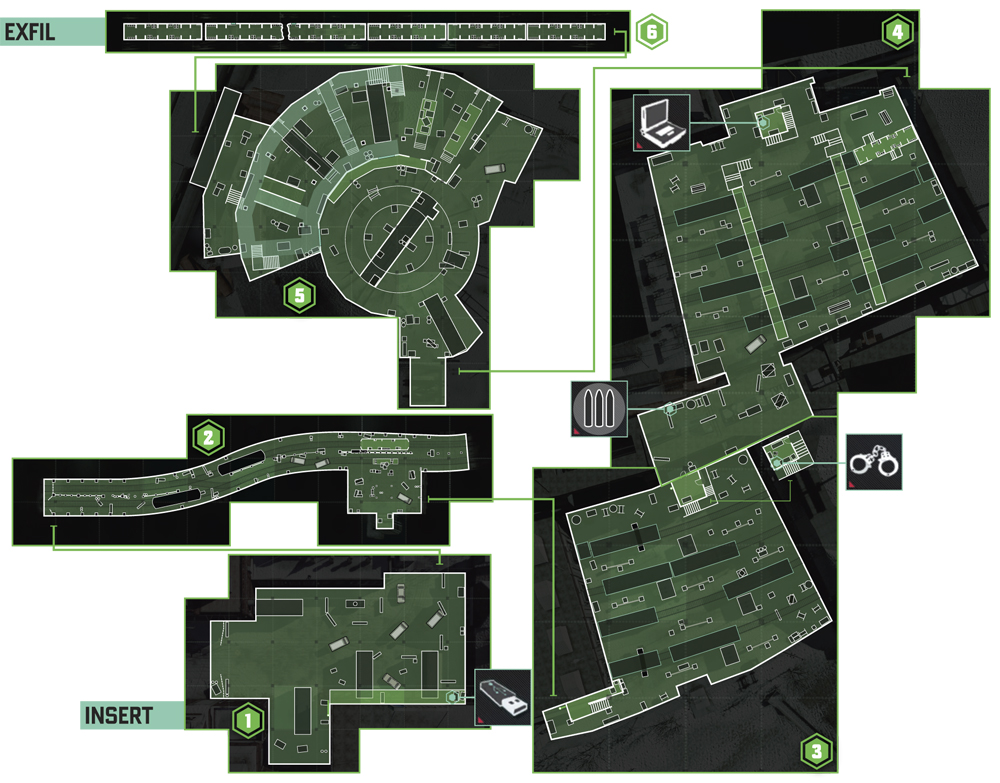
1: Streets (First Bomb)
GHOST
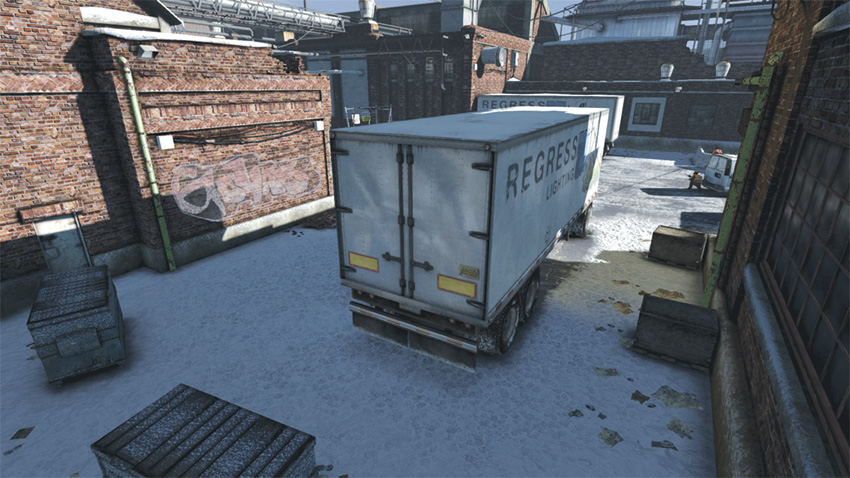
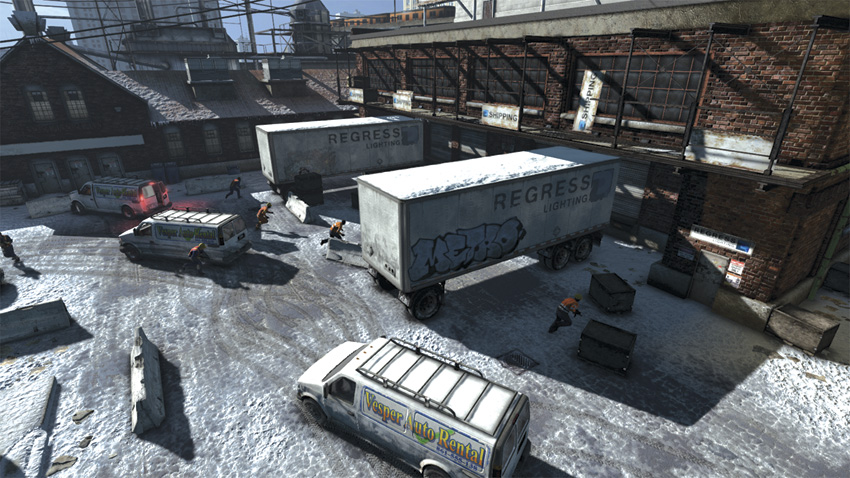
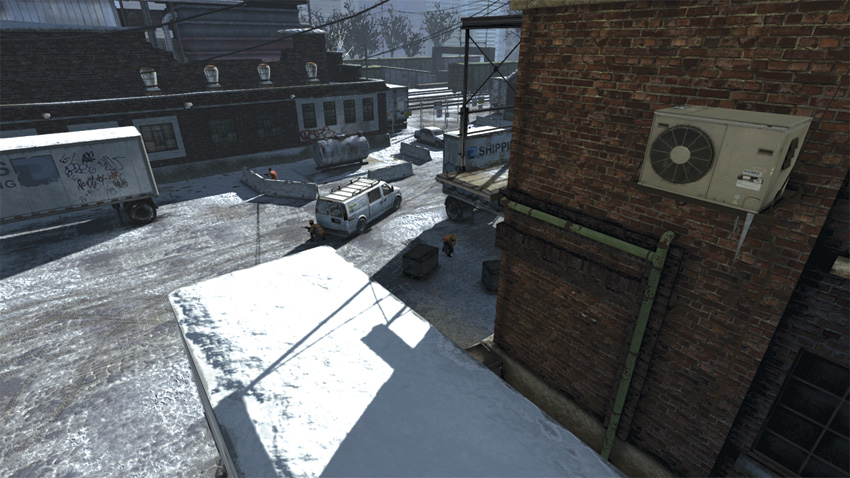
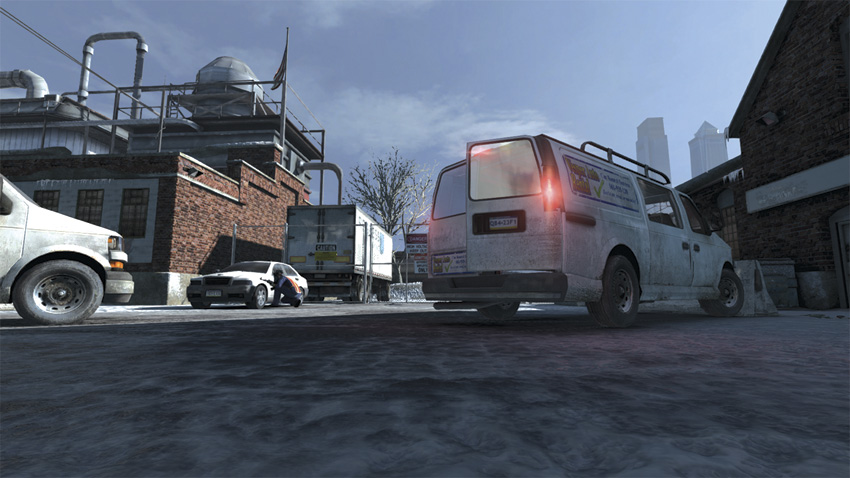
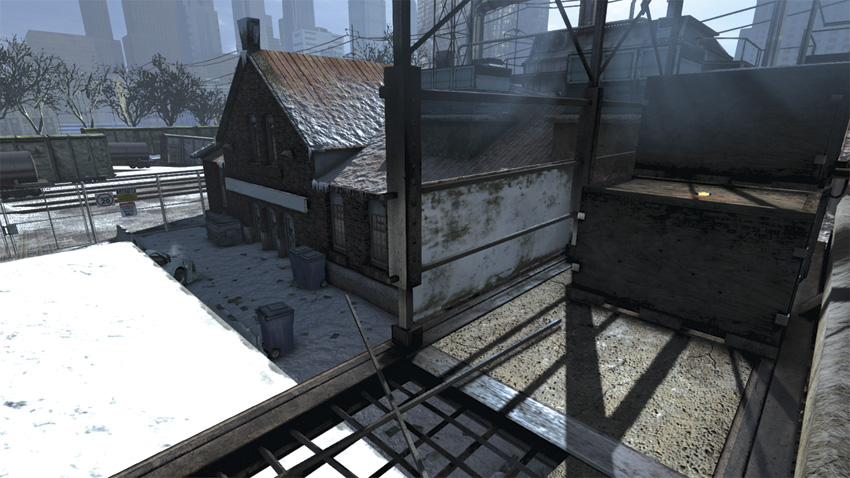
The mission begins with Briggs mounting a strong resistance against the Engineer forces, drawing their fire to the rooftop of the building across from you. Because of this diversion, the hostiles are unaware of your presence. Drop down from the rooftop to the street below and circle around the back of the nearby semi-trailer. As you come around the trailer, you see a hostile taking cover behind a crate toward the front of the trailer. Quickly neutralize or bypass the enemy before climbing the pipe that he is positioned near. Use the pipe to climb onto a scaffold that overlooks the fierce firefight below. Continue to the end of the scaffold, staying low and silent to avoid detection from the enemy forces below you. At the end of the scaffold, you will find the mission’s Dead Drop.
Dead Drop
The mission’s Dead Drop is located on a crate at the end of the scaffold, be sure to grab it before you disarm the bomb.
Drop down from the scaffold onto the semi-trailer. Drop to the street below by climbing down the right side of the trailer. There are too many gunmen here for you to neutralize on your own. Take cover behind one of the nearby concrete dividers and wait for Briggs to clear the area. Once all of the hostiles have been neutralized, approach the van to disarm the explosive device.
ASSAULT
When going loud here, it helps to have a human shield. After dropping down to the street below from the rooftop where you begin the mission, take the hostile behind the nearby semi-trailer as a human shield before stepping into the open. The majority of the enemies here are holed up in the area around the van containing the bomb, but your brazen actions will draw them toward you. After your hostage has fallen, climb to the scaffold overlooking the firefight and rain down your Frag Grenades upon the enemies below to kill multiple enemies with a single explosive.
2: Subway Tunnels (Second Bomb)
GHOST
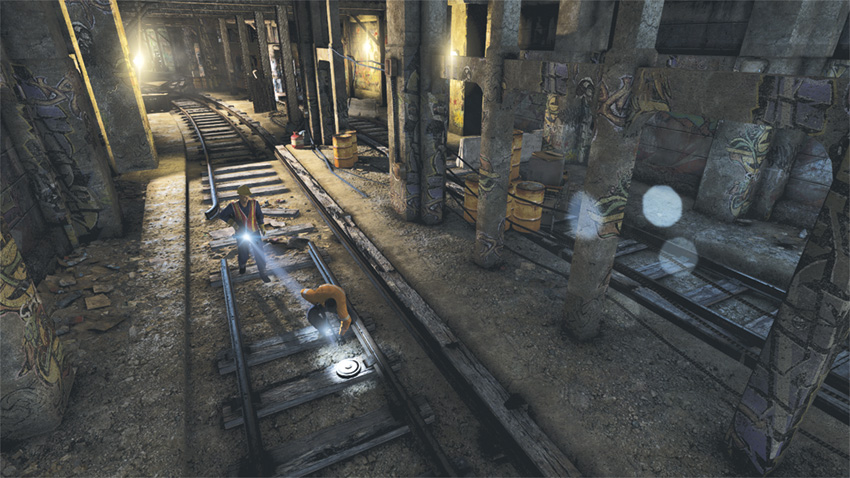
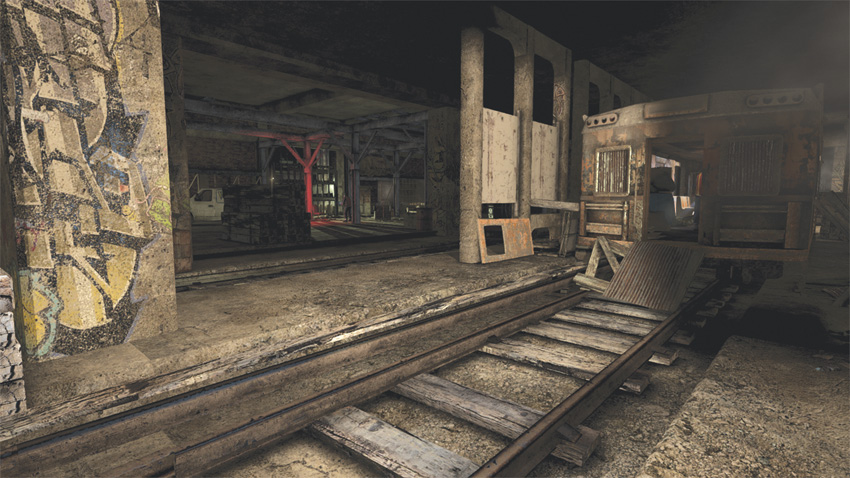
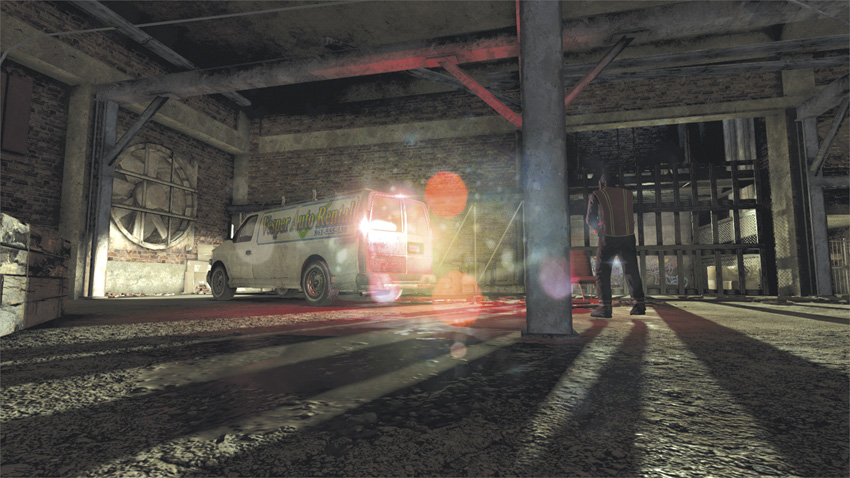
During Briggs’s portions of the mission, a Ghost playthrough is difficult because of his equipment loadout. The only nonlethal weapons at your disposal are Sleeping Gas and Proximity Shockers. Make use of these to earn a score toward the Ghost playstyle.
ASSAULT
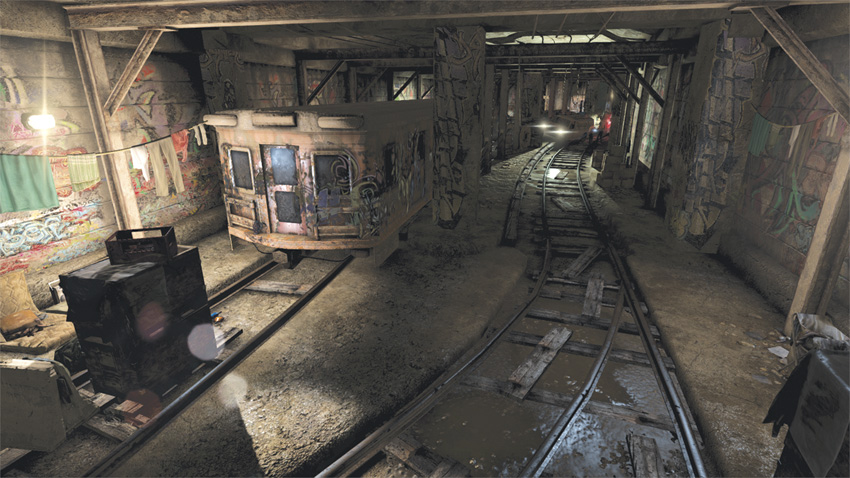
Your first foray as Briggs is well suited to the Assault playstyle. Because you’re equipped with Frag and Incendiary Grenades, injecting some chaos into the firefight should hardly be difficult. The only things hindering your Assault scoring are your firearms. With both of them suppressed, allow yourself to be detected before you engage the enemy, as firing on hostiles from behind cover prior to a detection results in Panther playstyle scores. The tight confines of the Subway Tunnels and the debris strewn throughout increase the lethality of your grenades, so avoid using them when only one hostile is present. Instead opt to use these devastating weapons when two or more enemies are present.
3: Subway Yard A
GHOST
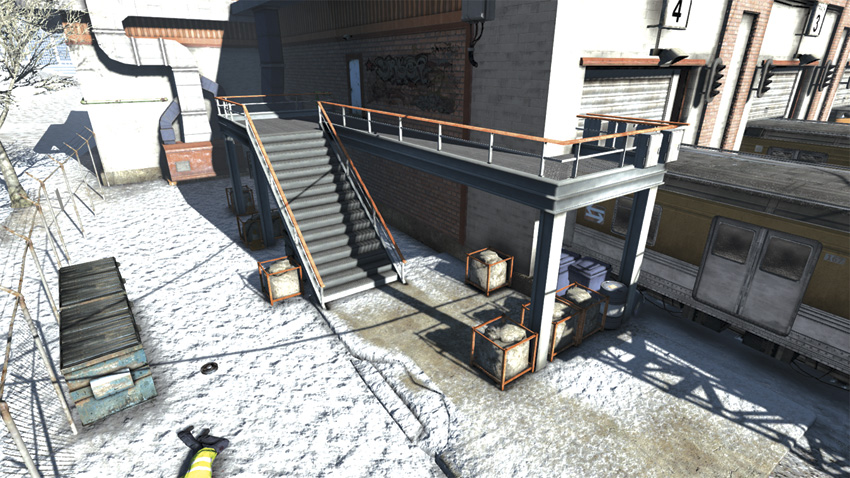
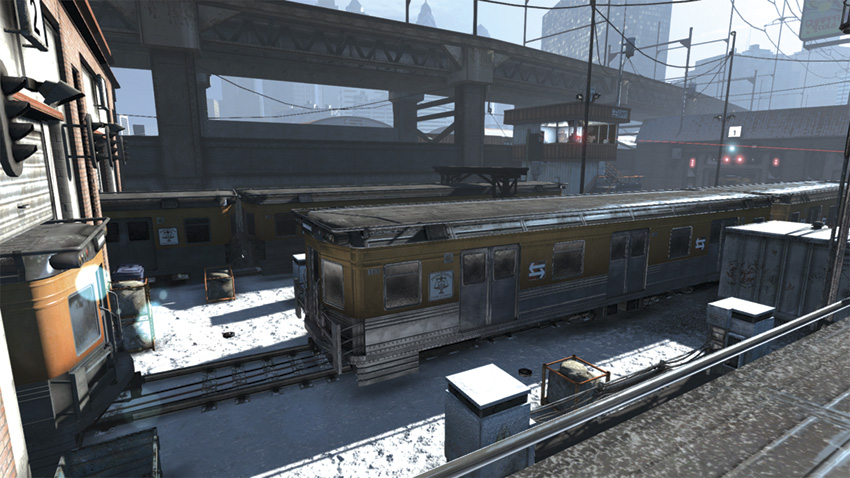
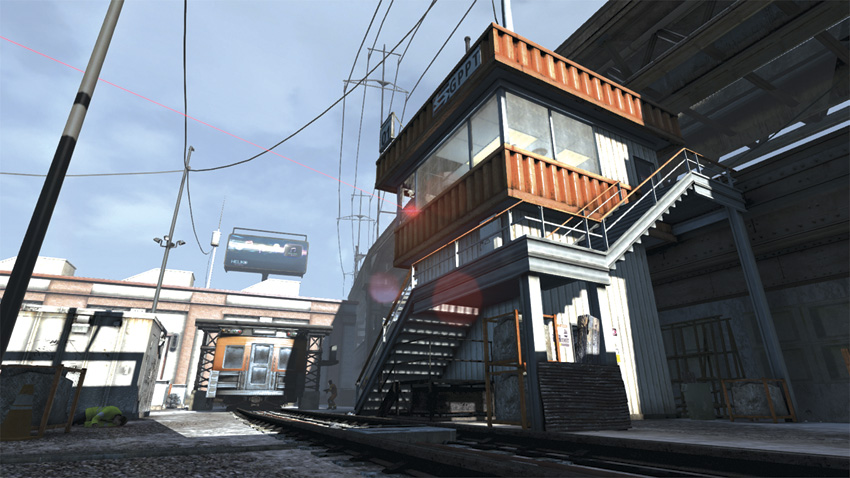
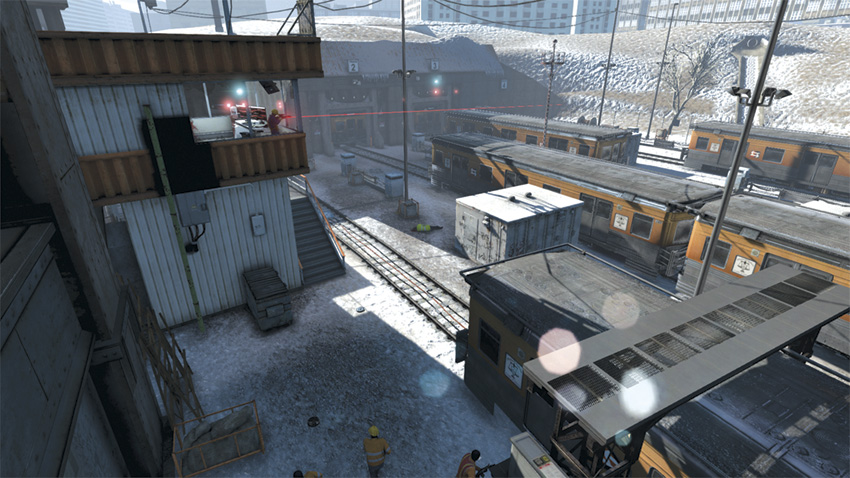
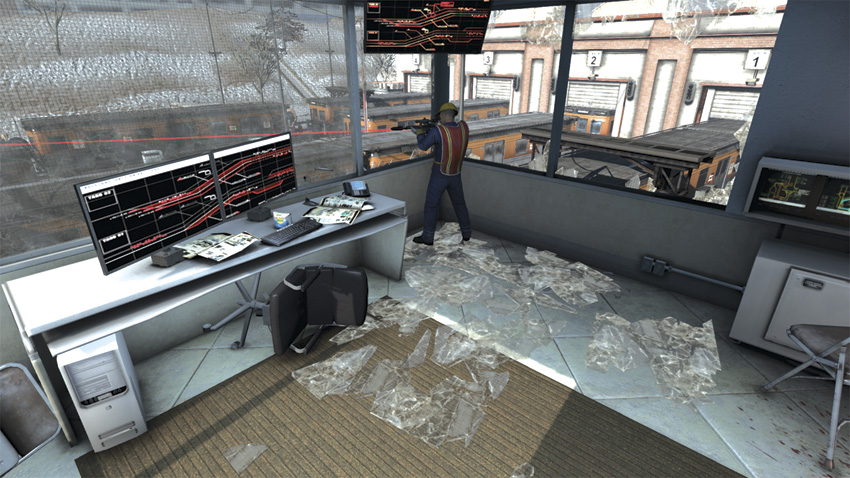
Your search for the third bomb begins in the Subway Yard. The High Value Target for the mission is also located here. The HVT is a sniper that is overlooking the yard from a control tower on the far side of the area. Accessing the HVT while remaining unseen is easiest if you avoid encountering any hostiles as you cross the yard. To do this, climb up the pipe to the left of your starting position to access a balcony that overlooks the yard. This balcony also affords you the opportunity to climb onto one of the train cars. Climb onto the first train car and drop down to its opposite side. Repeat for the next car you encounter, then climb onto the third. Once you’re atop the third, wait for the two guards below you to advance beyond your line of sight, then drop down and climb onto the fourth. At this point, you are near the control tower. Once atop the fourth train car, locate a guard that is wandering the area between the train car and the wall just past it. Neutralize the guard and climb the pipe to the left of the stairs leading up to the control room. Capture the HVT by attacking him from the window sill, climbing inside, and bagging your target.
High Value Target
The HVT is an easy grab, just be careful of the Commando that tends to check inside the control room.
With the HVT in custody, climb back out of the window and shimmy toward the pipe. This time, bypass the pipe and move onto the wall to the left of the control room. Use the zipline here to descend to the road below, escaping the Subway Yard in the process.
ASSAULT
As you move through the Subway Yards engaging in open combat, stay within cover and avoid the open areas where you can easily be shot by the sniper in the tower. Aside from the sniper, the greatest dangers here are the Commandos. To equalize the playing field when engaging these swift-moving and armored foes, use the Sticky EMP gadget. The Sticky EMP temporarily disables the goggles of Commandos, obscuring their vision and allowing you to get the jump on them. As you duck in and out of cover, be careful to avoid the land mines that are strewn throughout the Subway Yard, use your Sonar Goggles to detect these traps with ease. The land mines can also be used to your advantage by shooting them when hostiles are standing nearby. The resulting explosion also counts toward your Assault score by earning you Combat Kills.
4: Subway Yard B
GHOST
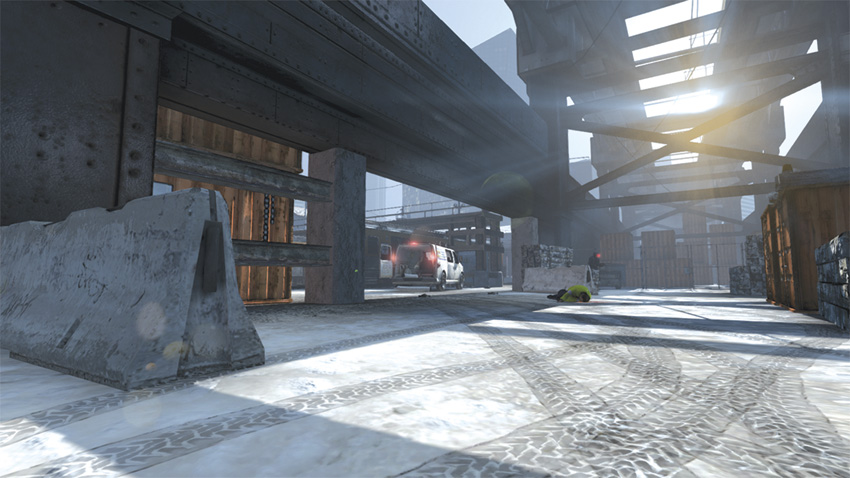
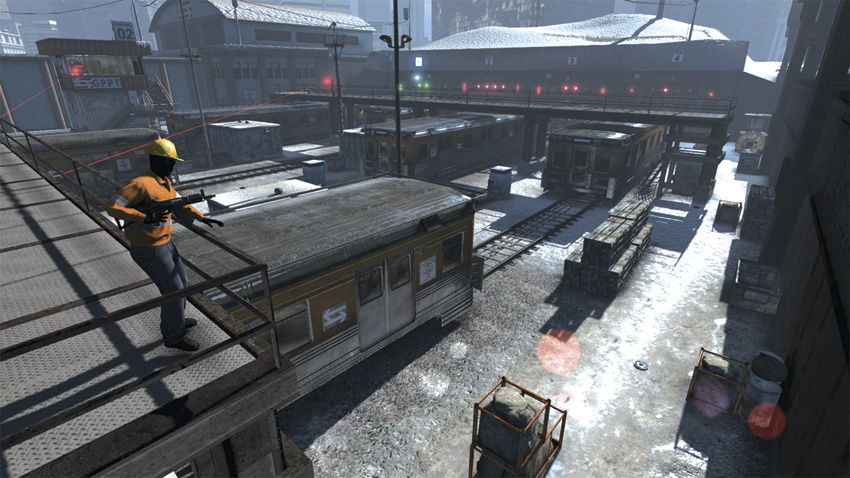
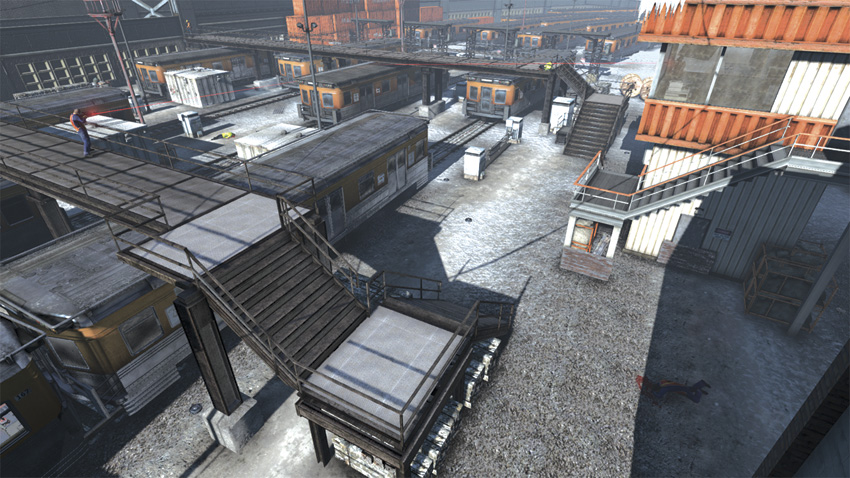
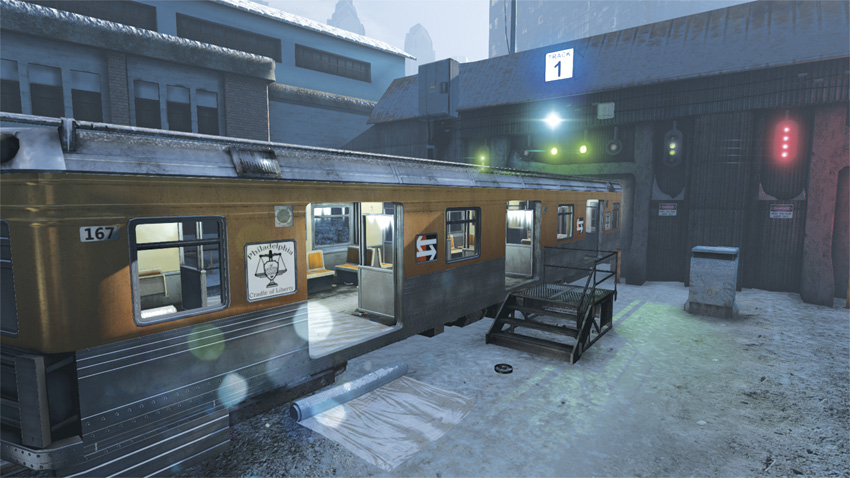
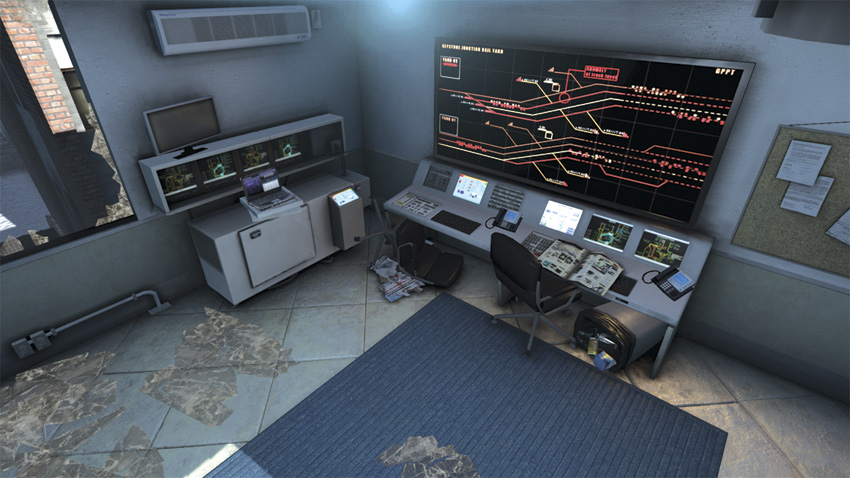
Before venturing into the next Subway Yard, take cover near the concrete dividers. Just ahead, you will see a Commando patrolling near the van that was supposed to be housing the bomb. The Commando will be on the right side of the van. Stay low and creep past the left side of the van. Just above the vehicle is a balcony with a sniper perched atop it. Use your Stun Gun to neutralize the sniper before you continue onward. Follow the wall to the right until you reach the train depot. When you do, begin to make your way to the left, climbing over the train cars as you do. Be careful though—a sniper is surveying the area of the train yard that you are passing through. When you arrive at track 1 (the bay with a green light above it), climb onto the roof of the train car and neutralize the sniper on the nearby balcony. Step down from the balcony by way of the stairs and proceed toward the control tower to the right of track 1. Inside the control room, you find a sniper and the Blacklist Laptop for the mission. Neutralize the sniper and hack the Laptop before moving on. Now, head back to the balcony and climb atop the train car on track 1. Before dropping down to enter the train car, locate the guard and the Heavy Infantry soldier that is likely at the rear of the train at this time. With both hostiles away from the objective, enter the train car and disarm the explosive.
Blacklist Laptop
The laptop is in the control tower overlooking the second Subway Yard. Neutralize the nearby sniper before you try to hack the device to remain undetected.
ASSAULT
As you continue to advance through the Subway Yards, keep an eye out for land mines and the telltale laser of the snipers as they scan the yard. Advancing quickly through the Subway Yard can be suicide, so maintain cover whenever possible. Keep in mind that the land mines can be used to your advantage by drawing hostiles toward you into the mine fields. Once they are standing over the explosives, fire your weapon at the trap to unleash an explosion that will kill whoever is in the blast radius. Follow the path left from the area’s entrance to quickly take up position in the control room overlooking the yard. From this elevated position, you can pick off enemies as they scramble about the yard below.
5: Roundhouse (Briggs)
GHOST
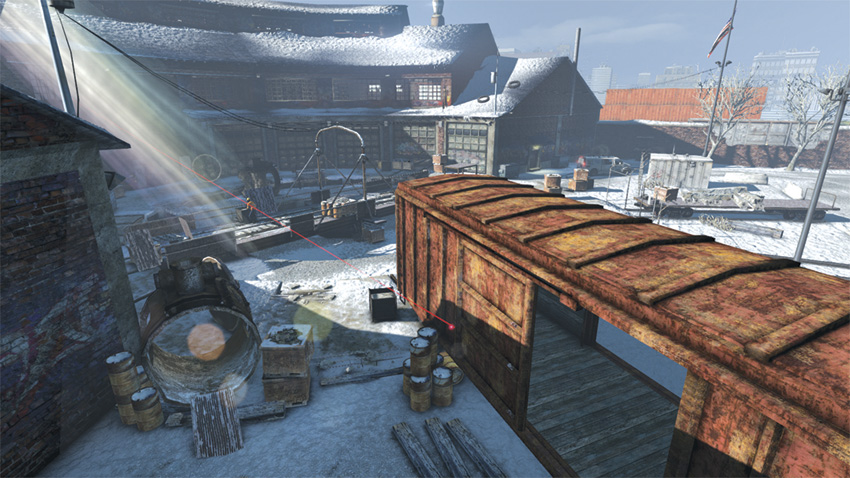
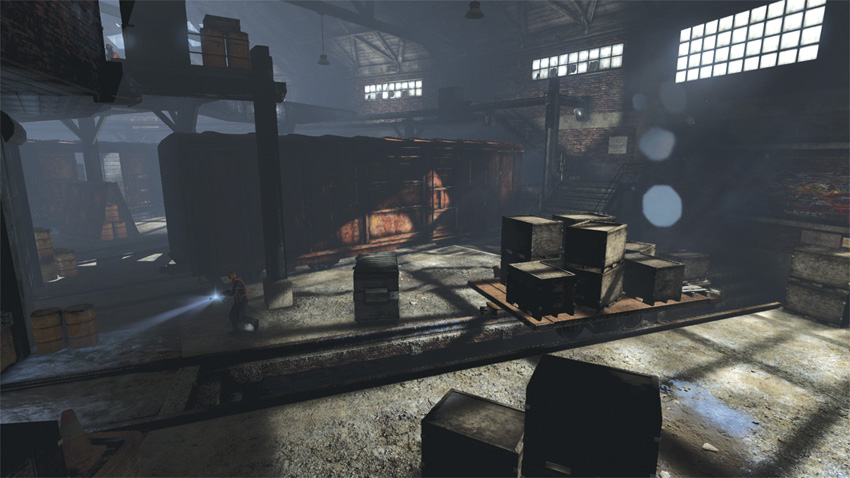
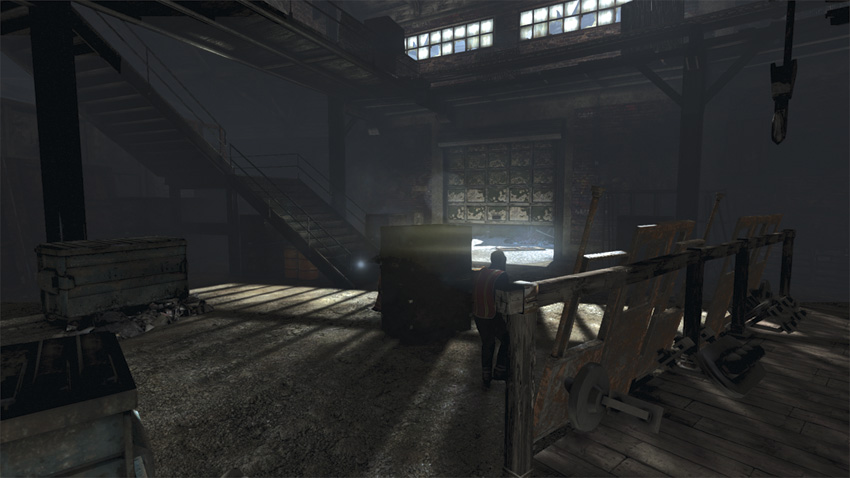
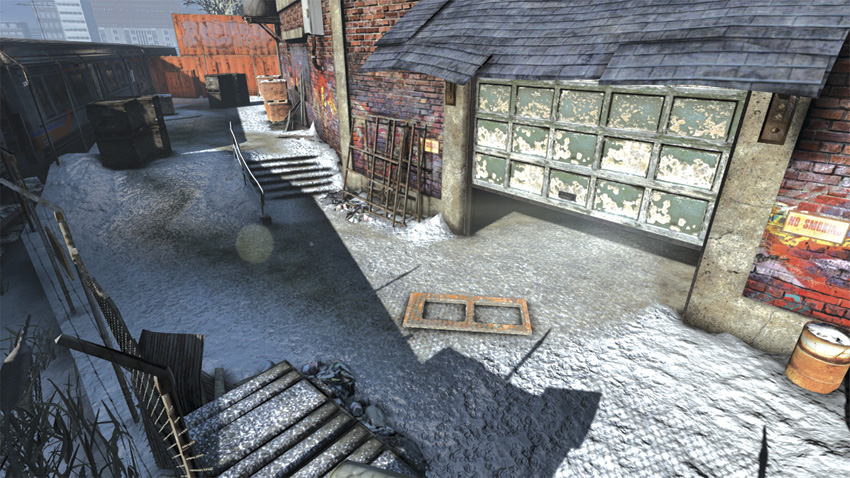
From the start of the Roundhouse, pass through the train car to your right. Once you’re on the other side, take a moment to locate the guard searching near the chain-link fence ahead of you. Throw a canister of Sleeping Gas to neutralize the threat. With the guard down for the count, sprint toward the side door of the Roundhouse. To locate this door, sprint along the length of the chain-link fence and look for the white van parked ahead. After passing through the door to enter the Roundhouse, turn right and follow the wall around the rear of the building. As you continue onward, you may come across groups of roving guards. Stay low and use the track bays as cover until the hostiles pass by you. Before you exit the Roundhouse, notice the staircase. Guards frequently congregate at these stairs, so use a canister of Sleeping Gas to clear the air a bit before you go outside. Once outside, access the device in the parked train car to your left.
ASSAULT
Before going loud in the Roundhouse, take a moment to allow yourself to be detected by the sniper overlooking the tracks. Once in an active detection state, eliminate the sniper using Briggs’s 416 Assault Rifle. As you enter the Roundhouse, stay along the wall to the right and you will come to a set of stairs that access a balcony overlooking the Roundhouse. Using this balcony, rain down grenades upon the hostiles patrolling the ground floor. Once you have been detected, you can also use Sleeping Gas and Proximity Shockers to neutralize hostiles. Just keep in mind that you will not earn a Combat Kill score, but a Combat Knockout with these gadgets. Maintaining an Assault playstyle here is dependent on your allowing yourself to be detected as you pass through the Roundhouse and eliminate the foes you come across within it.
6: Subway Chase
GHOST
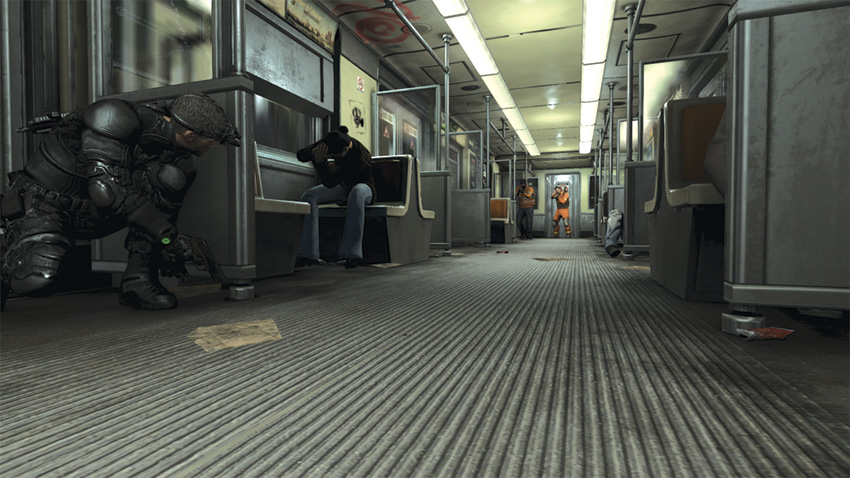
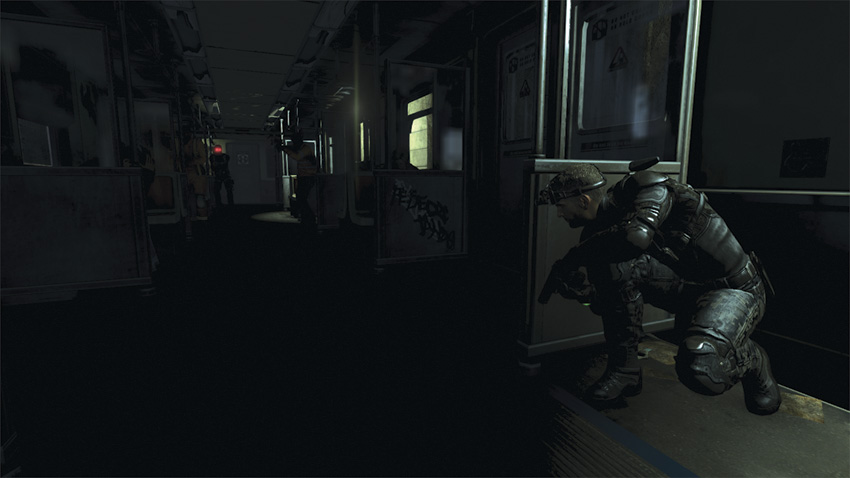
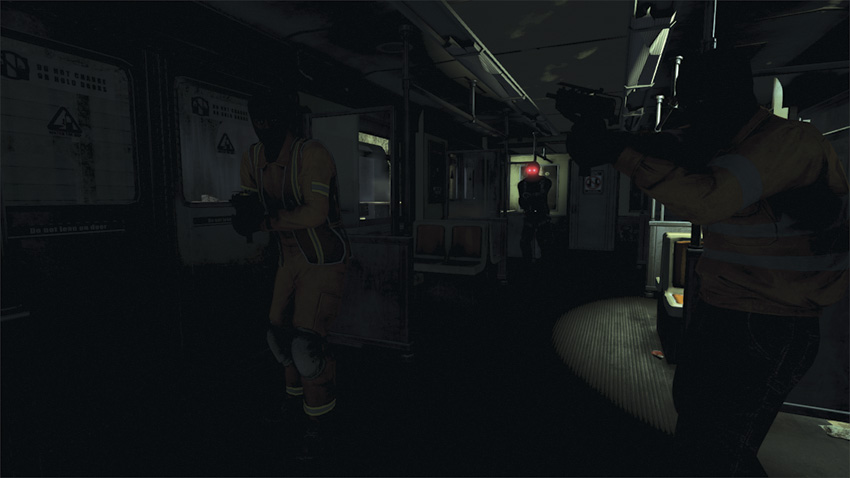
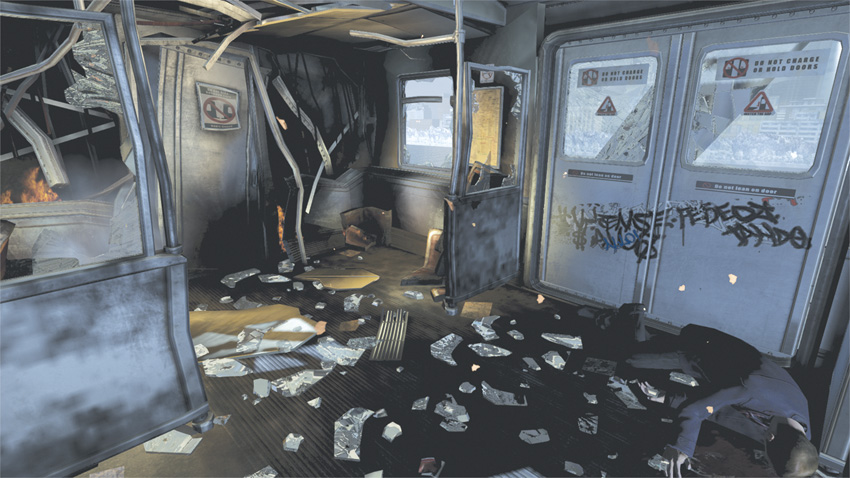
During the subway chase that follows the Roundhouse, your actions always result in a detection, which makes a Ghost or Panther playthrough of this section impossible.
ASSAULT
As you advance from train car to train car, you will be confronted by multiple hostiles and engage in shootouts with them. This is a quick way to waste your ammunition. Conserve your ammunition by using gadgets such as Frag Grenades and Sleeping Gas to clear clusters of hostiles as you pass from car to car. After the third car, you must climb out of the vehicle and shimmy along the outside of the train to advance. Here you are given two separate windows to breach and enter. Use the second window that you come to. After breaching, quickly take cover behind the seats across from the window you used to enter the train. As you enter the fifth car, the two hostiles inside take civilians as hostages. Use a Sleeping Gas canister to quickly and safely neutralize the threats, while keeping the hostages alive.