
Tom Clancy's Splinter Cell Blacklist Guide Walkthrough Campaign
Mission 3: American Consumption Chicago, USA
Objectives: Rescue Hostages, Shut Down Water Pumps
Recommended Loadout
- Gadets: Sticky Noisemaker, Sticky Camera
- Goggles: Standard
- Ops Suit: Classic (Torso), Classic (Gloves), Tactical Mesh (Pants), Tactical Mesh (Boots)
- Pistol: PX4 Storm .45 with Armor Piercing Rounds
- Alternate Weapon: SR-25 Sniper Rifle with Armor Piercing Rounds
- Special Weapon: Stun Gun
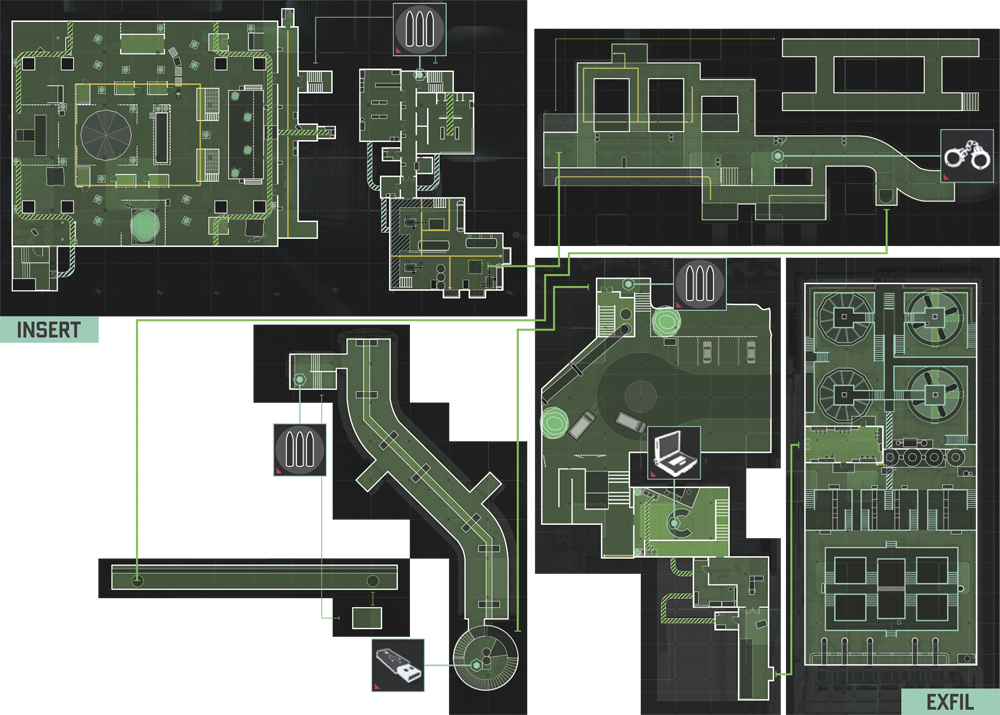
Festival Hall: Infiltration
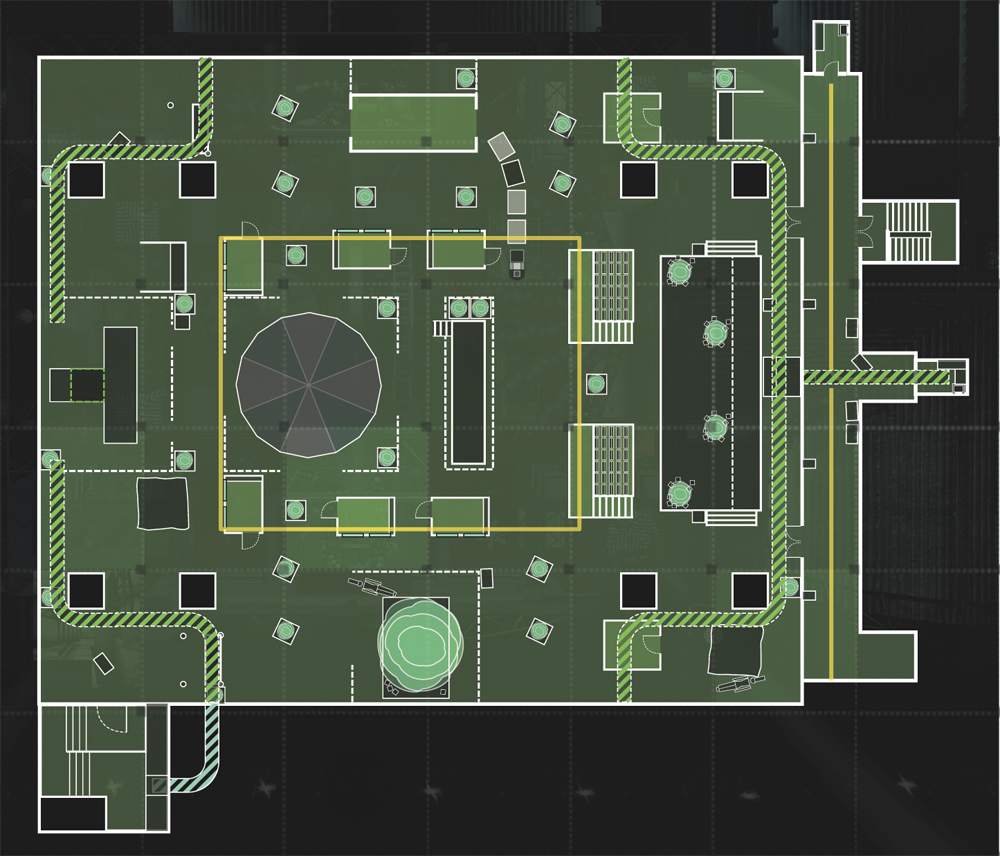
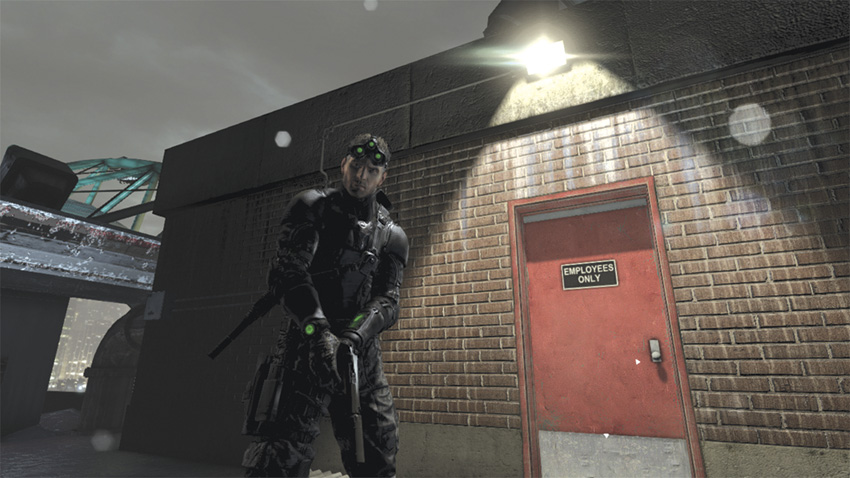
Starting on the roof, follow the waypoint to reach your destination. Emerging from the vent above the Festival Hall, you set foot on a catwalk. This gives you an excellent view of your surroundings, including the hostiles patrolling the area and looking for any stragglers they may have missed. It’s time to go hunting.
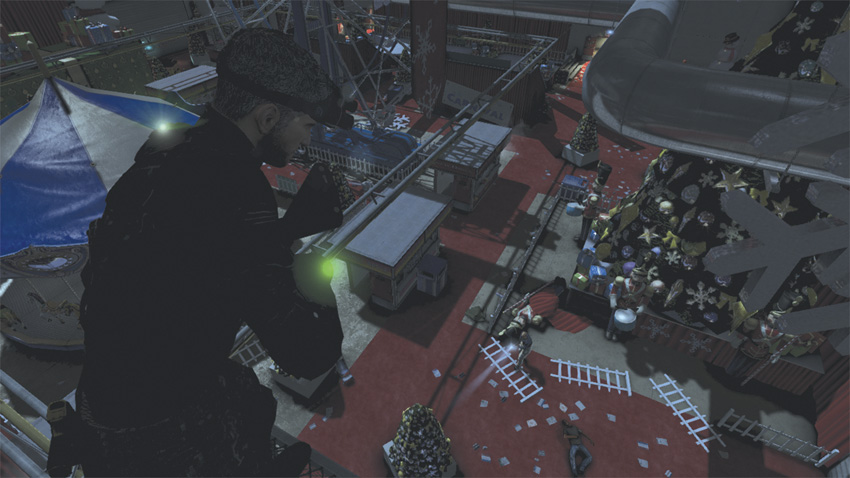
From your immediate vantage point, you will be able to take down two hostiles patrolling this end of the hallway. One is directly below you, checking underneath the Christmas tree, and another will wander into your sights to your right, near the merry-go-round. Once you’ve eliminated them, head to ground level by sliding down the pipe affixed to the stone column in front of you.
Once on solid footing, crouch and move to your right, where two more hostiles are patrolling the area. Wait for each to come into view, then hit them with well-placed sniper shots. Continue forward to the last stone column and take cover facing the lit hallway, where a third hostile comes into view. Take him down with a silenced shot. Climb up the pipe affixed to the column next to you to gain access to the catwalk above and another Hidden Path. Follow the catwalk around to the left and head toward the opposite side of the hall.
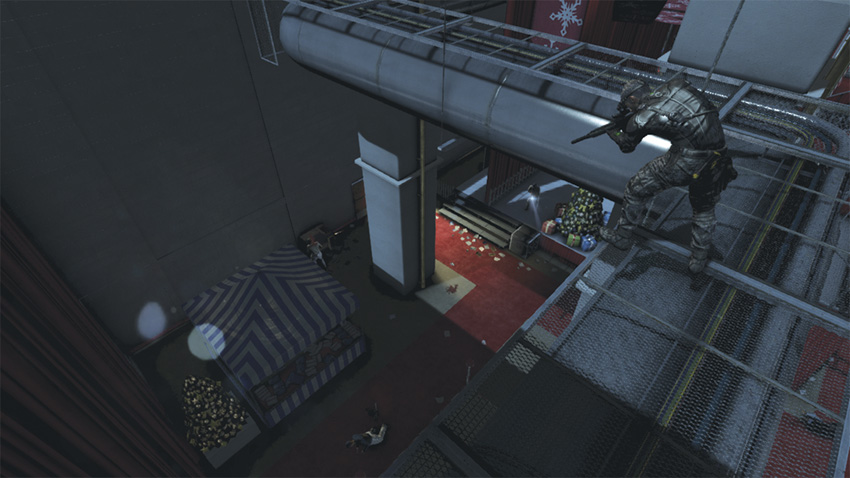
Upon reaching the bend, check your Radar. There should be three or four more hostiles in the vicinity: One is to your right along the wall, two are below you, and another is in the lit hallway behind the stage. Take down the single hostile first, then mark the two below you. Kill them when you have a clear shot, and then return to ground level. Check your Radar to see where the last hostile is and finish him; then head toward the waypoint marker.
Basement: Locate the Hostages
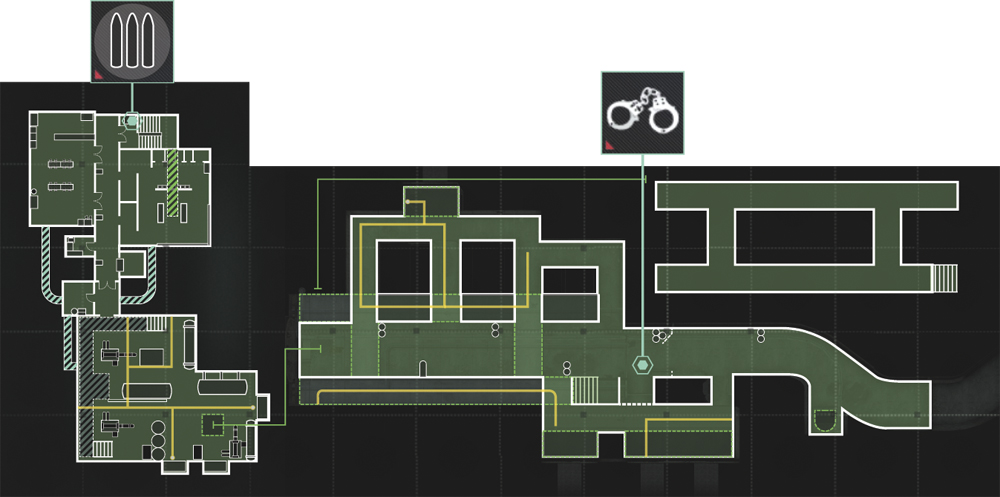
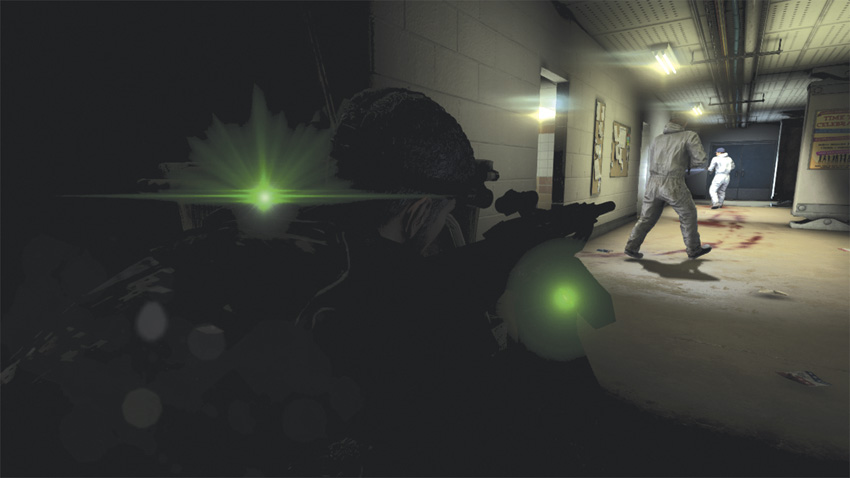
As you enter the stairwell, flip the switch to turn out the lights, and then head down the staircase, refilling your supplies at the bottom. Move into the next hallway and immediately crouch down. Eliminate the two hostiles patrolling the area, then go into the room in front of you.
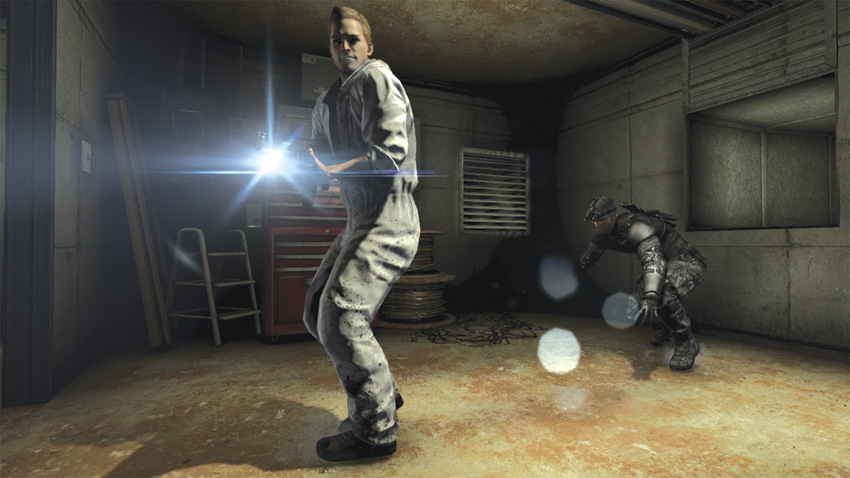
Go to the far right corner and enter the ventilation shaft to access another Hidden Path. Follow it to the end, where you find another hostile. Make sure his back is to you, and then open the grating and take him down. Exit the shaft and shut off the circuit breaker to kill the lights in the area. Another ventilation shaft is to the right of the one you just exited. Turn on your night-vision goggles and climb in. This shaft takes you to where the hostages are being held, and reveals another Hidden Path.
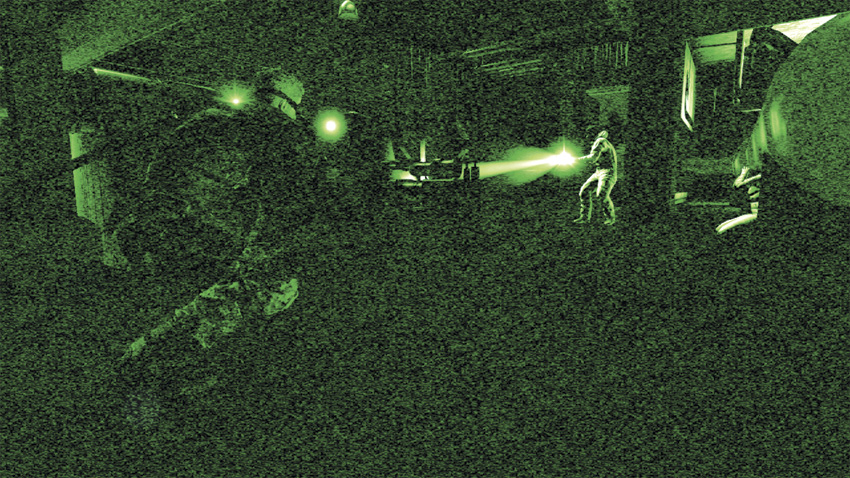
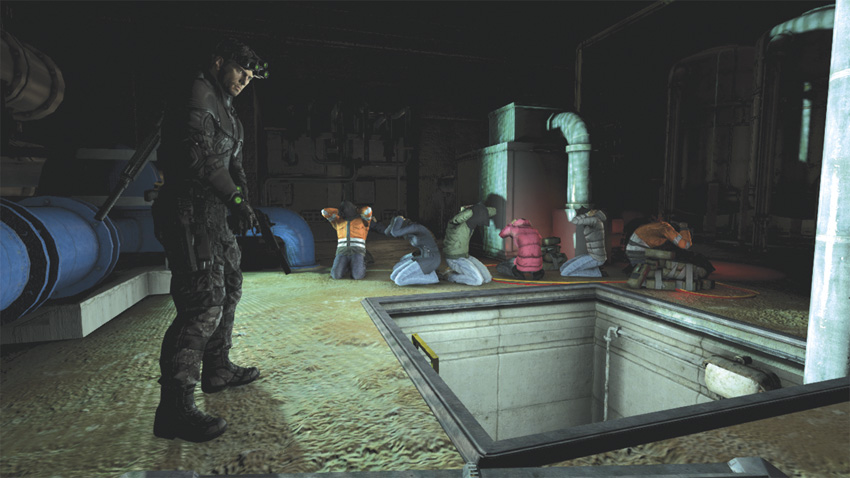
In addition to the hostages present, four hostiles are patrolling the area. Since you shut down the circuit breaker, most of the basement will be in darkness. Use your night-vision goggles to hunt down the remaining hostiles. Once the immediate threat is gone, you find that the whole area is wired to blow. Grim is prepared to alert the bomb squad, but they’re not to take action until you give the signal. Head toward the waypoint marker and drop down to the sewer system.
Sewer System
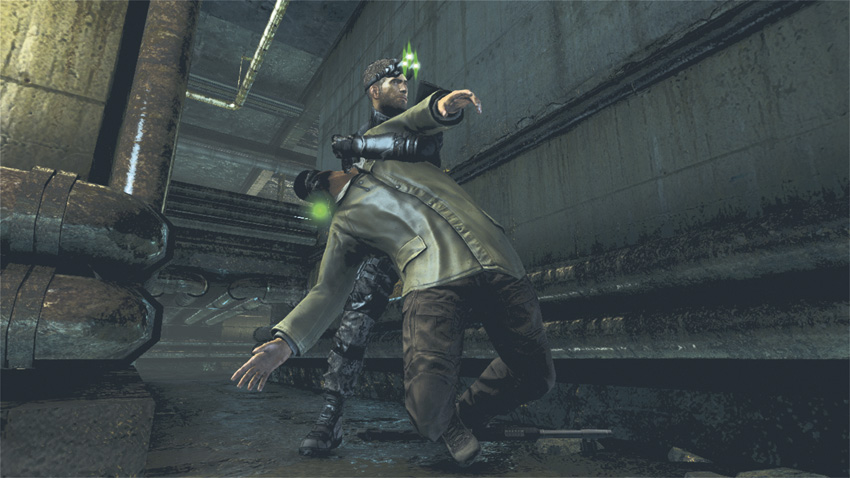
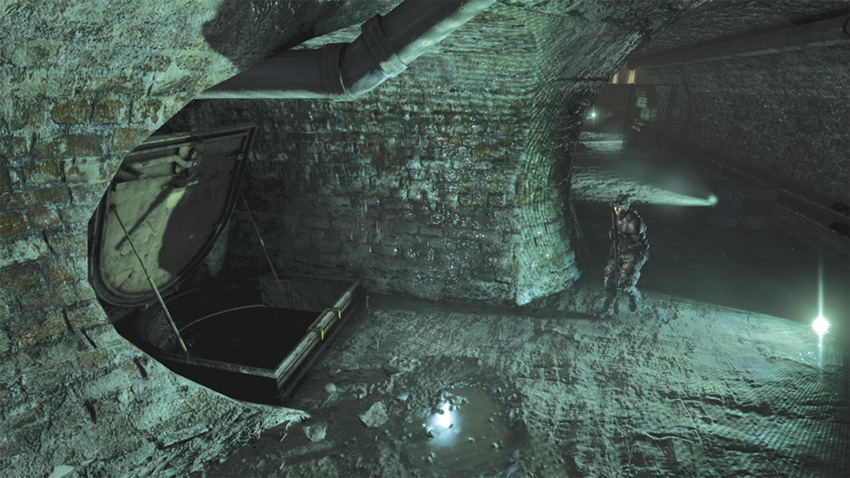
While crouching, head to your left. A lone hostile patrols the hallway, making for easy pickings. Once he’s dead, pick up the body and hide it in the murky water below. Backtrack to your starting position and climb up to the walkway above. Heed Grim’s advice and jump up to the pipe above you to avoid detection from the other two hostiles and reveal a Hidden Path. Shimmy along the pipe toward your next two targets, marking them for death as you go. Once they are in range, trigger your Execute Ability. Drop down to the walkway and take cover facing the direction of the next hostiles. Use your Radar for help, if you need it. From your vantage point, eliminate the Heavy Infantry soldier and the fourth hostile, leaving the High Value Target for last. Once you’ve bagged him, head toward the waypoint marker and slide down the ladder.
Immediately you upload the codes to Grim so that she can relay them to Chicago’s SWAT team. As you move forward, Grim informs you that surveillance footage shows the vans Charlie tagged at the airport arrived at the plant an hour ago. It’s time to move and pray that it’s not too late to stop them.
Lower Hallway: Water Filtration Plant
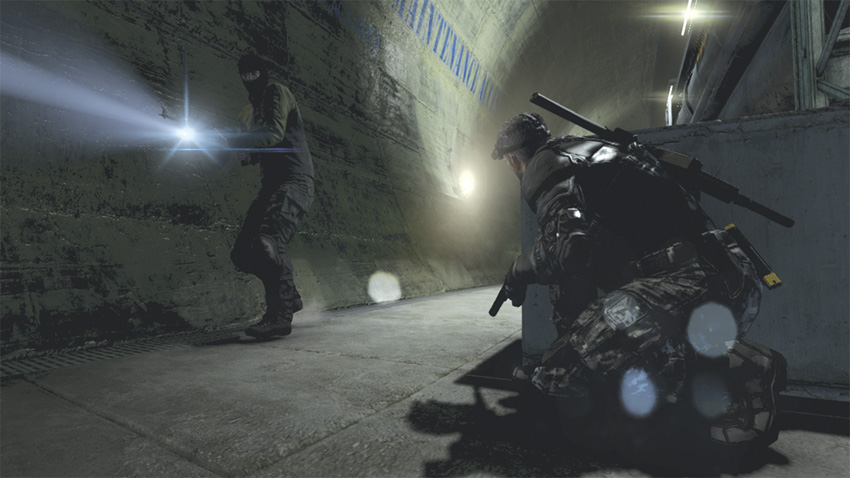
Follow the waypoint marker and continue forward to find a ladder. Climbing skyward, you soon arrive in a service tunnel underneath the Water Filtration Plant. Replenish your supplies and head out.
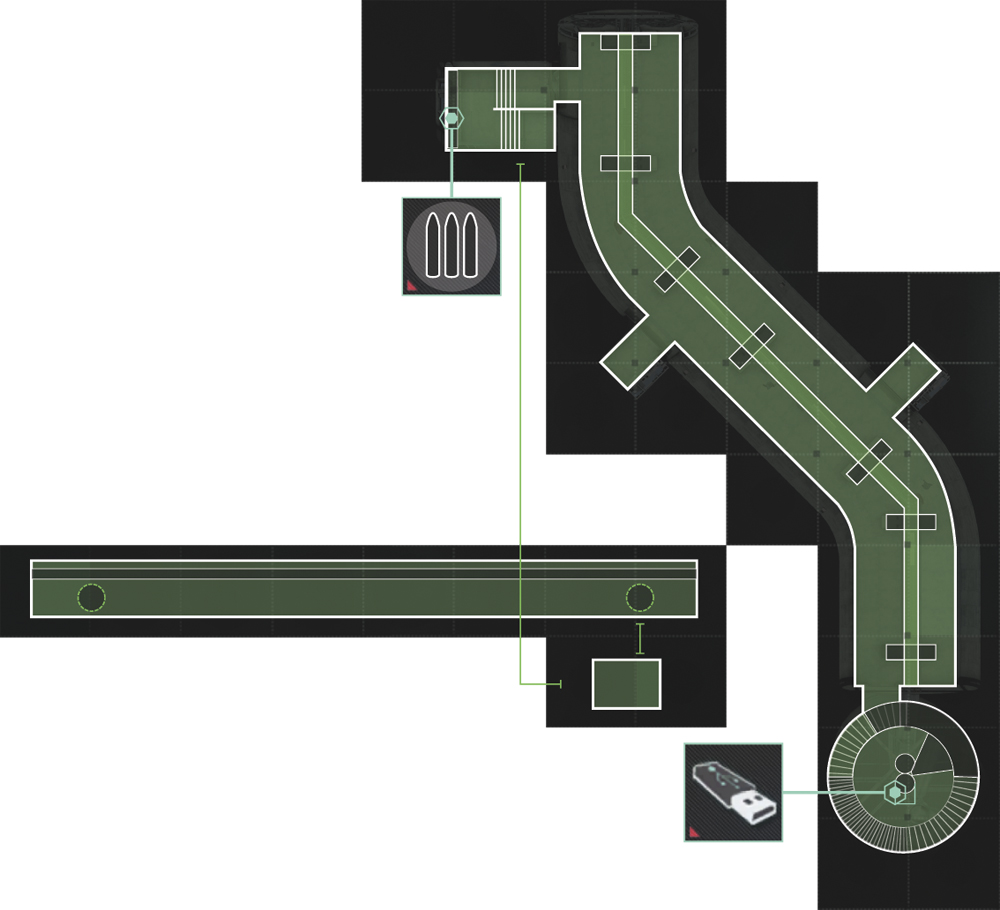
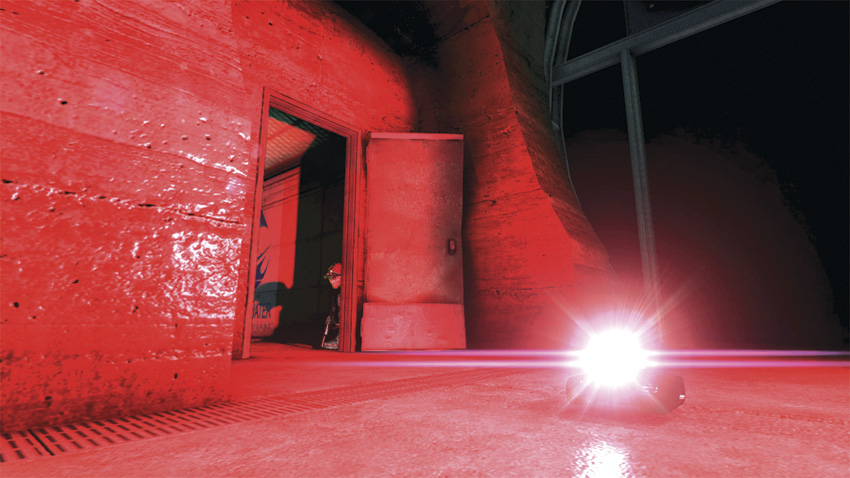
As you approach the Maintenance Access doorway, you spot a lone Recon Drone patrolling the area beyond. Take cover near the left side of the door and wait for the drone to pass. Once it moves a couple of feet away, stay crouched, exit the room, and follow it. Be sure to stay close to the large stacked pipes running the length of the room as you go. Where the pipes bend to the left is when you will see the first hostile, on the opposite side of the hallway. Quickly take him down, and continue onward.
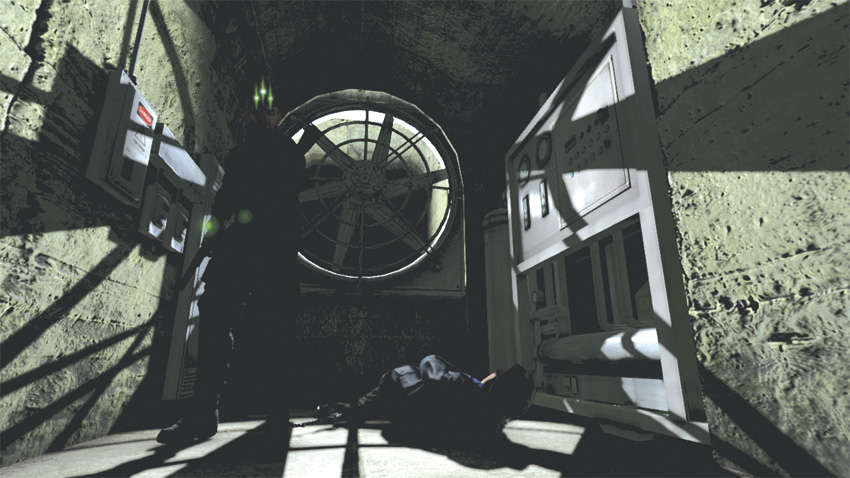
From your position you can hear voices up ahead. Equip a Sticky Camera and toss it up above the second flood light on the wall to get a view of the other hostiles. By means of its electronic eye you should see two more hostiles: one of the left side of the stacked pipes and one on the right side. Get into position to take them out, and continue moving forward. The last hostile in the area is the Drone Operator, and you find him at the very end of the hallway near the exit. Taking him down will be a piece of cake as he is too occupied with working the controls on the drone to know you’re even there.
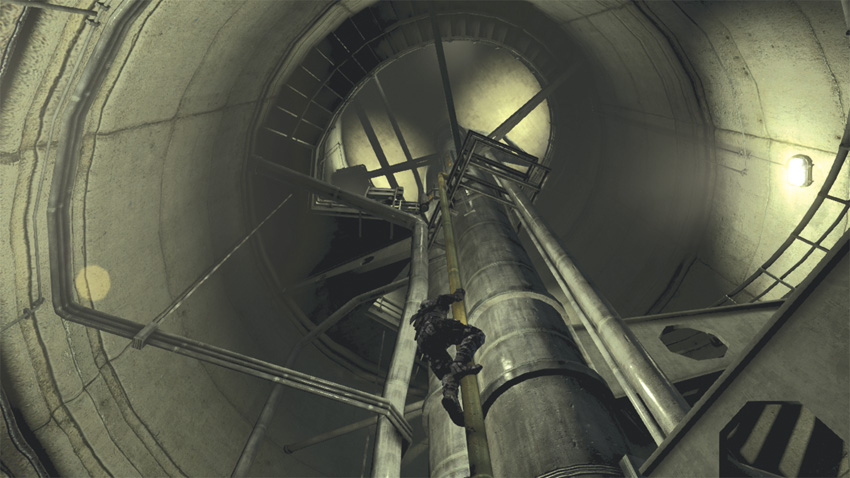
Once the operator is dispensed with, you will pass through the exit into a massive stairwell spiraling up toward the ground level. Instead of taking the traditional route, climb up the yellow ladder, and then move to your right, along the yellow pipe. Continue climbing upward to discover a Hidden Path. Soon you reach a small ledge where a Dead Drop awaits. Nab it and move along. During your journey, Charlie chimes in; he thinks he has confirmation that the plot in Chicago is linked to the Engineers. The flash drive you uploaded to the Paladin is using a variant of military-grade encryption protocols. A direct match to the encryption used by Sadiq in Mirawa. As you near the top, amble over to the right and take the stairs the last quarter of the way. A lone hostile stands between you and Chicago’s skyline. Take him down and then replenish your supplies. You’re almost to the Water Filtration Plant and a date with danger.
Water Filtration Plant: Front Door
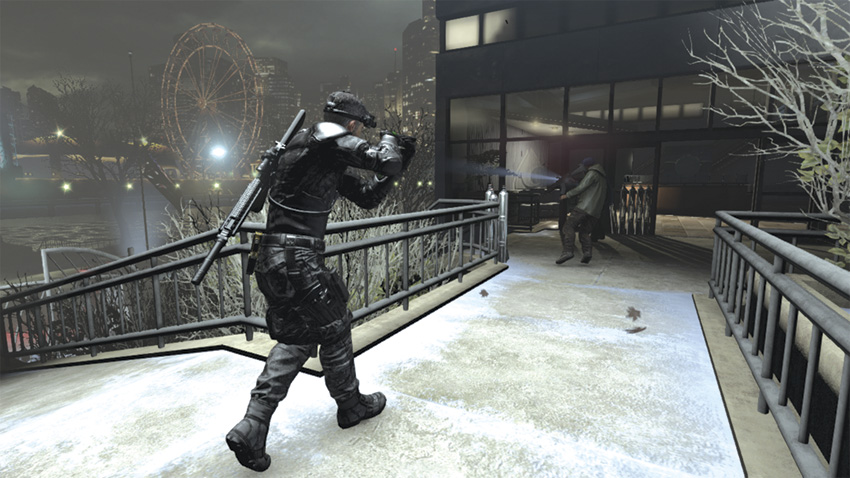
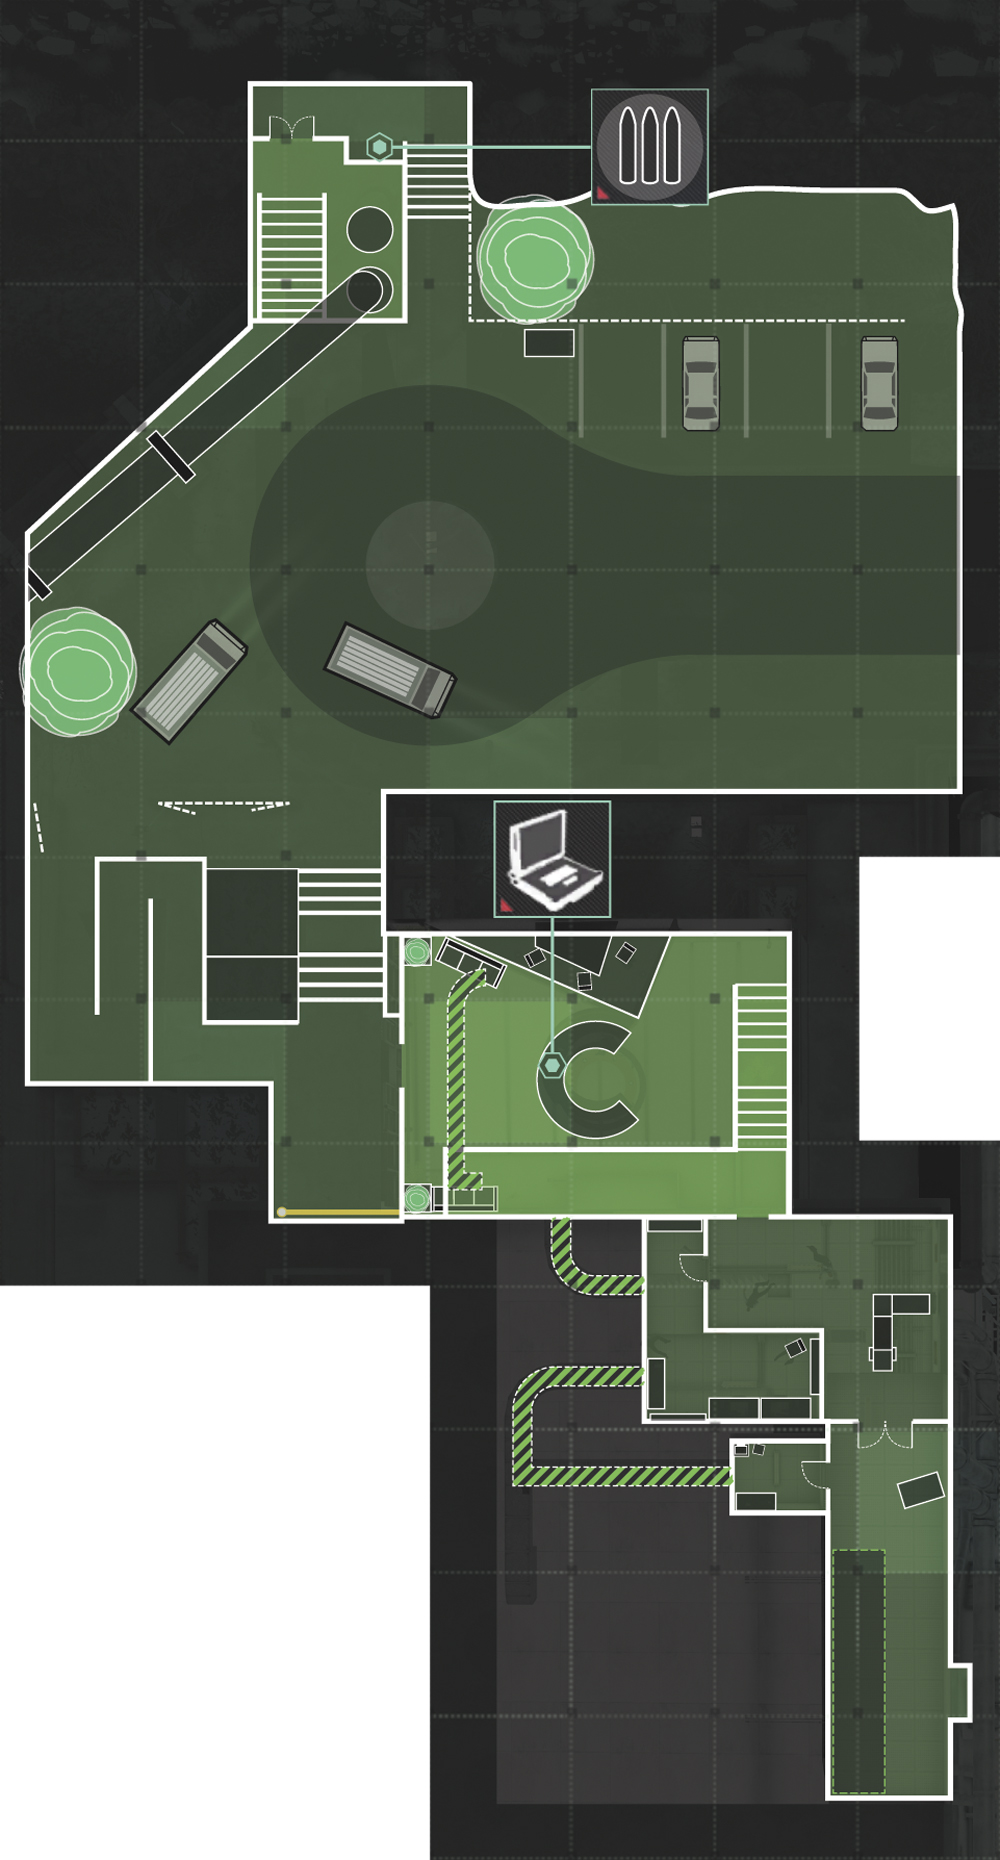
Following the waypoint marker, head up the walkway to the right of the van parked in front. By moving quietly you can sneak up on the two hostiles having a conversation in the foyer outside the front entrance. Instead of making a left U-turn and following the path around, climb up the side of the wall in front of you. Mark both men, and then use your Execute Ability. Next, take cover near the open door just past the dead men. Inside you will see a lone flashlight moving from side to side, indicating another hostile. Take a quick look at your Radar; you will notice he’s the last guard in the area. Eliminate him using a hand-to-hand lethal strike to fill your Execute Ability gauge, and then stop to hack the Blacklist Laptop conveniently sitting on the front desk. Once that’s done, proceed through the double doors behind you to access the plant’s security checkpoint.
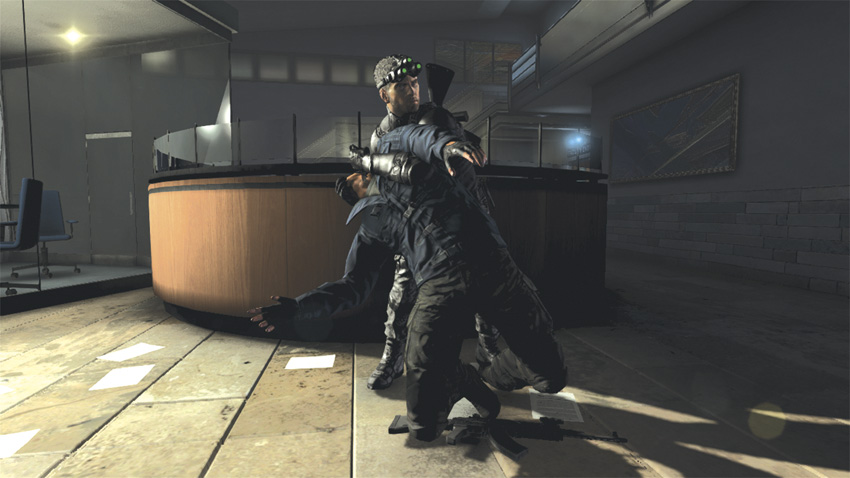
As you look around, you see the aftermath of total carnage. The folks who did this definitely are not amateurs, but professional killers. It’s quite clear this is a Blacklist target. In addition to taking out the security system, the hostiles have done a number on all the systems. Charlie has to unhack their hack or else you won’t be able to get through the door to the plant’s control center to stop them from polluting the water.
As Charlie goes to work, crouch and take cover behind the desk along the far wall. Mark the two hostiles beyond the door, and then wait until their backs are turned. Next, quickly hop over the desk and use your Execute Ability to kill them. Charlie signals he’s reversed the hack and the doorway is now open. Time to put a stop to the plot.
Race Against Time: Shut Down the Pumps
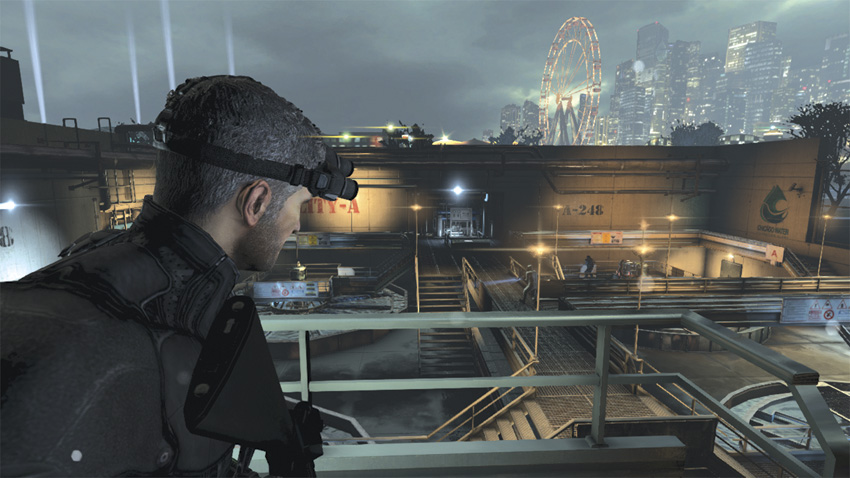
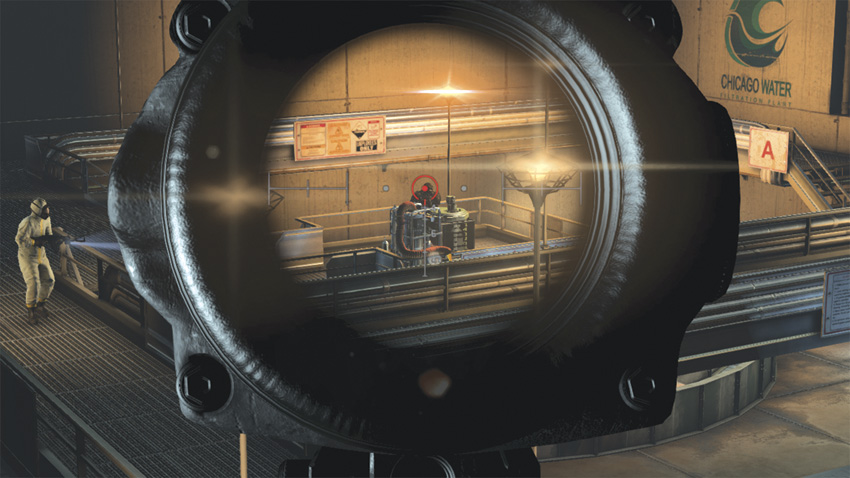
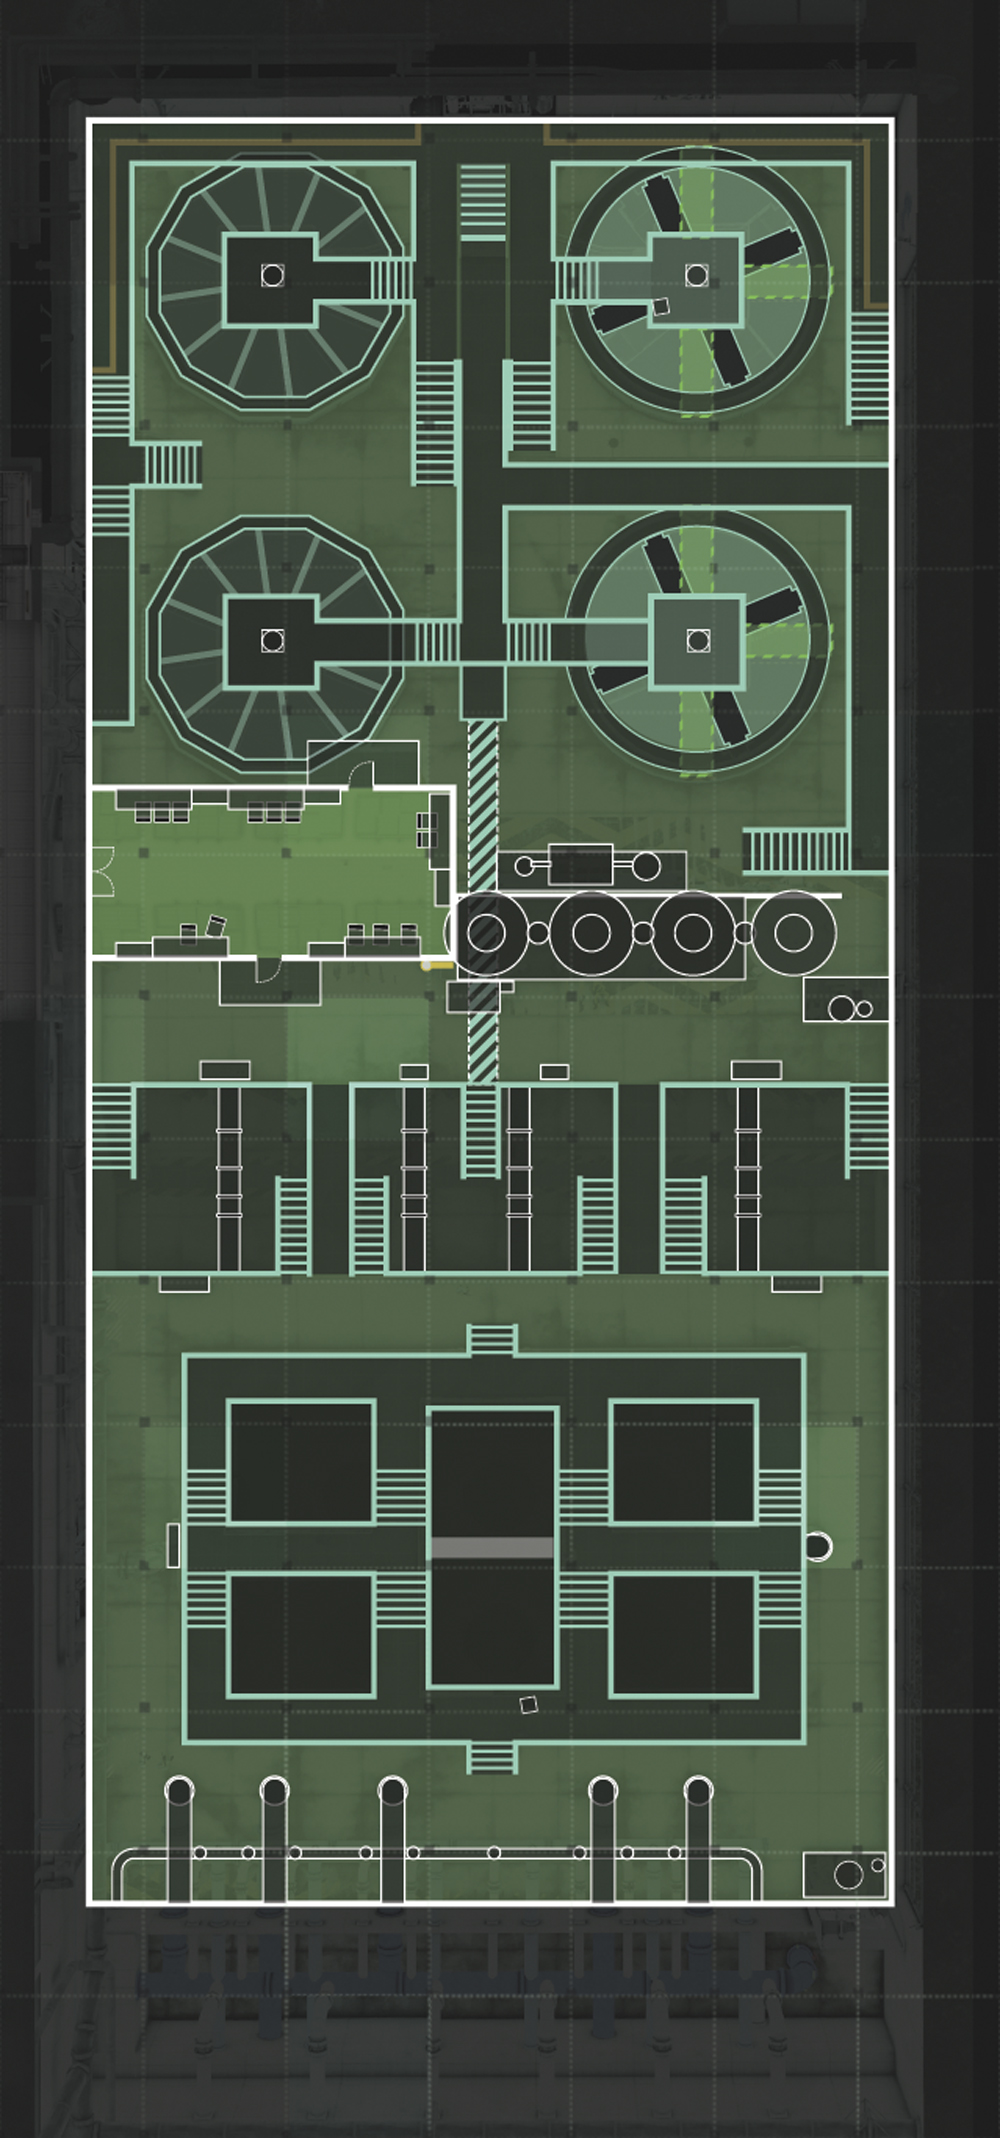
As you begin to take action, Grim informs you that they are pumping the bio-agent into the water supply in two locations, so you will have to shut down two pumps. Your hope is to keep the contaminated water inside the plant from seeping into the city’s water supply. In an effort to help stem the flow of the chemical agent, Charlie will try to shut down the outflow valve. The bad news is you only have 10 minutes before the levels in the water hit critical.
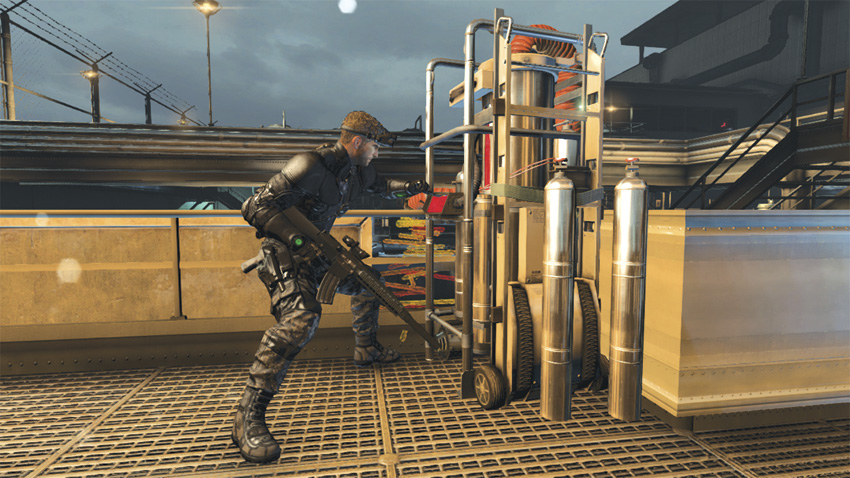
To start, go out onto the gantry on the left side of the control room. From your lofty perch you will be able to take down all four hostiles using the sniper rifle. First, look slightly to the right and target the Heavy Infantry soldier on the platform, which happens to be where the first pump is located. Once he’s down, target the hostile patrolling near his location. Next, go to the rear of the gantry and target the two hostiles underneath you (their locations are visible on the Radar). If you’re fast enough, you can quickly target and gun down both men before either can call for help. Backtrack to the other end of the gantry and climb down the ladder to the ground floor. Now make your way over to the first pump, labled with a purple “A,” and take it offline.
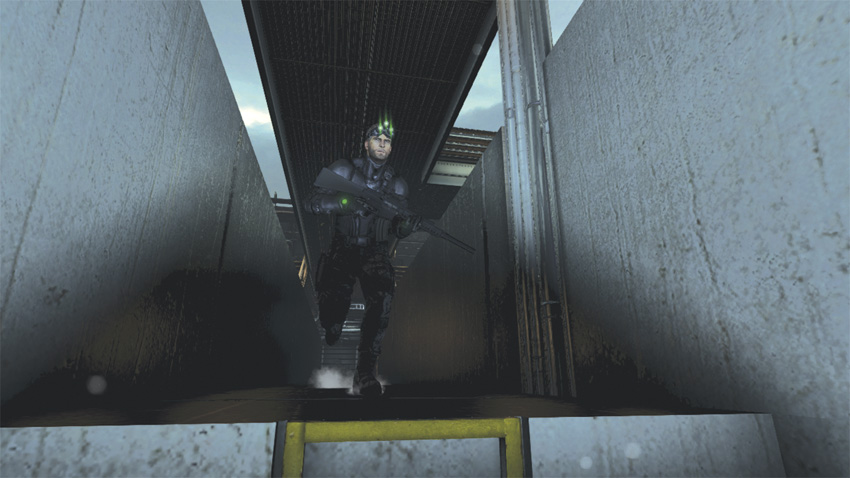
Head back the way you came and go down the first set of stairs leading up to the platform. At the bottom of the stairs, climb over the low wall to your right to access the service tunnel underneath the control room Grim mentioned. It will not only provide faster passage between the two sides of the plant, it also happens to be another Hidden Path.
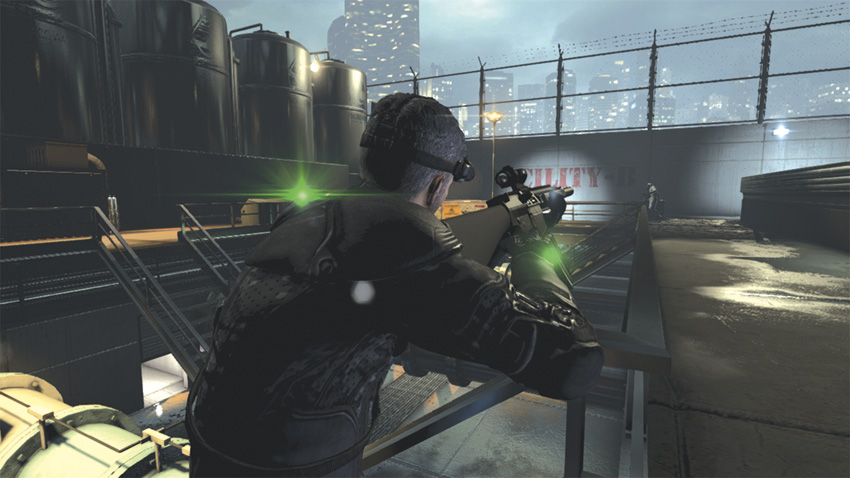
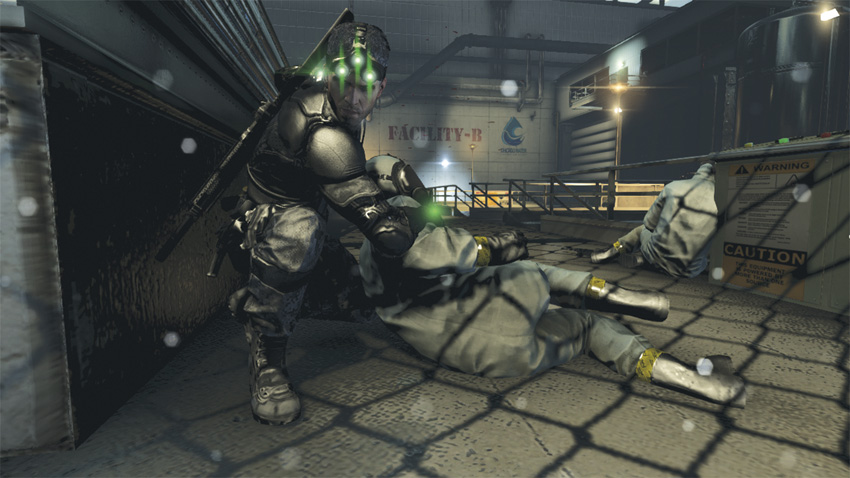
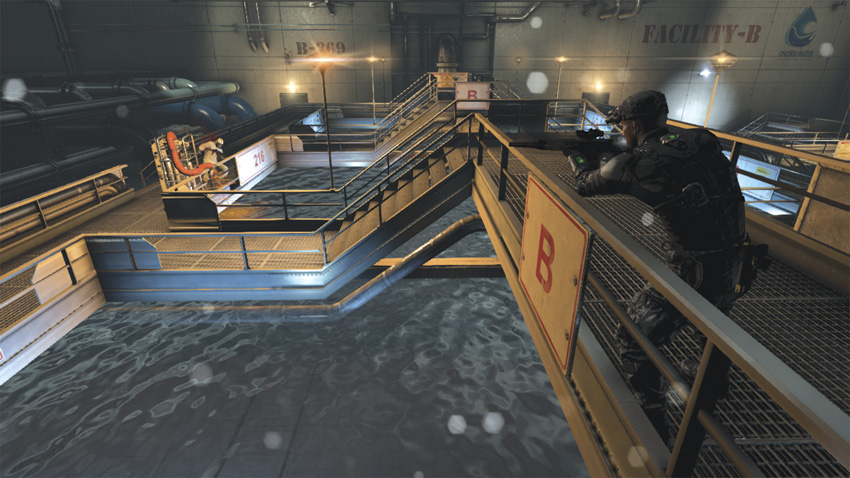
After emerging on the other side of the plant, head toward the second pump. Orient toward the waypoint marker, which shows up as a purple “B” on your screen. Standing between you and your goal are three hostiles and a Heavy Infantry solider, who happens to be guarding the pump. Consult your Radar to locate the regular hostiles, and eliminate them as you head toward the pump. Remember to hit the Heavy with a sniper shot to the head, otherwise you risk detection. Once all the guards are dead, proceed to the second pump and take it offline.
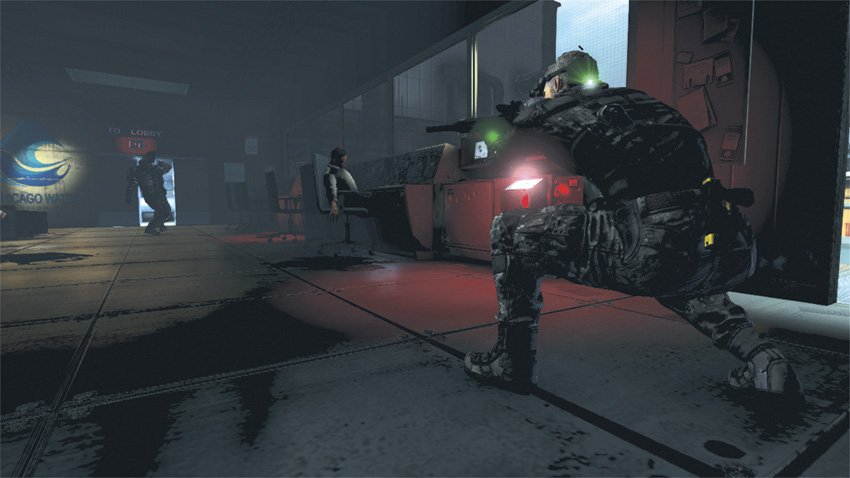
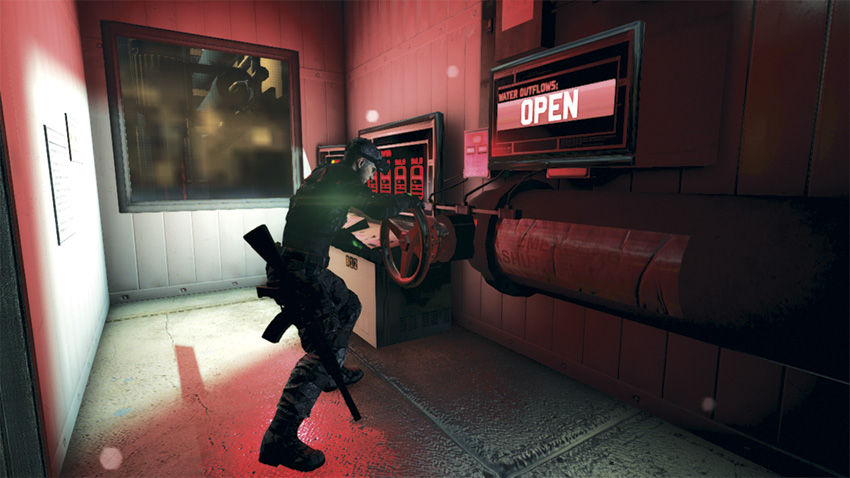
As you begin to pat yourself on the back for a job well done, Grim delivers some bad news. Despite your efforts, she’s detecting that the water is already contaminated and the main outflow is still open. Charlie has still been unable to shut down the main outflow. The good news is he was able to unlock the manual override, which will enable you to manually shut off the flow of contaminated water. All you need to do is go back to the other side of the plant and shut off the valve by hand.
You’ll find the valve in a small room located underneath the main control room where you started this whole process. If you are unsure where to go once you emerge from the service tunnel, locate the waypoint marker and move toward it.
With the crisis averted, it’s back to the Paladin.