
Tom Clancy's Splinter Cell Blacklist Guide Walkthrough Campaign
Mission 1: Safehouse Benghazi, Libya
Mission Details
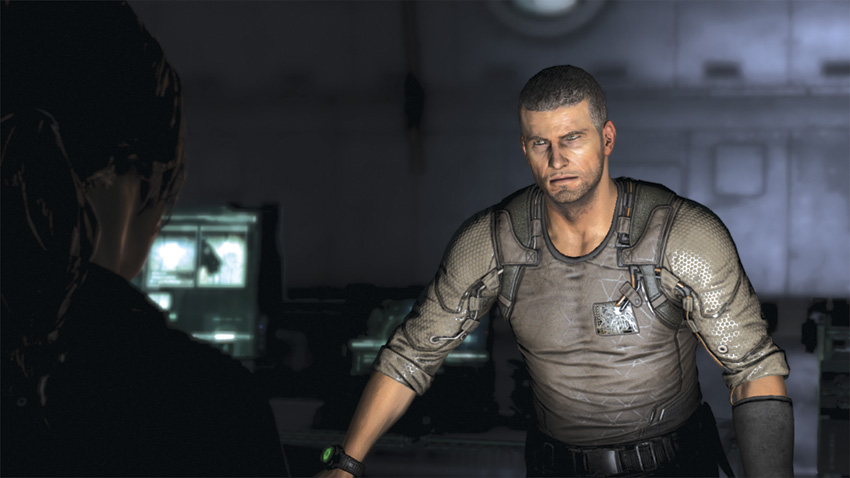
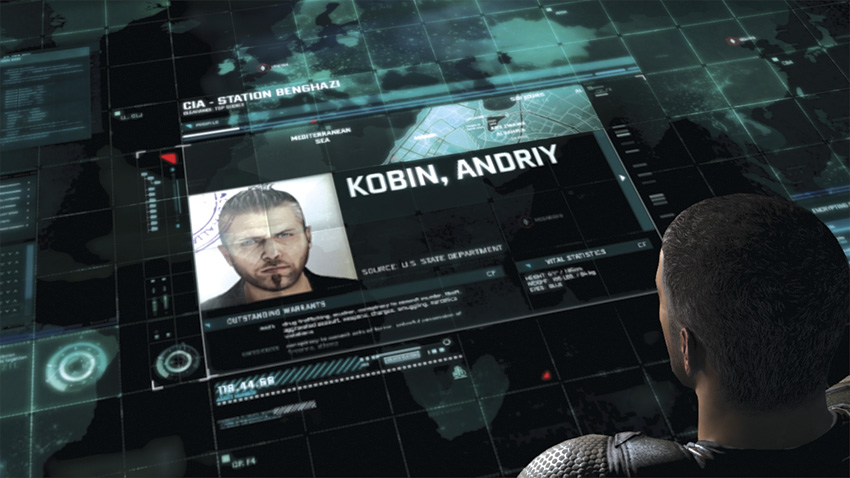
Wondering what you have going on in Benghazi, Grim says that she has a contact at a CIA safehouse, and he says that they’ve detained someone with intel on Guam. However, no one gets to ask the detainee any questions until the feds are done with him. You wonder how the CIA nabbed this mysterious person and Briggs tells you they didn’t; the guy just walked into their office. Thinking maybe the informant is some nut off the street, Charlie chimes in that it’s Andriy Kobin, a shady character from your past. Grim wants to know why a wanted arms dealer would turn himself into the feds shortly after the hit on Guam, and Briggs thinks that maybe you should leave the interrogation of Kobin to the feds. You’re not having any of that: Kobin’s the only connection to the Engineers, so there’s no way you’re trusting someone else to find out what he knows.
Objectives: Rendezvous with CIA Contact, Rescue Kobin
Recommended Loadout
- Gadgets: Sticky Noisemaker, Sticky Camera
- Goggles: Standard
- Ops Suit: Classic Ops Suit (Torso), Classic Gloves (Gloves), Classic Ops Suit (Pants), Classic Ops Suit (Boots), Classic Green (Lights)
- Pistol: PX4 Storm .45
- Alternate Weapon: MP7A1 Submachine Gun
- Special Weapon: Stun Gun
- Paladin Upgrade: Cockpit Level 1: Unlock Radar Shown in the HUD
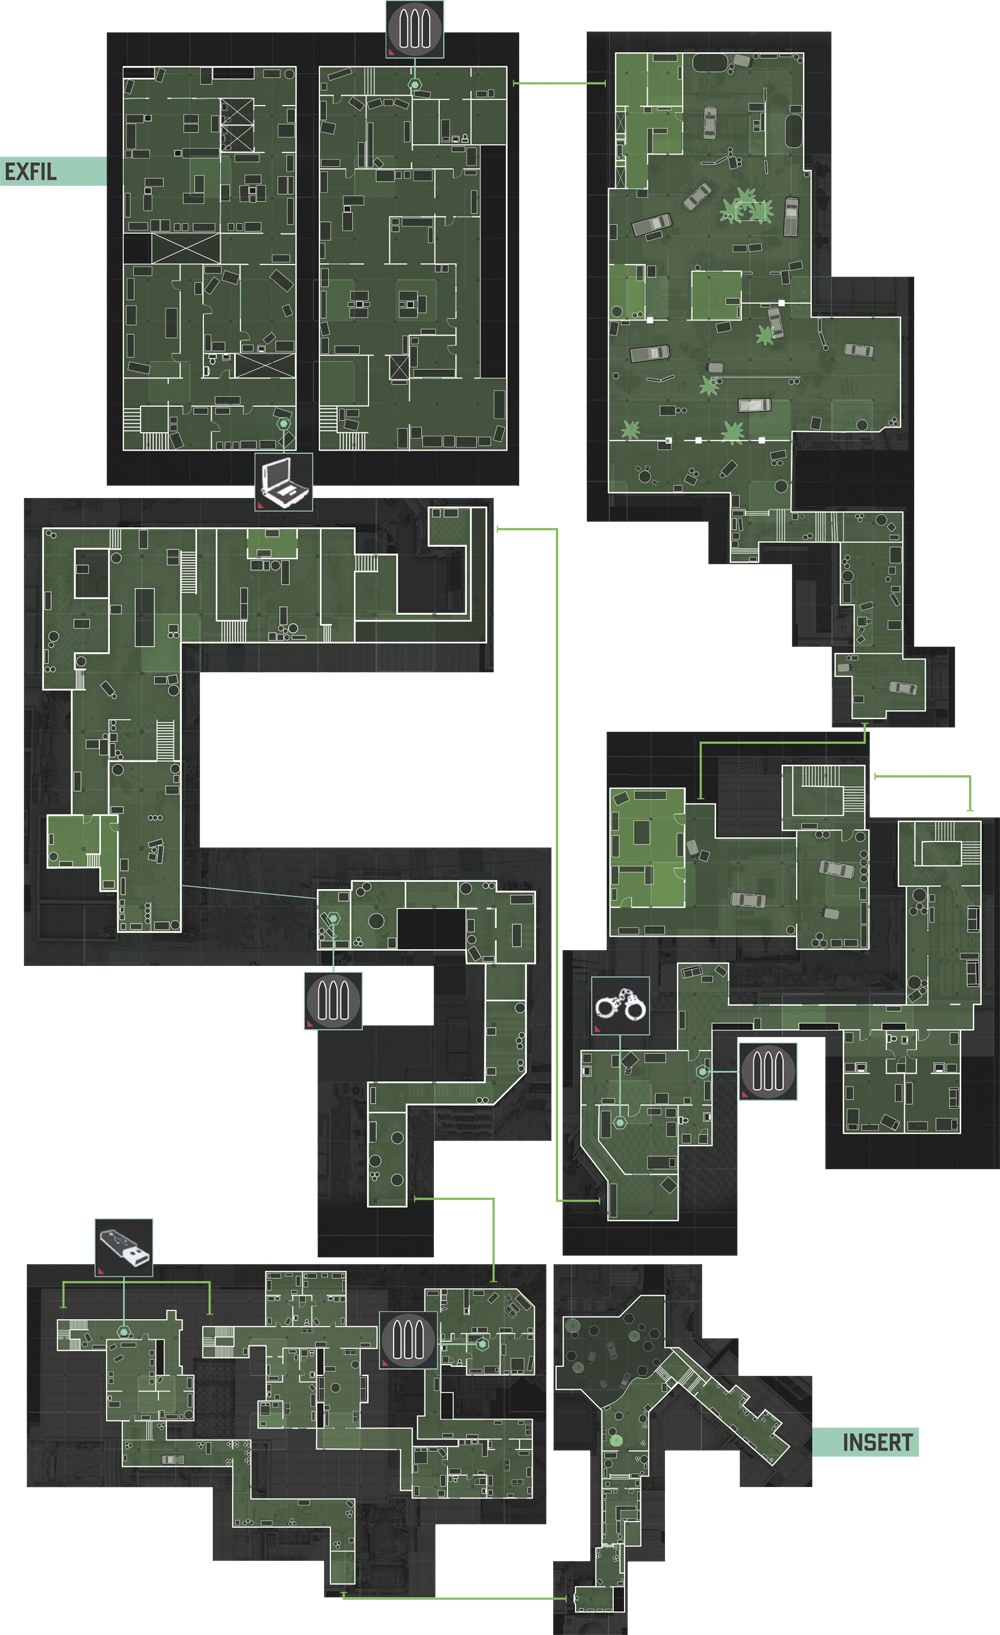
Reach the CIA Safehouse
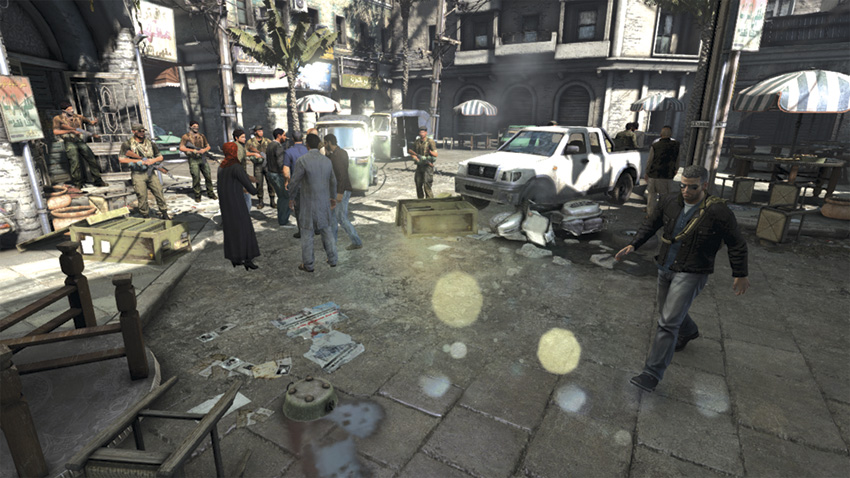
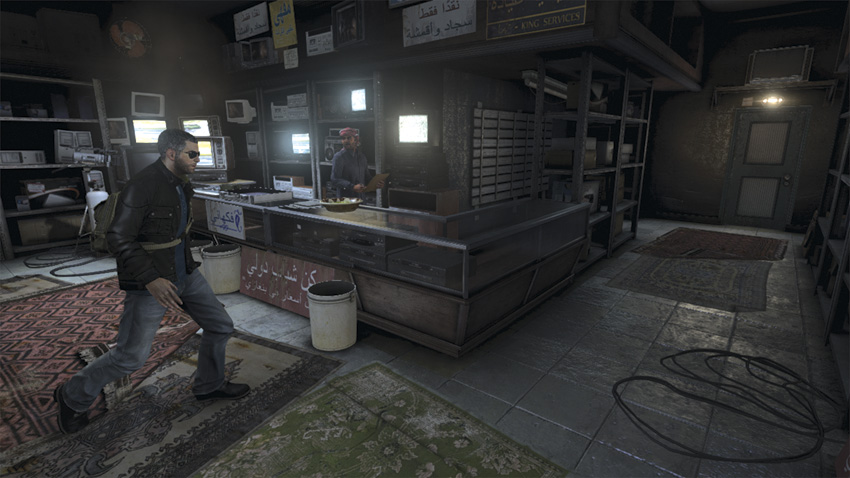
Once on the ground, start walking forward. While moving around and in between pedestrians, you request a situation report (sitrep) from Grim; so far she’s been unable to reach her CIA contact. You ask Briggs if he has visual contact of the safehouse, and he replies he just got to his position, but it doesn’t look good. Walking up to the plaza, you confirm what Briggs has already seen: The militia is blocking the front-door access. Briggs asks if you want him to change positions and meet you on the ground. Following the waypoint, you tell him to get eyes from the southwest corner of the plaza. Continue forward and go through the door to the left of the safehouse, and continue straight ahead, all the way until you reach the back alley.
Into the Suit
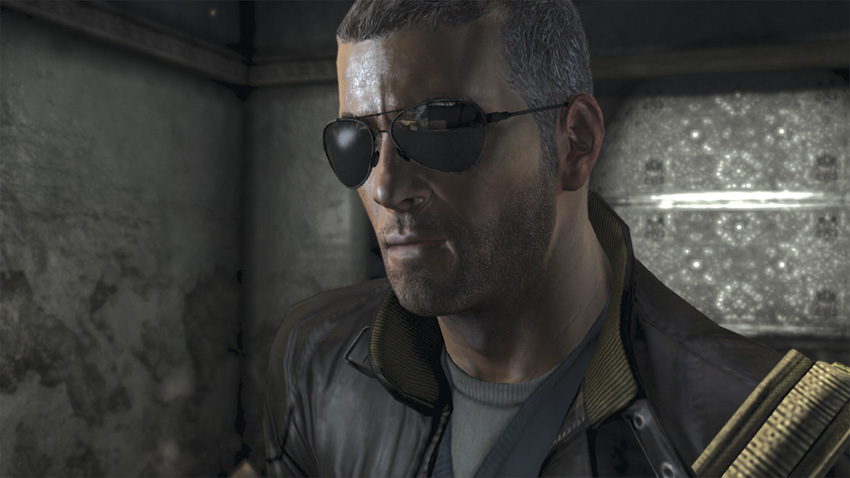
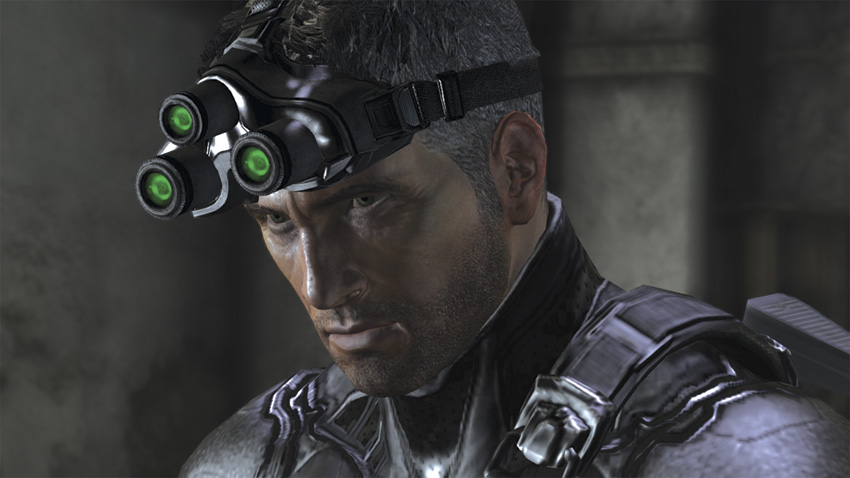
Now that you’re away from prying eyes, it’s time to change into your Ops Suit and equip your weapons. You ask Grim if she’s received any update from her contact, but she hasn’t. Briggs reinforces the fact that militia is everywhere. You knew this was going to get messy.
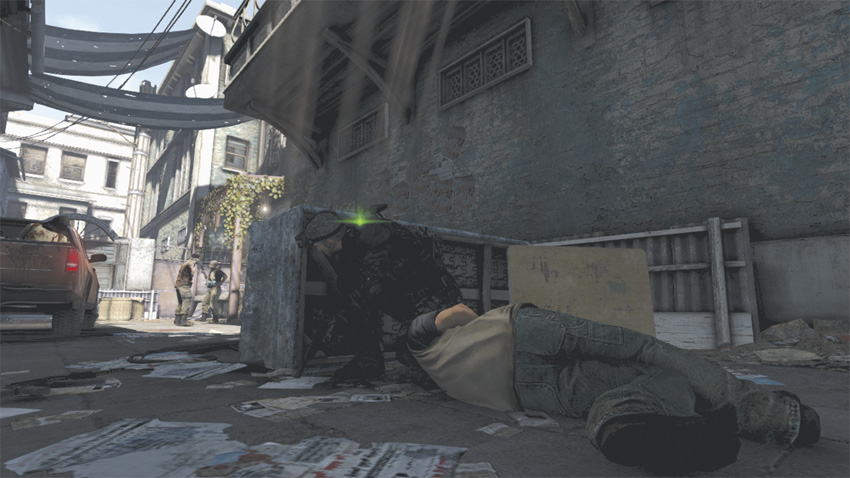
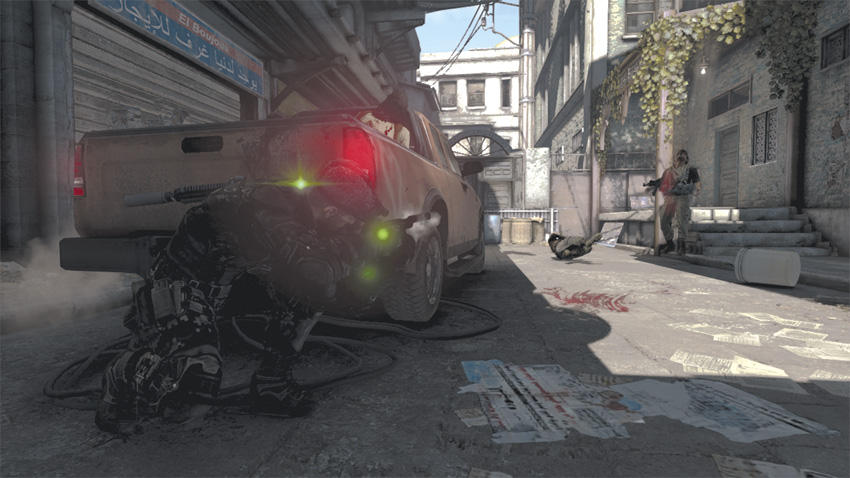
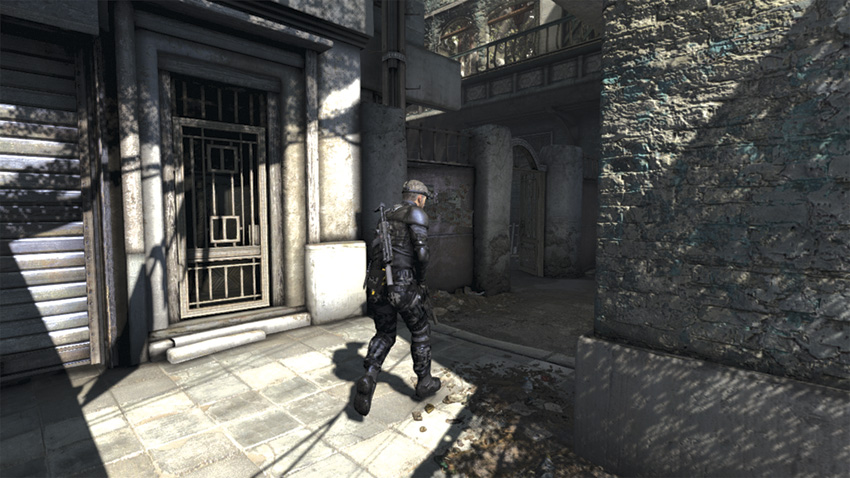
Walk down the alley and follow it around to the right to enter the safehouse from a side entrance. Before long, you encounter the first hostiles. Using cover techniques learned during the Prologue in Guam, move to the first crate, take cover, and perform a hand-to-hand strike on the first hostile. Your Execute Ability gauge will now be full, so you can activate your Execute Ability and quickly take down multiple targets in a single action. Mark the two enemies in front of you and use your newfound skill to kill them.
Infiltrate the Safehouse
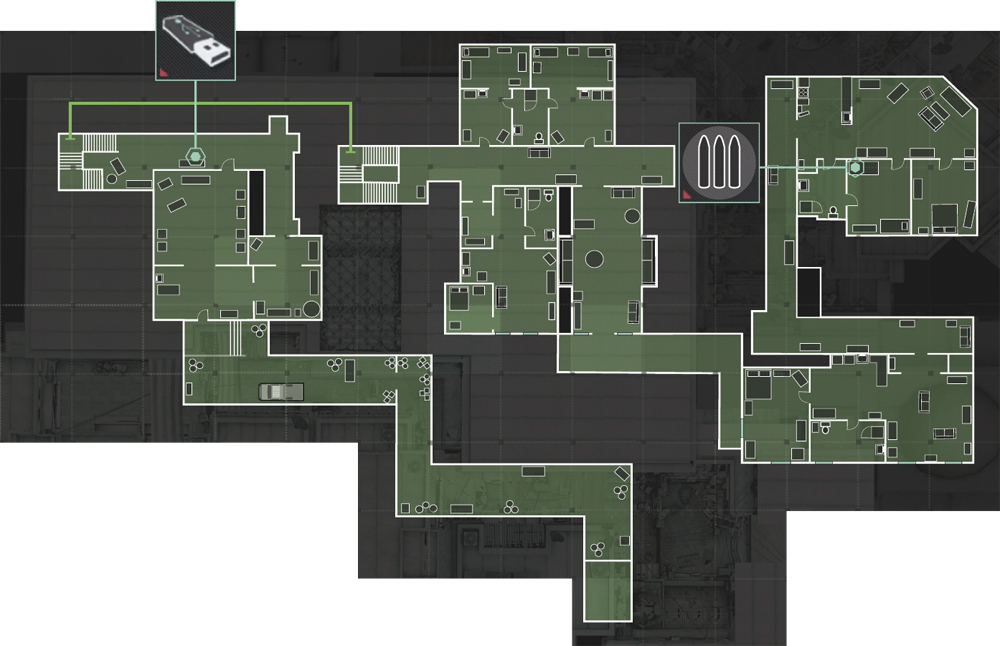
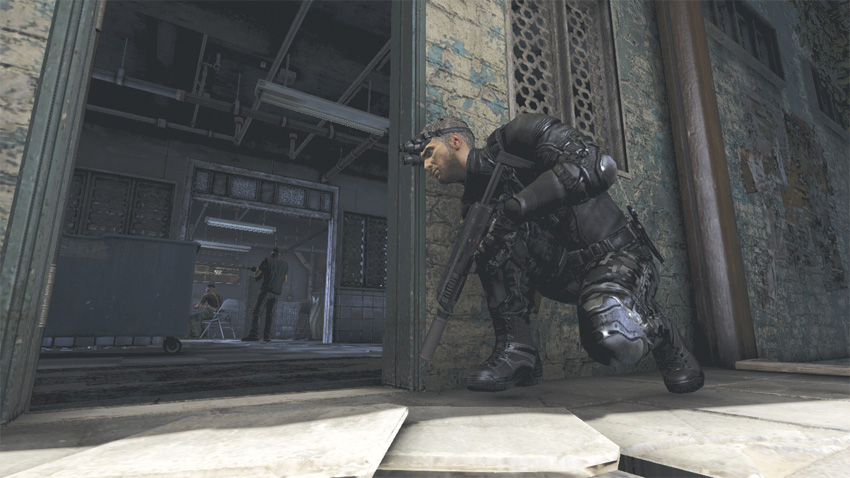
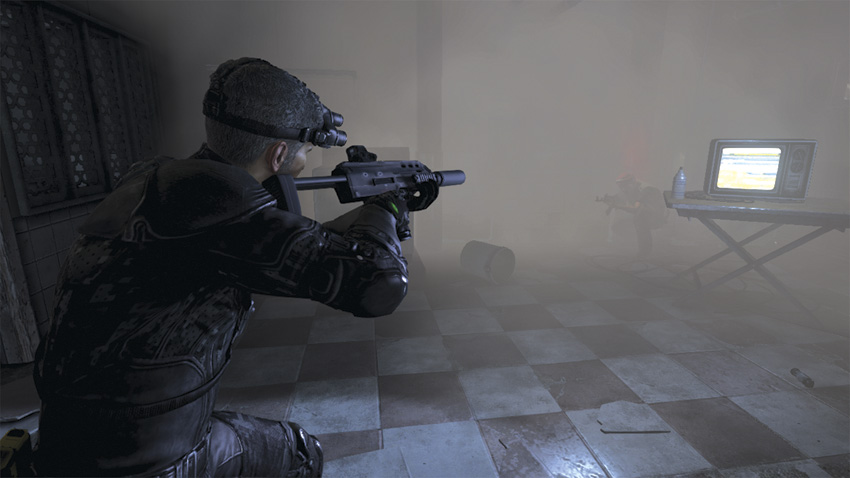
Briggs is unable to give you information about what’s going on in the safehouse, but there’s no time to waste. Approach the door, take cover, and open it. Inside are three hostiles who are oblivious to your presence. Take cover and toss a Smoke Grenade just beyond the enemy closest to your position. A cloud covers the room, disorienting the enemies within. Take down each hostile, and then exit the room through the door behind them. Enter the next hallway, collect the Dead Drop on top of the wooden dresser, and move on.
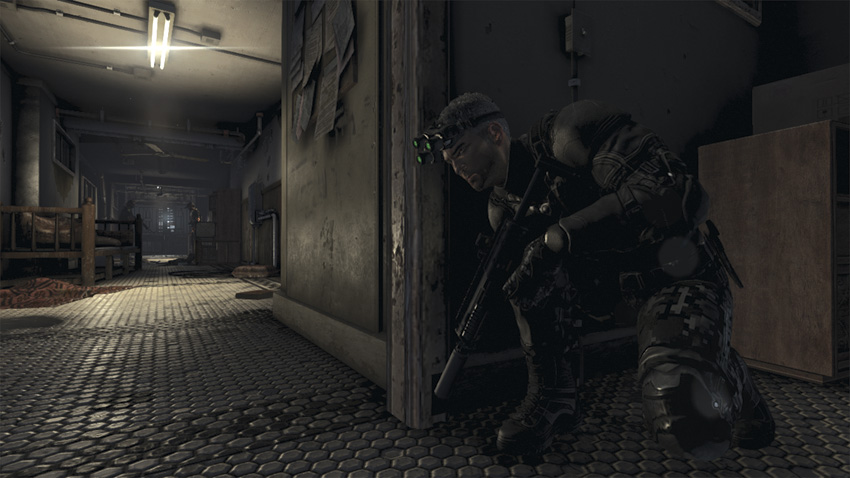
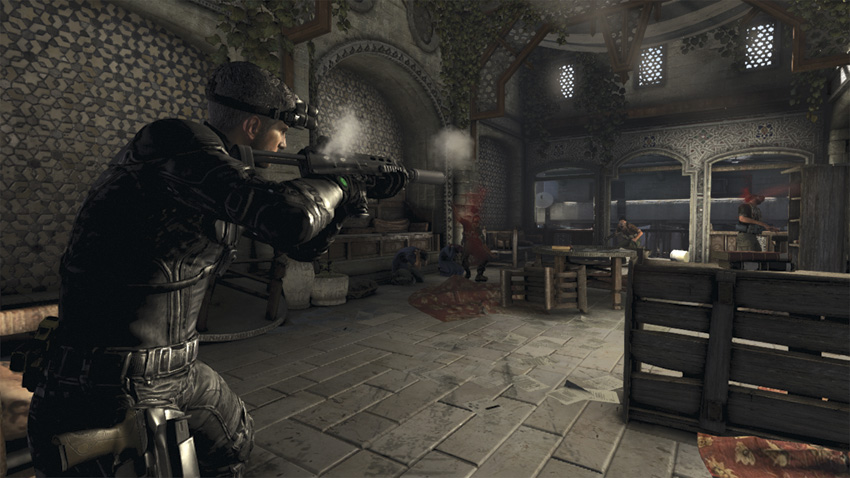
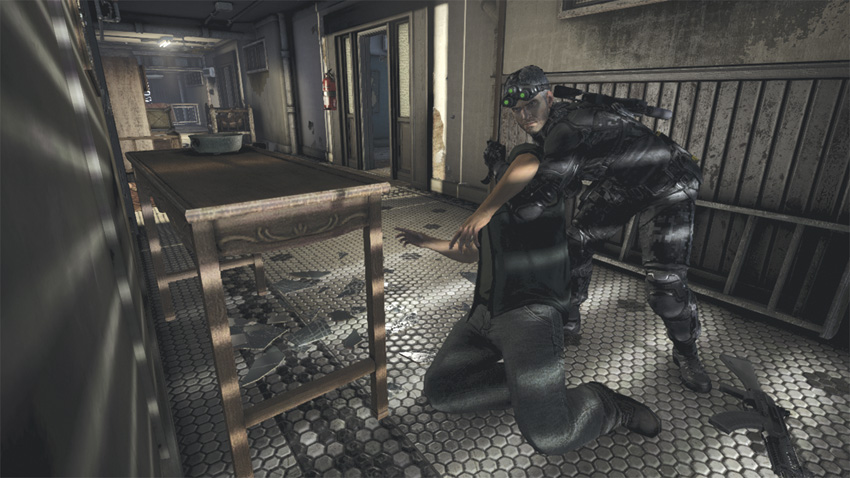
As you continue down the hallway, you hear voices coming from the second floor. Cautiously make your way up the staircase and take cover near the doorway at the top. A quick peek reveals two hostiles 20 yards away. Quickly move diagonally to your left and enter the room. From there, go through the bathroom and into the adjacent room. Take cover near the door that exits into the hallway and use a hand-to-hand strike to eliminate the hostile nearby. In the room directly across from you are three more hostiles keeping an eye on some hostages. With your Execute Ability ready to use, Mark them for death, quietly enter the room, and then take them out.
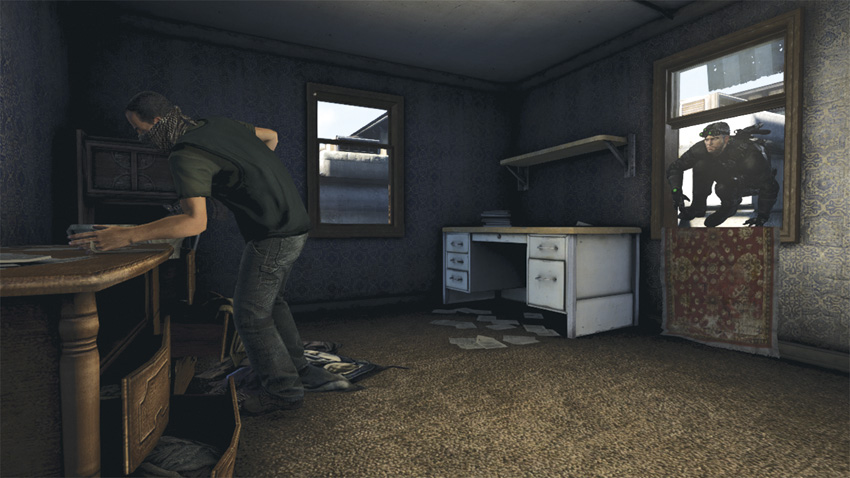
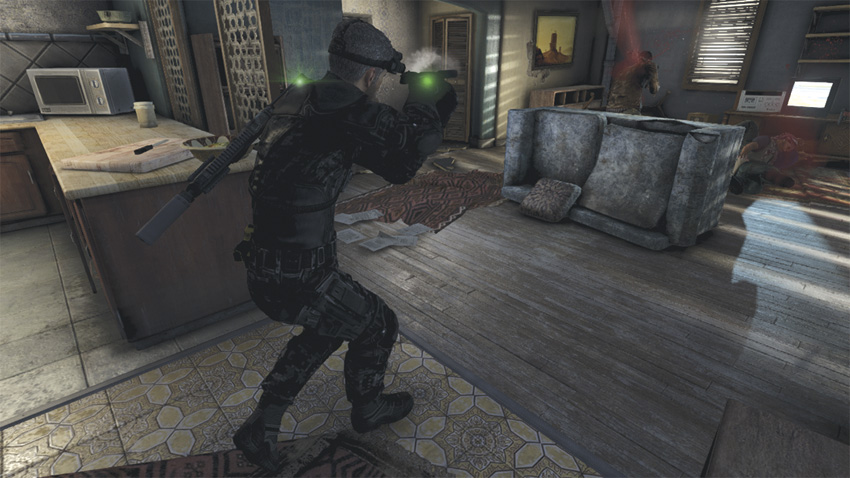
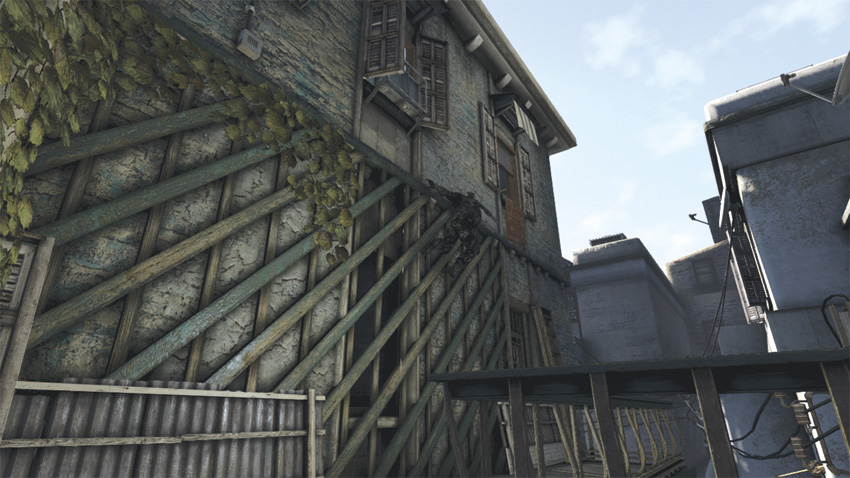
Make your way onto the balcony and walk to your left to the far end. Now climb up the latticework to the open window on the third floor, near the corner of the building. A hostile with his back to you is just inside. Quickly climb through the opening and perform a hand-to-hand strike. In the next room are two enemies guarding two more hostages. Mark them both and kill them using your Execute Ability. Exit the room and follow the hallway around to the right.
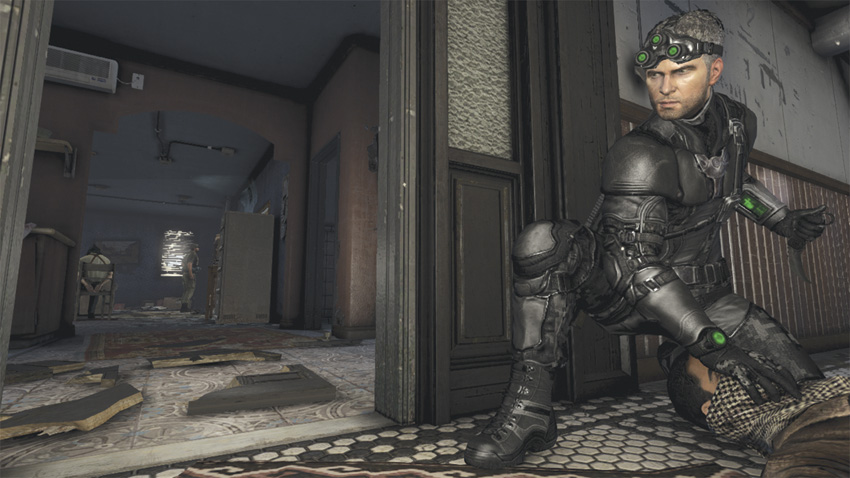
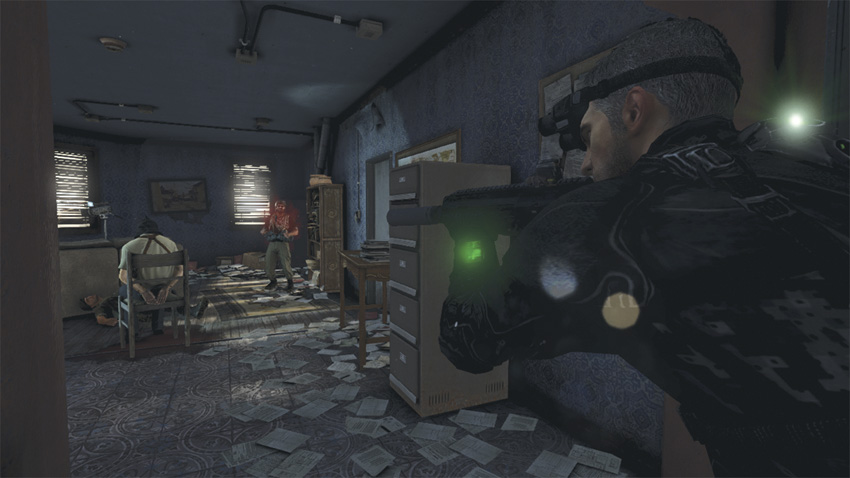
Near the end of the hall take cover in front of the door to the right. Attract the enemy nearest you and get him to come out of the room. When he’s in range, end him with a hand-to-hand strike. Don’t worry about the others inside, as they’re deep in discussion. Crouch down and enter the room. Mark the three hostiles, and then take them down using your Execute Ability. Before grabbing the informant, go into the room to your right to find a Supply Cache to replenish your ammo and gadgets.
Reach the Police Station
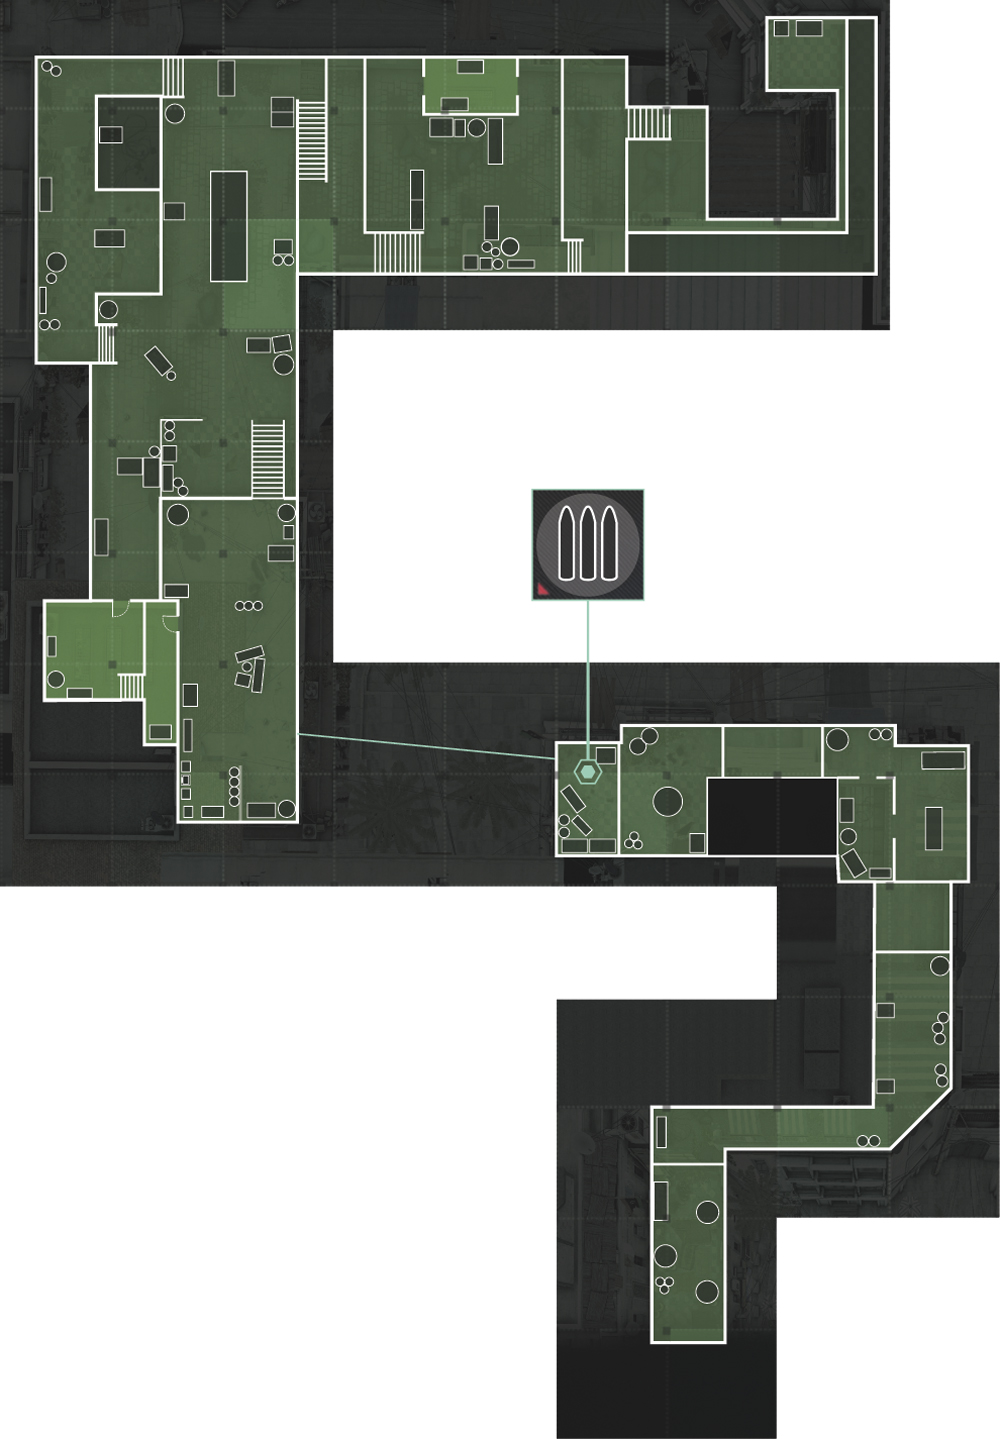
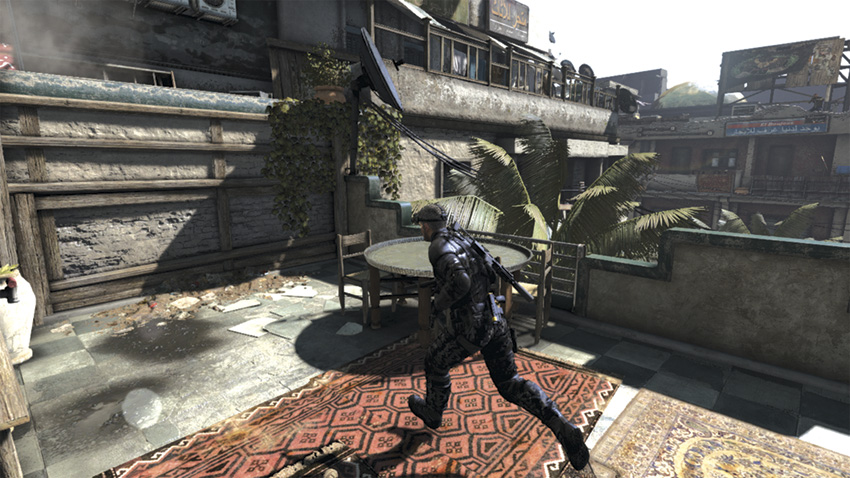
From your starting position, sprint forward and run along the balcony. Grim warns against going to the police station, stating blueprints reveal the militia have completely taken it over. However, Kobin’s your only shot at discovering who’s backing the Blacklist and you’re not leaving without him.
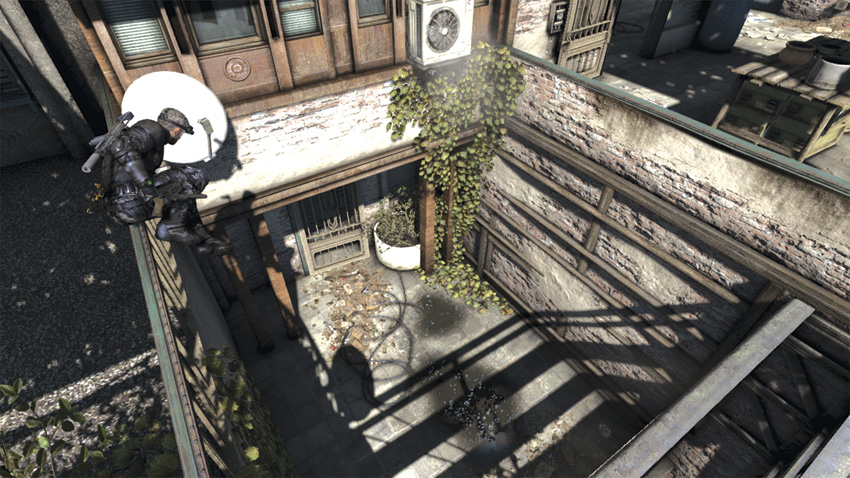
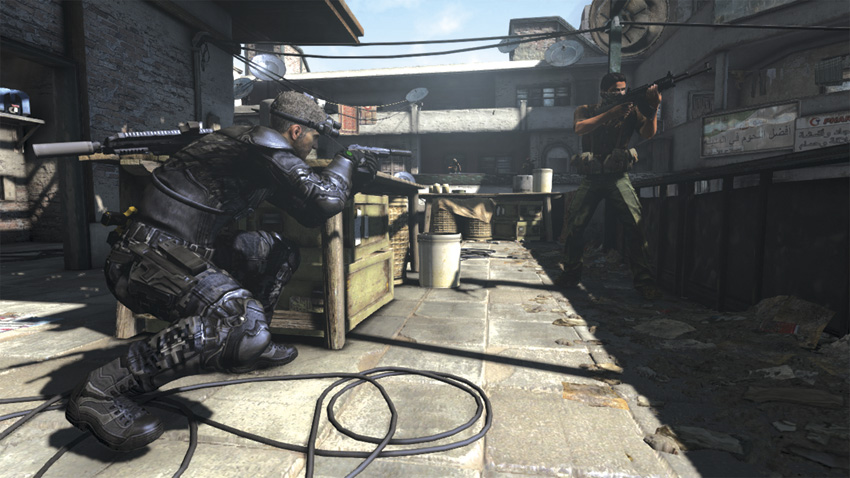
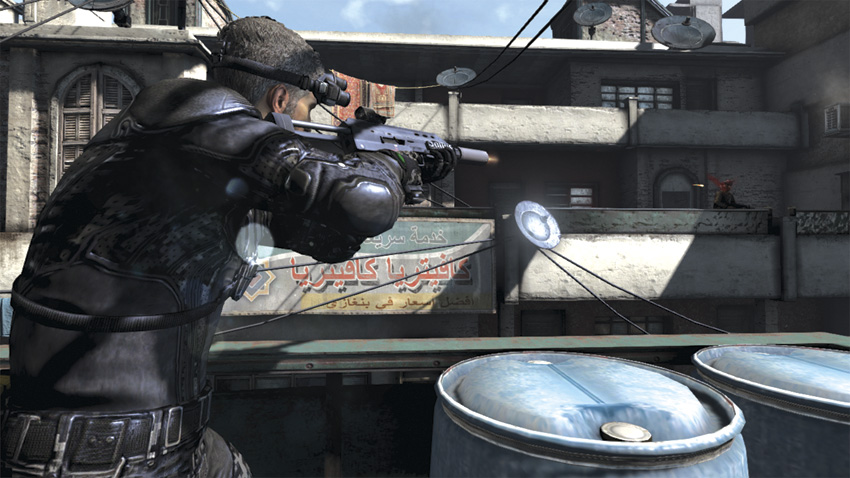
At the end of the first balcony, climb over the railing, drop to the ground, and then climb up the wall in front of you. There are too many hostiles in the area, so you tell Briggs to change positions. Just over the edge at the top of the wall, you see three soldiers: one is right next to you, while two others are located across the alley on another balcony. As they continue to fire on Briggs’ location, kill the enemy closest to you and climb up onto the balcony. Go through the room to your left, target the two other hostiles, and quickly take them down. Go forward, climb onto ledge, and move to the other side. Now head straight for the Supply Cache in front of you.
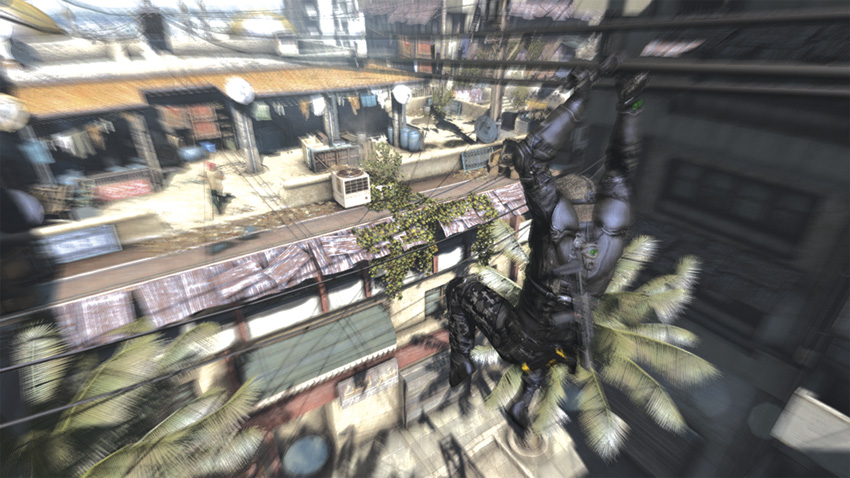
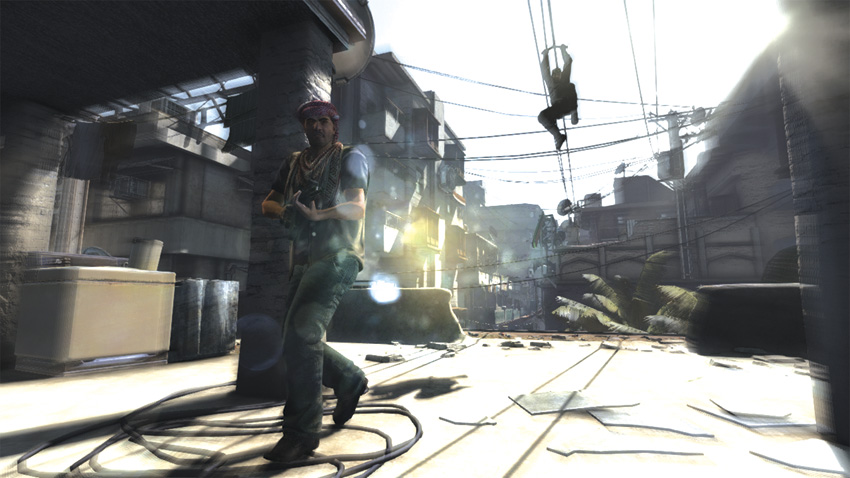
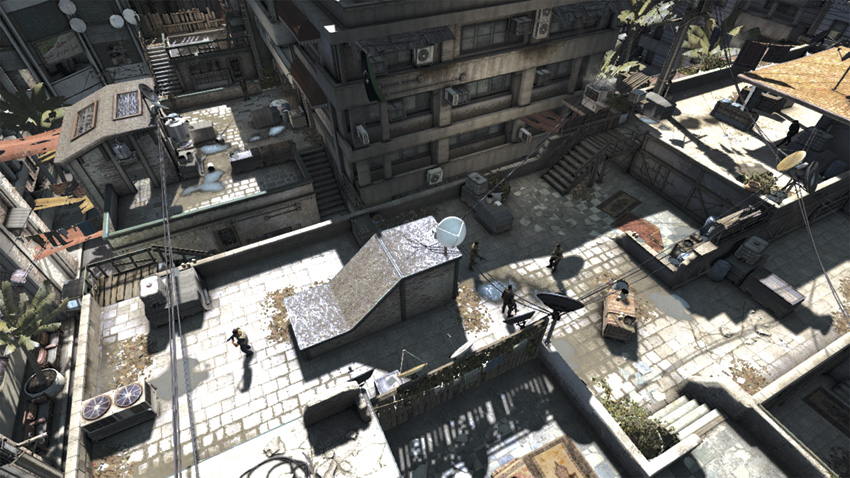
After replenishing your supplies, you see a hostile patrolling the balcony on the building across from you. Use the zipline and take a ride over to his position. When you’re right above him, initiate a Death From Above strike to take him down. Now things heat up a little bit. The militia patrolling the area definitely knows something is going on, but they don’t know who they’re looking for. They don’t even know how many people are involved. Regardless, you haven’t time to waste, as they are all on high alert. Before moving on, hide the man you just killed in the bin next to you.
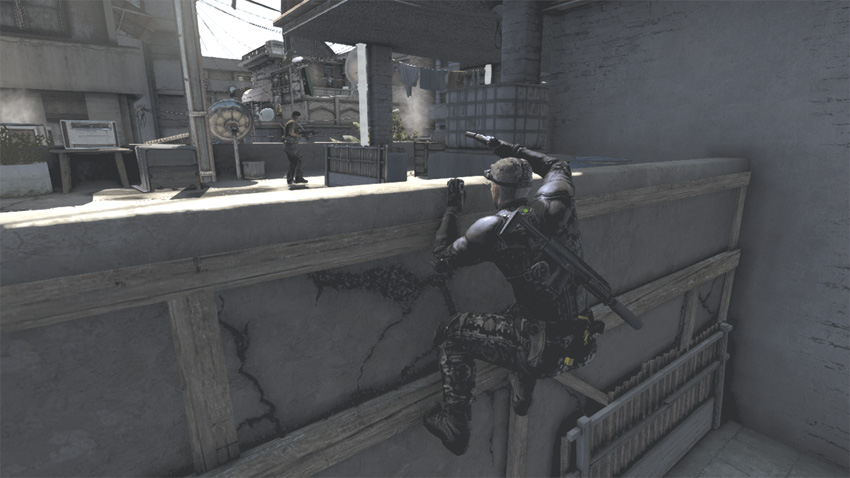
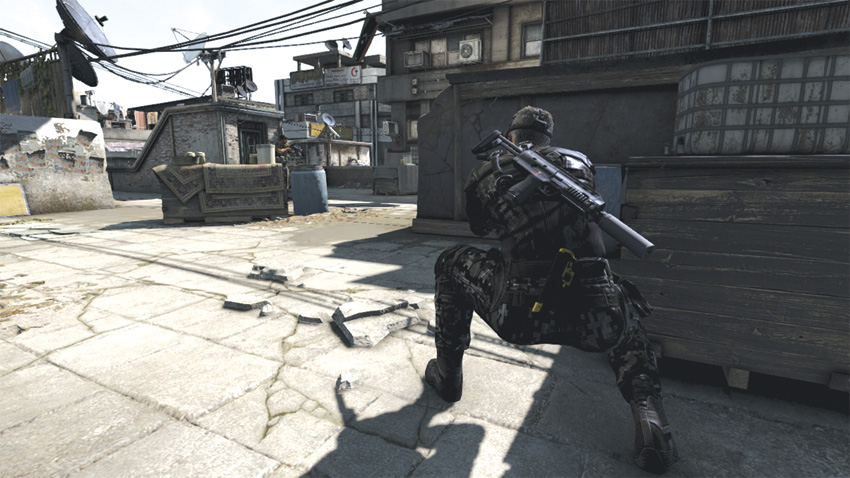
Quickly move and open the door to your left, and then close it once you’re on the other side. Jump over the railing in front of you and take cover near the right side of the door. Now move forward and take cover near the crate directly in front of you. Check your Radar. One hostile is in front of you and two are to your right. Wait for the one in front of you to get within range and eliminate him with a hand-to-hand strike. Throw the body over the side of the building and climb up the short wall behind you to target the next hostile. Peering over the ledge, wait until he walks next to the satellite dish near the opposite ledge and kill him. Drop back down and retake cover behind the crate. Wait for the next hostile to get within range and kill him with a quick shot to the head.
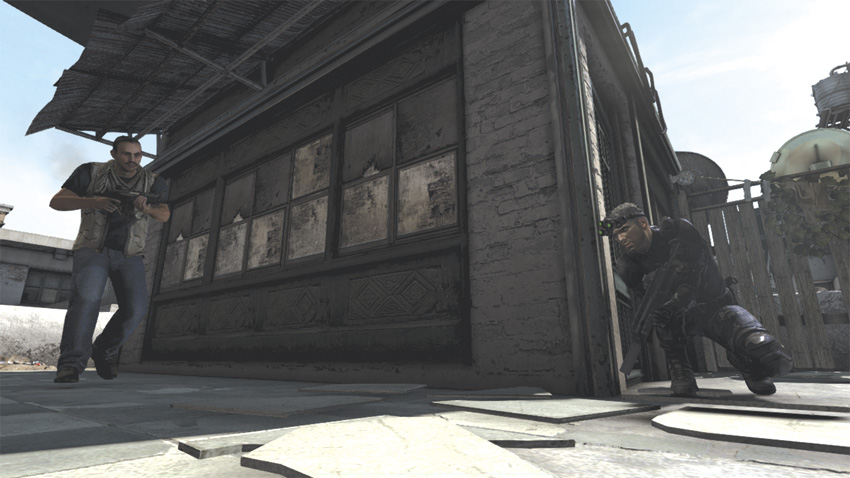
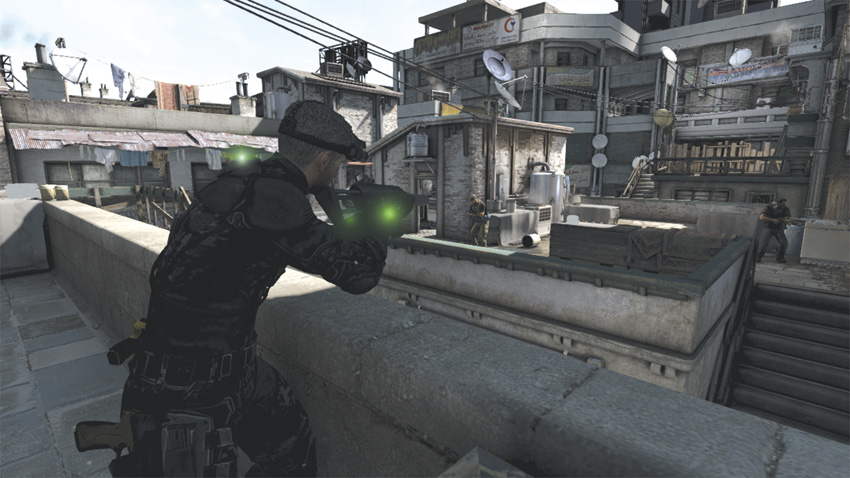
Move to your left and head to the corner on the left side of the building. Kill the hostile you find there, and then turn and sprint to your right. Crouch and take cover behind the wall in front of you. Checking your Radar, you note the last two hostiles. Mark them for death, and then head over to their location. When you’re in range, take them down using your Execute Ability. Now follow your waypoint marker and head over to the apartments.
Apartment Siege
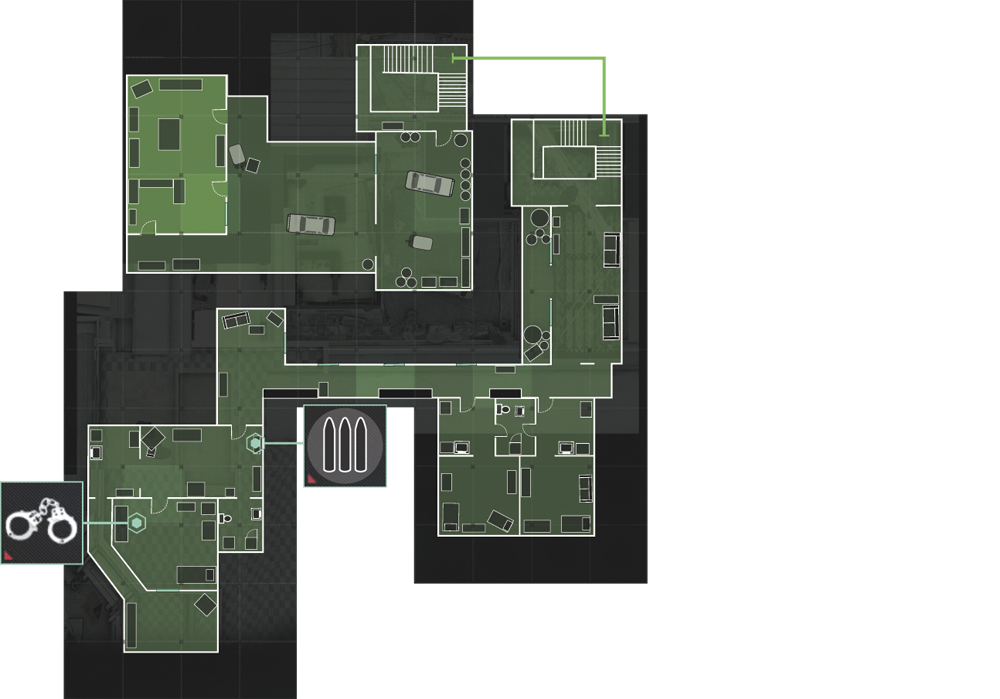
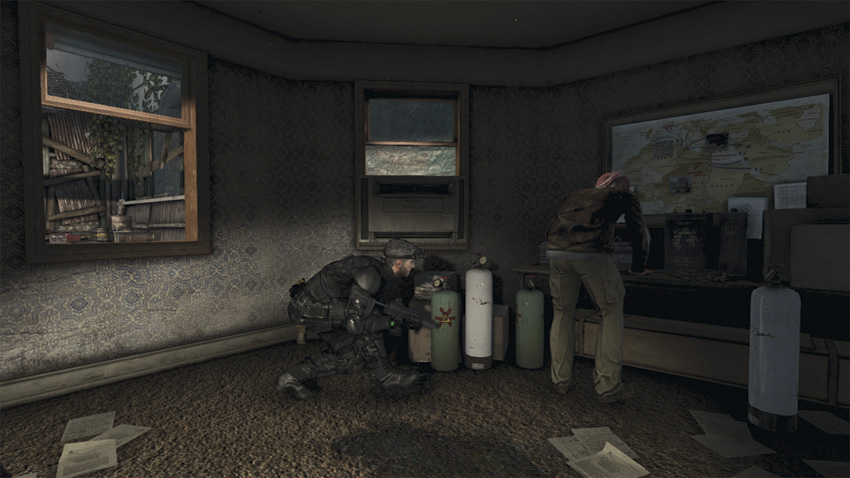
As you continue onward, Grim chimes in that a High Value Target is in the area. You immediately hear his muffled voice coming from down below to your left. Drop from your perch on the ledge into a crouch and move toward the window in front of you. When the target’s back is turned, quickly open the window and enter the room. The hostile is yours. Once secured, Grim informs you the best way to reach Kobin is to head toward street level.
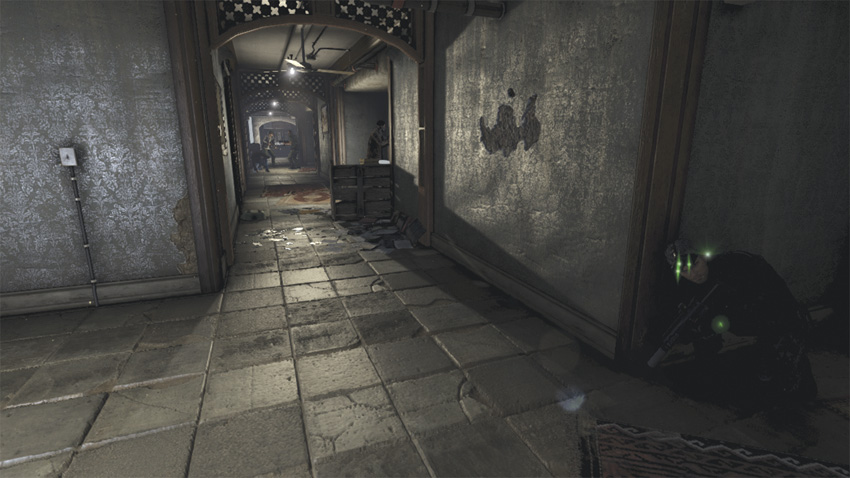
Exit the room and head to the Supply Cache to replenish your ammo and gadgets, and then proceed through the door into to the next hallway, closing it as you go. Take cover near the wall to your right, and then move diagonally toward the light switch in front of you. From your vantage point, make a quick scan of the corridor. One hostile is two feet away, and two others are 20 yards down the hall. The enemy closest to you continues his patrol of the immediate surroundings, while one of the men down the hall disappears into a room to the right, leaving the second behind to patrol the far end of the passage.
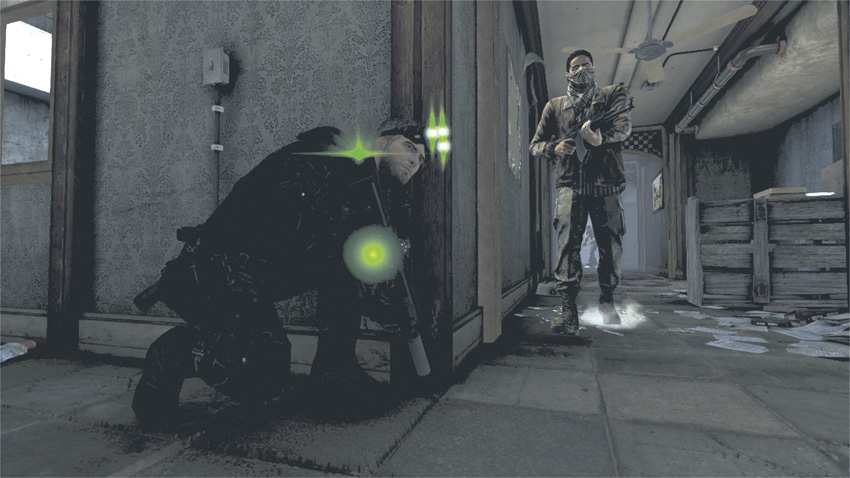
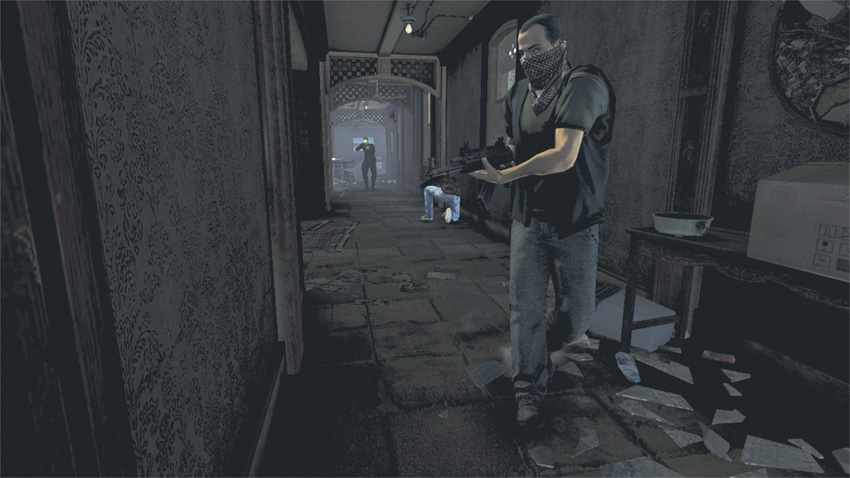
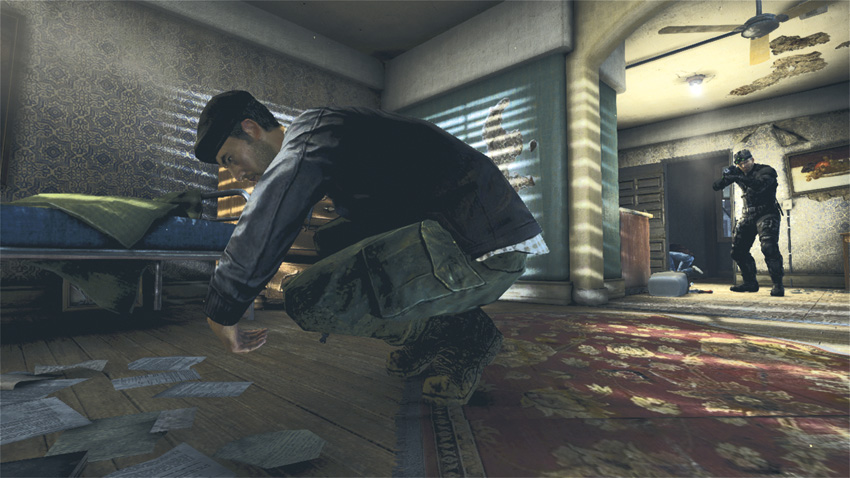
Flip off the light switch to create a cover of semi-darkness. This immediately raises the suspicion of the two visible men but doesn’t cause a panic. Once the hostile closest to you is within range, take him down with a hand-to-hand strike. Quickly move toward the next enemy, using cover as necessary. Once he’s in range, sink a bullet into his skull. Go into the room across from the innocent in the hallway and kill the third hostile.
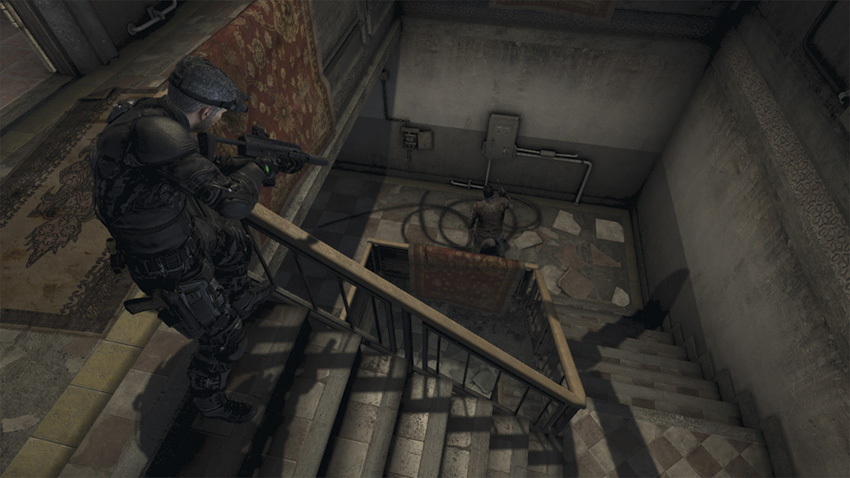
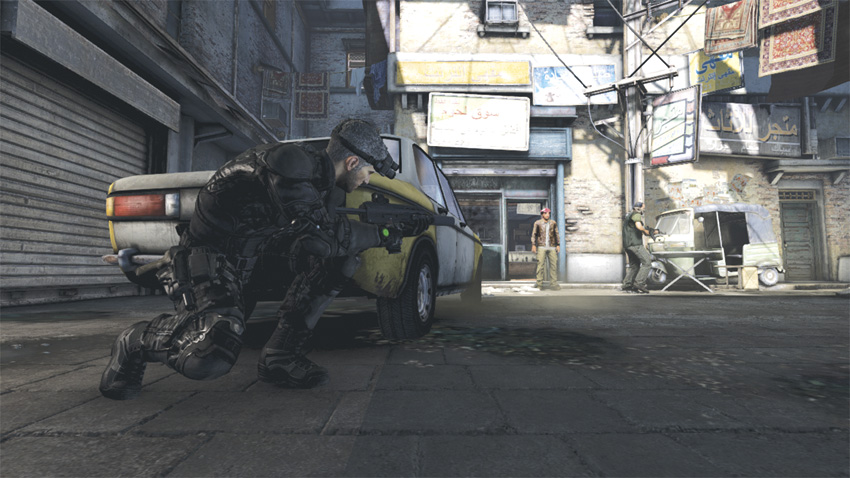
Exit the room, follow the hallway around to the left, and then head for the double doors in front of you and the stairwell beyond. Take cover near the railing at the top and look down to see the next hostile. Kill him, continue down to the bottom, and go through the door to enter the garage. Check your Radar once again. Two more hostiles are in the vicinity. Hunt them down and kill them, and then follow the waypoint marker to the exit.
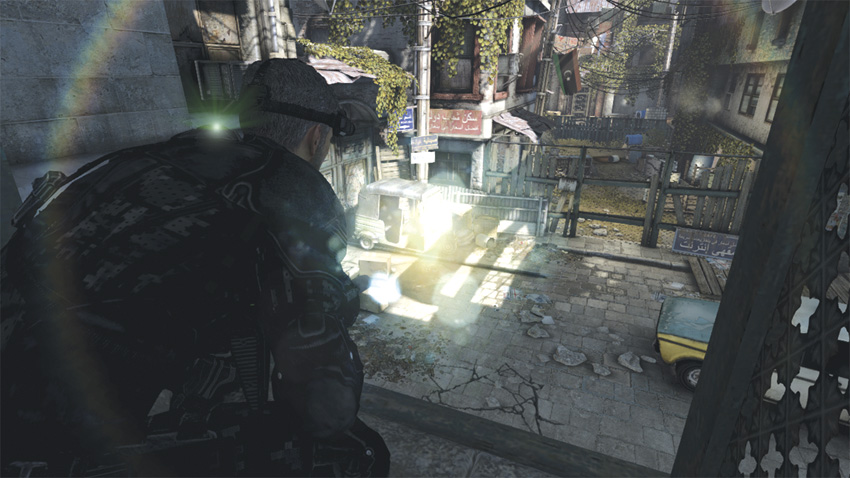
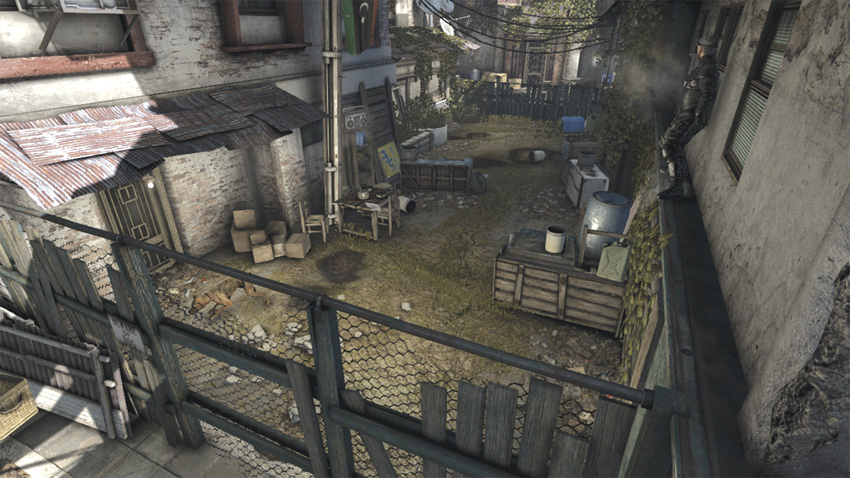
Move forward and scale the wall in front of you. From your vantage point you see a chain-link fence and a dog behind it. Drop down and move toward the wall on your right, out of view from the canine. Climb the wall and get in a standing position so you can shimmy around the ledge to the right. From here you can either shoot the dog, wait for it to come within range for a Death From Above attack, or wait for it to approach the fence and then use a Sticky Noisemaker to distract it. If you chose to use a Sticky Noisemaker, wait for the dog to get near the chain-link fence and then throw the device at the fence. Once the canine is sufficiently distracted, drop from your perch and quickly move to the opposite end of the yard and make your exit.
Rescue Kobin from the Militia
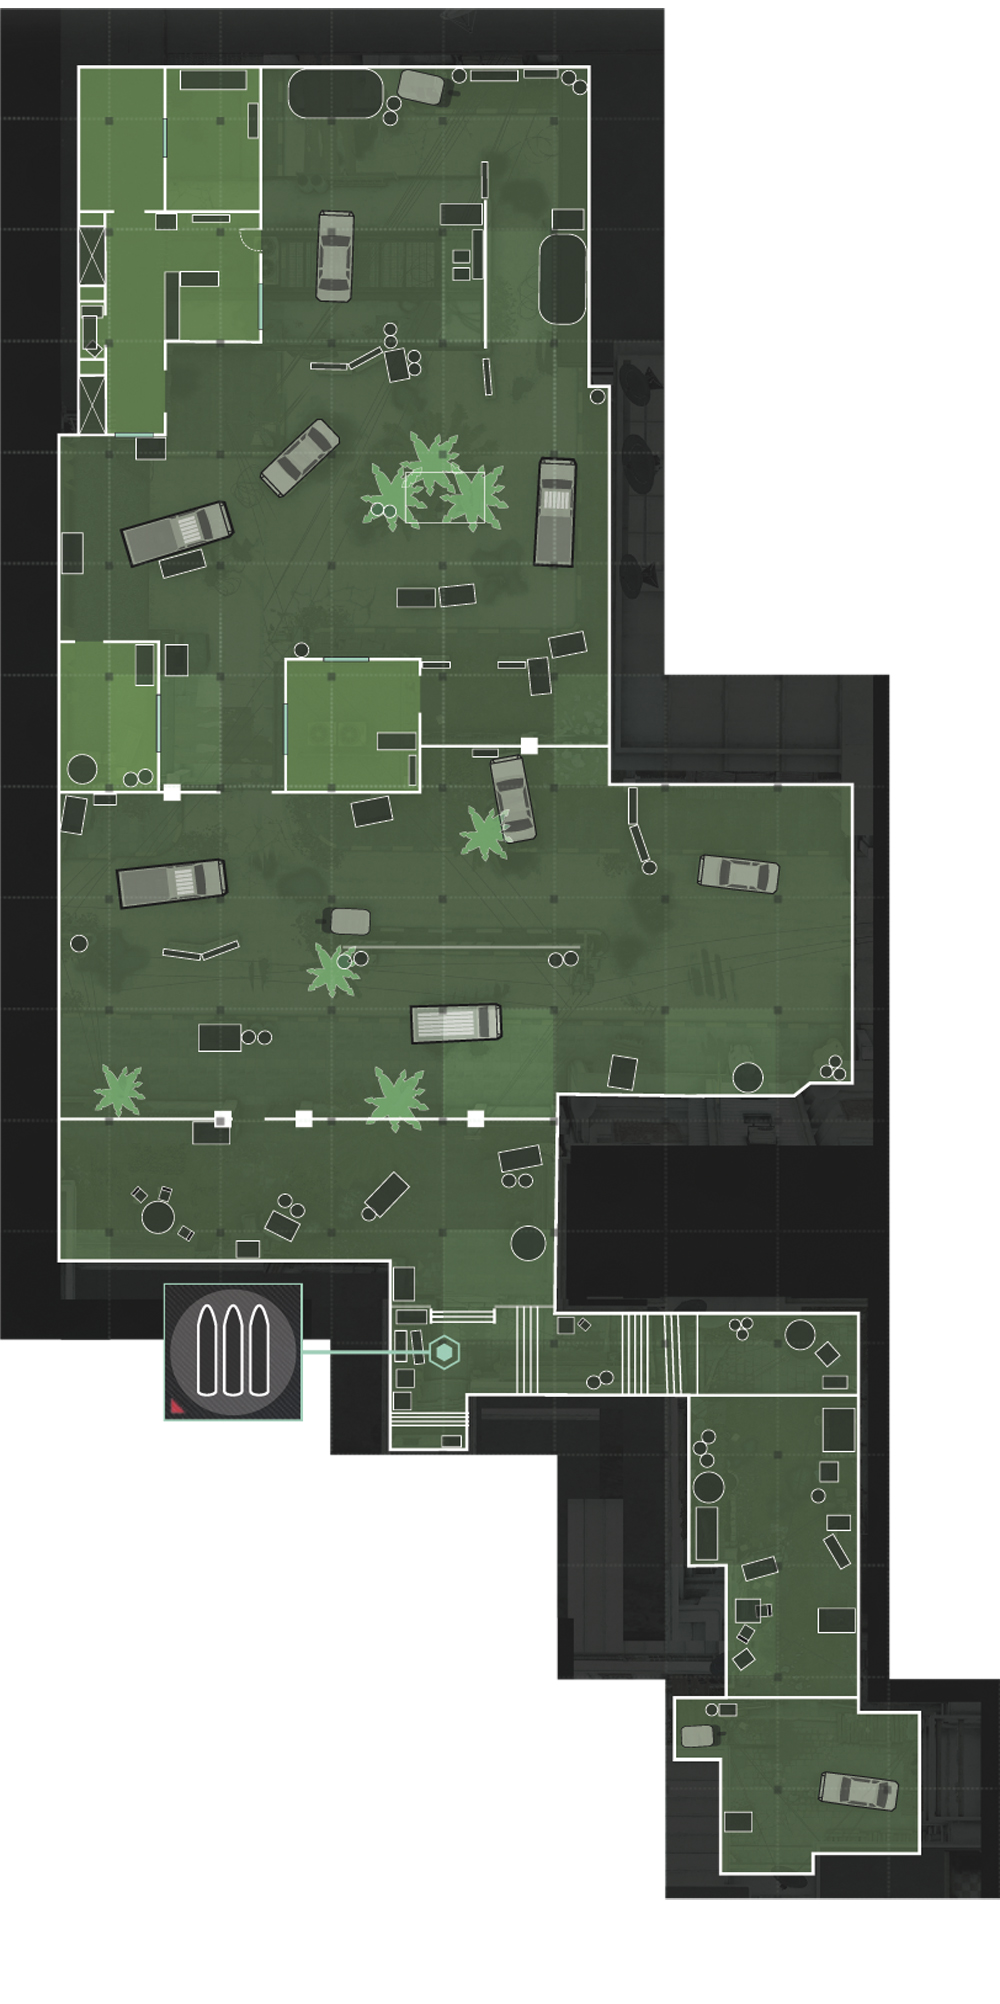
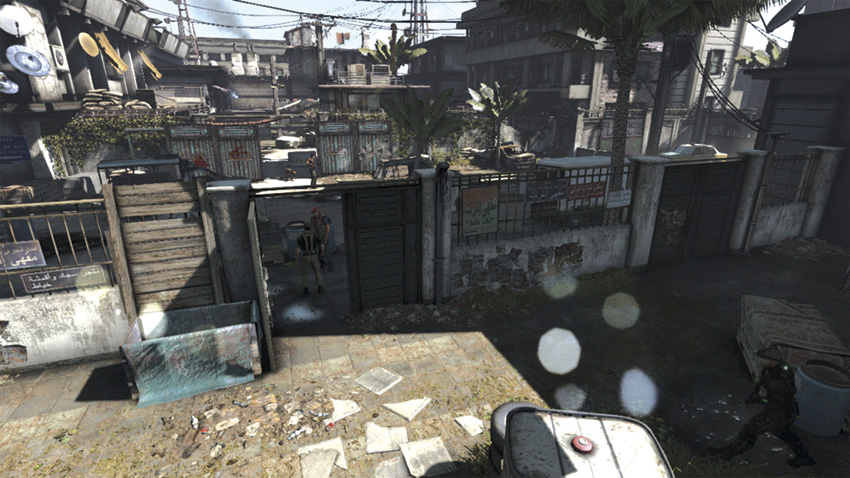
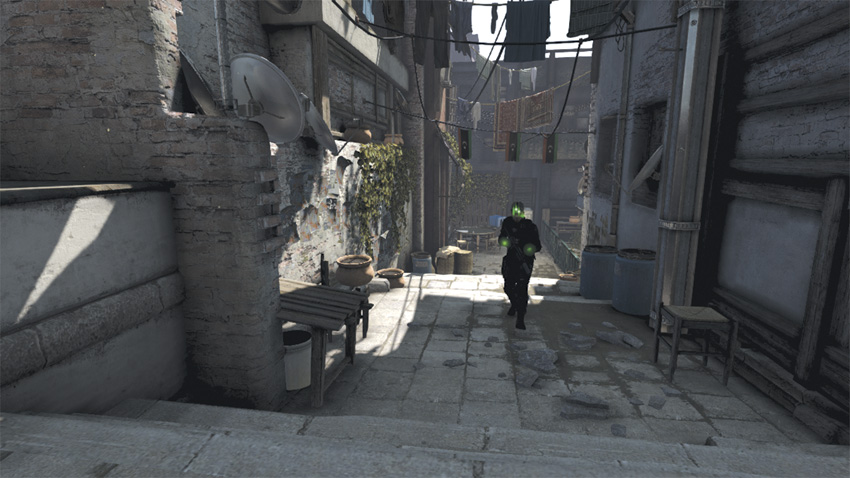
Follow the path around to the right to get your first view of the militia’s headquarters, where Kobin is being held. The courtyard outside the HQ is teeming with hostiles, so gaining entrance isn’t going to be easy.
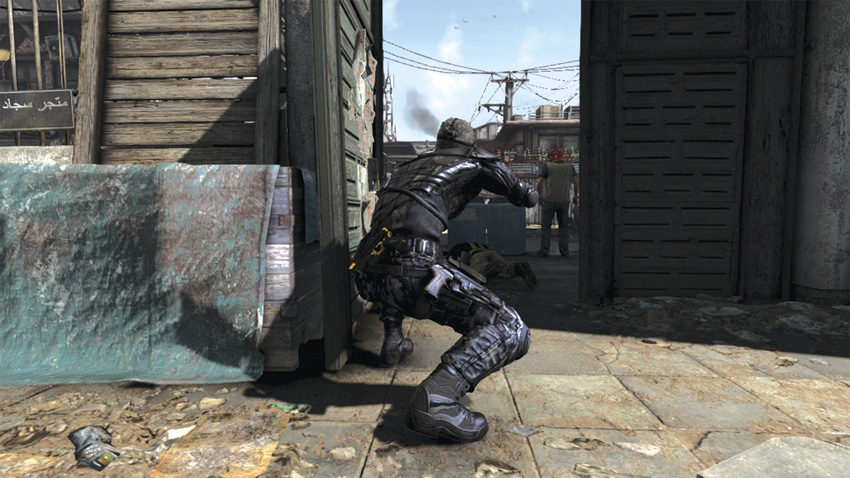
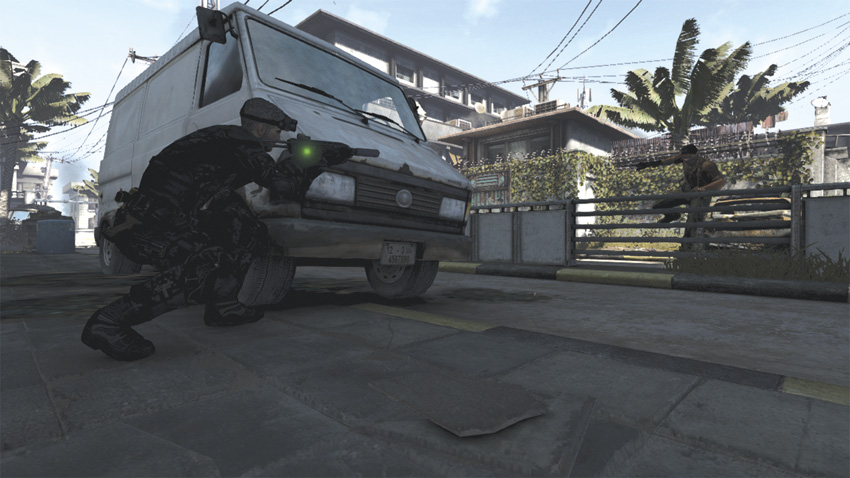
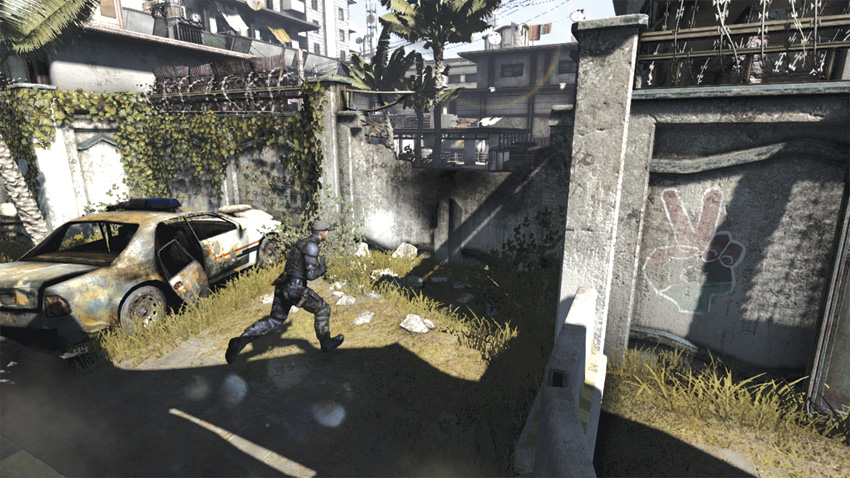
Quickly make your way to the open carport gate leading to the street between you and the exterior of the police station. Your first targets are two hostiles having a conversation, standing street-side just beyond the gate. Mark them for termination, use your Execute Ability to kill them, and then go after the remaining hostile patrolling the outside of the station. To avoid detection, make sure he’s walking to your right, away from the station’s courtyard entrance, before you take him down. Once he’s been eliminated, check your Radar; when the coast is clear, hop over the broken stone wall near you and enter the courtyard.
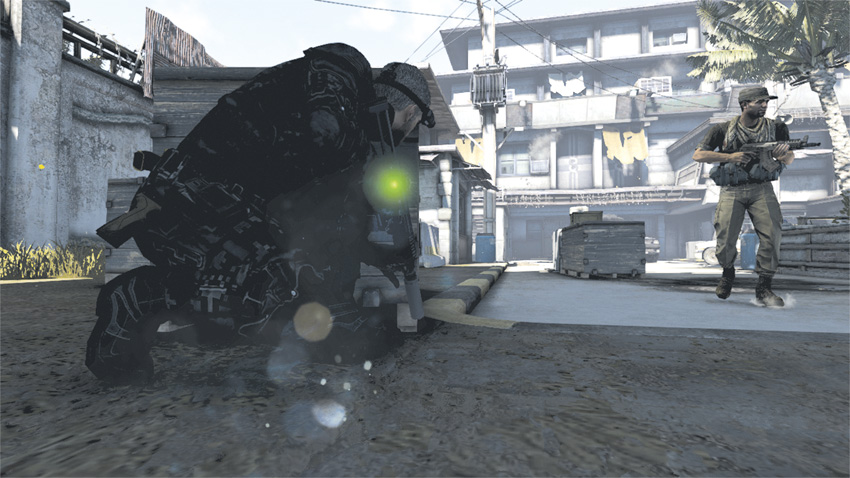
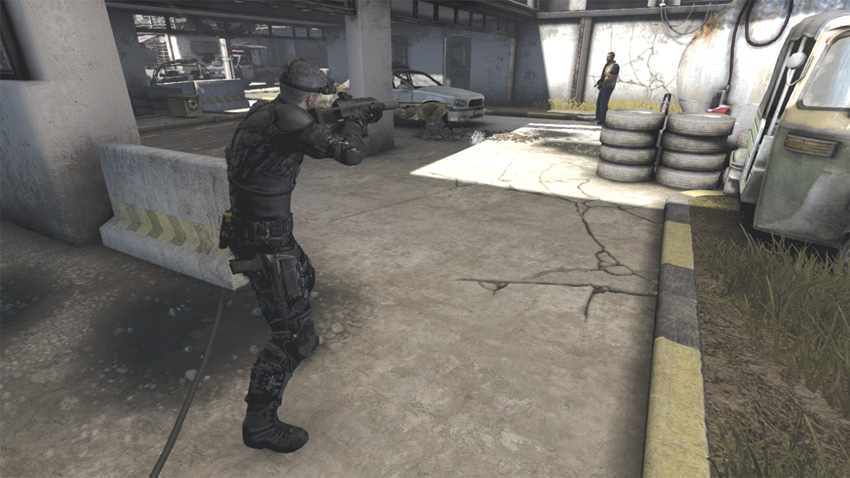
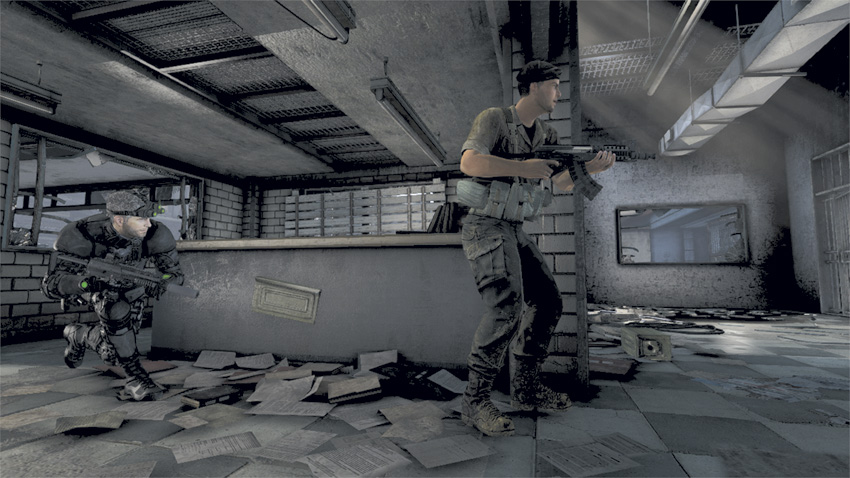
Immediately take cover behind the crates in front of you; another hostile should be nearby. Once he’s within striking distance, silently take him down. Continue along the right-hand wall to the rear of the carport. As you approach the back, you will most likely encounter a dog and a lone soldier. Eliminate both and go through the door next to the destroyed police cruiser. Eliminate the last hostile in the area and follow the waypoint marker to enter the building.
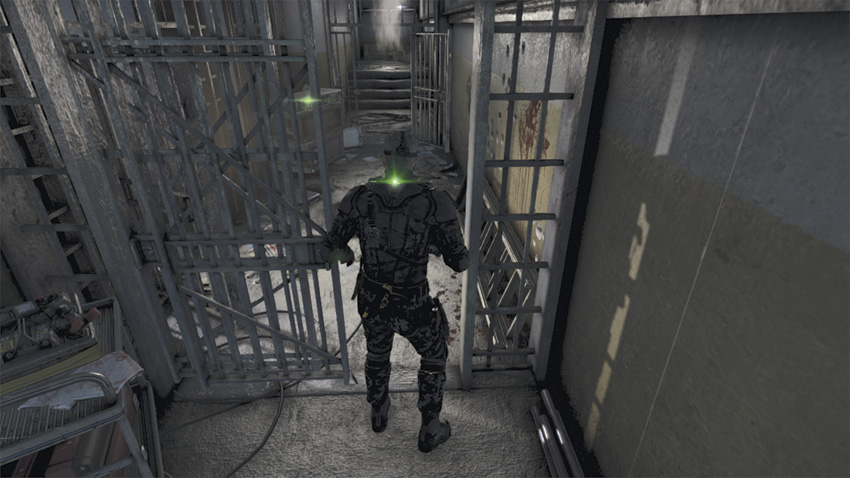
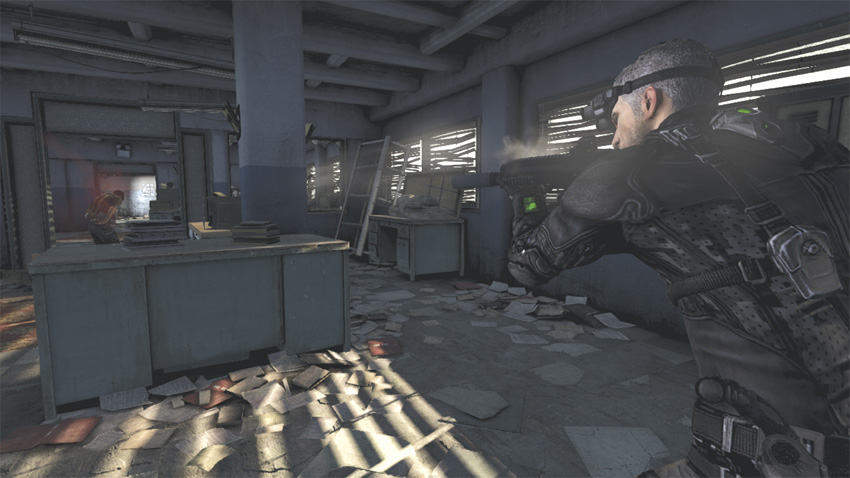
Grim tells you that the most likely place Kobin is being kept is an interrogation room on the second floor. As you move toward your destination, Briggs begins to move into position for extraction. As expected, the prison is no paradise. Garbage is strewn everywhere, and there are traces of past atrocities present throughout. Screeching rats and screams of torment can be heard echoing all around you. After replenishing your ammo and gadgets at the Supply Cache, move toward the end of the hallway and go through the door to your left. Directly in front of you is another door, and you can hear voices coming from the other side. Open the door, Mark the two enemies, and then quickly use your Execute Ability to kill them before they can react.
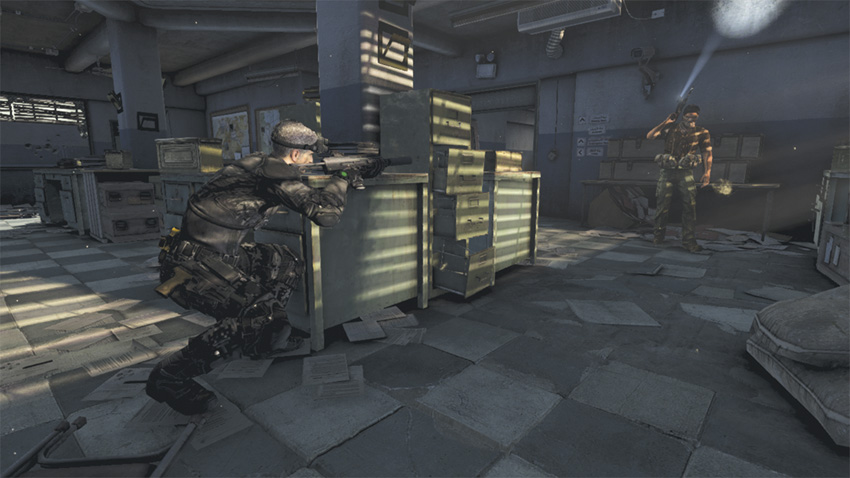
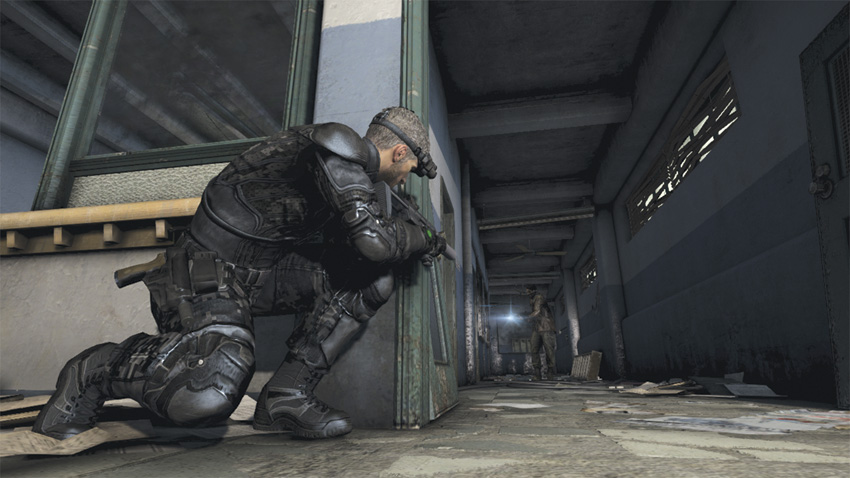
Drop into a crouch and move cautiously toward the opening directly in front of you. A third soldier is on patrol nearby. Look for his flashlight beam, and then move into position to take him down. One last hostile remains; he is patrolling the hallway to your left. Seek him out and silence him before moving up to the second floor.
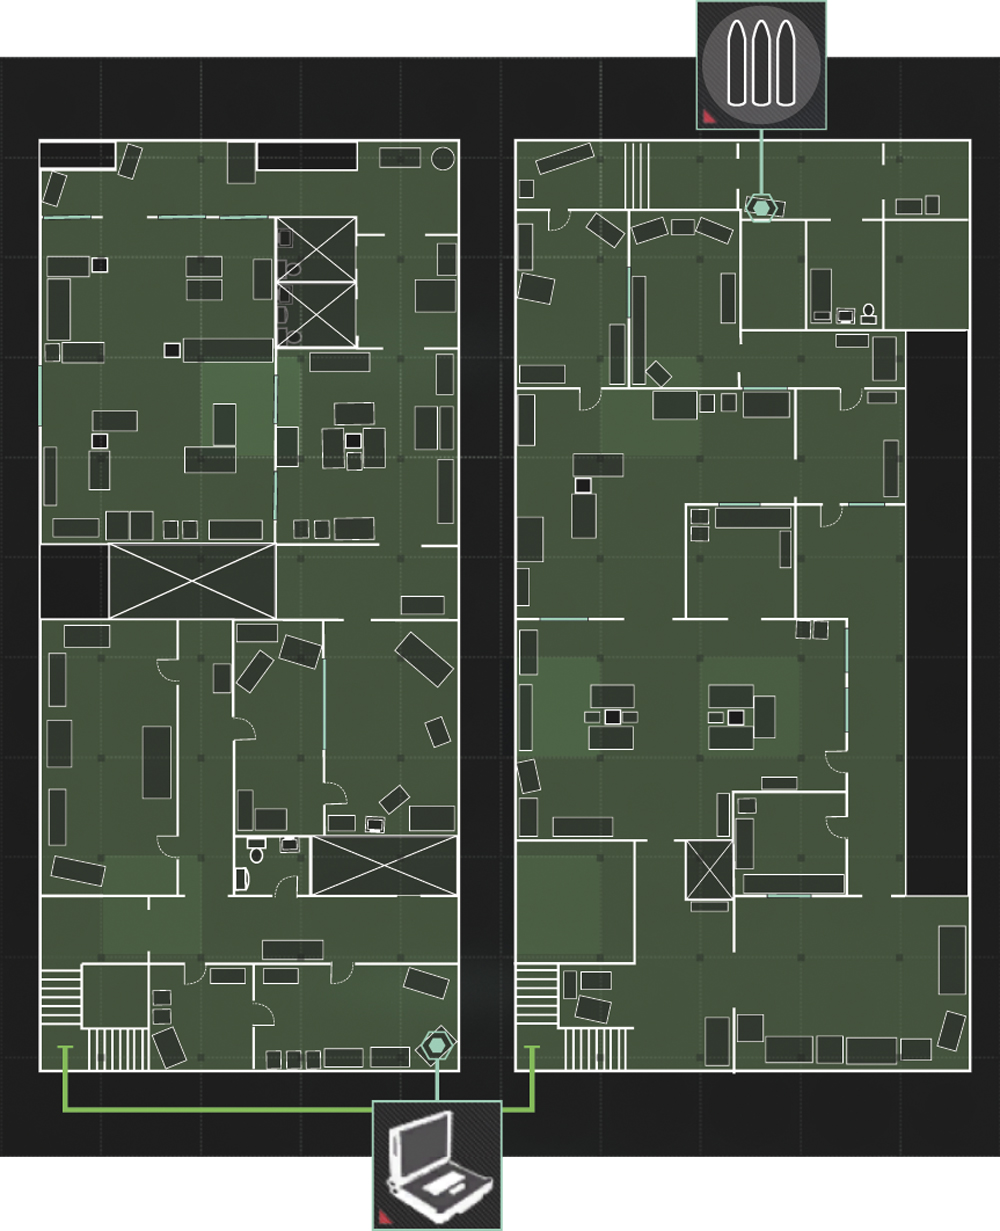
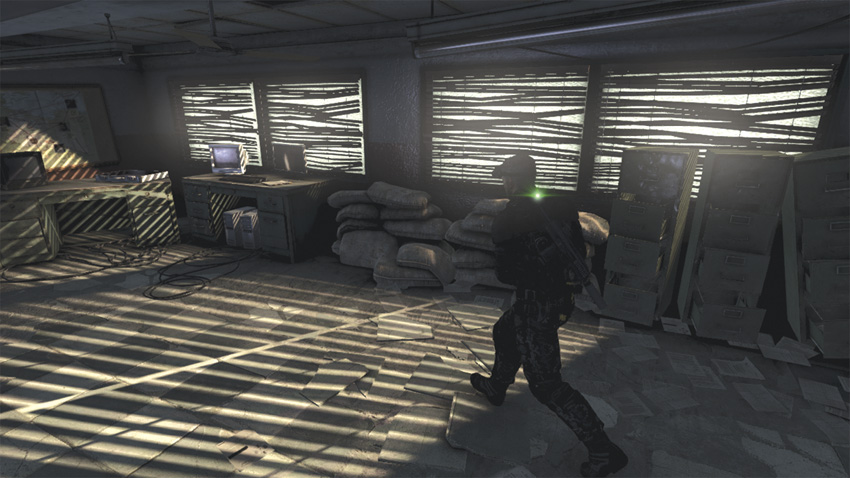
As you make your ascent, Grim tells you to be on the lookout for a Blacklist Laptop. If you find it, you will be able to hack into it and download data that can potentially be used against the Engineers. Fortunately for you, the laptop is located nearby. Take a right at the top of the stairs and walk into the last doorway on the right side of the hall. Pay dirt! Download the information, and then follow the waypoint marker and enter the room where Kobin’s being detained.
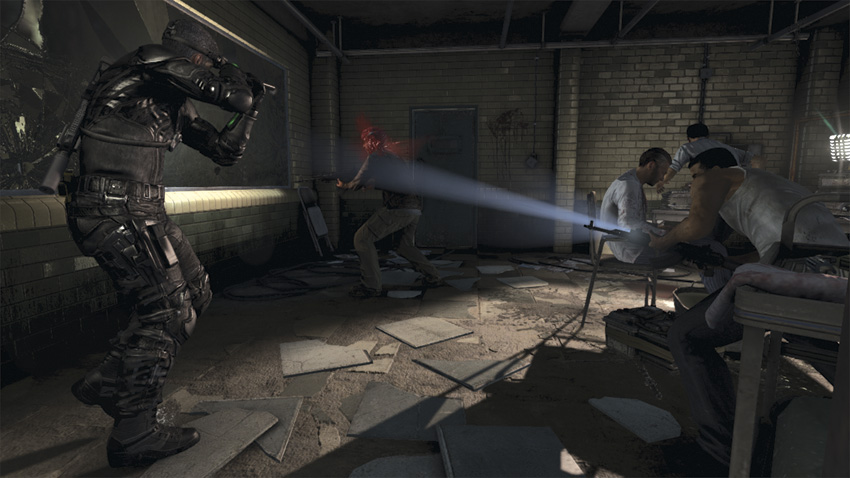
Mark the three hostiles from your side of the mirror, and then enter the room and use your Execute Ability to kill them.
Rescuing Kobin
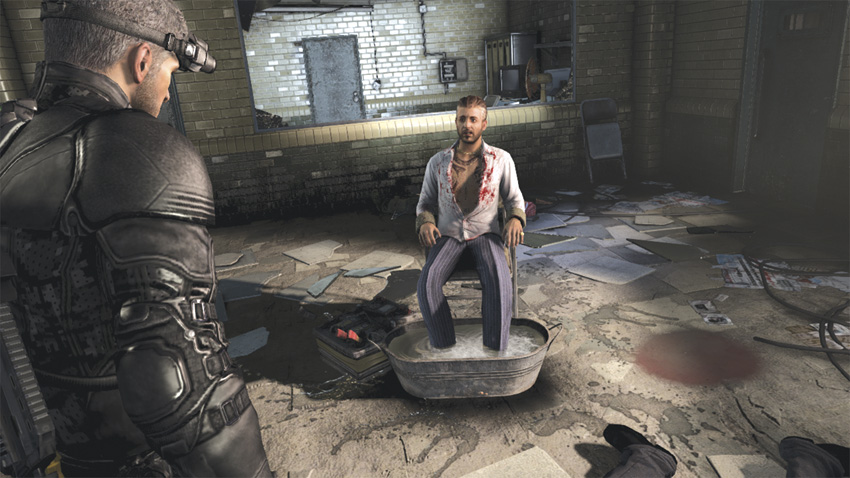
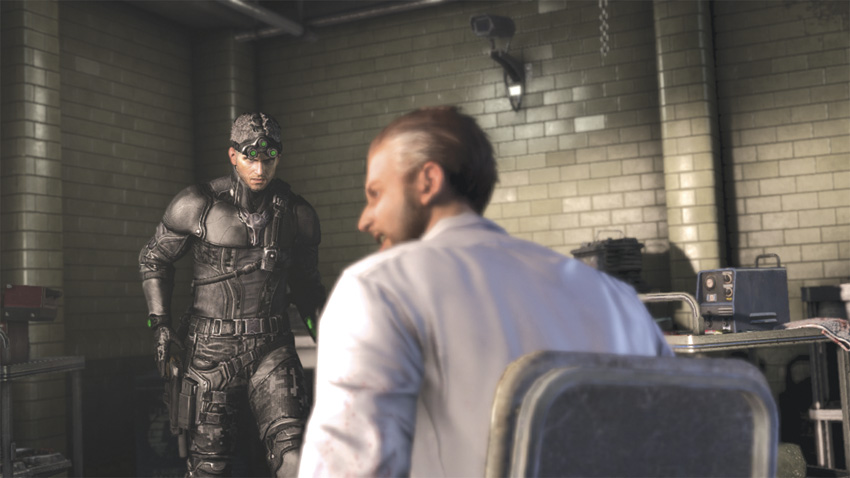
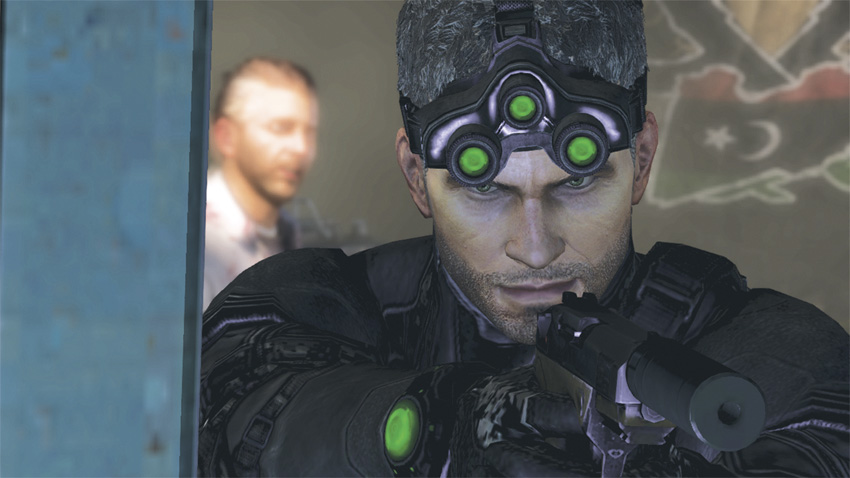
As you enter the room behind Kobin, he thanks you for saving him, and asks if you’re CIA. When he sees who you really are, Kobin panics and tries to escape his bonds. All this does is cause him to comically fall over in his chair. Grim tells you it’s about to get ugly at the station, as reinforcements have arrived, and you tell her the package is secure. Briggs reports he is inbound to your location with the van. It’s time to get moving, with a relieved Kobin in-tow, and leave the station behind.
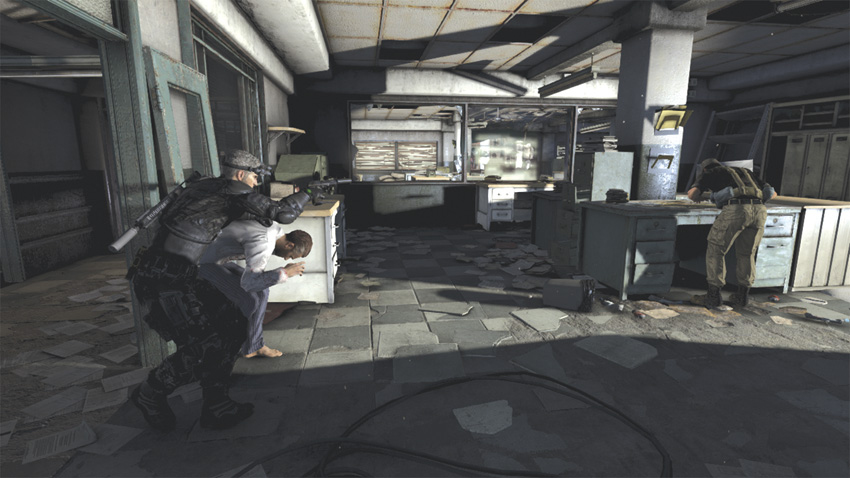
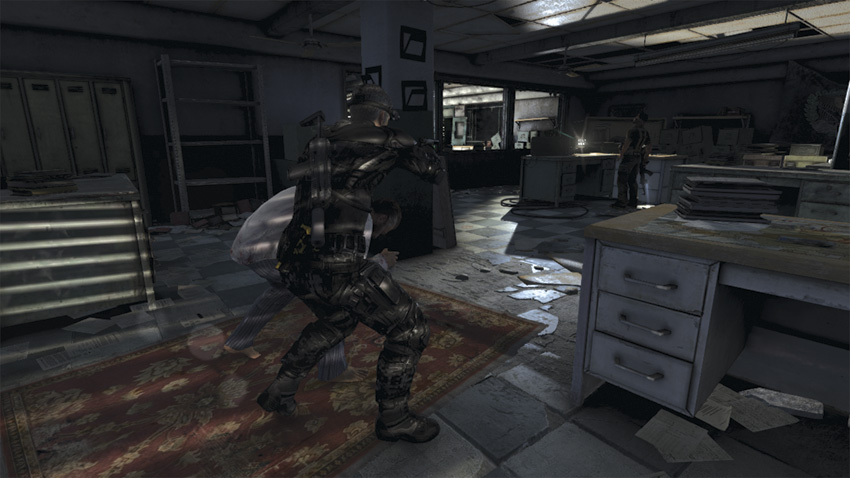
Slowly move toward the door in front of you. In the adjacent room you hear a couple of hostiles talking. Stay out of sight and wait for their conversation to end and for one enemy to leave the room. Approach the door to your right and take down the first soldier. Continue moving toward the opening in front of you and into the next room. Cautiously move to the next set of open double doors and head left into the next hallway. Just past another opening straight ahead is the next target. Take him down and continue forward. The last entryway to your left is where the final hostile stands. Eliminate him to end the threat and conclude the mission.
Extracting with Kobin
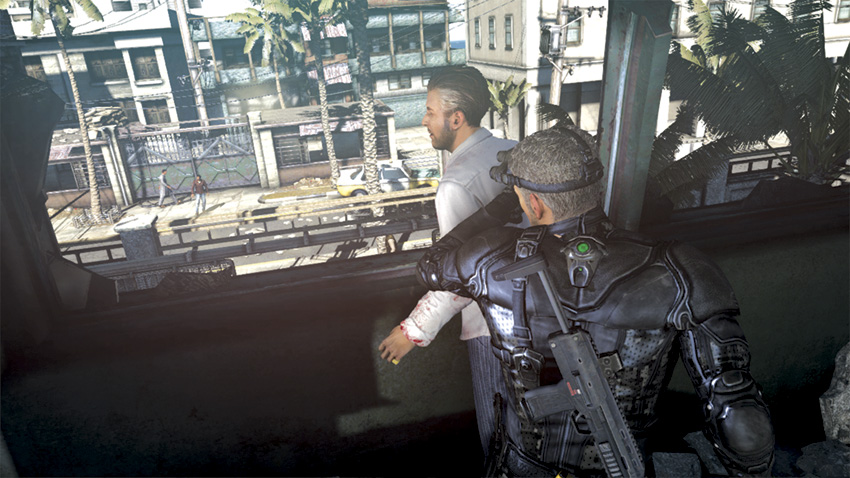
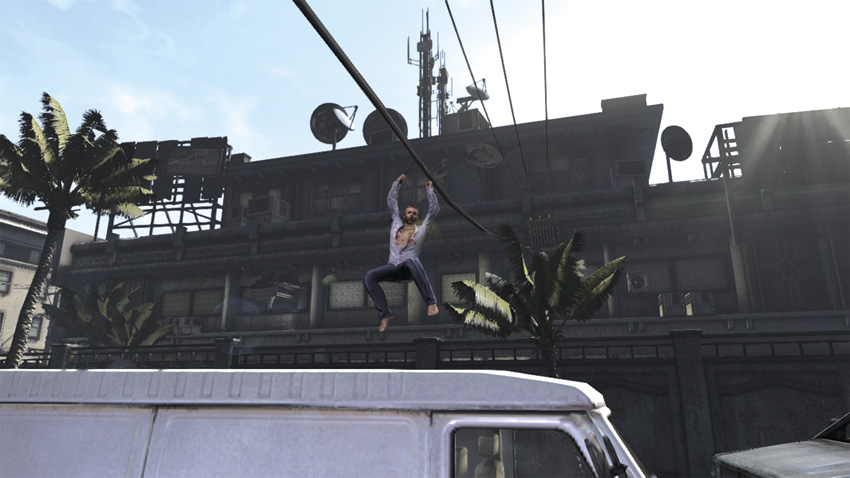
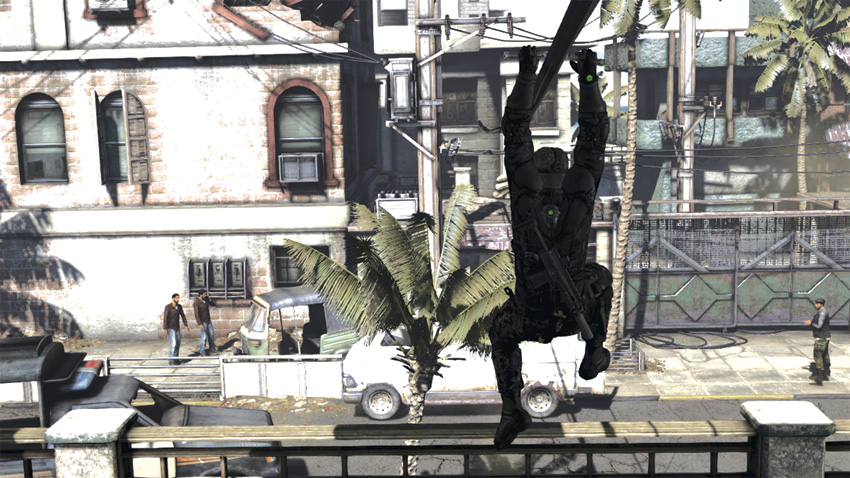
After all the threats are eliminated, Kobin protests as you move him out onto a ledge covered in broken glass. Once in place, you place a belt on top of the zipline above his head and tell him to take a ride to the ground where Briggs is waiting. You then jump up to the zipline and follow it down to join the two men below.