
Tom Clancy's Splinter Cell Blacklist Guide Walkthrough Ghost/Assault Tactics
Mission 2: Insurgent Stronghold (Mirawa, Iraq)
GHOST
While possible to maintain a Ghost rating throughout the entire mission, the search of the insurgent stronghold poses some particular challenges by way of its environment. Most of the mission takes place within the ruins of a hillside village. The tight quarters and high number of enemies requires that you maintain a constant awareness of your surroundings, while exploiting the maze of alleyways and ledges to gain the upper hand when outnumbered and outgunned. This is definitely a map where “going loud” is not a wise decision. In addition to your being outnumbered, hacking the Blacklist Laptop in the early part of the mission will pit your wits against a Heavy Infantry soldier. These armored brutes are immune to Sleeping Gas (Canister and Sticky Camera variations), the Stun Gun, and must be approached from behind to perform a Stealth Knockout. Because of this, simply luring this class of enemy to a doorway for a stealth attack will not be effective and will result in a detection. An effective Ghost loadout consists of the Sticky Noisemaker, Sticky Camera, and Sleeping Gas (if it has been purchased), with the Stun Gun being used in lieu of your primary weapon during the mission. With the upgrade to the Paladin just before the mission, the Radar in the HUB will be an excellent tool for effectively going Ghost throughout this mission.
ASSAULT
Going loud in Mirawa means engaging groups of enemies on a level plane with few options for escape. Although you appear to be at a disadvantage, analyze your environment and locate cover and possible cover swaps prior to engaging. It is very easy to find yourself ambushed and cornered during this mission, as the crumbling stone walls of the villages offer concealment for your foes as well as for you. When preparing your loadout, be sure to include Smoke Grenades. These gadgets often used in the Panther Playstyle are extremely valuable if you should have to escape a firefight quickly. If you can afford to do so, begin upgrading your Ops Suit, starting with the torso, which affords you more pistol magazines.
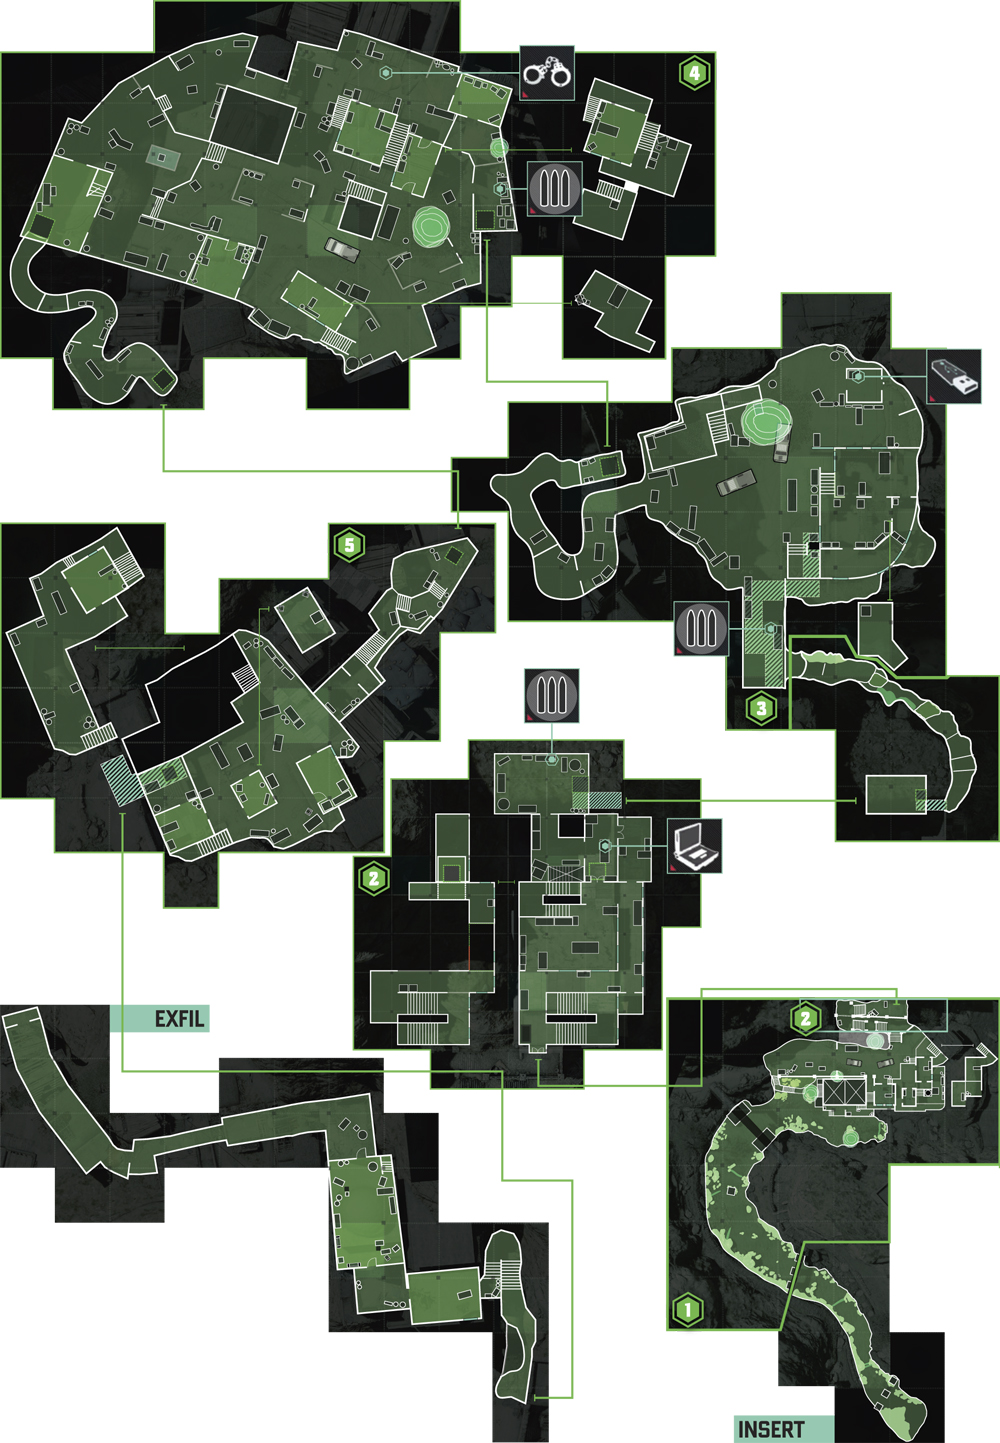
1: Village (1st)
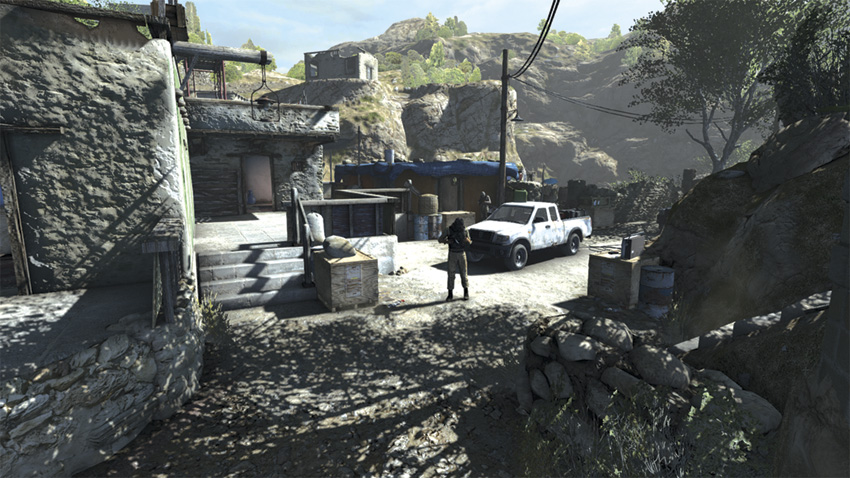
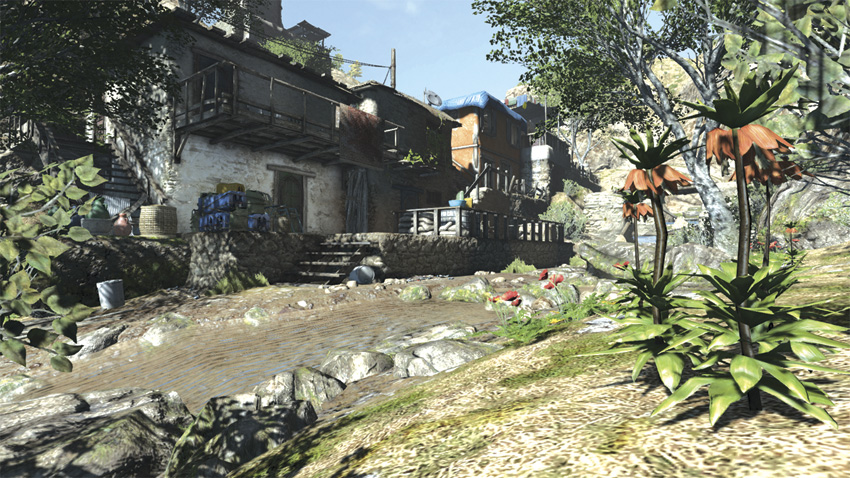
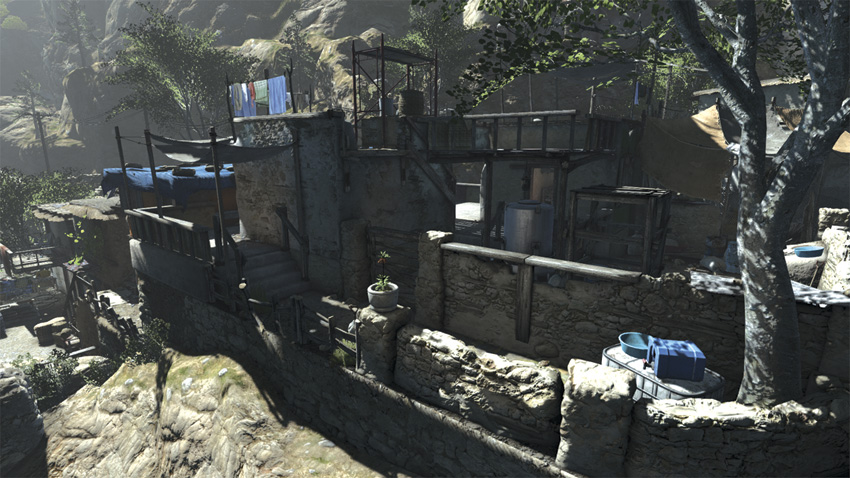
GHOST
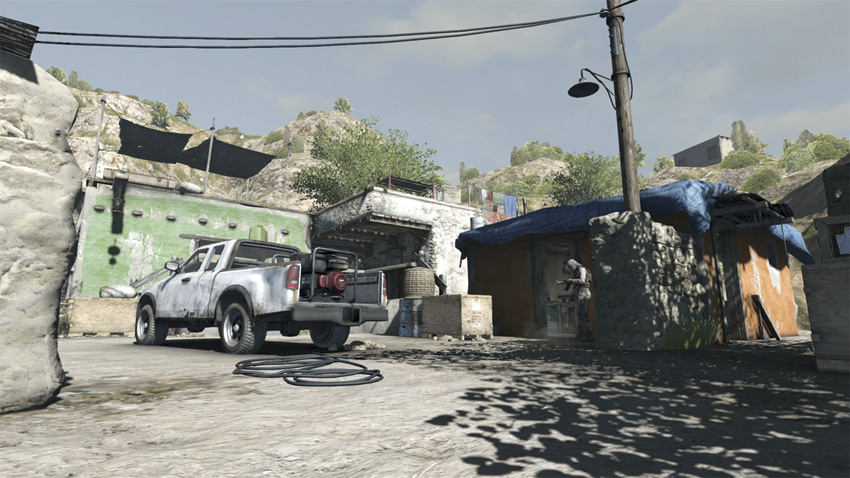
After the sniper sequence, your first objective is to get within Tri-Rotor range of Kobin’s contact to identify him. This sends you through a small village with only two hostiles patrolling the area. Upon approaching the village, you find the two guards conversing with one another. While you can wait for the two of them to finish their conversation to isolate and pick them off, use the moment to circumvent the village. At the top of the second set of stairs, you come to a stone wall that you can scale. Continue along this path, navigating the maze of open windows and bungalows to stay on the far edge of the village away from the hostiles. Once you have the two white trucks within your field of vision, take a moment to locate the guards. Just past the trucks are the stairs leading to the stronghold where Kobin’s contact is holed up. Keep an eye out for the guard that remains at ground level amongst the vehicles. Wait for him to inspect the area to the left of the stairs; as he walks in that direction, stay low and scale the stone stairwell to exit the area.
ASSAULT
With only two hostiles present, taking the first village area by force is simple. Rush the second set of stairs you come to and allow yourself to be detected by the two guards conversing near the two white trucks. Aim for the head of the guard facing you to take the other guard by surprise. Once the two hostiles have fallen, continue onward to the Stronghold.
2: Stronghold
GHOST
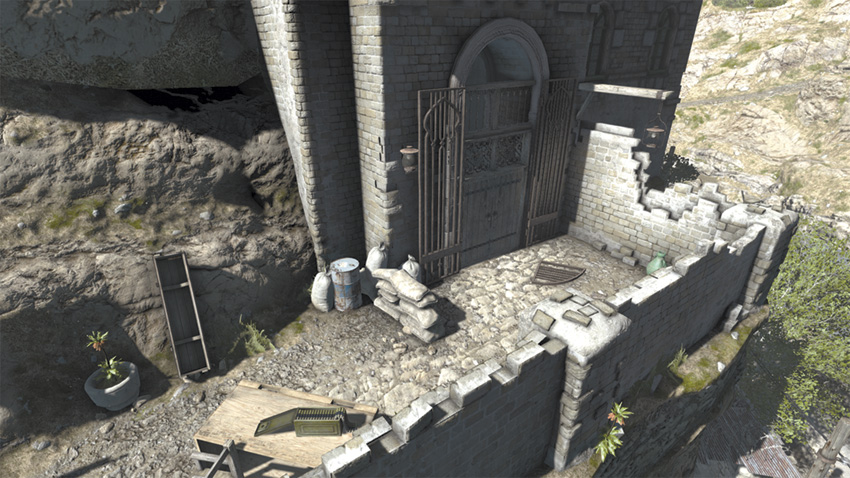
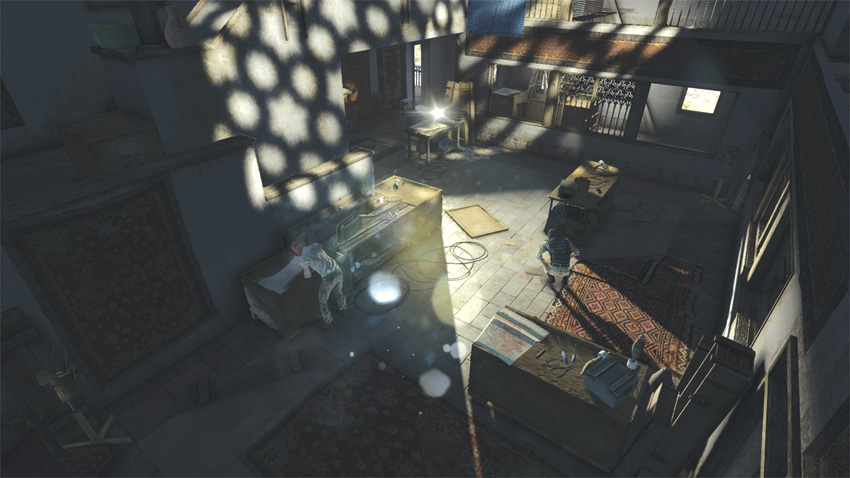
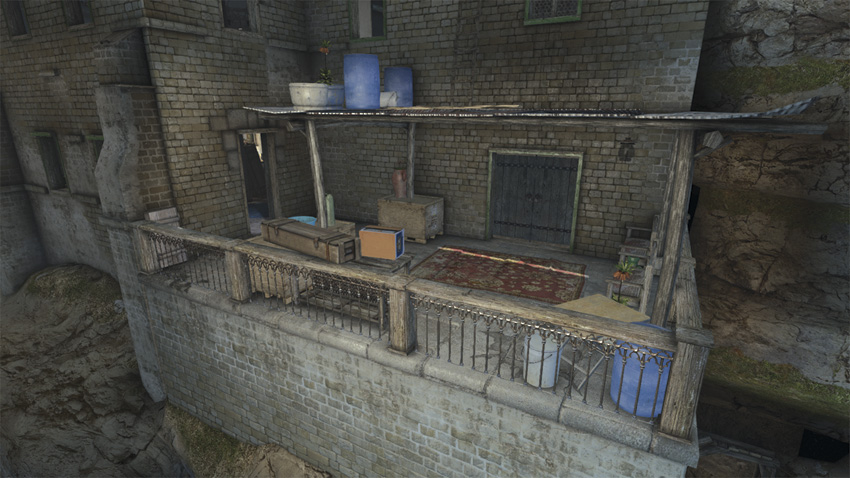
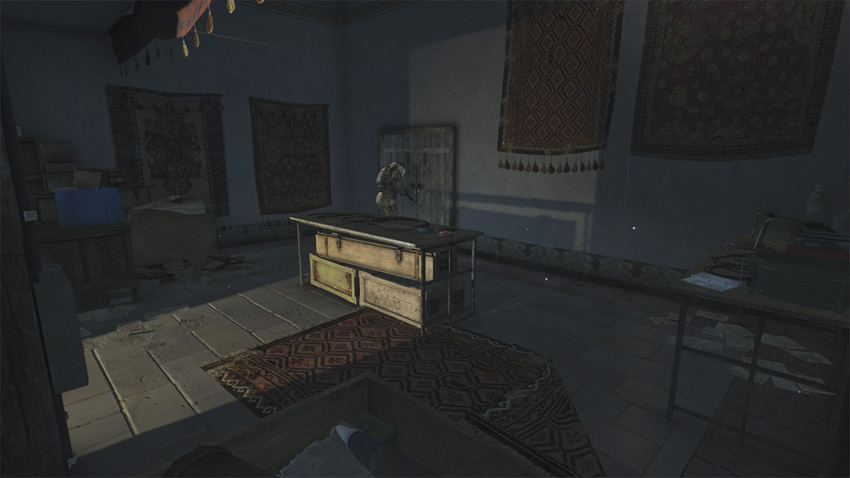
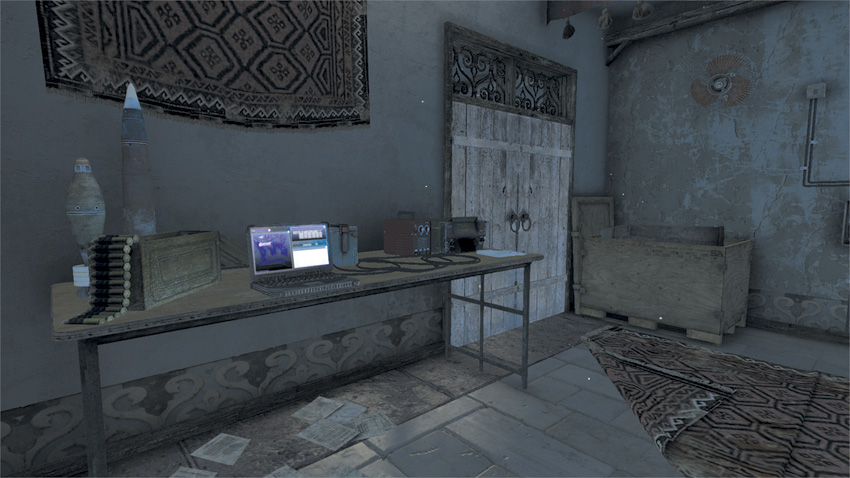
After the Tri-Rotor scene ends, your objective is to enter the stronghold and interrogate Kobin’s contact. Kicking in the front door is not your best course of action here. Instead, you should opt to travel around the building by scaling the stone wall just to the right of the door. Use caution as you make your way around corners, as the guards roaming about the stronghold can easily see you from either the patio or windows as they pass by. Continue navigating the handholds and window sills to make your way to the first of two patio areas. Avoid entering the stronghold here and continue onward. Soon you come to a large patio area that provides access into the stronghold by way of two doors. From here, you will want to enter the stronghold through the double doors on the far side of the patio. Within these doors you will find a Blacklist Laptop and a Heavy Infantry soldier that occasionally exits the room to patrol the patio area. While it is possible to bypass the Heavy without being seen, dispatching the threat alleviates the risk of being detected and provides access to the Blacklist Laptop. After climbing up to the second patio, take cover out of view of the double doors. Use a Sticky Noisemaker or the Attract action to get the attention of the Heavy soldier inside of the room past the double doors. Wait for him to inspect the area; follow him into the room when he goes back inside. From behind, perform a Stealth Knockout to drop the brute. Before hacking the nearby Blacklist Laptop, be sure to close the double doors to prevent attracting unwanted attention should one of the guards step onto the patio from the other side. Shop lights illuminate a hallway just beyond the room where the Blacklist Laptop is found. Follow this hallway to enter the room where Kobin’s contact has taken refuge.
Blacklist Laptop
Neutralizing the Heavy Infantry soldier provides unhindered access to the Blacklist Laptop.
ASSAULT
The stronghold where Kobin’s contact has taken refuge is occupied by four guards and one Heavy Infantry soldier. Going full Assault here is not advised unless you have already hacked the Blacklist Laptop that is under guard by the Heavy Infantry soldier and found near the objective of this area. Being detected prior to hacking the Laptop will result in it being destroyed. By circumventing the stronghold by climbing the exterior walls, you can sneak up on the Heavy Infantry soldier, eliminate him, and hack the Blacklist Laptop before raising hell against the guards in the adjacent room. Given the limited number of guards here to provide a resistance, just make use of the crates and doorways for cover and allow the guards to come to you.
3: Insurgent Camp
GHOST
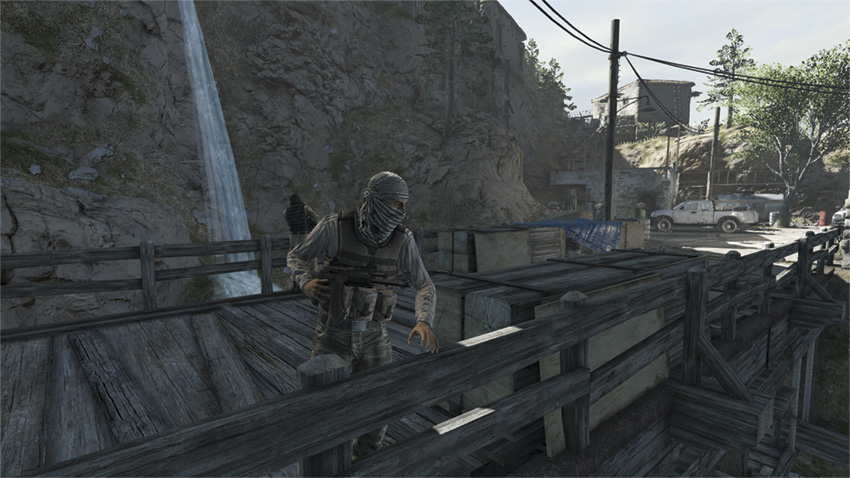
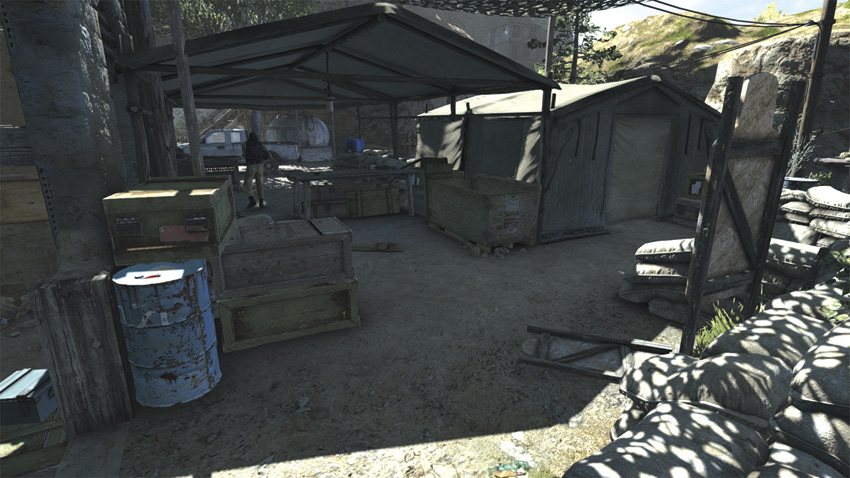
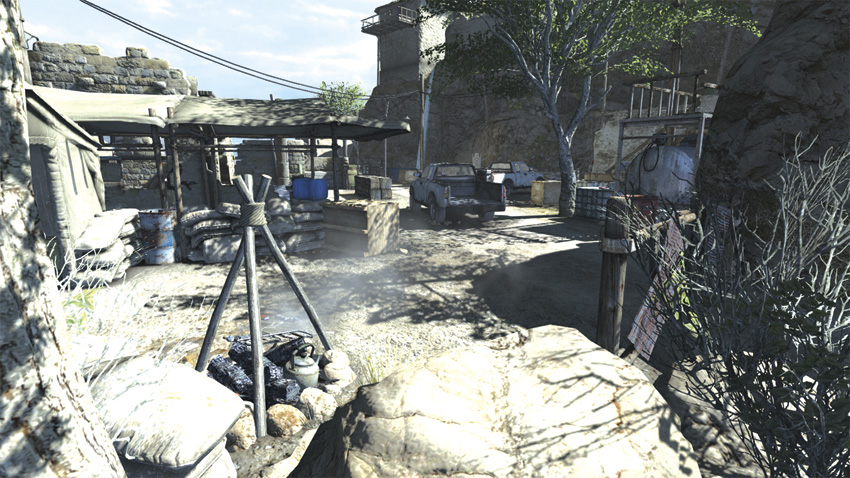
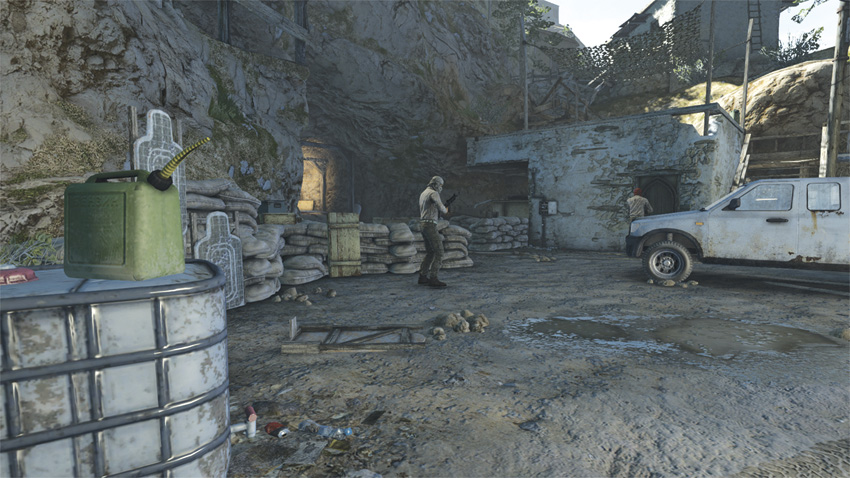
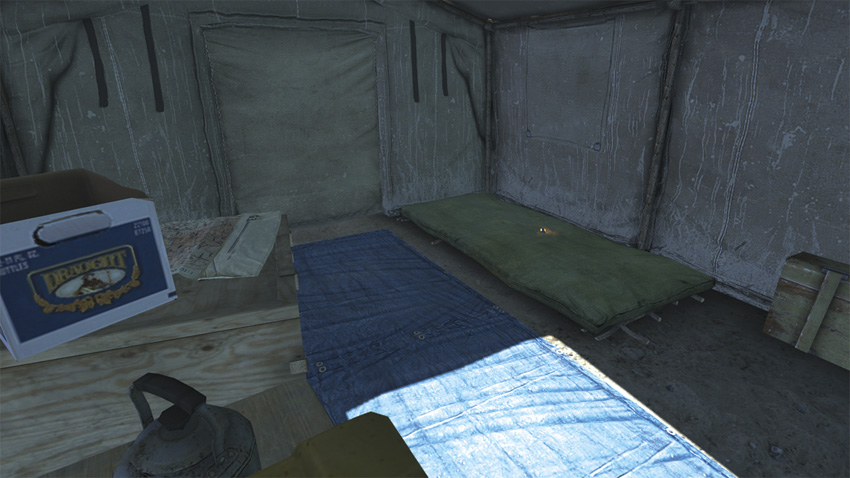
After the enlightening conversation with Kobin’s contact, your task is to locate the source of the broadcast signal. This leads you through an insurgent camp. Starting your approach from beneath a wooden bridge, it is not advisable to attempt your infiltration by climbing onto the bridge. Just beyond this bridge, a small path snakes along the cliff; from here, you can climb the crumbling stone walls and access the far side of the camp. Here, you will encounter three hostiles, the first two are patrolling an area of small rooms within view of a third hostile that is testing his weapon nearby. If you continue to follow this wall, you can use the cover available to bypass the first two and eventually the third hostile unnoticed. Just past this third guard is a tent. The Dead Drop for the mission is located within this tent, which conveniently provides a path to the far side of the camp. When attempting to bypass the guards at the mouth of the cave—and your exit from the area—use a Sticky Noisemaker to draw attention away from the building to the right, which can be scaled to drop down just outside of the cave. Staying on the periphery of the camp lets you avoid direct conflict while collecting the Dead Drop in the process.
Dead Drop
The mission’s Dead Drop lies on a sleeping bag within the green tent found on the far side the camp.
ASSAULT
Your entry into the insurgent camp is from beneath a wooden bridge. This bridge also provides access to a cliff side that wraps around the crumbling stone walls that encompass the campsite. Avoid the urge to head to the ledge and climb up and onto the bridge by dropping from the ledge to the right of the Supply Cache. Above you, two guards are conversing and looking toward opposite sides of the bridge. Take one of them hostage, and use the Attract command to be detected by his comrade. At this point, you’ve surely attracted the attention of the enemies within the camp, who will be raining grenades and gunfire at you. Draw them out by throwing a Smoke Grenade into the camp among the trucks. Maintaining a detection here is risky and requires having a hostage and staying on the move. Also, it should be noted that reinforcements arrive periodically from the mouth of the cave, adding to the danger inherent in going loud here.
4: Village (2nd)
GHOST
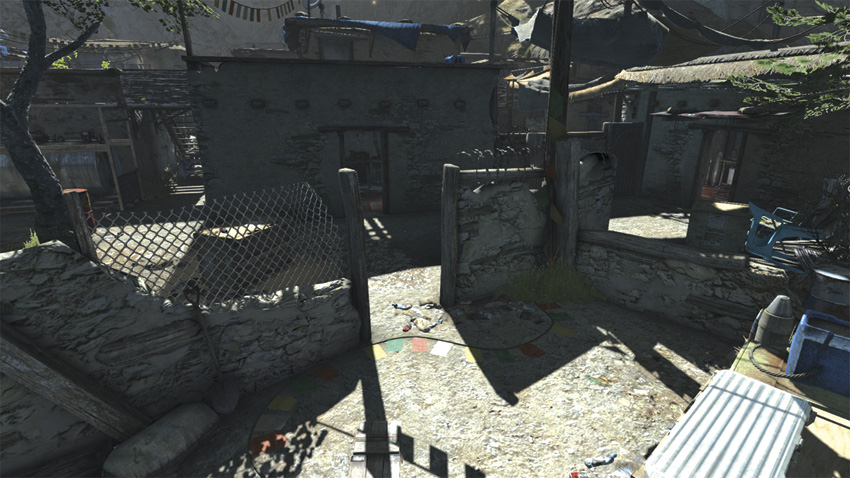
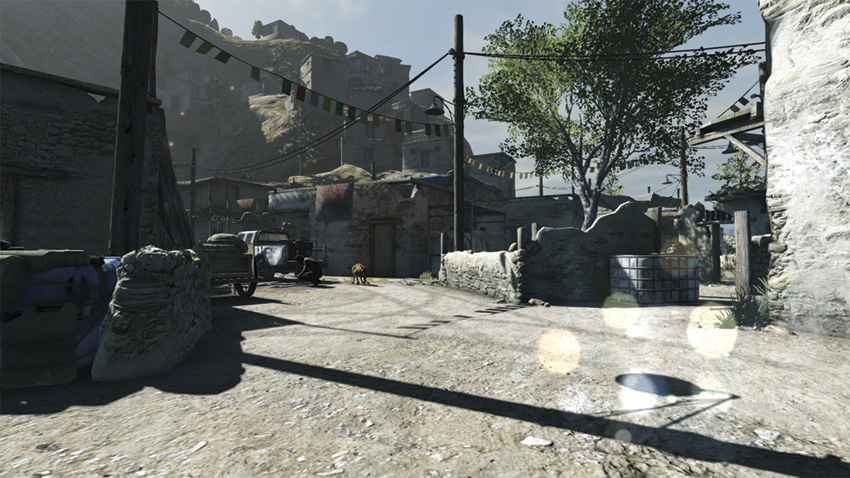
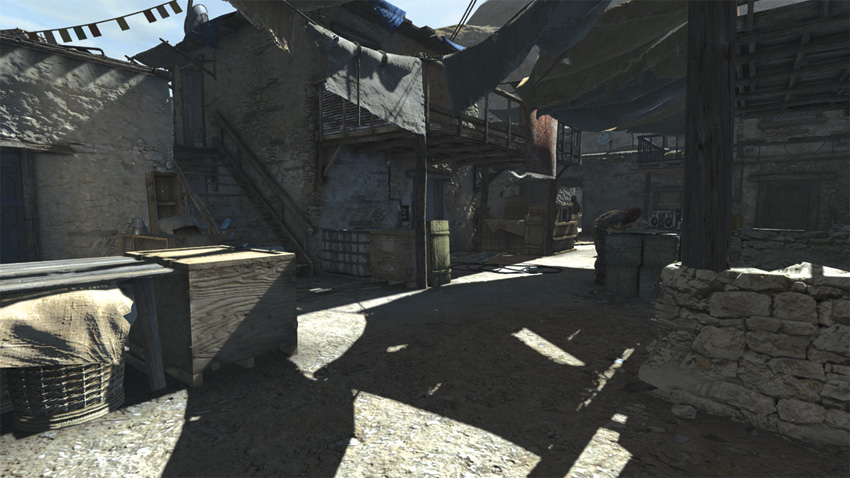
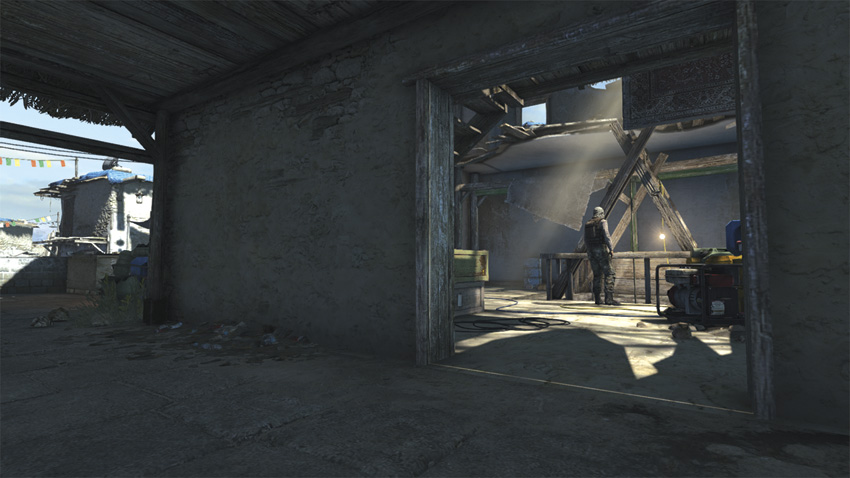
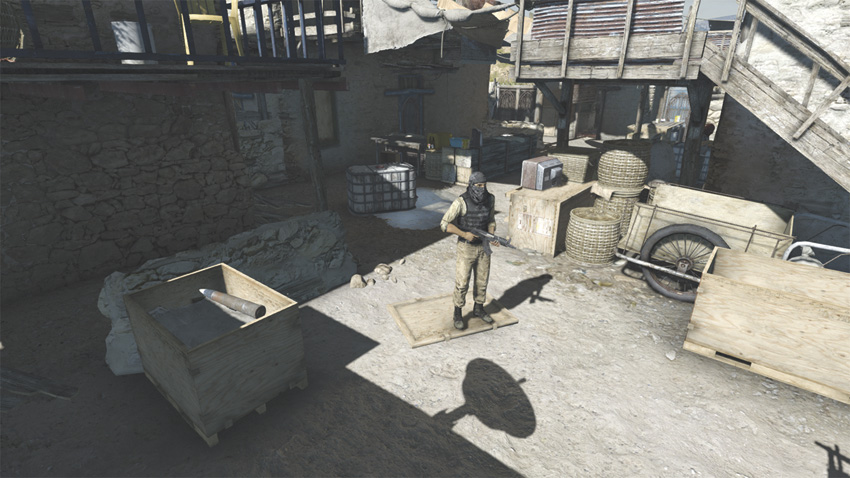
Once you have climbed out from the caves, two paths into the village present themselves. Here you will want to follow the path across from the ladder. Turning left leads you into the mazelike village and puts you at risk of being discovered by the guard dog and his handler patrolling that side. As you continue forward, you will soon come upon the High Value Target and another hostile conversing. As with the previous areas, you will want to maintain your distance by staying along the farthest edges of the village, where patrols are lightest and the risk of being cornered within a building is not as likely. The exit is a mine shaft within a small building on the far side, opposite where you entered the village. As you make your approach, be aware of the two guards that patrol the small courtyard outside of the building and the lone guard roaming near the mine shaft. He can be bypassed if you remain within the shadows of the awning outside the building until he walks away.
High Value Target
Putting down the High Value Target and his comrade with Sleeping Gas prevents your being detected while you are tagging your captive.
ASSAULT
After climbing out of the caves, you enter a village. To your left, you can observe a guard dog and his handler searching about near a crumbled building. To your right, there is a low stone wall and the entrance of a home just beyond it. Start this firefight by killing the guard dog. During the firefight, try to stay near the entrance, using the stone walls as cover. As you progress into the village, keep an eye out for red drums, which explode when shot. These incendiary blasts can dispatch multiple enemies simultaneously with little effort. Avoid the building interiors, as well as the balconies and rooftops. Although the buildings may appear to provide cover, they leave you vulnerable to being trapped or shot at from afar. There is a Heavy Infantry soldier in the vicinity as well, so be prepared to deal with him. Duck in and out of cover, firing headshots until he falls.
5: Village (3rd)
GHOST
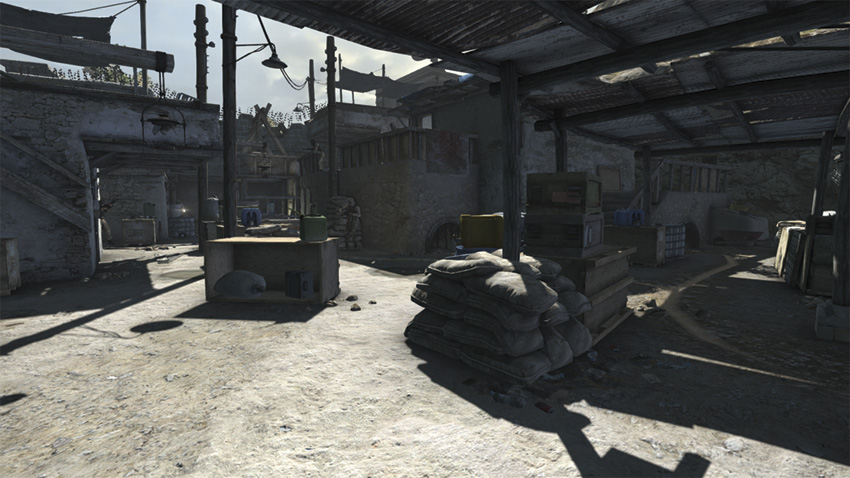
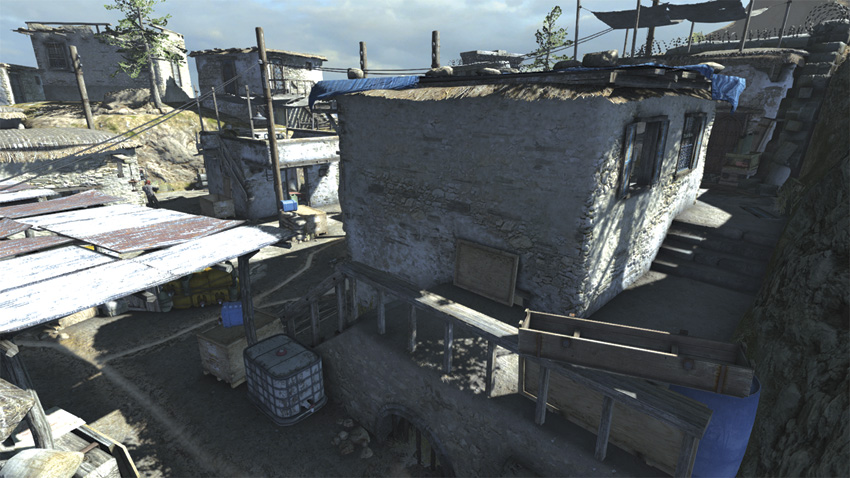
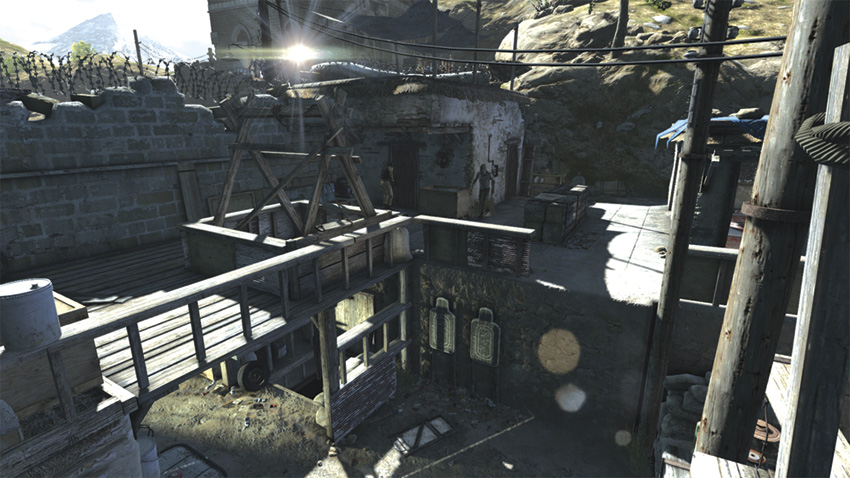
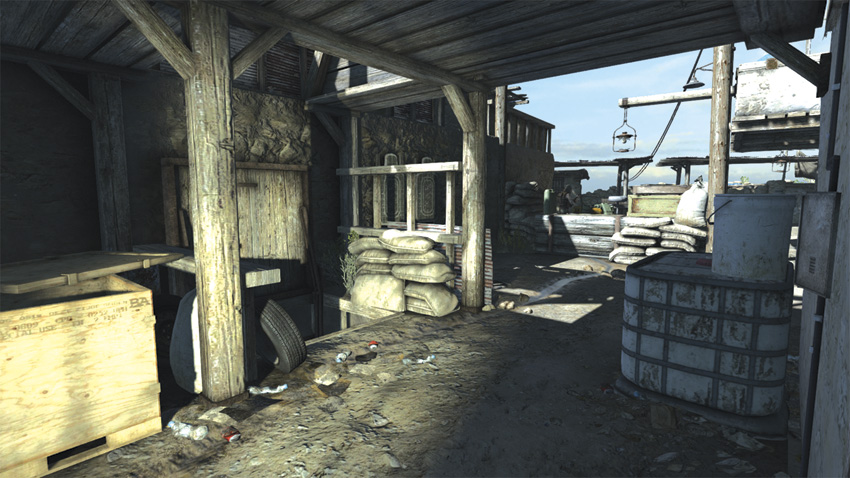
The third and final village area is a maze of cover options and tight corners. Exiting this area requires climbing into another mine shaft that is on the far end of the village within a building. The building that houses the mine shaft is accessible from three points. The first of these is the most obvious—the large, open door seen from the street. The second is a room that connects to it, whose entrance is just to the left of the previously mentioned large door. Both of these are at ground level and difficult to approach, let alone access without neutralizing the guards that patrol nearby. The third entrance (located on the roof) is well-suited for maintaining as light a presence as possible, keeping hostiles unaware of you in the process. Accessing this entrance means you will have to stay to the right side of the village. From your starting point, follow the small concrete steps on the right to the path wrapping around the building there. Two guards patrol this elevated location and can be quickly dispatched with Sleeping Gas or by luring them in for a Stealth Knockout. Just past the crates here and to the right you will find the rooftop entrance to the mine shaft. Before dropping down, be sure to throw a Sticky Camera to the floor below and survey the position and gaze of the nearby guards before climbing down.
ASSAULT
From the start of this area, make it a priority to get onto the balcony overlooking the area where the guards have congregated. This vantage point affords you two possible hostages that can then be used to shield you as you pick off the guards below with headshots. This balcony provides relative security, with only two paths leading up to it on opposite sides of the village area. For a little insurance as you rain bullets down upon the panicked guards at ground level, place a Proximity Mine (if purchased) at the stairs leading up to the balcony. There are only seven guards in this area (including the two on the balcony), and no reinforcements when you go loud. Make your kills quickly here and you are nearly home free.