
Tom Clancy's Splinter Cell Blacklist Guide Walkthrough Campaign
Mission 9: LNG Terminal Sabine Pass, USA
Recommended Loadout:
- Gadgets: Flashbang, Smoke Grenade
- Goggles: Sonar Pulse
- Ops Suit: Nanopolymer Coating (Torso), Stealth Nanofiber (Boots)
- Pistol: 5.7 USG with Armor Piercing Ammo and Holo Sight Optics
- Alternate Weapon: SR-25 Sniper Rifle with Extended Mag and Armor Piercing Ammo
- Special Weapon: Crossbow
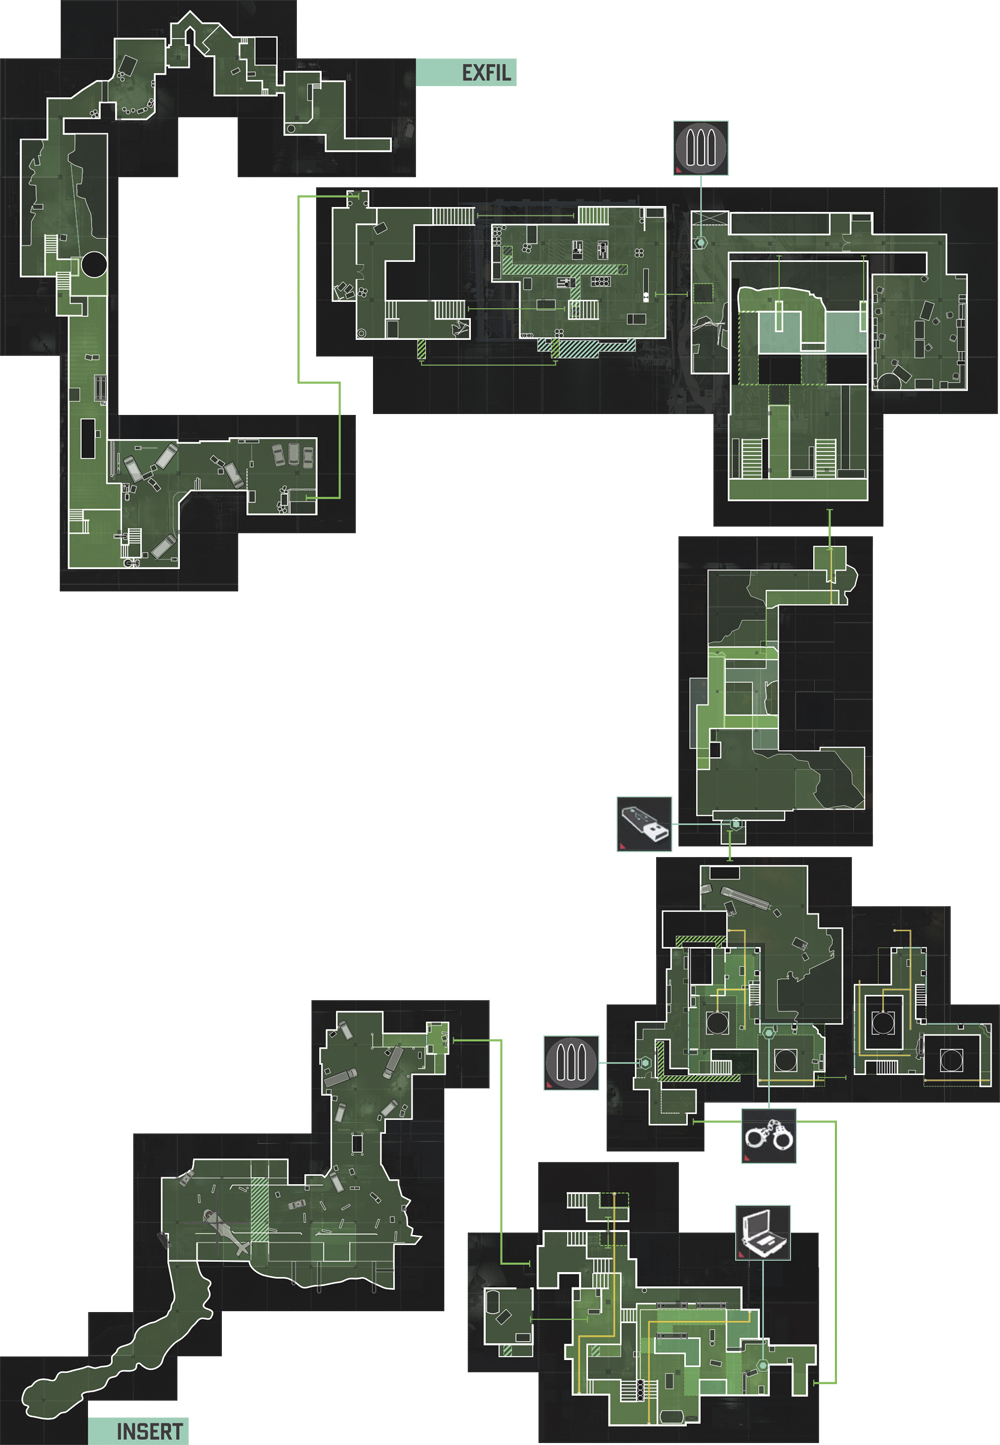
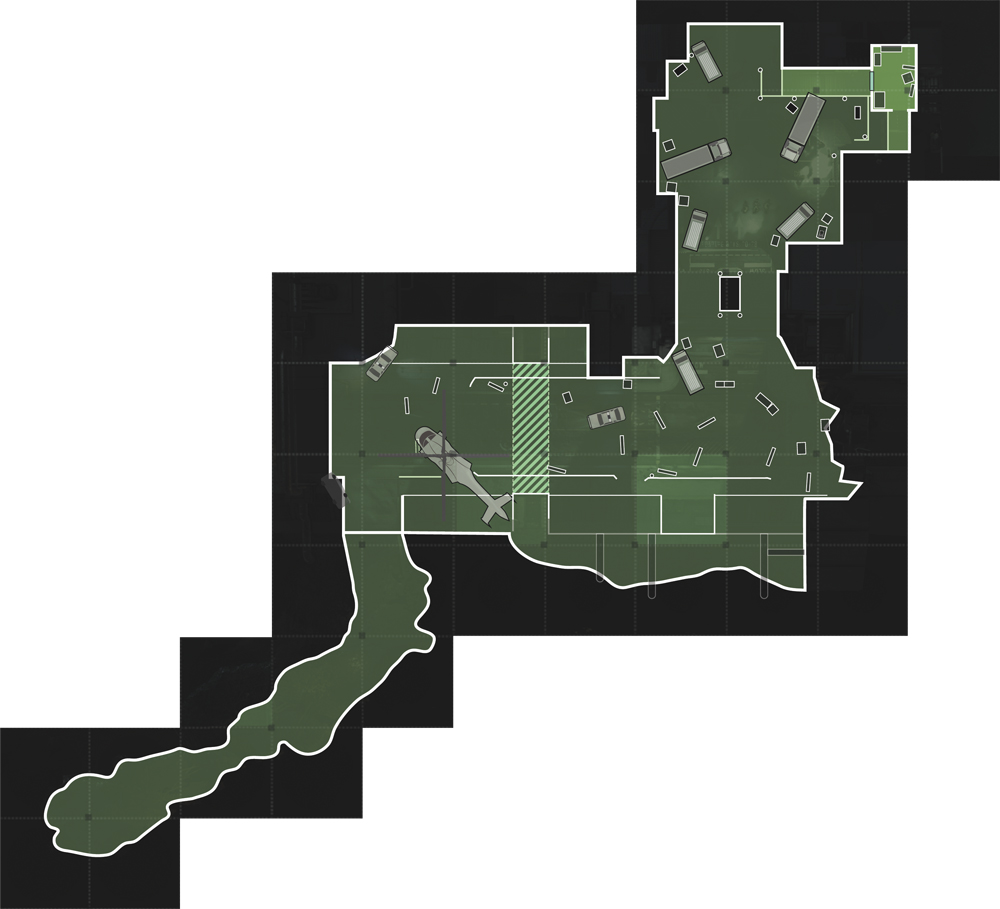
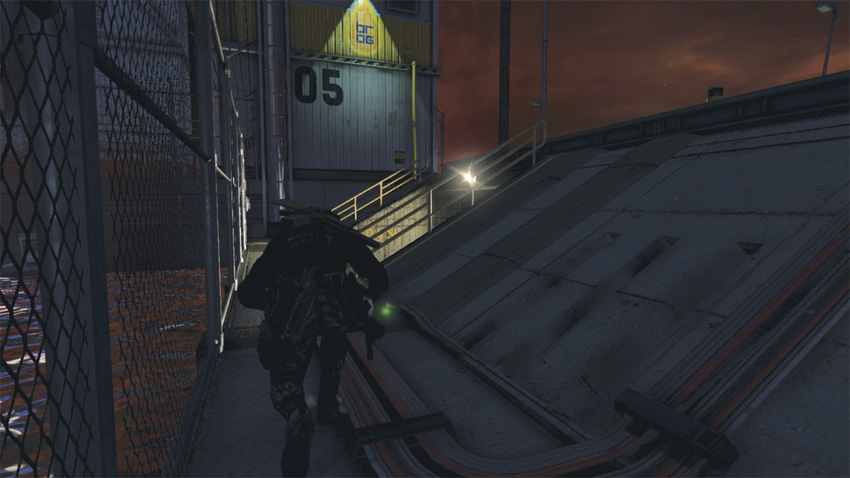
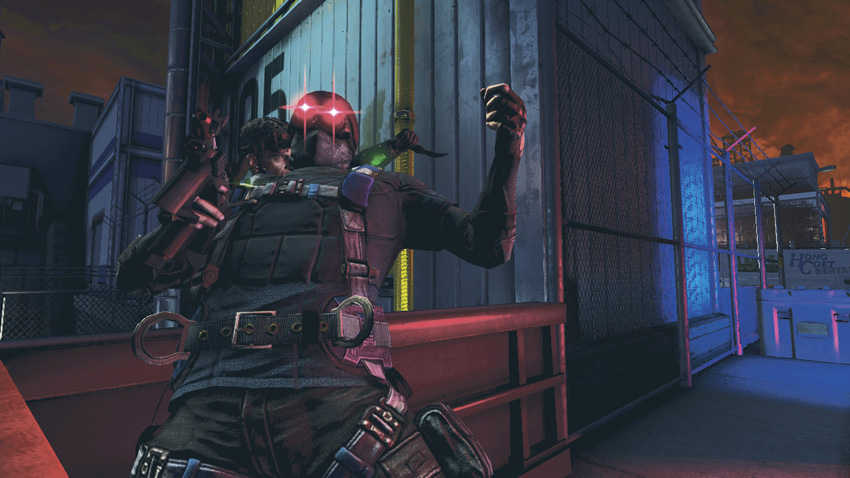
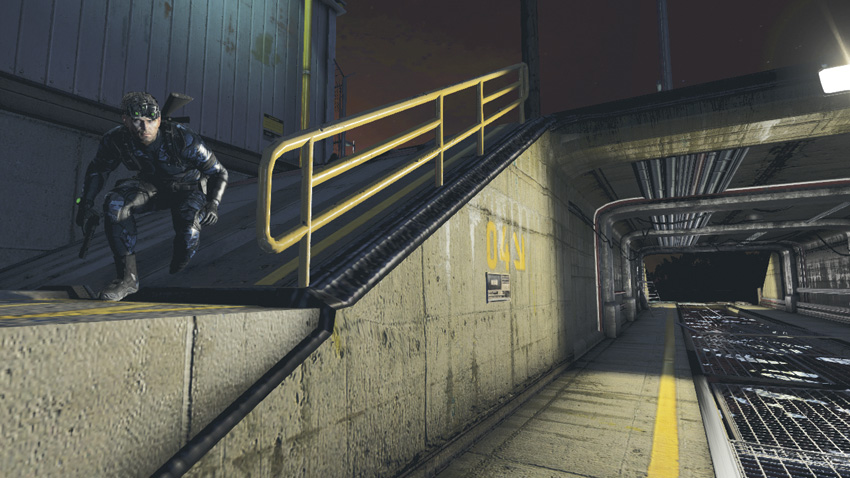
Leaving the SEALs behind, go toward the fence line on your left and follow it all the way to the wall in front of you. Head to your right and take cover near the barrier. Check your Radar, hold tight, and wait for the first Commando to take cover behind the crate on the other side of the barrier. Once he’s in position, take him down with a hand-to-hand strike to fill your Execute Ability gauge. Turn around, go underneath the roadway, and use the passage to your left to get to the opposite side.
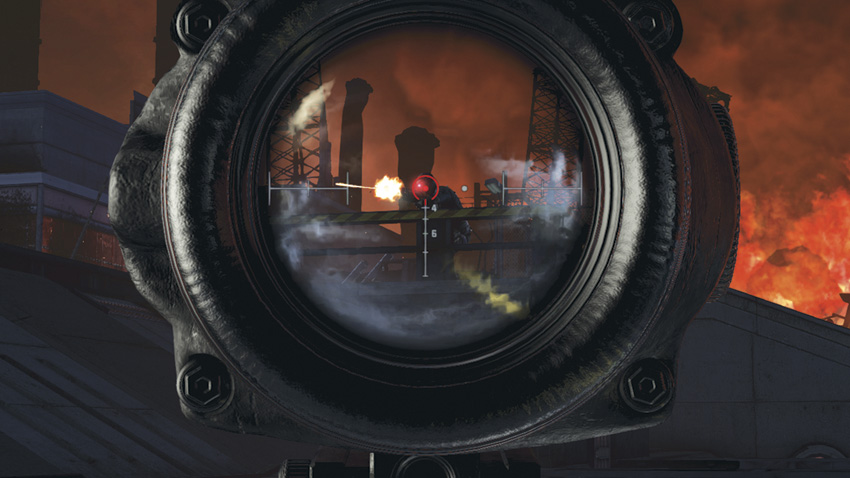
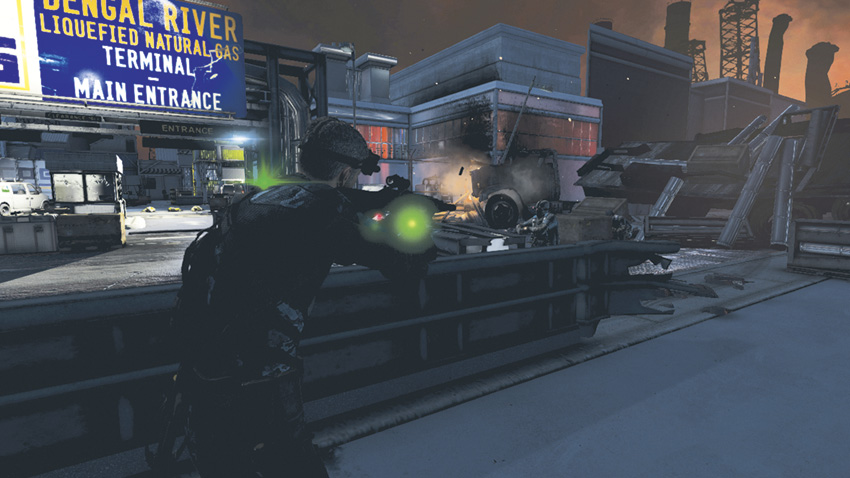
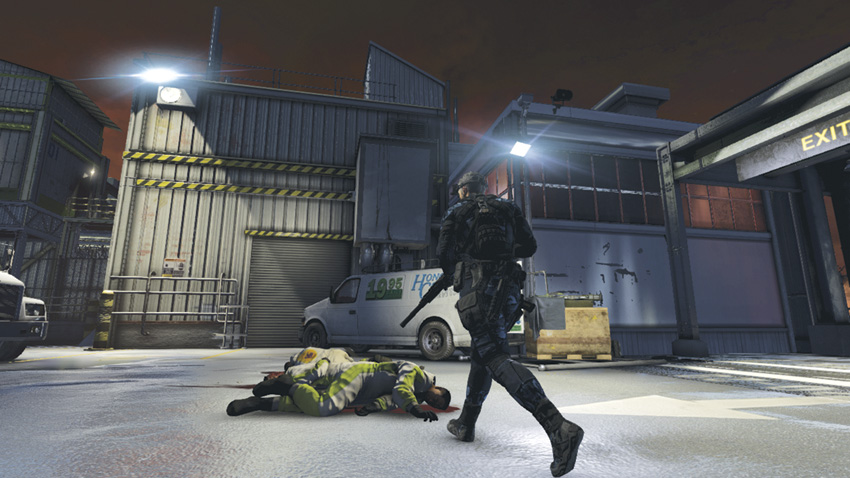
On the other side, immediately look up, target the next Commando, and then kill him with a sniper-rifle round. Move parallel to the water on your right for about 30 yards. Check your Radar and head up toward street level. Target and kill the next Commando in front of you, and then slowly proceed toward the brightly lit main entrance sign. Check your Radar for Commandos and eliminate the three that remain by Marking them and then using your Execute ability. Follow the waypoint marker and enter the terminal. When you reach the dead bodies of three refinery workers, go to your right and scale up the wall in front of you, following the top ledge around to the left. Climb over the railing to the walkway above, then climb over the railing in front of you and drop to the ground below.
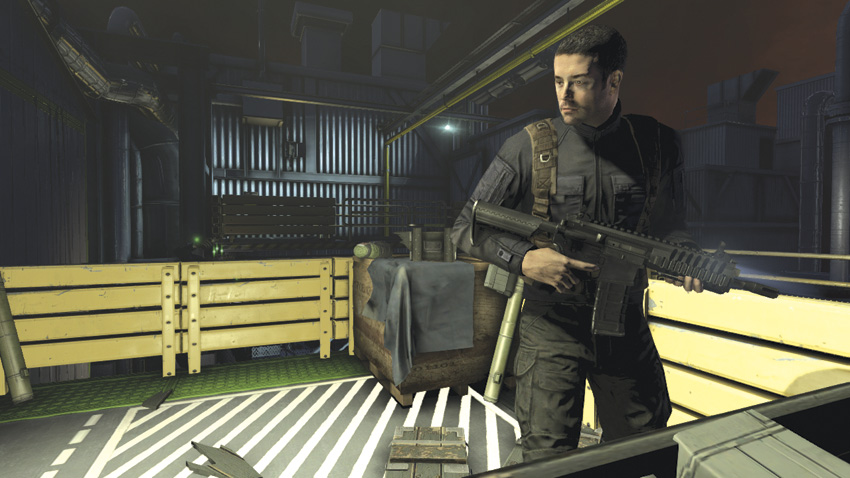
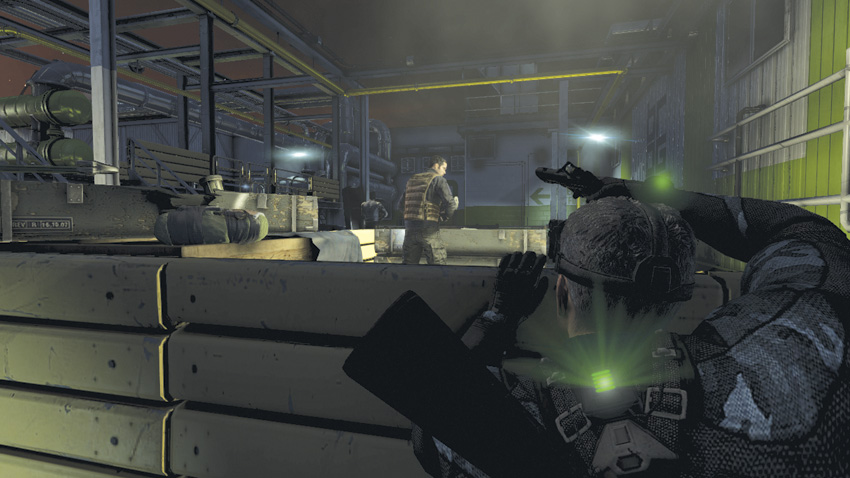
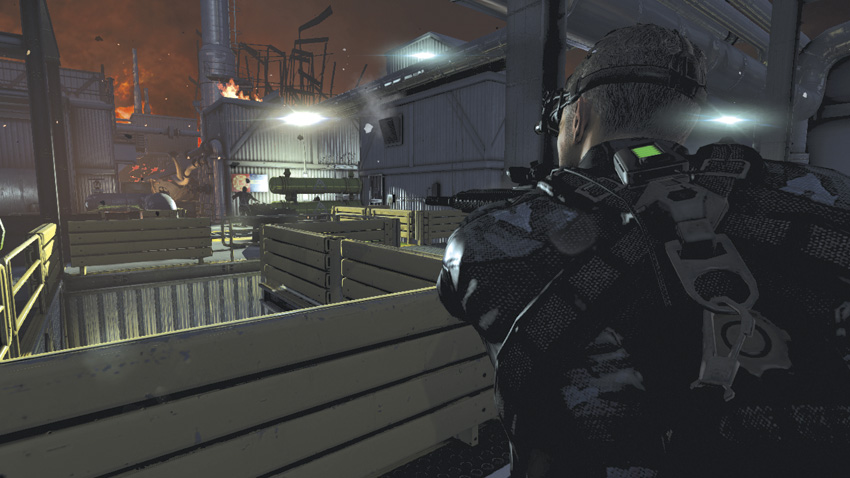
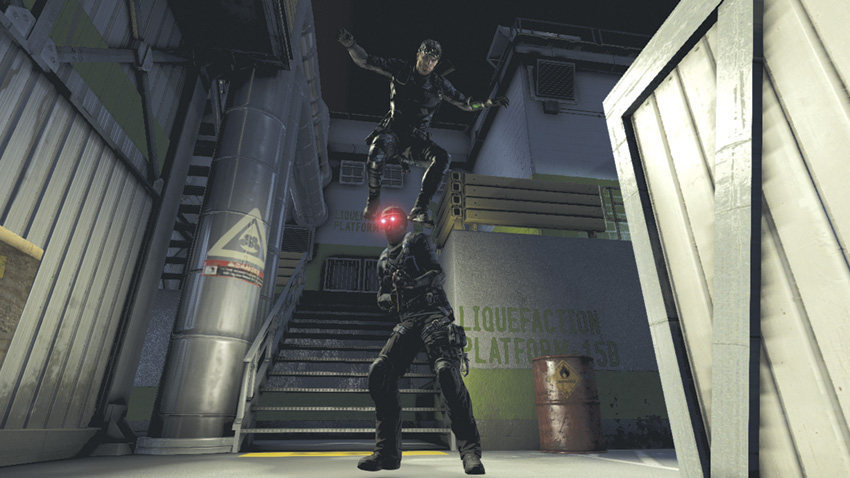
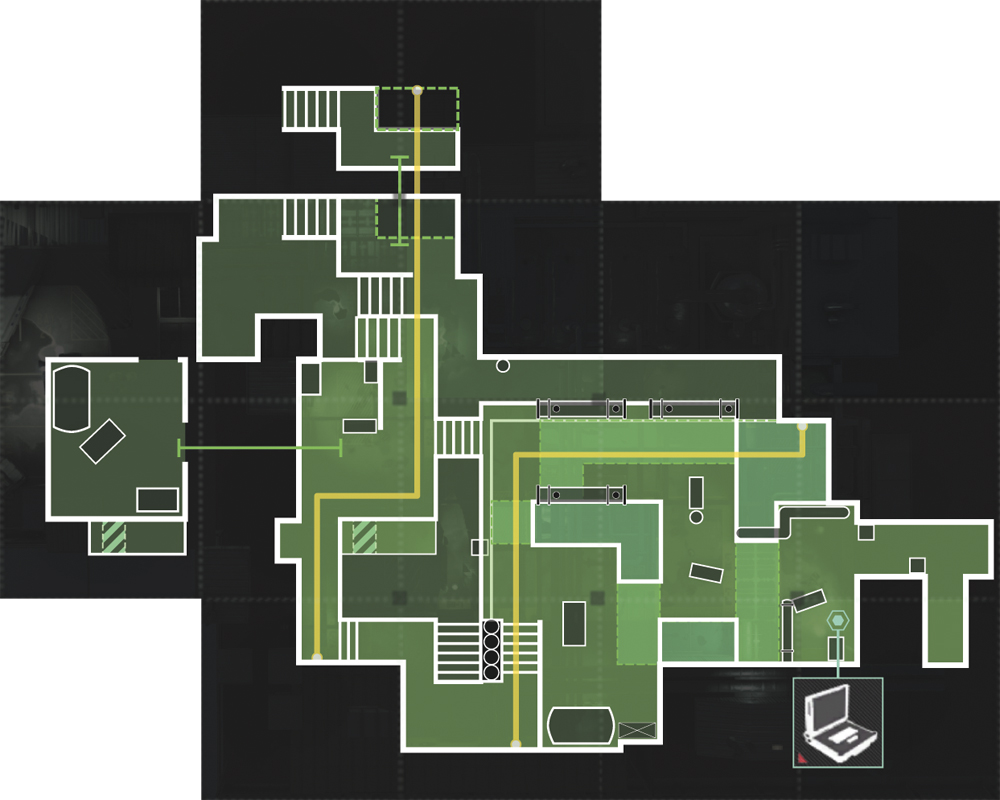
Once on the ground, stay to the right and walk toward the staircase. At the next corner, turn right and climb up the railing to see two hostiles facing the other direction, standing watch. Take them out with silenced shots to the backs of their heads, then drop down and cautiously proceed up the next two staircases. Crouch at the top of the second and eliminate the target to your right. Look directly ahead at your next victim. Kill him and move to your right, taking cover near the railing in front of you. About 20 yards away are a Commando and a Drone Operator. Mark both of them, then use your Execute Ability to finish them off. Next, turn around and climb over the railing behind you. Down below is another Commando on patrol. Wait until he’s right underneath you, and then kill him with a Death From Above attack. Once he’s dead, head back upstairs to where you felled the Drone Operator and hack the Blacklist Laptop. Continue forward, following your waypoint marker to the next area.
Neutralize the Hostiles
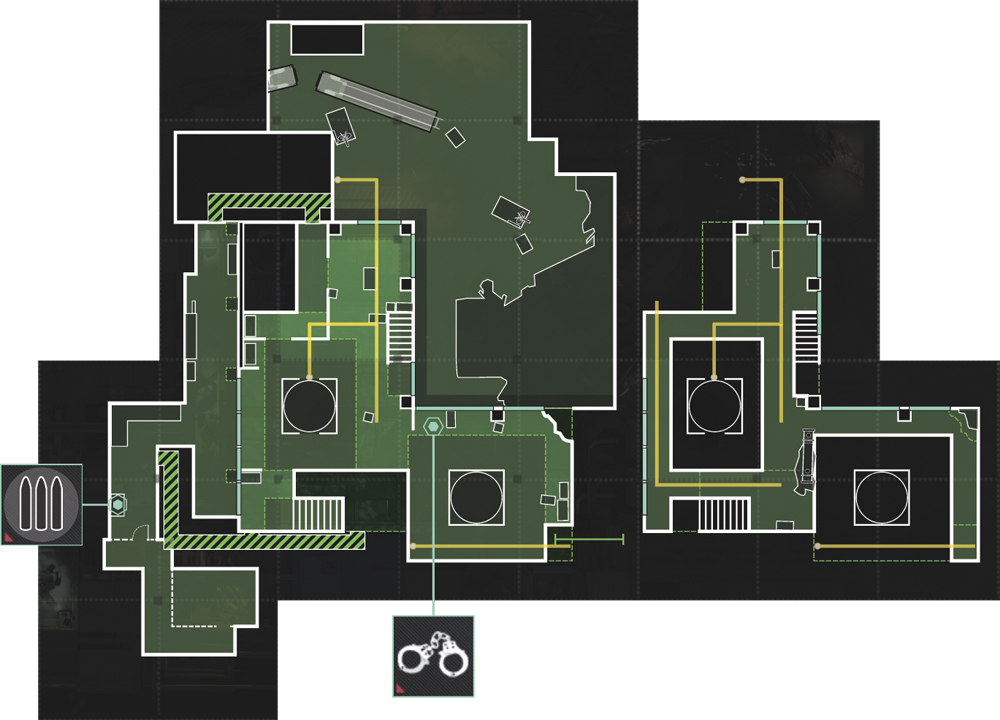
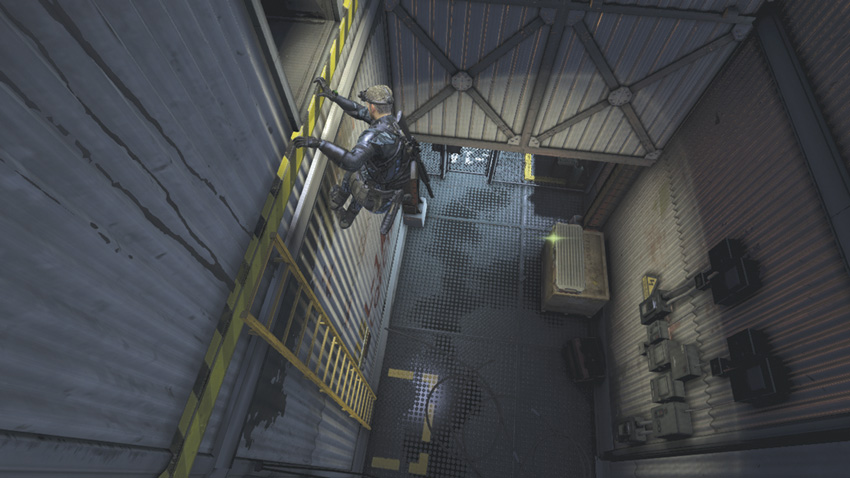
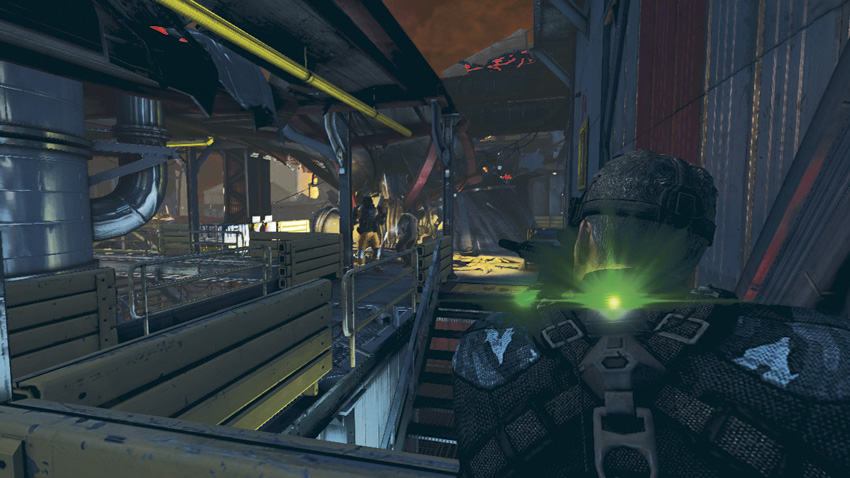
Briggs reports that the fires are burning out of control, while Grim relays that you have to eliminate all the Engineers in the area before the emergency workers can safely get back to work. Refill your ammo and gadgets at the Supply Cache, and then climb up the ladder and into a ventilation system. Snake your way through the vent until you reach the first exit on your left. Just beyond the opening you should see a hostile. Shoot him from inside the vent, and then drop down to the floor in a crouched position, using the railing as cover. Turn slightly to your right and Mark the two enemies arguing, one of whom is a Heavy Infantry soldier, and then use your Execute Ability to kill them.
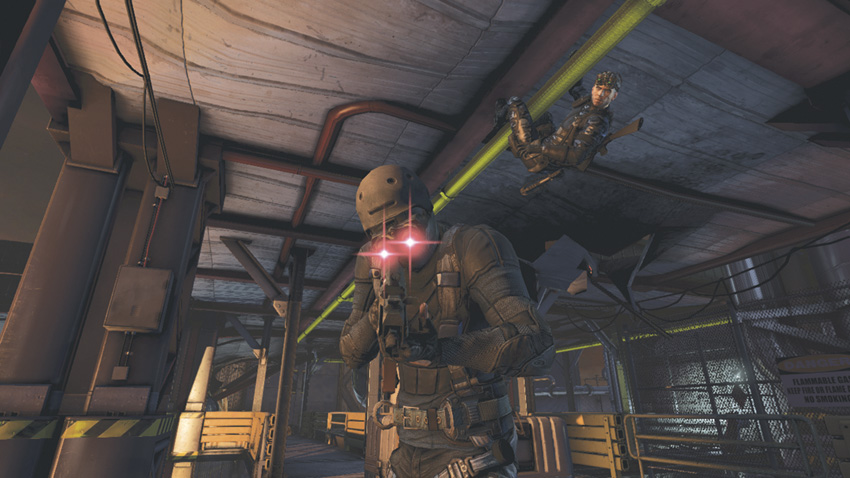
Look at your Radar; another target is on the other side of the floor. Jump up to the yellow pipe directly above you, move toward him, and drop down into a crouch when you reach the pipe’s end. Move a couple of feet forward and jump up to the next yellow pipe. Continue along it until you get close enough to kill the enemy, a Commando, using a Death From Above attack, which refills your Execute Ability gauge.
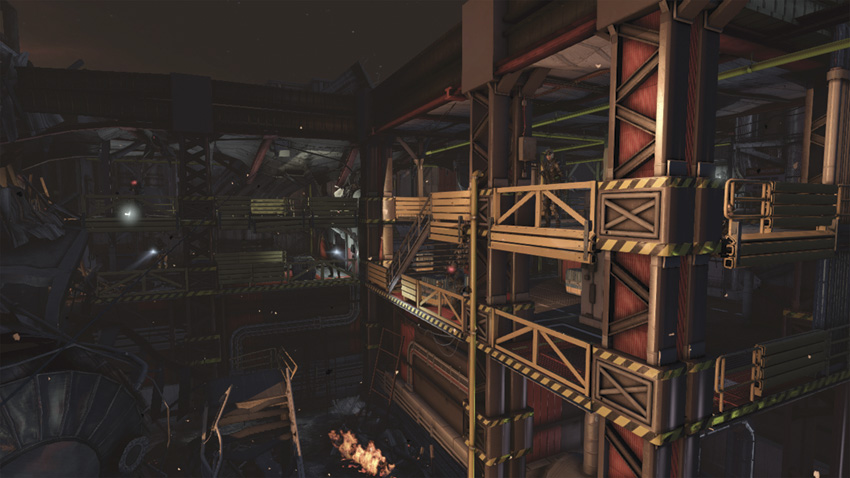
You find you’re on the second floor of one of the refinery’s open-air structures. It’s a two-story structure made of metal walkways and pipes lining the ceiling. Due to the recent explosion, the floor is littered with debris, and small fires are burning throughout. Even more deadly, Engineers are everywhere.
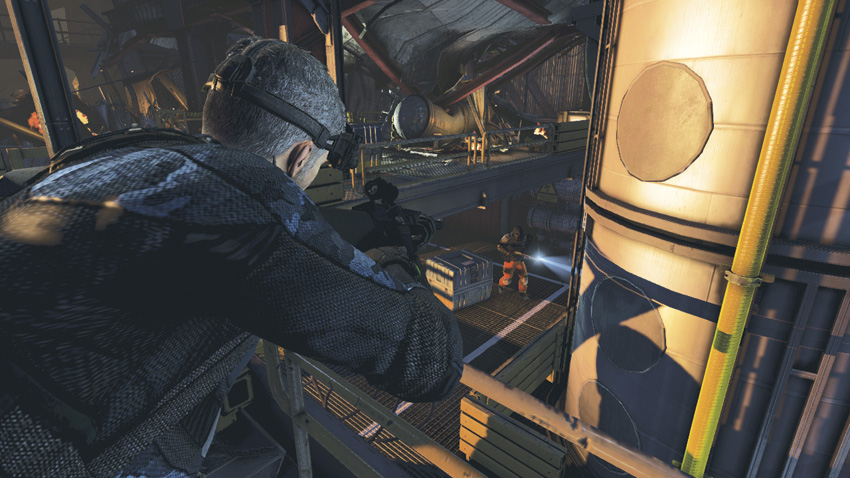
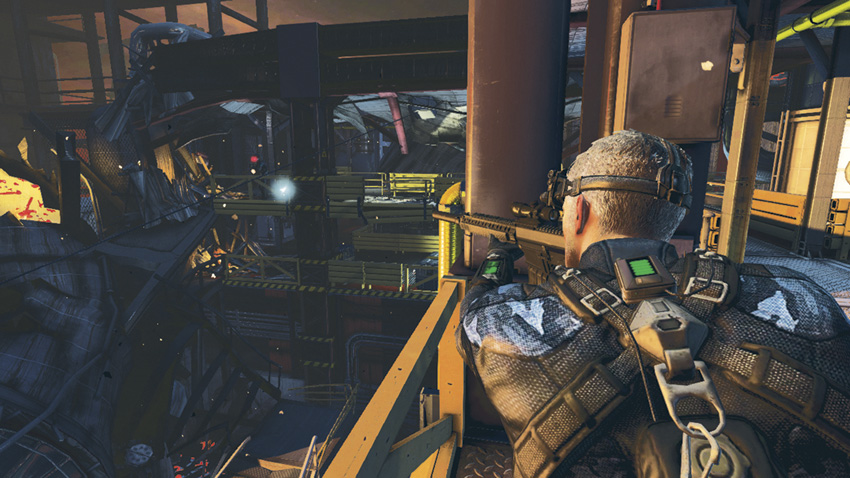
Once the Commando is dead, use your Radar to locate your next targets. You see another Commando diagonally across from you, firing at the emergency workers below. Take cover using the crate behind you and kill him once have a clear shot. Move to the railing to your right, near the middle of the floor, and look down. Your Radar reveals three targets below you. Get in position to Mark all three, then use your Execute Ability to eliminate them. The last hostile remaining is the High Value Target located on the level below you, near where you just killed the others. Go tag him and bag him, then get to the zipline on the second floor and take a ride down to the fire chief.
Get to the Terminal Building
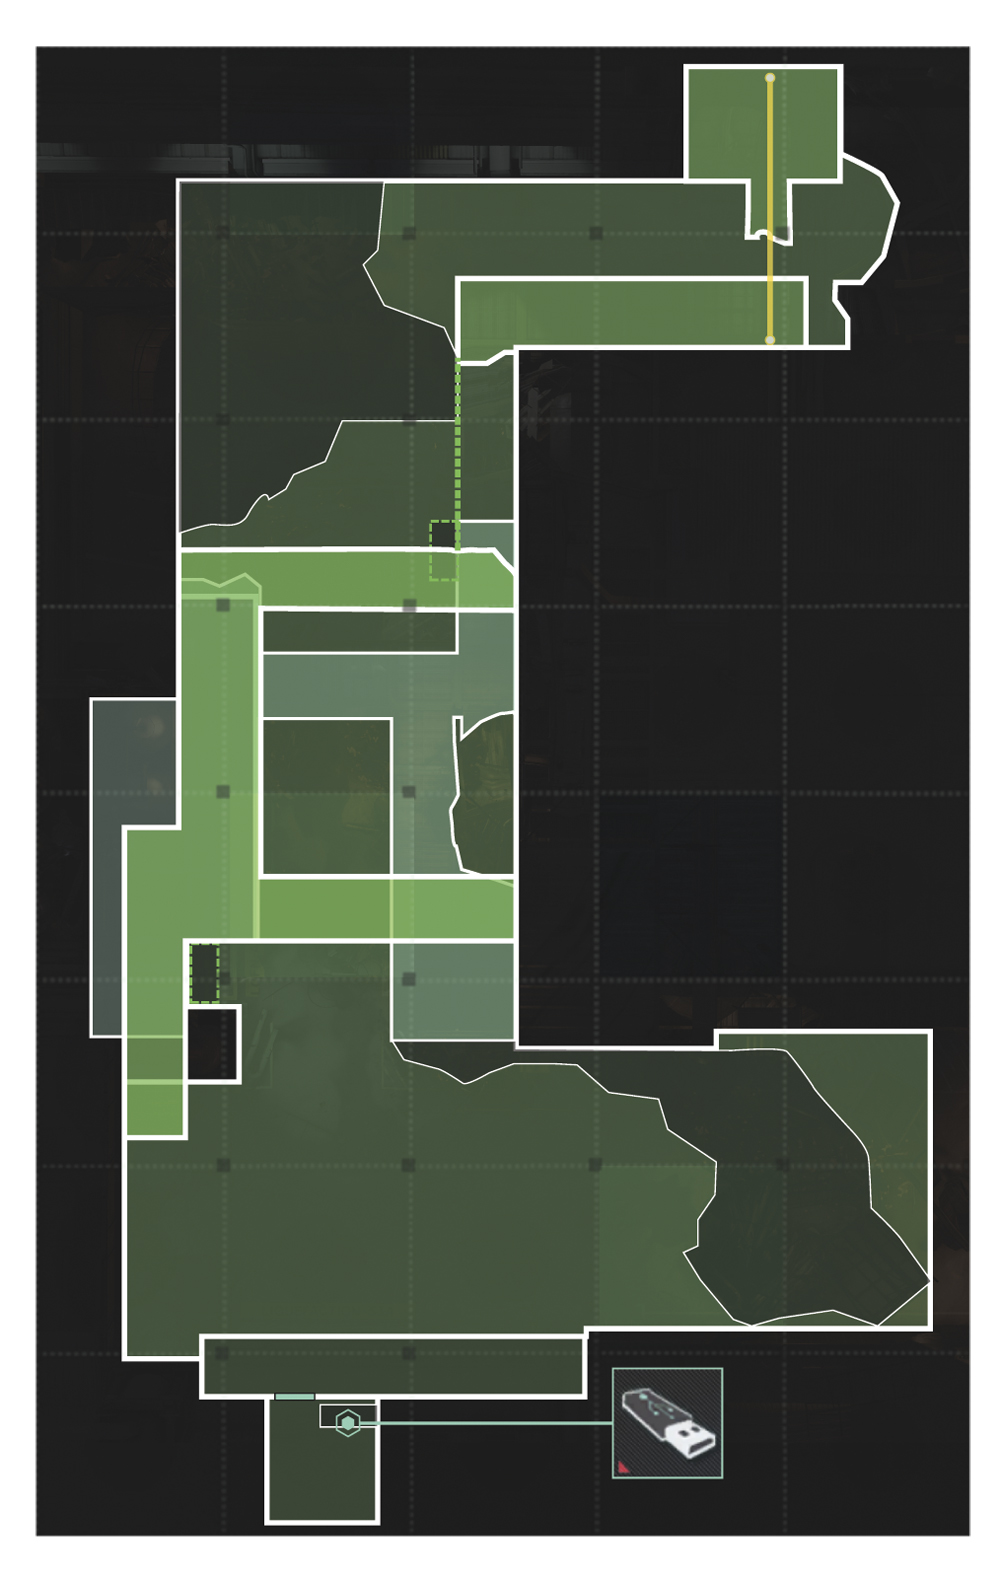
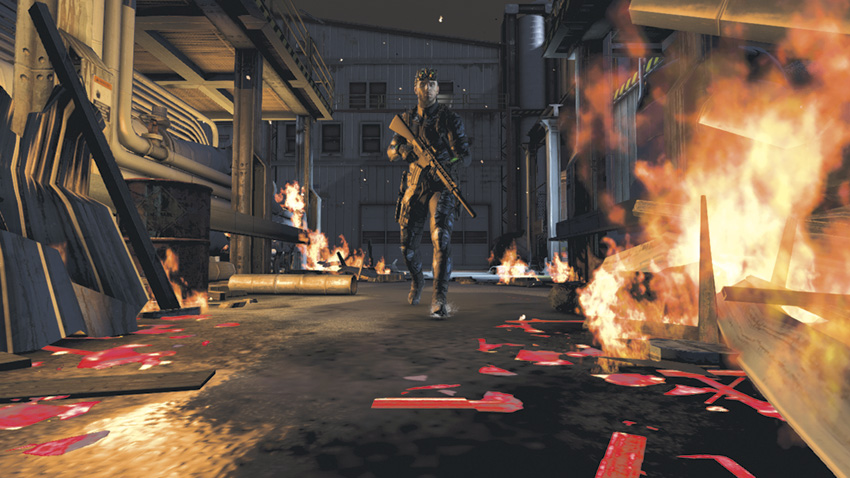
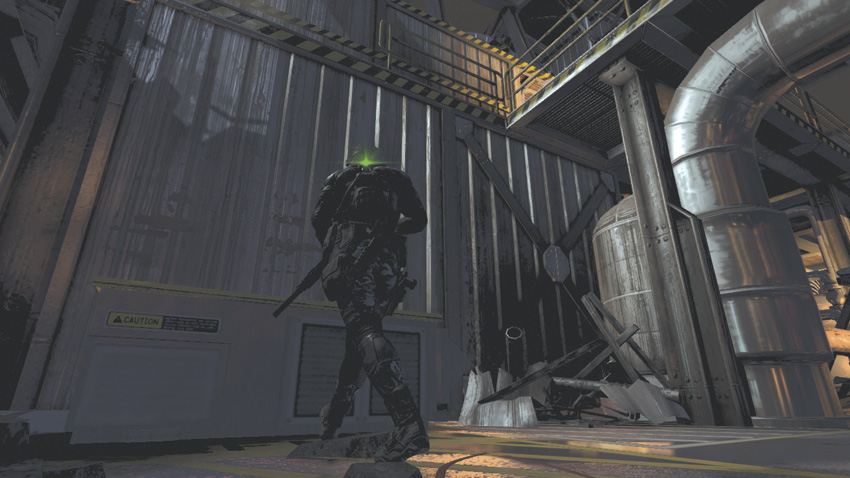
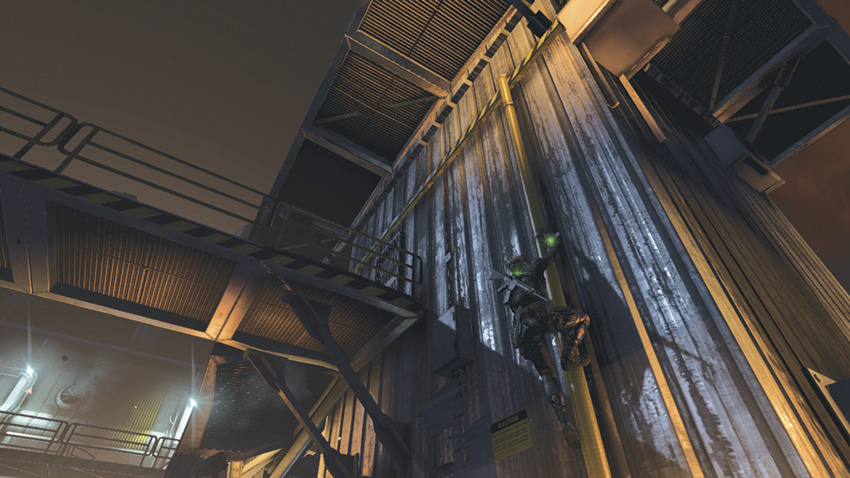
Following the waypoint marker, start running forward through a minefield of burning debris as explosions rock the area. Go right at the dead end and climb up the wall to the walkway above you. Staying on your left, run forward to the railing at the far end, and then climb up the yellow pipe to your left to the handhold above. Move to your left and drop down to the walkway below.
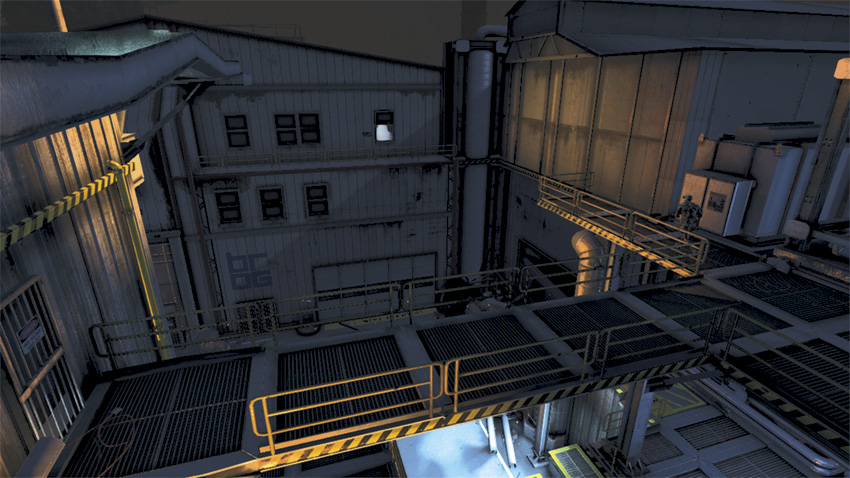
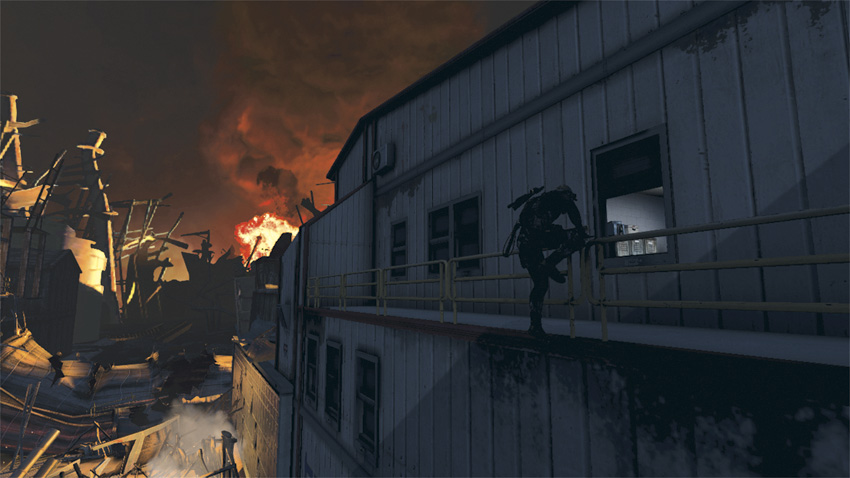
Head down the walkway behind you, toward the intersection. Before continuing on to the control terminal, go get the Dead Drop. Go to your left, and where the walkway ends, look over to the building in front of you. Your destination is the room with the light coming from the window. Climb over the railing, drop down to the handhold, and move to your left until you reach the gantry located near the window. Enter the room and grab your prize, then head back the way you came.
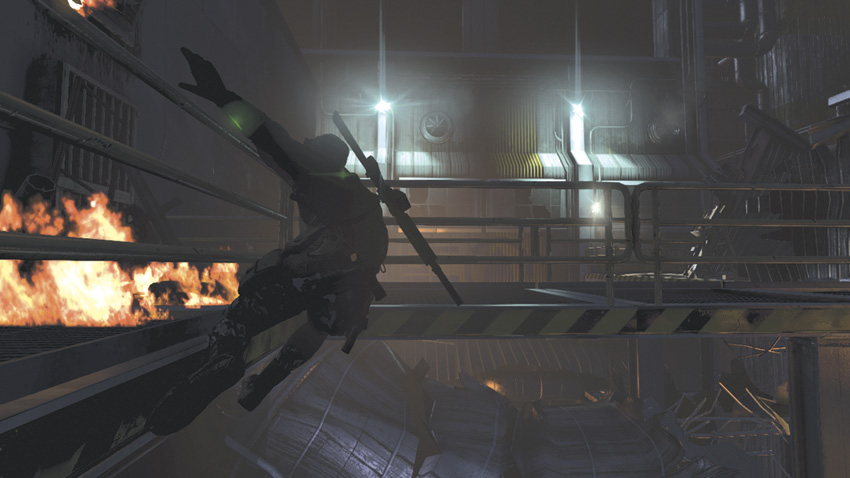
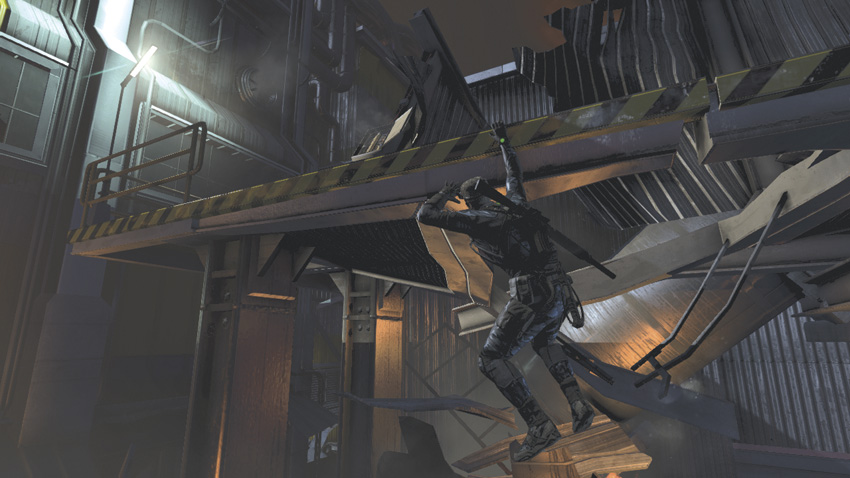
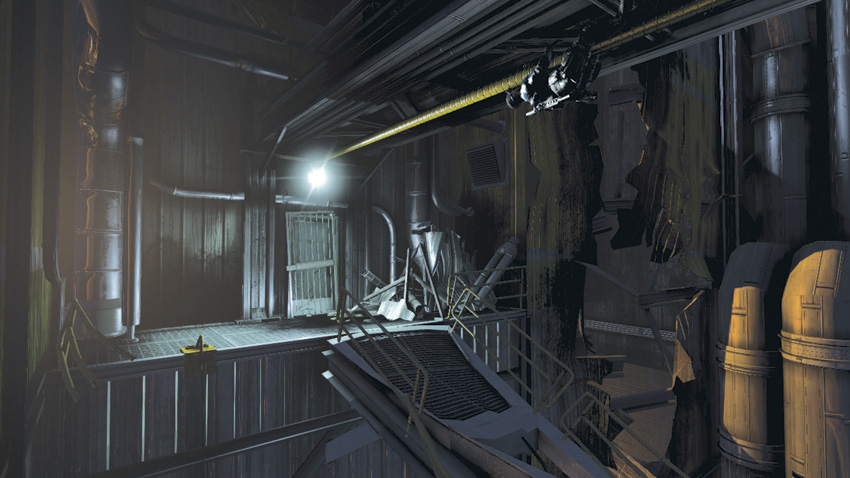
Once you climb up to the walkway where you started, move forward until you reach the burning debris blocking your way. Navigate around by climbing over the railing and moving to your right. When it’s safe, climb back up over the railing and continue a couple more feet to where part of the wall has collapsed. Drop down to the ledge and navigate around the wreckage, then climb back up once you’re clear of it. Head up the short staircase and toward the yellow pipe where the walkway abruptly ends. Climb up the pipe and move along it until it’s safe to drop down on the other side. Look to your right, and then rappel down and breach the covered opening to reach the Terminal Building.
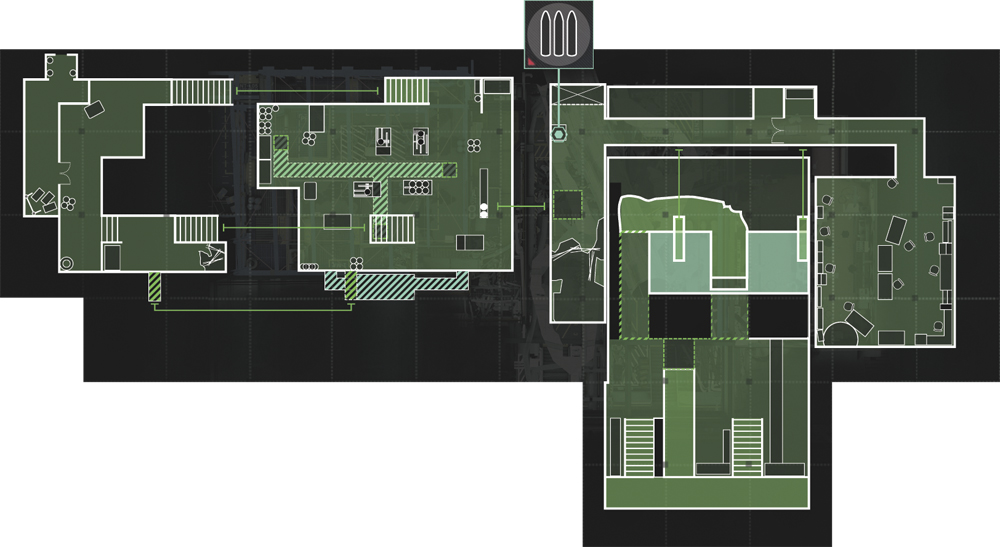
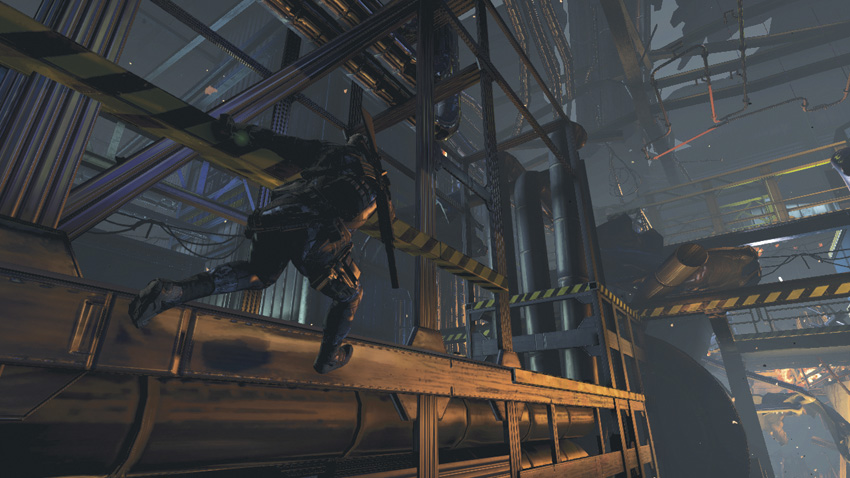
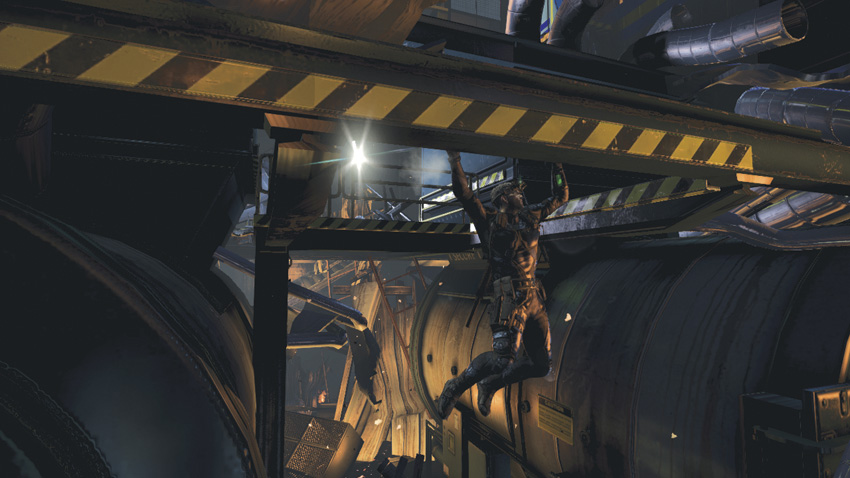
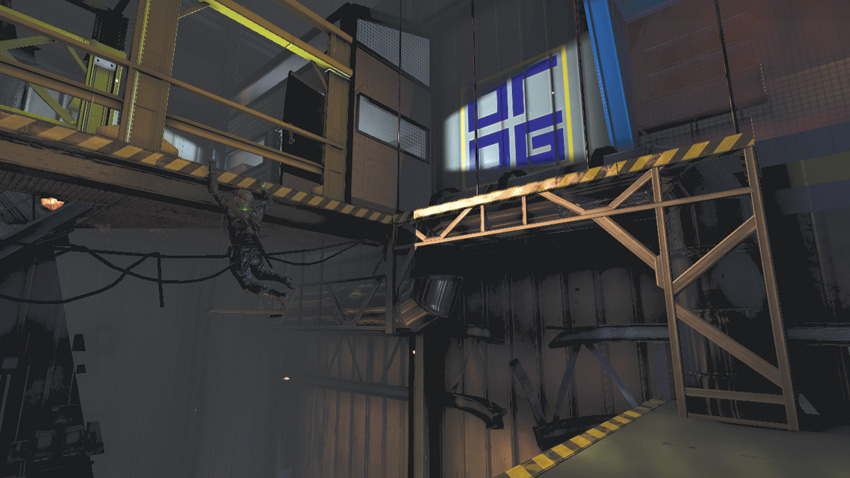
Once inside the building, jump over the railing in front of the walkway to your left, run forward, and then hop up the ledge and move to your left. When you run out of room, switch sides and follow the ledge around to the left, then climb up the railing at the end. Move forward and to the right along the next walkway and then climb up the next two ledges. Follow the second ledge around to your left, then climb up the railing to the next level and go to the right to arrive at the control room. Follow the waypoint marker to the terminal and connect your OpSat to it.
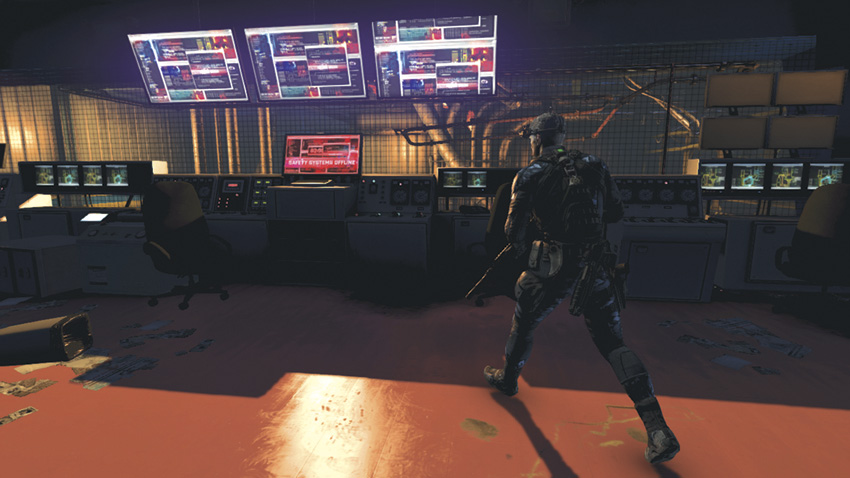
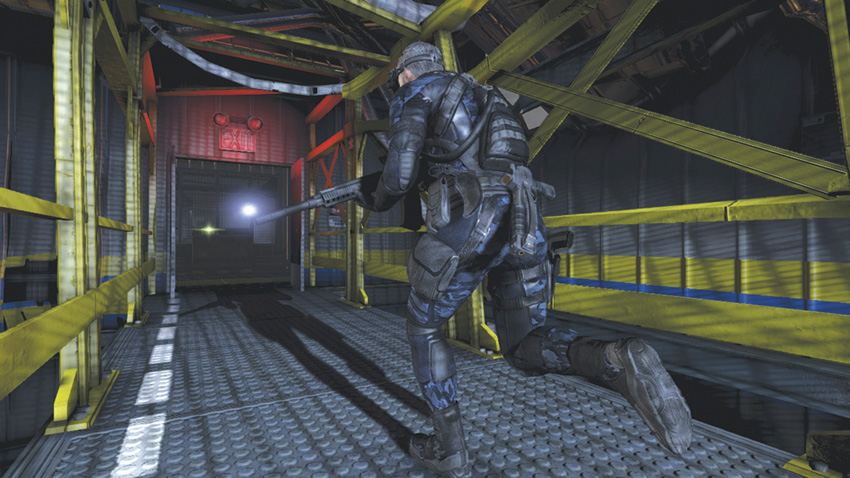
After achieving a successful connection, Charlie has control of everything remotely from the Paladin. In addition to shutting down the main gas line, he can also control the refinery’s lights, doors, and security feeds. Within moments of connecting, Charlie gets the location of the Engineer Leader, who’s disguising himself as a paramedic. Grim sends his location to your OpSat so that you can go get him. Head back the way you came, and when you get to the walkway, run forward and go through the doorway at the end. Stock up on your ammo and gadgets at the Supply Cache, then head to your left, climb over the railing, and drop down two ledges to hit the walkway below.
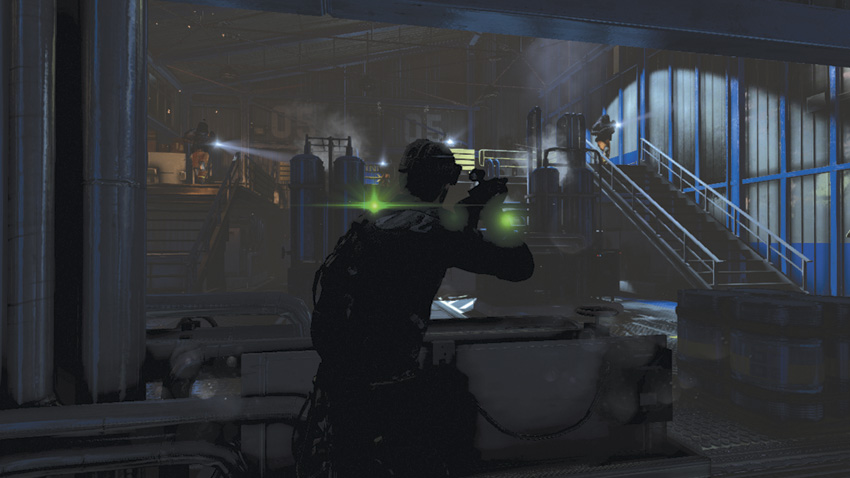
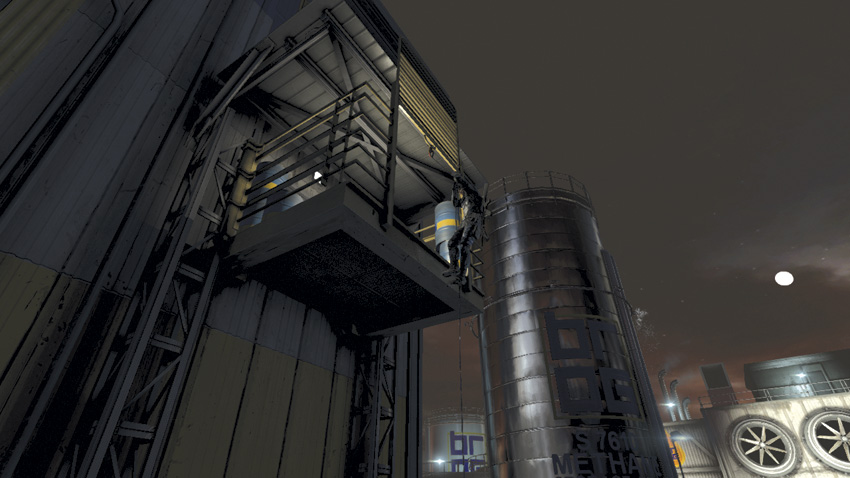
Turn around. You see a small area with two staircases leading up. Check your Radar to see three hostiles. They are Heavy Infantry soldiers. Mark them all, then use your Execute Ability to eliminate them. Just as they all go down, one last Heavy comes into view up to your left. Kill him with a headshot. After he’s dead, walk up either staircase and turn right at the next hallway, following it to the end and out the doorway. Take the Fast Rope down to ground level for a rendezvous with the Engineer Leader.
Capture the Engineer Leader
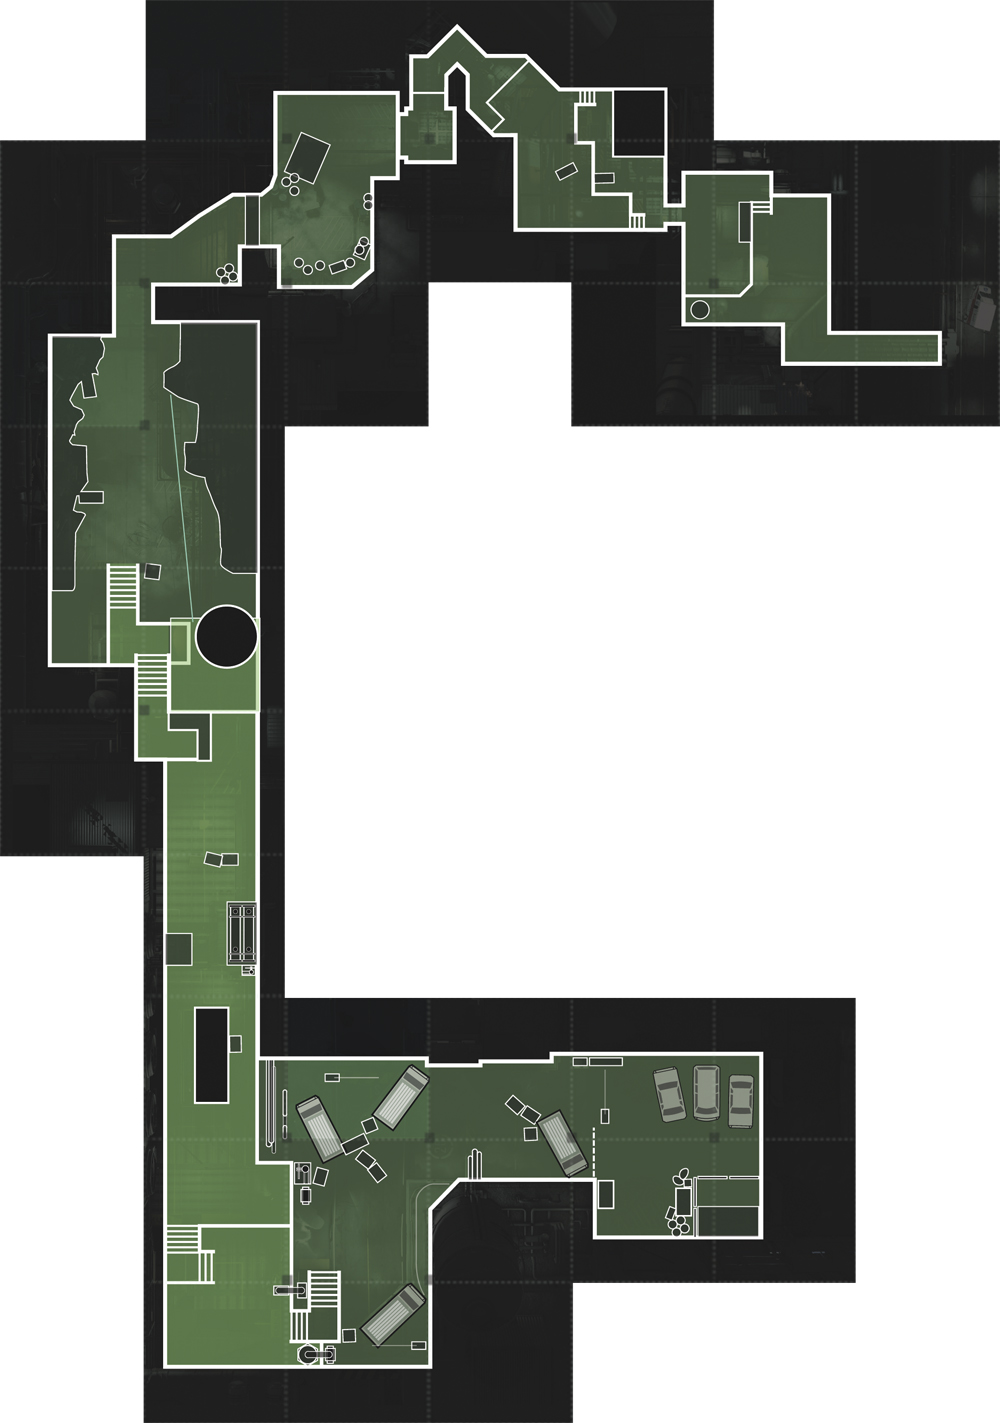
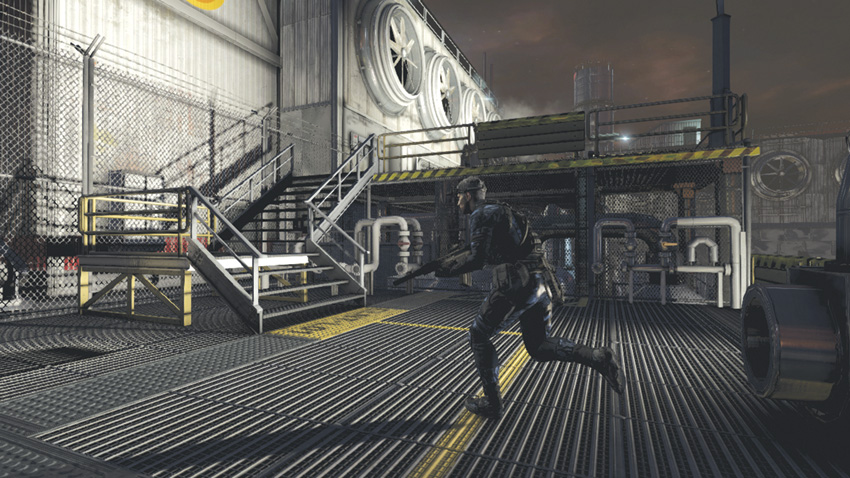
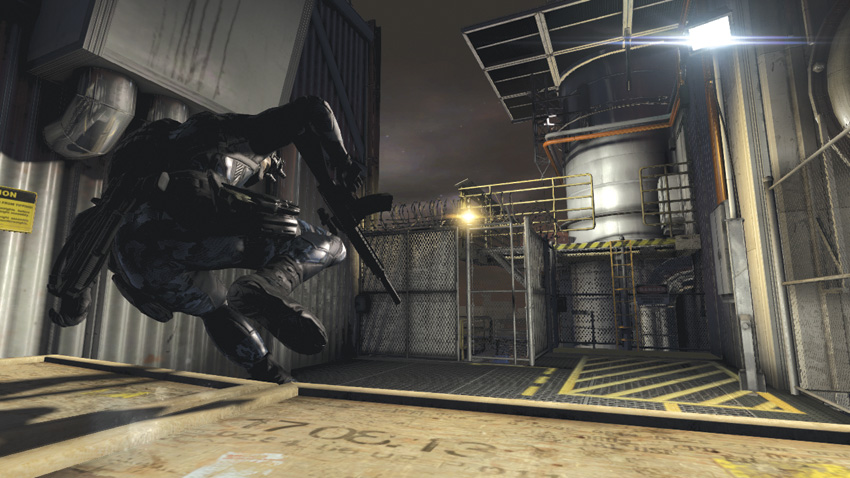
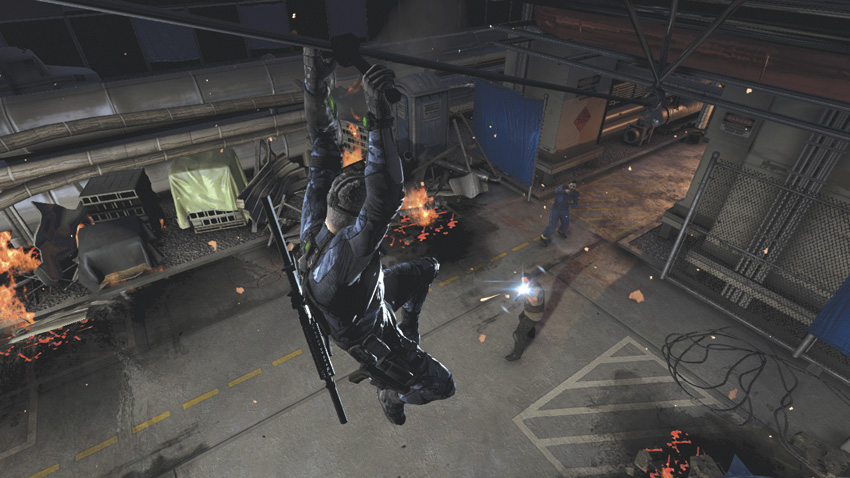
Immediately the leader makes a run for it. Now you have to chase him while dealing with hostiles and obstacles in your way. Eliminate the first enemy quickly with a hand-to-hand strike, go up the staircase to your left, and then swerve to your right and go up the following staircase. Drop the enemy in front of you with another hand-to-hand strike and move forward. Charlie tries to help out by closing a gate the Engineer Leader is running toward to trap him, but he slips through it. Veer to your right and go up the ladder. At the top, use the zipline to continue the chase. At the end of the ride, drop down and kill the hostile at ground level, then follow your quarry around to the right.
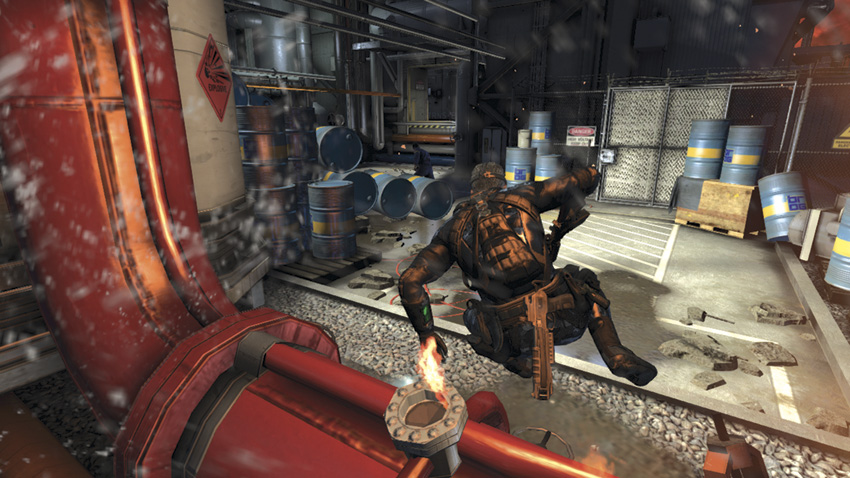
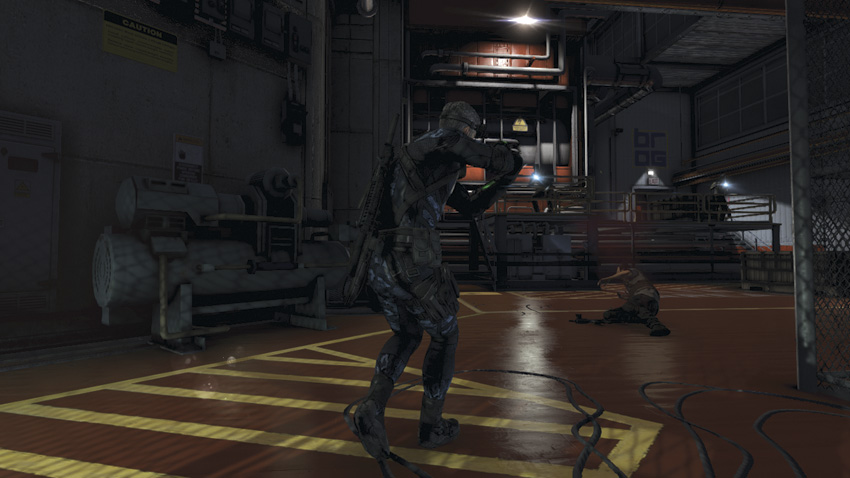
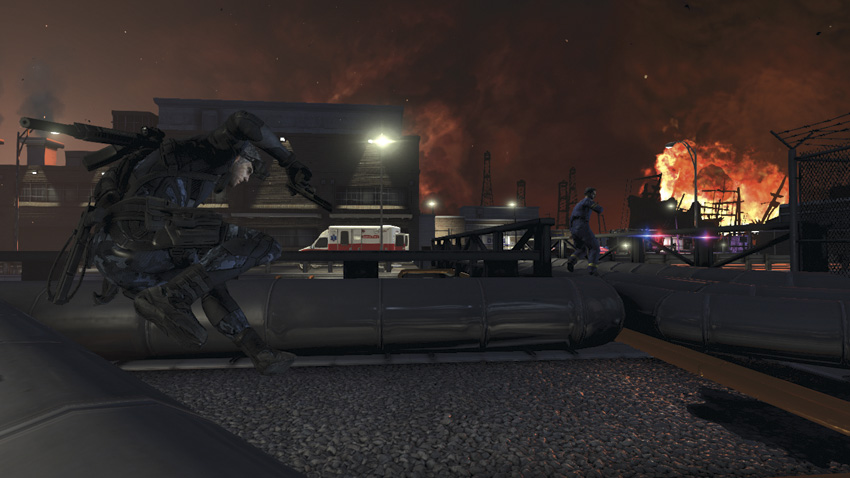
As you begin to gain ground, the Engineer Leader stops to unload a few rounds in your direction, hitting a gas main and starting a small fire. Charlie activates an extinguisher to reduce the blaze, enabling you to climb over the obstacle to the other side. Next, jump over the oil drums falling in front of you, climb up the next platform, and then head to your left and follow the pathway around to your right. Before preceding any farther, quickly Mark the three hostiles below and in front of you, and then drop down to the ground. When the icons above their heads turn red, use your Execute Ability to kill them and continue the chase.