
Tom Clancy's Splinter Cell Blacklist Guide Walkthrough Ghost/Assault Tactics
Mission 4: Private Estate Ciudad del Este, Paraguay
GHOST
Infiltrating Reza Nouri’s estate can be difficult due to the tight patrols that his guards follow. They are frequently within sight of one another. Because of this, try to avoid engaging the enemy if you can and opt to sneak past the patrols. Thanks to the terrain of the patio area, it is easy to evade them and avoid detection by making use of the stairwells and ledges. Once inside the estate, expect to move quickly and efficiently through the house, which is best accessed by way of the second-floor balcony. The second floor of the building has much lighter patrols and it is where you need to be to pick up the Dead Drop and access Nouri’s panic room. After finding Nouri, you will find yourself playing bodyguard against a team of Commandos. Neutralizing these threats without being detected will require the use of a few specific gadgets that any Ghost should have in his arsenal. When preparing your loadout, be sure to include both the Sticky Camera and Sleeping Gas. Another necessary gadget once inside the estate is the Sticky EMP, which can be used to disable the lasers that are used as the building’s security alarm.
ASSAULT
Engaging in an Assault playstyle during this mission takes some careful planning. While the environments may offer what seems like adequate cover, the open spaces, stairs, and balconies equate to a situation where you can be quickly overwhelmed. Hostages are necessary to surviving the fight. If you decide to go in guns blazing, you have to have upgraded your Ops Suit and weapons to have both the armor and ammunition necessary to survive. Take a moment in each area to set up your engagement; quite often it will spare you undue punishment and allow for higher Assault scoring in the long run. In the latter portion of the mission, you will be confronted by Commandos. These elite foes are dangerous, frequently emerging from a cloud of smoke and overwhelming their enemy. Equalizing the fight against Commandos requires the use of Sticky EMPs. Their goggles are temporarily disabled if they are caught within the blast radius. When preparing for this mission, ensure that you have equipped an ACOG Scope and Extended Mag on your alternate weapon.
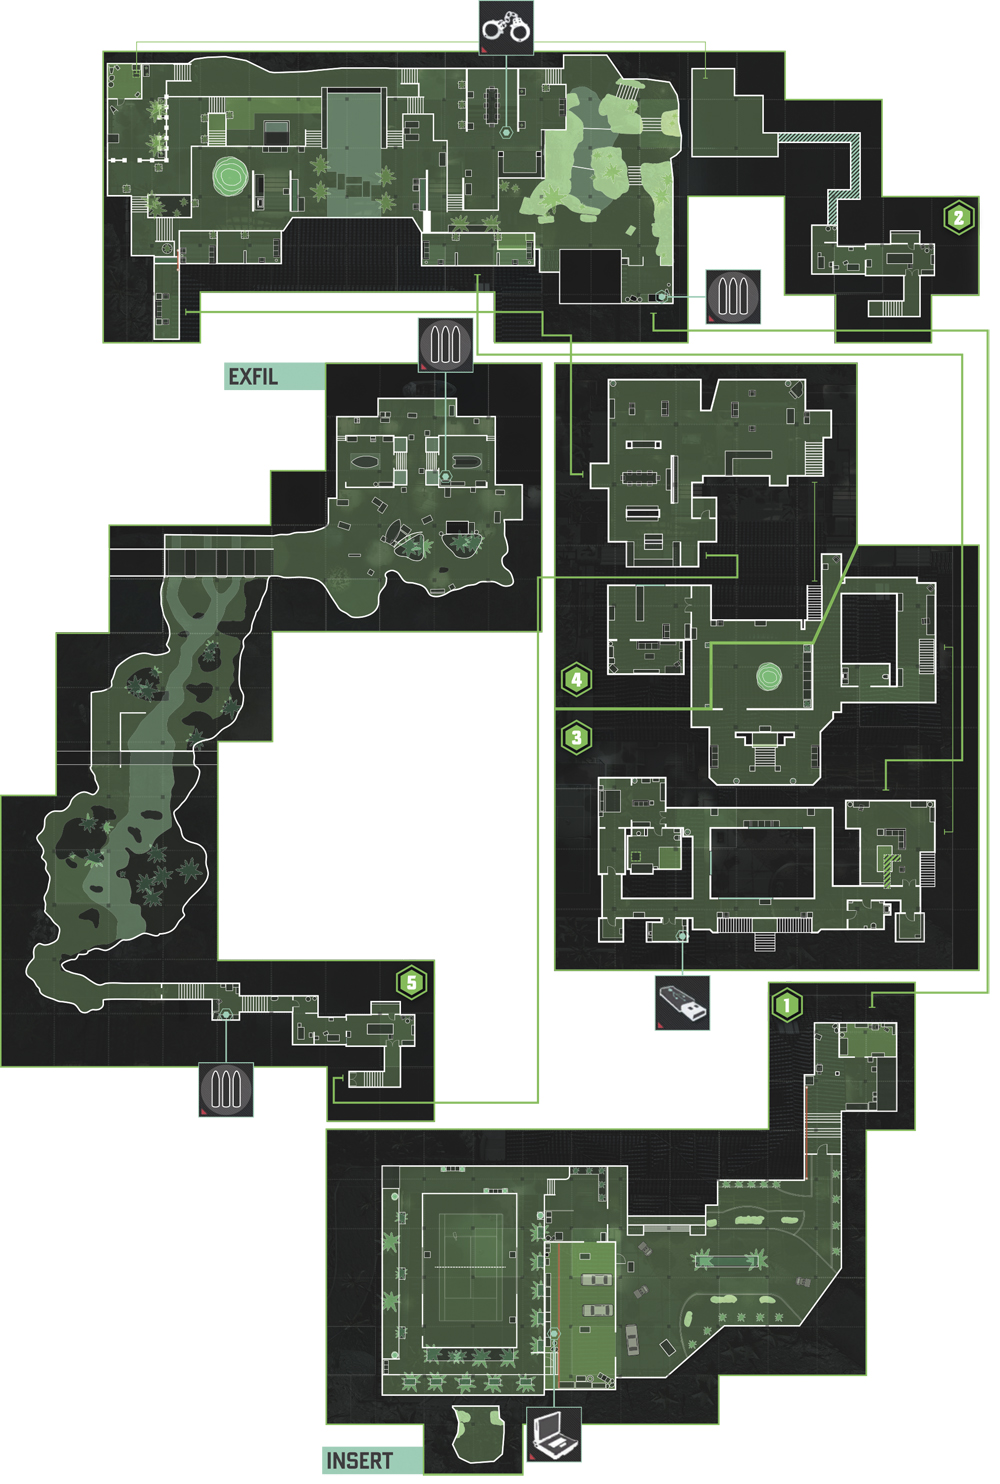
1: Tennis Courts
GHOST
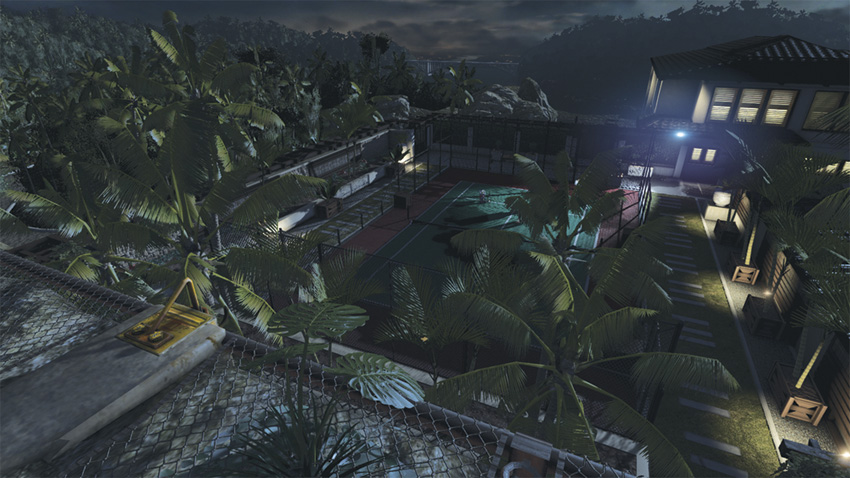
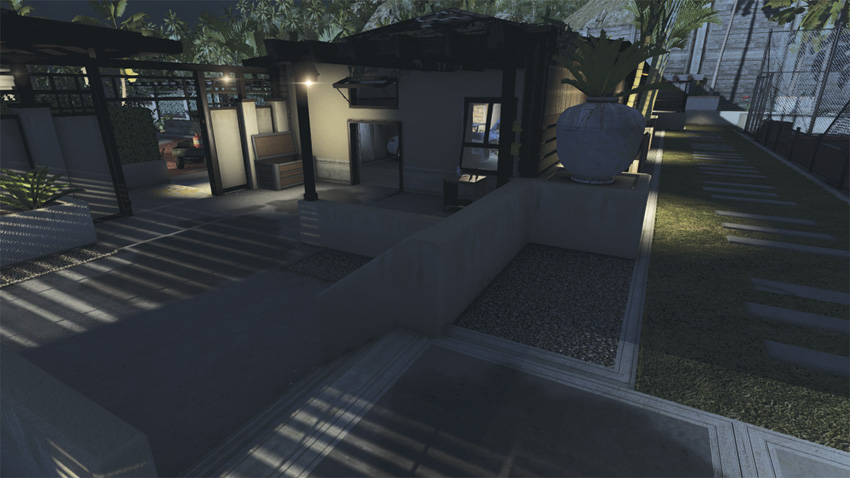
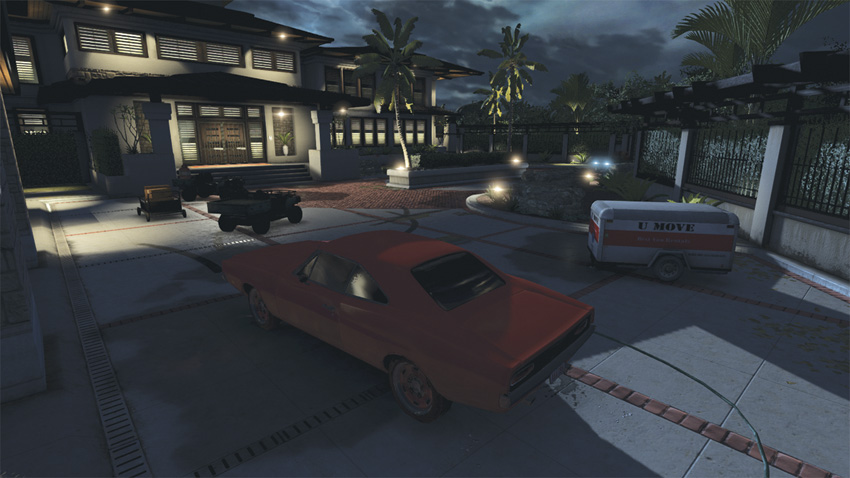
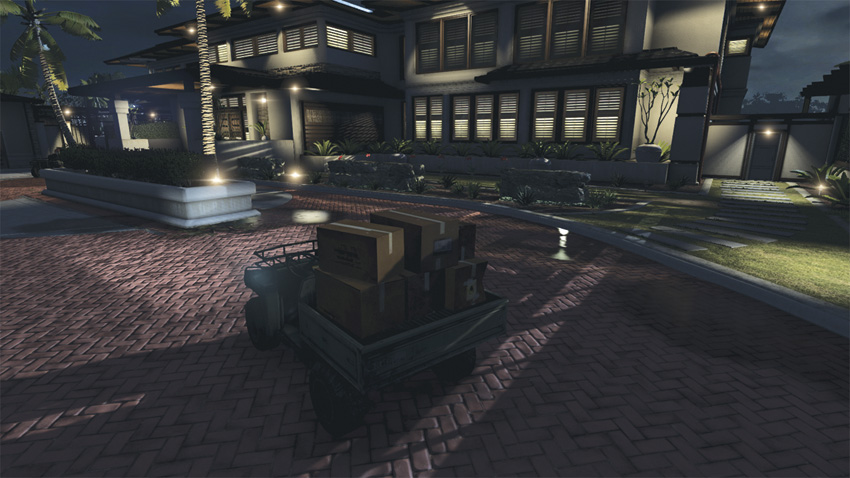
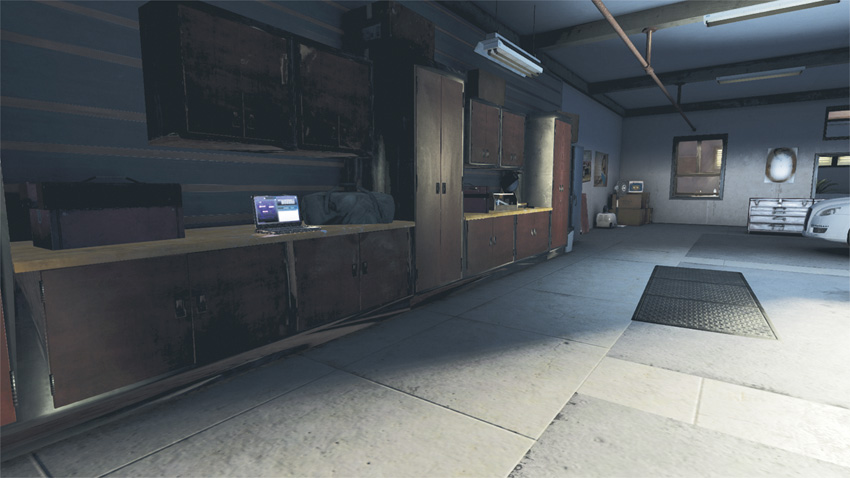
After your insertion, you rappel down an exterior wall and to the tennis courts of Reza Nouri’s private estate. While your first notion may be to beeline for the door immediately right of the tennis court, the security light above the doorway makes it very easy for the nearby guard to detect you. By shooting this light out, you will attract unwanted attention to yourself. Instead, opt to proceed left and circle the perimeter of the tennis court until you arrive on the opposite side. You are likely to come across a second guard here; wait for him to continue his patrol around the tennis court before you attempt to pass him. Step down the concrete steps and turn right. Inside the nearby garage is a mechanic at work on a vehicle. On a workbench, the mission’s Blacklist Laptop is situated. To access the Laptop, step into the garage and turn right. Locate the pipe running along the ceiling and jump up to it. Shimmy along the pipe, then perform an Aerial Knock Out on the mechanic and hack the Laptop. Exit through the garage door, make your way behind the red car, and stay along the landscaping near the wall to your right. Be careful; the nearby dog poses a hazard as you proceed. A Sticky Noisemaker aimed toward the front door of the estate is a good way to pull the dog’s attention from where you need to go. Continue along the wall and soon your will come to a door. Just beyond, you will find the security office.
Blacklist Laptop
Accessing the Laptop means neutralizing the mechanic. Be careful though, a guard periodically enters the garage.
ASSAULT
Your largest risk when going loud here is the dog patrolling the entrance to the estate. After rappeling from the wall to the tennis court, take cover near the door to the right. When one of the guards come near, take him as a hostage. Now, make your way to the far side of the tennis court, ensure that you are detected by the guard there, and kill him. This is the action that stirs the hornet’s nest. Move away from the concrete steps leading from the tennis court and wait for the dog to come running. Eliminate him before he gets close. Now, maintain a position near the steps. They provide excellent cover as hostiles approach, allowing you to peek out and pick them off one by one. Be careful; reinforcements will arrive from the area near the objective. Because of this, do not get caught in the open area at the entrance by assuming the coast is clear.
2: Estate (Patio Area)
GHOST
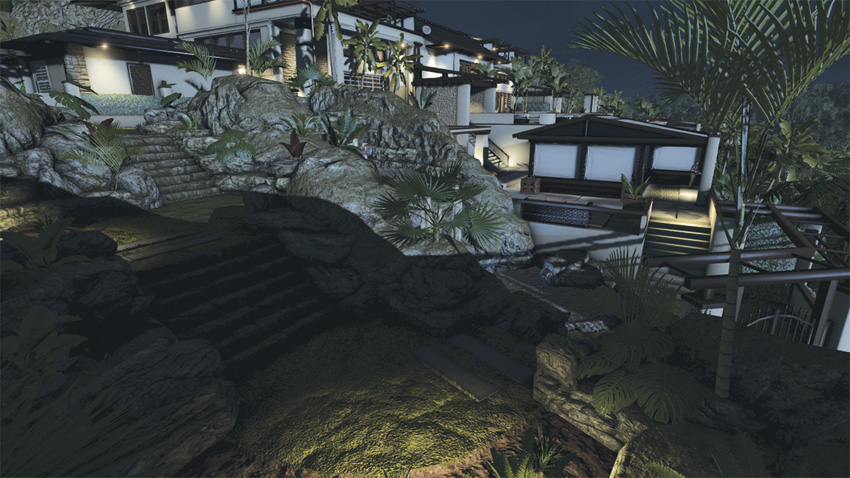
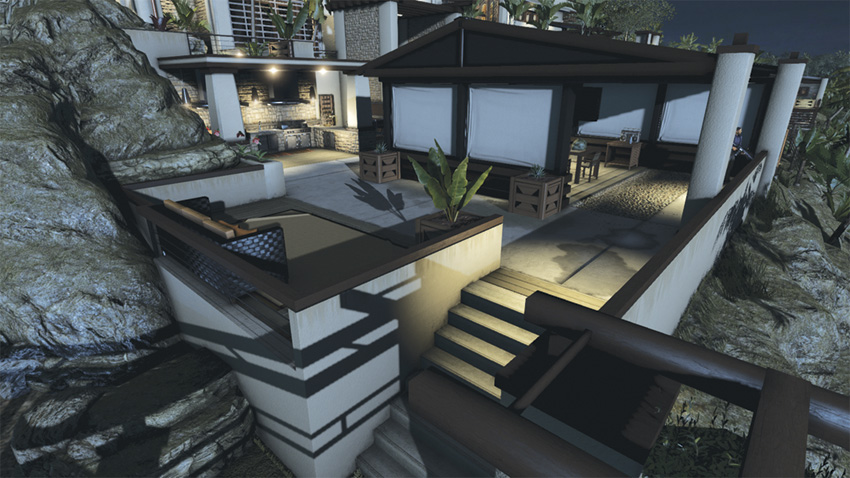
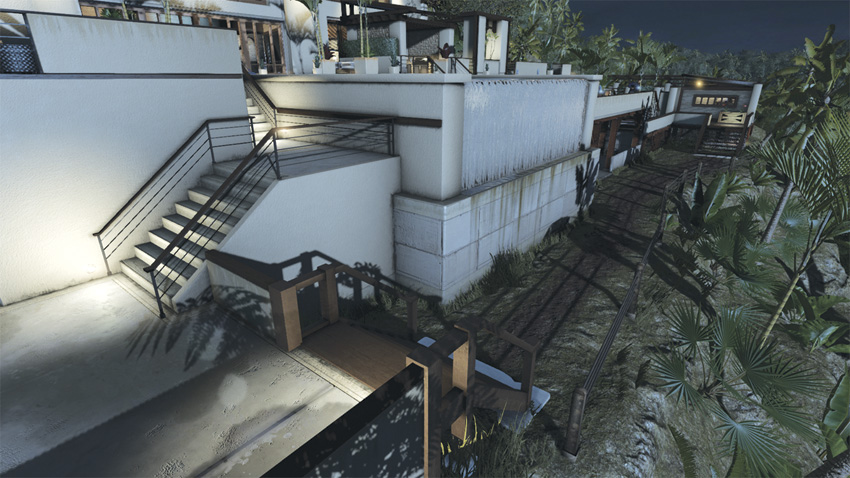
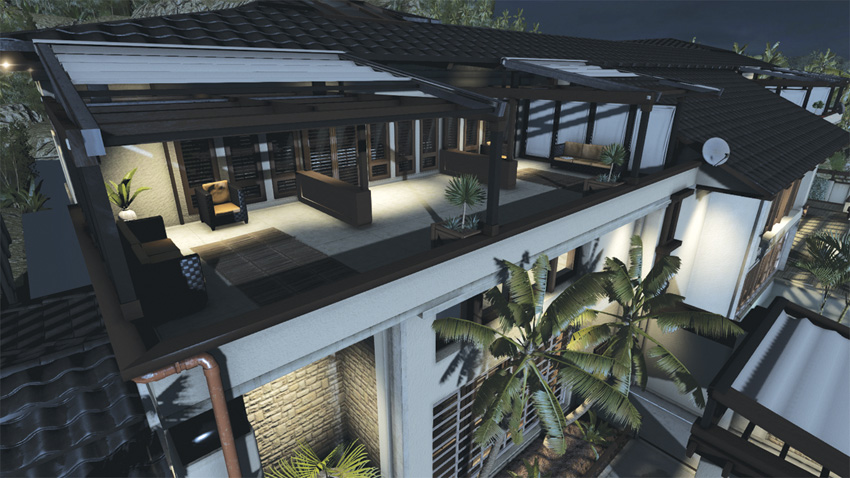
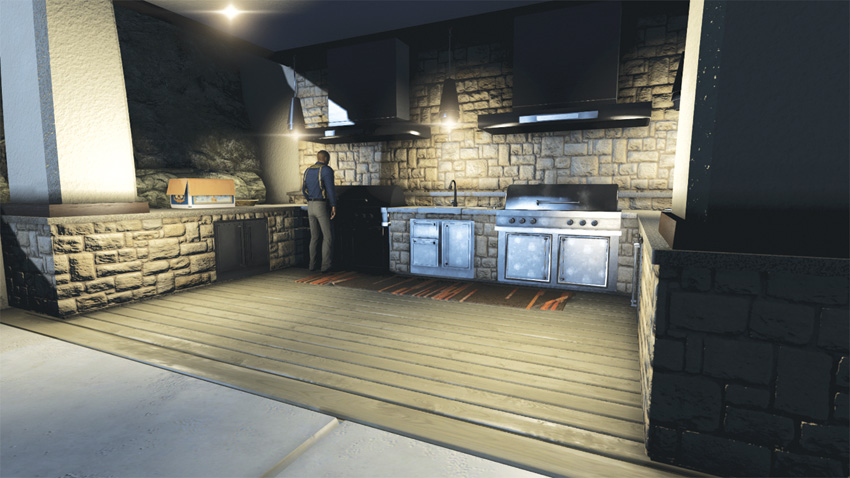
After the security system has been accessed by Charlie, you exit the control room and step into the lavish patio area of the estate. This area is heavily guarded, with patrols frequently crossing paths with one another. After exiting the control room, follow the stone wall to the right until the path turns to the left. Follow the path and take cover near the stairs; soon a guard will patrol the area. Quietly neutralize him when he does. Continue along the path and up the stairs to a outdoor kitchen and dining area. Stay outside the tent to avoid the gaze of the guards and maintain visibility of the kitchen area. The High Value Target for the mission frequents the area. Wait until the second guard leaves before capturing the target. Move past the dining area and turn right. Continue past both sets of stairs and climb over the ledge near the stairs leading down. This path is frequented by a guard dog. While hanging, throw a Sticky Camera toward the animal and release the Sleeping Gas to neutralize it. Proceed down the stairs and follow the dirt path. Soon you arrive at a small building where you can deploy your Tri-Rotor to release the EMP and shut down the estate’s power.
High Value Target
Staying off to the side of the dining area affords visibility of the HVT. Once he is alone at the kitchen area, capture him and leave him out of sight.
With the power down, the guards are on full alert and they are hunting for you. Exit the building and turn left to follow the dirt path back toward the dining area. Once you have reached the dining area, turn right and proceed up the stairs near the outdoor kitchen. At the top of the stairs, climb onto the wall to your right that divides the area from the pool. From this ledge, you can climb the wooden trellis up to a balcony. This balcony serves as your insertion point into the estate.
ASSAULT
The patio area poses a unique opportunity for going loud, if you purchased an ACOG Scope for your alternate weapon. From the start of the area, go left, eliminating the guard there in the process. Now, climb the nearby pipe up to the balcony. Allow the guards below to see you; doing so will draw their fire to the balcony. From this vantage point, switch your alternate weapon to single shot and you can snipe the guards below. Switching from one side of the balcony to the other will throw the guards into a panic, and you can pick more of them off and whittle down their numbers. Don’t get too greedy; once the guards have your position, they can quickly kill you if you are exposed.
After the EMP sequence, make your stand within the building you used to deploy the Tri-Rotor. Fire a single unsuppressed shot to get the chaos started. Be careful when the door is breached because it is likely a guard dog will be with the hostiles as well. As you step out from the building and make your way toward the patio, be ready to retreat to the building if you need to. Take cover near the door, switching from side to side to pick off any enemies that approach. After you have cut their numbers down, make your way toward the estate. Keep an eye on the balconies, as guards will try to fire upon you from these elevated positions. If you have difficulty finding hostiles, look for the beams of their flashlights to locate them as they move about the patio in search of you.
3: Estate (Interior)
GHOST
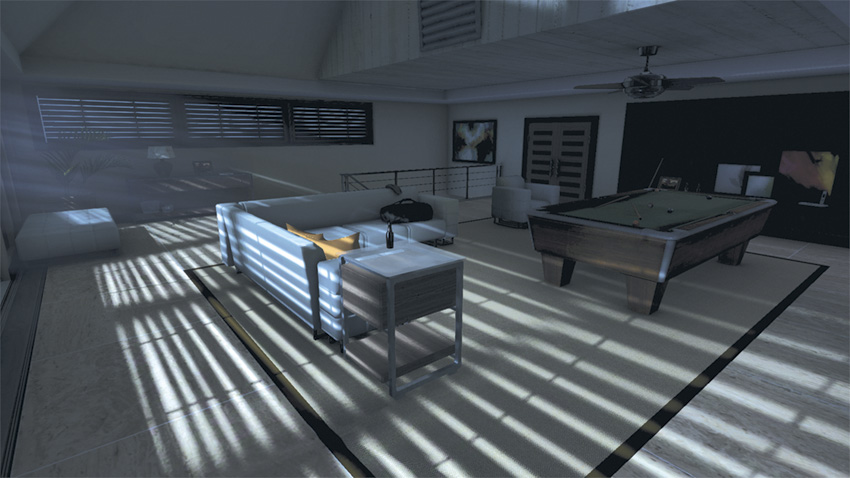
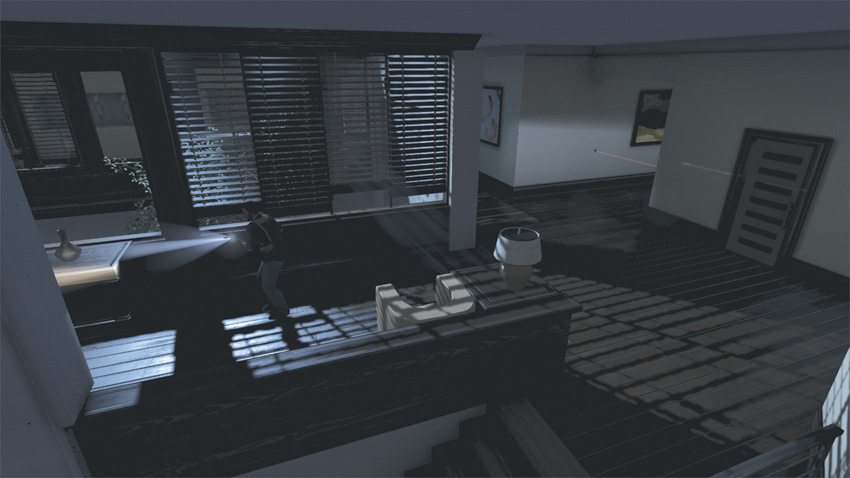
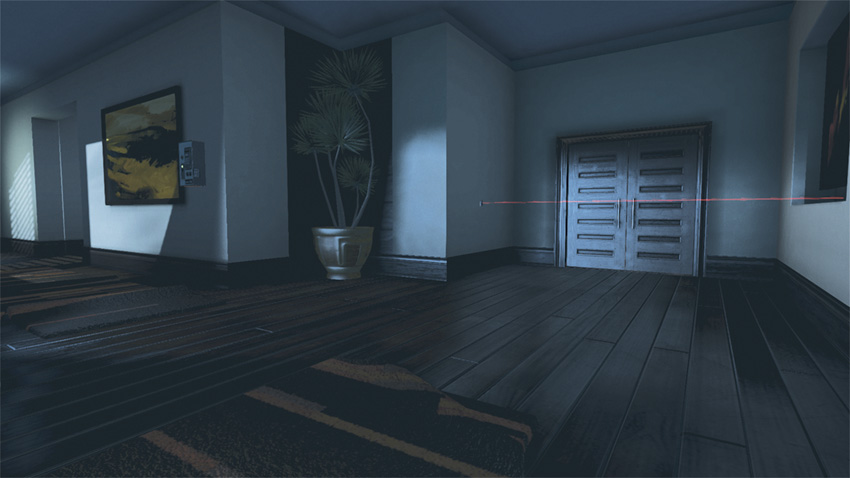
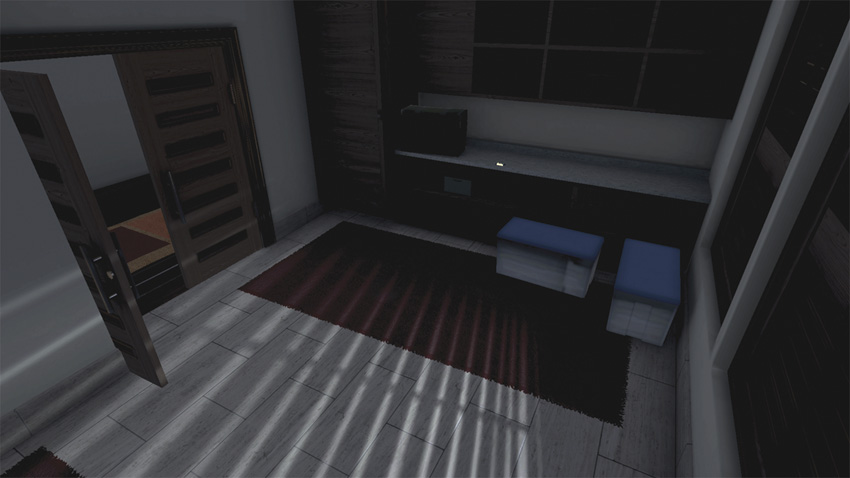
If you chose to enter via the second-floor balcony, you begin the infiltration within the estate’s parlor room. Exit the room via the door and turn right. Follow the hallway and use a Sticky EMP to disable the control box on the right. At the end of the hall, wait for the guard to enter the room just around the corner to the left. Turn right and follow the path until you come to a junction. Ahead of you is the bedroom where the panic room is found, but a laser blocks your path. Turn left and note the control box on the wall, but be aware of the guard that patrols through this area.
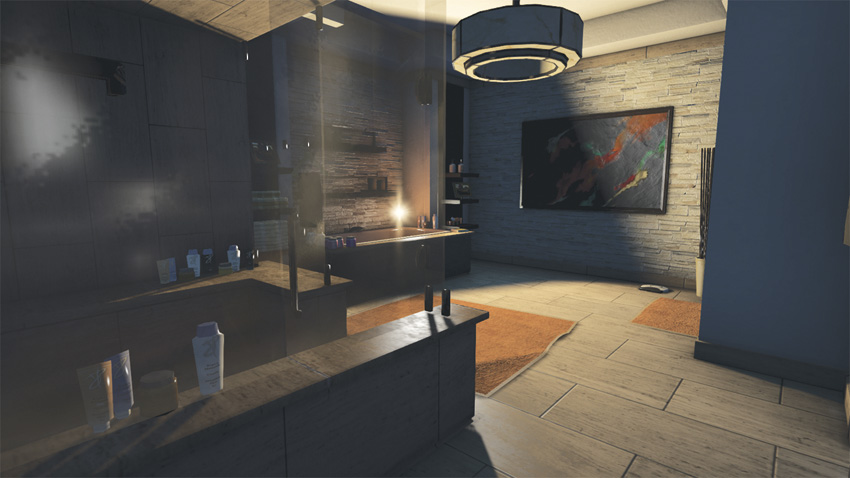
Continue past the control box and turn right. The first door on the left is the room where the Dead Drop is found. After collecting the Dead Drop, exit the room and turn right. At the first left is the control box you just passed by. Disable it with a Sticky EMP and enter the door to the left, which was guarded by a laser. There may be hostiles inside, so be sure to take cover near the door until it is safe to proceed. The bathroom is immediately to the left after entering the room. Here, you can breach the panic room and confront Reza Nouri.
Dead Drop
After collecting the Dead Drop, use your Sonar Goggles to track the guard that patrols near the control box just outside.
ASSAULT
When going loud inside the estate, ensure that you have a sufficient amount of ammo to handle the onslaught of guards as they flood toward you. No matter the entrance where you begin the firefight, use all the cover available to you to defend against the barrage of bullets. Avoid moving too fast, as the tight hallways and switchbacks can result in your being trapped between groups of hostiles. As you advance, be aware of the balconies and stairs that overlook the majority of the ground floor. These areas are frequented by guards looking to ambush you.
4: Estate (Escape)
GHOST
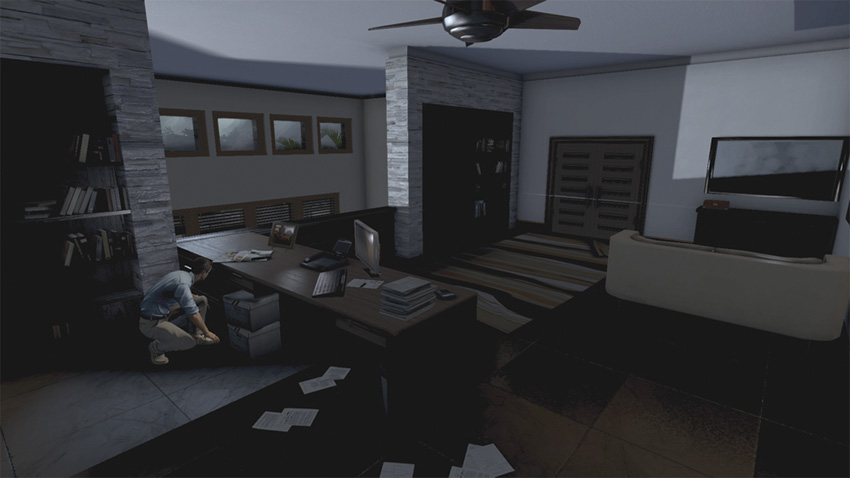
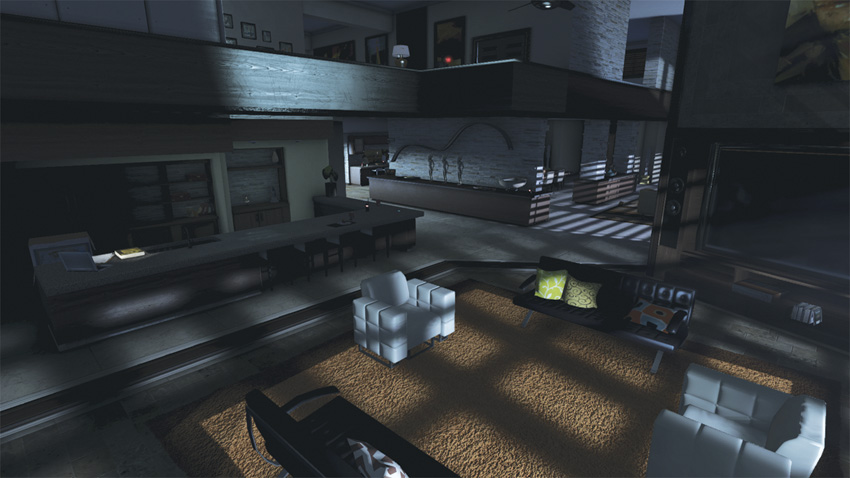
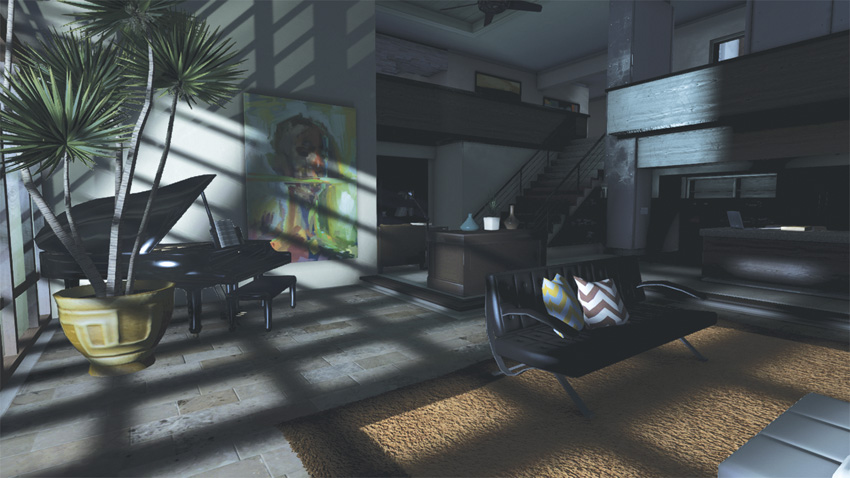
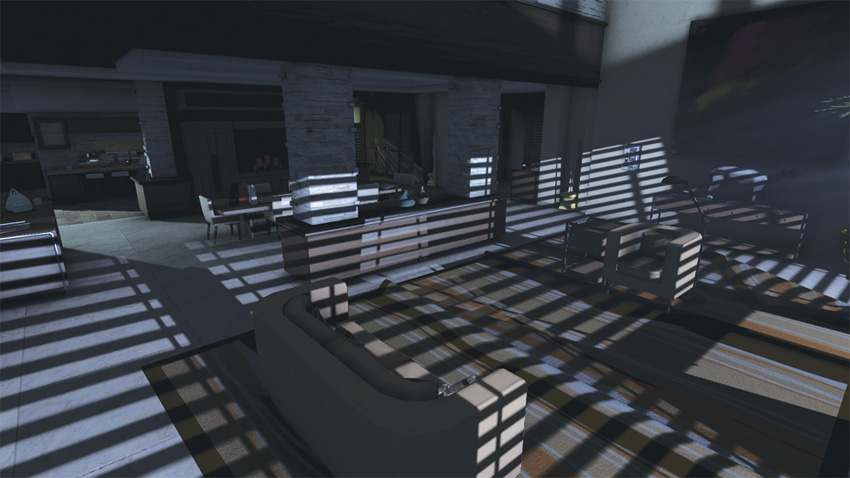
Keeping Nouri alive while remaining undetected is going to take a bit of cunning and extensive gadget use. After exiting the panic room, Nouri takes cover behind a desk. Continue past him and over the ledge. From the ledge, throw a Sticky Camera in front of the office doors and release Sleeping Gas when the two Commandos breach the door. Stay suspended from the ledge and wait. Four more Commandos will enter from the entrance beneath you. When they do, throw a Sleeping Gas canister to the floor below to neutralize them. Be aware that the Sleeping Gas may affect only three of your foes, requiring you to drop down and finish the remaining hostile with a melee attack or your Stun Gun.
ASSAULT
When Nouri takes cover behind the desk, climb over the nearby ledge and move left. When you see the two Commandos preparing to breach, peek over and use headshots to take them down. Commandos will soon flood the ground floor after Nouri takes cover across the room on the first floor. Staying on the balcony is your best chance of eliminating the hostiles while maintaining a detection status. Using a single-shot weapon, wait for the Commandos to advance toward Nouri, and pick them off as they cross the room.
5: Private Docks
GHOST
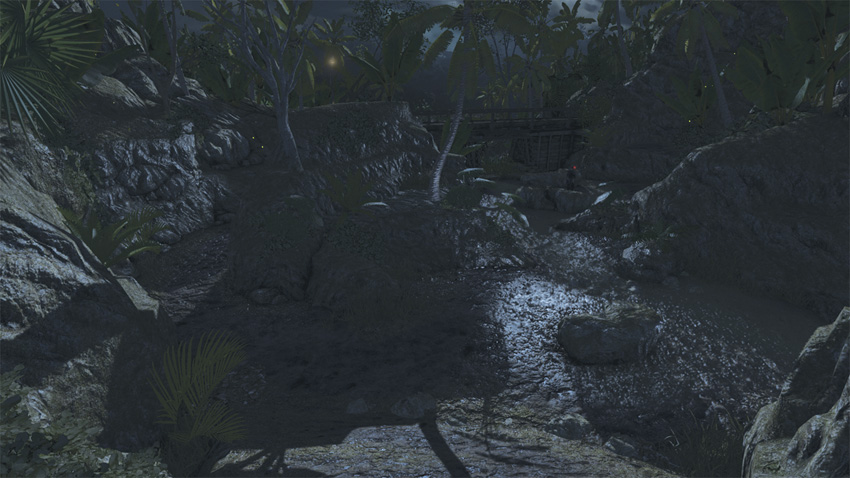
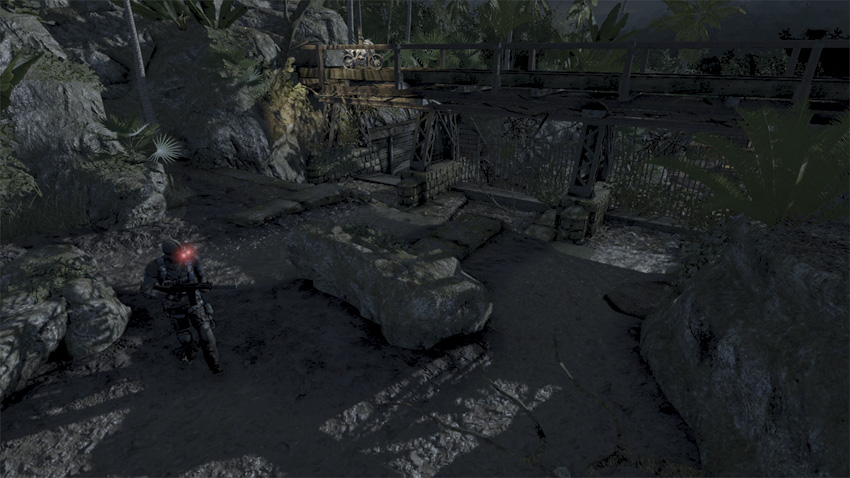
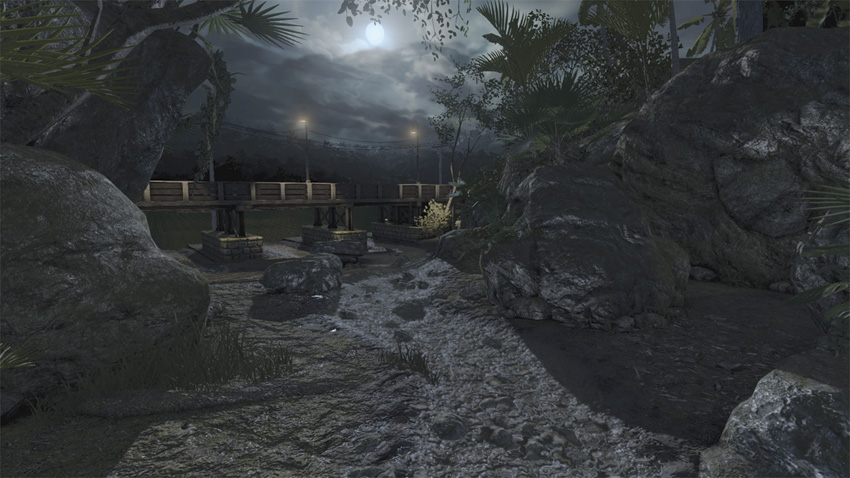
Follow Nouri through the escape tunnel and resupply at the Supply Cache if you need to do so. Once outside, your task is to navigate the jungle terrain until you come to the docks. Along the way, you will encounter Commandos that will call for reinforcements if they detect you. When you come to the first fork in the path, stay to the left of the large rocks. A lone Commando is searching the right side of the fork and proceeding toward you, so make it quick. Stay to the left and pass beneath the bridge. Follow the path until you come to another fork. This time, wait for the patrolling guard to pass by, neutralizing him with your Stun Gun when he does. Advance through the left path, but before exiting the shadows, wait for a second guard to approach the area. Once he is within range, neutralize him as well. With those threats dispatched, you can run toward the dock with Nouri unhindered.
ASSAULT
While it is not recommended to go loud here, if you do so, be sure to have a large supply of pistol ammunition. The Commandos here will deploy Smoke Grenades when they detect you to conceal the approach of reinforcements. Their goggles allow them to see through the haze. This poses a significant threat to you, as you cannot take cover or use your alternate weapon while holding Nouri. To even the score, throw a Sticky EMP in the direction of the Commandos. All those caught within the blast will temporarily lose the functionality of their goggles—indicated by the red lights going dark. This is a high-risk, low-reward fight, so be careful if you decide to engage in it.