LEGO Marvel's Avengers Guide Walkthrough (Console) Hub Transit: S.H.I.E.L.D. Helicarrier
Captain America and Agent Williams
Find Five Locks
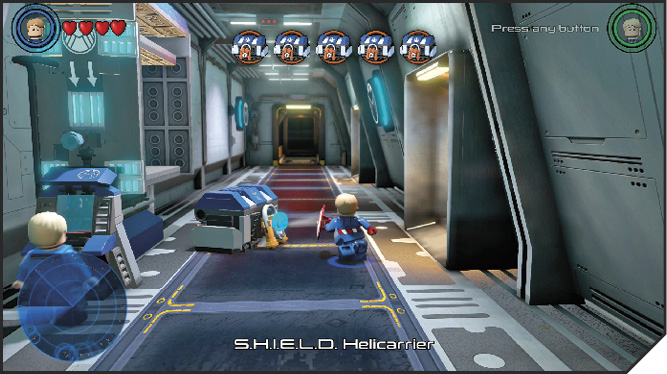
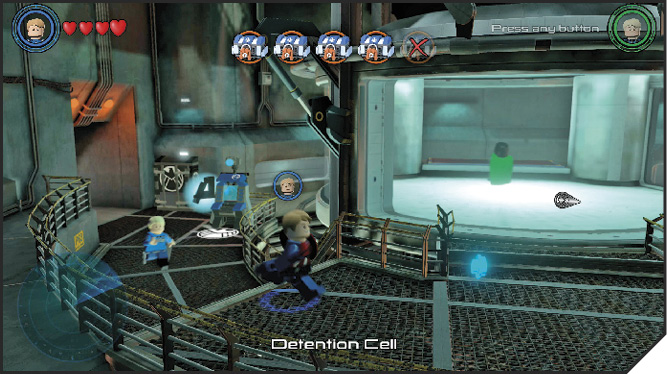
Leave Bruce Banner and Tony Stark to their research and head out to the hallway. Use the S.H.I.E.L.D. Access Terminal down the hall to reveal a locked storage crate. Any attack breaks open the lock.
Follow the ghost studs down the hall and enter the Detention Cell. Walk around to the other side of the room (an exchange between Black Widow and Loki interrupts the trip) until you spot a Twirl Pole and another locked storage crate on a high ledge. Switch to Captain America to reach the Twirl Pole, then swing up to the crate to knock it to the floor.
Return to the hallway and continue in the same direction as before. When the hallway ends, go down the stairs on the right into the Medical Bay. Activate the Shield Switch to open the door up the flight of stairs. The locked crate is at the end of the glass walkway through the door.
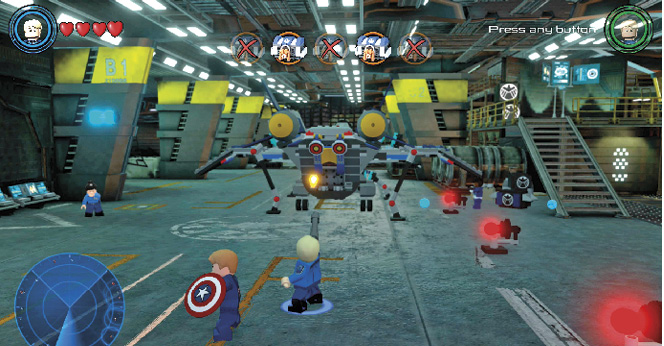
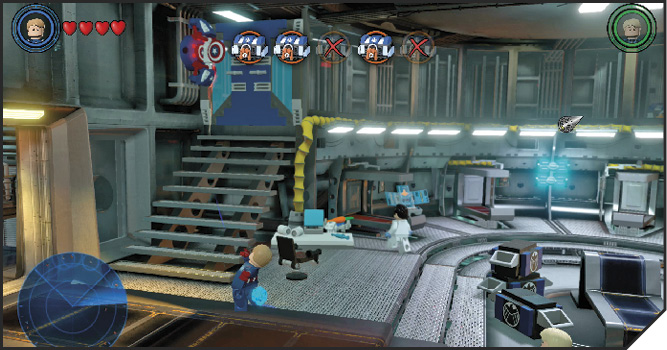
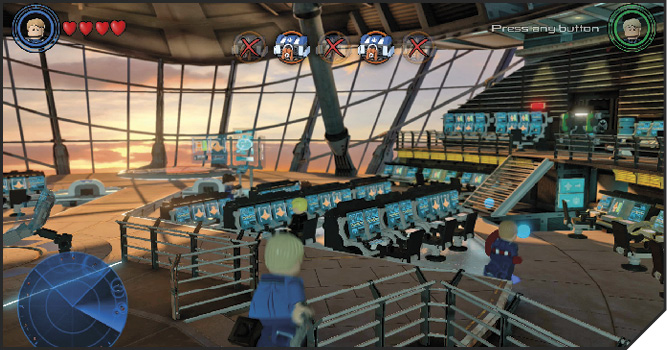
The next crate is on the other side of the Helicarrier, beyond the room where the search for crates began. Follow the ghost studs through the Control Room (where Maria Hill and Nick Fury are) and descend the stairs across the room to reach the hangar.
Go down the stairs in the hangar and shoot out the targets above the parked jet’s storage hatch, which opens and reveals the fourth locked crate. Open the crate with Captain America’s shield.
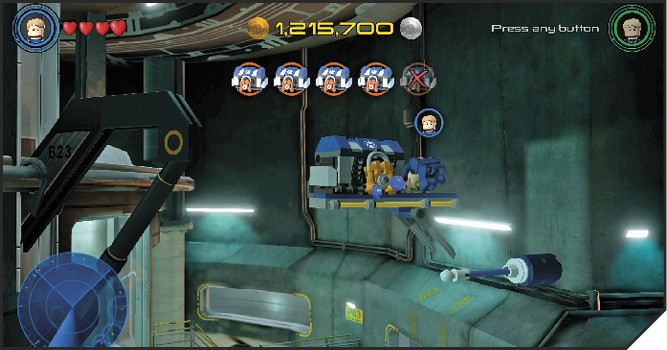
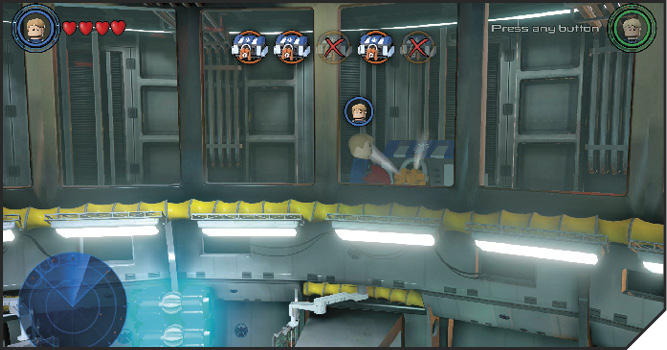
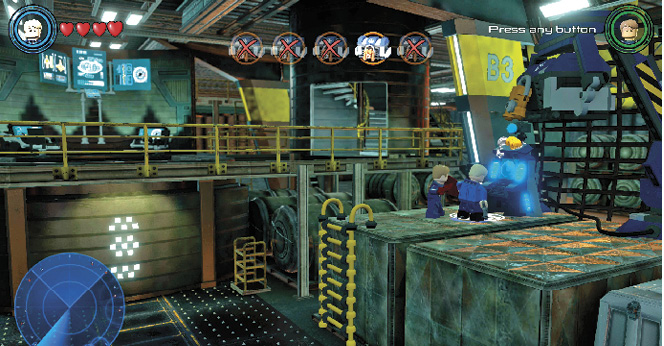
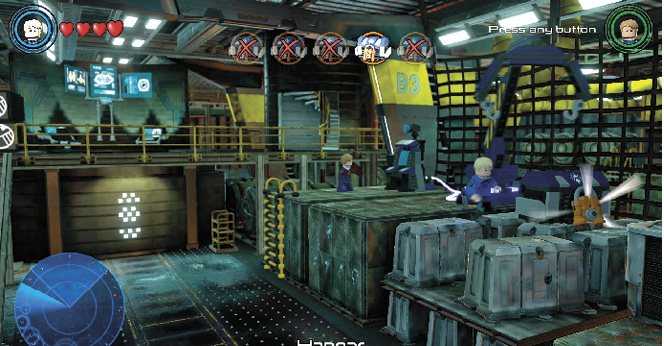
The final locked crate is a short distance away, still inside the hangar. Climb up the yellow ladder hooked to the large storage bins. Smash the crates and build a S.H.I.E.L.D. Access Terminal from the leftover bricks.
Use the controls to drop the fifth crate within reach of Captain America’s shield. Take the contents of the crate to the room with Bruce Banner and Tony Stark.