
LEGO Marvel's Avengers Guide Hubs (Console) Hub 2: South Africa
Gold Bricks
Gold Brick 1
There are seven barrels around the broken hull closest to the water. You must destroy all seven, but the order in which you destroy them doesn’t matter. Each barrel starts a countdown from 15 seconds no matter how much time was left when it was hit.
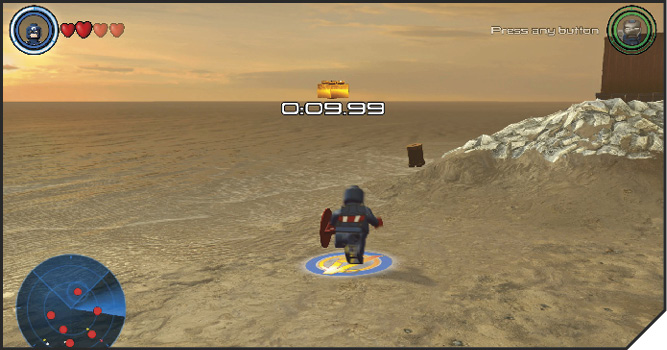
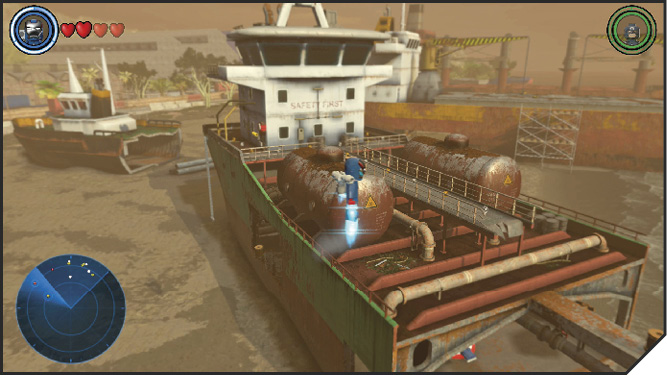
There are two barrels on the deck of the ship, so select a character who can fly to make this challenge easier. One barrel is in a hole in the hull, and another is under the ship’s propellers. The final three are in a lifeboat on the beach and on the rocky edge of the beach.
Gold Brick 2
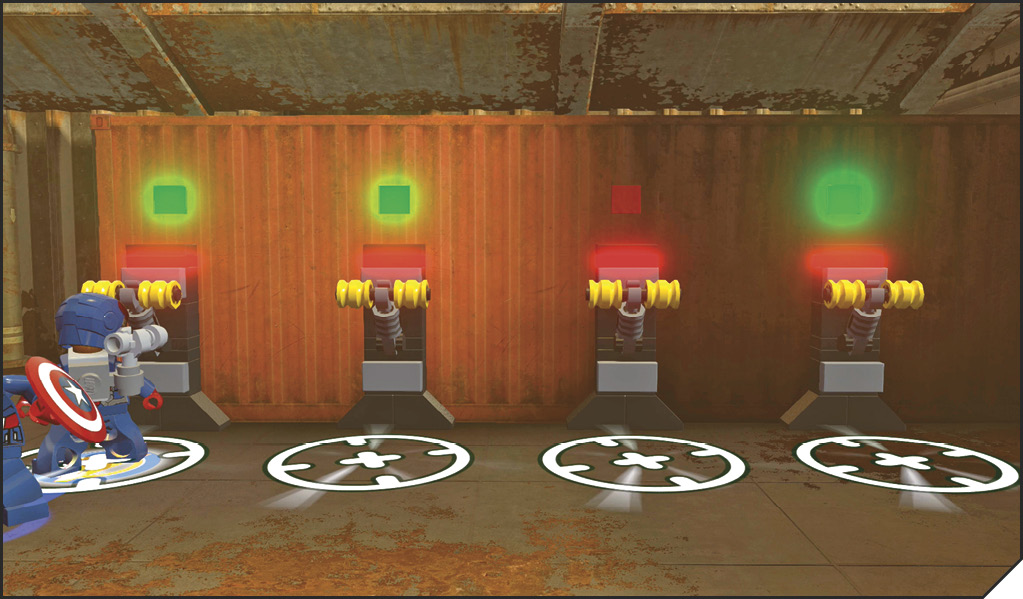
Inside the hold of the ship with the two large cranes are racks of barrels near green lights. Break apart the barrels and assemble switches from each rack. After all four switches are in place, the lights flash. Pull the switches in the same order as the lights flashed green.
Gold Brick 3
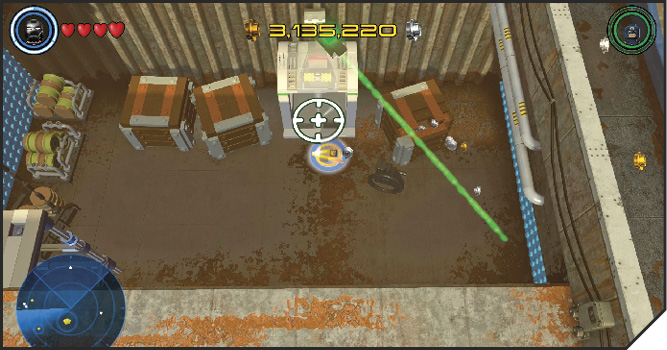
Fly into the hold of the intact ship that doesn’t touch water. Scan the area near the dividing wall to reveal a Shield Switch. Target the Shield Switch to open the cover of the switch on the other side of the wall. Tag to a stealthy character, sneak past the security camera, and pull the switch.
Gold Brick 4
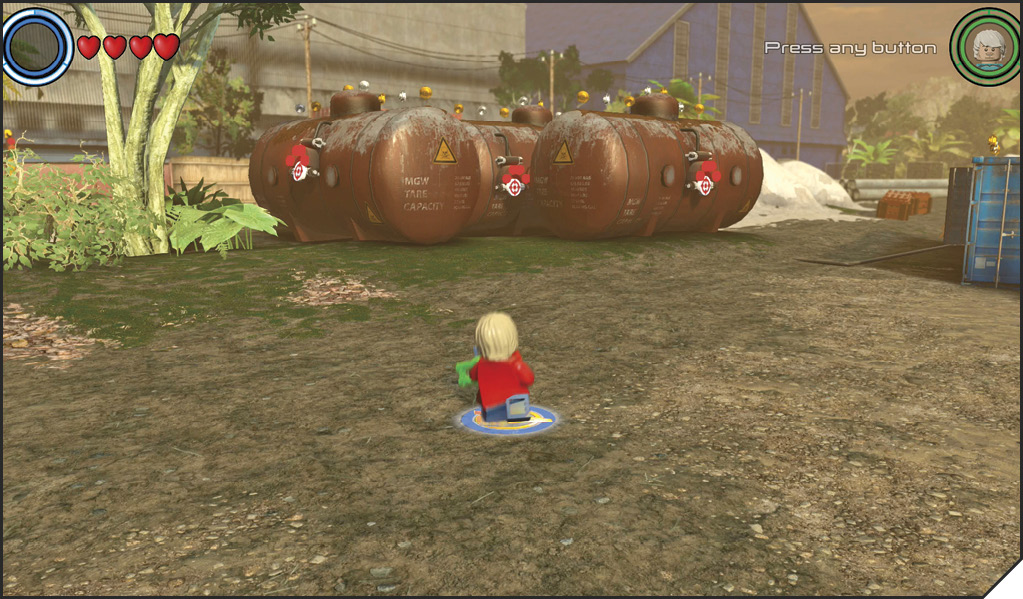
Look for three empty oil tanks near the road. There are targets on the tanks that you must hit with a ranged weapon. Walk around the tanks until you spot and shoot all five targets. If you hit all five within the time limit, your reward is in the nearby trailer, inside a gold LEGO object.
Gold Brick 5
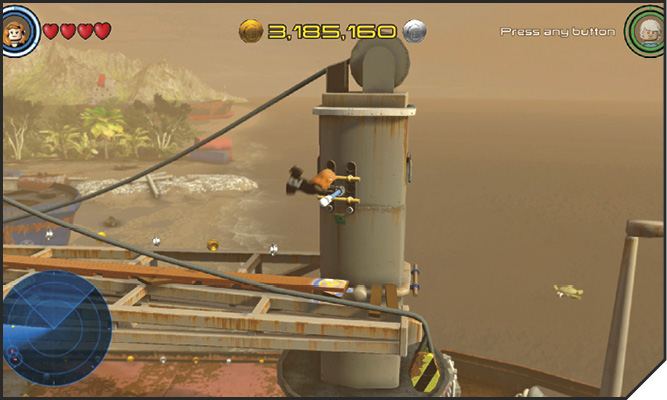
High up on the HMS Churchill are four Twirl Poles. Twirl on each one to pull them into a lower position and light a bulb on the smokestack. When the fourth bulb is lit, a chest opens beneath them.
Gold Brick 6
In the broken hull directly ahead of the start point, clear the wood from the ledge to expose a blue LEGO safe. Crack the safe to get the Gold Brick from inside.
