
Left 4 Dead Guide Walkthrough No Mercy
The Subway
Safe House
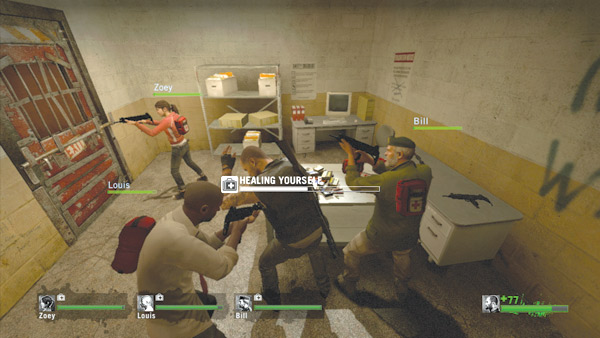
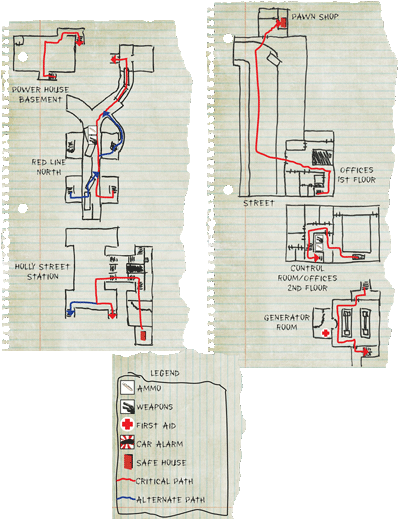
Having escaped the apartment, the survivors must now travel underground, utilizing the Red Line North subway tunnel. This leads directly to the hospital, but given the damage aboveground, it’s not certain if the entire stretch of the tunnel is open to foot traffic. Before heading out, stock up on ammo and health in the safe house.
If you haven’t already, heal up, then replenish your supplies by grabbing a new first aid kit. There are always four first aid kits in every safe house, so be sure not to leave one behind.
The SMG and pump shotgun are both adequate weapons for clearing the subway tunnels—just make sure your team has good mix of weaponry before exiting the safe house.
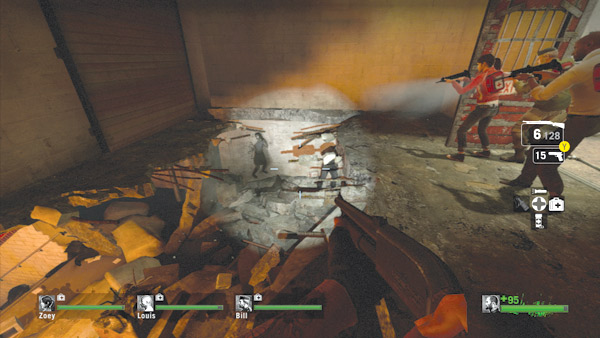
Just outside the safe house the floor is damaged, dropping down into a stairway. Pause at the top of this big hole and blast any zombies lurking below. If you or any team members have a pipe bomb, consider tossing it down the steps to flush out any infected skulking below. When it’s clear, drop through the hole simultaneously.
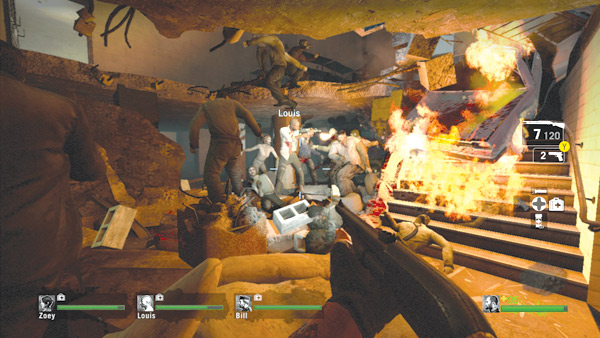
After dropping through the hole, turn around and clear out this dead-end area filled with concrete pillars and zombies. This is a favorite hiding spot for infected looking to pounce on your team early on, so don’t turn your back on this area until it’s clear. Watch for Boomers and other infected bosses lurking down here.
Holly Street Station
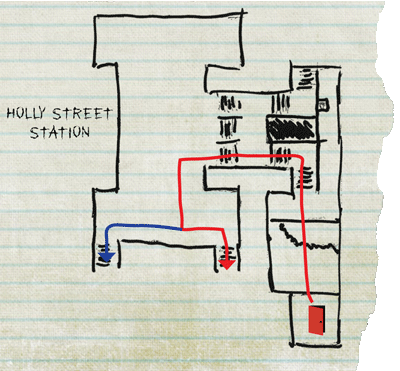
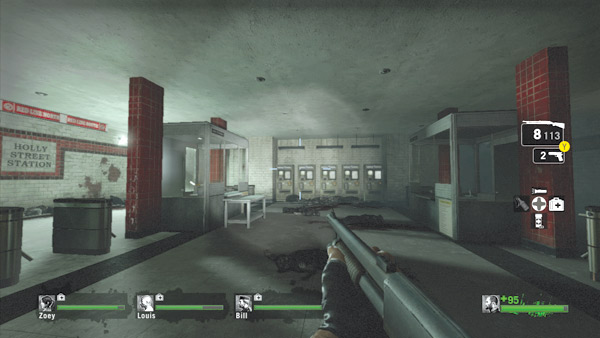
Proceed down the steps and escalator to the Holly Street Station turnstiles. Clear the area of threats then scour the ticket booths for supplies. The director may have spawned pills or pipe bombs in one (or both) of the ticket booths. Smash the glass windows with a melee strike to grab the supplies within.
There may also be weapon upgrades on the table in front of one of the ticket booths. Use this opportunity to grab an automatic shotgun, assault rifle, or sniper rifle. If no weapon upgrades appear here, the next best location is in the subway tunnel below.
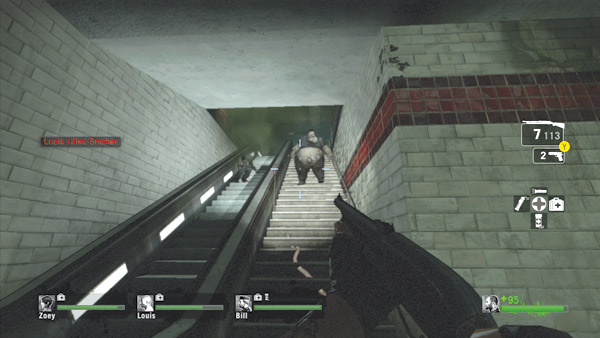
Two escalators lead up to the tunnel system above. Although each escalator leads to a separate platform, the same tunnel is accessible from either.
The escalator to the left leads to the Red Line North platform, putting you close to the tunnel you need to travel through. Whatever your decision, stick together. If your team gets split up here, the infected will have an easier time dispatching you.
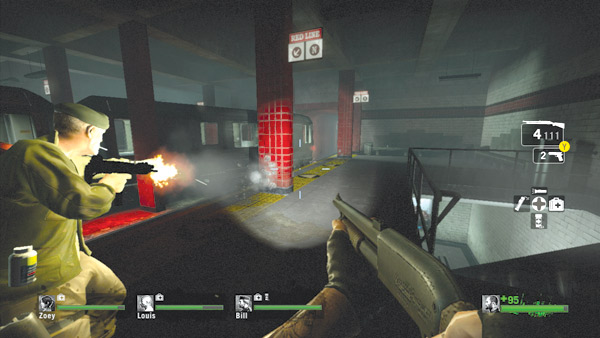
Be ready for a fight when you reach the top of the escalator. Even if no infected bosses show up, there are usually plenty of common infected to mop up before you can make a move for the tunnel. Also, don’t linger around the escalators.
Infected spawning downstairs love to rush up these steps and flank your team from behind. So remain vigilant while pushing toward the tunnel ahead.
Red Line North
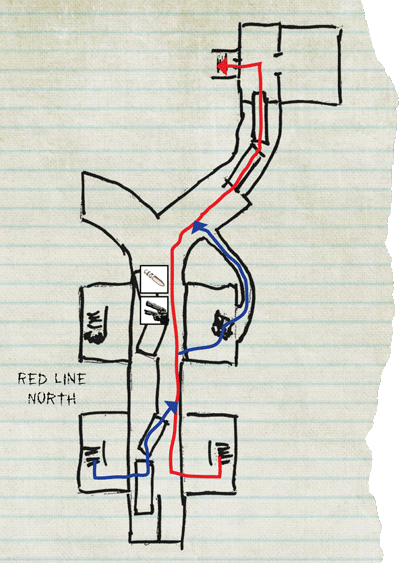
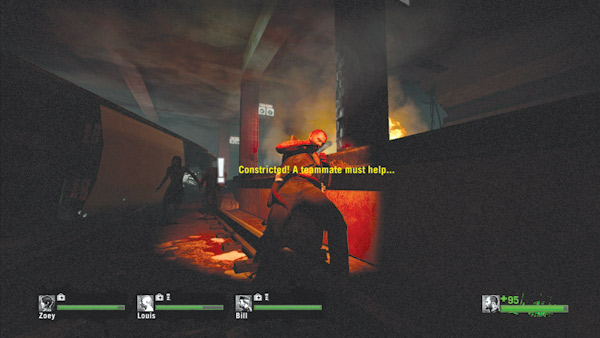
Drop onto the tracks and start moving along the Red Line North tunnel. Move quickly and drop any infected that get in your way. But stay close together and be ready for the inevitable attacks by the infected bosses, such as the Smoker and Hunter.
The closer you stay together, the quicker your teammates will be able to respond to these attacks.
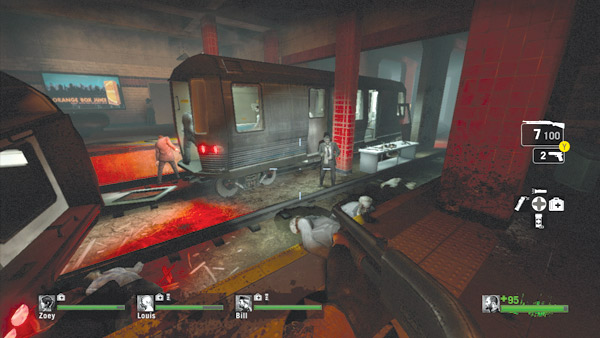
Farther down the tunnel is a subway car with a table next to it. This table always has ammo and may even hold weapon upgrades. But these supplies are in the middle of the tunnel so be ready for ambushes.
Cautiously clear the area of threats before dashing for the ammo and weapons. All the weapon upgrades are an improvement over the SMG and pump shotgun. Give the assault rifle or automatic shotgun a try before moving on.
Alternate Path: Side Tunnel
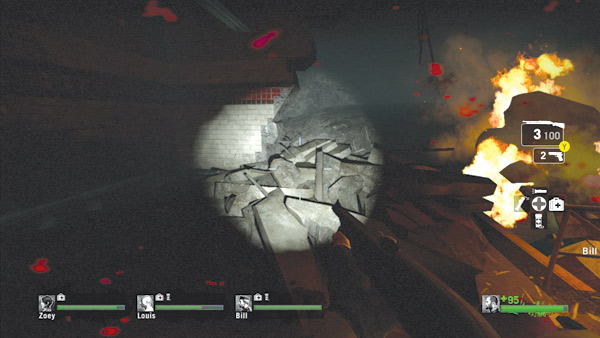
A large hole in the wall on the platform near the ammo table leads into a narrow passage that provides a slight shortcut through the subway tunnel. It’s usually a safe route, filled with few infected.
Consider taking it during single-player games or the co-op campaign. But in versus mode, it can be a trap, with the infected team coordinating attacks from both sides. So proceed with caution.
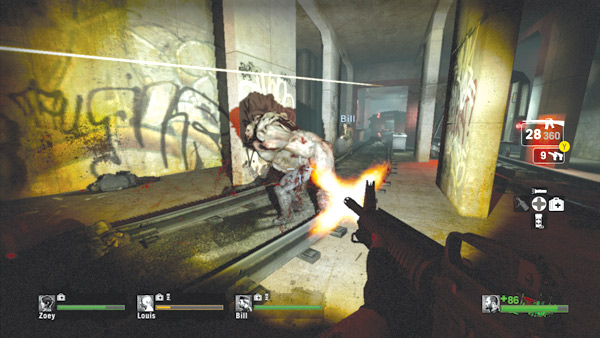
Continue down the tunnel and watch out for more infected. An encounter with a Tank is possible in this tunnel. If this occurs, mobility is your biggest concern, so stay out of subway cars and other cramped areas that prevent lateral movement.
The tunnel’s Y intersection is one of the best spots to deal with such threats, offering some room to sidestep the Tank’s advances and incoming rocks. Keep firing while dodging the Tank’s attacks.
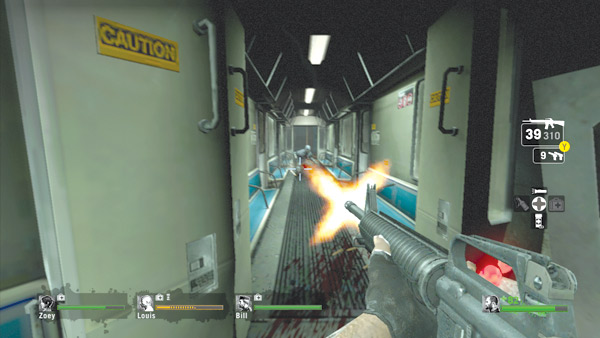
At the tunnel’s Y intersection stay to the right—the left branch is caved in. In this branch of the tunnel your team must move through a subway car. Cars can actually work to your team’s favor, preventing you from being flanked from the sides.
However, it’s important to keep weapons aimed at the front and rear of the car—these are the only entry points. Swarm attacks are particularly easy to defeat in these cars, especially if a shotgun or assault rifle is deployed against the incoming horde.
Powerhouse
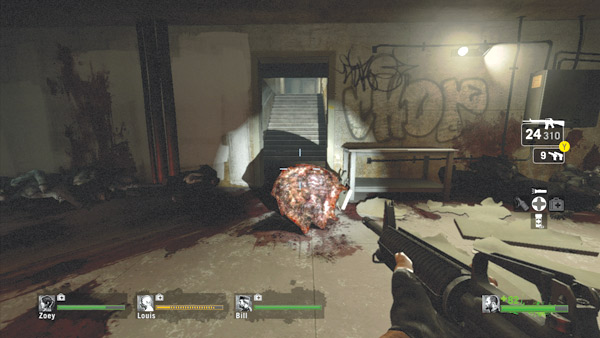
When you exit the subway car, the tunnel ahead is blocked. The only way out is a doorway to the left. This connects to a short staircase leading to the basement of an old powerhouse. Be careful when stepping in front of this doorway.
This area is a popular choke point used by the infected team to keep your team from advancing out of the subway tunnel. So stick together and quickly deal with any attacks by the infected while advancing up these steps.
Basement
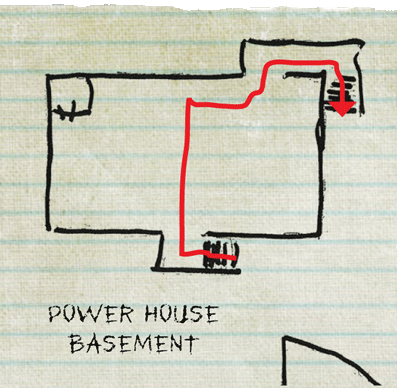
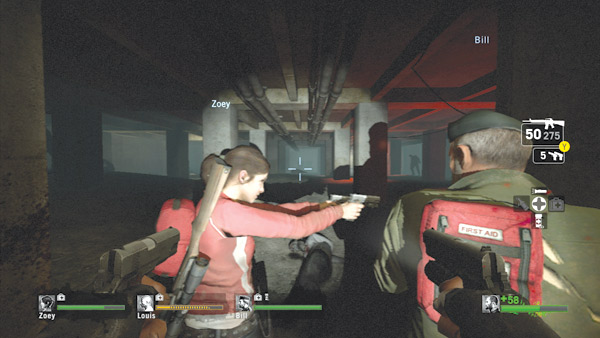
Climb the steps and cautiously enter this basement area beneath the powerhouse’s generator room. The building is supported by several concrete pillars, providing optimal hiding spots for the undead. Clear as many threats as possible from this entry point, then step inside and clear the corners.
The basement’s exit is on the opposite side of the room, so advance through this area quickly to avoid getting bogged down. But stay together; it’s easy to get separated in this large, dark room. So keep an eye on your teammates and offer support as needed.
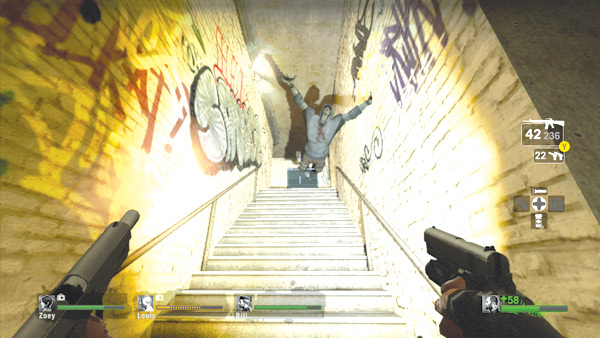
Cross the basement as quickly as possible and reach this set of steps on the far side of the room. Beware: This is another likely spot for an ambush by the infected.
A Hunter can leap from the top of the steps and pin you or a teammate with ease. Make sure your teammates are within support range before entering this area. Once the stairway is clear, race up the steps and enter the generator room.
Generator Room
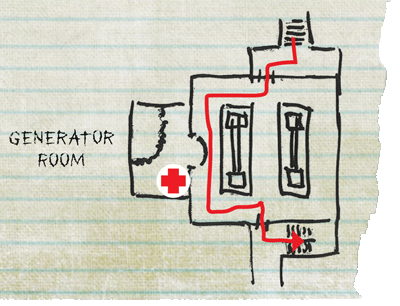
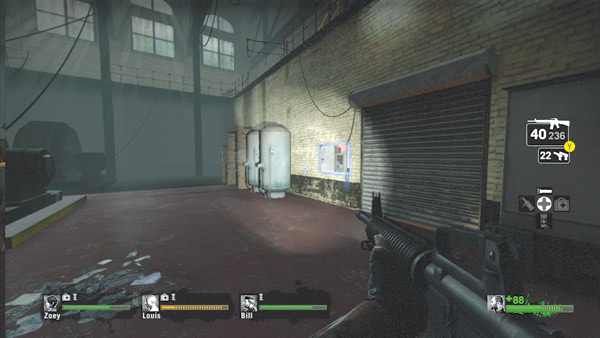
Expect more resistance in the generator room. Leap over the overturned tables near the entrance and clear the room while moving to the right side, where you’ll find a chain gun aimed toward the generators.
This is the site of a mini-finale, a sequence where the survivors must hold a fixed position for a short amount of time while the infected attack.
In this case, your team must hold out while a sliding door on the opposite side of the room opens—interact with the control panel on the left side of the door to open it.
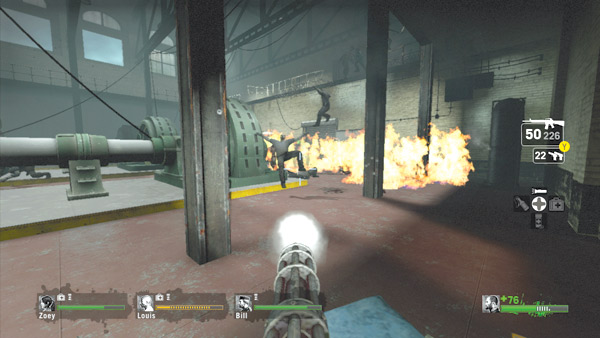
But before opening the door, take a moment to prepare your defense. There’s usually a fuel can on the floor near the door. Pick it up and drop it in the space between the door and the generator nearest the chain gun.
Next, raid the first aid station behind the chain gun and heal any team members with low health. When you’re ready to begin, have one of your teammates man the chain gun while another runs to the door’s control panel.
Once it’s activated, the lights in the room turn on and the door rises slowly. This also triggers an attack by the infected.
Use the chain gun to mow down the attackers and be sure to target the fuel can near the generator. This creates a wall of fire in this gap by the door, igniting any infected that attempt to pass.
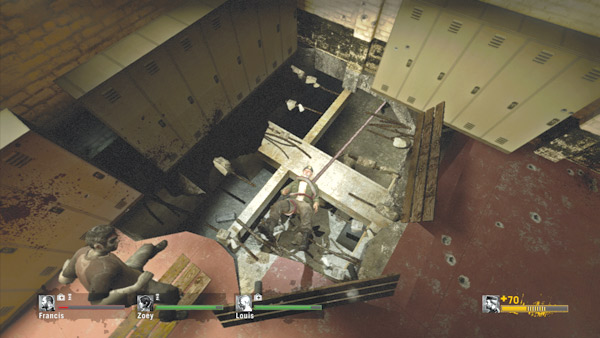
The chain gun isn’t enough to stop the infected attack. Some teammates should turn their attention to the hole in the floor behind the chain gun.
Common infected will climb up through this hole from the basement and attack. A Smoker positioned in the basement can even pull a survivor through this hole and pummel the victim to death.
So it’s important this hole is covered by at least a couple of survivors while the other two open fire on the hostiles in the generator room.
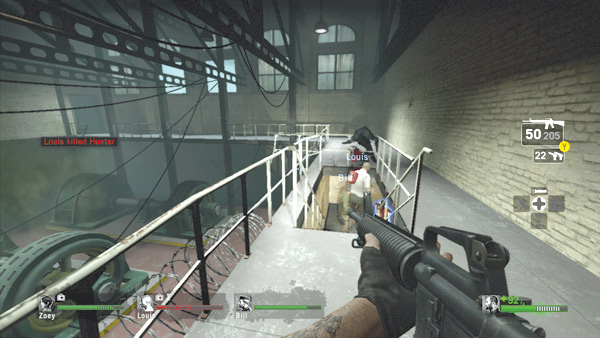
Once the attack has ceased and the door is fully open, regroup and head through the passage. This gives your team access to a staircase leading to the upper-level catwalk surrounding the generator room.
Carefully make your way up the stairs while watching for more infected stragglers eager to ambush your team. Once up the steps, rush into the nearby control room.
Control Room
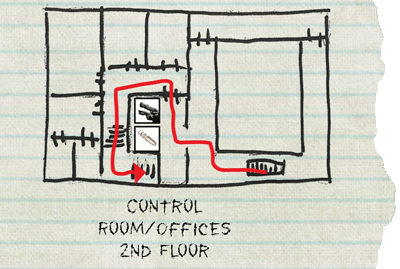
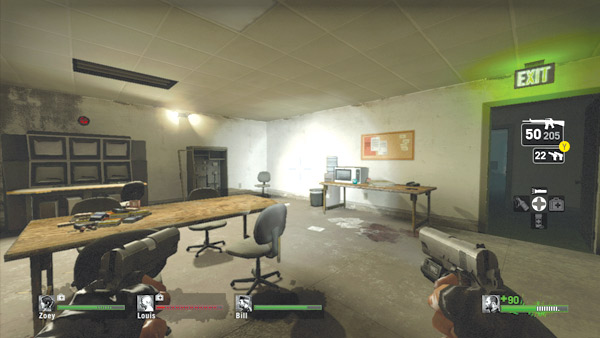
The control room serves like a mini-safe house, offering ammo and weapons. But don’t let your guard down. Your team still has a long way to go before it reaches a proper safe house.
Before stocking up, close the two doors to prevent the infected from sneaking up on your team. For the fight ahead, consider equipping your team with three assault rifles and one auto shotgun.
Although some close combat is required while exiting the powerhouse offices, the street outside features long sight lines, ideal for the assault rifle during your team’s race to the pawn shop safe house.
Offices
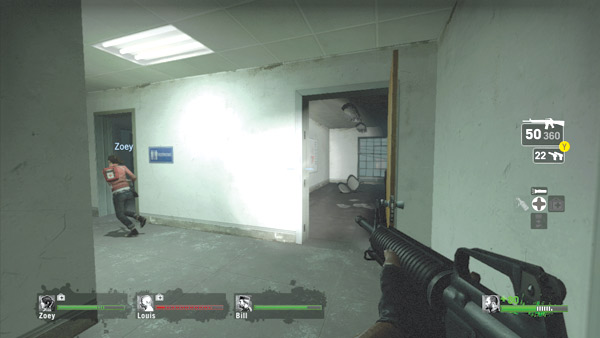
Attached to the control room are the powerhouse’s second-floor offices. A few common infected may be wandering around these halls and rooms, so stay together and search each room for useful supplies, such as molotovs and pills.
As long as you stay close together, the infected won’t have much of a chance to stage a serious attack—unless a Witch is present in one of these rooms. So keep your ears attuned to the tell-tale wailing of a nearby Witch.
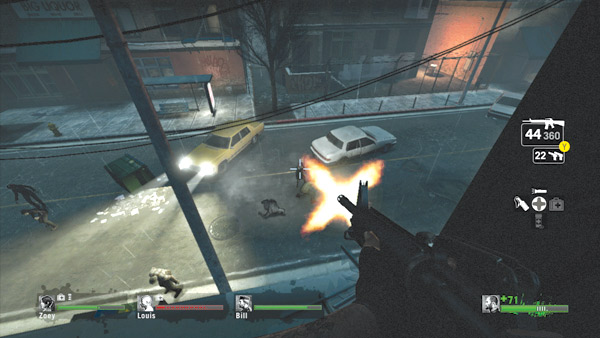
Consider knocking out the windows in the offices overlooking the street. From here you can pick off the infected in the street below, helping clear a path for your eventual run to the pawn shop. But don’t linger in front of these large windows for long—a Smoker on the street below may yank you out of the building.
Monitor the street, take a few shots, then rush downstairs and prepare to dash down the street. If you drop to the street through the window, you will take fall damage, so use the stairs.
Street
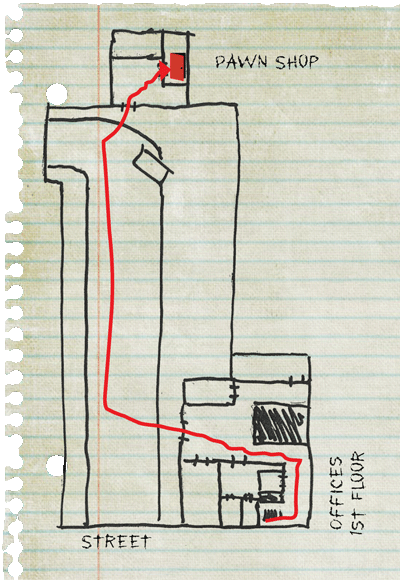
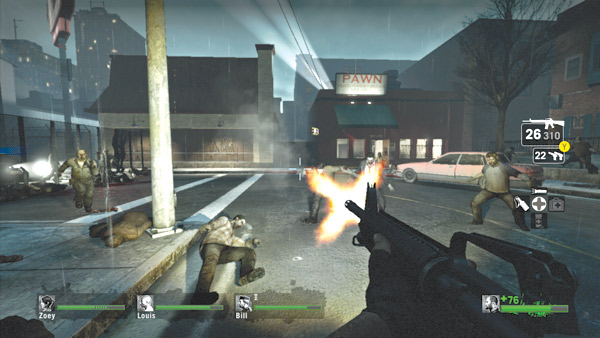
Get down to the street and immediately make a push for the pawn shop—this is where the safe house for this level is located. Stay together, but avoid stopping while moving down the street, engaging the infected while on the move.
In versus mode, your opponents will undoubtedly throw everything they have at you here to prevent you from making it to the safe house. As you near the pawn shop, watch the chain-link fence on the left.
Common infected will most likely climb over this fence to attack your team. Hunters and Smokers hiding around the corner can also pose a serious threat, so stay alert.
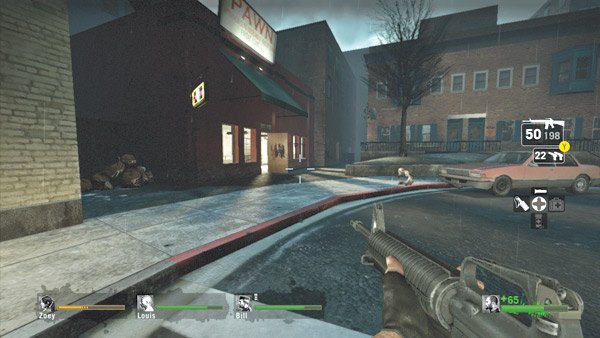
The red car parked in front of the pawn shop is equipped with an alarm. Avoid bumping or shooting it, or else you’ll be faced with a swarm attack. The director may also have placed a Witch near the pawn shop’s entrance, making it virtually impossible to sneak past her.
Between the car alarm and a Witch, this is a very serious situation that must be dealt with very carefully. If you must engage the Witch, make sure no stray rounds hit the car.
Pawn Shop Safe House
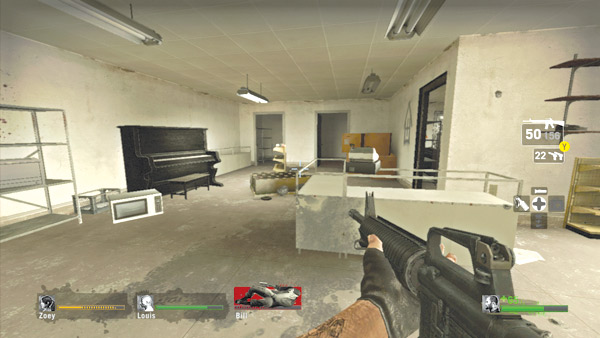
Once you’ve cleared the street, race into the pawn shop, through the door or the windows. Inside, take the door on the right to enter the safe house. Make sure your entire team makes it inside before shutting the door.
If necessary, hold just outside the door and provide covering fire while your team enters the pawn shop. Once everyone is inside and the door is closed, the level is complete and your team is safe—at least for a little while.