
Left 4 Dead Guide Walkthrough No Mercy
The Apartments
In No Mercy , the survivors—Bill, Francis, Louis, and Zoey—are tasked with traversing an urban landscape in search of rescue. Their objective is to reach Mercy Hospital in the middle of the city.
As the only suitable helicopter landing pad for miles, the hospital’s rooftop is the closest evacuation point.
But there’s one problem—thousands of reanimated infected stand between the survivors and the hospital.
The journey takes the survivors through the city streets, down into a subway tunnel, into the sewer system, and finally into the hospital.
Each location is swarming with the undead menace, requiring constant vigilance among the survivors during this nighttime trek through an extremely hostile environment.
Apartment Building
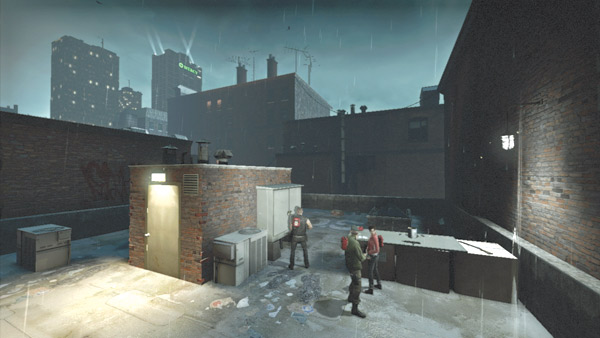
At the start of No Mercy , the survivors find themselves on the rooftop of an old apartment building. Unbeknownst to them, this very apartment building was quarantined early on during the outbreak, meaning that dozens of infected roam the rooms and halls below.
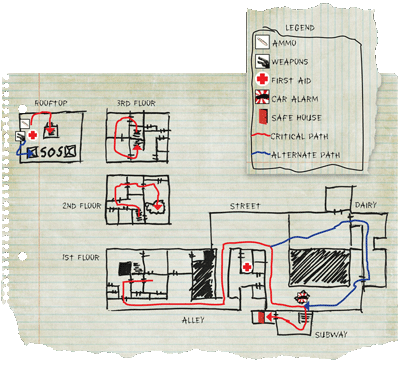
From this elevated position, Mercy Hospital can be seen in the distance. While it doesn’t look very far away, the path ahead is long and treacherous. For this phase of the journey, the survivors must descend through the infested apartment building and make it to the subway station down the street.
Rooftop
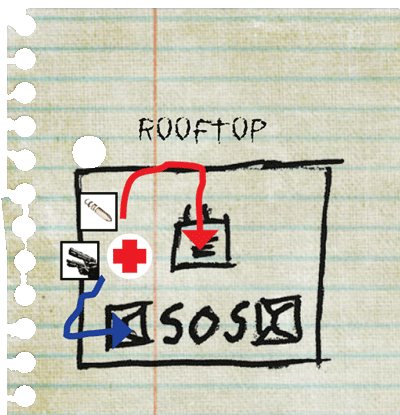
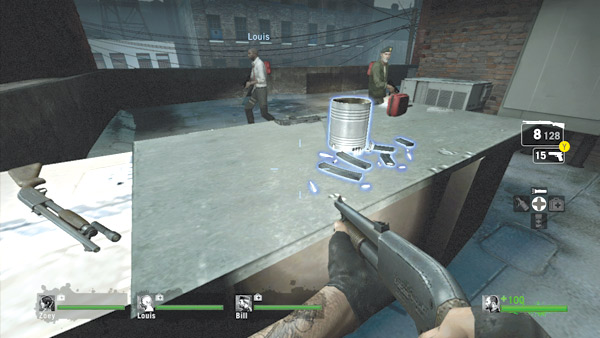
Before moving out, gear up at the nearby table. All survivors are armed with pistols at the beginning of the level and can supplement their load-out with one of two primary weapons: the pump shotgun or the submachine gun (SMG).
Both are very competent weapons, but the pump shotgun is a bit easier to use in the cramped apartment below. Still, it’s a good idea to keep a balance within the team.
So check with your teammates and consider going in with two submachine guns and two pump shotguns. Also, don’t forget to max out on ammo and grab one of the first aid kits.
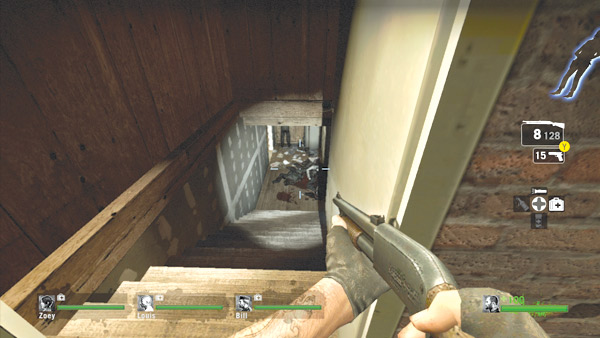
When your team has geared up and is ready to move out, you must descend to the apartment’s third floor.
There are two paths downstairs. The most obvious is the staircase at the center of the roof. But your team can also drop down through the skylight, landing in a bedroom below.
Both entry points have their advantages and disadvantages. The skylight is the quickest way to reach the third floor, but it’s tough to clear the room below before dropping in, so your team is at risk.
The staircase is a much safer route, allowing the lead player to clear a path while descending the stairs—the pump shotgun is ideal for this.
Whatever your decision, keep the team together while moving through the staircase or skylight. Splitting up at this point could be disastrous.
Third Floor
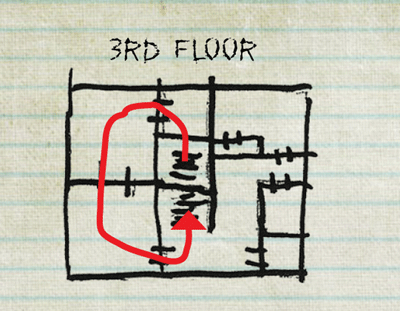
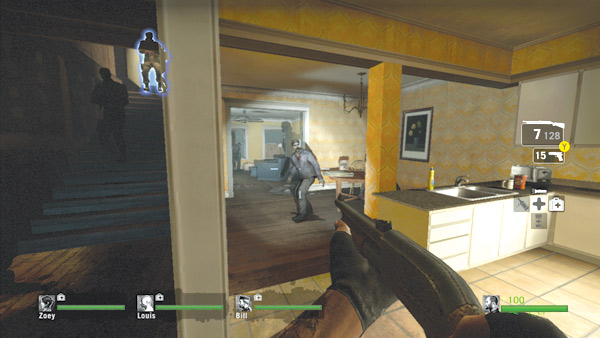
Regardless of which entry point your team has chosen, be ready to open fire as soon as you reach the third floor. Expect light to moderate concentrations of common infected on this floor.
Quickly survey your surroundings and make sure all your teammates have clear angles on the hostiles. The lighting is poor on this floor so keep your flashlights on to illuminate dark corners and rooms.
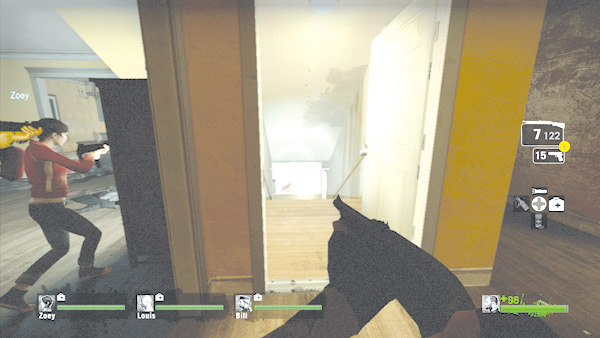
Make quick work of the zombies on the third floor while pushing toward this stairway in the center of the building. Be careful when turning the corner to peer down the stairs.
This is a popular ambush point, particularly for Boomers hoping to trigger a swarm attack. If you encounter one here, don’t shoot! Instead, push the Boomer down the stairs with a melee strike and make the kill a safe distance away.
Second Floor
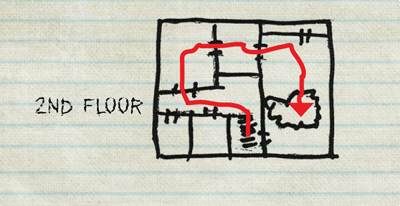
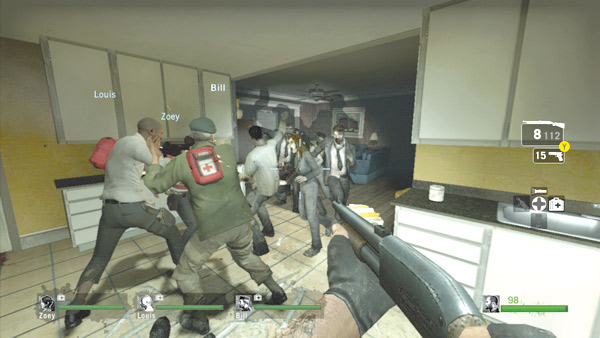
The path through the second floor is completely linear, but be sure to watch the side rooms for infected attempting to blindside your team. The side rooms can also be good sources for pickups such as pills and molotov cocktails.
If you haven’t encountered a swarm attack by now, be ready for one here. You can hear these attacks building up before you can actually see them, so be ready to take a stand when you hear an incoming horde thundering through the building.
Make sure everyone in the team has a clear angle on the hostiles and do your best to avoid friendly fire—if a zombie is close to a teammate, move it away with a melee attack before shooting.
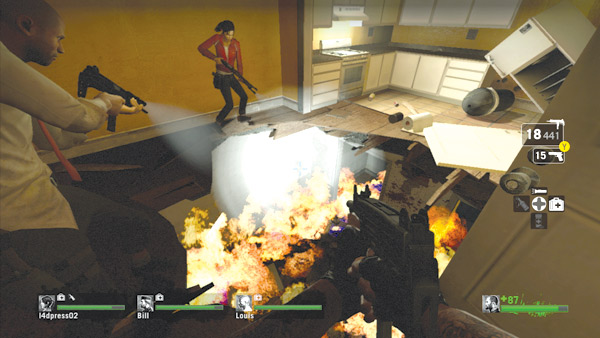
Continue advancing through the second floor, dispatching the undead as you go. When you come to this hole in the floor, stop and wait for everyone to catch up.
There are usually multiple zombies on the floor below, some climbing up through the hole in an attempt to reach your team.
Clear the visible space below before dropping through to reach the first floor. If you have a molotov cocktail, toss it down through the hole to incinerate the zombies below.
When the first floor looks clear, make sure everyone on your team drops through the hole at the same time.
This will prevent anyone from getting stuck or pinned on the second floor. Plus, it allows your entire team to impose its firepower on any threats lurking on the first floor.
First Floor
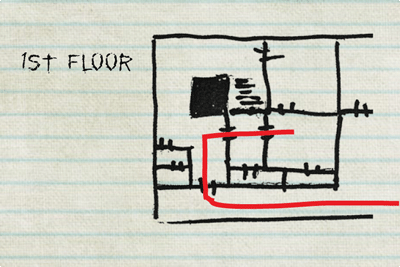
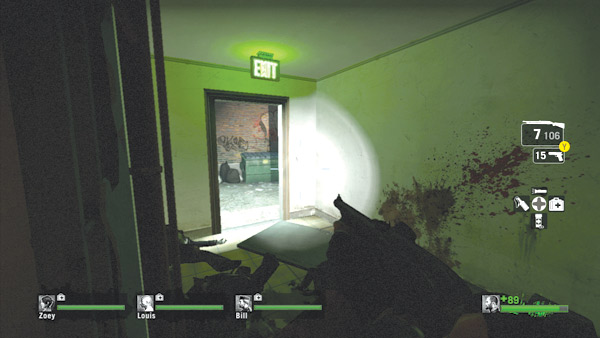
Once your team has reached the first floor, you’re only a few paces away from the building’s exit. Immediately after dropping through the hole, race past the blinking alarm clock to spot the green glow of the exit sign. Turn left and run out into the alley to escape the apartment building.
Alley
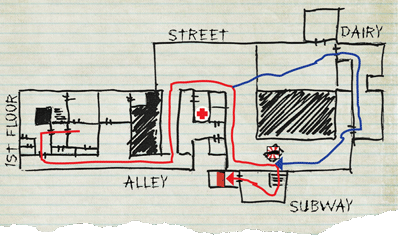
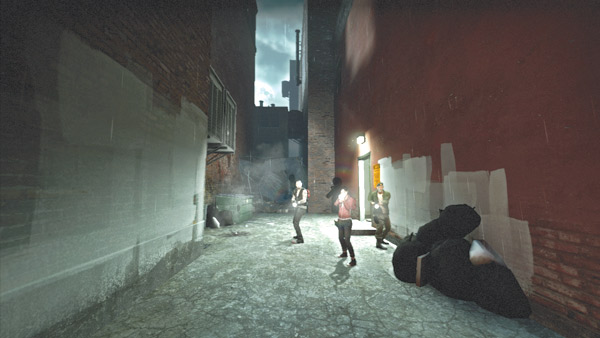
Upon exiting the apartment building, the survivors must pass through a narrow L-shaped alleyway leading out to the main street. The length of and long sight lines offered by these passages favor the SMG and pistol over the shotgun. So consider having your SMG-toting buddies lead the way during this phase of the journey.
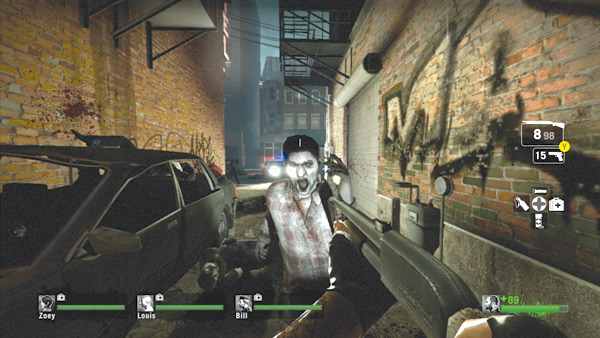
Concentrating your firepower down these alleys allows your team to dispatch zombies at long range, mitigating the chance of close encounters. However, there may be a few zombies huddled near cars or dumpsters, so be ready to blast them as they rush into view.
While your team’s firepower and the tall walls of the surrounding buildings may make you feel secure in this alley, don’t linger here too long. In versus mode, the infected can attack from the rooftops, so make a concerted effort to reach the street ASAP.
Street
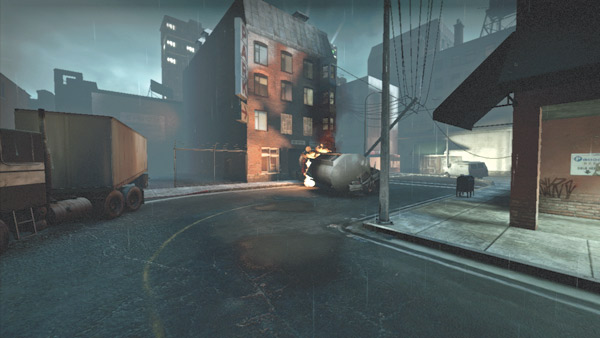
The alley empties into the street, the main artery leading to the subway station and this map’s safe house. Combat in the street differs significantly from the action in the apartment or alley. For one, the street is very wide and the infected can attack from virtually any direction.
So stay on alert and keep moving to avoid getting surrounded. Submachine guns and pistols work well for eliminating threats at intermediate to long range, but shotguns are essential for dealing with the inevitable swarm attack.
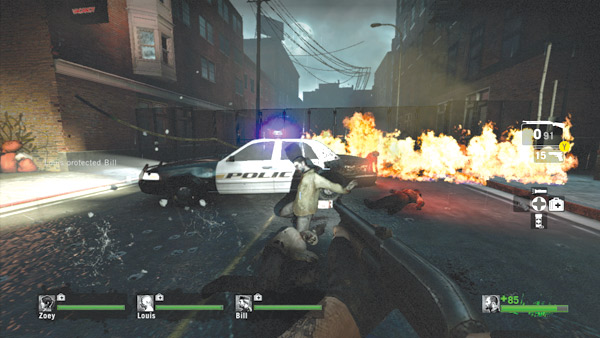
Immediately after exiting the alley, notice the chain-link fence blocking the street to the left, just beyond the abandoned police car. Zombies on the other side will climb this fence and attack your group, so watch for attacks from this direction.
In the event of a swarm attack, toss a molotov at the base of the fence to torch any zombies attempting to reach you. But don’t linger here. Eliminate any immediate threats and press on toward the subway station.
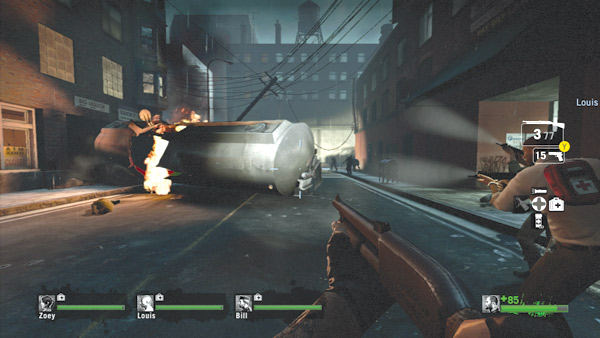
Follow the street, but be careful when passing this tanker truck. There may be large numbers of infected on the other side of the truck. Furthermore, the truck creates a narrow choke point, ideal for infected ambushes positioned in the buildings on the sides.
Quickly deal with any threats and move past this area as fast as possible. For a safer path, consider taking one of the alternate routes through the abandoned buildings or dairy.
Alternate Path: Dairy
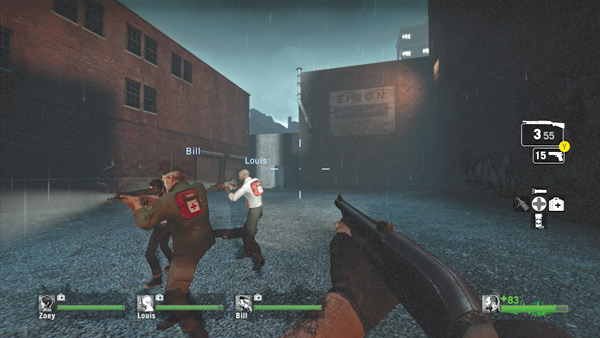
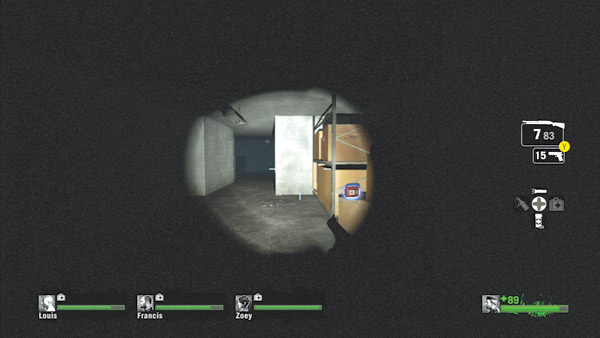
If you want to avoid potential ambushes at the tanker, turn left at the truck and head into the building marked with the Simon Dairy Products sign. This side passage allows you to avoid the tanker truck choke point altogether.
However, the interior of the building is pitch black, requiring the use of flashlights. Still, the director may have hidden some useful goodies for your team in this passage, including first aid kits.
So keep your eyes peeled for pickups and threats. Despite the darkness, the chances of the infected orchestrating a crippling attack in here are quite slim.
Still, quickly advance to the exit and make a dash for the subway station.
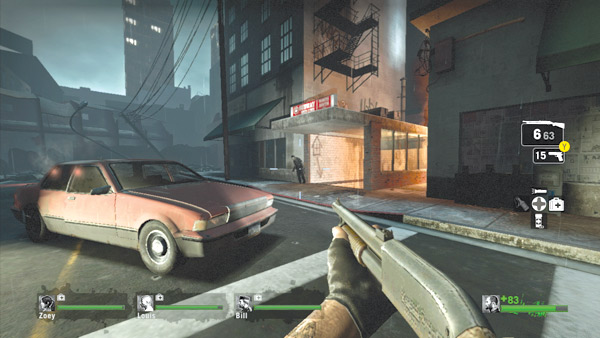
Regardless of which path you took, limit your team’s exposure in the street and race to the subway station.
However, be careful not to shoot, bump, or antagonize the red car parked outside in any way—it’s equipped with an alarm. Cars fitted with alarms have windows that flash red.
Discharging weapons near them causes them to emit a sharp but short beep. If the alarm is completely triggered, you’ll face an instant swarm of common infected approaching from any direction. If this occurs, make sure your team sticks together.
It would be tragic to lose someone when you’re this close to the safe house. If possible, race into the safe house as soon as the alarm is triggered.
But if the attack comes up the stairs from the subway, your team will have no choice but to stay put and defeat the undead swarm.
Subway Safe House
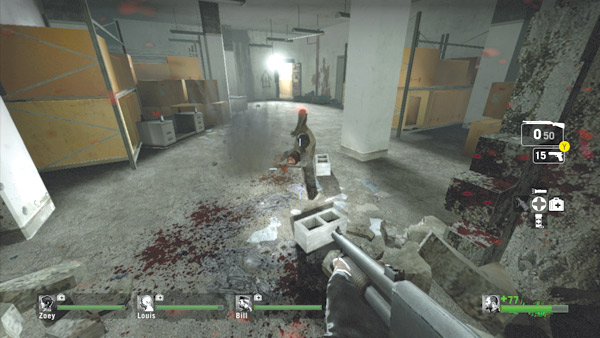
Descend the steps to the safe house and clear this room of threats. For the most part, a few common infected will be wandering around down here. But this room could also be the site of a last-ditch attempt by the infected to stop your team, especially during versus matches.
Watch out for Boomers and other bosses lurking down here. Once it’s clear, race into the safe house.
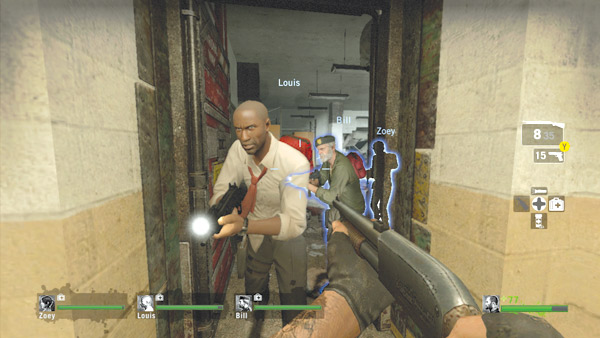
If you’re the first in the safe house, turn around and provide covering fire from the doorway while the rest of your teammates file inside. Encourage your teammates to move as fast as possible so you can shut the door and complete the level.
The infected cannot spawn in the room connecting to the safe house, but they can spawn on the street above. So aim at the staircase, as this is the only access point to the safe house—any attackers will come racing down these steps.