
Left 4 Dead Guide Walkthrough No Mercy
The Hospital
Safe House
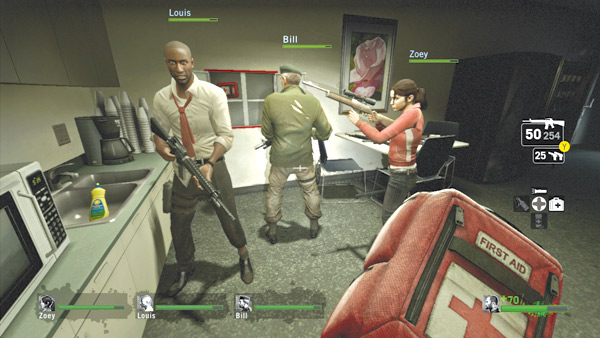
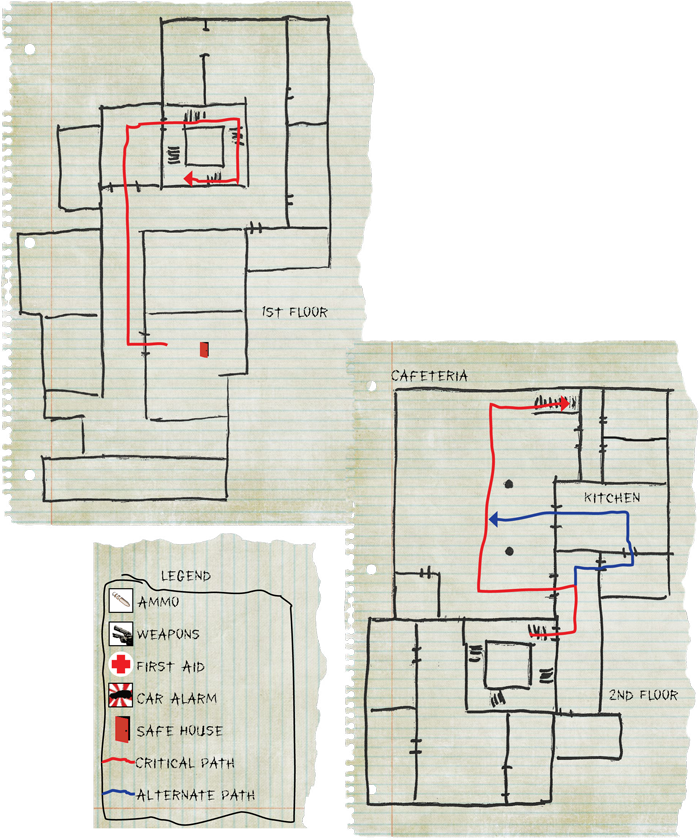
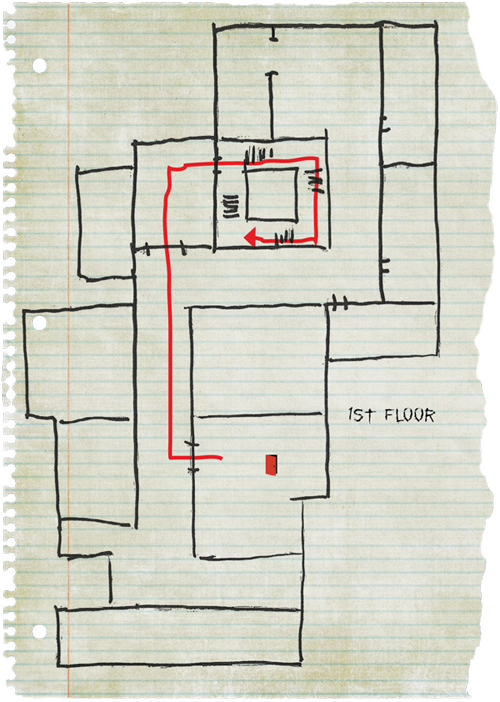
This break room in the emergency room on the first floor serves as a makeshift safe house. Inside are the usual goodies necessary to outfit your team. Take a few seconds to grab some ammo, change weapons, and take a first aid kit.
Due to the close-quarter nature of the hospital, shotguns are very effective. But maintain at least one assault rifle in the group to provide rapid fire, useful when engaging Tanks and Witches.
Before moving out, check over the health of your team and apply any first aid necessary to get everyone within the green range on their health meters. The action in the hospital is fast and requires optimal mobility on the part of every survivor.
You can’t afford to have anyone lagging behind due to injuries. Once everybody is stocked up on gear and health, open the door and enter the first-floor hallway.
First Floor
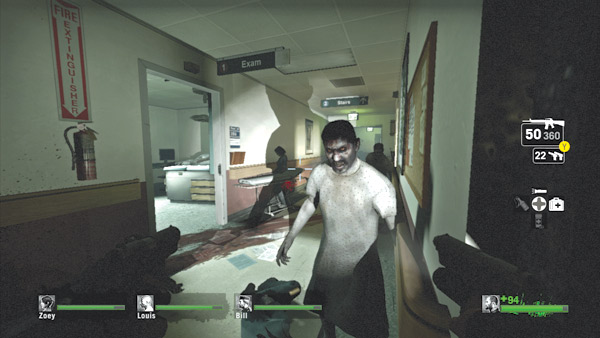
When the outbreak first hit, many of the infected were brought to this hospital. But the infection could not be stopped, and the contagion eventually spread to hospital staff and other patients, leading to a complete quarantine of the facility.
As a result, most of the common infected here are dressed in scrubs and hospital gowns. But don’t let their attire fool you. These infected are just as ferocious as the ones you encountered in the streets and sewer.
The high concentrations of them in the exam rooms and hallways are an even more serious threat. So kill every infected you come across, even if they look harmless. There’s no telling when they’ll lunge at you.
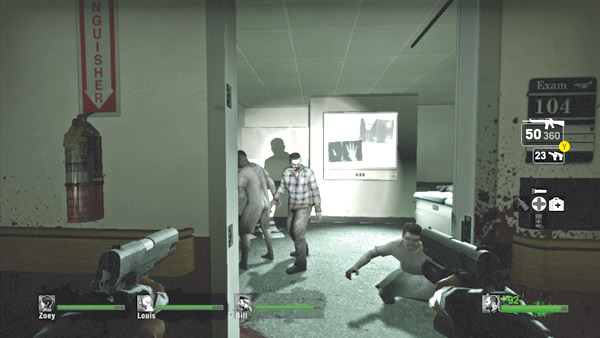
While moving along the hallway, conduct a quick sweep of each exam room. All are likely to contain common infected. But a few of these rooms may contain some useful supplies, like pills, molotovs, or pipe bombs, all placed by the director.
Most exam rooms can be cleared without entering—simply hold at the door and shoot every zombie inside.
Still, be careful when entering each room as there may be some infected lurking in the corners that you couldn’t see from the doorway. Clear these blind corners as soon as you make entry to avoid getting flanked.
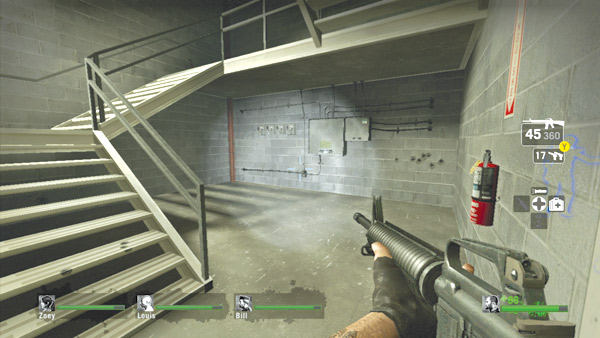
Once you’ve completed scouring the first floor for pickups and easy kills, proceed to the stairwell at the end of the main hallway. However, be careful when ascending these steps.
Infected spawning on the floor above (or behind you) may attack your team in this confined space.
So always look up while advancing up the stairs, and make sure your teammates are nearby to provide support if something scary and painful happens to you.
Second Floor: Cafeteria
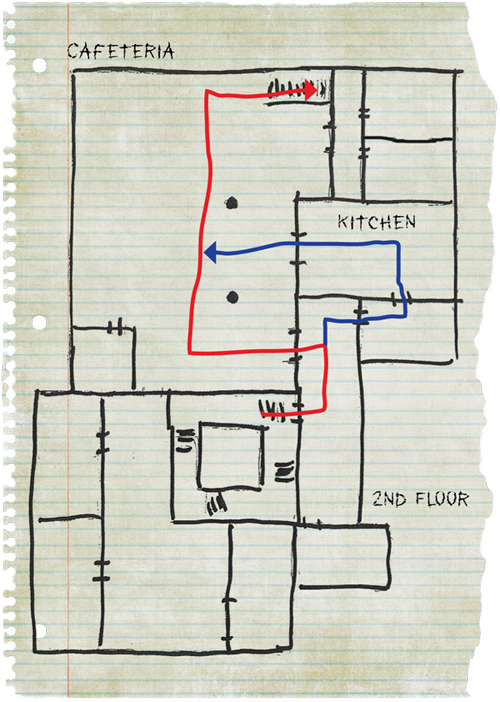
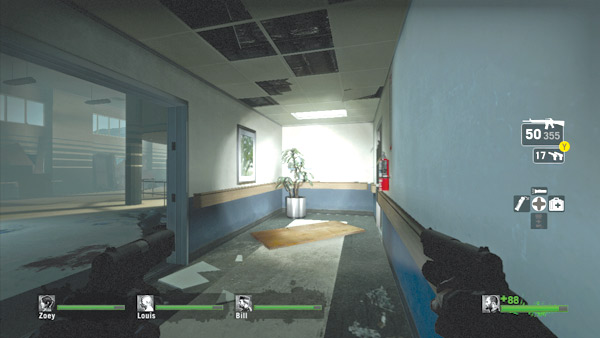
The hospital’s cafeteria is on the second floor. From the stairwell, turn left to access this large dining hall, which has two main entry points. You can enter from the hallway or the kitchen.
To enter the kitchen, go through the doorway on the right, just past the fire extinguisher. Since there are two separate paths, call out the path to your teammates to ensure they stick together.
Splitting up here could give the infected a chance to stage a serious attack on your team. Consider moving through the kitchen—sometimes the director drops some items in here.
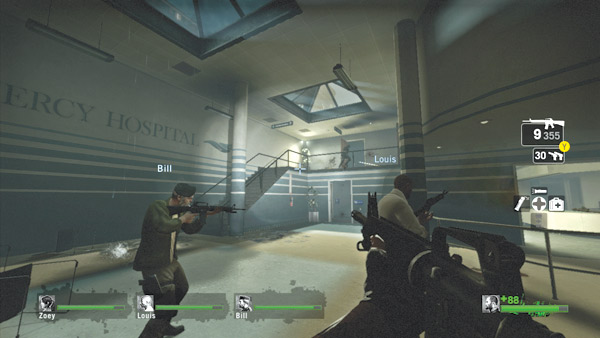
Regardless of how you enter the cafeteria, be ready for a fight. Your mere presence may trigger attacks by common infected filtering through either the second-floor hallways or the third-floor walkway.
Keep your back to the outside wall and engage all comers while slowly stepping toward the staircase leading up to the third floor. The large size of this room favors your weapons, particularly assault rifles.
Keep killing zombies until the attack subsides. If no attack occurs, don’t wait for one to start. Simply race up the nearby steps to the third floor.
Third Floor
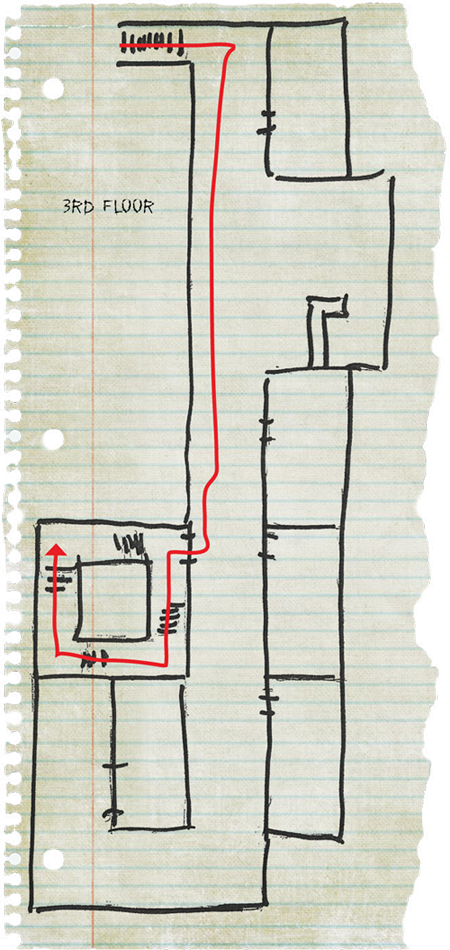
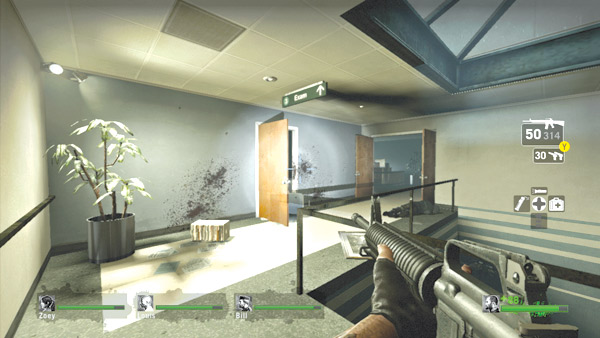
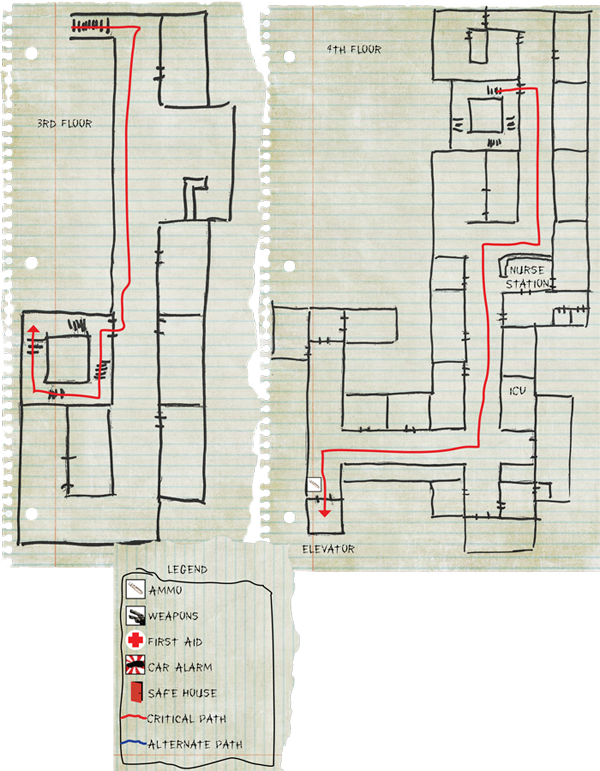
Climb the stairs on the side of the cafeteria to reach the third-floor walkway. This floor is lined with a few exam rooms and an administrative desk.
Be careful when passing by the exam rooms, especially if the doors are open. Either clear each room and kill everything inside, or at least close each door as you pass.
Also, watch for more infected approaching from the cafeteria on the floor below. The thin railing on the right side of this walkway won’t prevent you from being pounced on by a Hunter or constricted by a Smoker.
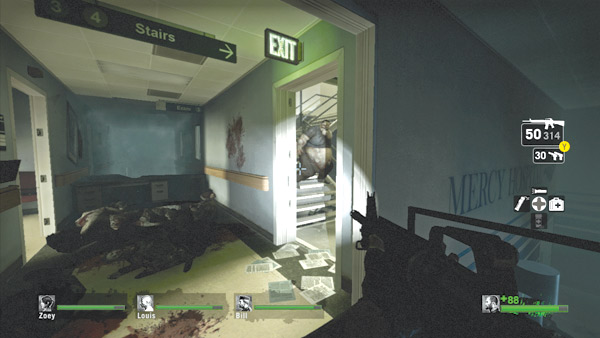
The stairwell leading up to the fourth floor is only a short jog down the third-floor hallway, just beyond the desk. But don’t rush inside.
There may be more infected waiting in here eager to pounce on your team—like all stairwells, this one is a popular ambush point for Boomers. Peek through the doorway from the hall and eliminate any visible threats before stepping inside.
If necessary, toss a molotov or pipe bomb inside to wipe out any zombies. Enter the stairwell and climb to the fourth floor.
Fourth Floor
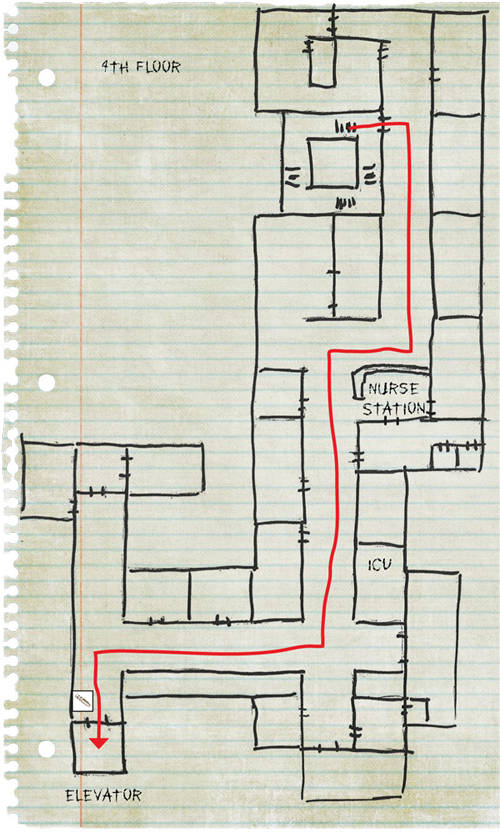
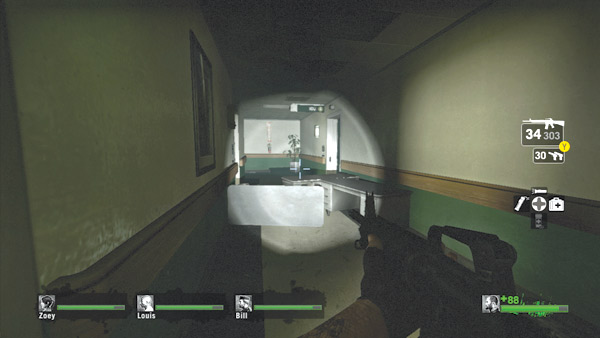
After exiting the stairwell on the fourth floor, turn left and hop over these desks in the middle of the hallway.
This path doesn’t lead you closer to the elevator, but the rooms lining this span of the hall often contain items useful when confronting the infected horde at the elevator mini-finale.
Scour these rooms for molotovs, pipe bombs, and pills. But watch out for common infected and bosses hiding in these rooms too. As usual, stick together and avoid the urge to raid each room as individuals.
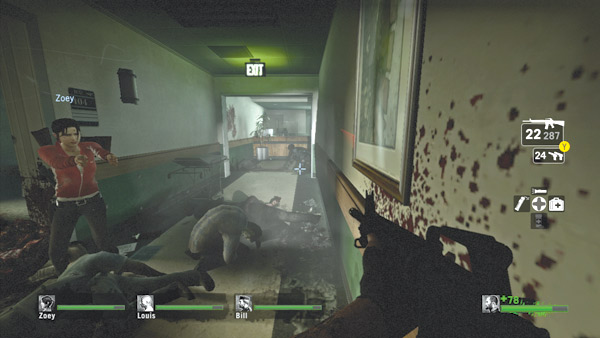
Return to the overturned desks near the stairwell and proceed down the hall toward the nurses’ station. Sweep each room along the side of the hall while advancing, but also keep an eye on both ends of the hall.
Hunters, Smokers, and Boomers may be prowling these halls, so listen carefully for their presence. Impromptu swarm attacks by common infected are also possible, so stay together and keep the halls clear.
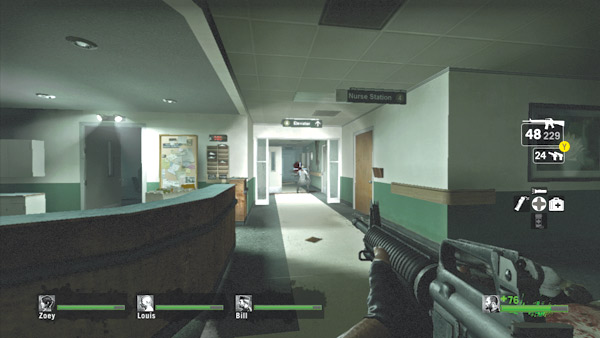
At the nurses’ station, follow the signs leading to the elevator and ICU. Watch for more infected inhabiting the halls and side rooms around the nurses’ station. There may also be a Witch hiding in one of these rooms.
If you hear the wailing of a Witch, sometimes it’s best to avoid these side rooms altogether, as entering with your flashlight on is sure to startle her. And being in a small dark room with a pissed off Witch (and other infected) is a very bad place to be.
ICU
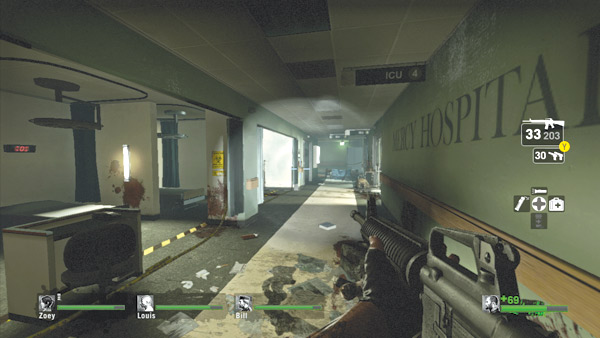
The hospital’s Intensive Care Unit is in this long hallway beyond the nurses’ station. A number of small exam, biohazard, and surgery rooms line both sides of this hall, making it a very dangerous passage, ideal for infected ambushes.
A slow and methodical advance is the safest way to clear this area. There’s no need to enter each side room. Instead, sweep each room and alcove from the hallway, shooting anything that moves.
Most importantly, keep your team together. Any attempts to enter and search these rooms for items should be communicated to all teammates.
Otherwise, it’s very easy to get separated and overwhelmed by a coordinated attack by the infected.
Elevator
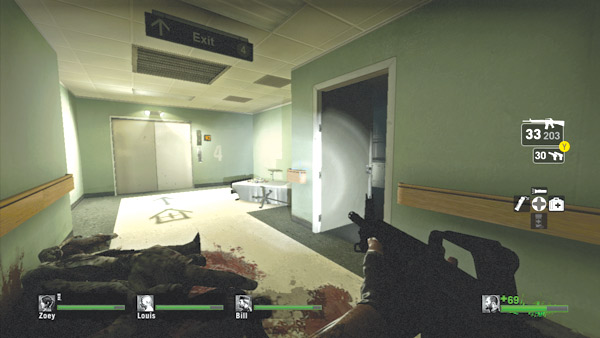
At the end of the ICU hallway, turn left to spot the elevator—and a spray-painted sign indicating that the next safe house is somewhere up the elevator shaft.
Before pressing the button to call the elevator, grab some ammo from the nearby bed. The elevator is currently on the 30th floor.
As soon as you press the button, it begins its long journey down the shaft. In the meantime, your team must hold off a massive attack by the infected. So take a few moments to stock up on ammo, reload, and heal any serious injuries.
All hell is about to break loose.
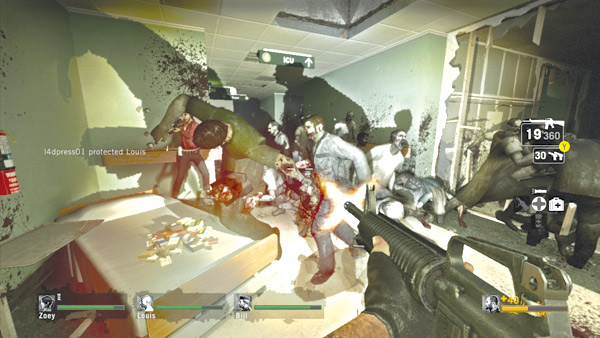
When your team is ready for the undead onslaught, interact with the elevator control panel—this triggers the attack. Back up against the elevator door and be ready to shoot.
The infected not only come racing down the hall from ICU, but they also burst through the walls to the left and right of the elevator. More eventually drop from the vent above.
Quickly coordinate cover points with your team, with each member covering an entry point. Make sure someone is covering the main hall and ceiling vent.
Have another teammate watch the breach on the left and another cover the breach on the right. If you split the workload, your team should have no problem holding this position until the elevator arrives.
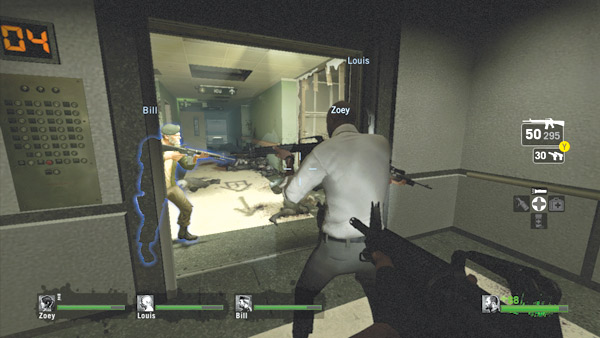
Get inside the elevator as soon as the doors open. Wait for your team to get inside, theninteract with the control panel to begin your ascent to the 28th floor.
While riding in the elevator, keep an eye on the opening in the ceiling. The infected can spawn in the elevator shaft and may attack through this opening, particularly Smokers standing on top of the elevator.
28th Floor
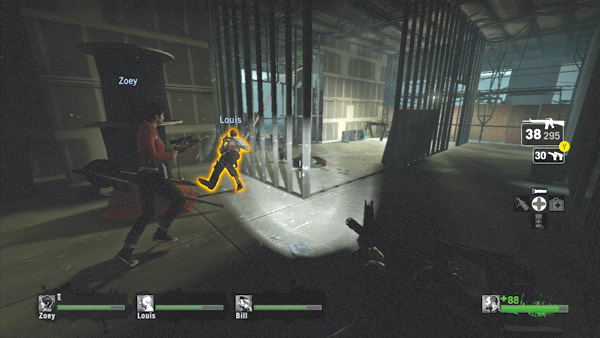
As the elevator doors slide open, be ready to engage any visible threats.
Don’t be surprised if you’re immediately jumped by Hunters or a Smoker. During versus matches, the survivors’ long elevator ride gives the infected team plenty of time to stage an elaborate ambush on the 28th floor.
So be ready to open fire as soon as you step out of the elevator.
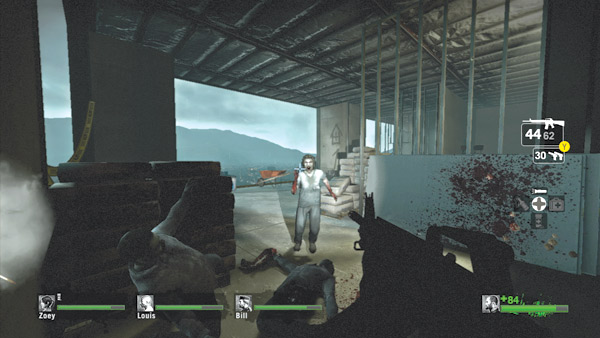
The 28th floor was under construction when the outbreak occurred. Now its interior and exterior walls remain unfinished, perhaps forever. This presents a unique challenge when moving through this floor.
While you can see great distances, the unfinished walls create impassable barriers, requiring you to move around them. If you’re not careful, your team can get lost in this maze.
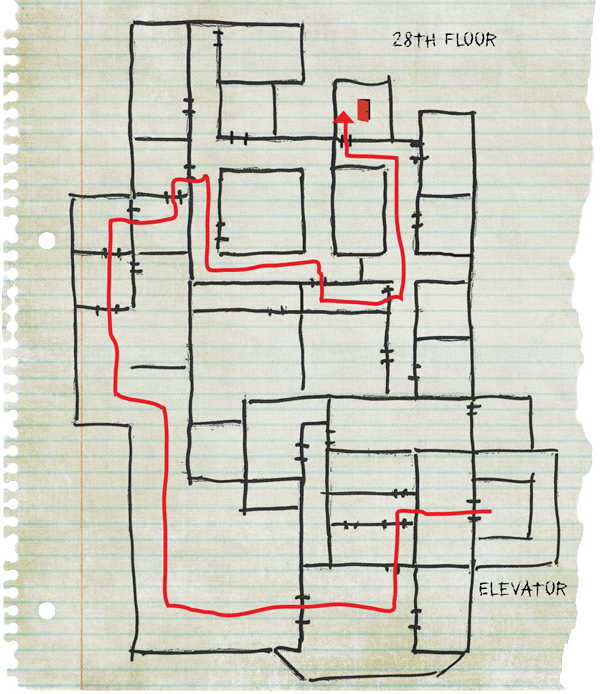
For best results, stick to the building’s outer edge and look for the spray-painted signs pointing toward the safe house.
Construction Site Safe House
If you’re having trouble finding the safe house, reference the provided map for its exact location. The spray-painted directional signs can be helpful too.
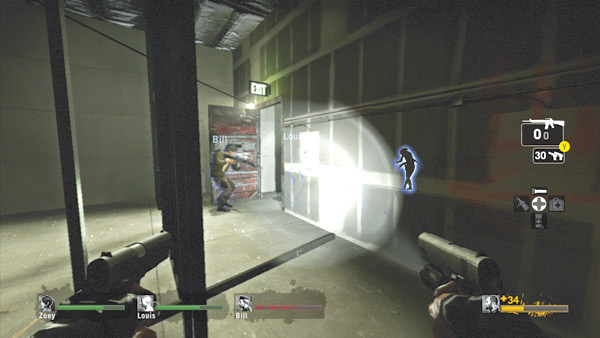
When you see the green glow of an exit sign, you’re very close. Quickly get inside with the rest of your team and slam the door shut to complete this intense sequence. You’re not far from the rooftop now…