
Left 4 Dead Guide Walkthrough Blood Harvest
The Tunnel
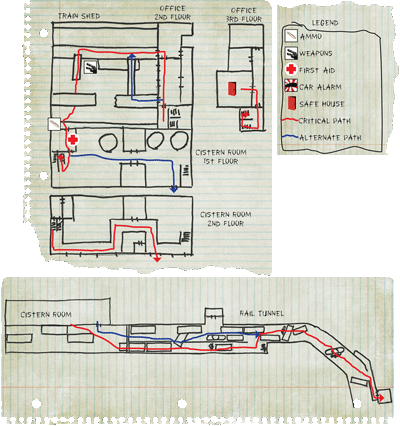
Safe House
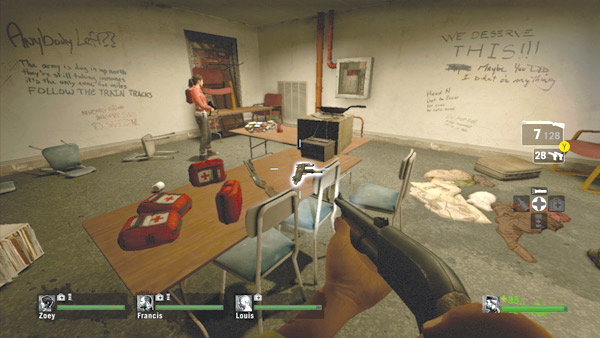
The safe house at the Richardson Atlantic freight depot is on the third floor of the facility’s massive shed, where train cars are repaired.
Your team must advance through this shed, reach the ground floor, and proceed outside to a tunnel, heading north along the tracks.
Before moving out, be sure everyone stocks up on first aid kits and ammo. There are no weapon upgrades in this safe house, so stick with the same load-out of two SMGs and two pump shotguns.
Offices
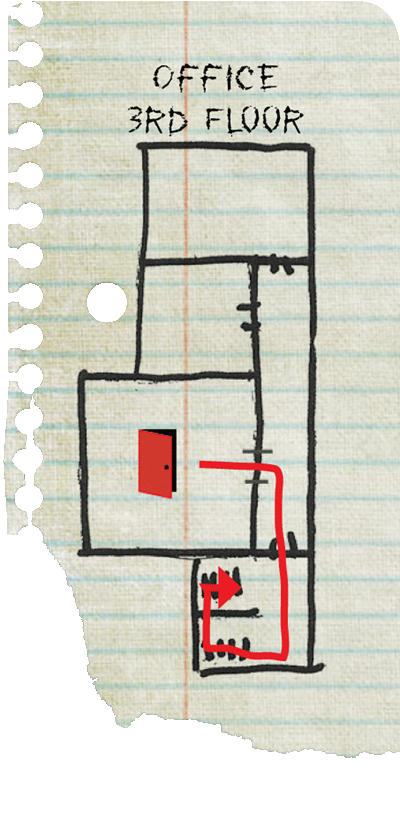
Upon exiting the safe house, turn right to spot the stairwell leading down to the second-floor offices. There are other offices on the third floor worth sweeping before heading downstairs, but don’t expect to find any pickups.
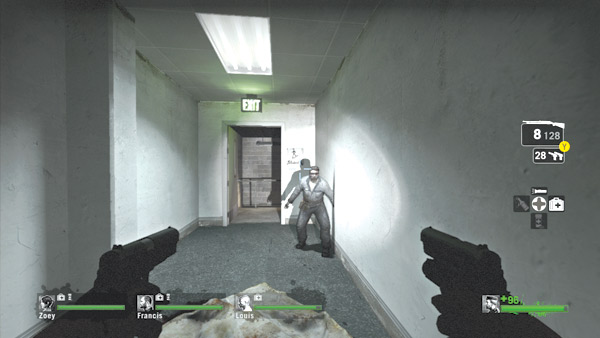
However, they may contain infected. The third-floor offices outside the safe house are popular spawn points for the infected team during versus matches, so check them out.
Even if they’re empty, your opponents may wait to spawn in these rooms until after your team has entered the stairwell.
So always have a teammate watch your backs as you proceed into the stairwell, and make sure the last person in closes the door.
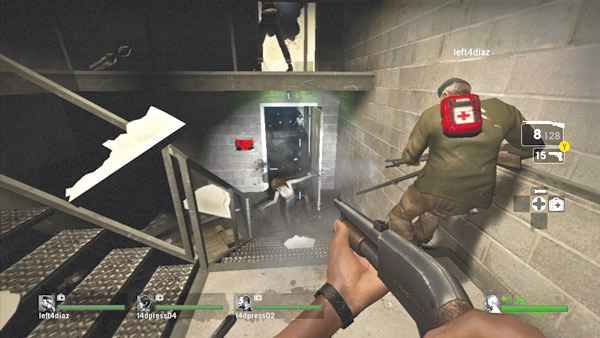
Enter the stairwell and carefully monitor both entry points as you descend to the second floor. Have one teammate stand watch at the third-floor doorway and blast any infected that try to bust through the door.
Meanwhile, clear the bottom landing and shoot any infected that try to rush your team through the second-floor doorway. As long as incoming traffic is managed at these two entry points, your team can avoid getting ambushed here. But don’t hang out here too long.
Clear out all threats and proceed into the second-floor hallway.
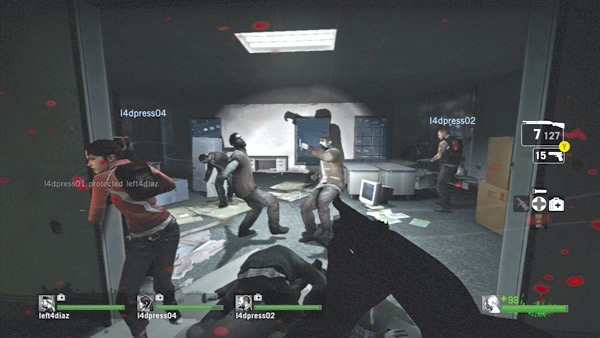
At the bottom of the steps, carefully sweep this office on the left side of the hall. It’s most likely swarming with common infected and may also contain some bosses hoping to pounce on your team.
While clearing the office, make sure someone watches the hallway and stairwell. Be careful to not get separated.
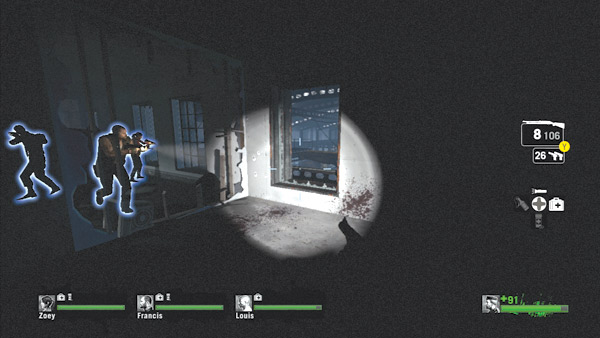
Keep an eye on your teammates and don’t advance outside their line of sight. Once the office is clear, step inside and proceed to the adjoining room through the hole in the wall—the same room can be entered from the main hallway.
The broken window in this room leads out onto a catwalk running above the large train shed. Before exiting, make sure everyone is together; step outside and watch your step—falling off the catwalk results in fall damage.
Train Shed
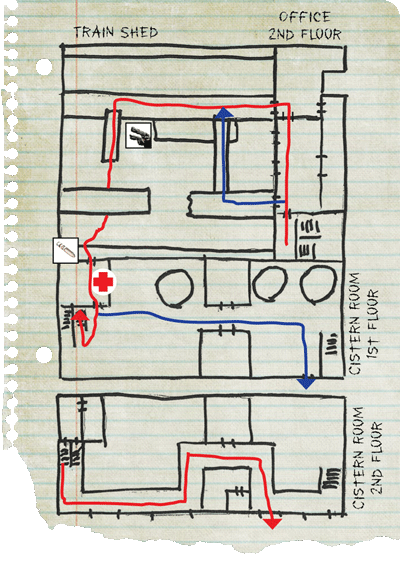
Advance across the central catwalk suspended above the train shed. From this elevated position it’s easy to pick off common infected and bosses on the ground floor.
In some instances, a Tank may spawn somewhere in the shed. If this occurs, remain on the catwalk and pepper him from above with SMG and shotgun fire.
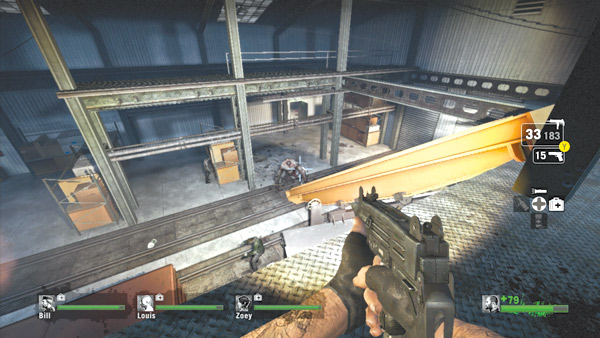
However, if he makes a move up the yellow steel beam, get ready to backpedal. But as long as your shots hit their mark, you should be able to drop a Tank on the ground floor before he poses a threat to your team up here.
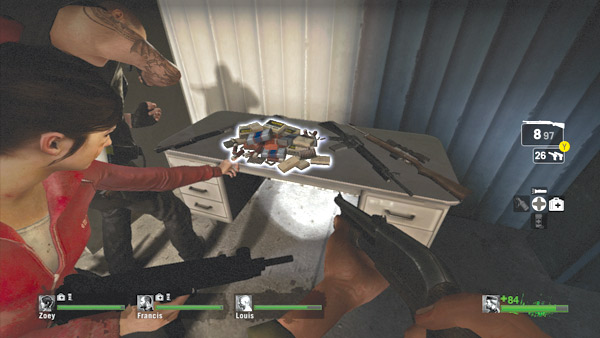
After clearing most of the train shed from the catwalk, descend the yellow beam to the ground floor. At the bottom of the beam, head to the desk in the corner of the shed, next to the exit sign, for some ammo.
There may also be some weapon upgrades sitting on this desk, so stock up and choose your weapons carefully.
Bring along at least two assault rifles and two auto shotguns for the trek through the railway tunnel outside. But for the next sequence, consider equipping your entire team with auto shotguns.
You can always come back to the desk and balance your team’s load-out later.
Emergency Exit
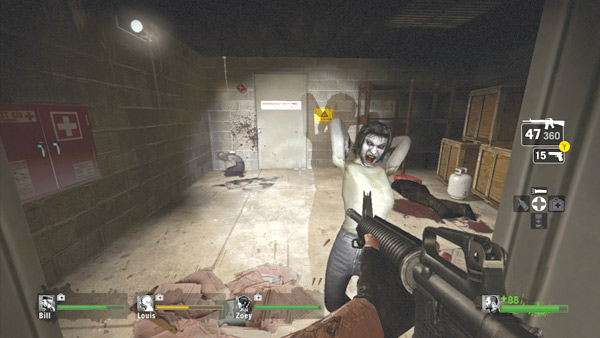
The room next to the desk contains a first aid cabinet and a door marked with a warning sign: Emergency Exit Only, Alarm Will Sound. Take this as a clue before interacting with this door.
Usher your team inside this room and shut the door behind you, blocking access from the train shed. Use this quiet opportunity to heal.
As you’ve been warned, opening the emergency exit triggers an alarm that initiates a large swarm attack. However, if your team holds out in this room, there are only two doorways to cover: the emergency exit and the train shed door.
But before throwing open the emergency exit, locate a red fuel can in the room and be ready to toss it out the emergency exit once the door is open.
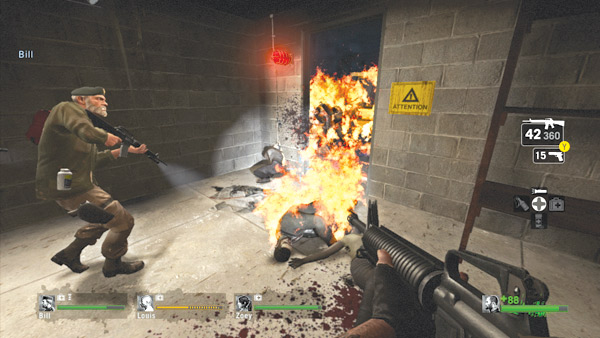
Have one teammate open the emergency exit’s door while another tosses the red fuel can into the adjoining room—just make sure it lands far enough outside the doorway before shooting it.
This creates an impassable wall of fire in the next room, effectively securing the emergency exit’s doorway. Still, have two teammates watch this doorway so they can blast any infected that try to infiltrate this room once the fire dies down.
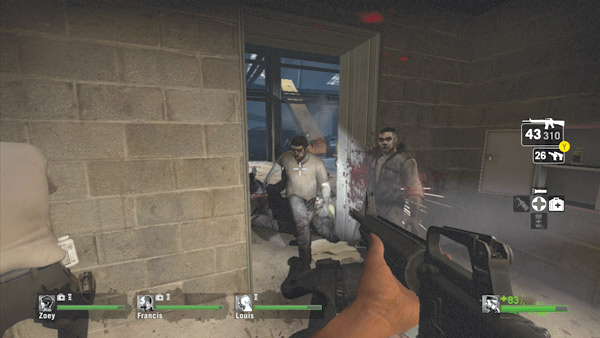
Meanwhile, the two other teammates should cover the door leading out to the train shed. Even if it’s closed, it won’t be long until the infected break through. So keep weapons aimed at this door and mow down anything that tries to get in.
The alarm eventually ceases, as does the swarm attack. Before heading into the cistern room, return to the train shed and restock ammo.
Also, make sure your team’s weaponry is properly balanced with two assault rifles and one auto shotgun.
Cistern Room
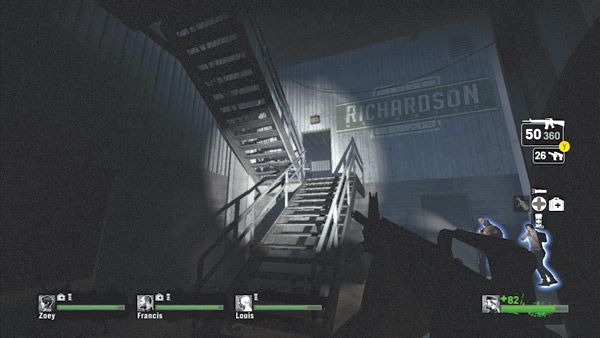
The emergency exit leads into a big dark room containing three very large cisterns. Locate the staircase near the emergency exit and climb it to the upper-level catwalk.
While it’s possible to advance through this room on the ground floor, the catwalk gives your team a height advantage, making it easier to clear the room.
On your way up the steps, check the small closet on the center landing—there are usually some supplies inside.
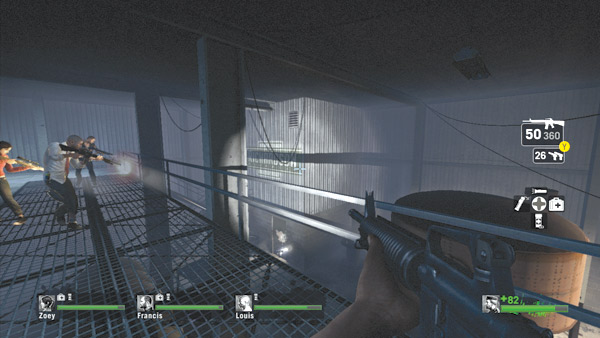
Make sure your flashlights are on while advancing across the catwalk. Most of the common infected are on the ground floor, so in addition to monitoring the catwalk for hostiles, aim downstairs.
As you pass above the infected, they may go on alert and start charging up the stairs at your team.
So try to stop them before they can reach your team. Feel free to fire through the mesh grate of the catwalk to target infected directly beneath your feet.
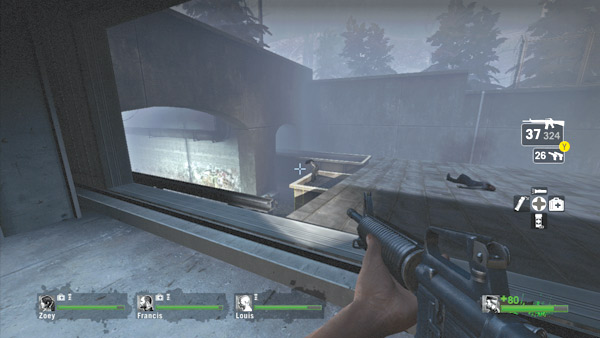
Keep moving down the catwalk and look for this window on the right side. It opens out onto a rooftop area near the railway tunnel. Step outside and use the elevated position to fire down on the common infected gathered around the train cars below.
The tracks moving through the tunnel to the left head north, but the tunnel is filled with infected and other obstacles, so get ready for an intense stroll.
Rail Tunnel
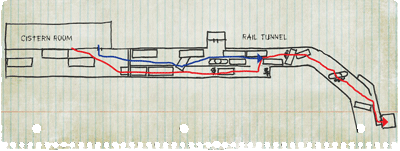
Once outside the cistern room, move to the corner of this rooftop and leap across to the coal car to access the narrow side tunnel and advance through a large part of the tunnel system along the tops of railcars.
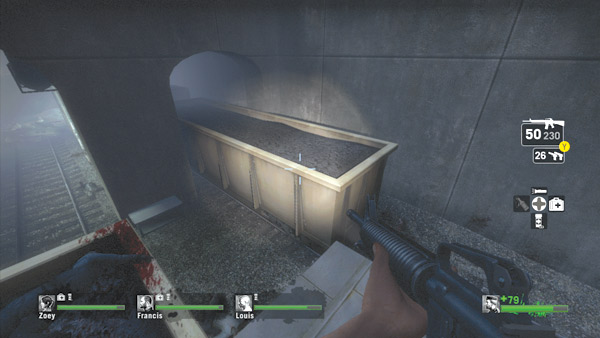
The elevated path provides better protection against the infected and often more time to react when attacked, as the hostiles must usually climb up to the cars before they can attack.
If you fall while making the jump, climb the yellow ladder on the nearby car to access the roof and try again.
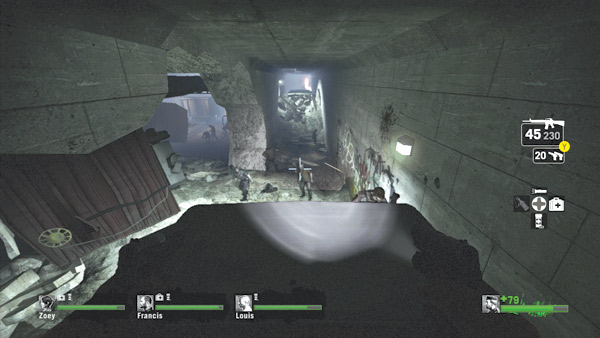
Proceed down the narrow tunnel on the right, moving across the top of the coal car and the adjoining boxcar.
When you reach the end of this boxcar, immediately engage the common infected loitering below, in both this tunnel and the adjacent one, visible through the large hole in the left side of the wall.
The sound of gunfire may trigger a swarm attack, so constantly monitor both ends of the car you’re standing on. The tunnel ahead may look blocked by rubble, but it’s still accessible.
When the area below is clear, drop from the boxcar and race forward, moving up the pile of rubble to climb atop another boxcar.
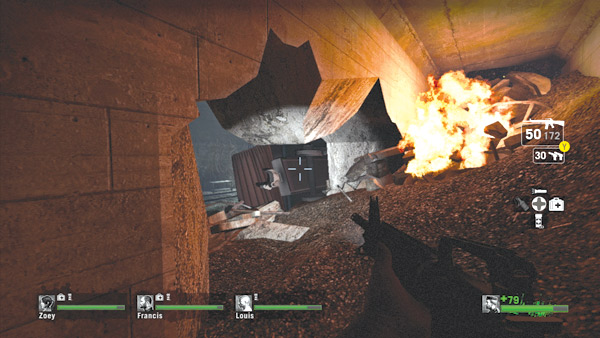
The narrow tunnel is eventually blocked by rubble and a large fire, forcing your team through a hole in the wall on the left. Before passing through the hole, make sure everyone is together.
Hunters or a Smoker may be lurking behind your team waiting to attack a straggler, so don’t leave this tunnel until everyone is together.
You’ll need everyone’s firepower to cut through the swarms of infected in the next span of the tunnel.
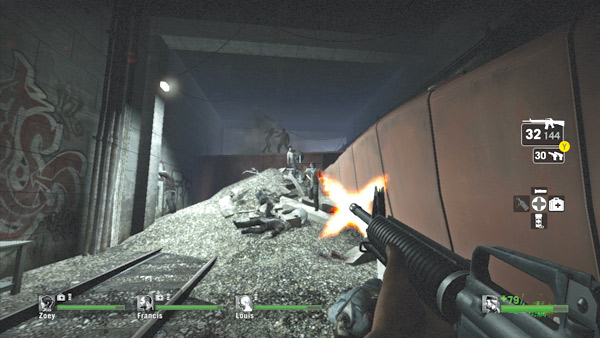
As you enter the larger tunnel through the hole in the wall, turn right and approach this barricade. A boxcar has derailed in this span of the tunnel, but a mound of debris on its side allows your team to climb to the top of the car.
Don’t waste much time on the low terrain. Blast any infected in your way and get to the top of the boxcar as quickly as possible. Don’t forget to check the tunnel behind you, as there may be more infected chasing after you.
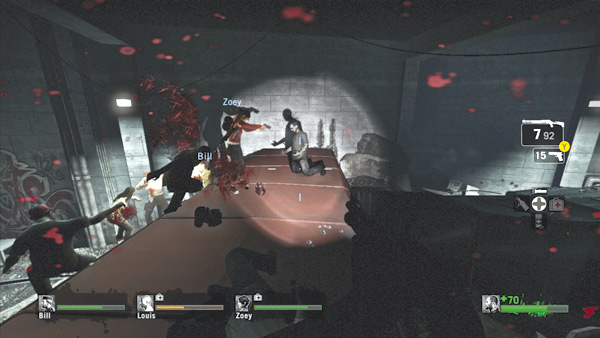
Once on top of the car, make a stand if necessary. There are likely multiple infected on both sides of the car, but the elevated position gives your team a slight advantage, allowing them to fire down at the infected clawing their way up the sides of the car.
Hold here momentarily until your team has a clear path to the white tanker car farther down the tunnel.
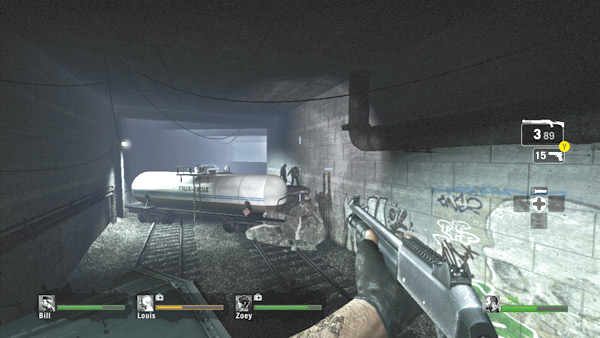
From the red boxcar, step onto the overturned gray boxcar and approach the white tanker car blocking the tunnel ahead.
Blast any common infected wandering around this span of the tunnel, then drop to the tracks and rush to the yellow ladder on the side of the tanker car.
Before climbing the ladder, make sure your entire team is together. Wait for anyone lagging behind to catch up.
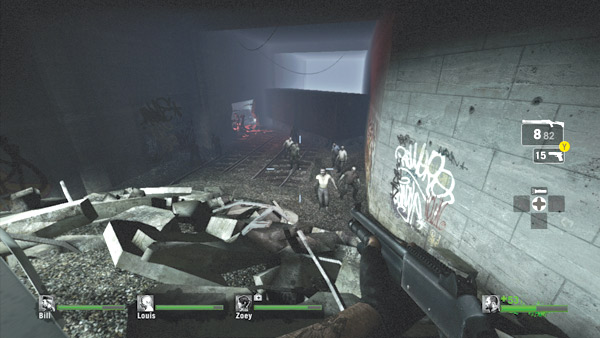
Once the team has regrouped, quickly climb the ladder and be prepared to open fire once you reach the top of the tanker car—there are likely several infected waiting to greet your team on the other side.
Stand on top of the tanker car and fend off the rushing infected. The tunnel ahead is blocked, but a hole in the left wall leads into the safe house.
Tunnel Safe House
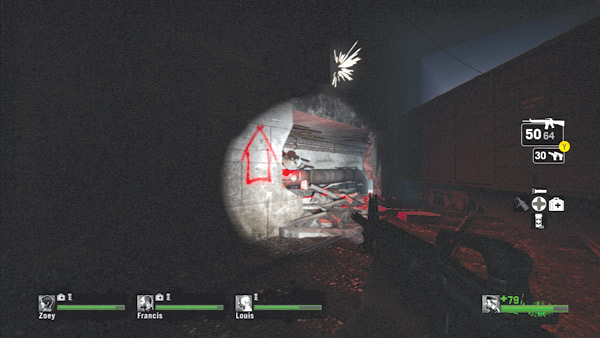
Just beyond the tanker car is the side passage leading into the safe house—look for the safe house icon spray-painted on the wall of the tunnel. Once everyone has climbed over the tanker car, dash toward this red-lit passage.
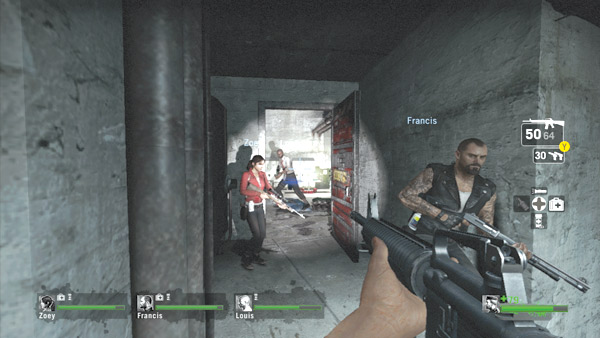
But be aware that more infected may be hiding inside this passage. Enter together as a team, then rush down to the safe house, on the left side of the concrete corridor. Quickly get everyone inside and then secure the door to end the level.