
Left 4 Dead Guide Walkthrough Death Toll
The Church
Safe House
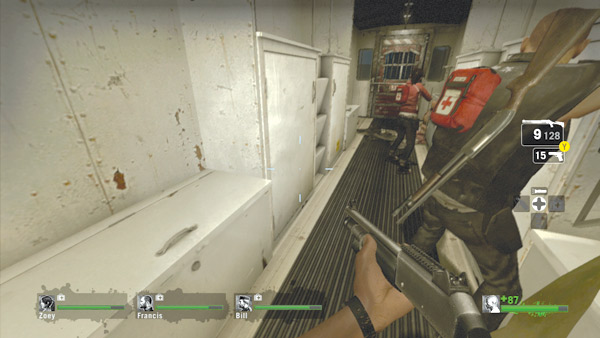
Your team has made it out of the drainage system, but Riverside is still a long ways off. So take a moment to stock up and heal inside the caboose. SMGs and pump shotguns are the only weapons available here.
If you still have assault rifles, auto shotguns, or sniper rifles from the previous level, hold onto them and make sure you’ve maxed out your ammo count.
When your team is ready to move out, open the red steel door at the end of the caboose and be prepared to race through the rail yard.
Rail Yard
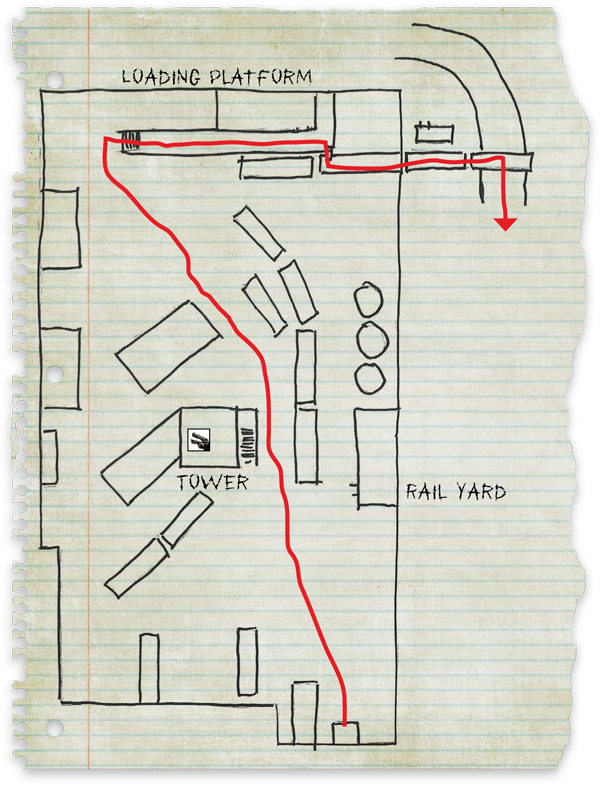
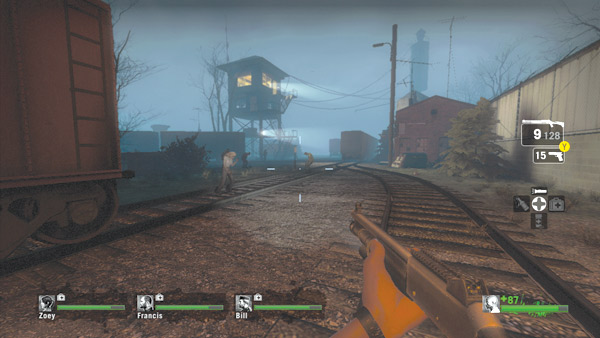
The rail yard is dark, with only sparse lighting. Upon exiting the caboose, check your left and right flanks for infected lurking in the shadows. There are a few key structures in the rail yard you can use as landmarks during your journey.
Identifying and using these landmarks as navigational aids can help your team stick together in this otherwise open yard. The first major landmark is the tall tower at the center of the yard.
Staying together, move out for this tower and engage any infected along the way.
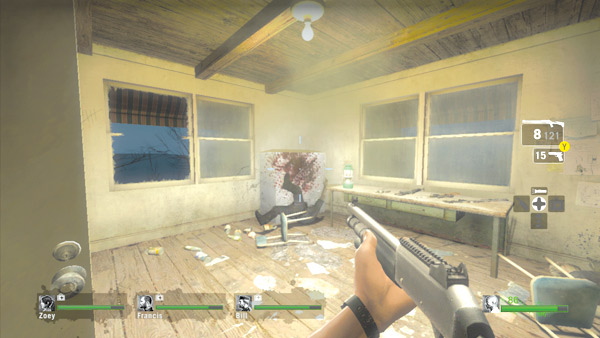
It’s not necessary to climb the tower, but it’s always worth checking out. Sometimes the director stashes weapon upgrades and other pickups up here. So make a habit of checking out lower- and upper-floor rooms of the tower, even if your stop is very short.
The tower offers a clear view of the entire yard, making it easy for those equipped with assault rifles and sniper rifles to engage a variety of targets at long range. While this may seem like a sound tactic, it actually does very little for your team.
For every infected you kill, the director will only spawn more. By holding in the tower you’re only wasting ammo. Grab any supplies inside and move out.
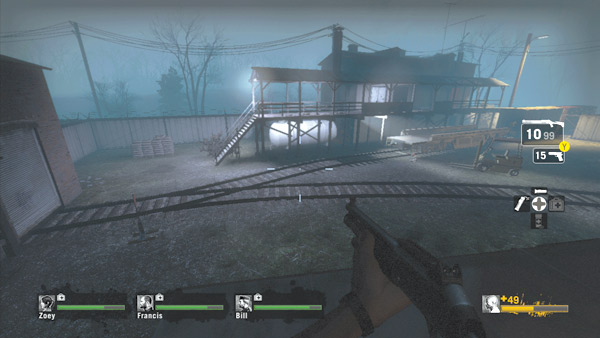
The next major landmark is this loading platform on the far side of the yard. After raiding the tower, make a beeline for this structure. However, the director often places a Witch near this structure.
So if you hear a wailing Witch anywhere in the rail yard, this is mostly likely where she’s located.
If this is the case, keep your distance while moving toward the platform’s steps. And remember to shut off your flashlights to avoid startling her. To maximize your distance, you can climb on top of some of the boxcars near the steps.
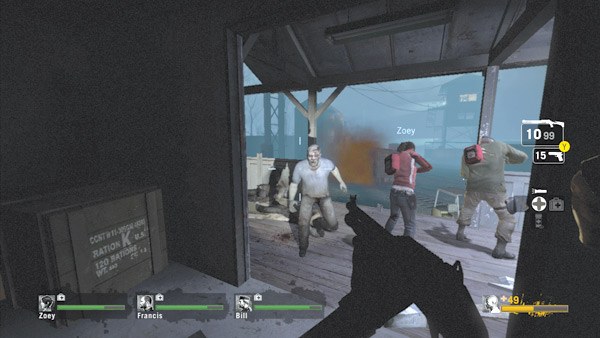
Climb the steps up to the loading platform and cross the narrow walkway as quickly as possible. This is a popular site for ambushes by infected, so sweep the side rooms as you pass—there may be some pickups inside as well.
If an attack does occur here, consider backing up into one of the side rooms and fending off the attackers as they barge through the doorway. If you stand on the walkway your team can be attacked from multiple angles, including from above.
The side rooms offer a bit more protection and allow your team to focus its firepower on one entry point.
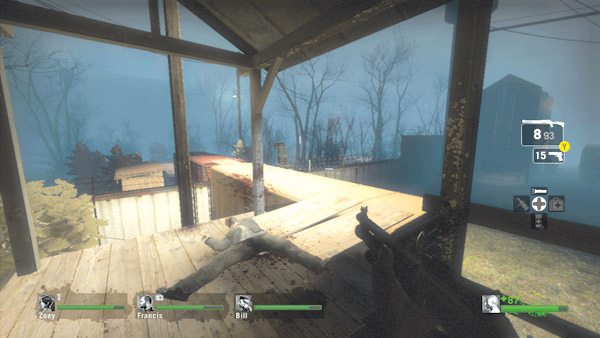
At the end of the loading platform’s walkway, some wooden planks have been placed to bridge the gap between a couple of boxcars, forming a bridge over the rail yard’s perimeter fence. Make sure everyone stays together while crossing these boxcars.
If someone falls off or is pulled off by a Smoker and lands back in the rail yard, it could delay your team, forcing you to cross the loading platform all over again.
Road to Riverside
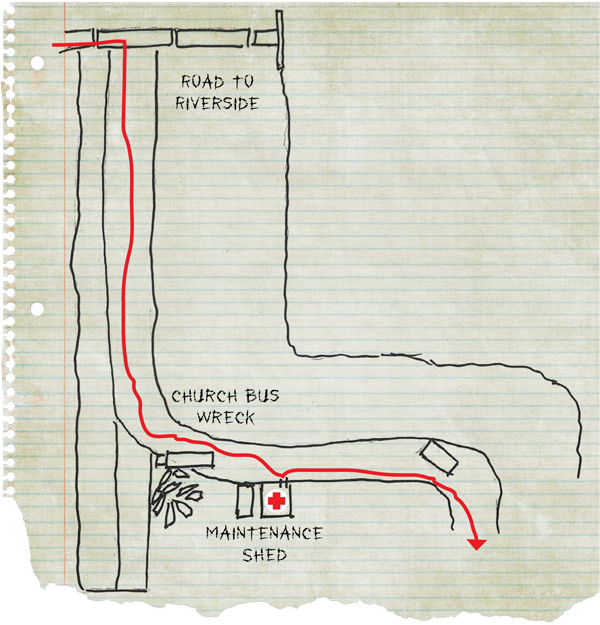
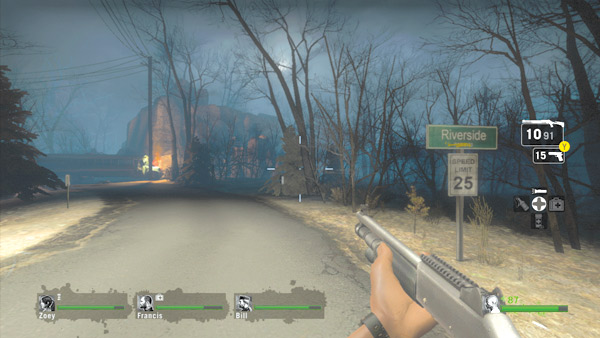
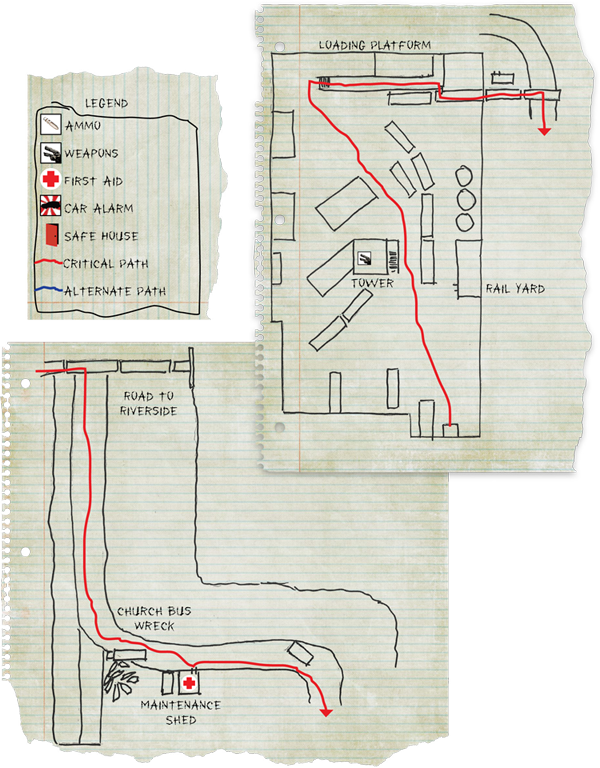
After dropping off the red boxcar and down onto the flatbed car, turn right and proceed down the road. Heading the opposite direction leads to a dead end, so make sure you turn right.
You’ll know you’re headed in the right direction when you see this road sign on the right side of the road—you must be getting close to Riverside.
As usual, stay together during this sequence and travel down the center of the road while watching the trees on the sides for incoming infected. This is a very common site for ambushes, so stay on your toes and keep your eyes peeled.
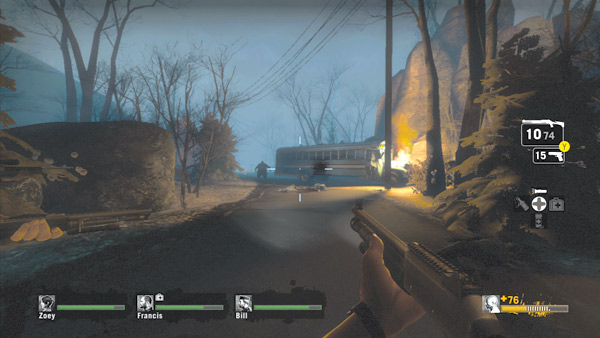
Keep moving down the road at a quick pace, but slow down when you near this wrecked church bus. There are usually a few common infected stumbling around this wreck. But what you can’t see is what’s waiting for you on the other side.
Listen and watch for enemies gathered on the other side. Consider shooting beneath the bus to take them out. Or simply toss a molotov or pipe bomb around the corner.
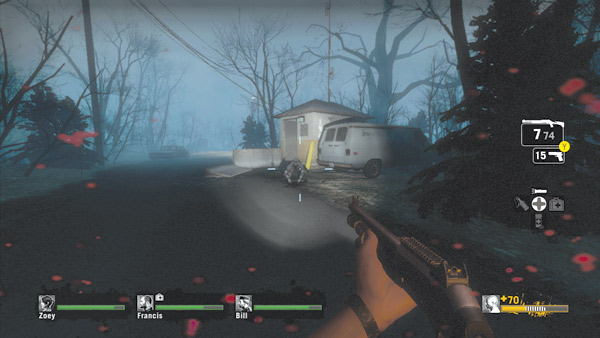
Beyond the bus, look for this small maintenance shed on the right side of the road. There’s a first aid station inside, but approach this small structure cautiously, as there are usually several infected nearby, hiding in the woods.
Have three teammates stay outside while one teammate goes into the shed and opens the first aid station, reporting what goodies await inside.
Rotate your team through the shed to stock up on medical supplies, keeping three outside at all times to provide a defensive perimeter. Any healing should be performed inside the shed itself.
The director may have placed pipe bombs or molotovs on the table inside the shed, too.
House
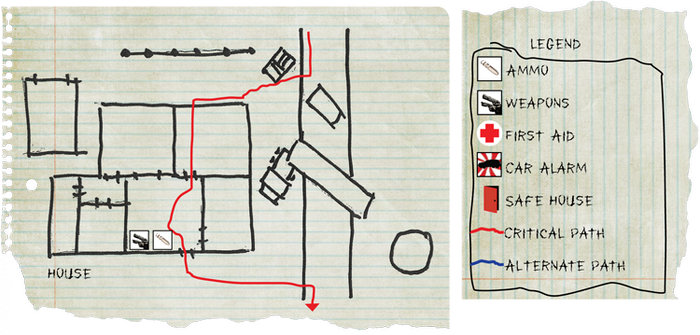
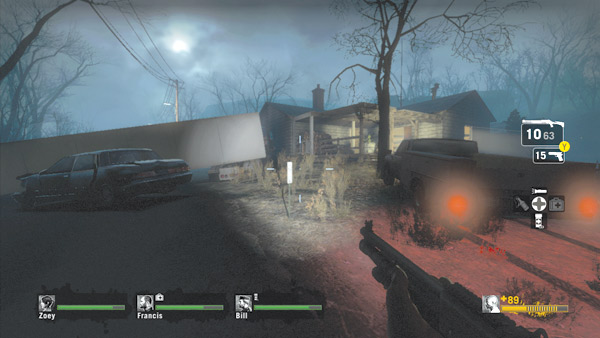
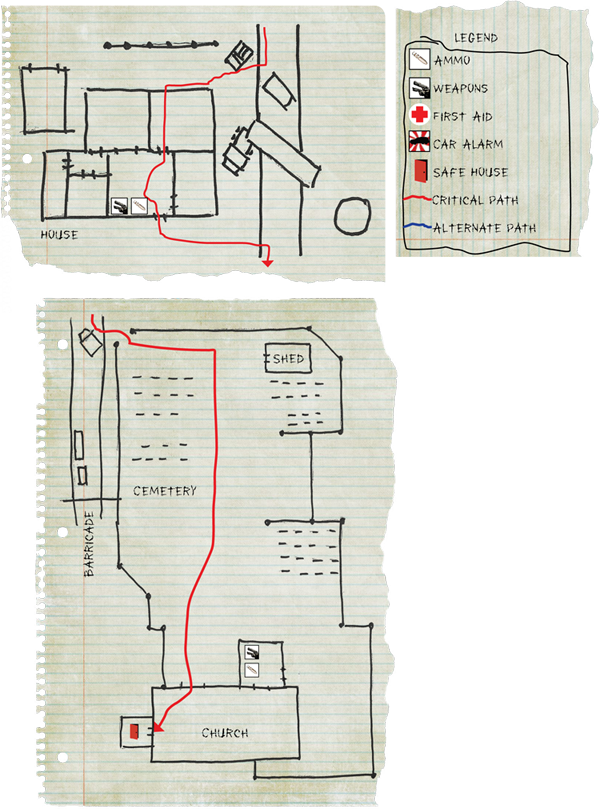
A jack-knifed big rig blocks the road ahead, making the nearby house the default detour. The wrecked vehicles outside this house should clearly communicate the hazards of this location. So try to get into and through the house as quickly as possible while staying together.
Step off the right side of the road and make a dash for the house’s front porch. As you approach, watch for movement inside the house and blast anything that shows itself. Don’t be surprised if a Hunter tries to leap in your direction.
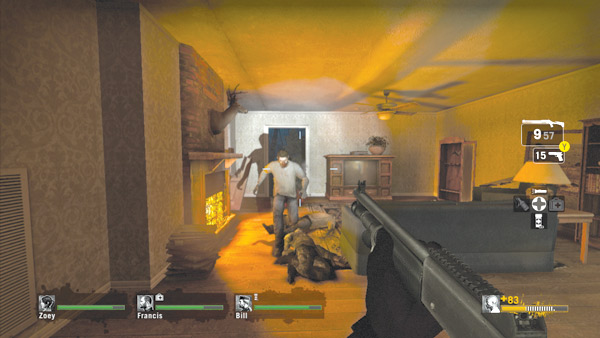
Inside the house there is ammo in the living room, beside the television set. There may also be weapon upgrades in the gun case next to the ammo, but the director doesn’t always place them here.
The bedrooms may contain other pickups, but it’s usually not worth taking the time to search the entire house. Make sure everyone grabs some ammo, then make a concerted effort to get out of the house as soon as possible.
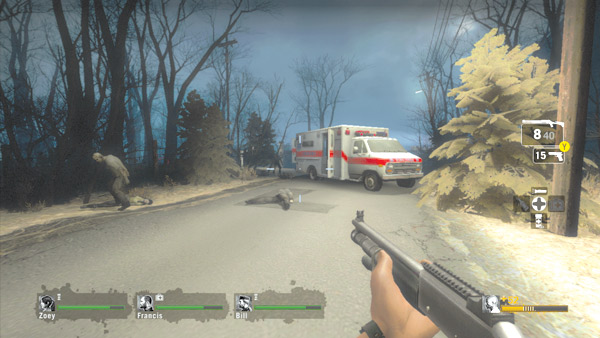
Exit the house through the back door and return to the road leading to Riverside. Just beyond the house is an abandoned ambulance. A few common infected usually wander around this area, so be sure to neutralize them before making a dash for the ambulance.
Have three teammates set up a defensive perimeter around the ambulance while another searches the interior for supplies. You can sometimes find pills, a first aid kit, or an oxygen tank inside.
If there is an oxygen tank, consider lugging it along to the church for the mini-finale.
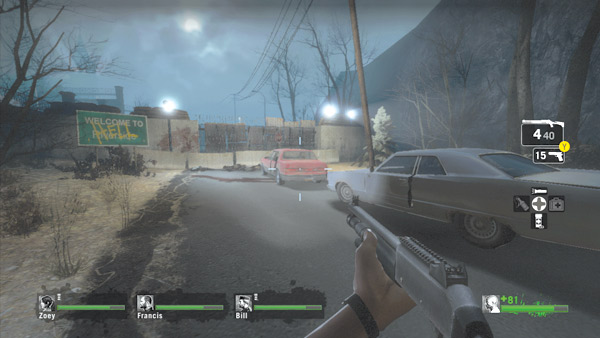
Beyond the ambulance is the entrance to Riverside. However, the road is barricaded at this point, forcing your team to find another path.
The barricaded entrance may be a good sign, showing that the locals made an attempt to hold off the infected at some point during the outbreak. But the Welcome to Riverside sign outside now reads Welcome to Hell. This doesn’t bode well…
Riverside Cemetery
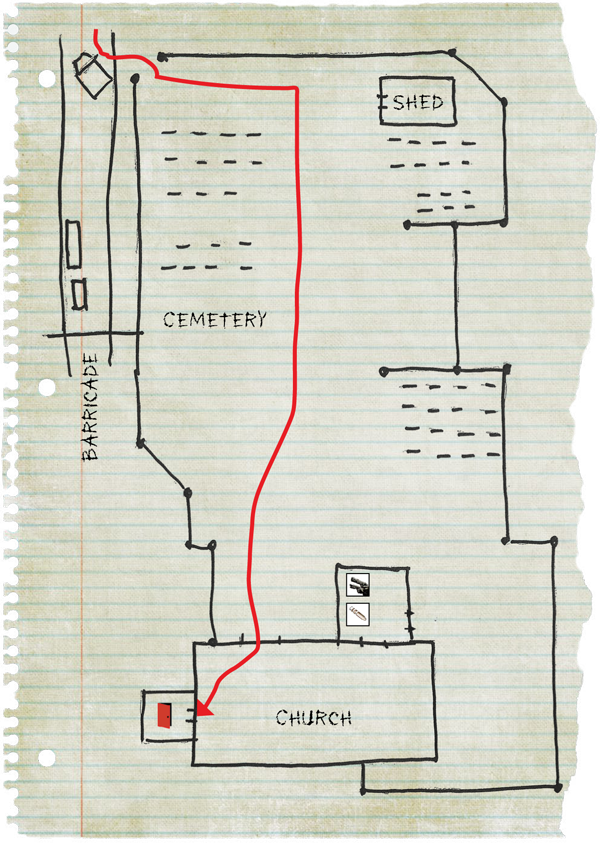
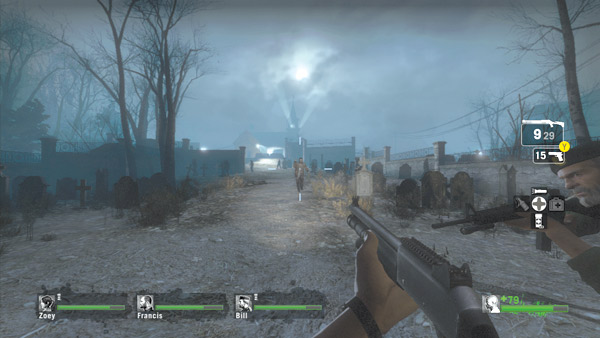
To the left of Riverside’s entrance is a cemetery. If creeping through a cemetery during a zombie outbreak is your idea of fun, then get ready for some action. Your team must cross the cemetery to reach the safe house in the church, at the top of the hill.
The tombstones make it difficult to pick out the infected from the monuments. Furthermore, the tombstones provide the infected with some cover.
Teammates equipped with assault rifles and sniper rifles have the best chance of engaging these long-range threats. Those with shotguns should establish a perimeter around the long-range shooters, protecting them from sudden rush attacks by nearby infected.
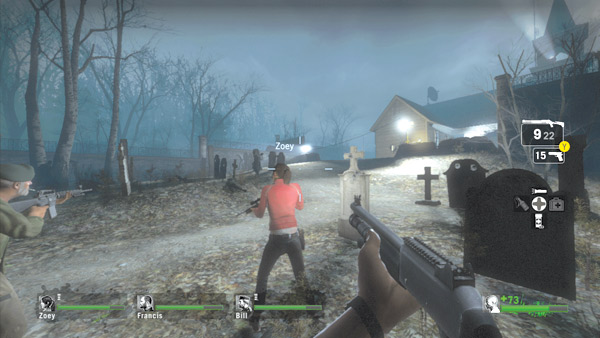
Make a deliberate push toward the church at the far end of the cemetery, dispatching infected as you go. This isn’t a good place to get bogged down, so keep moving. Most importantly, stick together.
The cemetery is quite large, giving Hunters and Smokers the opportunity to isolate and attack stragglers that wander off from the team. So if you have to stop or can’t keep up with the team due to injuries, tell everyone to slow down.
Church Safe House
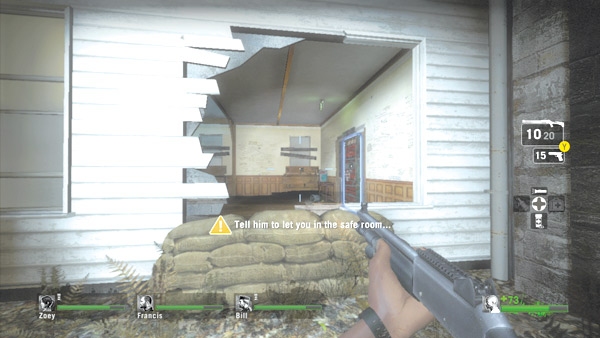
An open window on the side of the church reveals the safe house door, just inside. But it appears the safe house is already occupied, and the paranoid occupant won’t let your team inside.
Don’t interact with the door yet—doing so triggers a mini-finale, requiring your team to defend the church from a large attack by the infected.
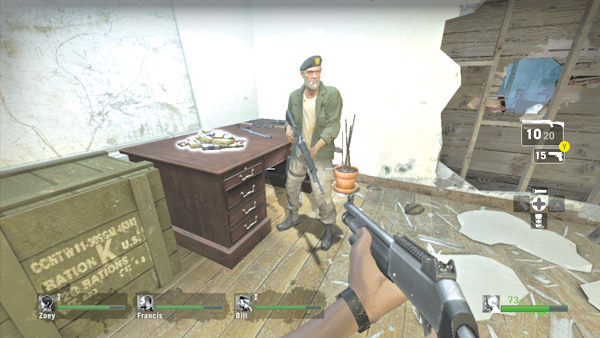
Enter the church through the hole in the wall by the safe house door and turn left. Stop at this table in the side room off the main chapel to stock up on ammo. You can also swap out weapons.
For this defense-oriented sequence, the assault rifles and auto shotguns are the best choice. Consider arming your team with two of each. While there are no medical supplies here, now’s a good time to heal any serious injuries.
Take a look at your team’s health bars, and if any teammates are in the yellow or orange range, tell them to heal or offer to heal them if they have no first aid kit or pills. You may not have time to heal once the attack begins.
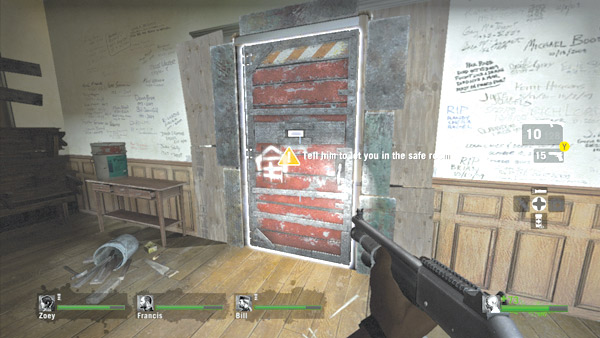
Once your team is prepared for an attack, interact with the safe house door. The coward inside won’t open the door; he’s not convinced your team is safe, fearing there may be infected among you.
Even worse, he rings the church’s bells in an effort to draw the infected to take care of you. Take a deep breath and get ready for a fight.
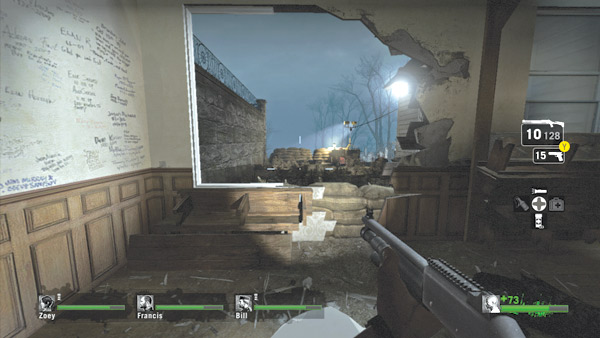
Before the zombies arrive, decide where your team will make a stand. Holding near the safe house door is always a good idea. The large window provides everyone with a clear angle on the attackers outside.
Plus, if you back up into the corner by the safe house door, the infected can only attack from two directions—through the window or through the side room where the ammo and weapons are located.
Furthermore, your team can quickly rush inside the safe house as soon as it opens.
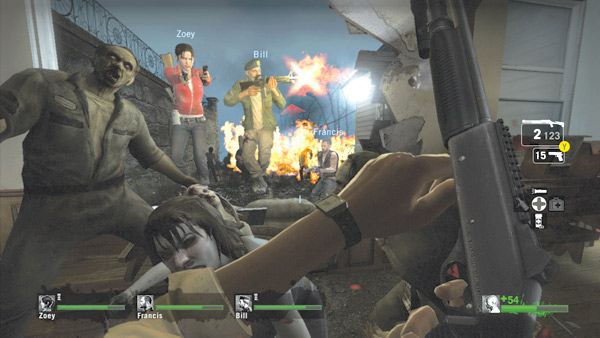
For best results, stay near the safe house door and try to keep everyone inside the church. Smoker attacks may drag survivors outside. If this occurs, move together as a team for the rescue and then get back inside.
Don’t forget to shoot any fuel cans or propane tanks your team scattered outside. This is a good way to eliminate large swaths of undead. Just avoid contact with any flaming zombies charging in your direction.
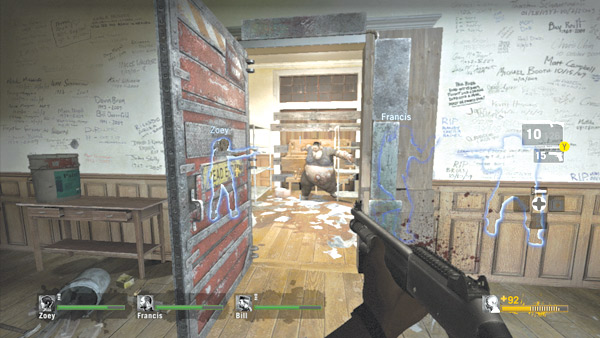
When you hear the bells stop ringing, the safe house door is opened—it’s unclear what happened to the occupant. Quickly move to the safe house and get inside. However, watch out for infected that may have entered before you arrived.
Boomers can sometimes spawn in here, making entries a bit tricky.
If any of your teammates are sprayed by a Boomer’s vomit, quickly blast the bloated fiend, enter the safe house, and slam the door shut before the swarm attack can commence.
It won’t matter if everyone is dripping bile. As long as the safe house door is shut, none of the infected can reach your team. Take a deep breath and get ready to investigate the town of Riverside.
If the scene at the church is any indication, chances of a rescue are looking slim…