
Left 4 Dead Guide Walkthrough Blood Harvest
The Bridge
Safe House
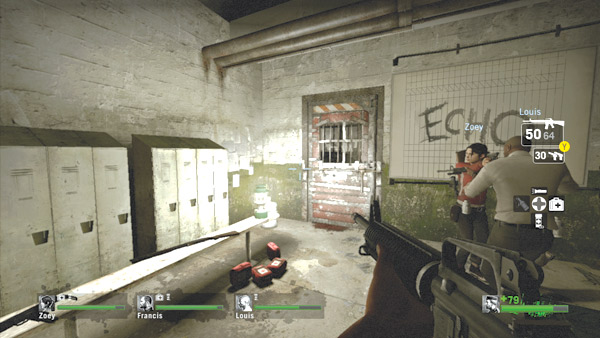
The collapsed rail tunnel has sent your team off course. You must find another way around and reacquire the rail line at a different point to continue your trek north toward the farm. It’s unclear where this side passage leads to, but your team has no choice but to follow it.
Before heading out, stock up on supplies. There are weapons, first aid kits, and ammo on and near the bench by the lockers in this dimly lit safe house.
The only weapons provided here are SMGs and pump shotguns; if you still have your assault rifles, auto shotguns, and sniper rifles from the previous level, hold onto them. Also, make sure everyone’s health bar is in the green zone.
Anyone with low health may be singled out by the infected as the team moves through the adjoining maintenance tunnel.
Maintenance Tunnel
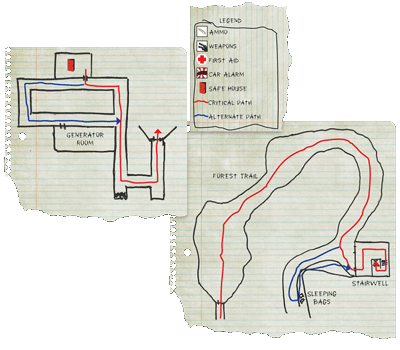
The safe house door opens into a dark maintenance tunnel, allowing your team to travel left or right. Turn left, toward the red light, and advance to the corner ahead. As you exit, watch for common infected hiding down both spans of the tunnel.
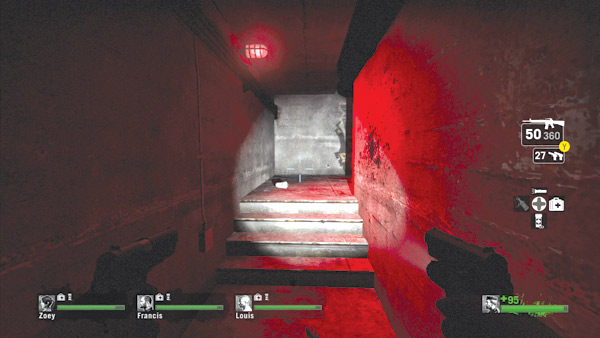
It’s important to establish rear security while moving through this tunnel, so assign at least one teammate to watch everyone’s backs during the advance. This prevents infected from attacking or spawning directly behind your team.
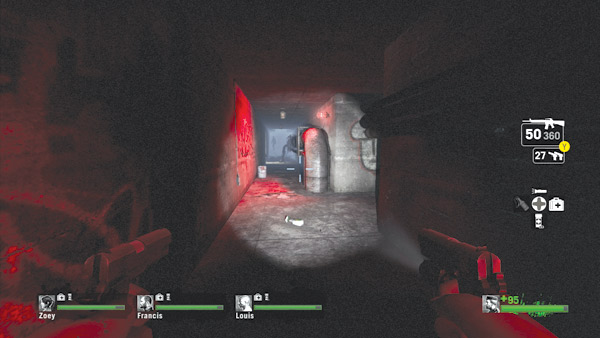
In the next span of the tunnel, keep going straight, advancing past the dark corridor on the right. But don’t completely ignore the passage on the right; sidestep past it and blast all visible threats.
The sound of gunfire may attract more infected from the other spans, so make sure all three directions are covered at this T intersection.
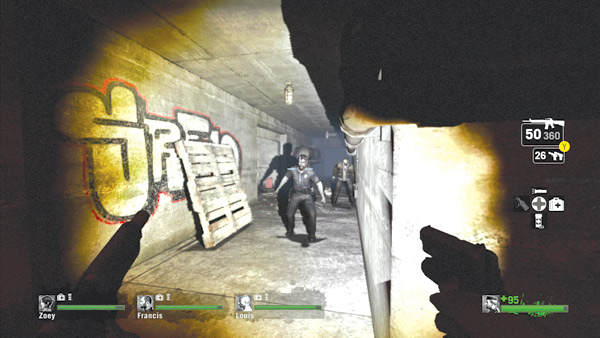
If you’re not in a huge rush to exit the tunnel, consider traveling down the passage to access the small generator room on the left.
There are usually several pickups inside, sometimes including pills, a fuel can, a propane tank, and molotovs.
But make such supply raids as quickly as possible and be sure to backtrack to the red-lit T intersection and turn right—turning left takes you back to the safe house.
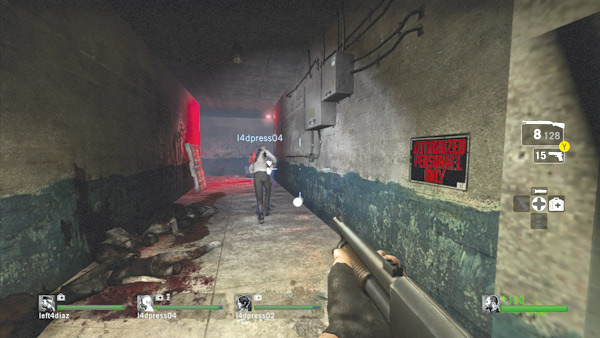
The tunnel eventually dead-ends due to a roof collapse, forcing your team through the well-lit passage on the left, near the Authorized Personnel Only sign.
You’re not far from the tunnel exit now. Dash to the end of this span (toward the red light) and take a left to spot the tunnel exit. Stay together as you approach the corner ahead.
Infected bosses may be hiding in the next span, looking to pounce on or snare the first survivor who rounds the corner.
Tunnel Exit
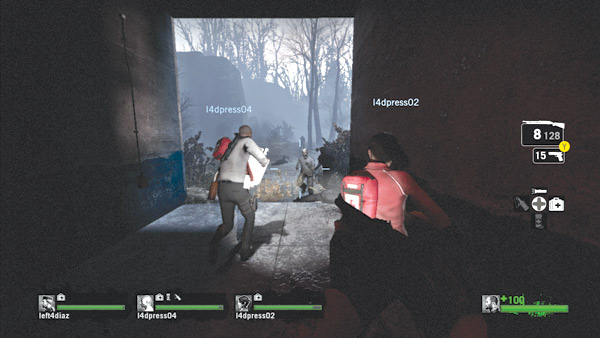
The tunnel’s exit leads outside, to a narrow forest trail. This is a very popular ambush point for the infected, so hold here for a few seconds and engage all visible threats.
If one of your teammates grabbed a propane tank or fuel can from the generator room, toss it outside and shoot it to take out large swarms charging toward your team. It’s equally important to watch the span behind you.
Now that your team has vacated the tunnel system’s various spans, the infected are now free to spawn behind you. Don’t hold here long, otherwise your team is sure to be attacked from both sides. Tank attacks aren’t uncommon here, and it’s best to be outside if this occurs, where your team has more room to maneuver.
So clear the area around the tunnel exit and rush outside.
Forest Trail
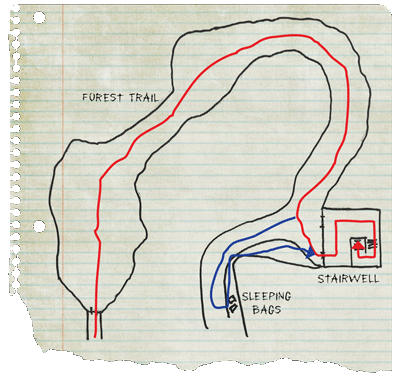
The trail outside the tunnel is sunken, with tall cliffs flanking both sides. The cliffs are inaccessible to the survivors but are wide open to the infected, giving them the opportunity to attack your team from above.
Therefore, race along this trail as fast as possible. Lingering here puts your team at a tremendous disadvantage as the infected pounce from all directions.
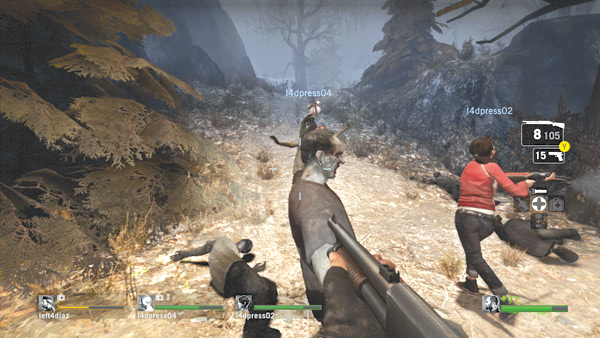
But as you race ahead, turn back occasionally to make sure your teammates are still with you. It’s very easy to get separated during this advance, especially if Hunters or Smokers manage to pick off stragglers.
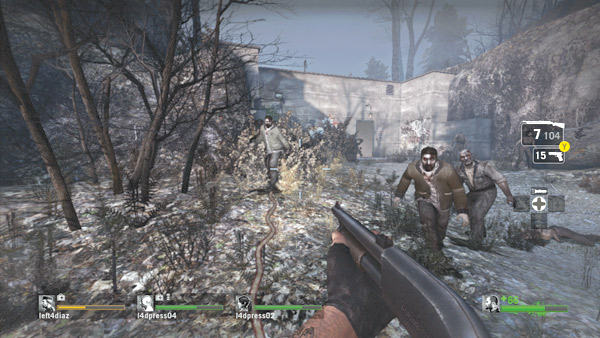
On the left side of the trail, look for this large concrete structure. Inside, a long stairwell leads down to a rail yard. Before rushing inside, clear out all the infected hanging out in front of the entrance.
Have a couple of teammates blast the infected around the structure while the other two watch for more infected advancing along the trail. Once a path is cleared, race to the structure’s door (or window) and burst inside. The last teammate in should close the door.
Stairwell
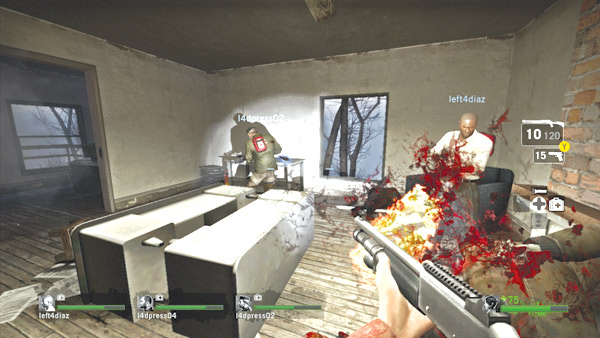
The stairwell inside the concrete structure is a very confined space, likely filled with common infected. Proceed with caution and clear each set of steps at a time.
As usual, have the trailing teammate cover your backs. Infected spawning outside may come dashing down the steps, especially during swarm attacks.
If the resistance picks up, don’t hesitate to use molotovs or fuel cans to create large fires either behind or in front of your team.
But be careful when using fire in such a cramped space, as it can harm you and your teammates just as easily as it does the infected.
Friendly fire can also be a problem in this area, so exercise muzzle discipline and avoid stepping in front of teammates who are engaging a target.
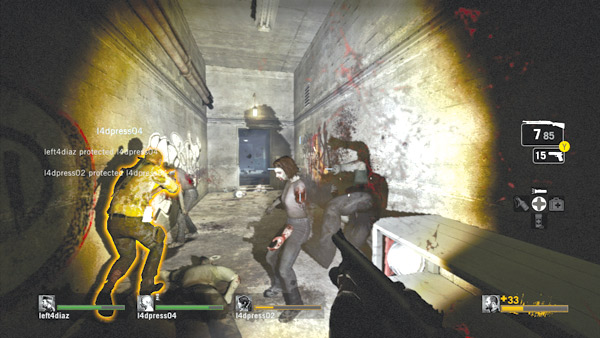
At the bottom of the stairwell turn right and expect to confront a fresh batch of infected. There may also be some bosses attempting to ambush your team from beneath the stairs. So stay together and provide support to your teammates as necessary.
Before leaving this area, check under the stairs for supplies—sometimes you can find pipe bombs or molotovs here. Also, there’s usually a red fuel can by the table on the right side of the hall.
Consider using it to create a wall of fire at the bottom of the steps to halt any pursuers attempting to sneak up on your team. The entrance to the rail yard is straight down this hall.
Rail Yard
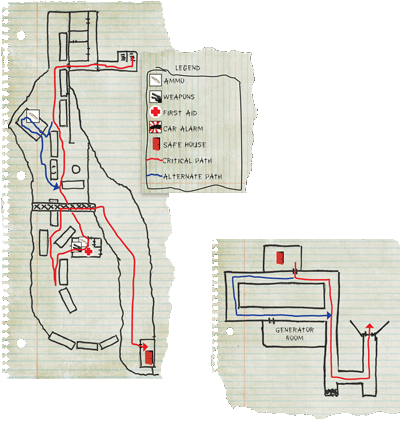
The corridor adjoining the stairwell leads to a tunnel just outside a rail yard. Pass through the doorway and turn left, stepping between this engine and boxcar to access the tracks. Be sure to stick together during this transition between the stairwell and the rail yard.
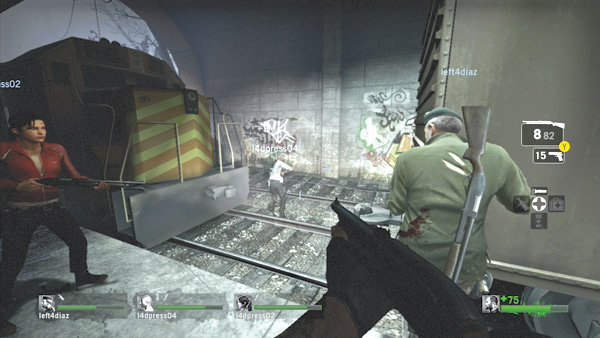
Hunters or a Smoker lurking in the stairwell can easily pick off stragglers and inflict heavy damage, often before your team can respond.
Common infected and bosses also pose a threat in the tunnel, waiting to ambush your team as you exit the stairwell. So stay alert and stick together.
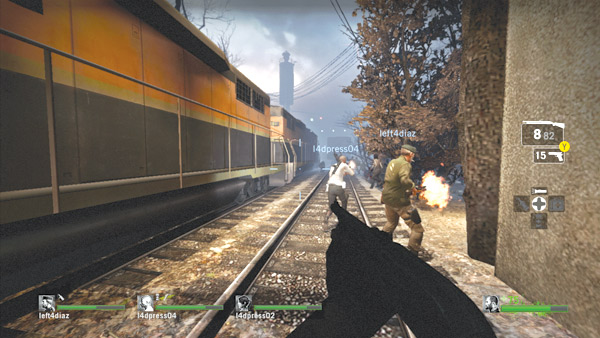
Follow the tracks out of the tunnel and blast any zombies that get in your way. A few may lurk along the right side of the tunnel as your team exits, so be sure to sidestep past this area and engage any threats skulking in this blind spot.
Get out of the tunnel as quickly as possible before any Hunters or Smokers can strike and hinder your team’s progress.
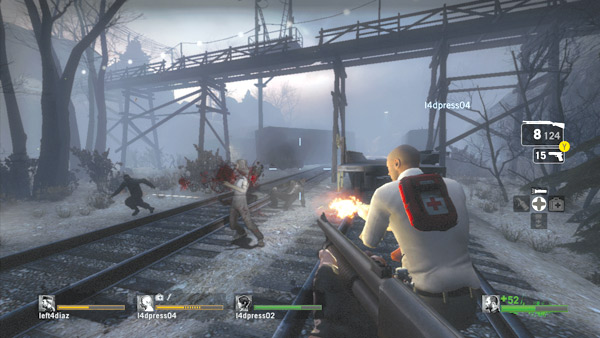
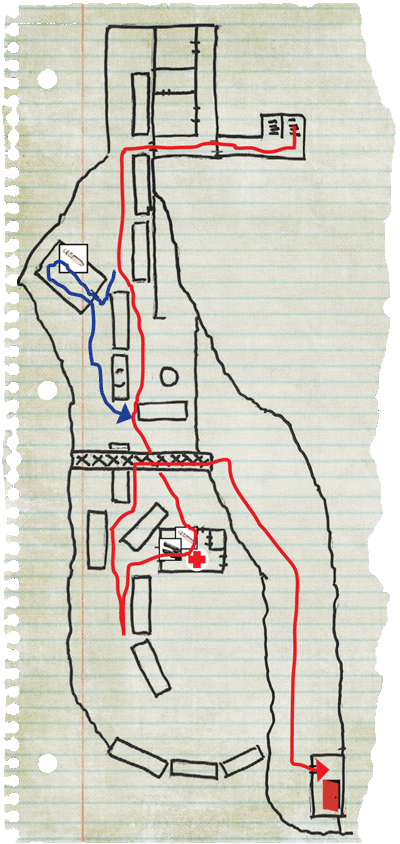
Continue advancing down the tracks, passing beneath this narrow wooden footbridge spanning the rail yard. Your team must find a way to collapse this bridge, creating a ramp up to the nearby ridge so you can reach the next safe house.
In the meantime, continue following the tracks and shooting the infected along the way.
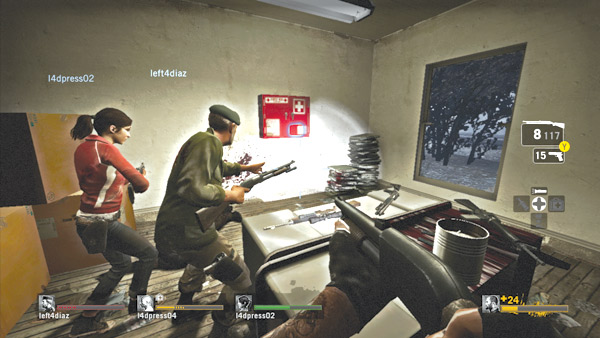
Just beyond the bridge is a small storage building. A first aid cabinet and ammo await inside. There may also be some weapon upgrades on the desk near the ammo.
Your fight in the rail yard is far from over, so consider going heavy on assault rifles to take advantage of their range and rate of fire.
This is also a good spot to heal. Make sure at least two teammates stand watch, covering the windows and doors, as others heal. Even if the doors are shut, the infected can break through with ease. So always be ready for an attack.
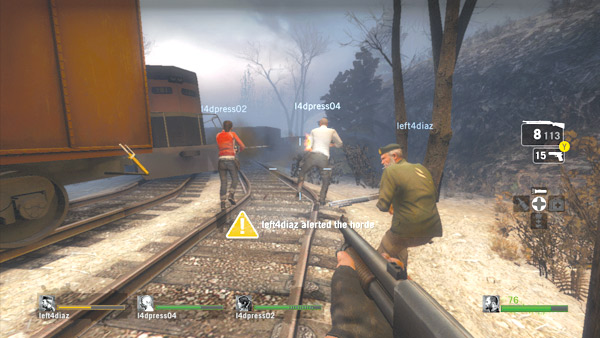
After making a brief pit stop in the storage building, continue down the tracks until you locate this red boxcar with an interactive yellow handbrake.
Release the handbrake to send the car rolling down the tracks and crashing into a derailed boxcar resting on the bridge’s supports.
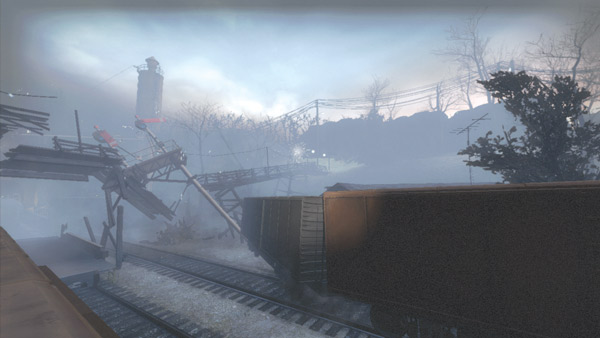
The collision collapses the bridge, creating the ramp your team needs to reach the top of the ledge leading to the safe house. But the sound of the crash also alerts the infected, prompting a large swarm attack.
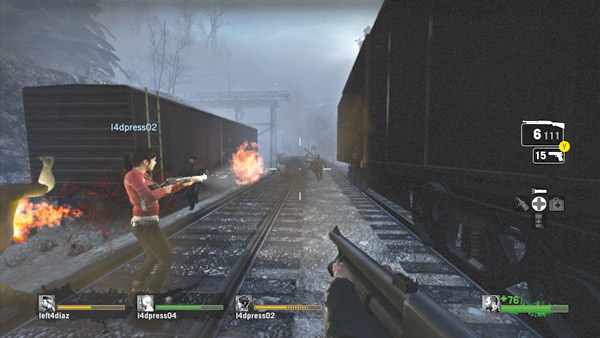
There are few great places from which to defend your team from the swarm attack, so simply stake out an area and go back to back with your teammates to fend off the attackers rushing from all directions.
Try setting up between these two boxcars near the bridge to funnel the swarm into two access points. However, the infected can still climb over the boxcars on your flanks and attack from above. But most will stay on the ground and charge directly at you.
You can also try to climb on a boxcar, but doing so makes one of your teammates an easy target for a lurking Smoker.
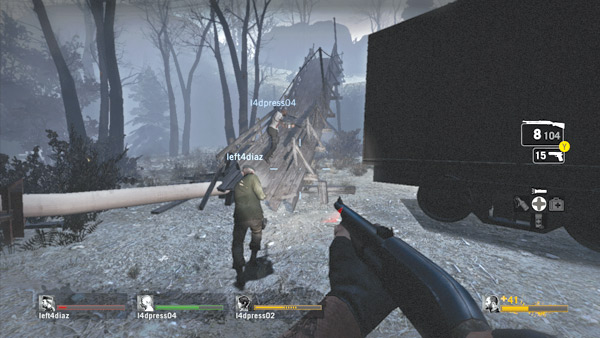
As the infected attack dwindles, rush toward the collapsed bridge and ascend the new ramp leading up to the ridge above the rail yard. Keep an eye on your teammates during this advance and make sure everyone makes it to the top.
If you have to backtrack to rescue someone, the infected could stage another large-scale attack, putting your team at considerable risk.
Shed Safe House
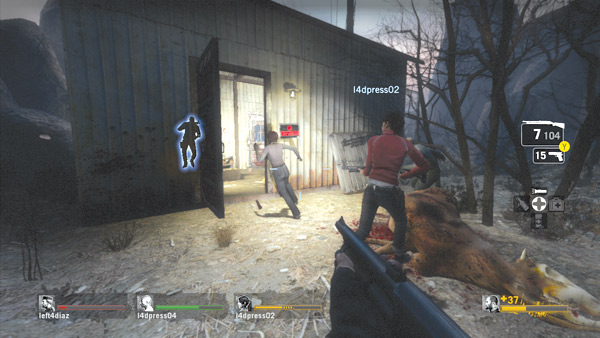
Follow the trail at the top of the ramp to this shed, which serves as this level’s safe house. There may be a few common infected along the trail and loitering outside the safe house, but don’t stop to shoot them.
Keep shooting while moving, stopping only once you’re inside the safe house. Any delays here only give the infected bosses more time to regroup and initiate a last-ditch attack. So race inside the safe house and slam the door once all your teammates are in.