
Left 4 Dead Guide Walkthrough Death Toll
The Drains
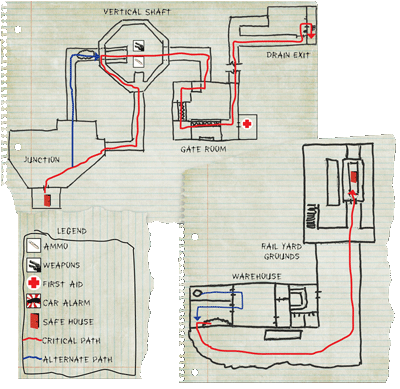
Safe House
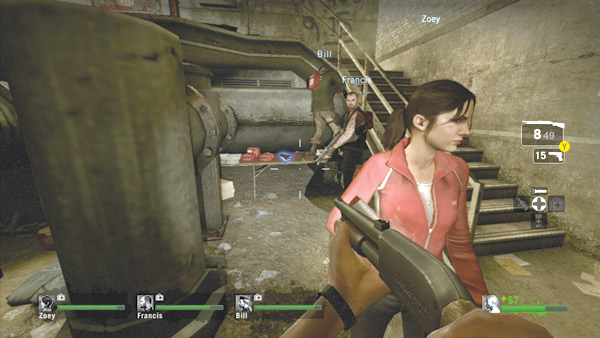
This safe house is part of the waterworks facility, which explains the presence of the large pipes and other industrial equipment. But don’t get distracted by the decor. Near the steps on the right is a table holding first aid kits, ammo, pump shotguns, and SMGs.
Use the first aid kits to heal any injured teammates. Otherwise, save them for later. Also, make sure your team has a good mix of weapons.
Shotguns are great for clearing out the areas ahead, but you’ll also need the range and rate of fire offered by the SMGs. So split the load-out evenly by taking two SMGs and two pump shotguns.
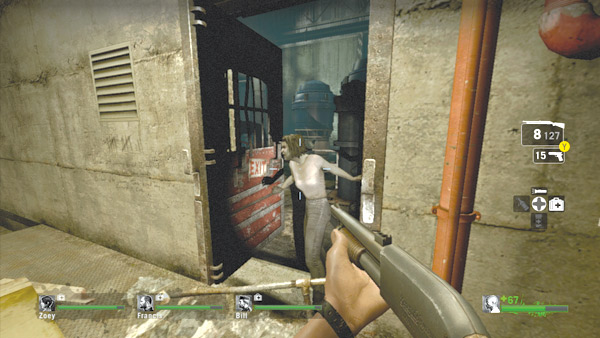
When you’re properly outfitted, climb one of the sets of steps flanking the room and move toward the red steel door. Before opening it, engage any visible infected through the bars.
The room on the other side is very large and filled with common infected. If you simply throw the door open, they could rush inside the safe house before your team has a chance to exit.
So clear out any zombies gathered near the door. Even when you open the door, a few more infected may try to rush inside, so be ready to stop them with a shotgun aimed at the exit.
Junction
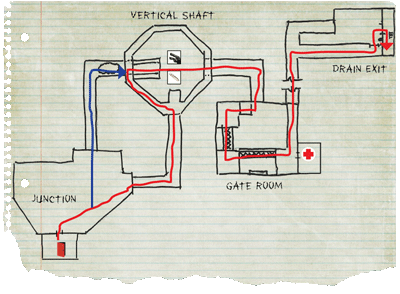
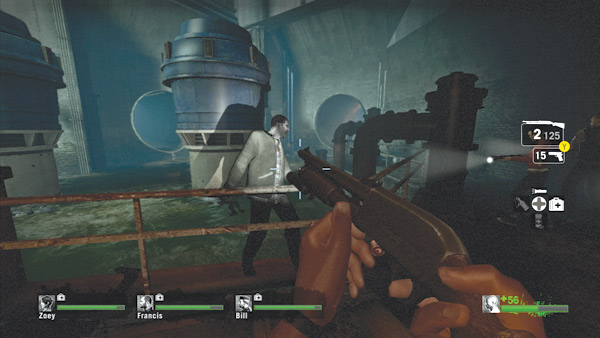
This large chamber outside the safe house is likely filled with common infected, so be ready to open fire as soon as you enter. Hold at the safe house exit and form a semicircular line in front of it.
Now your team can cover the room in all directions, and everyone has a clean angle on the approaching infected. This is a good way to clear the area in front of the door, but more infected lurk behind the large pieces of equipment and near the two massive drainage tunnels.
So be prepared to move out, but stick together. Although this is a single room, it’s very large and it’s easy to get separated, giving Hunters and Smokers the chance to strike and inflict serious injury on stragglers.
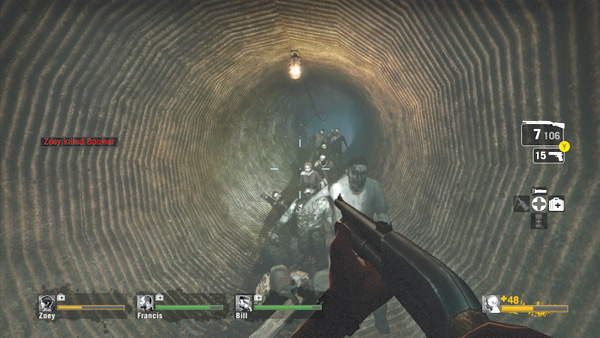
Don’t linger in the junction room too long. Endless supplies of infected continually enter from one of two drainage tunnels. Wasting time in here only depletes ammo and health, so form up and prepare to move through one of the tunnels.
Both lead to the vertical shaft, so it doesn’t matter which path is chosen. But the tunnel to the right of the safe house is the safest and closest route. Just make sure your team sticks together.
While moving through the tunnel, watch out for Boomers. They can pose a serious threat in this confined passage, especially if any of your teammates get splashed with bile.
Confronting swarms of infected in this tunnel isn’t too challenging, but make sure everyone in the team has a clear angle on the stampede to avoid friendly fire incidents.
If leading the team down the tunnel, crouch so those behind you can fire over your shoulder.
Vertical Shaft
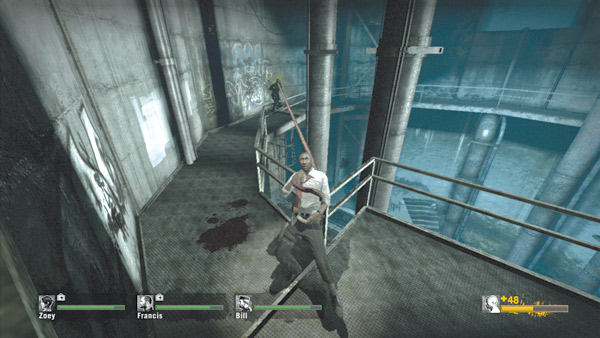
Both tunnels exit into this large vertical shaft ringed by a narrow catwalk. However, be careful when exiting the tunnel. Infected bosses may be waiting for you here, hoping to flank your team as it exits.
Such attacks are tough to prevent, but if you stick together, they’re easily dealt with. Consider having the healthiest teammate exit the tunnel first as a decoy.
Once the trap is sprung, the rest of the team can come to the rescue, usually before any serious damage is inflicted.
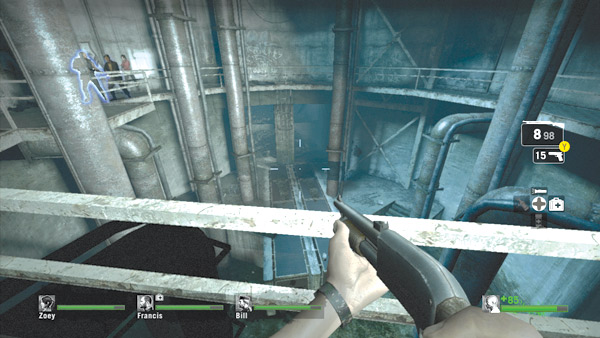
Circle around the catwalk and scour the area below for infected. Don’t let the lure of ammo and weapon upgrades below make you rush to the lower level. Instead, keep your eyes peeled for infected bosses (like Hunters) lurking below.
Eliminating these threats from the upper level makes the transition much safer. But don’t just focus on the lower level. Common infected may rush out of the tunnel you just exited, so be ready to blast any rushing toward you on the catwalk.
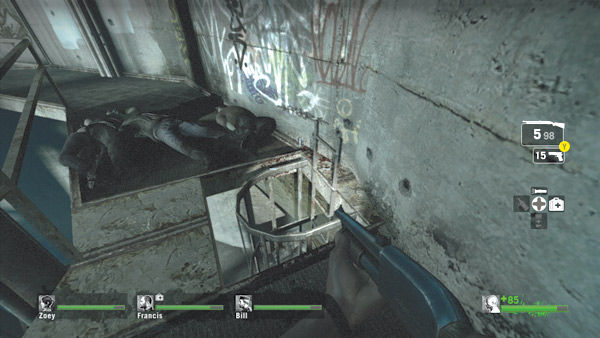
While circling the catwalk, look for this ladder on the outside wall. But don’t rush to it and begin your descent. Instead, look down the ladder and blast any infected climbing it. Common infected and bosses alike can climb ladders like this, so be ready for anything.
If a Boomer is climbing the ladder, make sure it’s a safe distance away before blasting it. Otherwise you’ll have to confront a swarm attack.
When the ladder and the area below are clear, quickly transition to the bottom of the shaft. Make sure all your teammates descend the ladder at approximately the same time.
A lone teammate left behind on the catwalk can be attacked by a Hunter or Smoker, and it’s difficult to climb back up and help out in time.
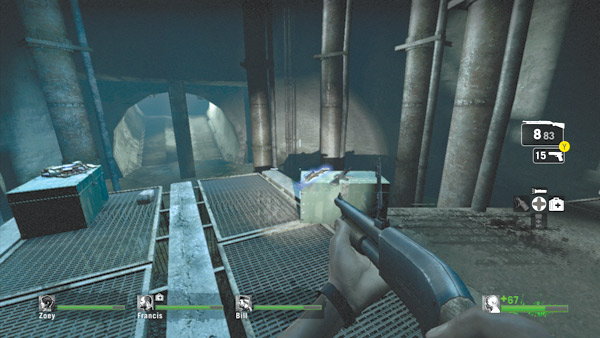
After climbing down the ladder, quickly survey the surrounding area, then locate the ammo and weapon upgrades resting on the two green crates.
All of the weapon upgrades are useful here, so consider going with one auto shotgun, two assault rifles, and one sniper rifle. This mix of weaponry gives your team a good balance of range, rate of fire, and stopping power.
If anyone in your team is injured, this is also a good location to heal. Just make sure at least two teammates stand watch at all times.
When everyone is ready to move out, descend the nearby steps and enter the concrete tunnel just ahead.
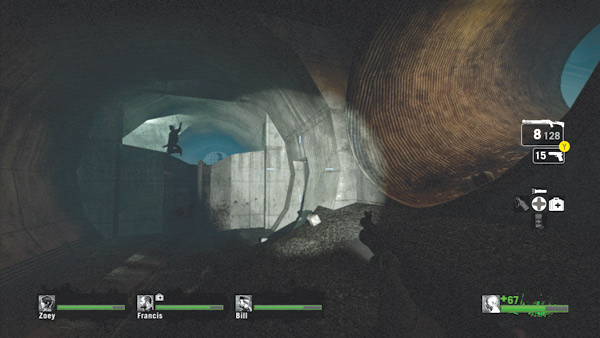
Expect to encounter a few common infected in the concrete tunnel. Blast them while rushing forward, ascending the shallow slope.
This passage eventually dead-ends, blocked by a high concrete wall. But another large drain pipe is to the right. Before entering the red-lit pipe on the right, make sure your team is together—the action in the next room can get rather frantic.
Gate Room
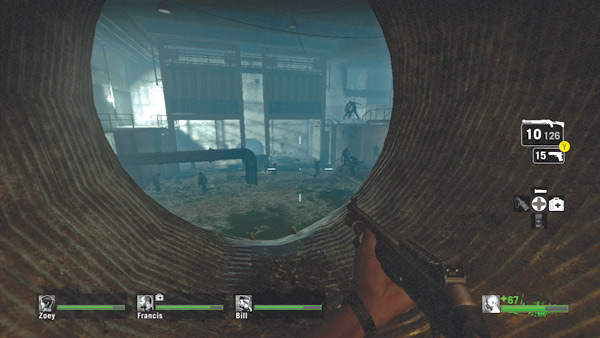
Cautiously approach the end of this tunnel. Quickly scan the room ahead for Smokers and other infected bosses. A Smoker may attempt to drag one of your teammates down into the water, so watch for incoming tongue attacks and immediately target their source.
The director may have placed a Witch somewhere in this room, too, so if you hear her wailing, try to uncover her location before dropping out of this tunnel.
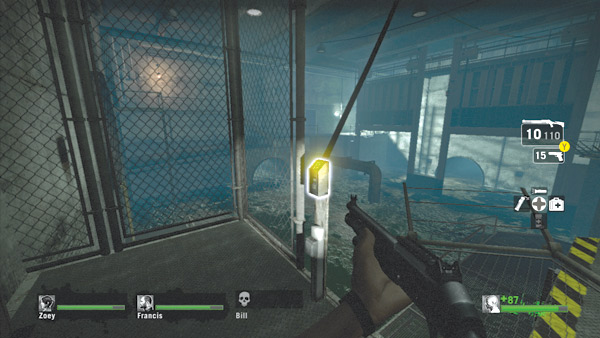
From the tunnel, follow the narrow catwalk to the right side of the room. Here a ladder leads to an upper level. The exit is on the opposite side of the room, but it’s currently inaccessible.
To reach it you must lower the gates in the center of the room, used to control the flow of water through the drainage system.
This will in turn lower the catwalk above the gates, allowing your team to reach the opposite side of the room and the exit.
You lower the gates by interacting with this yellow switch, but before doing so, get ready for a mini-finale. You’ll need to fend off a large infected attack while the gates noisily lower into place.
So make sure everyone on your team has reloaded and has plenty of health. There may be some molotovs or pipe bombs on this upper level, which can come in handy when the attack is underway.
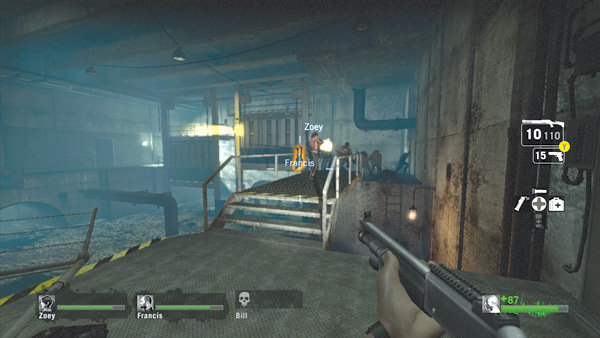
As the gates begin to lower, do your best to keep your team on this upper level, near the switch. Most of the infected attack from the lower level, climbing ladders to reach your team. But some attack through a hole in the wall near the gates.
By focusing attention on these critical points, you can control the upper level and avoid getting split up. But attacks by a Smoker may require dropping to the lower level to rescue a teammate.
If this occurs, move together as a team. Otherwise you may be overwhelmed by the infected, particularly if you fall in the water.
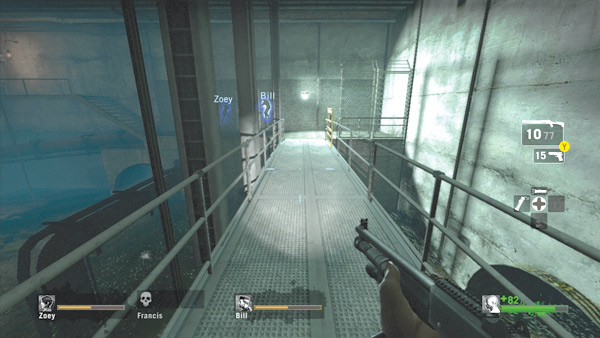
Once the gates have been fully lowered, the infected attack subsides. Finish off any stragglers and cross the newly lowered catwalk.
A small room on the far side of the catwalk contains a first aid station. Any teammates you lost during the mini-finale may spawn inside this room.
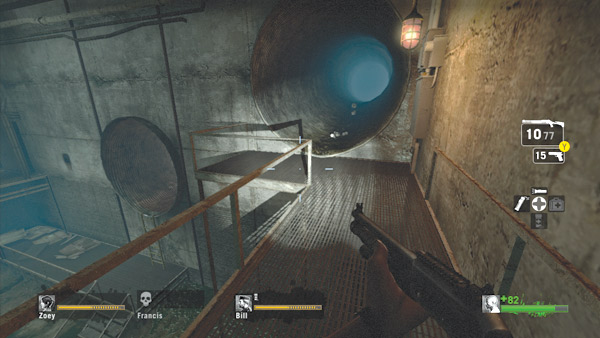
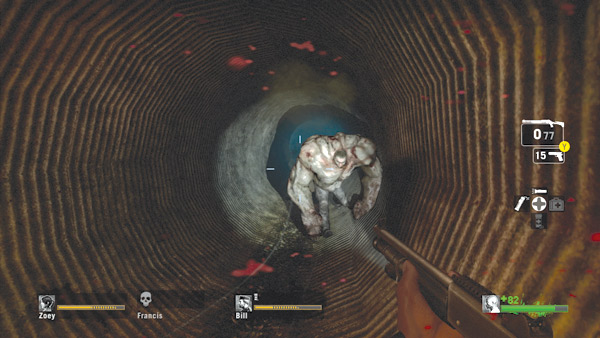
After raiding the first aid station, continue along the upper-level walkway to enter yet another large drainage tunnel. More infected may occupy this tunnel, so stay sharp.
There’s even a possibility you could encounter a Tank. If this occurs, backpedal down the tunnel and return to the gate room to finish him off.
Drain Exit
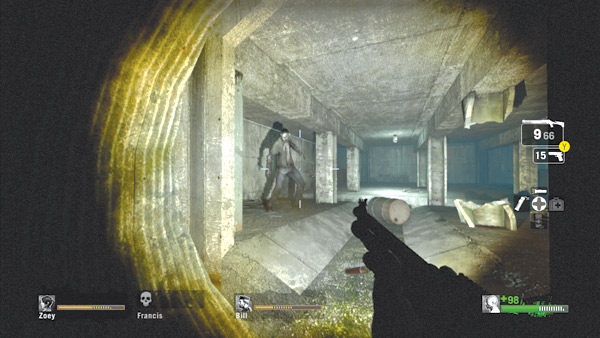
The tunnel leads into this large concrete-lined room supported by several vertical steel beams. The steel beams help conceal the infected inside this room, so hold at the entrance and open fire on anything that moves.
This may trigger more infected to rush toward your team, but it’s better to engage them head on here than to be surrounded once you enter the room.
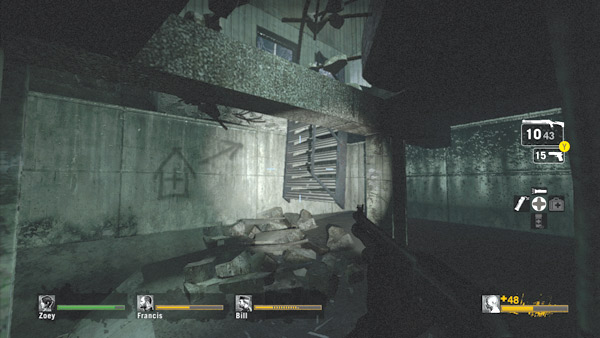
From the tunnel, turn right and look for a circular passage leading into an adjoining room. Don’t climb the yellow ladder—this leads up into a small warehouse. Instead, stay in this lower-level passage to bypass the warehouse entirely.
The ceiling has collapsed in a portion of this next room, and an old stairway can be used to climb out. At the top of the stairway turn left and hop out the window. Steer clear of the open doorway in this small room—it leads into the warehouse.
Alternate Path: Warehouse
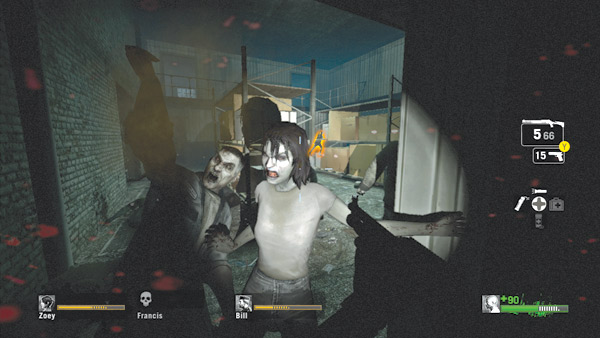
Climbing the yellow ladder in the room with steel beam supports puts your team in a small warehouse. It’s best to avoid this path if possible as it’s almost always filled with infected. The room also has an upper-level walkway ideal for Hunter and Smoker attacks.
However, you might have to take this path if you’ve lost a teammate. A small closet inside this warehouse can serve as a spawn point. But if your team is at full strength, bypass the warehouse and stay in the passages below.
Rail Yard Grounds
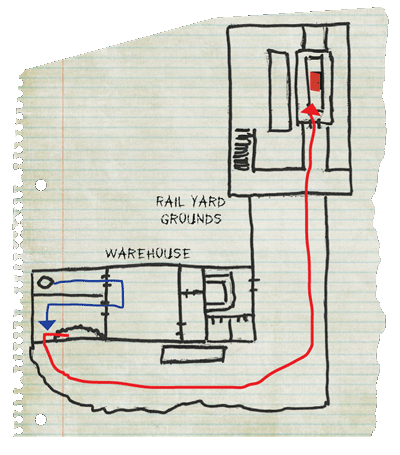
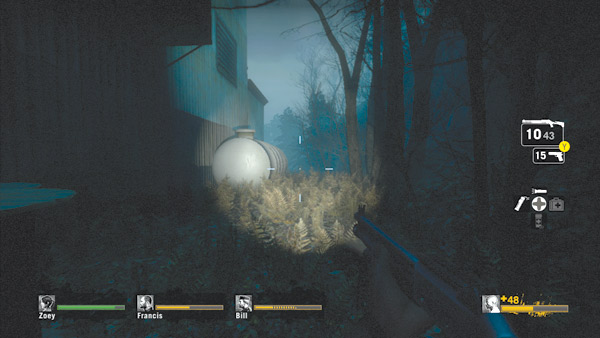
Gulp in the fresh outside air as you hop through the window. Your team is now outside the warehouse near a rail yard—the safe house isn’t far away. Watch for more infected lining this path. Keep your team together and cautiously round the corner to the left.
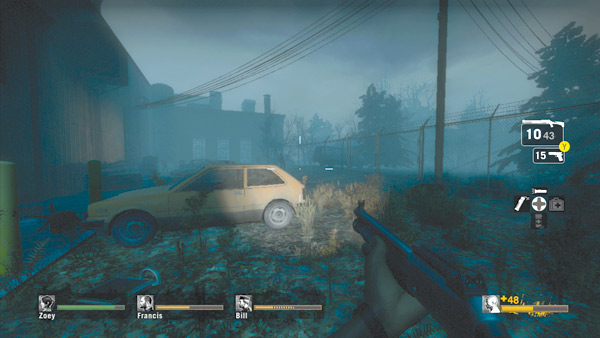
Cross this small parking lot to reach the building straight ahead—the one with the long rectangular windows. A caboose serves as this level’s safe house inside that large brick building. Keep moving toward
This building while firing on any infected you encounter along the way. As you get closer to the brick building, shoot out the window on the right to create a straight path to the caboose.
Caboose Safe House
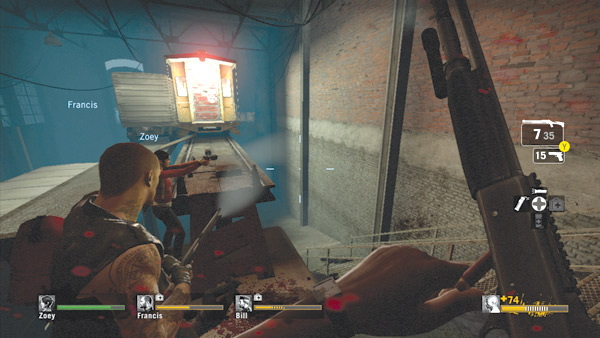
Hop through the window on the right and race toward the caboose ahead. The caboose is on a narrow platform, suspended above the floor of this large building. So watch your step while rushing for the door.
If you fall off the narrow walkway leading to the caboose (or get pulled down by a Smoker), you stand a serious chance of being mauled by the infected below.
If you or a teammate does fall, the upper level can be accessed via two staircases on either side of the building. Get inside the caboose as quickly as possible and shut the door once your teammates are all inside.