
Left 4 Dead Guide Walkthrough Dead Air
Runway Finale
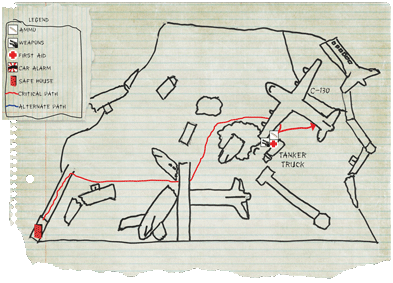
Safe House
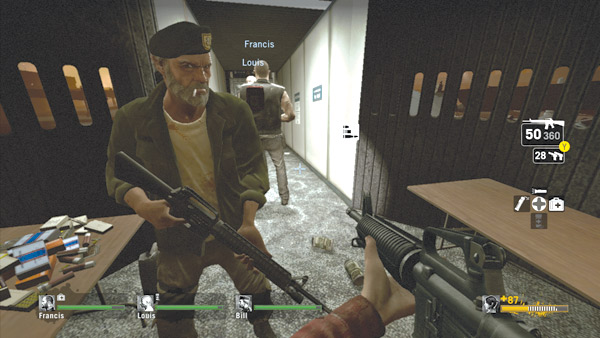
The airport’s tarmac and runways are just outside this makeshift safe house, but before searching for rescue, stock up on supplies and heal.
It’s okay to use the first aid kits immediately, especially if anyone’s health is in the orange or red range, because more first aid kits await your team at the tanker truck outside.
As for weapons, take three assault rifles and one auto shotgun or two assault rifles, one sniper rifle, and one auto shotgun.
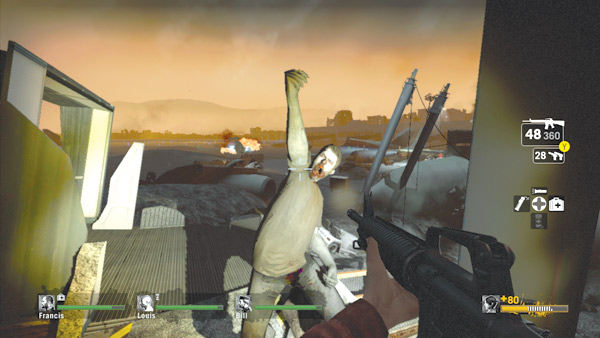
The assault rifles and sniper rifle are very effective at long range, and there are many opportunities outside to engage targets at long distance. Once everyone is geared up, open the safe house door at the far end of the jetway and step outside.
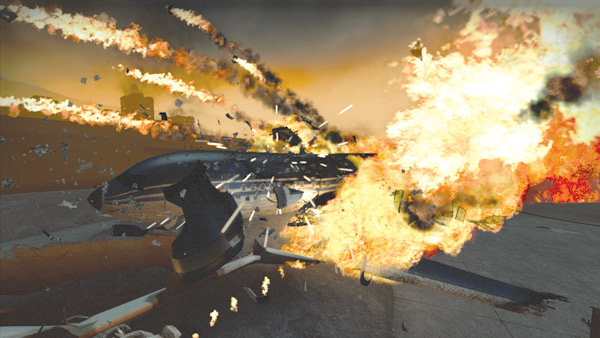
As you exit the safe house and approach the end of the jetway, a plane can be seen approaching in the distance—but something is wrong. First the left wing dips and smashes into the ground.
Then the nose plunges into the tarmac, causing the aircraft to erupt in a fiery explosion that shakes the ground. Stay on the jetway as the fiery wreck comes to a stop only a few meters away, but don’t let the crash distract you from infected trying to attack your team.
It’s unclear what caused the plane to crash, but it’s safe to speculate that the crew were overrun by infected.
Tarmac
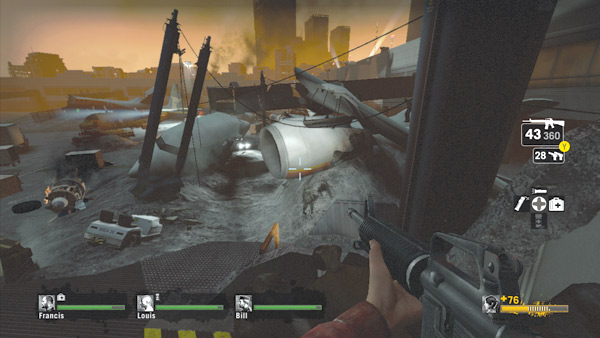
But this jet isn’t the first to crash here, as witnessed during your trek through the terminal. The tarmac is littered with even more aircraft wreckage, creating a dangerous obstacle course. However, off in the distance is a C-130 cargo plane that looks intact.
Is this the same plane your team saw earlier at the greenhouse? If so, it could be your ticket out of here. Make note of its location while standing atop the jetway and then formulate a quick game plan to get there as quickly as possible.
Also, fire down on any infected before dropping onto the tarmac.
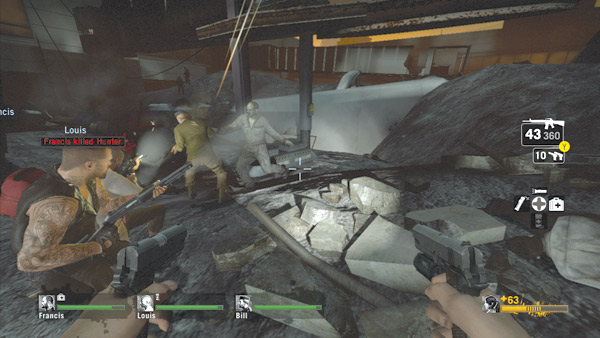
When it’s time to move out, drop to the tarmac simultaneously as a team. If someone is attacked and incapacitated on the jetway, there’s no way to get back up to help.
Stay together once you reach the tarmac and be prepared to put down all the infected that swarm to your team’s position.
Quickly sweep the area beneath the jetway—there are usually a few infected down here that you couldn’t see from above.
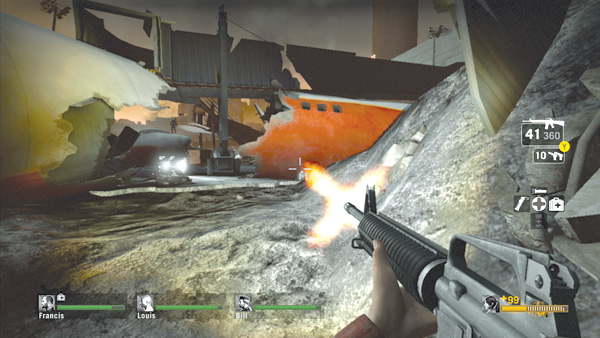
Once the area around the jetway is clear, turn toward the broken-up aircraft at gate B1. Advance through the gap between the nose and fuselage, passing directly beneath the B1 jetway.
This area is dark, so turn on your flashlights and watch for infected hiding amid the wreckage. You can also score some long-range kills from this position, targeting shambling silhouettes in the distance.
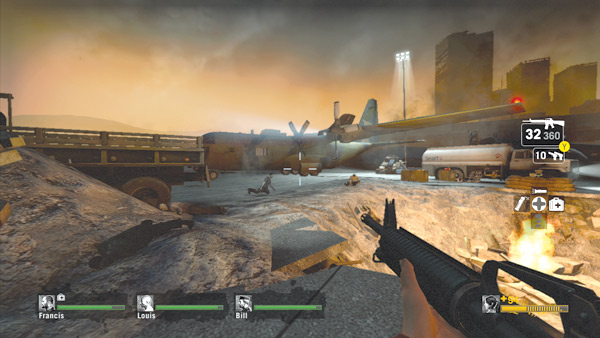
The C-130 cargo plane is parked just beyond the B1 jetway. Turn left and navigate around the large crater in the tarmac to reach it. As you near the plane a voice can be heard echoing over a radio: “Gas me up and I’ll get you out of here.”
Why does there always have to be a catch? At least you’ve found a way to escape. Now comes the hard part.
Tanker Truck
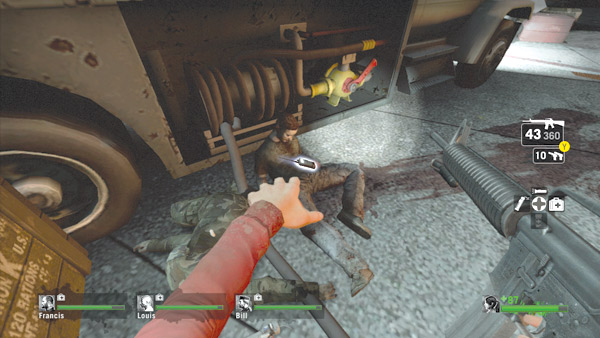
Move to the tanker truck near the plane and locate the corpse lying next to the large hose protruding from the side of the vehicle—it looks like the last person to take on this challenge wasn’t successful.
Interact with the radio resting on the corpse’s torso. The pilot tells you to start up the pump on the tanker truck to fuel up the plane. But he warns you that the pump will make a lot of noise, attracting the infected and requiring your team to fend off a large attack while the plane refuels.
Finale Preparation
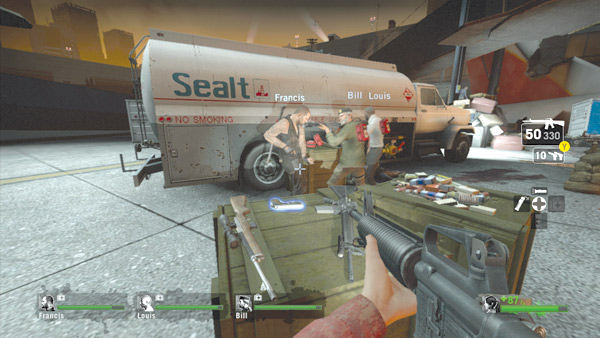
Before starting up the pump on the tanker truck, take a few seconds to prepare for the incoming attack. Start by resupplying and healing. There are weapons, ammo, and first aid kits on the crates near the tanker truck.
When choosing weapons for the finale, go with a mix of assault rifles and auto shotguns. Most of the combat takes place at close to intermediate range.
The sniper rifle isn’t well suited for such frantic encounters, so avoid equipping it unless you have an expert marksman on your team.
Even then, the rifle fires and reloads so slowly that it may be more of a liability than an asset. In addition to the standard weapon upgrades, there’s usually a stash of molotovs and pipe bombs near the tanker truck as well.
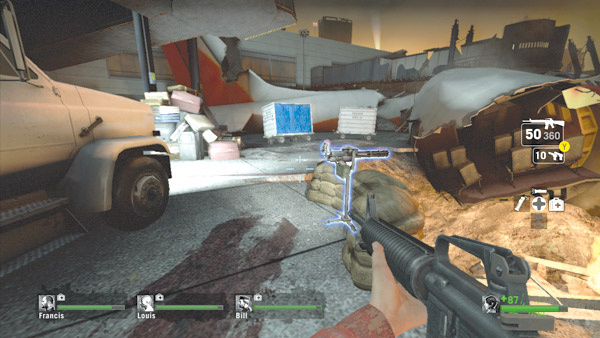
Next, note the mini gun near the tanker truck. It’s positioned on the edge of the large crater. This weapon is ideal for covering the area on the far side of the crater, but the gunner can be easily flanked from the sides and rear.
If you plan to use this weapon, discuss a plan to keep the gunner safe. Also, test out the weapon’s firing arc to see which areas it can cover and which areas it can’t.
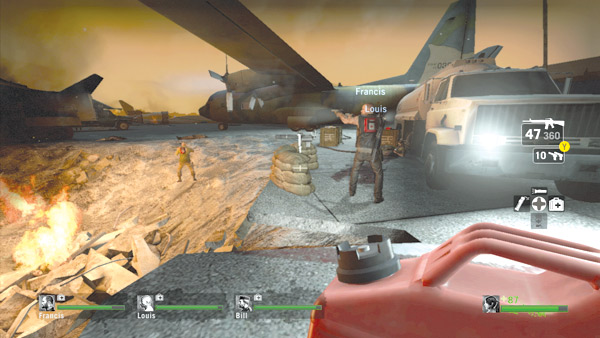
Usually a few red fuel cans lie scattered by the tanker truck. When ignited, these cans produce a large wall of fire that can help your team defend the tanker truck during the attack. Drop one near the front of the truck to create a fiery barrier near the mini gun.
Toss another one on the far side of the crater or along the back side of the truck. Make sure everyone on your team knows where these fuel cans are placed so they can target them during the attack for optimal impact.
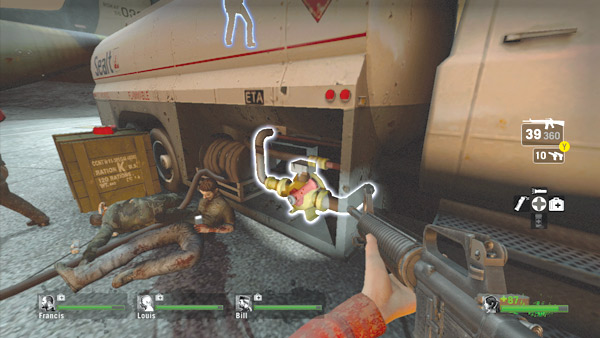
When your team is ready to fend off the attack, move to the side of the truck and interact with the pump. This starts the pump and begins the flow of fuel into the cargo plane. But it also alerts the infected, prompting a series of eerie cries and growls echoing in the distance.
Move into position and get ready for the assault.
Finale
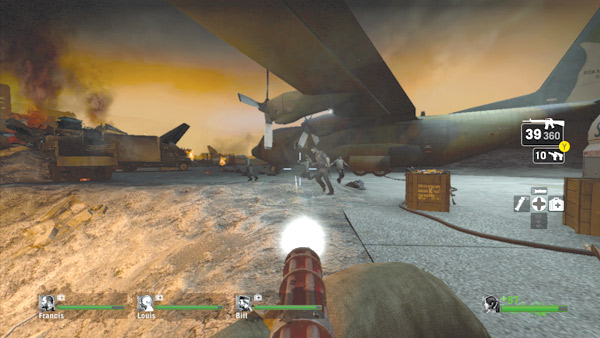
The mini gun can be very effective early on during the attack, so have one teammate settle in behind it while everyone else stands guard.
The weapon has a high rate of fire ideal for mowing down large swarms near the large crater, but it can’t swing too far to the left or right. So the gunner should be ready to disengage once the attack has shifted to a different direction, outside the mini gun’s limited firing arc.
Don’t expect to sit behind the gun for the duration of the finale, because you won’t last long.
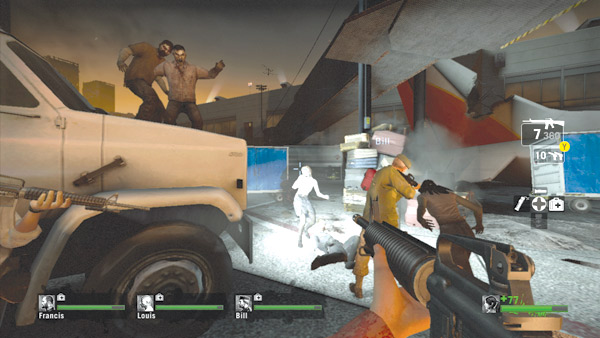
When guarding the mini gunner, stay nearby covering the front and rear sides of the truck. The front of the truck is a particularly critical area that must be watched at all times.
Otherwise infected have a direct path to the gunner’s back. The infected won’t just run around the truck—they’ll climb over the top of it and attack your team from above. So don’t forget to look up.
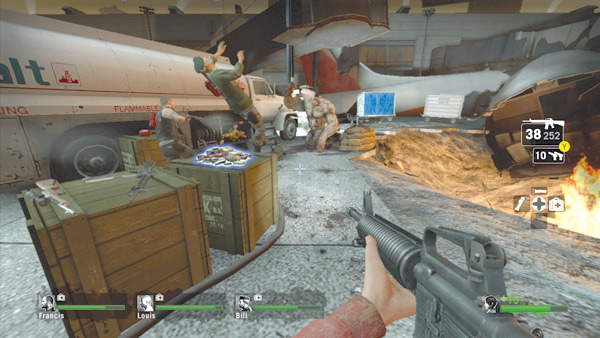
During the attack, expect at least one attack by a Tank. Unfortunately, Tanks usually approach from behind the truck, so the mini gun isn’t of any use.
In fact, if you hear the Tank’s thundering footsteps while manning the mini gun, immediately disengage because he’s probably sneaking up behind you.
Once you’ve spotted the Tank, he’s relatively easy to get away from, but it means running away from the relative safety of the tanker truck.
If you’re not careful, your team can disperse in all directions, making stragglers easy targets for lurking Hunters and Smokers. So when you flee, flee together, escaping in the same relative direction while peppering the Tank with automatic and shotgun fire.
After the attack, return to the tanker truck and resume your defense, healing and stocking up on ammo as necessary.
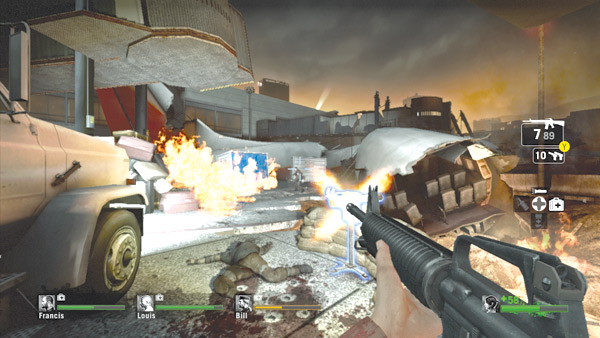
Don’t forget to blast the fuel cans you scattered earlier. But make sure they’re ignited at the right time, preferably as a large group of infected passes nearby.
Torching an entire swarm with a large wall of fire isn’t just rewarding to watch; it gives your team a chance to catch their breath, heal, and reload. The molotovs and pipe bombs can come in handy, too, particularly during swarm attacks.
Aircraft Rescue
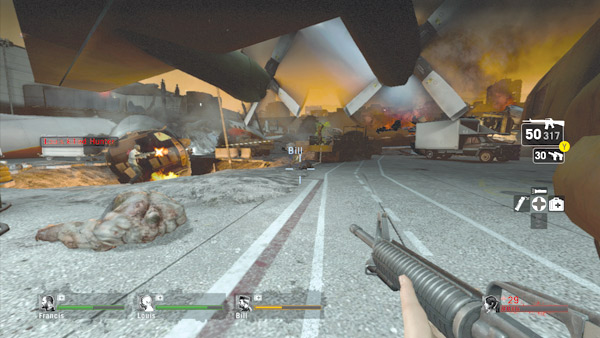
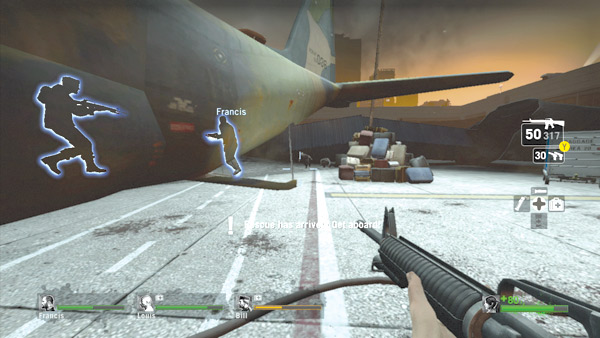
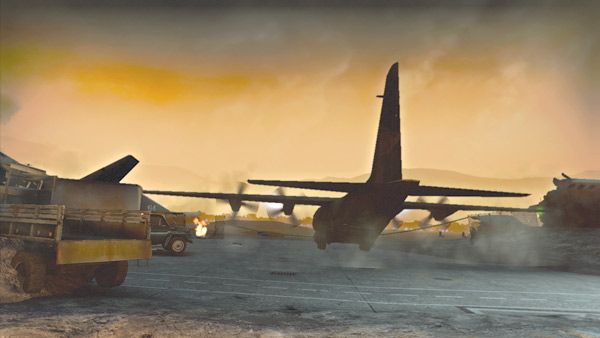
When the aircraft has completely refueled, one of the survivors will say it’s time to board. Shortly after, the pilot starts the engines and lowers the cargo ramp at the back of the plane so your team can enter.
This is your cue to rush aboard. Keep an eye on your team and make sure someone isn’t grabbed by a Smoker or pinned by a Hunter while racing toward the plane. If this occurs, stage a quick rescue attempt.
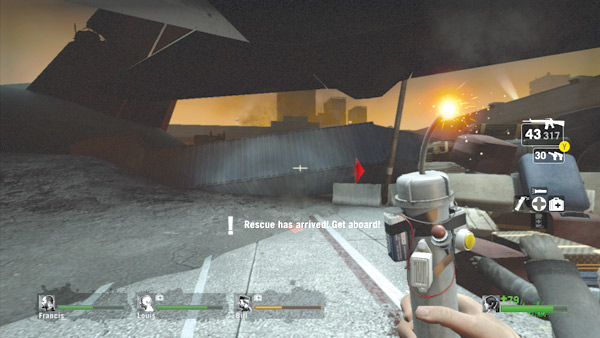
The sound of the plane’s engines triggers another massive swarm attack, so get on board the plane as quickly as possible. To buy a little extra time, toss a pipe bomb (or several) away from the plane in an attempt to divert the crowd away from the cargo ramp.
Otherwise the common infected may gather around the ramp, creating a barricade of undead flesh, preventing your team from getting inside the plane.
Once everyone is on board, a cutscene shows the C-130 taxiing to a runway and taking off. You finally made it—and hopefully your teammates did too.