
Left 4 Dead Guide Walkthrough No Mercy
Rooftop Finale
Safe House
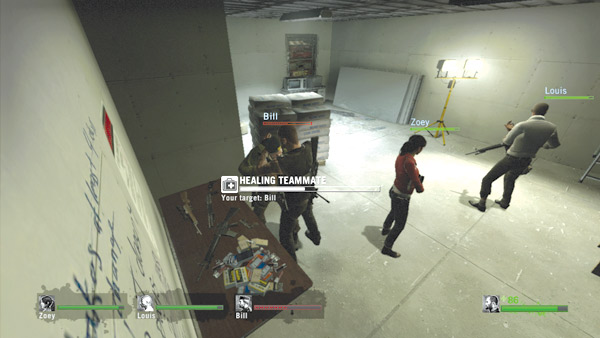
The hospital’s rooftop is finally within reach, but your team still has a long way to go before it’s safely aboard the rescue chopper. As usual, take a little time to prepare for your journey. Your team is probably pretty banged up from the race through the hospital.
Check over everybody’s health meter and make sure everyone is healed before moving out. Also, grab some ammo and consider swapping out weapons.
Both the assault rifle and auto shotgun are good choices for the finale on the rooftop. The sniper rifle can come in handy too, but no more than one teammate should be equipped with it.
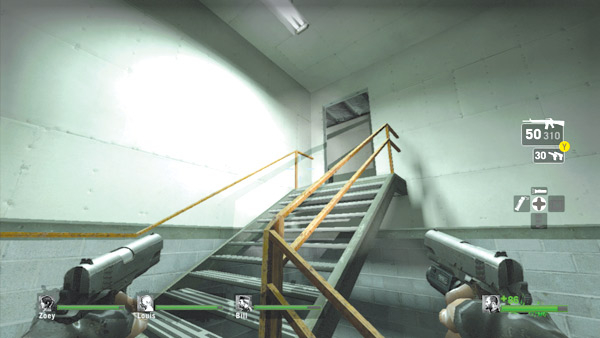
When your team is ready to move out, open the safe house door and cautiously enter the adjoining stairwell. A few common infected may stumble around in here, so clear the steps as you proceed to the 29th floor.
Infected bosses may also be waiting to pounce as soon as you exit the safe house, but they can’t spawn in the stairwell. So all attacks will originate from the doorway at the top of the steps. Keep your weapons focused on this entry point.
29th Floor
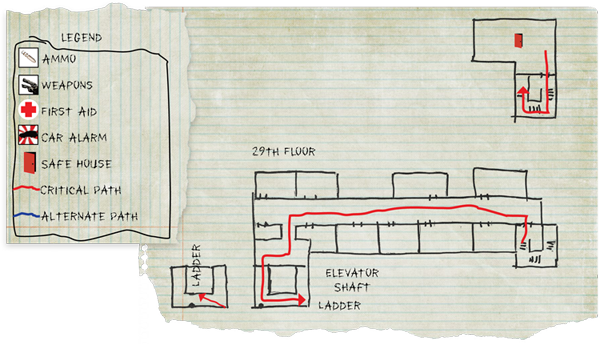
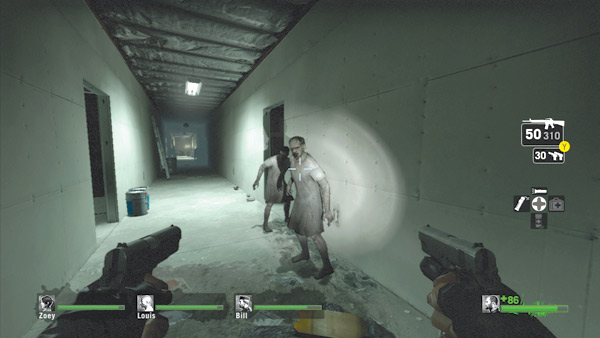
Be prepared to encounter more common infected as you exit the stairwell and step onto the 29th floor. Former patients, medical staff, and construction workers fill the halls and unfinished rooms of this floor.
Advance quickly through this floor, but be sure to keep an eye on the side rooms as you pass. These rooms often contain infected but may also hold useful pickups.
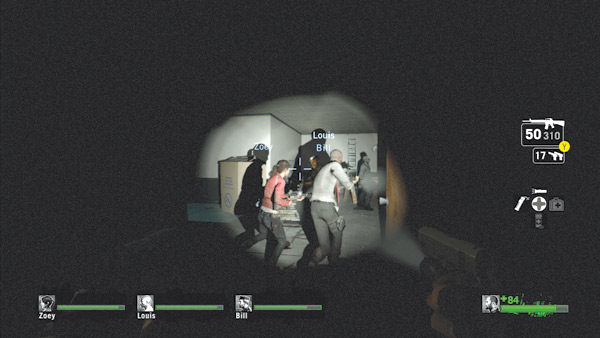
As your team clears the side rooms, stick together and rush inside simultaneously. This helps prevent the infected bosses from getting the jump on anyone left alone in the hallway.
Plus, multiple flashlights help illuminate these dark rooms, making them much easier to clear.
When the team is ready to leave a room and return to the hall, communicate with your teammates to make sure everyone is ready to move out at the same time.
It’s very easy to get separated on this dark floor, so keep in touch with your teammates at all times, both visually and by voice.
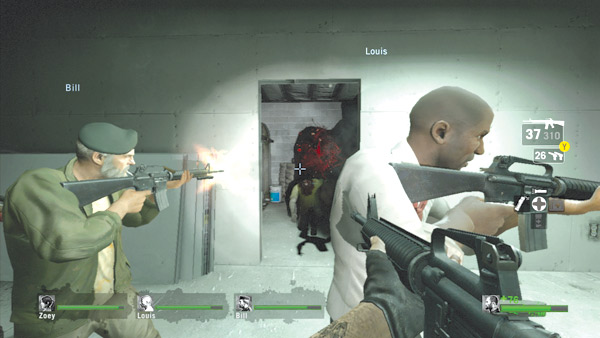
Continue advancing down the main hallway, clearing the side rooms as you go. If you don’t want to enter the side rooms, still take time to kill any infected inside.
Have two teammates stand watch, covering both ends of the hall, while two other teammates open fire on the side rooms. Move as a unit, pausing near the entrance of each room long enough to shoot everything inside, then proceed to the next room.
It’s just as easy to rush past these rooms, but you may miss some useful pickups in your haste.
Elevator Shaft
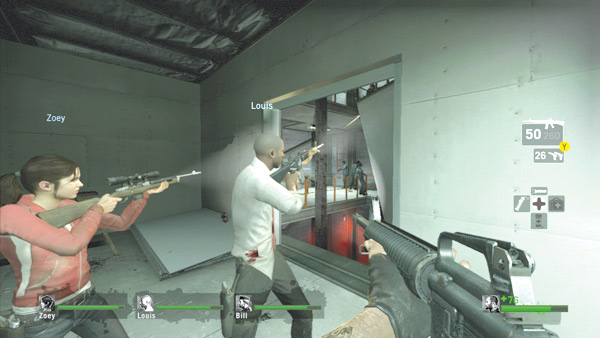
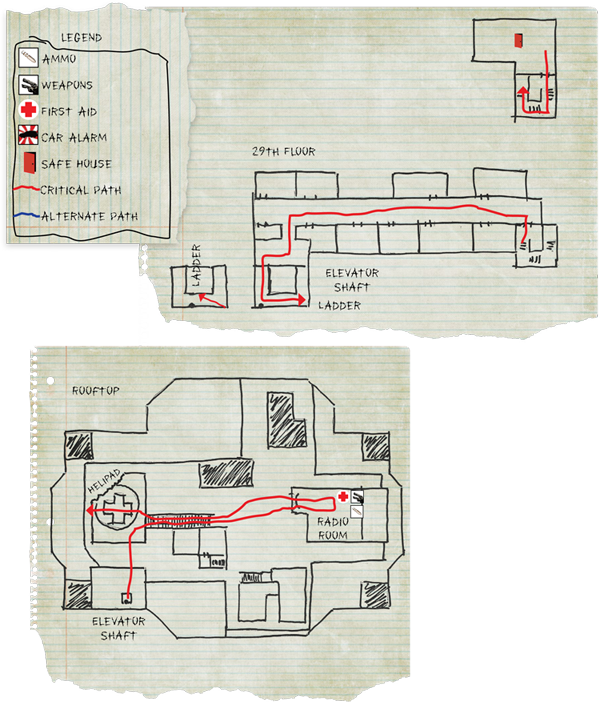
Follow the main hallway to the left to locate the elevator shaft. The elevator isn’t functional on this floor, so your team must enter the shaft and climb to the rooftop.
Before entering, hold at the open doorway and engage the hostiles inside. Clear as much of the shaft as possible from this point before entering.
Otherwise you’ll be faced with engaging the infected at close range while attempting to climb the ladders. Some infected bosses may be waiting for you inside the shaft, too.
Use this opportunity to take them out before they can spring their trap.
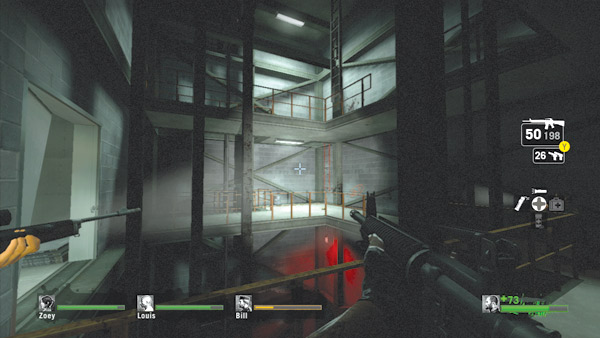
When the elevator shaft is relatively clear, crouch through the vent on the right side of the door—don’t enter through the main door! If necessary, attack the vent to create an opening. Two ladders inside this shaft lead up to the roof.
The first is a red ladder on the opposite side of the shaft, connected to the outer wall. Follow the walkway to the ladder and climb it to the next level. But don’t rush the ladder all at once.
Have at least one teammate provide cover while everyone else climbs. Attacks originating from the 29th floor are still possible.
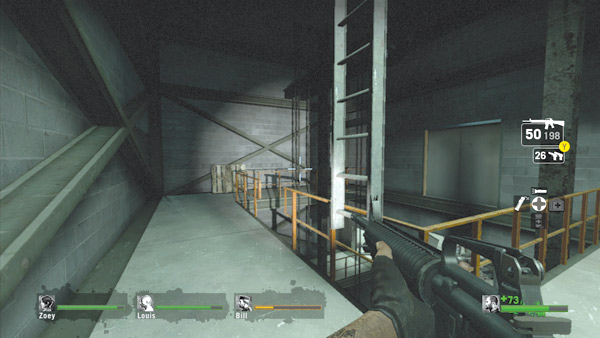
After climbing the red ladder, turn around to locate the next ladder, suspended from the rooftop. Before climbing it, make sure all your teammates make it up to the small walkway.
If someone is pinned or constricted on the lower level, it may be necessary to climb back down the red ladder to assist.
Getting separated here could be a disaster, so stay together and promptly make your way up to the rooftop.
Rooftop
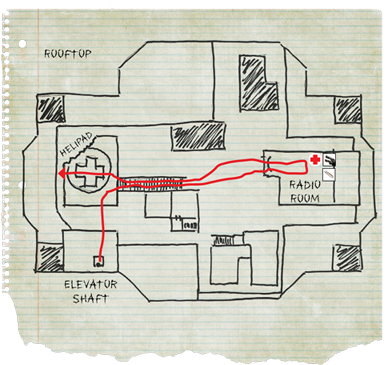
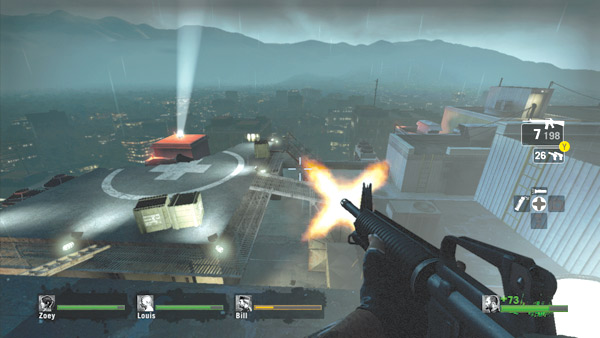
The ladder in the elevator shaft leads to the top of a structure on the rooftop near the helipad. Make sure all your teammates make it to the rooftop, then spend a few seconds clearing the surrounding area.
There are usually a few common infected loitering around the helipad. Neutralize them before hopping across.
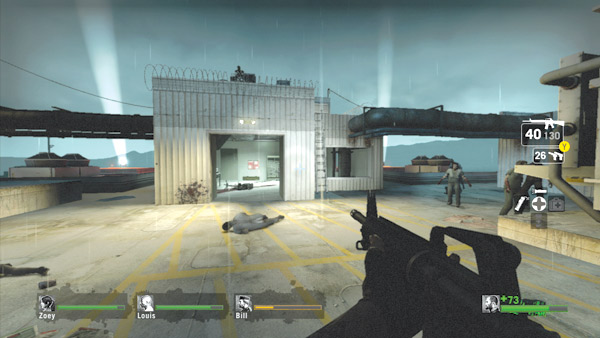
Don’t bother clearing the entire rooftop. Instead, make a move for the radio room as quickly as possible. Stalling only gives the infected more time to inflict damage.
From the helipad, descend the long ramp and keep moving straight until you see this small structure with a mini gun mounted on the roof. Blast any zombies gathered around this structure, then race inside.
Finale Preparation
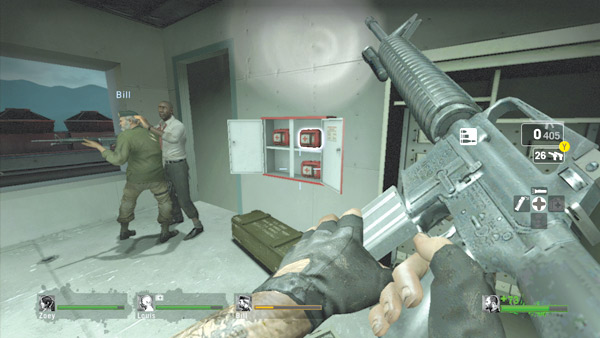
This small radio room is stocked with a first aid station, weapon upgrades, and ammo. Take a brief moment to stock up and heal before using the radio. Afterward, step up to the radio on the nearby table and interact with it.
The chopper pilot responds and tells you to prepare for an assault. You’ll need to hold out on the rooftop until the pilot can arrive.
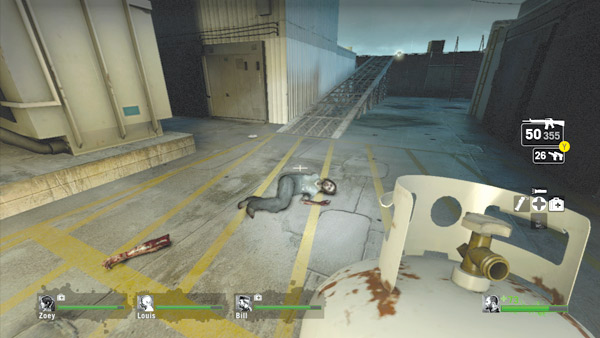
Don’t interact with the radio again. Instead, take a moment to prepare for the attack. There are usually propane tanks or fuel cans inside or near the radio room.
Scatter these explosive items outside, placing them in critical choke points like the ramp leading down from the helipad. When the attack starts, target these items to wipe out large swaths of infected attempting to rush your position.
Also, look for stashes of pipe bombs and molotovs on the nearby structures around the radio room.
Knowing where these stashes are located can greatly increase your team’s chance of survival. So when you find a stash, call it out so all team members know where to go to resupply.
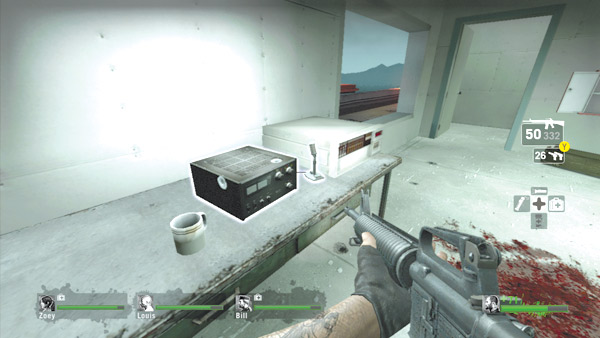
Once your team is well prepared for the attack, return to the radio room. But don’t touch the radio until your team is in position, preferably on the rooftop near the mini gun.
When you interact with the radio a second time, the chopper pilot tells you he’s on his way. This in turn triggers the finale, prompting the infected to attack.
Finale
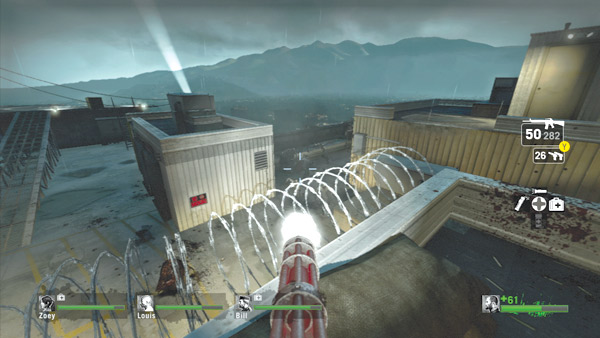
Join your teammates on the rooftop and make sure someone is manning the mini gun. But don’t let this weapon give your team a false sense of security. Despite its amazing rate of fire, the weapon has serious limitations.
Most notably, its firing arc is rather limited, making the operator vulnerable to attacks from the side and rear. So it’s up to the rest of the team to watch the mini gunner’s back.
The infected can climb up to this rooftop position from the left and right, so both sides should be watched at all times.
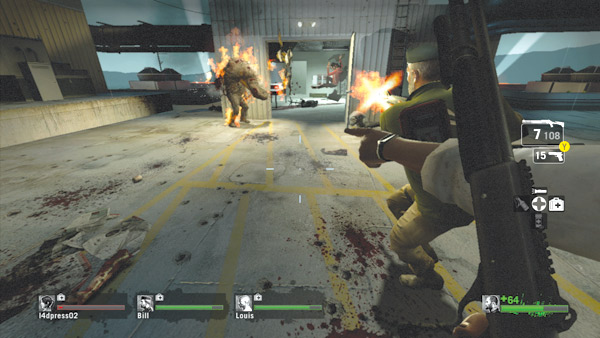
Hold out on the radio room’s rooftop as long as possible, but once you hear the rumbling of an incoming Tank, drop to the rooftop and stick together. If you stay on the radio room’s roof, the Tank’s powerful strikes could send you flying off the side of the building.
You have a much better chance of surviving on the lower level. If possible, try to hit the Tank with a molotov cocktail. Torching a Tank diminishes health quickly.
A steady dose of rapid fire will ensure the Tank goes down in a hurry.
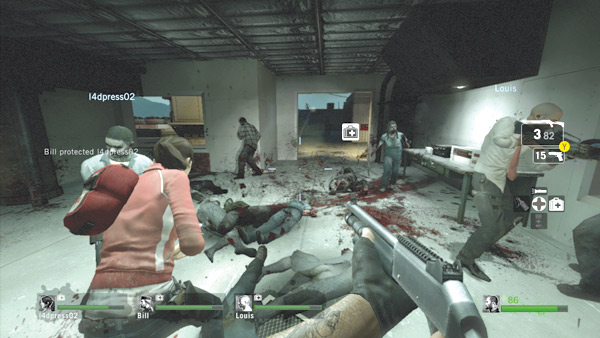
If your team must vacate the rooftop, consider heading downstairs into the radio room. The room’s double doors and windows must be covered at all times, but if you still have your whole team together, you can lock down this location quite easily.
Furthermore, the room provides an endless supply of ammo and the opportunity to switch weapons.
The auto shotgun is ideal for defending this location. Just be ready to vacate if another Tank attacks. You don’t want to get cornered in here by a Tank.
Chopper Rescue
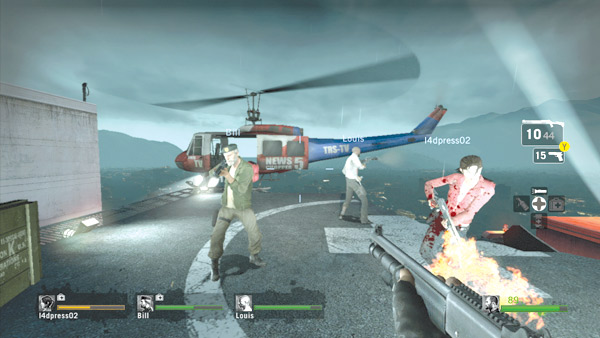
Hold out in or on top of the radio room until the chopper arrives. At that point, make sure your team stays together and race up the ramp directly across from the radio room.
This leads directly to the helipad. A new swarm of attackers (including a Tank) usually spawns soon after the chopper arrives, so don’t waste any time. Immediately hop in the chopper.
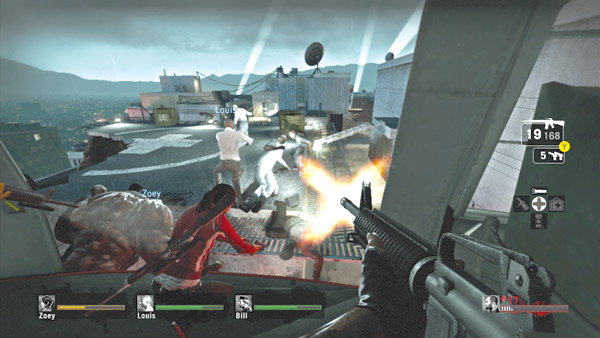
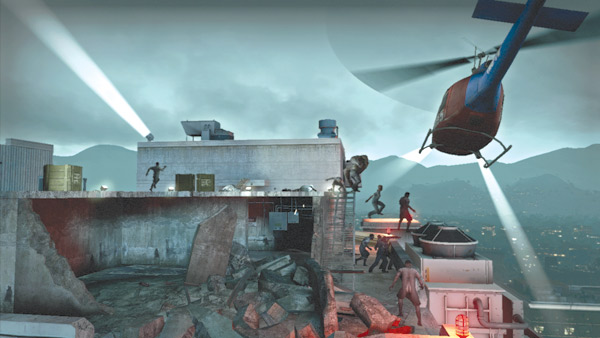
The movie may not be over as soon as you reach the chopper. You may have to hold out until the rest of your teammates hop inside. Stay in the chopper and provide covering fire while your teammates race to safety.
Just be careful not to shoot them as they run toward you. Keep firing until the final cutscene plays, showing the chopper pulling back from the helipad. Your team (or what remains of it) is finally safe! Good work!