
Left 4 Dead Guide Walkthrough No Mercy
The Sewers
Safe House
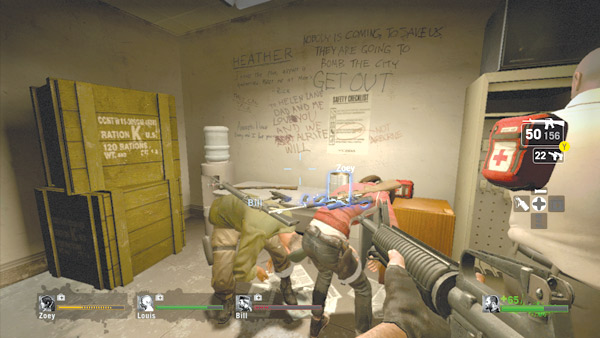
The plan to follow the subway tunnel directly to the hospital didn’t go so well. But at least your team found another safe house in this pawn shop. Take a moment to heal and stock up on supplies.
Avoid grabbing the SMG or pump shotgun offered here if you already possess the assault rifle, auto shotgun, or sniper rifle—the SMG and pump shotgun are downgrades.
Once you’ve cleared out the safe house, turn to the door and be ready to make a move down the alleyway.
Alley
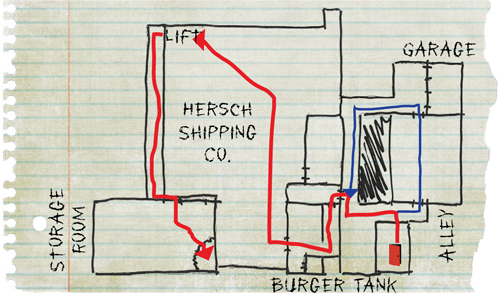
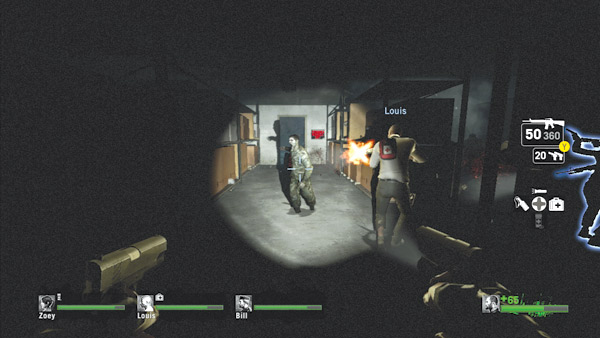
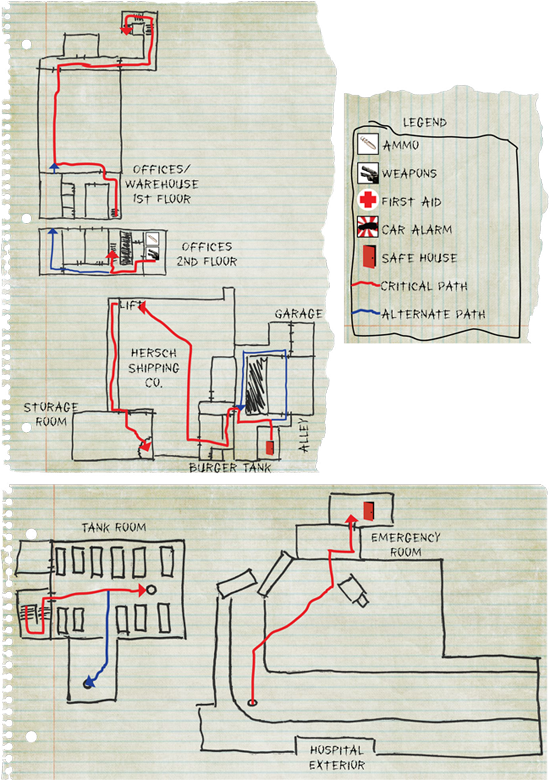
Upon exiting the safe house, you can move in two directions. For the quickest path, turn left and head directly to the Burger Tank fast food restaurant. However, supplies can be found in the small storage room directly across from the safe house.
The room is extremely dark, so watch out for infected lurking inside. But the director may have dropped some goodies in here, too, like pills and pipe bombs.
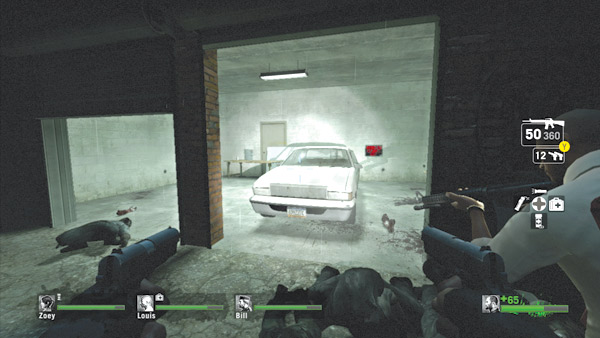
This garage outside the storage room may contain pickups as well. Have one teammate scour the garage for items while the rest of the team covers the alley for incoming threats.
Make sure all searches for items are quick. Infected bosses may attack from the surrounding rooftops, so avoid loitering in one spot.
Burger Tank
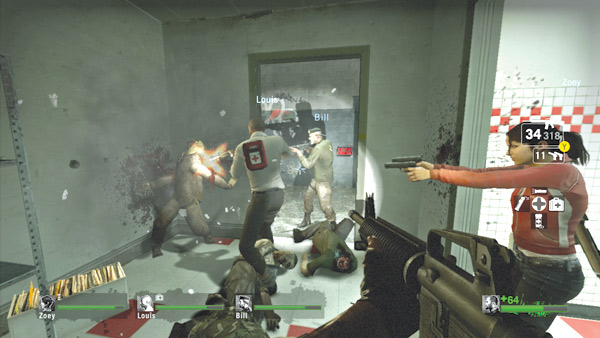
After scouring the storage room and garage for items, continue along the alley until you come to the Burger Tank’s back entrance. Step inside and be ready to confront a few common infected milling about. There may also be items in the restaurant’s back room.
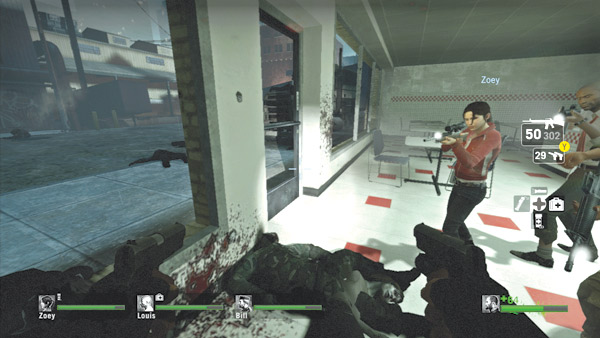
Clear the front of the restaurant from the kitchen area, then proceed to the dining area. Hold inside the restaurant and engage all visible infected wandering around the loading dock area outside.
Pay close attention to the chain-link fence on the left. Infected on the other side of the fence may climb it in an effort to reach your team. Finish them off before they can reach you.
Hersch Shipping Co.
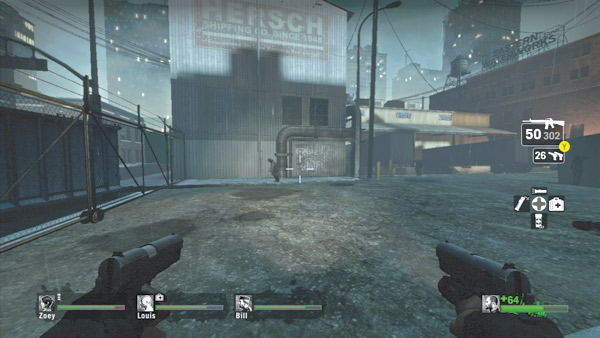
The restaurant empties onto the property of the Hersch Shipping Company loading dock. Your team of survivors must advance through the facility’s offices, warehouse, and basement before you can reach the sewer system leading to the hospital.
The loading dock usually only has a handful of infected, but their ranks may swell quickly the longer your team loiters around.
Loading Dock
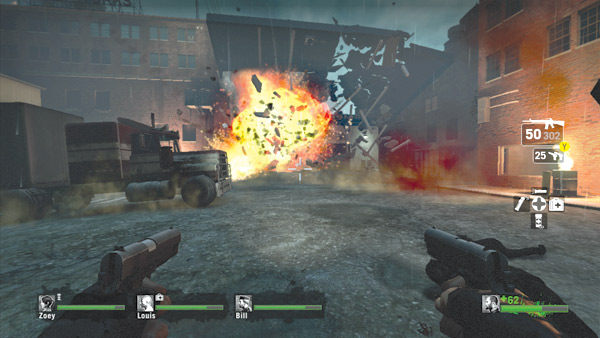
From the restaurant, turn right and move toward the gas station. Clear the loading dock as you move, picking off the common infected one by one.
If there is a large cluster of zombies hanging around the gas station, target one of the gas pumps to trigger a massive explosion—just make sure none of your teammates are nearby when it goes off.
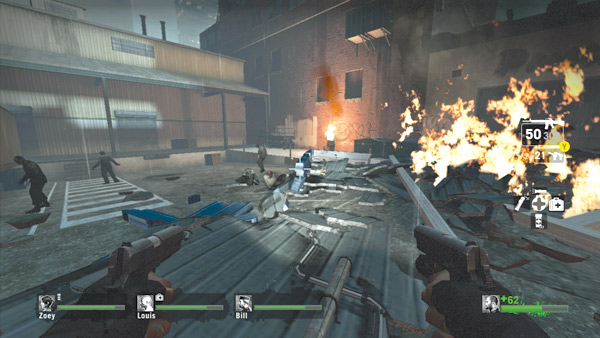
The only way up to the offices is the lift in the corner of the loading dock, to the left of the gas station. By using it your team can reach the rooftop awning above the loading dock and advance inside the warehouse’s third-floor storage room.
Climb aboard and wait for the rest of your team to hop on. Once everyone is on the lift, interact with the switch to make it rise.
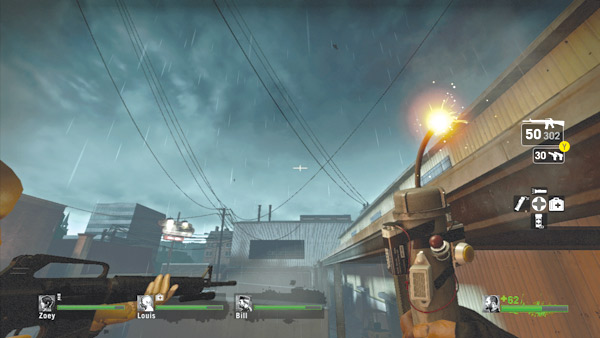
The sound of the lift triggers a large swarm attack, with common infected rushing in from all directions, including the rooftop to the right. To avoid getting rushed on the rooftop, toss a pipe bomb to temporarily divert the swarm.
This will buy your team enough time to cross the rooftop awning and get into the third-floor storage room straight ahead.
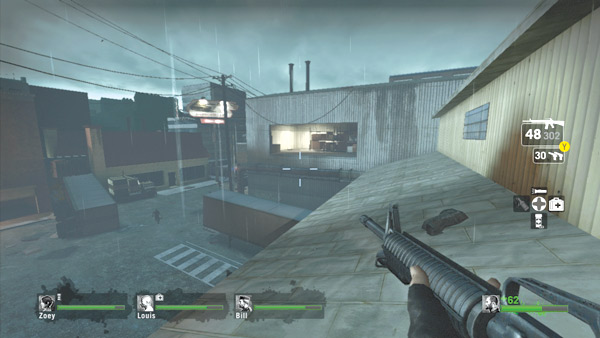
Don’t hesitate while moving across this awning. The infected can attack from any direction, and the possibility of getting split up is very high, especially if a Smoker pulls one of your teammates down onto the loading dock.
The windows ahead may or may not be open. If they’re still in place, shoot them out while running ahead. When you reach the window, traverse the small pipe running beneath it and jump inside the storage room.
Storage Room
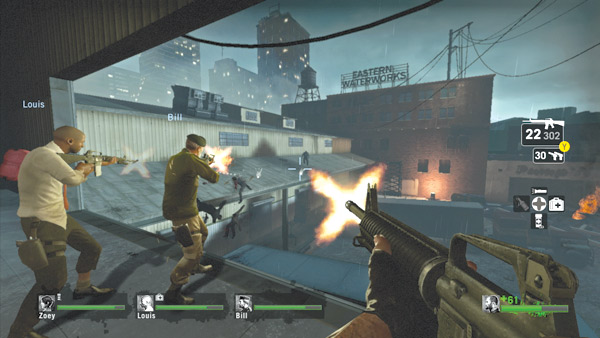
Once in the third-floor storage room, turn your focus to defeating the swarm attack. From this large window it’s possible to cover the entire loading dock area, making it easy to pick off the infected. However, pay attention to the hole in the floor of this room.
More zombies will try to climb up through this hole and attack your team from behind. For this reason, have at least one team member watching the hole in the floor at all times.
Offices
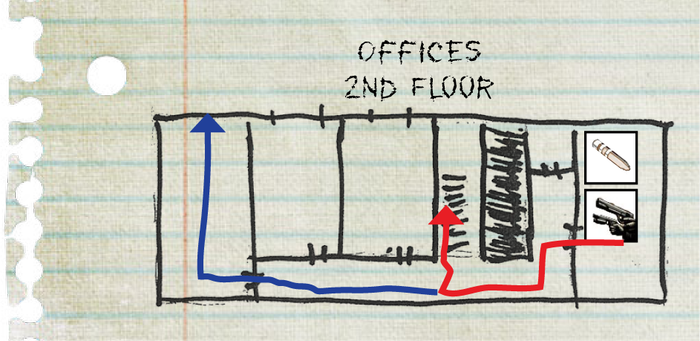
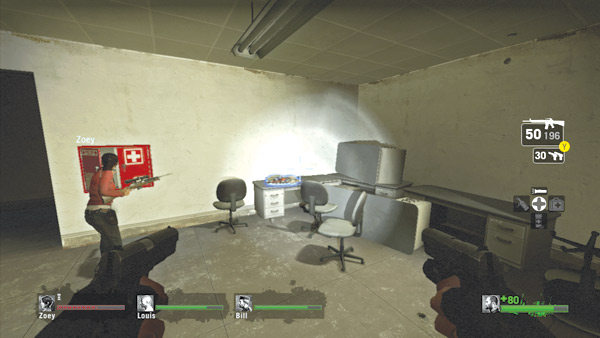
When the infected attack has subsided, drop through the hole in the floor simultaneously with your teammates. This is another critical elevation transition, so make sure your team stays together.
If a lone teammate is pinned or constricted in the storage room, your team will have a tough time getting back up to assist.
The room below contains a first aid station and ammo. Take a quick break to stock up and heal before moving through the second-floor offices.
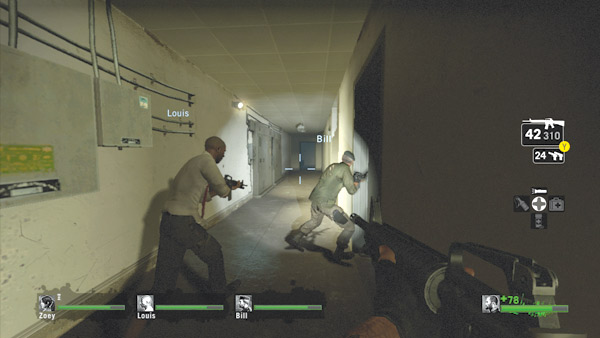
The second-floor offices are usually clear of common infected, but there may be a few bosses lurking in these side rooms, so proceed with caution. The rooms may also contain some useful pickups, such as pills, molotovs, and pipe bombs.
So take a few seconds to search each room for supplies before heading downstairs. But don’t split up. Stay together while moving room to room.
Warehouse
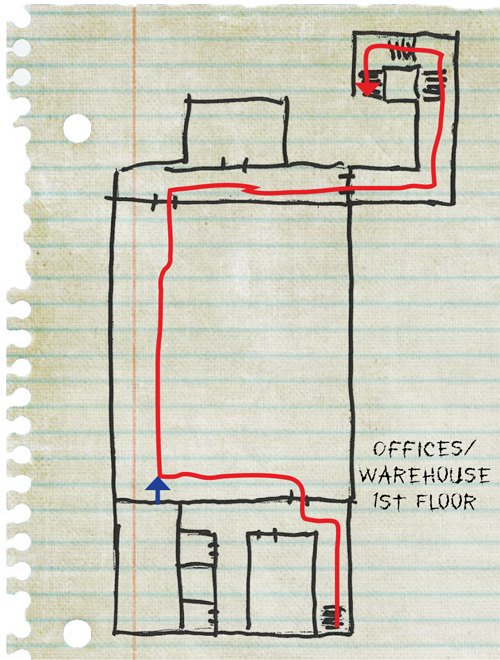
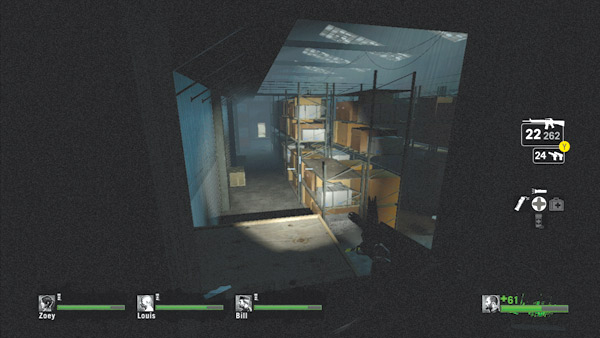
The office at the far end of the hall has a window overlooking the warehouse. Just below the window is a crate that can be used as a step to access the warehouse floor without taking fall damage.
This is a quick way to enter the warehouse without traversing the staircase, where the infected may be camped.
Before moving out, make note of the open doorway on the far side of the structure—this is the exit. Drop down onto the crate, then drop to the warehouse floor.
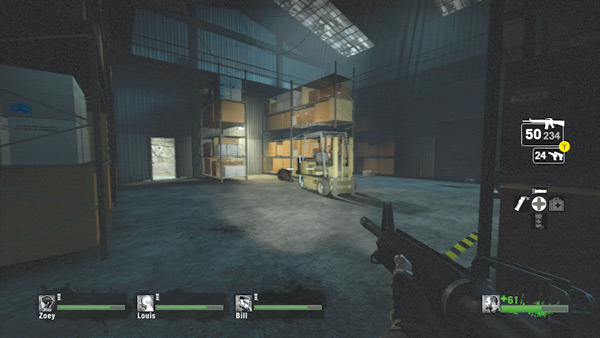
The warehouse isn’t a place you want to spend much time in. The tall shelves provide the infected with numerous opportunities to attack your team from above. Blitz through this building as fast as possible while keeping your team together.
The exit is on the far side of the structure. If you dropped out of the second-floor office window above the crate, you’ll already be aligned, with the exit in view. Simply run to the exit and prepare to respond to any sudden attacks.
Tank Room
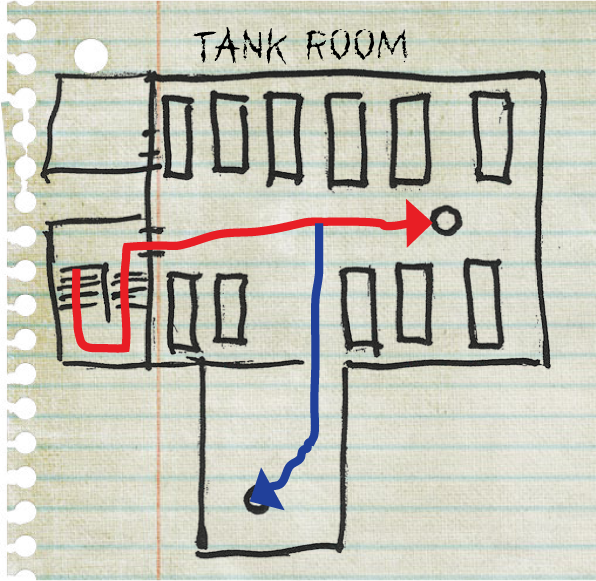
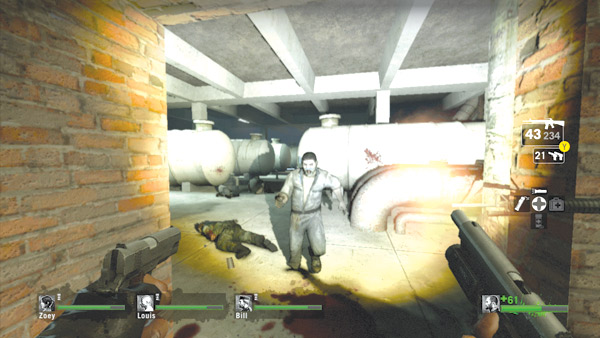
Upon exiting the warehouse, follow the adjoining alley into a new building and descend the staircase to enter this room filled with white storage tanks.
This room is usually packed with common infected, so hold at the doorway and clear as many hostiles as possible. Crouch or stand to the side so your teammates can get a clear view of the room and assist in clearing it.
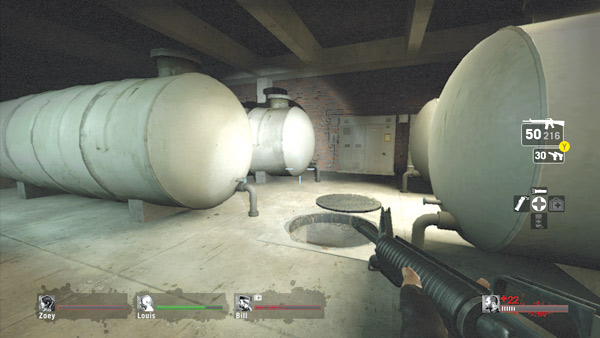
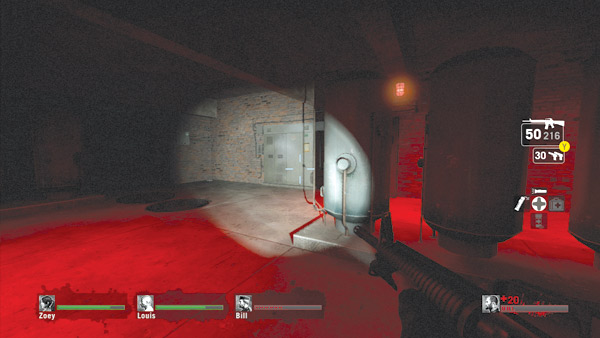
Once your team has cleared out the tank room, the next stop is the sewers. There are two entry points to choose from.
The first is in the floor of the tank room. Another is in the red-lit adjoining room. Both manholes lead into the same sewer system, but at slightly different locations.
Neither entry point offers a serious advantage over the other, but make your decision quickly and make sure all your teammates follow.
This is another critical elevation transition. A straggler alone in the tank room or red-lit room is easy prey for an infected boss like the Hunter or Smoker. So make sure everyone drops through the same hole at approximately the same time.
Sewer
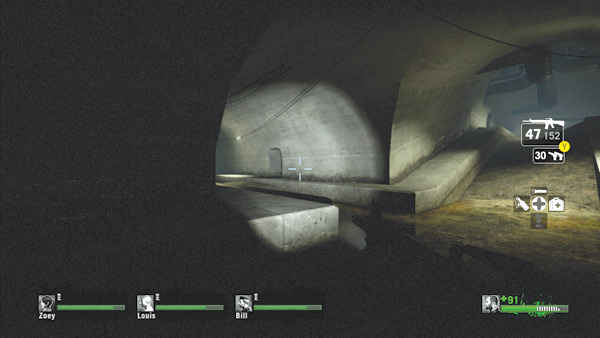
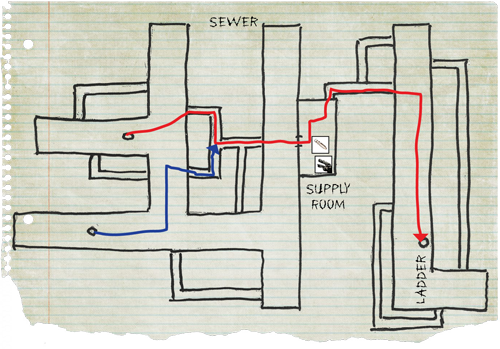
The sewers are always filled with common infected, so be ready to open fire as soon as you drop through either manhole. The sewer is broken up into two sections accessible by moving through the narrow tunnels cut into the main walls.
Use the map provided to locate these tunnel entrances from your entry point. While moving through the sewer, always keep watch to the front and back.
Infected spawning in the tank room or red-lit room may drop from the manholes and attack your team from behind.
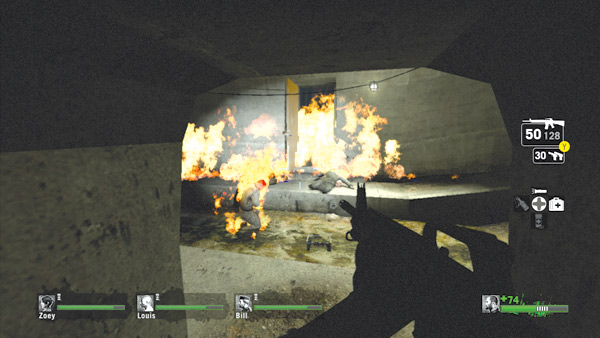
By following the path indicated on the map, you can quickly navigate through the cramped side tunnels to reach the supply room. This room is in the center of the sewer system and serves as a central hub connecting the two tunnel systems.
There are usually a few common infected loitering in and around this room. A Witch may also be present inside. Consider tossing a molotov or pipe bomb into the room before entering.
Supply Room
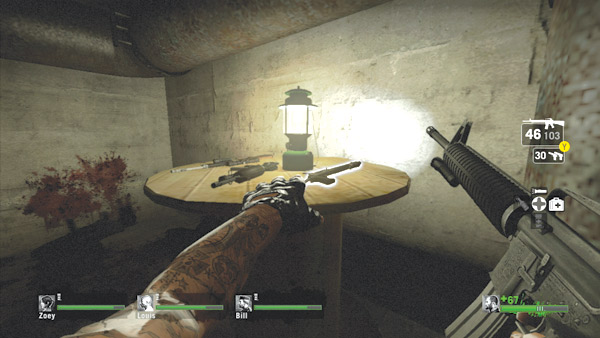
Once the supply room is clear, rush inside and shut the door behind you. You can usually find weapon upgrades in this room on the lantern on the large wooden spool.
Don’t pass up the ammo on the floor either. The room is far from secure, but it’s safe enough to take a quick break and heal if necessary.
Just keep an eye on the room’s two entry points and quickly dispatch any infected that try to breach this sewer sanctuary. When you’re ready to move out, exit the room through the small tunnel next to the No Smoking sign.
Sewer Exit
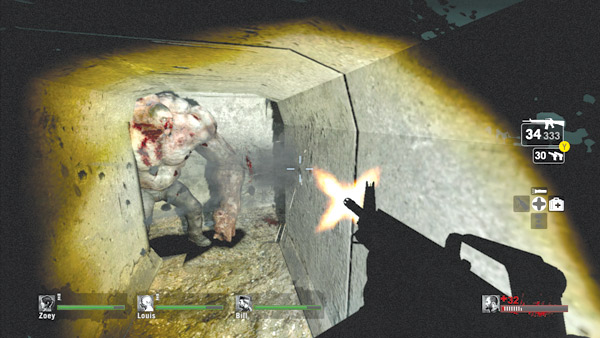
Once you leave the supply room, you’re very close to the hospital.
Follow the tunnel out of the supply room and keep going straight until you reach the main sewer passage—don’t take the left branch in the cramped tunnel. But be ready for an onslaught of infected along the way.
They know you’re close to reaching the hospital and will do anything to keep you wandering around the sewers. If you haven’t been attacked by a Tank yet, be ready to face one here. If possible, exit the small tunnel system before engaging the Tank.
If necessary, backpedal all the way to the supply room to avoid the devastating swipes.
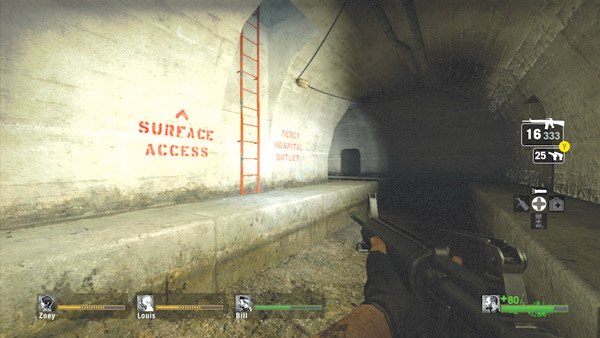
Upon exiting the small tunnel, turn right and head up a small slope in the sewer tunnel. An orange ladder leads up to street level, just outside Mercy Hospital.
Before climbing, make sure your team is together, and eliminate any nearby threats that may hinder the team’s advance up the ladder.
Maintain a line of sight on all areas around the ladder to prevent infected from spawning and staging a surprise attack.
Hospital Exterior
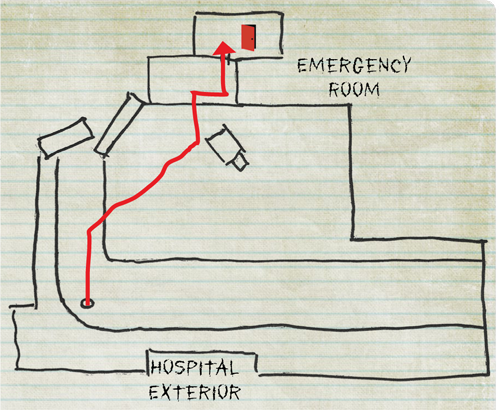
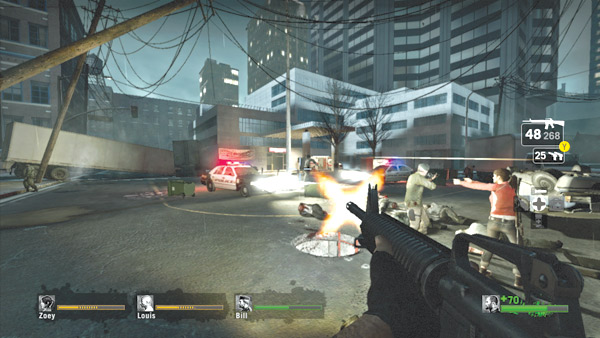
Expect a serious fight when you reach the surface. Numerous common infected usually wander around the hospital’s exterior and will stage a formidable attack on your team as soon as you exit the sewer.
Hold near the manhole and engage all nearby threats before making a move for the hospital’s entrance. Also, watch for attacks from Hunters and Smokers lurking about the manhole’s perimeter.
Stay far away from the manhole itself to avoid being dragged back down into the sewer by a Smoker’s tongue.
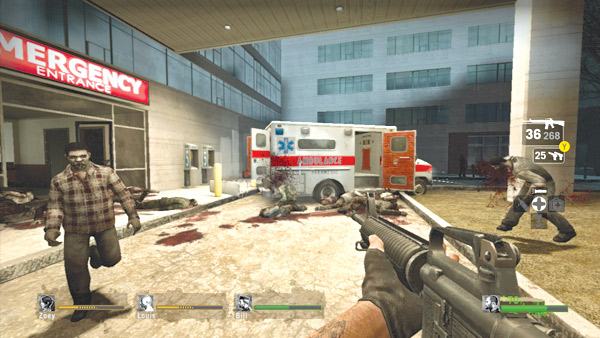
Quickly fight your way past the infected and advance toward the emergency room. Expect another batch of common infected to come bursting out the doors of the hospital.
Blast them while advancing, and watch for more infected bosses attacking from above the entrance. The safe house is just inside the emergency room, so hustle inside to end this challenging level.
Emergency Room Safe House
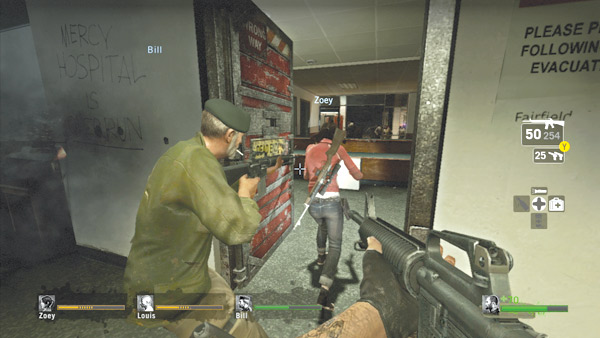
This level’s safe house is behind the emergency room’s reception desk. Hop over the desk and rush inside. Instead of running to the back of the room, hold near the door and provide covering fire while waiting for your team to enter.
As soon as everyone is inside, pull the door shut to complete the level. Although you’ve made it to the hospital, your adventure is far from over…