
Left 4 Dead Guide Walkthrough Blood Harvest
The Train Station
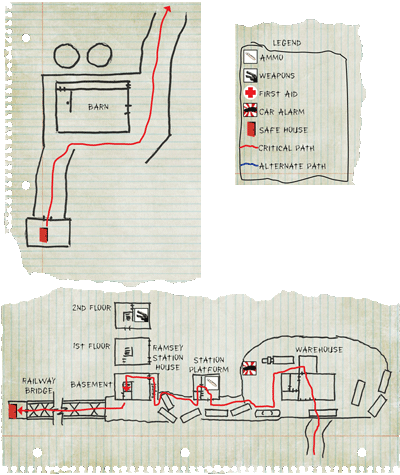
Safe House
Your team has had to deviate from the train tracks once again, due to barricades and other obstacles. But the northern rail line continues not far from this shed, leading directly to the farm.
Before searching for the railway, take a few seconds to stock up on supplies and health in the safe house. There are first aid kits on a shelf and ammo on a green crate in the corner.
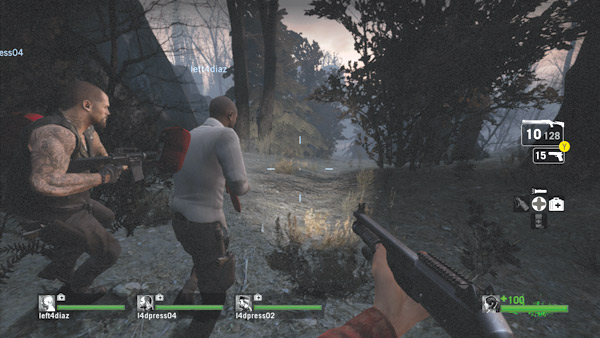
On the ground in front of the crate are weapon upgrades. The trek to the next safe house takes your team mostly through large outdoor areas, but there are a few cramped structures as well.
For this reason balance your team’s weaponry with two assault rifles and two auto shotguns or two assault rifles, one sniper rifle, and one auto shotgun.
Once your weapons are chosen, check over everyone’s health bar and heal up if necessary.
If everyone is healthy and stays that way, your team can blitz through this level in under five minutes. But in order to pull this off, everybody needs to be in top shape. Anyone limping due to injuries can slow the whole team down, giving the infected more opportunities to attack.
Bunch up at the door as it’s opened, and burst out of the safe house like racehorses, charging down the wooded path.
The trail outside the safe house is flanked by dense trees, providing the infected with ideal cover and concealment. So maintain a quick pace through this area and keep an eye on your teammates.
Hunters leaping from the trees are very common, so be ready to fight them off your teammates with melee strikes. Also listen for a Boomer lurking nearby and don’t let him hit you with vomit.
A swarm attack here could seriously slow your team down, allowing the other bosses to coordinate an ambush.
Barn
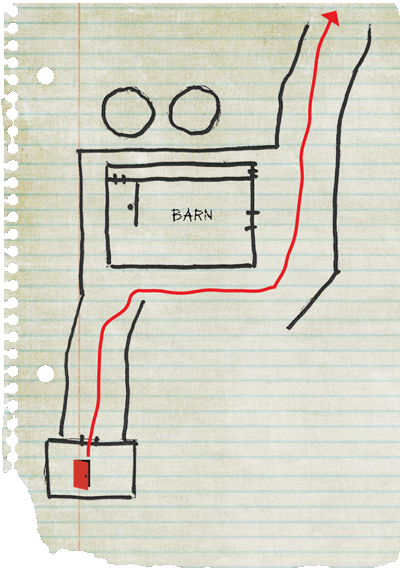
A large red barn is located along the trail, only a short distance from the safe house. If your team is still healthy, don’t stop here or enter. Keep pushing down the trail toward the warehouse.
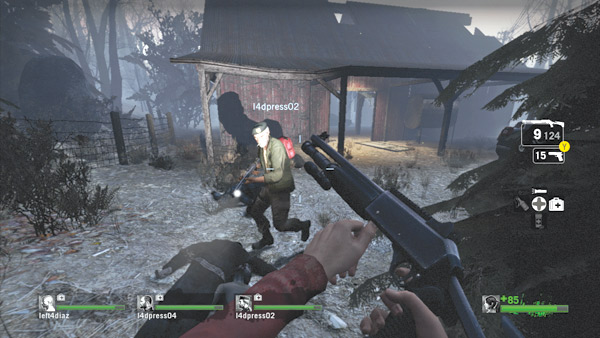
If the infected didn’t attack you outside the safe house, they’re probably waiting to ambush you here. While there may be some useful supplies in the barn, they’re simply not worth putting your team at risk, so keep moving.
Warehouse
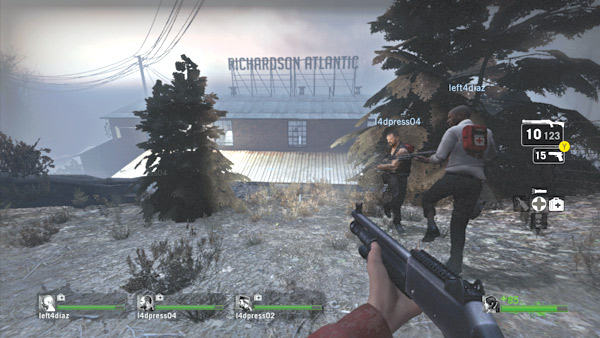
The path beyond the barn leads to the Richardson Atlantic warehouse. To reach the warehouse your team must either drop onto the nearby train tracks or hop across to the awning.
This is a critical transition that could potentially strand a pinned or incapacitated teammate back on the trail.
So make sure your team is all together before jumping or dropping at this point. For best results, jump across to the awning and then pass through one of the warehouse’s upper windows to enter the building.
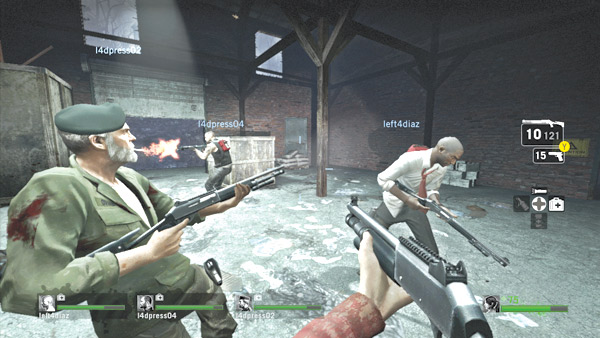
From the rooftop’s awning, drop through one of the windows down onto the warehouse floor. If possible, avoid the tracks near the drop-off point.
The interior of the warehouse gives your team a bit more space to maneuver and there are far fewer obstacles to obstruct your line of sight, allowing you to support your teammates at all times.
But the warehouse probably won’t be empty, so be ready for a fight, with common infected and bosses rushing in through the various entrances and windows.
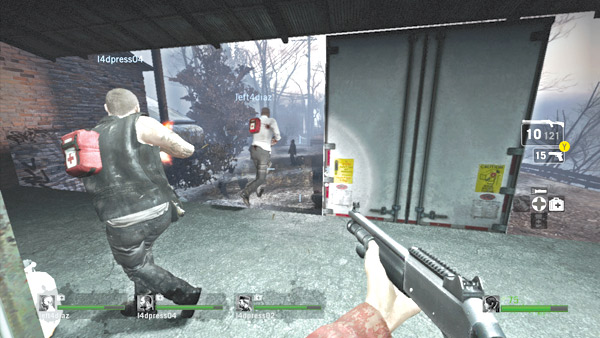
Don’t linger on the warehouse floor too long. Proceed to the nearby loading dock and head outside. Watch your fire around the red sedan parked outside—it’s equipped with an alarm.
Triggering the alarm and dealing with the subsequent swarm attack could seriously delay your team, giving the infected bosses a chance to organize a coordinated ambush.
So steer clear of the car and avoid shooting any infected near it.
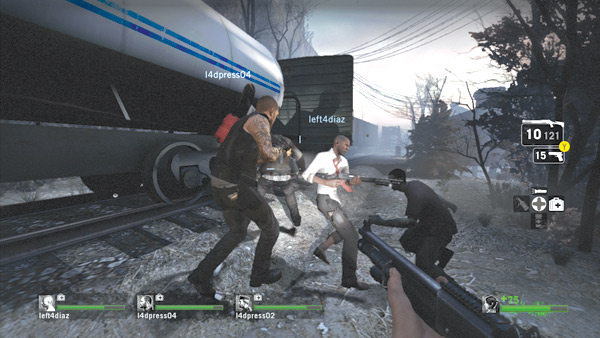
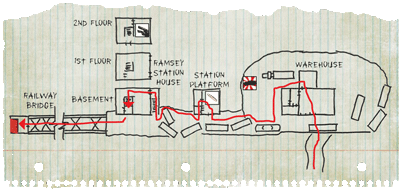
After exiting the warehouse, make a hard left and advance toward the train tracks, near this white tanker car. Once you’re back on the tracks, follow them toward the station just ahead.
Be careful while traversing this narrow path; infected can attack through the trees on the right as well as from the top of the train cars to the left. Speed is the best defense here, so stay together and keep moving.
Station Platform
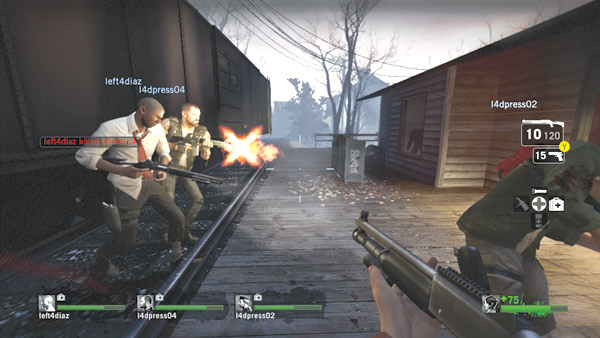
Farther down the tracks from the warehouse is this small station platform with an attached building.
Approach the building from the tracks and stay on the wooden platform on the front side of the structure—don’t attempt to travel beneath the building on the steep hillside.
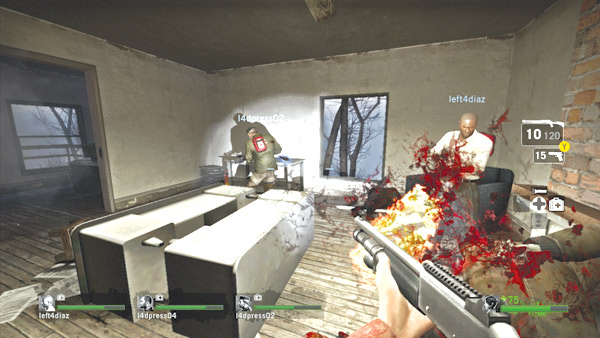
Stopping here isn’t necessary, but it can be a good place to grab some ammo and heal. In some instances there may be weapon upgrades inside.
If stopping inside, make sure a couple of teammates cover the station’s entrances and windows at all times. But don’t spend too long here, as it only gives the infected more time to organize and prepare an ambush outside.
If your team is healthy and well stocked on ammo, consider skipping this stop altogether.
Ramsey Station House
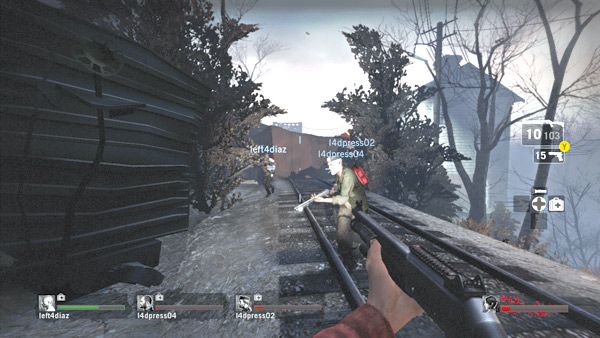
The tracks ahead are blocked by overturned cars and rubble. Your team can get around the obstacles by advancing through the nearby station house. So turn right at the blockage on the tracks and descend the narrow set of steps leading into the basement.
Stay together and keep an eye on your teammates. Someone who lags too far behind can fall victim to infected outside while the rest of the team has already entered the station house.
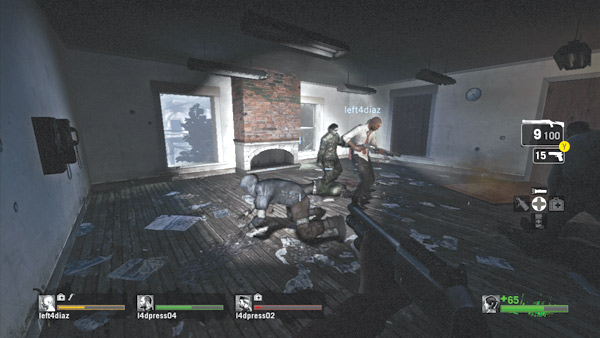
This building is an old two-story house that’s been converted into a train station. Your team enters through the basement and must ascend to the second floor to get out and return to the train tracks.
Dash through the blood-smeared basement as quickly as possible, shutting the door behind you and blasting any infected inside. Continue up the basement stairs to the first floor.
This is a particularly dangerous floor because the infected can attack from multiple directions, including up the steps from the basement, through the various windows, and down the stairs from the second floor.
So limit your exposure on the first floor and proceed to the second floor as quickly as possible.
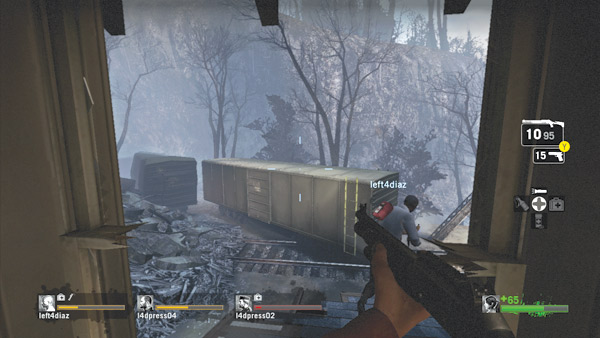
At the top of the steps on the second floor an open window leads outside. Don’t leap out just yet; wait until your team is together and make the leap in quick succession.
This is another critical elevation transition. A single teammate left in the house is easy prey for Hunters or Smokers. And with no way back inside the house, the teammates outside can’t come to the rescue of someone pinned, snared, or incapacitated.
So make sure everyone leaps out the window together.
The Hunter and Boomer can harass the survivors outside, but it’s the Smoker and Hunter inside that can really dish out the damage, especially if they each attack a separate survivor.
If they each pin or ensnare a survivor, there’s no way for the other survivors outside to come to the rescue.
Killing two or even one survivor in this fashion can have a big impact on the final score, particularly in a close match.
Caboose Safe House
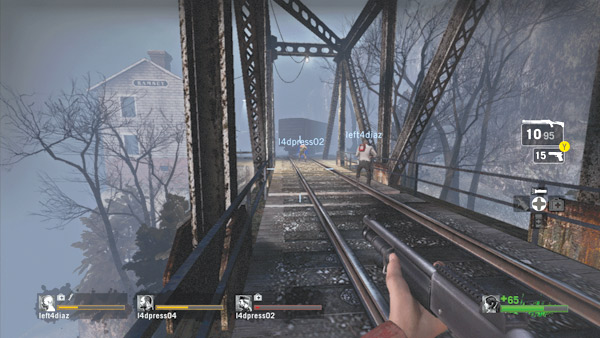
Upon exiting the station house, dash across the nearby railway bridge, heading toward the caboose safe house at the far end. There are infected climb points on the bridge’s supports near the house, so watch out for Hunters leaping from above.
The sides of the bridge are completely secure, but infected spawning near the house can still chase after you. So backpedal toward the safe house while firing on any pursuers.
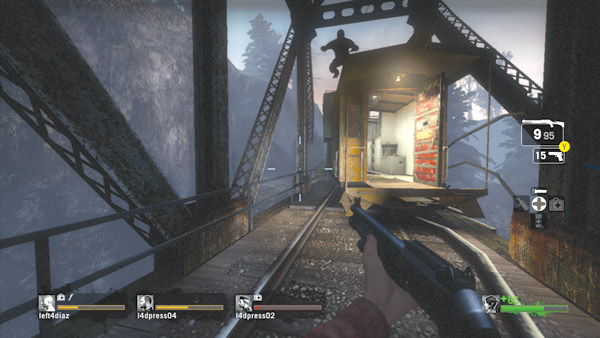
As you get near the safe house, watch out for more infected spawning on top of or behind the caboose. Hunters or Smokers making a last-ditch attempt to stop your team often wait on top of the caboose and attack as your team approaches.
Such attacks are easily defeated, but make sure everyone sticks together in case someone becomes pinned or ensnared.
Enter the caboose and shut the door once your team is inside to prevent any further attacks. You’re close to the farm now, but the journey is far from over…