
Left 4 Dead Guide Walkthrough Death Toll
Boathouse Finale
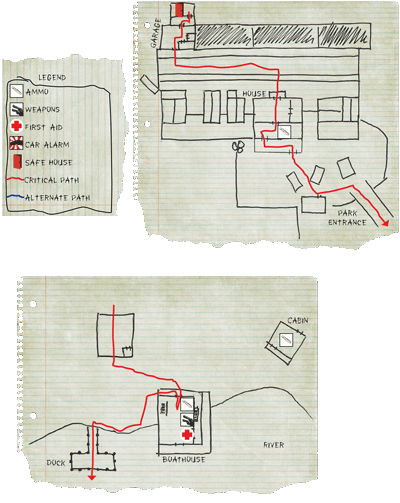
Safe House
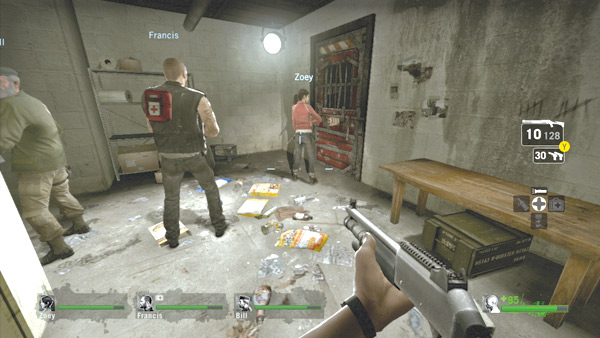
The hopeful rumors about Riverside turned out to be false. The town is completely overrun. Now what? There’s a chance your team can secure rescue if you reach the river. If anyone escaped Riverside, they were most likely evacuated by boat.
If evacs are still underway, you may be able to hitch a ride. But don’t get ahead of yourself. Use this opportunity to select weapons, stock up on ammo, and heal.
Round out your team’s weaponry by equipping two assault rifles, one auto shotgun, and a sniper rifle. This will give your team adequate firepower to reach the river. Once everyone is geared up and healed, open the safe house door.
Garage
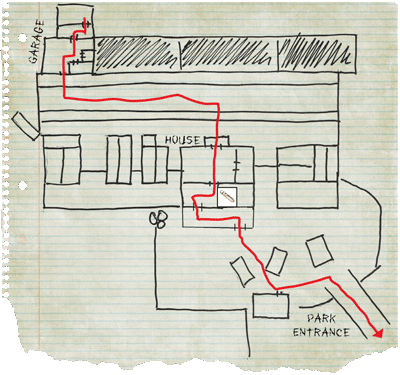
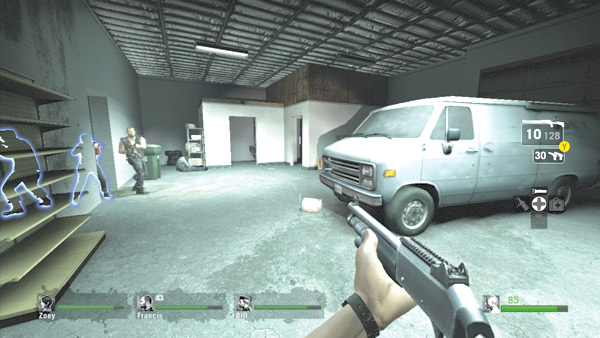
The safe house is part of a commercial garage with a white van parked inside. There may also be a few common infected lurking in the corners. There’s only one exit, and the door’s closed, so take a few seconds to sweep the garage for threats and supplies.
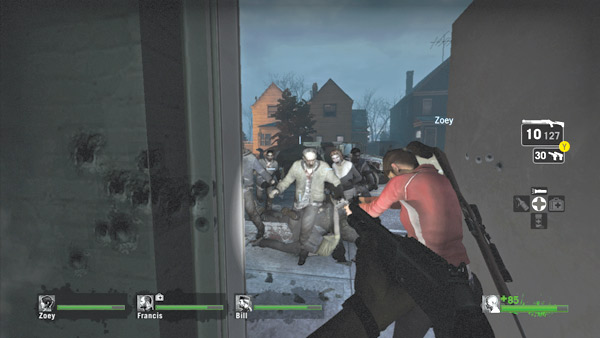
Once the garage is clear, cautiously open the door leading out into the street. The simple act of opening the door may trigger a swarm attack, so be ready to step back into the garage and hold off the attackers at the doorway.
This doorway is the perfect choke point, allowing your team to focus all their fire at the incoming horde. Just make sure you don’t shoot each other. Place two teammates at the front in a crouched stance while two teammates fire over their shoulders.
This way everyone can contribute. Once the attack subsides, peek out of the door and try to draw more zombies within range.
House
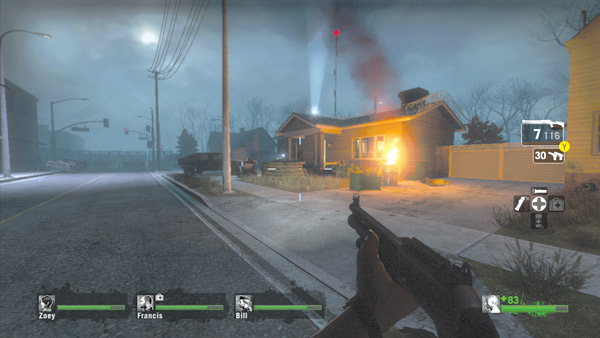
Because you cleared most of the street from the garage, the path to this nearby house should be relatively safe. Still, stay together and make a direct advance for the house’s front door.
Along the way look for pickups on or around the abandoned military Hummers—you may find some pipe bombs or molotovs.
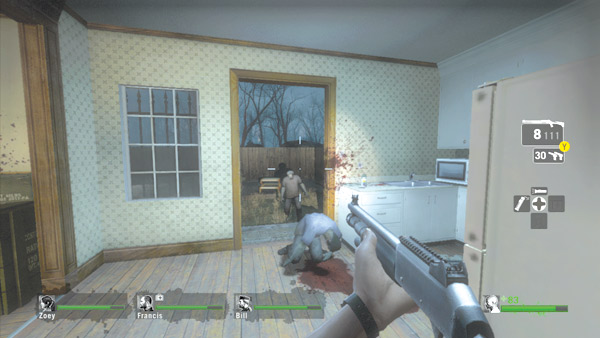
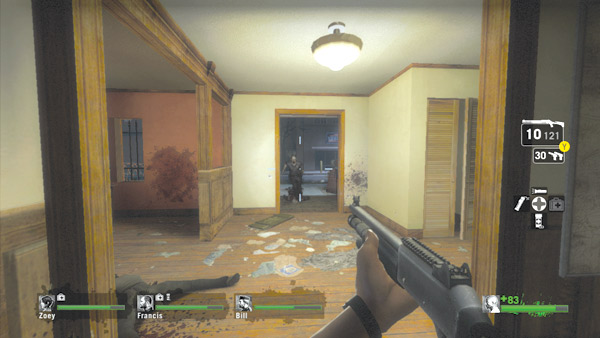
Upon entering the house, immediately set up a defensive perimeter. This house has been fortified, with bars over most of the windows. Given the barbed wire on the roof and the ammo inside, it looks like this house was used by the military.
The only entry points are the front door (where you entered) and the back door by the kitchen. Have two teammates, each equipped with either an auto shotgun or an assault rifle, cover these doors at all times.
If you fail to cover these entry points quickly, you’ll face a constant attack by common infected swarming the interior.
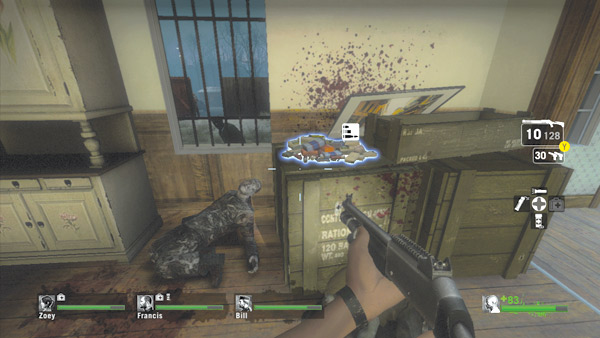
Although it’s relatively secure, holding out at the house doesn’t help your team. So take turns covering the two doorways while stocking up on ammo. The adjoining bedroom and kitchen may contain supplies, so be sure to check these rooms before heading out.
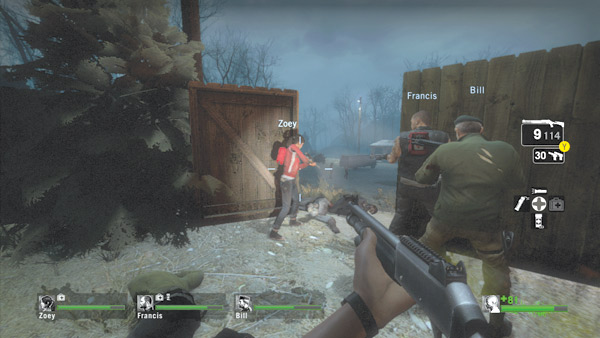
When everyone is stocked up on ammo, exit through the door by the kitchen to the back yard. The gate along the back fence leads to an open area near the entrance to Riverside Park.
Hold at the open gate and fire on any infected wandering around the vehicles by the park’s entrance.
But this isn’t an entirely secure choke point because common infected and bosses can climb over the fence and rush through the house. So have at least one teammate cover the rear to prevent attacks from behind. Try not to get stalled here too long.
Riverside Park
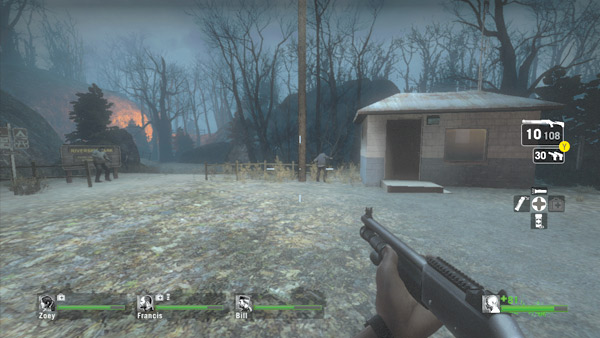
The entrance to Riverside Park is just beyond the vehicles parked behind the back yard. Be very careful when entering this area. It’s completely open and the infected can attack from any direction.
Stay together and constantly survey your surroundings, calling out threats to your teammates. The small building near the park’s entrance is accessible and may contain some health supplies.
The building can also serve as a decent shelter if a swarm attack is triggered. Rush inside and fire through the window and doorway until the attack is defeated. It may be cramped, but it beats weathering an attack in the open.
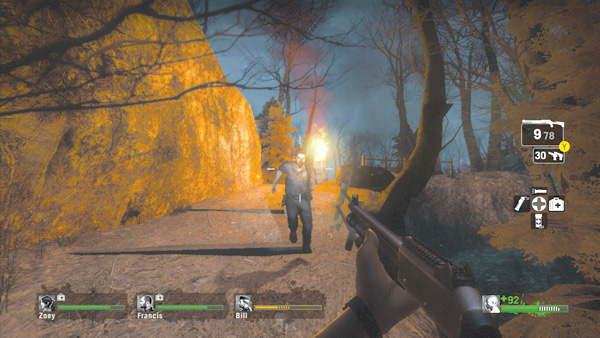
The trail leading into the park is usually frequented by common infected. Infected bosses may hide in the trees along the side of the trail or on the hills overlooking it. Speed is your best ally in this area. Race through the trail while blasting any infected you come across.
Those with either shotguns or assault rifles should lead the way. But be ready to stop and respond if a teammate is attacked by a Hunter or Smoker. Stop, rescue your teammate, and keep moving down the trail.
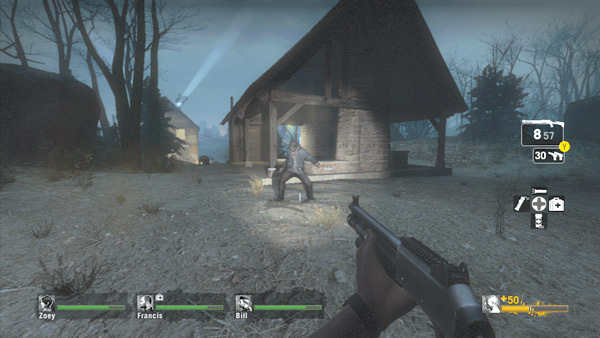
The river isn’t far away by the time you reach this shelter. But don’t stop moving yet. This shelter only offers protection from rain, ideal for picnics on stormy days—there are no walls. So don’t stop and rest here. The boathouse is only a few meters away, so keep moving.
Boathouse
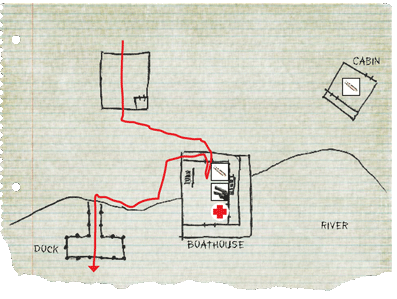
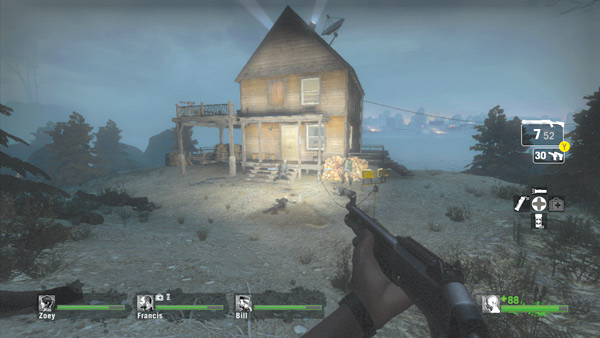
Move through the shelter near the trail and continue to the boathouse on the edge of the river. The lights are on inside and a radio can be heard.
Quickly blast any infected wandering around the house’s exterior, then rush inside through the front door and close it once your team has entered.
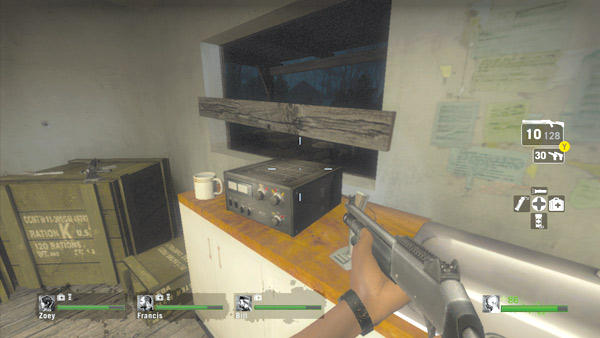
A fresh batch of supplies awaits your team inside, including first aid kits, ammo, and weapons. The radio can be found near the supplies; it repeats a message.
The message is allegedly being broadcast by John and Amanda Slater, the owners of a small fishing boat anchored somewhere nearby.
They say they have “provisions and a route to safety.” They request that anyone with firepower respond to their broadcast. Sounds like your lucky day. Interact with the radio to get in contact with fishing boat’s crew.
They say they’re headed for the military outpost upriver and will stop at the nearby dock along the way to pick up your team.
You must contact them again when you’re ready. Contacting the boat again triggers the finale, so hold off and take a moment to prepare for the attack.
Finale Preparation
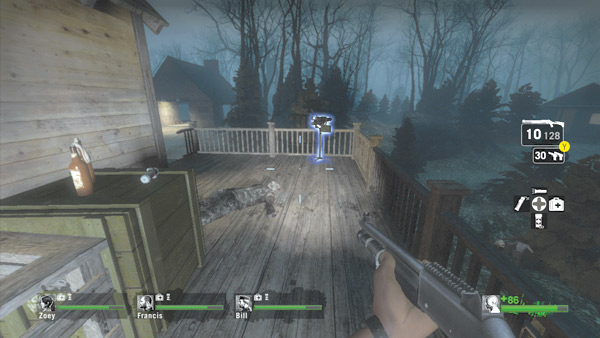
Before contacting the fishing boat again, do a quick tour of the house to locate supplies. Head upstairs and step onto the upper-level deck. Here there’s a mini gun covering the front of the house.
Next to the mini gun is a crate with pipe bombs and molotov cocktails—a similar stash is on the ground floor, outside the back door. Make sure everyone on your team has a molotov or pipe bomb.
These weapons can make a huge difference while defending this location.
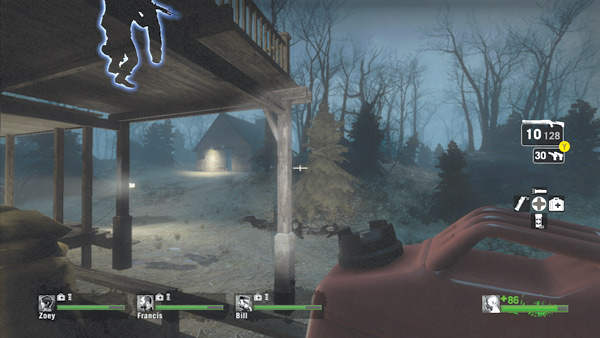
Next, search the house and its perimeter for fuel cans and propane tanks. Grab them and scatter them around the front of the house, preferably within the mini gun’s firing arc.
Triggering huge explosions and fires during the finale can come in handy for dispatching large groups of infected. Don’t take the fuel can found at the nearby docks, though; leave it where it is for now. It’ll be very useful later.
Finale
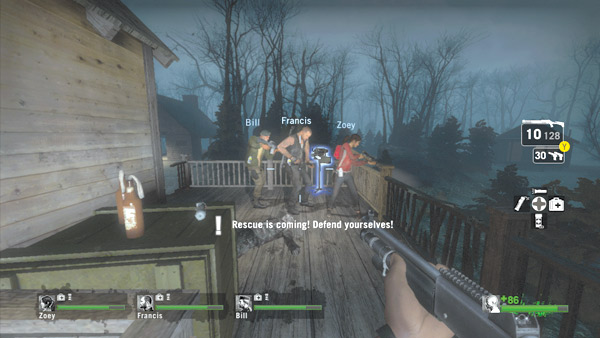
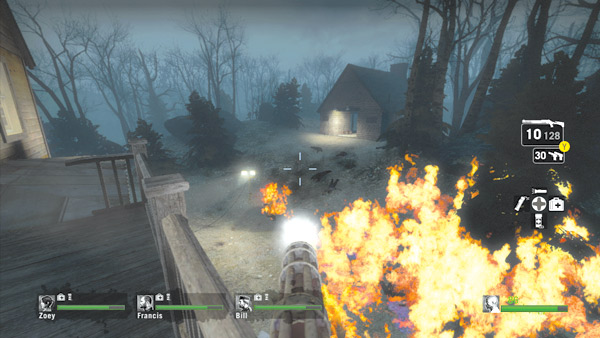
Once you’re ready to initiate the attack, return to the radio and contact the fishing boat. They acknowledge and say they’ll arrive at the dock in ten minutes—in actuality, it’s closer to five minutes. Still, the survivors have their work cut out for them.
There are many areas from which to defend the house, but the upper-level deck is one of the best. Have one teammate man the mini gun while everyone else holds nearby and defends the gunner’s flanks.
Infected can climb up the sides of the deck as well as advance through the house, so covering the gunner is a full-time job for the entire team.
Don’t forget to use the molotovs, pipe bombs, fuel cans, and propane tanks to your advantage. Try to target massive swarms with these explosive and flammable devices.
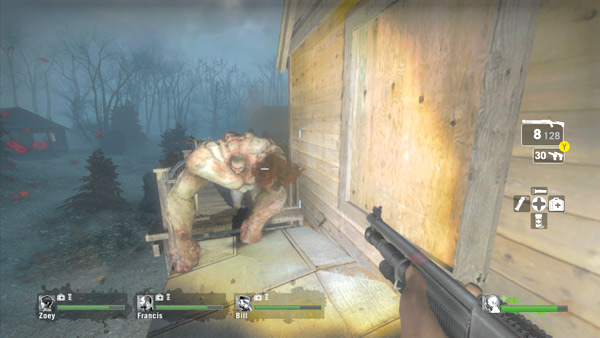
During the siege, listen for the thundering footsteps of an incoming Tank. Locate and target the Tank as quickly as possible, hitting him with mini gun fire and molotovs.
If you fail to take him out quickly, he enters the house and attacks your team on the deck. If this occurs, ditch the mini gun and run away while firing.
Such attacks can totally disperse your team, so stay in constant contact with your teammates and try to meet up inside the house once the Tank is dead.
A Tank’s strikes are so powerful, they may even knock you into the river, requiring you to swim back to shore to rejoin your team—assuming you survived the hit.
Boat Rescue
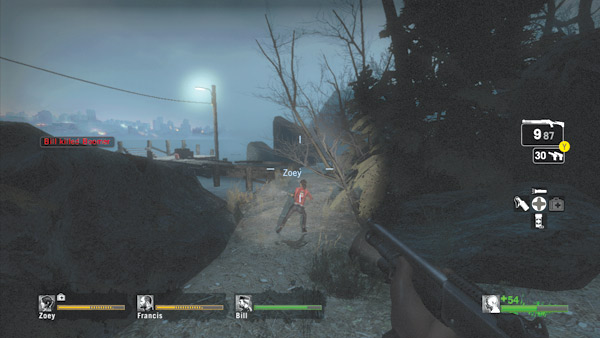
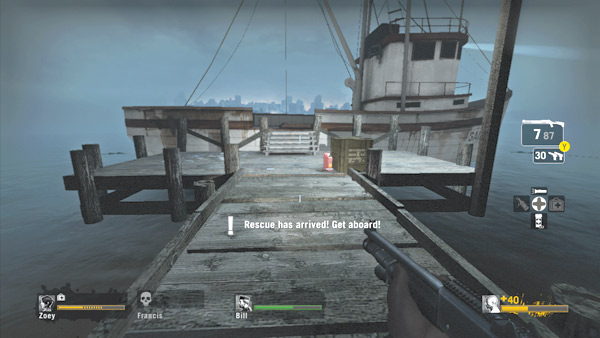
During the siege, listen for the sound of the approaching fishing boat. One of the survivors will alert the others of its arrival. As soon as the alert is given, vacate the boathouse and make a beeline for the dock. This is a very critical stage, so make sure your team sticks together.
Don’t be surprised if the director cranks up the tension by spawning multiple bosses, including another Tank. Stay on the move and get to the dock as soon as possible. If you leave the boathouse right after the alert is given, you can reach the dock just as the fishing boat arrives.
Race across the dock and hop on board.
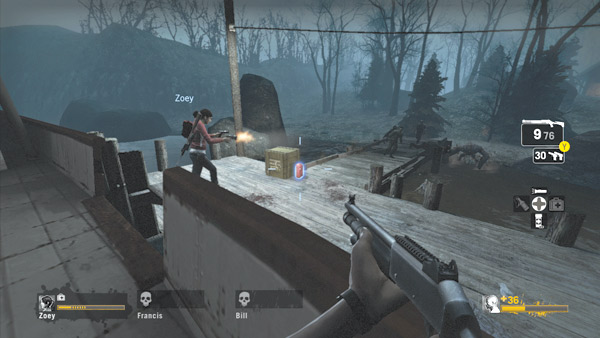
If you’re the first one on the boat, turn around and provide covering fire while your teammates make it across the dock. Your teammates probably have a swarm of infected nipping at their heels.
Locate the red fuel can on the dock and be ready to blast it as soon as your last teammate approaches the boat.
This creates an impassable wall of fire on the dock, preventing any infected from reaching the boat. However, be really careful when you shoot the fuel can.
If you trigger the fire too early, one of your teammates could be caught on the wrong side, faced with either rushing through the flames or getting killed by the incoming horde.
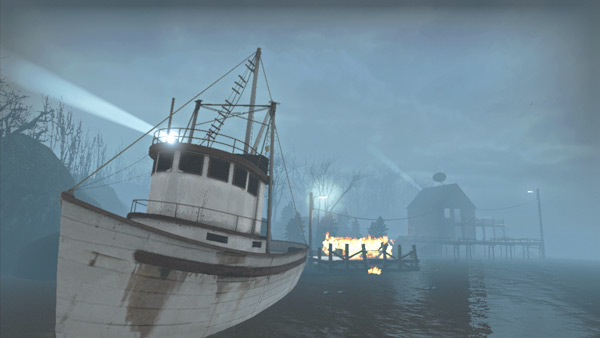
The boat leaves once all able-bodied survivors have made it aboard. Anyone incapacitated back at the house or on the dock is left behind. So if you have a teammate who might not make it, don’t board the boat.
That way you can stage a rescue if someone is incapacitated on the way to the dock. However, reviving a buddy amidst the chaos of the infected attack is very dangerous.
So don’t attempt a rescue alone. Still weigh the pros and cons carefully— staging a rescue attempt could put your entire team in jeopardy. If everyone dies during the rescue attempt you’ll have to play this level over again.
It may be best to cut your losses and get away while you still can. It’s a tough decision and you will have a only few seconds to make it. If it’s any consolation, those left behind will be memorialized in the movie’s closing credits.