
Left 4 Dead Guide Walkthrough Dead Air
The Construction Site
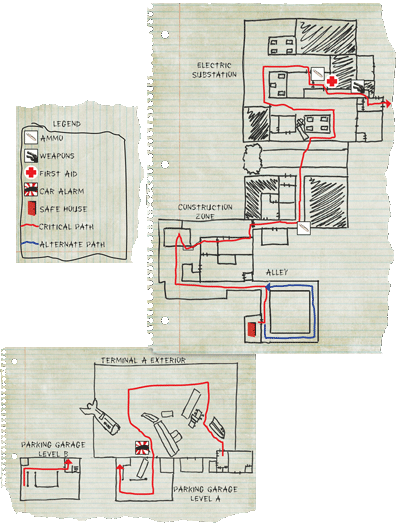
Safe House
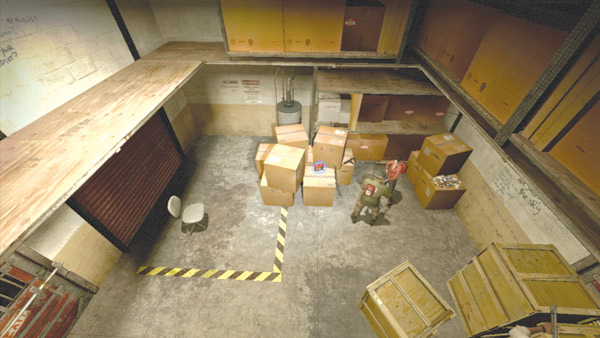
Stashed among the boxes and crates inside this self storage safe house are some first aid kits, weapons, and ammo.
If you still have your assault rifles, sniper rifles, and auto shotguns from the previous level, don’t bother grabbing an SMG or pump shotgun—they’re both downgrades.
Still, take quick stock of everyone’s health and consider using those fresh first aid kits to heal up before heading outside.
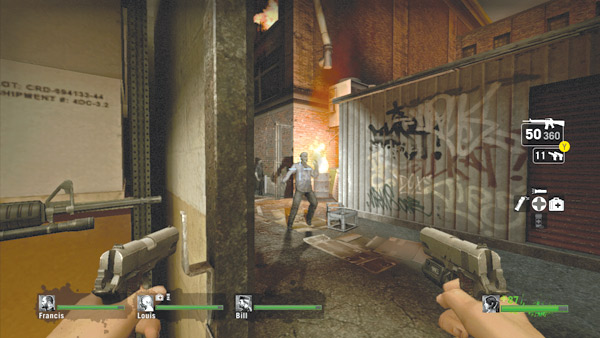
When your team is ready to move out, open the safe house door but don’t walk through it. The alley beyond the safe house splits in two directions—left and right. If you rush outside, your team could be attacked from both directions.
Instead, open fire on the infected in the alley to draw them to the safe house door. From this position your team can clear most of the infected in the immediate area without worrying about getting flanked.
Alley
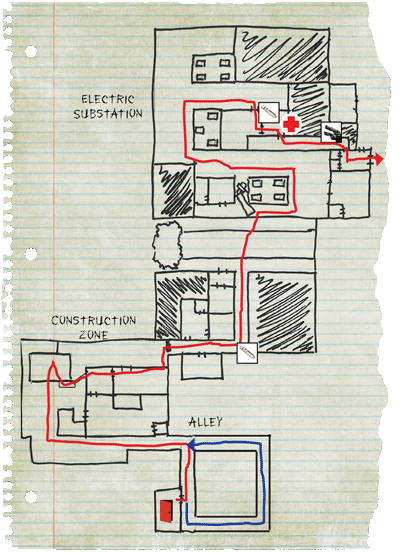
Upon exiting the safe house, your team can travel in two directions. Turn left for the quickest path to the construction zone. Heading right simply sends you on a detour around the storage units.
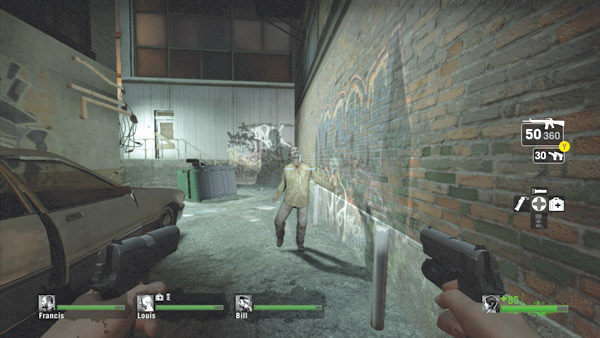
There are no pickups or any other reason to head in that direction—it will only delay your team and expose it to more infected. So turn left and pass this sedan on the left side of the alley.
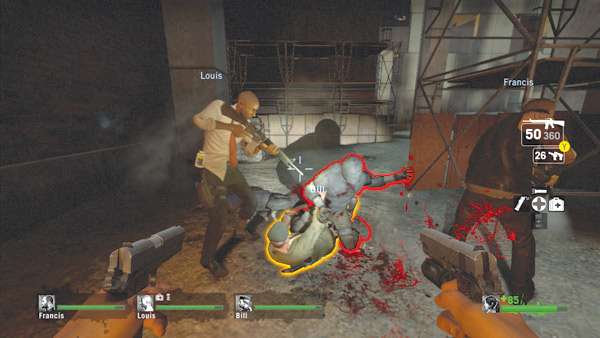
As the alley turns into the construction zone, watch for infected on the scaffolding lining the right side of the alley. If you’re not careful, they can drop down on your team.
Hunters and Smokers are particularly dangerous when attacking from these upper levels. So keep watch on this area while approaching the construction zone.
Construction Zone
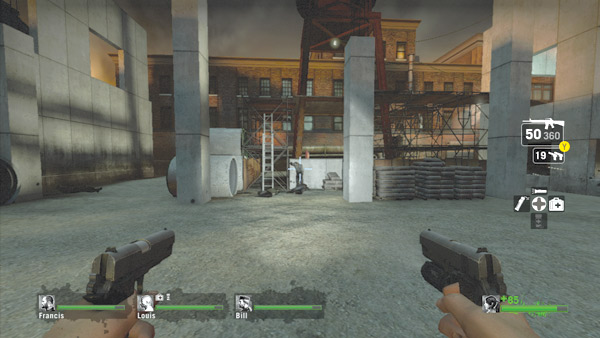
This area is relatively open, but infected can lurk in every little corner, as well as on the uncompleted structures.
So stay together and maintain a complete 360-degree coverage while moving through this area. Locate the large red water tower straight ahead and move toward the ladder next to it.
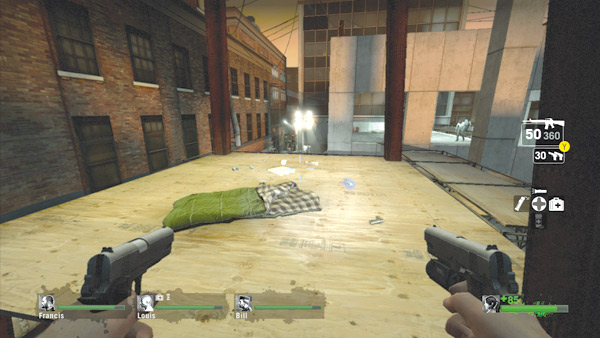
The ladder by the water tower leads up to a small platform. Given the presence of a sleeping bag, it looks like someone was camping here.
There are usually some supplies near the sleeping bag, such as pipe bombs, molotovs, and a pistol. This platform connects to the larger concrete structure via a scaffolding and some wooden planks.
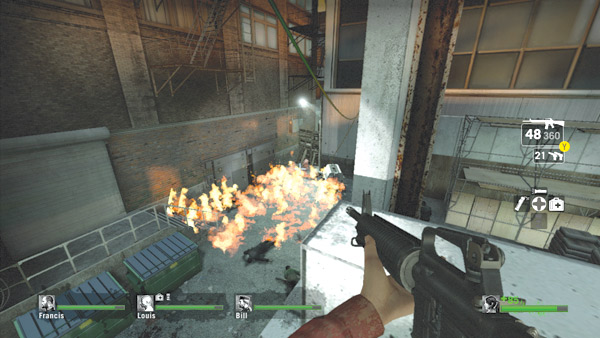
From the second floor of the concrete structure, locate the wooden barricade in the alley ahead. There’s a fuel can right next to it. Blast the fuel can to burn down the barricade.
The fire triggers a large swarm attack, with infected rushing your elevated position from the ground, but your team should be relatively safe here—just don’t fall down.
Maintain complete coverage of the concrete structure during the assault, as the infected can climb up to your perch and attack from any angle.
There are usually some extra fuel cans lying around. Toss them onto the ground around the building and ignite them. Creating a wall of fire at the base of the structure provides even more protection for your team.
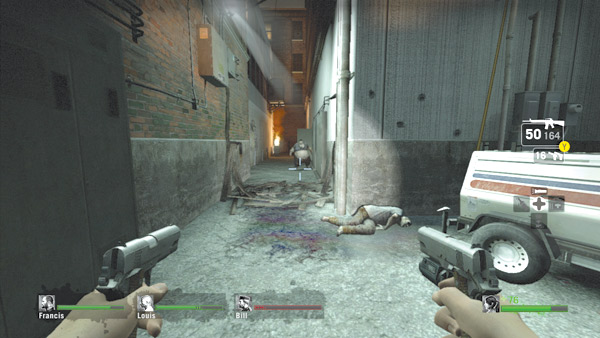
Following the attack, drop back down into the construction zone and turn down the alley where the wooden barricade once stood. Although the attack has subsided, watch out for more infected lurking around, including bosses like Boomers.
Keep your team together and engage these threats as they’re encountered. Just beyond the scorched remains of the barricade a couple of side rooms flank the alleyway.
These rooms may contain supplies, such as first aid kits, pipe bombs, and molotovs, so take a few seconds to check them out.
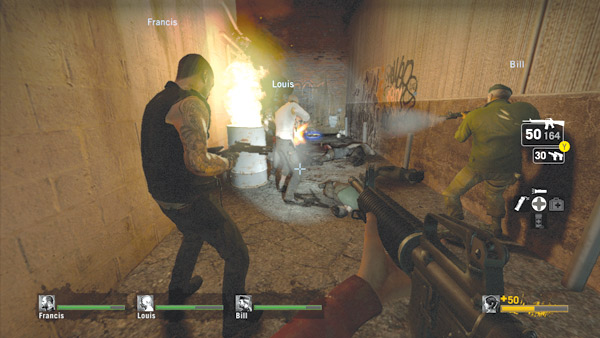
Farther down the alley is a stash of ammo, sitting on the ground in the corner. Be careful when rounding the corner; infected may be waiting to ambush your team at this point.
So carefully sidestep around the corner. If a large-scale attack is triggered, toss a molotov to incinerate the incoming horde.
Don’t forget the alleyway behind you. Once the area is clear, make sure everyone gets a chance to dip a hand into the ammo pile.
Electrical Substation
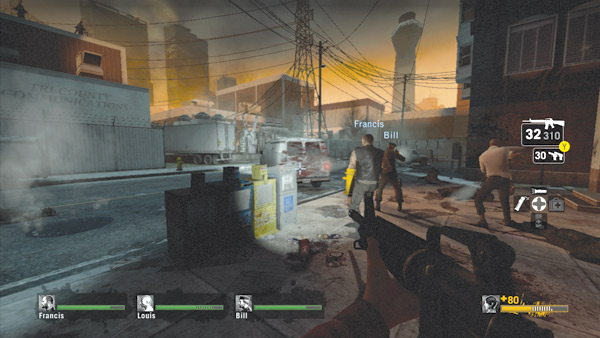
The alley empties into a street across from a large electrical substation—the airport’s control tower can be seen to the right, so your team must be close.
Both ends of the street are either damaged or blocked. That means the only way to the airport is through the substation.
Before dashing across the street, clear out any infected within sight—especially bosses. Listen for the burping sounds of a nearby Boomer and try to draw him out into the open.
Encountering a Boomer while moving among the substation’s transformers can be deadly, resulting in a chaotic swarm attack.
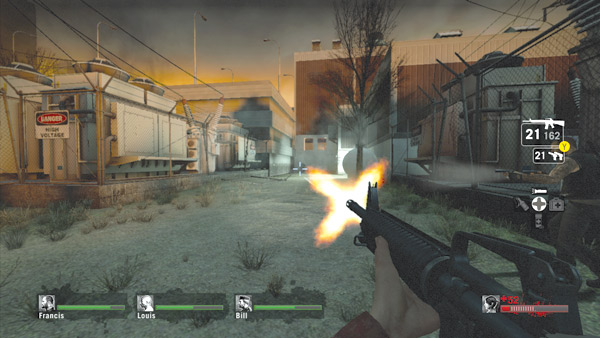
Stay together while weaving around the sets of transformers. Once past the second set, turn right and approach the main building—this is the way out. But stay alert.
More infected are probably lurking nearby. Given the number of obstacles lining this path, they can be tough to see. Your best defense is to stay close to your teammates and respond as soon as an attack is launched.
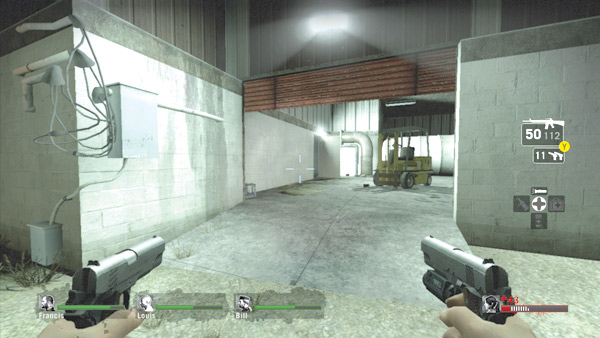
Enter the building, passing beneath this red sliding door. The room beyond contains a forklift and several white storage tanks. There may be a few infected hanging around here, too, so don’t hesitate to paint those white tanks with splotches of red.
Next to the tank room is a small break room—rush inside and shut both doors.
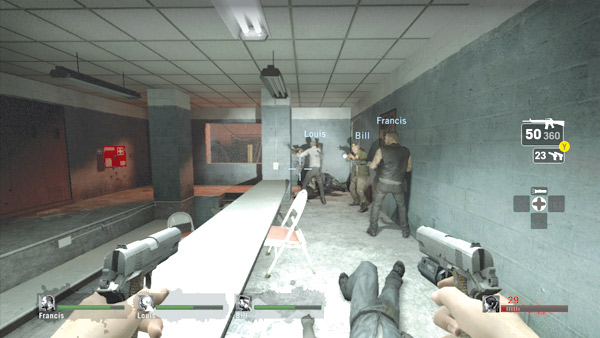
This room may contain some common infected, so blast them before dashing for the supplies. This room holds ammo, a first aid cabinet, and, in some instances, weapon upgrades, molotovs, and pipe bombs. But don’t let your guard down.
Zombies can still attack from either doorway, so stay on your toes and listen for rotten fists banging on the closed doors.
If necessary, use the supplies in the first aid cabinet to heal before moving out through the door next to the large window.
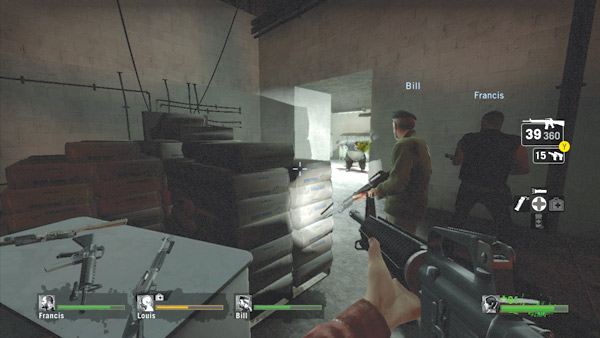
From the break room, turn left and approach the desk at the end of the passage. This table may hold some weapon upgrades, so consider swapping out your weapons.
Still, it’s best to maintain a balance of two auto shotguns and two assault rifles. While picking out new weapons, be sure to watch the adjoining entry points for infected attackers hoping to get the jump on your team.
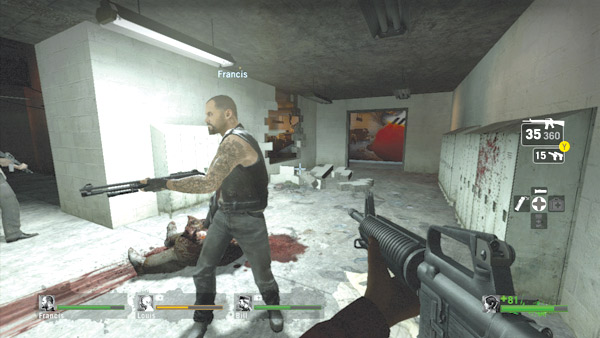
Move into the adjoining locker room next. Carefully sweep the room for threats, including the two small restrooms. An open doorway and a hole in the wall both lead to the airport. It’s a complete mess outside.
The wreckage of a jet plane is scattered across the street in front of Terminal A. To make matters worse, several infected wander around the wreckage. So take a second to reload your weapons and heal anyone who needs it.
The trek into the airport can be frantic and you can’t afford to have team members lagging behind due to low health.
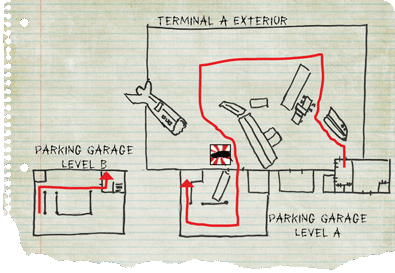
Terminal A Exterior
Exit the locker room and race directly up the large mound of earth in the middle of the street.
There’s no telling how many infected may be waiting on the other side, so stay together and be prepared to make a stand on top of this hill. But don’t loiter here too long.
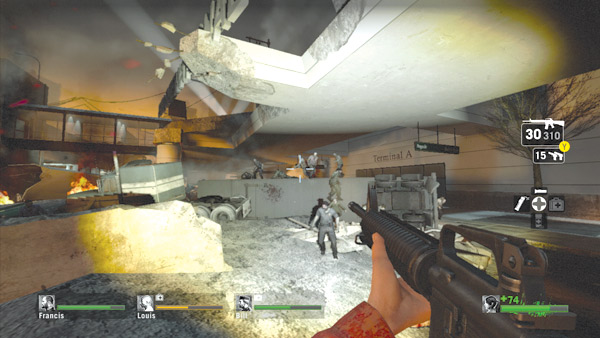
Neutralize any threats, then proceed to the sidewalk in front of Terminal A. In the event of a swarm attack, consider backtracking to the locker room and holding out there until the horde is defeated.
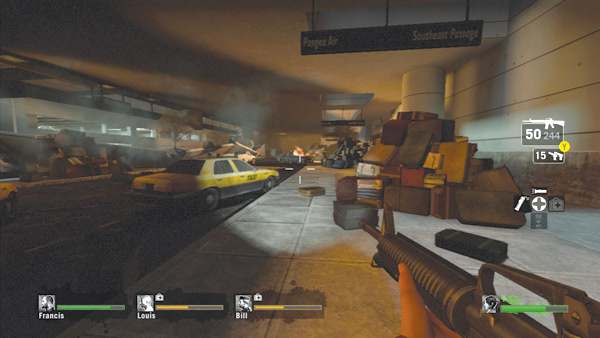
When you reach the sidewalk outside Terminal A, turn left and follow the path toward the skybridge connecting the parking garage to the terminal’s upper level—this is the only way inside. Piles of luggage line the sidewalk, providing excellent hiding spots for the infected.
So stay together and peek behind each pile of luggage as you pass to avoid getting blindsided. Stay in contact with your team while moving along this sidewalk and quickly backtrack if anyone is attacked by a Hunter or Smoker.
Parking Garage
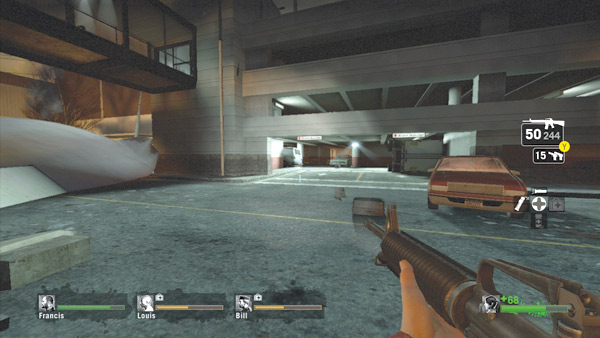
As you near the police car at the end of the sidewalk, turn left to locate the parking garage’s entrance. Be careful; the red car parked outside the garage is equipped with a car alarm.
Keep your distance from the vehicle to avoid accidentally bumping it. Most importantly, avoid shooting it when engaging infected (or a Witch) in this area.
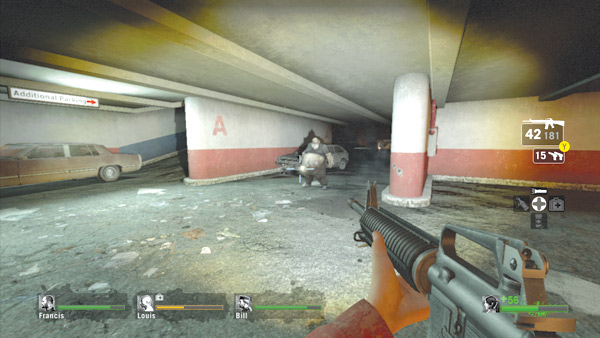
After entering the garage, rush to the back of the structure and turn right. You need to reach the stairwell on level B to access the skybridge crossing over into the terminal.
Follow the Additional Parking signs to locate the ramp leading up to the second level. This area is often frequented by infected bosses, so stay alert and be prepared to support each other while making the transition to level B.
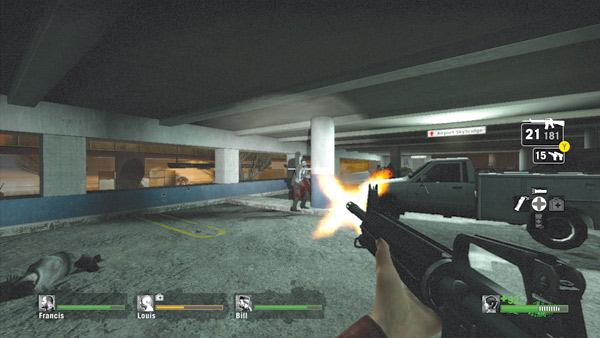
At the top of the ramp in level B, turn right and look for the Airport Skybridge signs—follow the arrows to the stairwell. There are usually several common infected on this level, mixed in with a few bosses.
Strafe left to right to scan the area by the stairwell and engage as many visible targets as possible at long range. The gunfire may draw more infected out of cover, but it’s better to engage them now than to have one bite into your neck as you rush past a car or pillar.
Skybridge
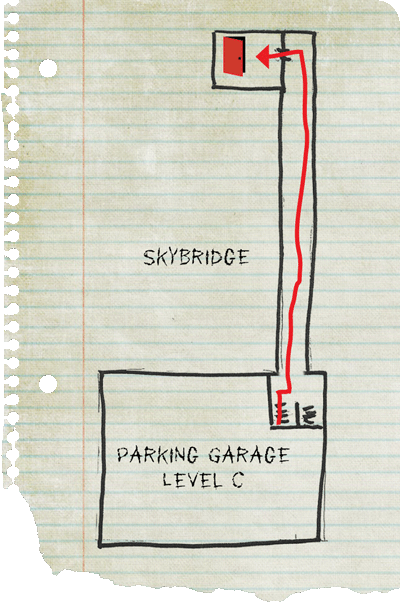
Cautiously enter the stairwell on level B and scan the interior for threats. The stairs lead up and down from this point, so don’t forget to check the steps leading down.
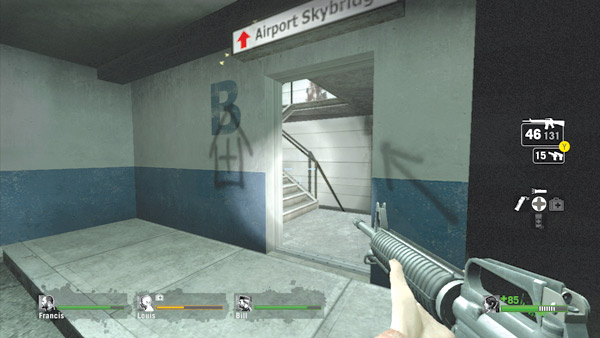
Sometimes there’s a small group of infected gathered at the bottom of the steps, so be sure to take them out before turning your back on them—tossing a molotov into the bottom of the stairwell is a quick way to eliminate the threat.
Once the stairwell is clear, head upstairs to level C, but don’t reenter the parking garage.
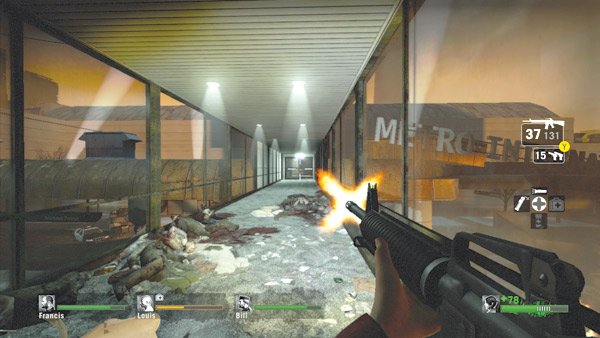
Instead, turn left to access the skybridge. There may be a few infected wandering on the skybridge, so mow them down before crossing. Also, scan the far end of the skybridge for infected bosses.
There may be a Smoker, Hunter, or Boomer loitering near the safe house entrance, eager to initiate one last attack on your team. Use assault rifles or sniper rifles for long-range annihilation.
Terminal Safe House
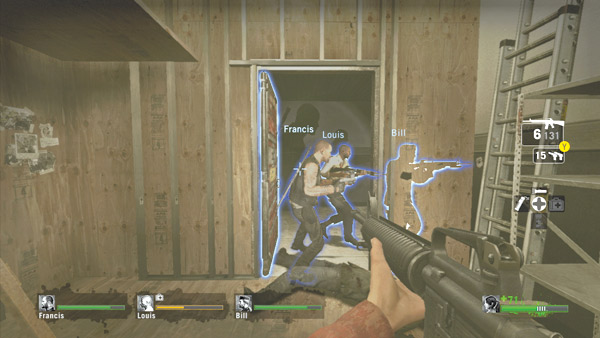
Once the path is clear, race across the skybridge with your team and enter Terminal A on the other side. The safe house door is on the left side of the passage beyond the skybridge.
Although there may be infected chasing after your team, suppress the urge to engage them as they race across the skybridge. Get inside the safe house as quickly as possible and slam the door shut before they can advance to melee range.
You’ve finally made it to the airport. But you still have a long way to go before your team can book a ticket out of here…