
Left 4 Dead Guide Walkthrough Dead Air
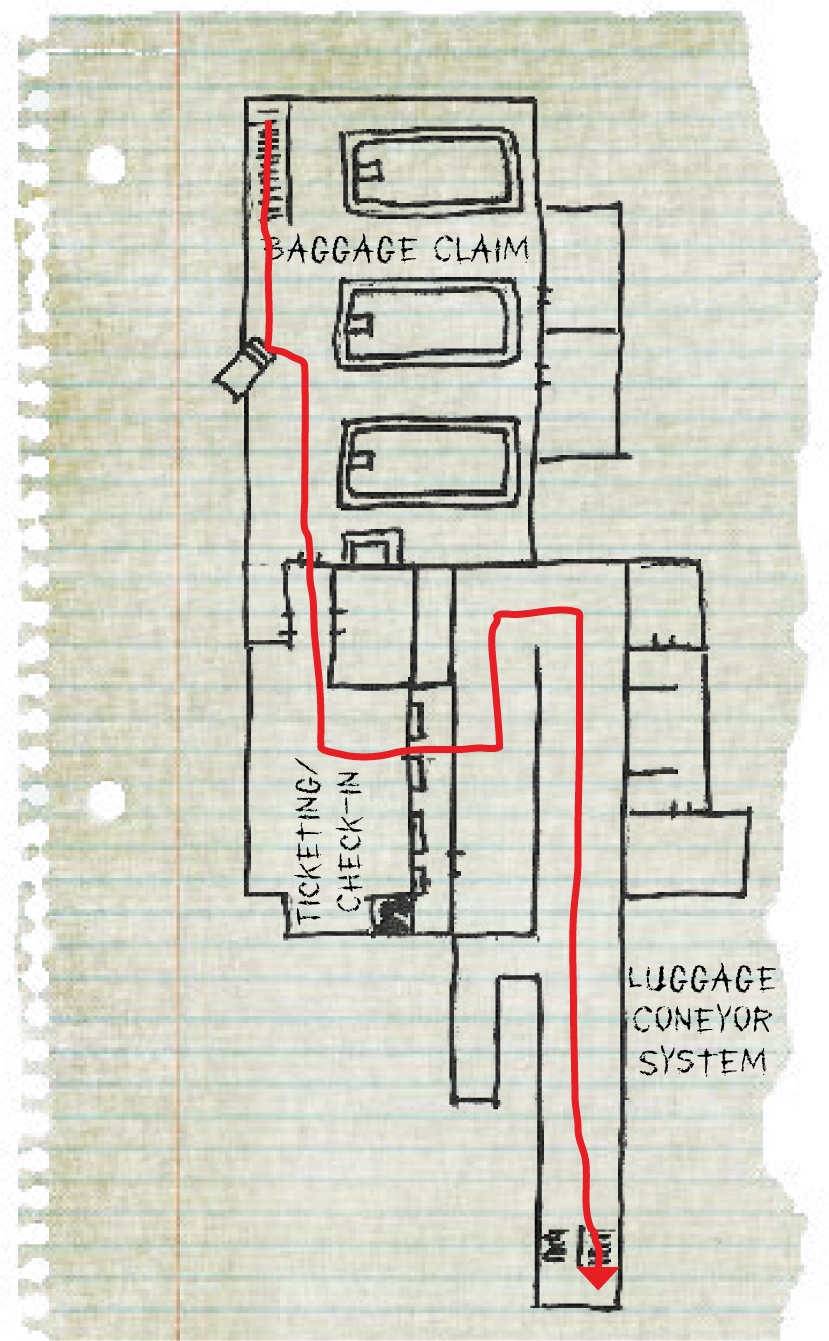
The Terminal
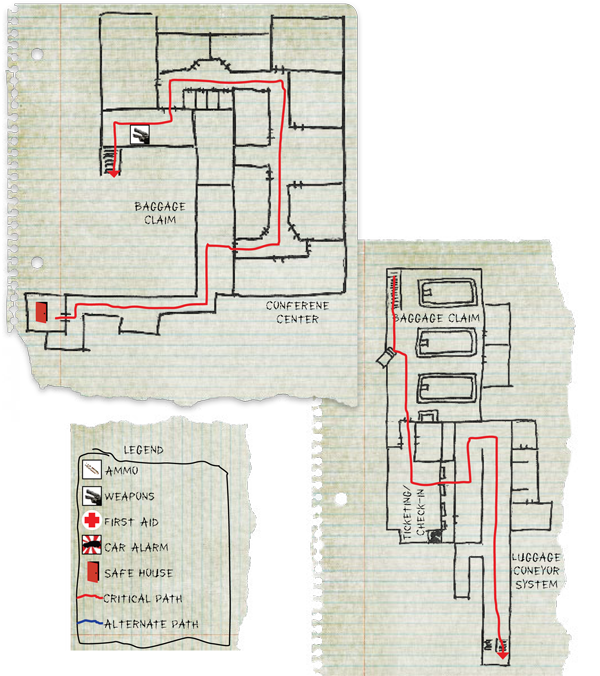
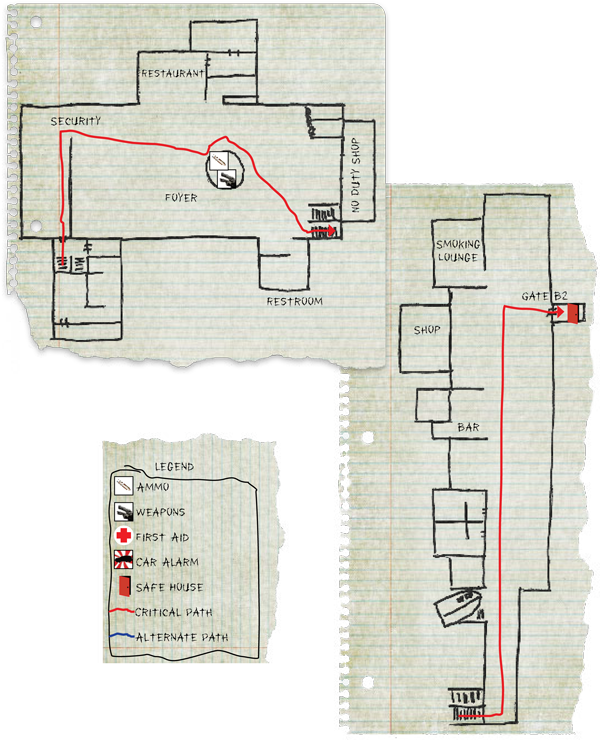
Safe House
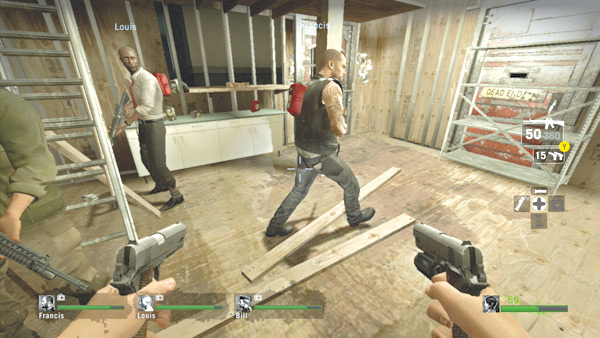
Given the situation outside the terminal, it appears the airport has been overrun. But it’s a very large facility and evacs may still be underway, at least for the next few minutes.
Your team must race through the terminal and reach the tarmac to search for any signs of rescue. Before rushing out of the safe house, stock up on supplies.
An even mix of assault rifles and auto shotguns is well suited for the fight ahead. A sniper rifle can also come in handy when clearing some of the larger areas, but don’t take more than one. Be sure to grab a first aid kit, too, and use it now if necessary.
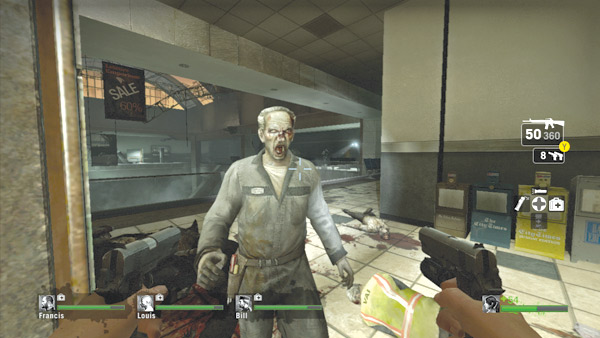
Before opening the safe house door, peer through the bars and engage any infected visible on the other side. After clearing out the area on the other side of the door, open it and engage any other threats that rush toward the safe house.
Attacks can come from the left or right side of the door, so it’s best to hold inside the safe house and let the infected come to you. That way you don’t get flanked.
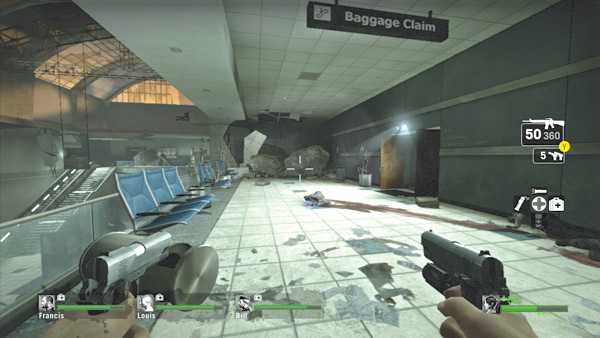
The safe house door opens onto an upper-level promenade above the baggage claim area. Don’t waste your ammo by firing at the zombies on the lower level near the luggage carousels—the director will only spawn more. Instead, focus on the infected wandering around this walkway.
Quickly move along this L-shaped passage and look for pickups scattered about. The walkway is blocked by a chunk of collapsed roof, detouring your team through the nearby conference center.
Sandleford Conference Center
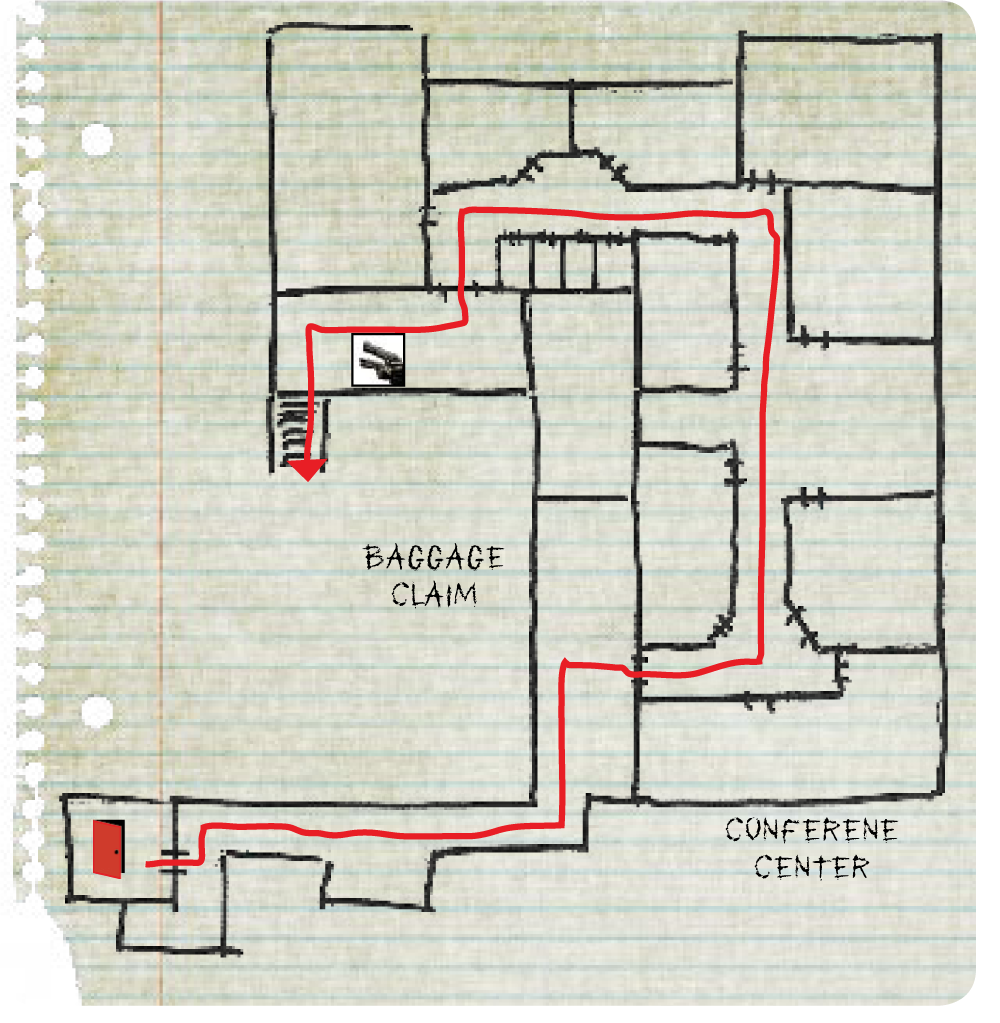
Ensure your team is together before entering the conference center. The main hall is lined with side rooms, each a potential ambush site for the infected. Stay out of these side rooms and stick to the main hall.
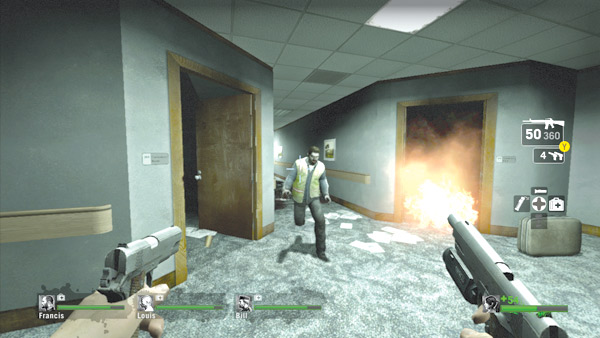
However, be sure to stop long enough to peek into each room and blast any threats. There may be some useful pickups; just make sure a room is clear before rushing inside to grab supplies.
As you approach the first turn in the hall to the left, be prepared for infected rushing around the corner.
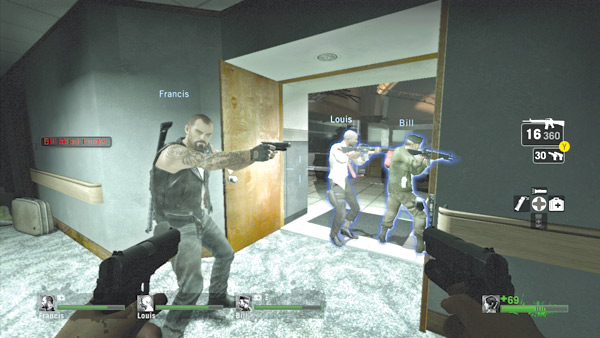
Continue advancing along the main hall, quickly sweeping the side rooms for threats and supplies. The main hall leads back out to the promenade above the baggage claim area. As you exit, close the double doors behind you.
This won’t prevent infected from attacking your team from behind, but it helps delay the attack. As you advance to the escalator leading down to the baggage claim area, keep an eye on these doors.
If you see infected trying to break through, open fire while they’re trapped in this narrow choke point.
Baggage Claim
Now that your team is ready to move through the baggage claim area below, take a few seconds to clear the floor from the promenade. There could be a stash of weapons on some crates near the escalator.
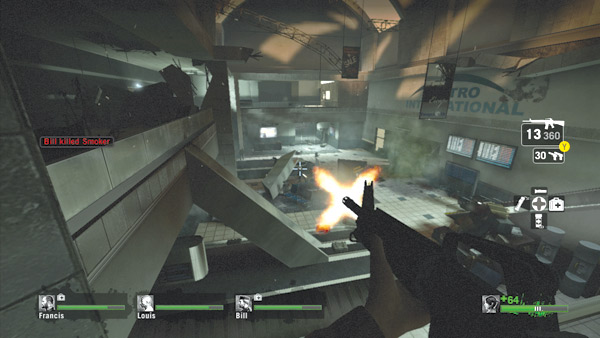
If so, have most of your team switch to assault rifles. For the next sequence your team will need the range and rapid fire offered by these weapons. But keep one auto shotgun to help deal with close-quarter threats.
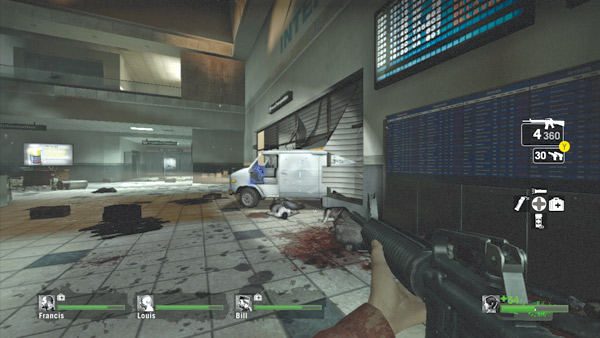
Although the baggage claim area is now accessible, the ticketing/check-in area beyond is blocked by a chain-link fence. At the bottom of the escalator a van has partially crashed through the terminal entrance.
Elect one team member to go down the escalator and interact with the van. Doing so causes it to start up and crash through the chain-link fence.
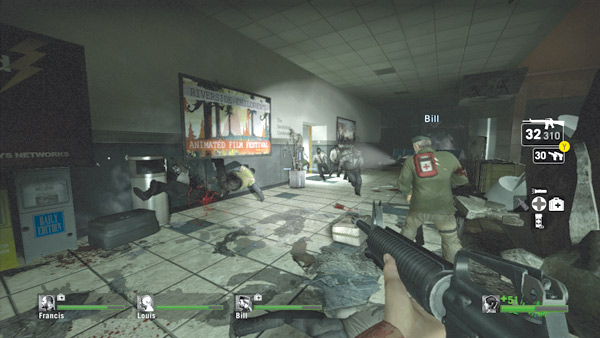
The rest of the team should remain on the upper-level promenade near the top of the escalator. Starting the van triggers a large-scale infected attack, and the upper level is the best defensive position.
Whoever is tasked with starting the van should rush down the escalator, interact with the van’s steering wheel, and then immediately dash back up the escalator to rejoin the team before the infected attack commences.
So make sure everyone is in position and set the plan in motion.
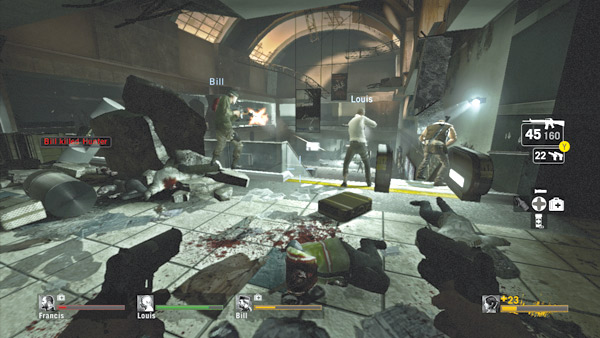
While you’re on the promenade above the baggage claim, there are only two paths the infected can take to reach your team. The closest entry point is the conference center’s double doors—the same ones you closed earlier.
Assign a couple of teammates to watch this doorway at all times. Large swarms of infected will come dashing out of this hallway, so answer back with auto shotgun and assault rifle fire. The other two teammates should cover the escalator.
However, before the infected reach the escalator, they must dash across the baggage claim floor, making them vulnerable to long-range attacks.
The teammates defending the escalator should be armed with assault rifles to deal with both long-range and close-range attacks.
By covering these two critical choke points, your team can withstand the assault. But before heading downstairs, heal up and balance your weapon load-out, taking two assault rifles and two auto shotguns.
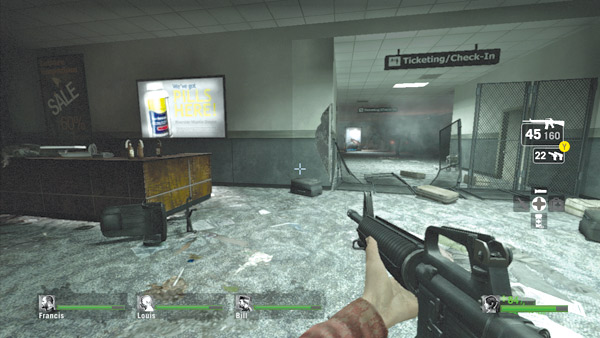
Once the baggage claim area is relatively clear, head downstairs. The van has crashed through the gate in front of the ticketing/check-in area. Before advancing to this new area, check around the baggage claim for supplies.
There are usually some pickups on the counter near the breached fence. However, don’t split up while scouring the entire ground floor and restrooms for supplies.
Hunters and Smokers may still lurk in the dark corners on this floor, so stay together and within each other’s line of sight at all times.
Ticketing/Check-In
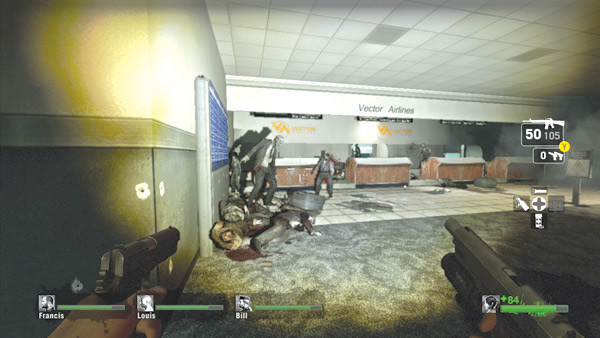
Pass through the breached fence to enter the short hall leading to the ticketing/check-in area.
On the left side of the hall is the currency exchange counter—watch for infected hiding in this alcove as you pass by. Turn left at the next corner to spot the Vector Airlines ticket counter.
There are likely even more common infected here. Open fire on all threats quickly, preferably before they crawl over the counter.
Most attacks originate from the luggage conveyor system behind the ticket counter, but there may be other undead hiding in the dark corners of this large room. So sweep the room carefully.
Luggage Conveyor System
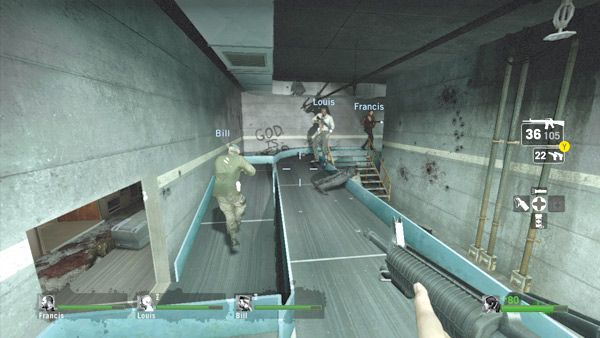
Now your team must navigate through the maze-like luggage conveyor system behind the ticket counter. Duck in through one of the entrances and immediately turn left.
This area is often frequented by common infected, so open fire as soon as threats come into view, particularly around the corner. But infected can also attack your team from behind, entering from behind the ticket counter.
So move out quickly to avoid getting flanked.
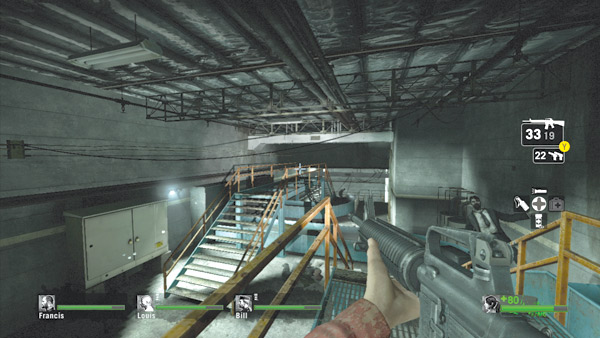
When you reach this long room filled with conveyor belts, transfer over to the central catwalk.
Although the conveyor system isn’t functional, the catwalk makes navigating through this room easier; you don’t have to jump over obstacles, which helps keep your team together.
This allows your team to focus on moving ahead while shooting zombies.
Be careful when moving past conveyors belts above the catwalk. Infected lurking above (including Hunters) may leap down and attack your team.
Infected may also attack from behind, approaching from the ticket counter, so make sure one teammate is watching your backs at all times during this advance.
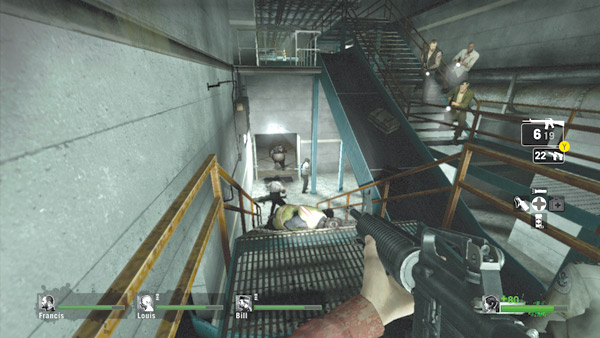
Follow the catwalk to the room’s exit, at the bottom of these steps. Hold at this position for a few seconds and watch for infected approaching through the open doorway ahead. Infected spawning in the security area ahead may come rushing through this doorway.
Holding at the top of the steps gives your team optimal range to neutralize the threats as they rush through. Also, listen carefully for bosses like Boomers. One may be loitering at the bottom of the steps waiting to douse your team in bile.
When the area is clear, barge down the steps and exit through the open doorway straight ahead to enter the security checkpoint. There are some side rooms on the lower floor of the conveyor system room, but don’t bother searching them.
The longer your team stays in here, the greater the risk of a large-scale swarm attack.
Security
Upon exiting the conveyor system room, shut the doors behind you and sidestep left into this dark corner while aiming to the right. Fire through the slats in the metal fence to engage the common infected around the security checkpoint.
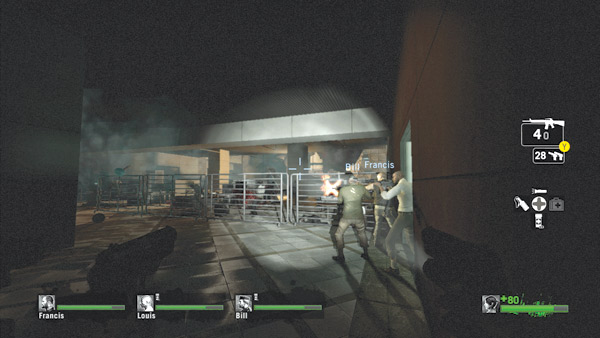
They may attempt to climb over the fence to get at your team, so drop them before they can leap in your direction. More infected may circle around the fence, racing past the piles of luggage to flank your team from the side.
So watch these two areas and hold here until the attacks subside.
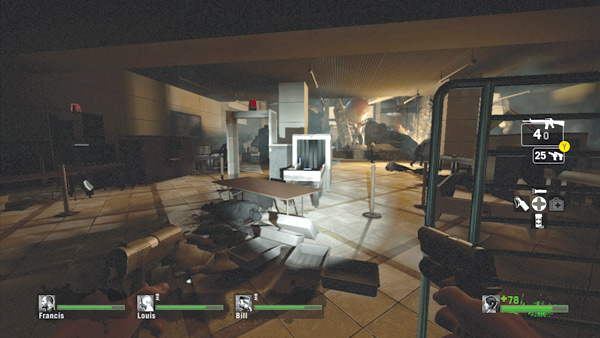
Cautiously make your way to the security checkpoint. Although some areas of the airport are without power, the metal detectors at the security checkpoint are still active.
If any of your teammates walk through one, it will sound an alarm, accompanied by a bright flashing red light. The result is like setting off a car alarm—infected will swarm around your team from all directions.
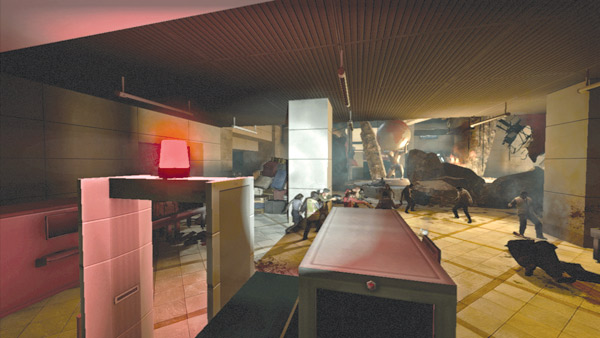
If this occurs, go back to back with your teammates to cover all angles and prevent friendly fire incidents. Most infected will rush toward the security checkpoint from the adjoining foyer or through the conveyor system.
Try to locate the source of the attacks and focus your fire on these key areas, eliminating as many infected as possible before they can surround you.
But the best defense against a swarm attack is to avoid triggering one in the first place, so play close attention while moving through the security checkpoint, and make sure no one passes through a metal detector.
Foyer
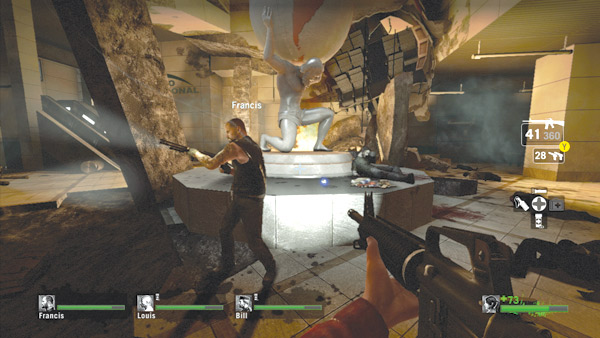
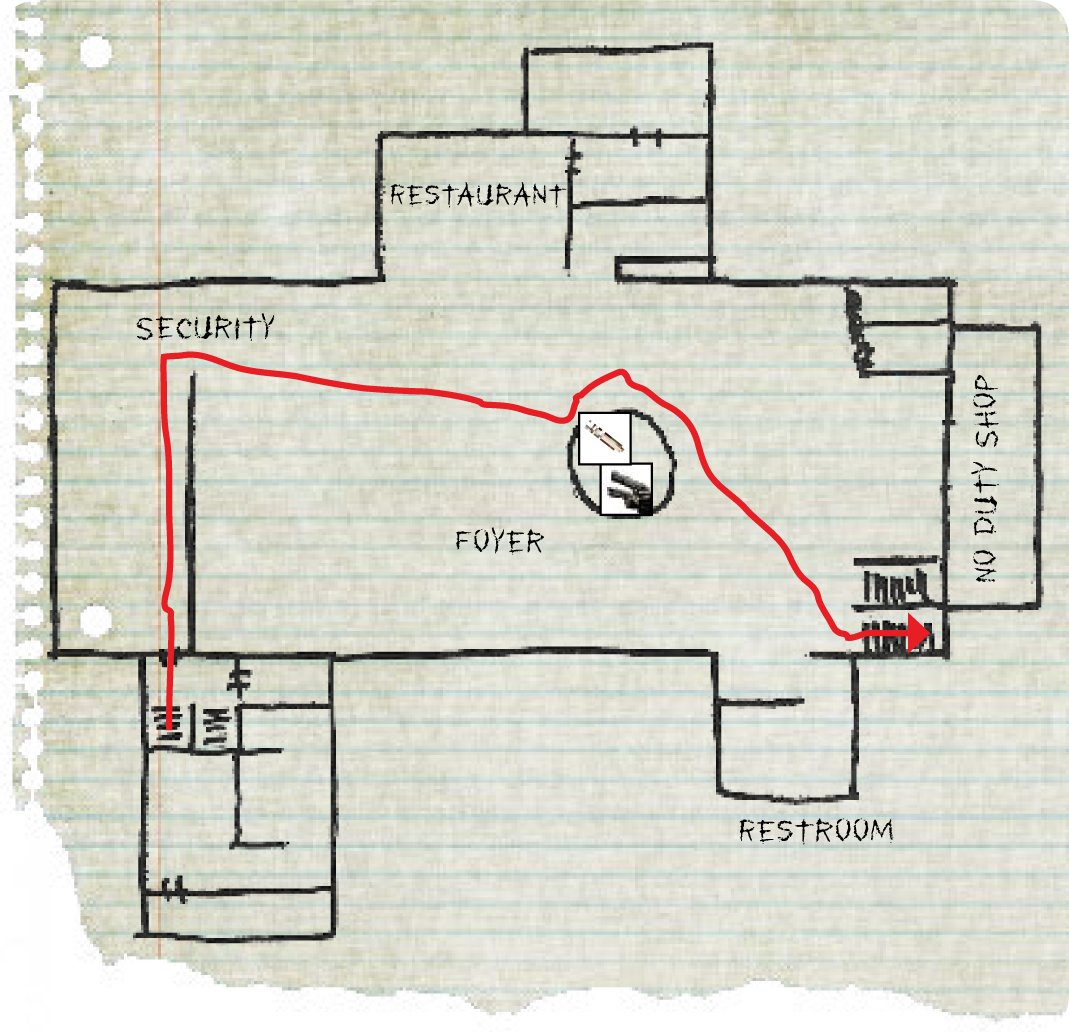
Just beyond the security checkpoint is a massive (and heavily damaged) foyer. Rush to the Atlas-like statue at the center of the foyer to grab some ammo. Sometimes weapon upgrades are placed here too, as well as molotovs or pipe bombs.
However, this is hardly the place to take a break. Infected still surround this large room and can attack from any direction, including through holes in the ceiling. So grab some ammo and anything else here, and move out.
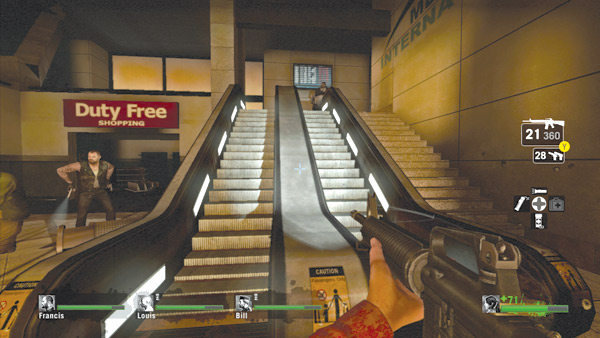
The foyer is flanked by a restaurant, a duty-free store, and a restroom.
While theseareas may contain some useful supplies, sweeping them for goodies prolongs your team’s exposure in the foyer, and thus to attacks from above.
You’re better off racing up the escalator (by the restroom) and making a move for the safe house at gate B2.
B Gates
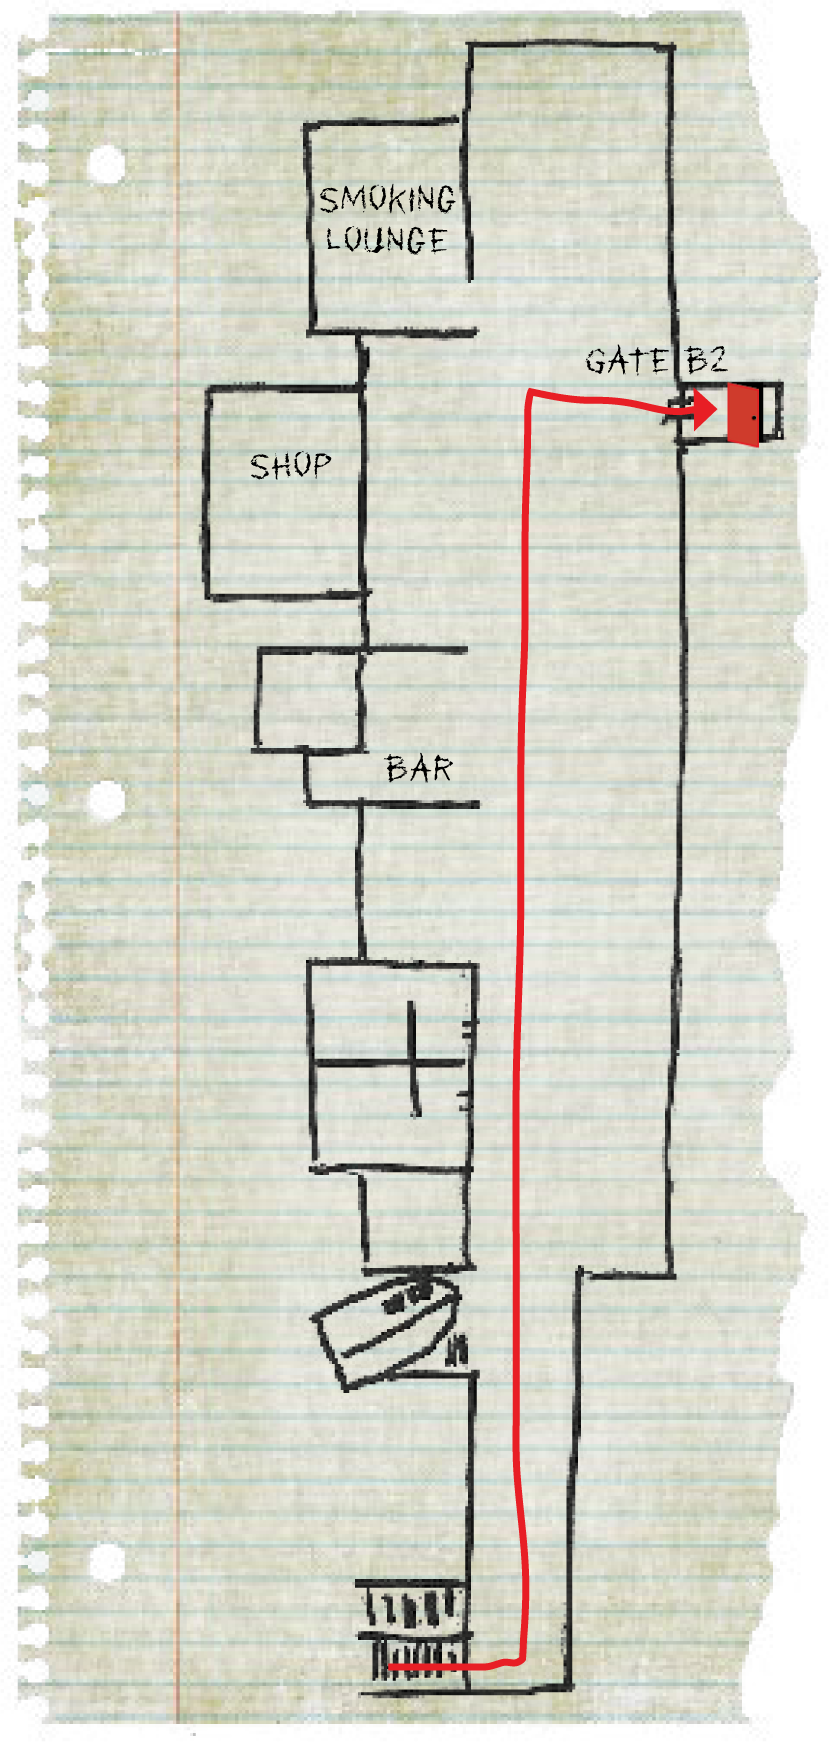
At the top of the escalator turn left and advance down this corridor toward gates B1 and B2. Expect heavy resistance from the infected along this path, advancing from the B gates as well as up the escalator behind you.
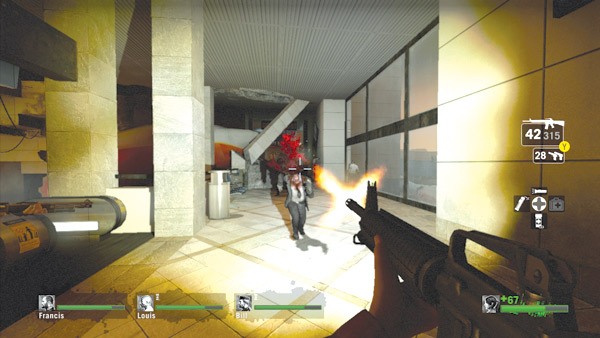
If necessary, stop and cover these two avenues of attack, with two teammates blasting zombies rushing up the escalator while the other two teammates cover the corridor ahead.
When it’s time to move out, stay on the right side of this passage to avoid getting snared or pounced by Smokers or Hunters attacking through the large hole in the foyer’s ceiling.
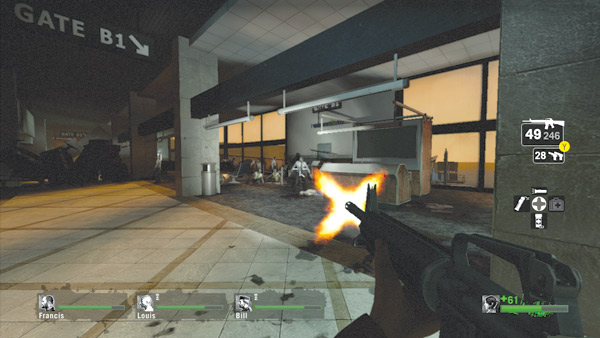
Most of the common infected hanging around the gates are idle. But as your team draws near, they will attack, so don’t take any chances. Shoot every infected you encounter in this area, whether they look threatening or not.
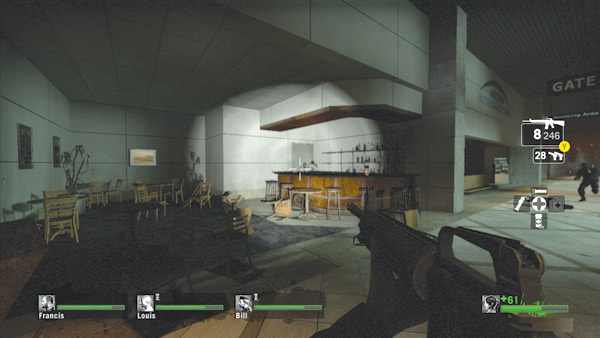
Infected flank both sides of the corridor here, sitting or standing near the large windows on the right or loitering in the bar, shop, and smoking lounge on the left. So be sure to sweep both sides of the corridor as you advance to gate B2.
Jetway Safe House
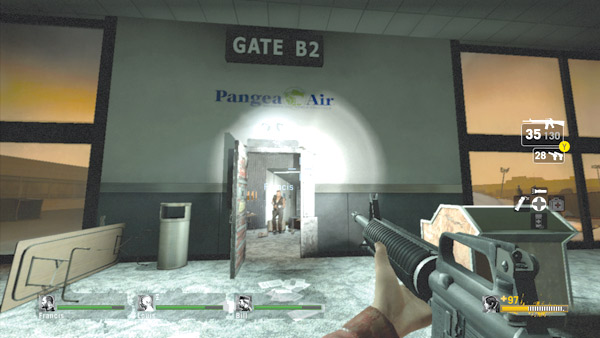
The safe house is located at gate B2, inside the jetway. Rush inside and wait for your team to enter before shutting the door. If necessary, hold at the doorway and provide covering fire while your teammates dash inside.
Your team is only steps away from the tarmac, but it’s still uncertain what they’ll find once they step outside. Given the state of the terminal, the prospects of a rescue are looking slim.