
Left 4 Dead Guide Walkthrough Dead Air
The Crane
Safe House
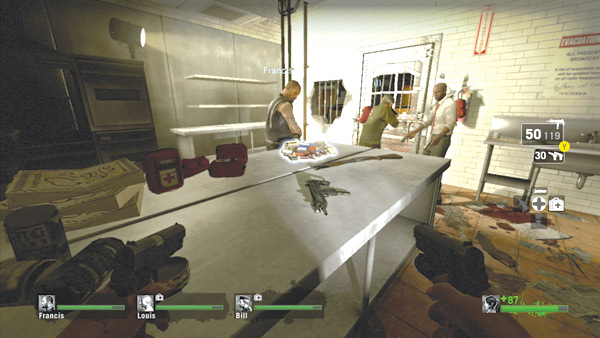
Like all safe houses, the hotel’s kitchen is stocked with supplies. Be sure to grab a fresh first aid kit and some ammo from the table in the center of the kitchen.
The only weapons on the table are an SMG and a pump shotgun. In this level your team must advance through more cramped interiors and across rooftops.
So mix your team’s load-out evenly by taking two SMGs and two pump shotguns. Before exiting the safe house, peer through the bars in the door and wall to scout the storage room on the other side for infected.
Clear the area around the door by shooting through the bars and then push the door open.
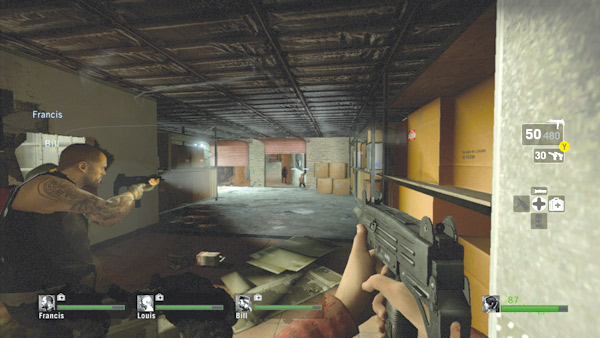
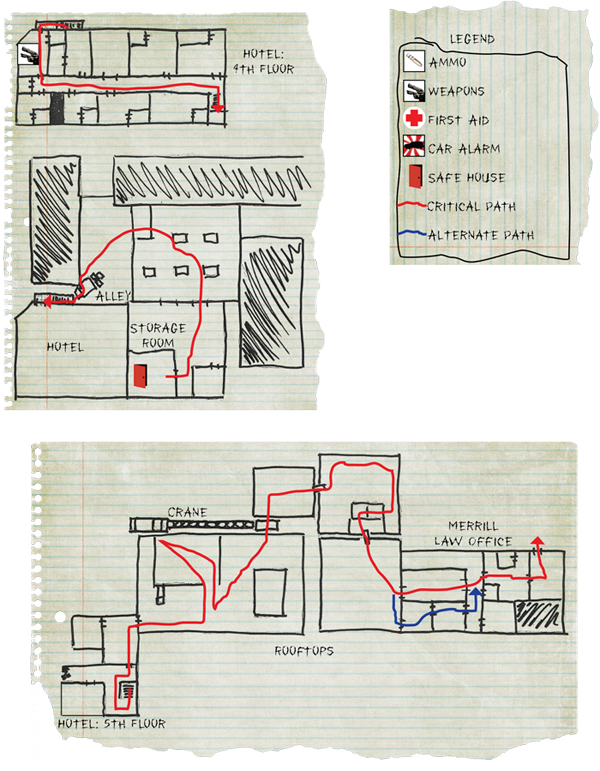
The safe house door opens into a large storage room at the back of the hotel. After exiting, turn left and scan the room for threats. The storage room may be empty for now, but more infected can enter from the alley by passing through the open sliding doors at the far side of the room.
Have at least a couple of teammates watch these entry points at all times while other team members search the storage room for infected and supplies.
Alley
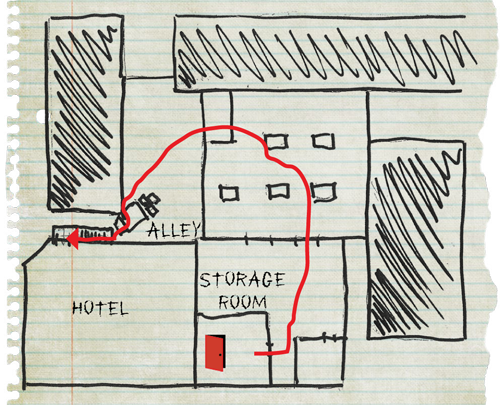
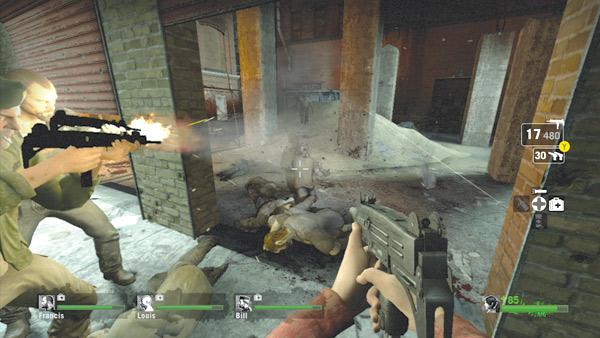
The alley outside the storage room is usually crawling with common infected—a few bosses may lurk out there as well. So don’t rush into the alley. Instead, hold at the two sliding doors and gun down all visible threats.
This allows your team to focus their fire through these narrow doorways while avoiding getting flanked. If the infected attacks increase in volume, toss a molotov in front of these doors to create a fiery barrier.
Just watch out for infected foolishly dashing through the flames. Hold inside the storage room until the alley is clear.
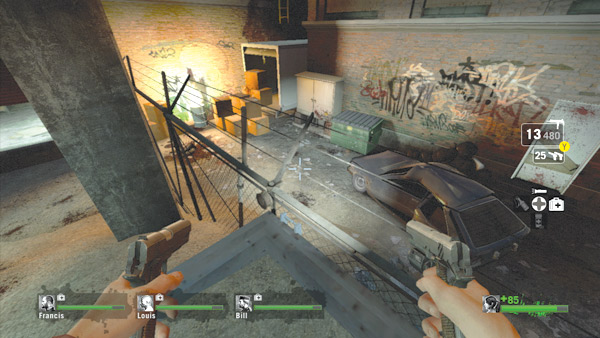
After clearing this section of the alley, exit the storage room and turn left. The alley is divided by a tall chain-link fence. Fortunately, the large pile of dirt allows you to climb up onto a dumpster and hop over this obstacle.
Proceed with caution; infected on the other side can climb over the fence and attack your team. Also, make sure your team hops over the fence together, or at least in pairs. Once on the other side of the fence, there’s no way to get back across.
Anyone left behind could get attacked by a Smoker or Hunter, and it would be impossible for the rest of the team to respond. So make this transition together.
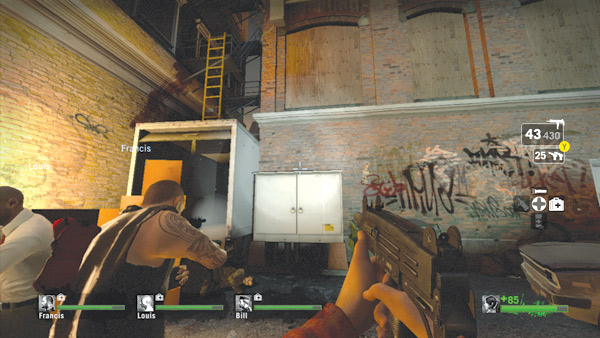
The second half of the alley is a dead end. The only way out is by going up the fire escape above the white delivery truck. Instead of climbing the cardboard boxes, locate the green dumpster along the brick wall.
Hop up onto the dumpster, then onto the white electrical box next to the truck. From there you can reach the top of the truck and the yellow ladder leading up to the fire escape. Staying together through all these jumps and climbs can be difficult, but it’s very important.
The fire escape dead-ends on the fourth floor outside the hotel. Climb through the window to reenter the hotel.
Hotel
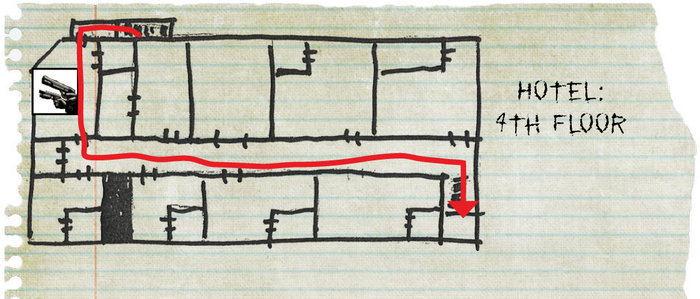
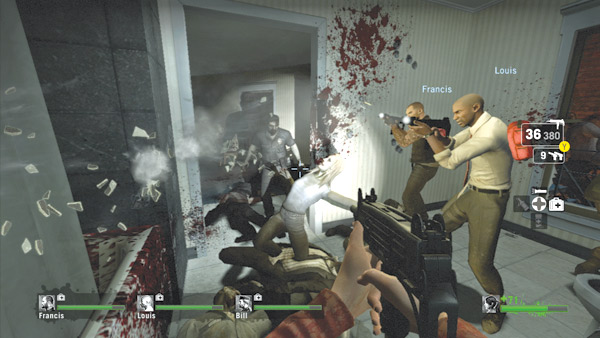
The fire escape leads into a bathroom on the fourth floor of the hotel. If you’re the first inside, wait for your team to catch up before entering the adjoining room. However, watch out for Boomers attempting to corner your team in this little bathroom.
A swarm attack here could really test your team’s ability to operate in a tight space without shooting each other. If an attack occurs, don’t move around.
Just aim at the doorway and open fire. If there are teammates behind you, crouch so they have a better view of the doorway.
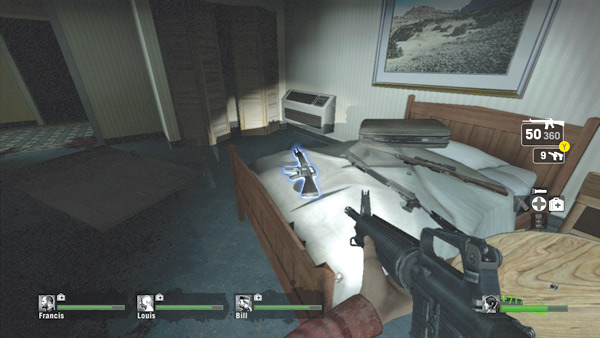
Exit the bathroom into the bedroom. There are usually weapon upgrades on the bed, offering your team a much-needed boost in firepower. The auto shotguns are ideal for clearing the hotel halls and rooms, but your team also needs some long-range punch and rapid fire once you get to the rooftops.
So consider equipping two auto shotguns and two assault rifles. A sniper rifle can be a good substitute for one of the assault rifles, but don’t proceed with any more than one—and make sure the best marksman on your team carries it.
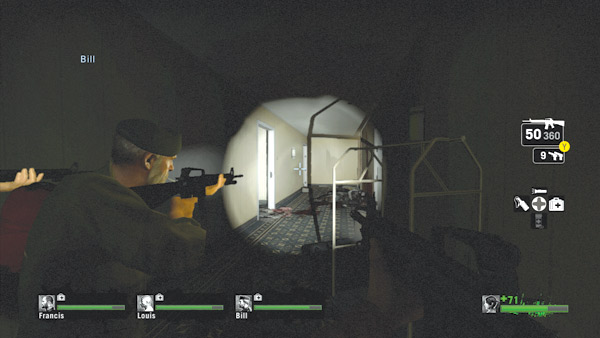
After grabbing new weapons, regroup and enter the adjoining hallway. The hall is lined with similar hotel rooms, all sharing the same floor plan. All the hotel rooms are open, presenting a risk as you walk by.
Stay in the hall and peek inside each room as you pass it, ensuring there are no infected inside.
Don’t bother performing entries at each room—there are rarely any supplies inside these side rooms. Also, don’t let the side rooms draw your attention from the hall. If an infected attack occurs in this area, it’s mostly likely going to originate from the stairway at the end of the hall.
For this reason, designate at least one teammate to watch the end of the hall at all times. Systematically sweep the rooms while moving toward the stairs leading up to the fifth floor.
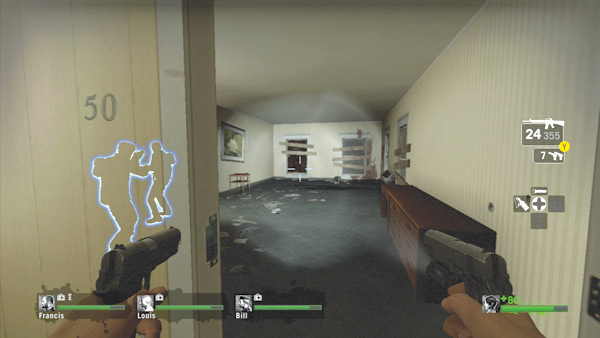
Once your team has safely made it to the fifth floor, turn right in the hall beyond the stairway and proceed to room 50. The room down the left span of the hall may contain supplies, so consider searching it before heading to room 50.
On the right side of room 50 is an open window leading out onto a rooftop. Make sure everyone is together, then step out onto the roof.
Rooftops
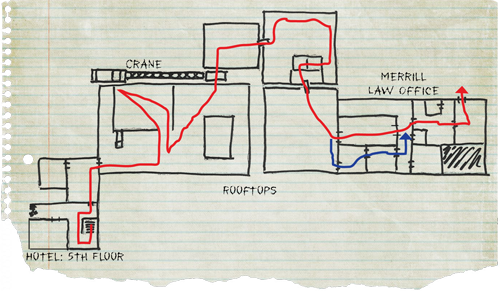
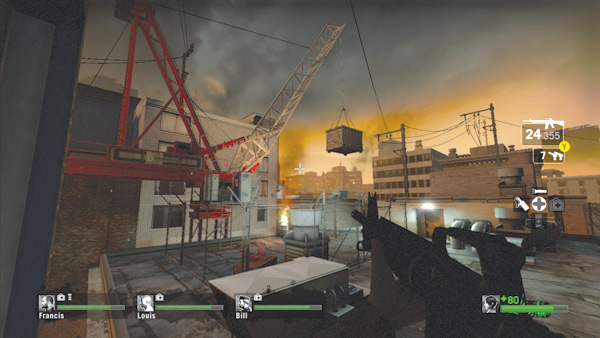
After exiting the hotel, turn left to spot a large crane holding a shipping container. Your team must activate the crane to lower the shipping container to create a bridge between this rooftop and the next. But starting up the crane triggers a mini-finale, with infected swarming toward the sound.
So before interacting with the crane, make sure everyone is healthy and has a fresh magazine loaded. Also, look for two red fuel cans near the crane. Toss these cans along the sides of the crane, near the chain-link fence.
Creating a wall of fire around the crane during the attack can keep your team relatively safe.
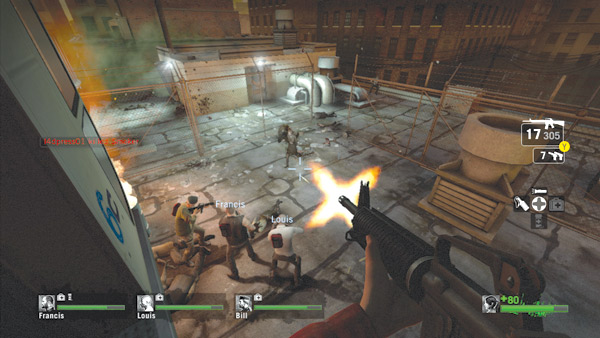
Once your team is ready to fend off an attack, elect a teammate to climb into the crane and throw the switch to lower the container.
The crane’s control cabin can be used as a sniper perch, so select a teammate equipped with an assault rifle or sniper rifle to throw the switch. The chain-link fence around the crane gives your team a tremendous advantage during the attack.
The infected can climb the fence, but doing so slows them down, giving your team ample time to gun them down. The gap in the fence is a critical choke point that must be watched at all times. Infected will come rushing through this entry point.
Consider igniting one of the fuel cans at this point. But the fire won’t last forever, so make sure at least a couple of teammates are watching this area throughout the attack. Once the crane has lowered the container into position, the infected attack dwindles.
Still, hold this position for a few seconds before moving out.
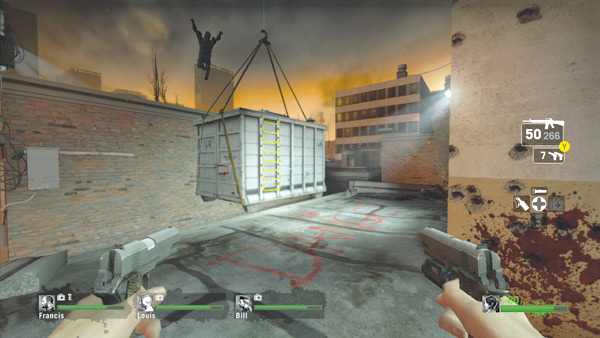
When the attack is over, regroup and move toward the lowered container suspended from the crane’s cable. Watch for infected moving across the container and leaping toward your team.
Blast all incoming infected, climb the yellow ladder on the side of the container, and then cross over to the adjoining rooftop.
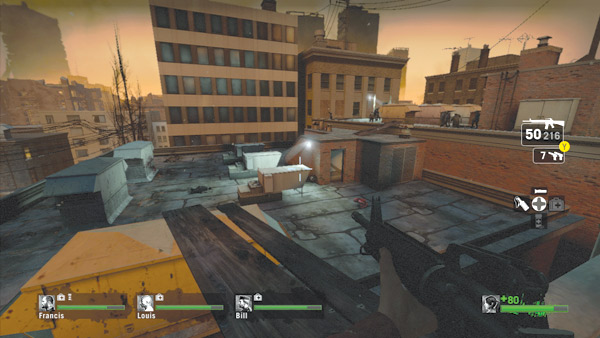
Wooden planks connect the next set of rooftops. Before rushing across these rooftops, kill all visible infected. However, listen for a Witch. Sometimes the director hides a Witch on one of these rooftops. If you hear one wailing, turn off your flashlights to avoid agitating her.
Try to locate her as quickly as possible to determine your next course of action. You can usually sneak past a Witch here if you’re careful. But if she’s directly in your path, you’ll need to take her out.
Distance is your best ally when engaging a Witch, so back up as far as possible before opening fire. If you’re lucky, your team can take her out before she gets into melee range.
Merrill Law Office
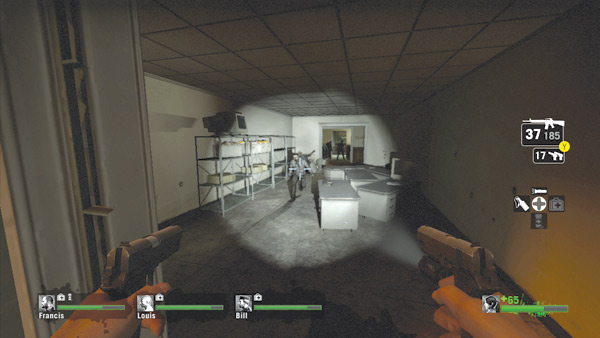
At the last rooftop, turn toward the two windows leading into this law office. Approach the window on the left and open fire on any infected occupying this room filled with desks and computer monitors.
The window on the right leads into a break room—both rooms lead to the same central hallway, so it really doesn’t matter which room your team enters. Just make sure everyone sticks together once a path is picked.
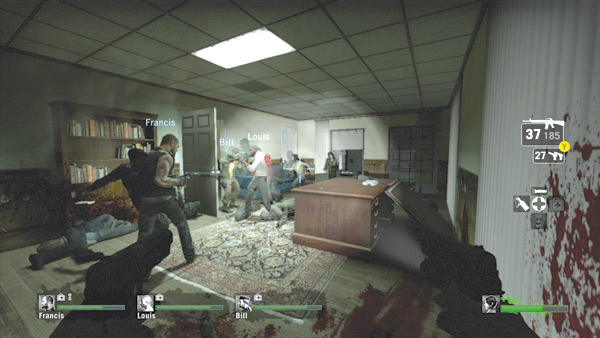
Enter the building and proceed to the central hallway. Enter the doorway near the Merrill Law Office sign and continue to the adjoining corner office.
A few common infected may be loitering inside this office, so enter and clear the room with your team. More infected may come in through the window to the left of the doorway.
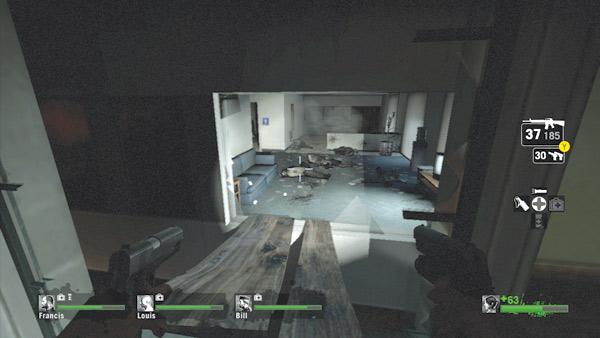
This window is connected to the adjacent office building via a couple of wooden planks, so watch for infected rushing across this makeshift bridge between the two buildings. Once the office is clear, move toward the window and stop short of crossing the wooden planks.
Instead, open fire on any infected in the next building, shooting anything that moves. Clear a path, then rush across the planks with your team.
Office Building
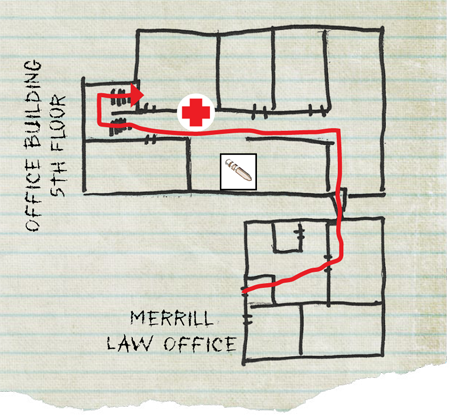
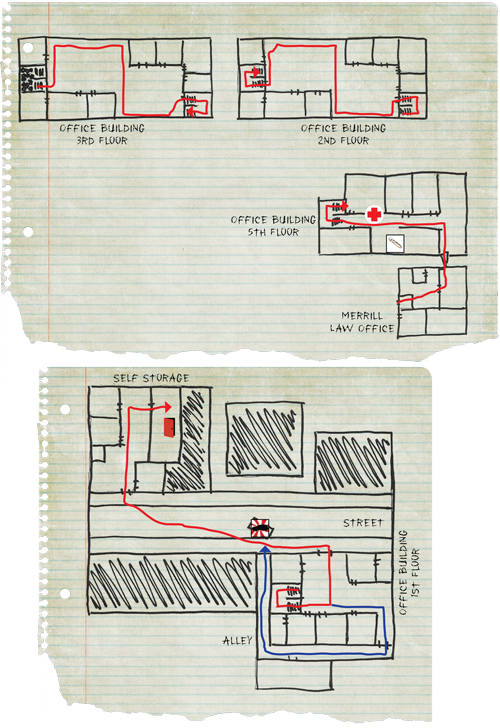
You’re now on the fifth floor of another office building. Your team must fight its way downstairs to the first floor and access the street to reach the next safe house. After crossing the planks, rush forward and turn left to aim down this hallway.
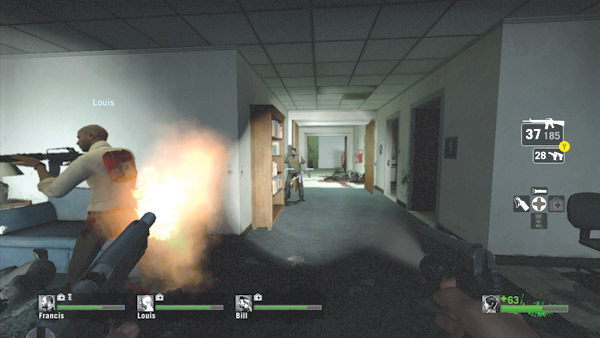
There may be several common infected on this floor, usually in the restrooms on the right side of the hall and in the supply room straight ahead.
Hold at this corner and blast all threats. But watch for more infected attacking across the wooden planks from the Merrill Law Office. Have teammates cover each of these areas until any attacks subside.
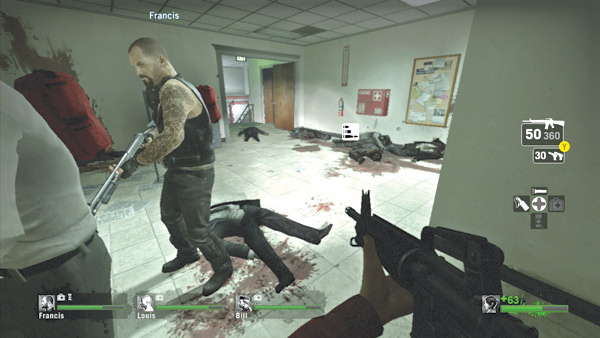
Proceed to the supply room, just beyond the restrooms. There may be a few more infected lurking about, so clear the entire room before dashing for the ammo and first aid cabinet.
Heal anyone with serious injuries. The fight in the offices downstairs can get rough, so it’s best if everyone is at full health before moving out. Share first aid kits and pills as necessary until everyone’s health bar is in the green zone.
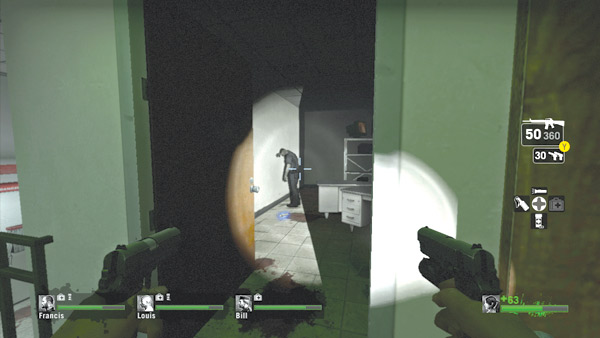
Before rushing down the stairs, check the side rooms near the stairwell for supplies, but stay alert. These rooms often contain infected that will attack as soon as the door is thrown open.
Once all threats have been eliminated, enter these rooms and look for pipe bombs, molotovs, and any other pickups the director may have placed.
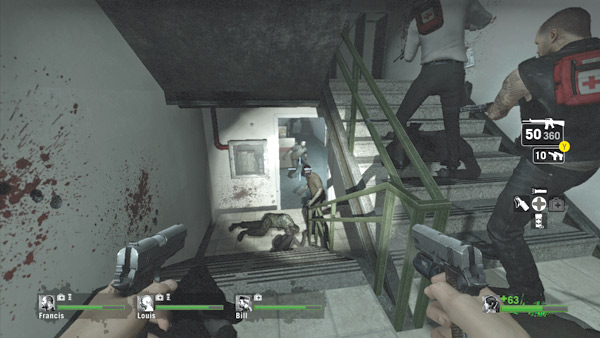
Time to head downstairs. The stairwell is often occupied by a few infected, so gun them down as you rush down the steps. The fourth floor of the office is off-limits, so keep moving down the steps toward the third floor.
The door to the third floor is open and your team’s approach may startle the infected; be prepared for a stampede of zombies through this doorway.
If a swarm attack commences, toss a pipe bomb or molotov through the third-floor doorway to prevent the stairwell from being completely overrun.
Third Floor
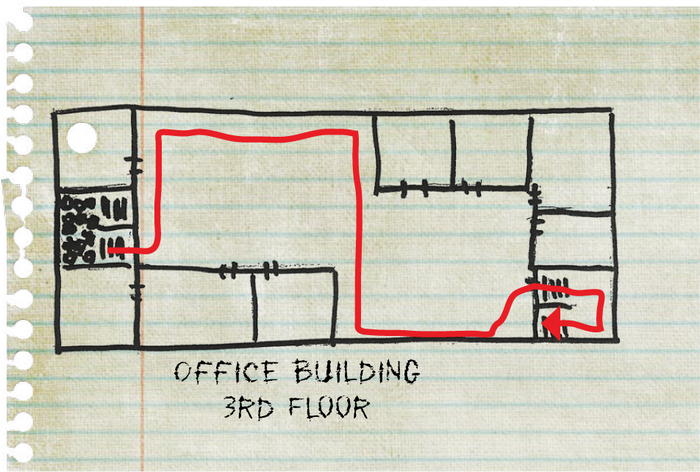
Enter the third-floor office and turn left, moving along the room’s outer wall. The center of this floor is filled with cubicles, making it tough to spot the infected.
The low light conditions don’t help matters, so make sure everyone has a flashlight turned on—unless you hear the wailing of a Witch.
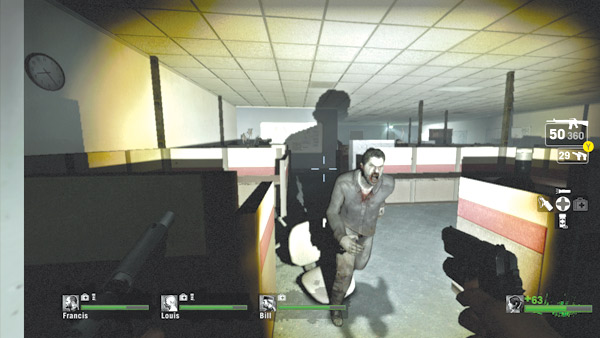
Look for the green exit sign on the far side of the room. This marks the entrance to the next stairwell. Keep an eye on this exit sign while navigating through this maze of cubicles. And don’t bother checking the side rooms. They’re usually empty except for a few infected.
Second Floor
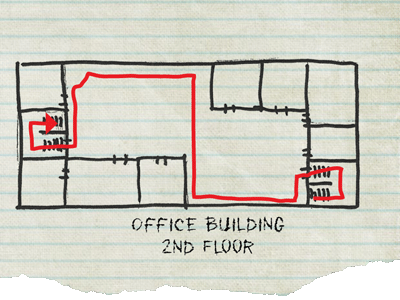
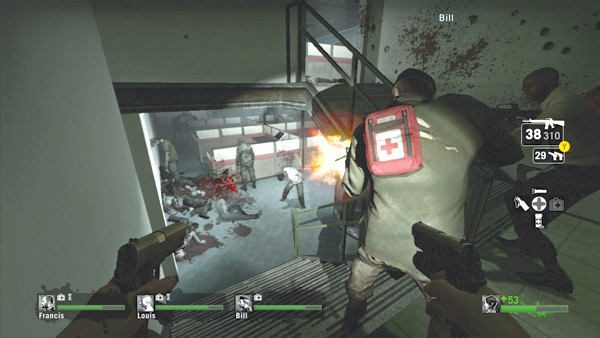
Descend the next stairwell to the second floor. Expect to encounter more infected down here. Hold at the top of the steps for a few seconds and shoot anything that moves.
The gunfire may trigger more infected to the bottom of the steps, but your team has enough firepower to deal with them.
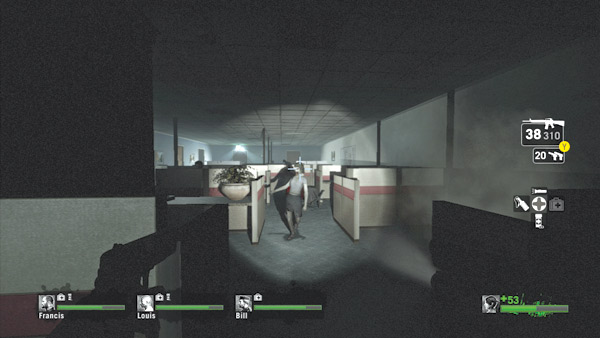
The layout of the second floor is nearly identical to that of the third floor; it’s filled with the same type of cubicles. Work your way along the side aisles as much as possible to avoid getting bogged down by the cubicles in the center.
A green exit sign on the far side of the room marks the location of the next stairwell. Rush through this floor as quickly as possible, but stay together.
Attacks by Smokers and Hunters can separate your team, so stay within line of sight of everyone so you can offer support. Get to the stairwell as quickly as possible and rush down to the first floor.
First Floor
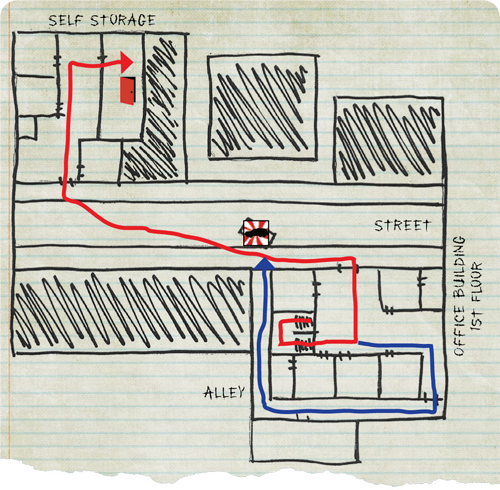
The stairwell leads to this lobby on the first floor of the office building. Blast any lurking zombies, then turn your attention to the exits. Two paths lead out to the street.
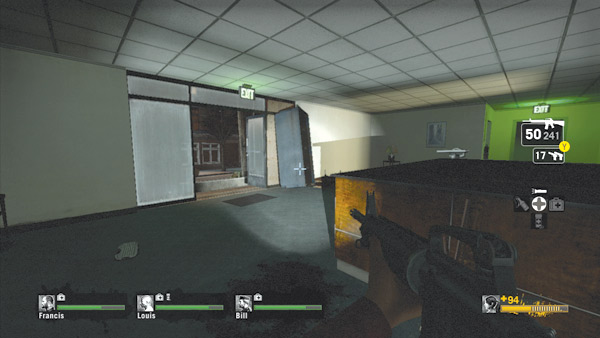
The doorway on the left heads directly out to the street, while the one down the hallway leads into an alley, which eventually leads to the street.
The alley is a longer route, and it doesn’t get your team any closer to the safe house, so exit through the door on the left and make sure the rest of the team follows suit.
Alternate Path: Alley
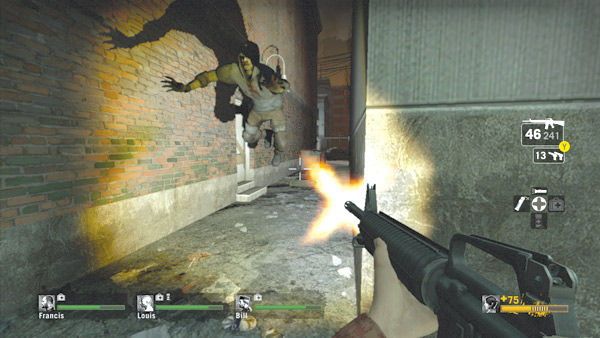
If you choose to move through the alley behind the office building, watch out for infected hiding around the corners and in side rooms.
Make sure your team sticks together in this narrow passage; otherwise, it’s easy for stragglers to fall victim to Smokers, Hunters, and common infected.
The alley empties out onto the street near a car equipped with an alarm. Be careful not to bump or shoot the car while exiting the alley.
Street
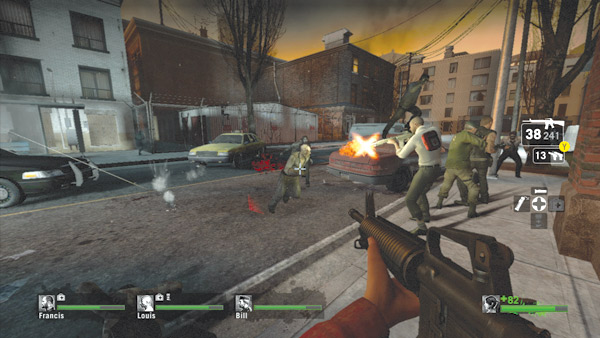
Regardless of how your team reaches the street, be ready to engage more infected on your way to the self storage business. Be particularly careful around the car with the alarm.
Infected may climb over the car in an attempt to attack your team, so be careful when targeting any threats near the vehicle, otherwise you’ll trigger a swarm attack with infected attacking from all directions.
If this occurs, go back to back with your teammates and open fire on all approaching threats. Just be sure not to shoot the car again once the alarm resets.
Self Storage Safe House
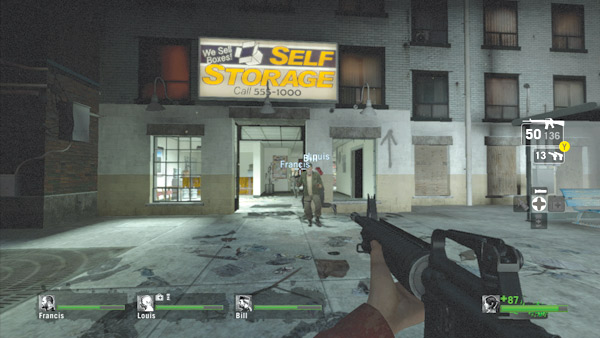
Race down the street toward this self storage business—the safe house is inside.
If you’re not being chased down by swarms of infected, take a few seconds to check out the side rooms inside the building before entering the safe house—you may find some pipe bombs and molotovs inside these rooms.
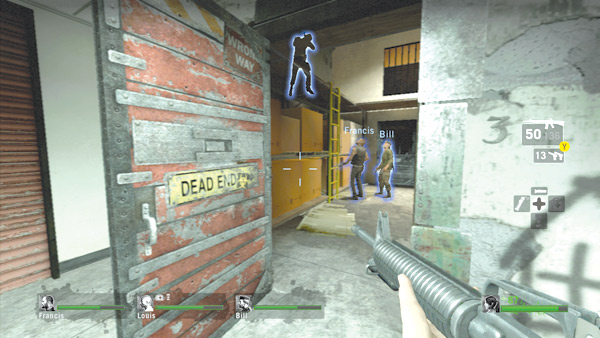
Once you’ve finished scavenging for items, race into the safe house and shut the door before the director spawns more infected.