
Left 4 Dead Guide Walkthrough Dead Air
The Greenhouse
In Dead Air, a large city has been completely overrun by the infected. The outbreak spread quickly. A few isolated cases quickly ballooned into a full-scale epidemic.
Attempts to quarantine the infected were ineffective, prompting the government to order a complete evacuation of the city. But not everyone got out.
Four strangers have banded together, determined to fight their way through the throngs of undead in an effort to reach the airport.
All other evac points have been either overrun or abandoned. Occasional low-level overflights by military cargo planes suggest the airport is still operational.
Getting there won’t be easy, requiring the survivors to traverse city rooftops, abandoned buildings, construction sites, and an infested airport terminal. But there’s no other choice.
The ranks of the infected grow at exponential rates, day after day. Before long they’ll occupy every square foot of the city. The time to escape is now!
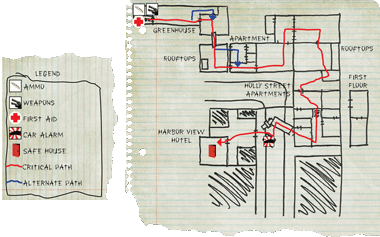
Abandoned Garden
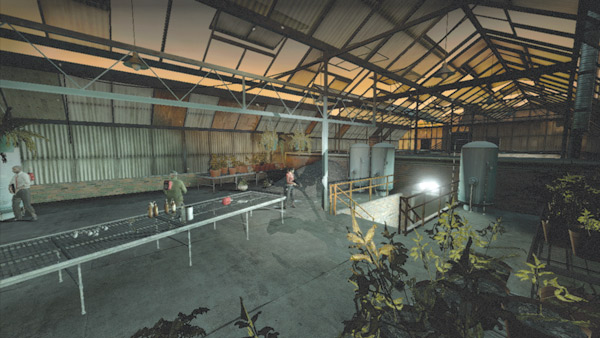
As Dead Air begins, a C-130 cargo plane zooms above this rooftop greenhouse, giving the survivors hope that the airport is still a functional evacuation point. But there’s no way to tell for sure, so they need to travel to the airport on foot and investigate the situation for themselves.
The outbreak is so severe that evacuating by air is the only viable method of escaping the city.
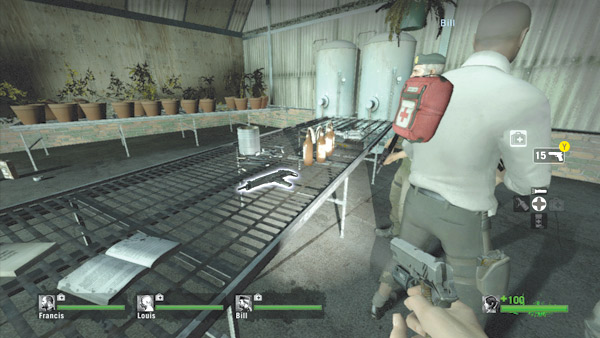
Before setting off on your journey, stop at the table inside the greenhouse and stock up on supplies.
In addition to the usual first aid kits, ammo, and weapons, there are stashes of molotov cocktails and pipe bombs. The first leg of your team’s trek sends them across large open rooftops and inside cramped buildings.
SMGs and pump shotguns are effective in these locations—make sure your team is outfitted with both types of weapons. Also, take an even mix of molotovs and pipe bombs.
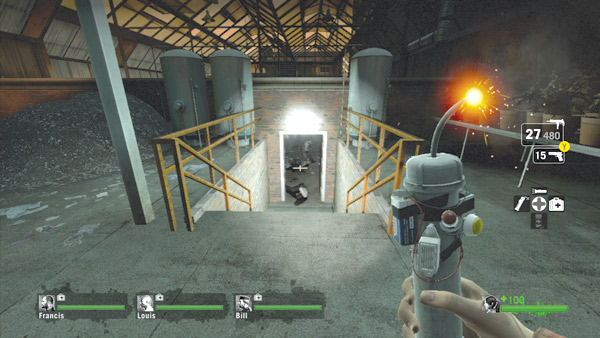
After gearing up, approach the short set of steps near the table. Have your team hold at the top of the steps while someone creeps down and throws the door open.
Once the door is open, fire through the doorway from the top of the steps. This is a good way to funnel your team’s fire into this narrow doorway, killing all infected that try to rush through.
If the infected presence on the other side of the door is heavy, consider tossing a pipe bomb through the doorway. This should attract the majority of the infected in the next room and blow them to tiny bits, making it much safer for your team to advance through the greenhouse.
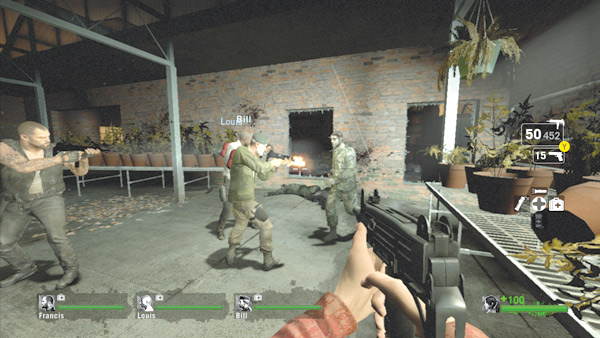
Once the infected stop pouring through the door at the bottom of the steps, replenish your ammo and then enter the next room in the greenhouse. This is a very large room, so stick together and engage all infected as you move past the rows of untended plants.
As you near the wall at the far end of the room, look for these two windows—they lead out onto an adjoining rooftop.
But don’t hop through the windows just yet. Instead, hold inside the greenhouse and open fire on any infected that try to rush through the windows. You can also fire through the windows to eliminate infected on the adjoining rooftop.
A doorway in the nook to the left also leads out onto the roof, so watch out for infected attempting to flank your team from this angle.
Rooftops
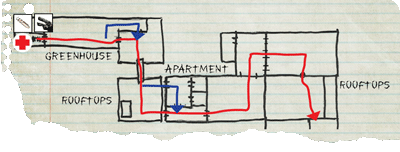
Secure the adjoining rooftop by firing through greenhouse windows, then step outside through the windows or the door. A network of rooftops lies before your team, requiring you to hop from one roof to the next until you can descend to street level.
Upon exiting the greenhouse windows, turn right to spot your next waypoint.
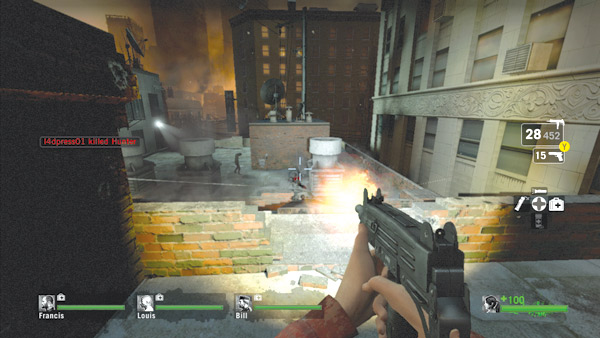
Before crossing the wooden planks, fire down on the infected occupying the next rooftop. Try to spot and engage Hunters and Smokers hiding among the common infected.
These bosses are very dangerous while you’re crossing the rooftops, so try to kill them before they can strike. When the lower rooftop is clear, quickly but carefully cross the wooden planks connecting the two rooftops—if you fall, you’re dead, so watch your step.
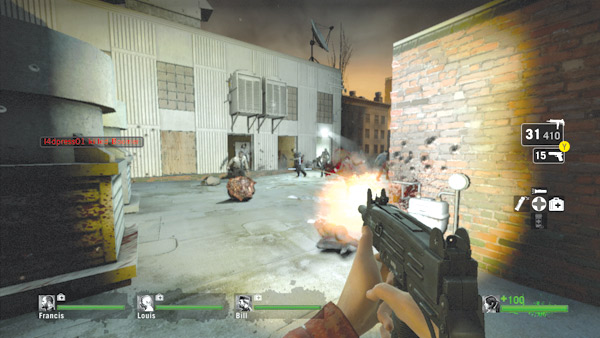
After crossing the plank, turn left and watch for infected pouring out of these three windows. Keep your distance, holding near the center of the roof, and blast anything that barges out. This is a good way to kill Boomers that attempt to rush your team. Hold outside the windows until the infected stop rushing your team.
If a swarm attack breaks out, toss a molotov or pipe bomb through one of the windows to alleviate the pressure on your team.
Apartment Detour
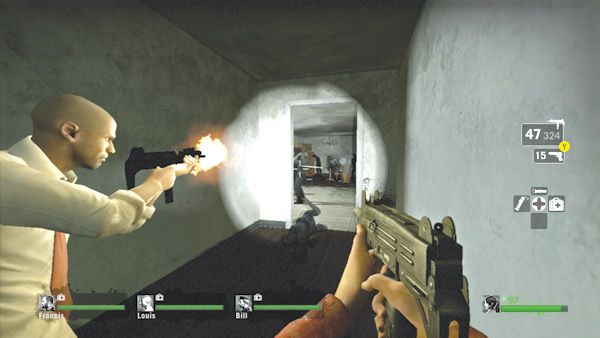
The three windows in the adjacent building lead into an apartment—the left and middle windows lead into a bedroom and the right window leads into a hallway connecting to the kitchen.
Moving through the apartment is the only way to reach the next set of rooftops, so get ready for some close-quarter fighting.
Enter the apartment through the window on the right to access the hallway. The bedroom is also accessible through a doorway in the same hall, but the room rarely contains any pickups, so skip it.
Cautiously proceed down the hall toward the kitchen, but make sure someone guards the rear; infected can spawn on the rooftop outside the apartment and attack your team from behind. Blast any infected loitering inside the kitchen.
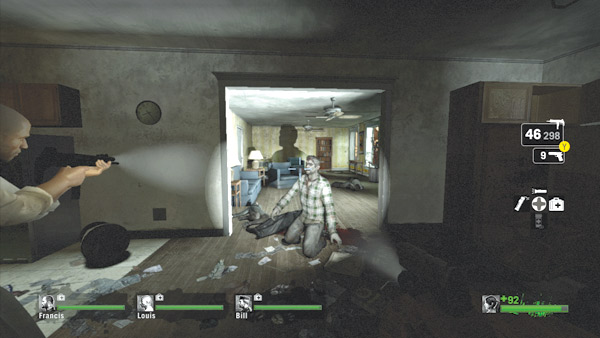
Clear the kitchen and then turn left to engage any infected occupying the living room. Have two teammates clear the living room while everyone else holds in the kitchen and covers the hallway, preventing the team from getting flanked.
Still, don’t get too far out of each other’s line of sight. You still need to support each other if attacked by a Hunter or Smoker.
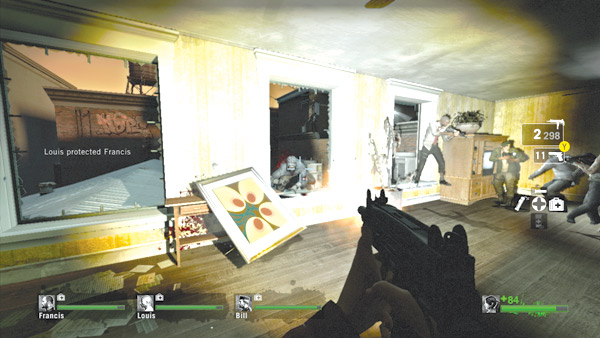
Enter the living room once it’s clear, then immediately turn to the three windows on the right side of the room. These lead out onto another rooftop, but don’t hop through just yet. There are likely more infected waiting outside, and they may rush inside the apartment once they spot your team.
Have three teammates cover each of the three windows while the fourth watches for attackers rushing in from the kitchen. Covering the windows helps prevent the infected from getting inside. But attacks by bosses can complicate matters, sometimes leading to a breach.
If this occurs, try to stick together inside the living room so you can all support each other.
Rooftop Escape
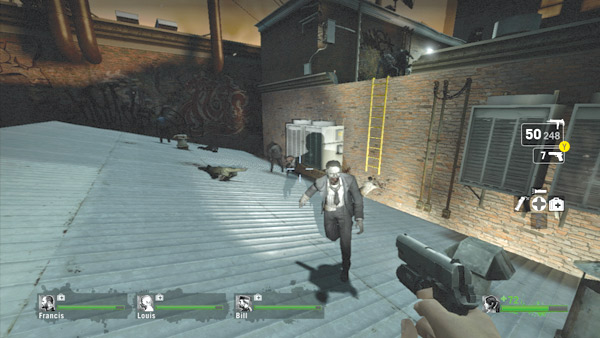
Exit the living room through one of the three windows, stepping out onto the white metal rooftop. As you make the transition, locate the yellow ladder on the brick wall to the right—climbing this ladder is your next goal.
Before rushing the ladder, engage all the infected on the rooftop. You don’t want them clawing at your backs as you climb the ladder. Watch for more infected leaping off the ledge above the ladder and attacking through the apartment windows.
Once all attacks have been defeated, quickly climb the ladder before more infected arrive.
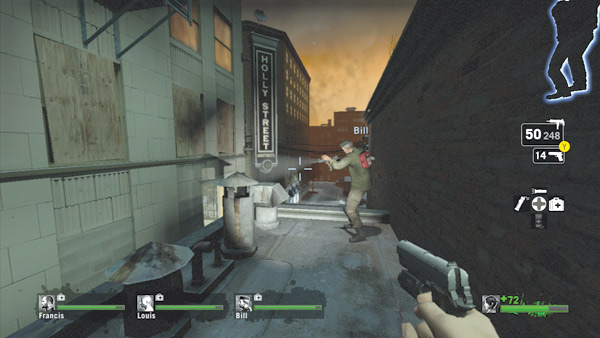
After climbing the ladder, race across the next rooftop toward the Holly Street Apartments sign connected to the adjoining building. To reach the apartments your team must drop onto a metal duct, then down onto a patio outside one of the apartments.
During this series of drops, make sure your team stays together. If necessary, initiate a voice countdown before each elevation transition to ensure your team sticks together.
This is an area that Hunters and Smokers can take advantage of, pinning or ensnaring stragglers on the rooftop while the rest of the team has entered the apartment.
Once you’ve dropped down, there’s no way to get back up and rescue incapacitated teammates.
Holly Street Apartments
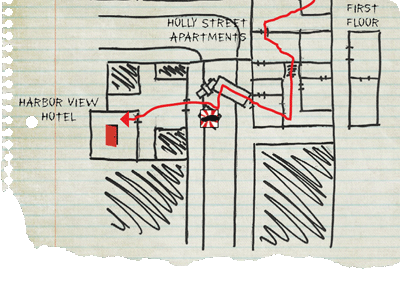
After dropping onto the patio outside the apartment, make sure your team is together and storm inside the adjoining living room. Immediately turn your attention to the stairway on the opposite side of the room.
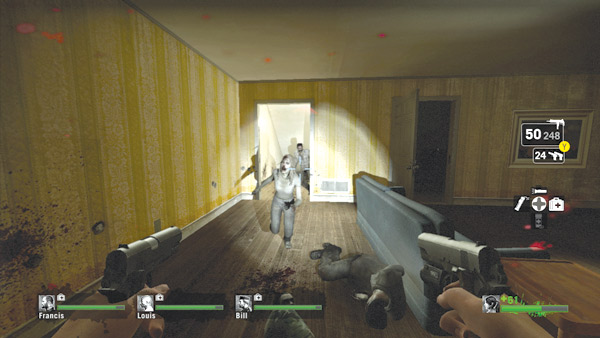
The sound of your footsteps may alert the infected downstairs, triggering them to come rushing up the steps. Establish a firing line in front of the stairway and blast them as they surge up.
There may be other infected in the nearby bedroom and bathroom, so don’t turn a blind eye to those rooms. Two teammates can adequately cover the stairway while the rest of the team sweeps the other rooms for infected and supplies.
Once the upstairs area is clear, head downstairs. In the hall at the bottom of the steps are two doorways. The one on the left leads to a relatively empty room with a large hole in the ceiling. The door on the right leads into the kitchen, and to the apartment’s exit into the street.
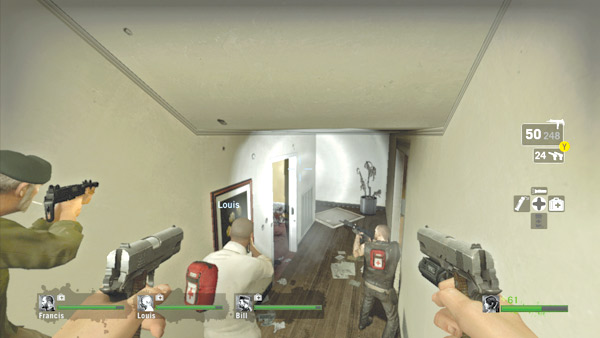
These doorways are directly across from one another, so be careful to clear both rooms before turning your back on one doorway. Consider tossing a molotov or pipe bomb into the empty room on the left while your team rushes the kitchen on the right.
Otherwise, clear both rooms simultaneously with two teammates storming each. But before rushing into action, draw out any infected and gun them down in the hallway to thin out the resistance.
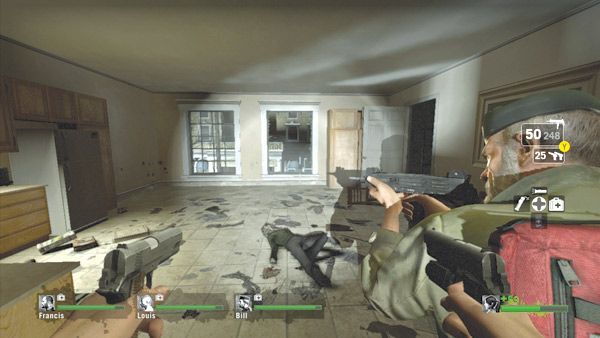
As you sweep the kitchen, notice the two windows on the opposite wall—the window on the right is the apartment’s exit. Before racing over to the window, make sure this area is clear, including the closet to the right.
Infected may also attack from the open window or even flank your team from behind by rushing down the steps. So don’t get too cozy in here.
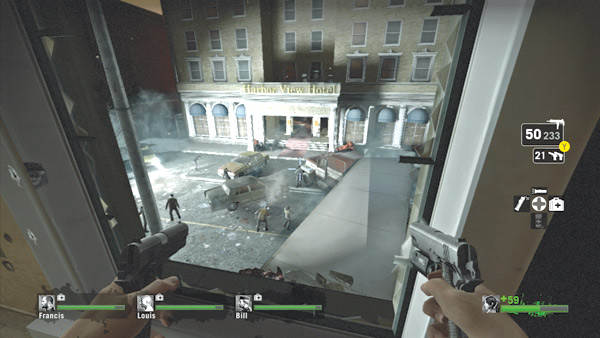
Move to the window and examine the scene in the street below. There’s a big rig parked just beneath the window, which means your team can drop onto the rig’s trailer.
From there your team can safely drop down onto the street and rush into the hotel, where the safe house is located. Regroup and exit the apartment together. Stragglers may fall victim to Hunters or Smokers.
Harbor View Hotel
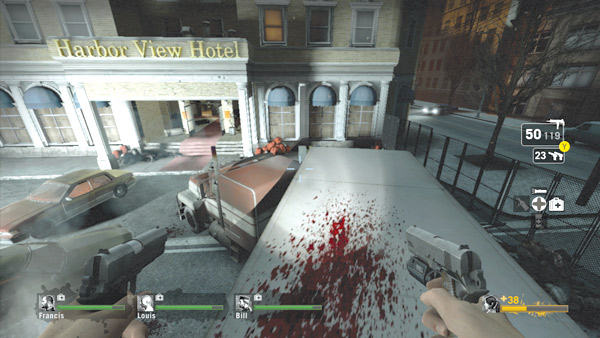
After climbing out of the apartment window, move along the top of the big rig’s trailer toward the Harbor View Hotel on the opposite side of the street.
Infected can climb up the sides of the trailer, so don’t get too comfortable up here. Rush along the trailer’s length or drop off one of the sides to access the street.
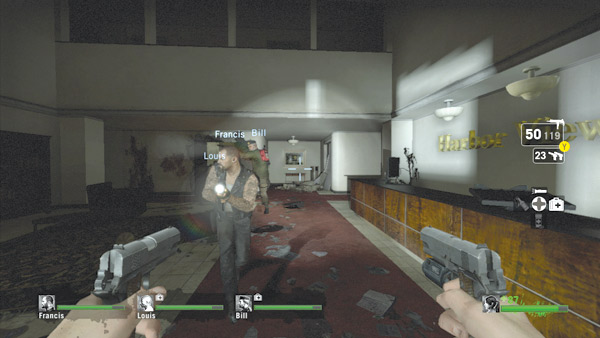
The hotel lobby is very dark, so make sure you have your flashlights on as you enter. There may be a few infected lurking in the corners, but most attacks come from the street, with the infected chasing after your team.
So keep an eye on the hotel’s entrance while backpedaling toward the safe house.
Kitchen Safe House
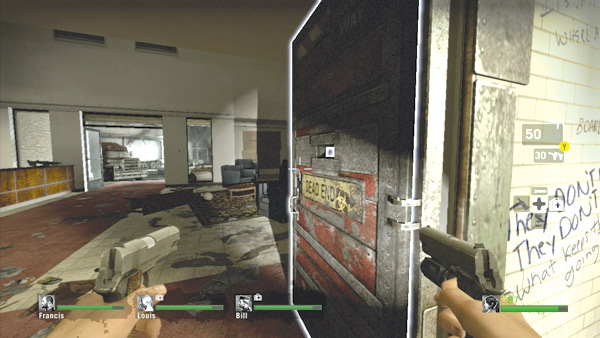
The hotel’s first-floor kitchen serves as the safe house for this level—it’s just past the front desk at the back of the lobby. Get inside and hold near the door, waiting for all your teammates to get inside.
The safe house doorway has a clear view of the hotel’s entrance, making it easy to provide covering fire while inside the safe house. Once everyone’s inside, slam the door to complete the level.