
Left 4 Dead Guide Walkthrough Death Toll
The Turnpike
In Death Toll , the survivors find themselves stranded on a turnpike, not far from the town of Riverside. Various rumors persist about Riverside but nothing is known for sure. Some say the town is the only safe haven for hundreds of miles.
Others say it’s been completely overrun by the infected. The survivors don’t have much of a choice. The sun has set and the surrounding woods rustle with sound of approaching infected.
The road ahead is treacherous, to say the least. In addition to navigating the dark tunnel ahead, the survivors must cross miles of zombie-infested territory (above and below ground) before reaching the town.
Even then, there’s no promise of rescue. Hopefully the rumors of Riverside’s survival are accurate. Either way, it’s going to be a very long night…
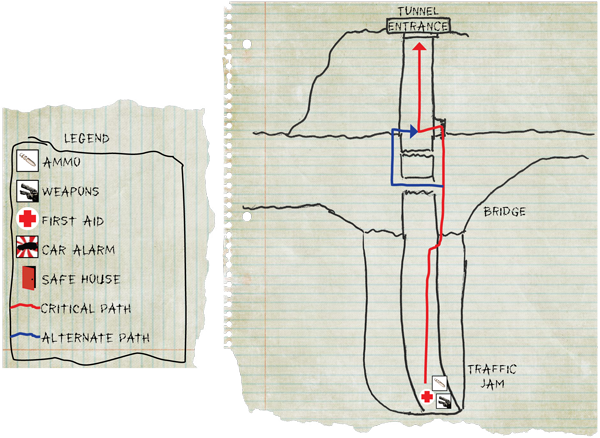
Traffic Jam
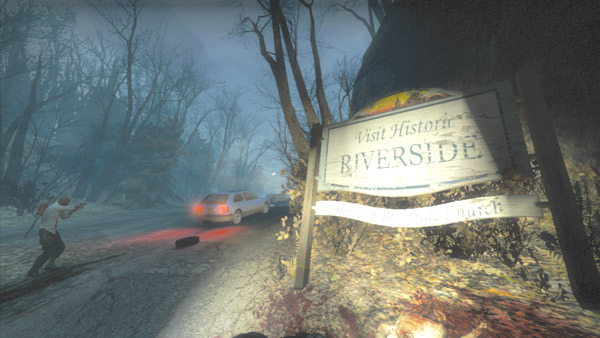
The survivors begin this movie on the road leading to Riverside. Numerous automobiles have been completely abandoned here, many with their headlights still on.
It’s unclear where their occupants are-—or where they’ve been dragged to. But this eerie sight is a bad omen for what lies ahead. Even at this early stage, remain vigilant and watch for movement in the trees lining the road.
Early detection is your best defense against a sudden swarm attack.
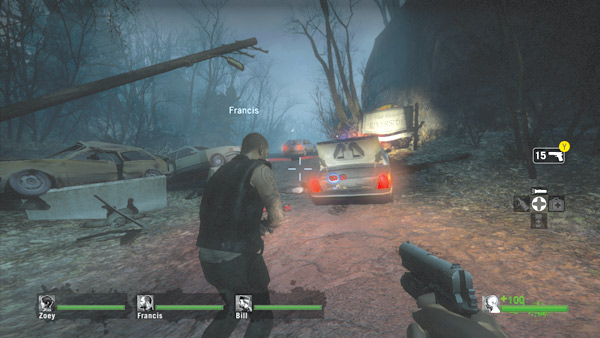
Before beginning your trek, move to the back of the police car just ahead. The trunk is already opWen and contains first aid kits, ammo, SMGs, and pump shotguns. In the journey ahead, your team will encounter undead threats at various ranges.
So consider equipping two shotguns and two SMGs to maintain a solid balance of firepower. Also, don’t underestimate the usefulness of the pistol for taking out small concentrations of infected.
This can help your team conserve ammo.
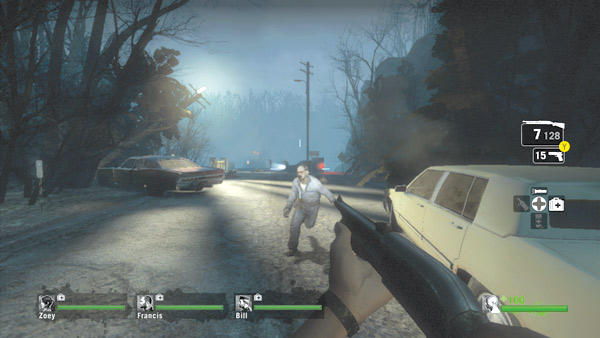
Once your team has grabbed weapons, ammo, and first aid kits from the police car, set out down the road ahead. While advancing, stay near the center of the road with one team member leading.
Traveling down the center of the road gives you more reaction time to target zombies emerging from the trees. The rest of the team members should keep their weapons trained on the woods flanking the road.
Listen for the sound of infected moving through the trees. Call out threats for your teammates to let them know which directions you’re being attacked from. Stick together and be ready to take down any Hunters or Smokers attacking from the woods.
Bridge
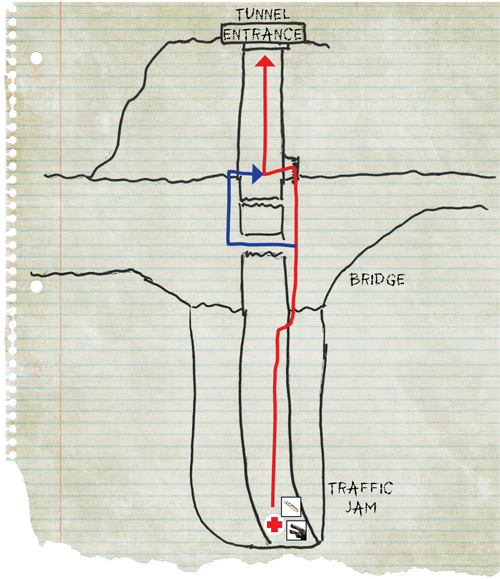
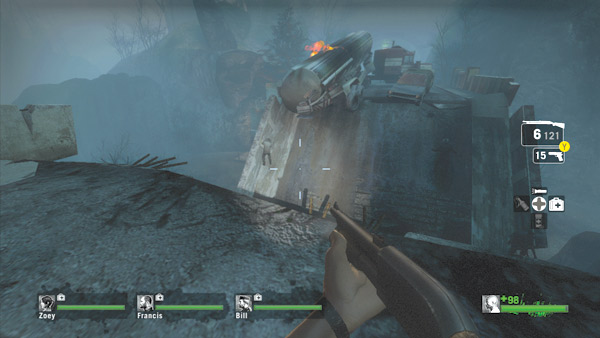
A concrete bridge spanning a ravine has collapsed; your team must find another way across. A trail on the right side of the bridge leads down into the ravine, but before racing down there, spend a few seconds targeting zombies below.
It’s much easier to fire down on the zombies in the ravine from this position than it is to greet them face to face. Don’t worry about completely sanitizing the area, but try to eliminate large groups to clear a path for your crossing.
Pistols and SMGs are most effective at blasting zombies from this range.
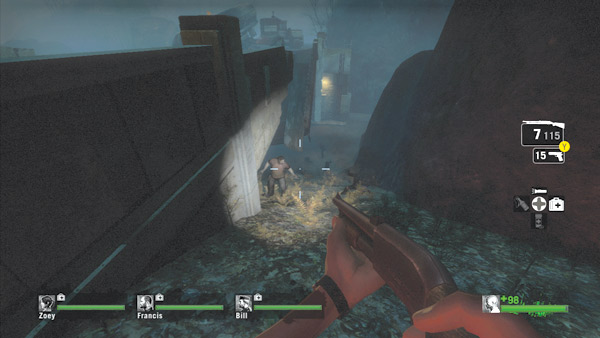
When you’re ready to make your move through the ravine, locate this slope on the right side of the bridge and cautiously descend. There may be a large congregation of zombies beneath the collapsed portion of the bridge that you couldn’t see from above.
Be ready to open fire on this group with the shotguns and SMGs. If necessary, fight the group off with melee attacks while reloading.
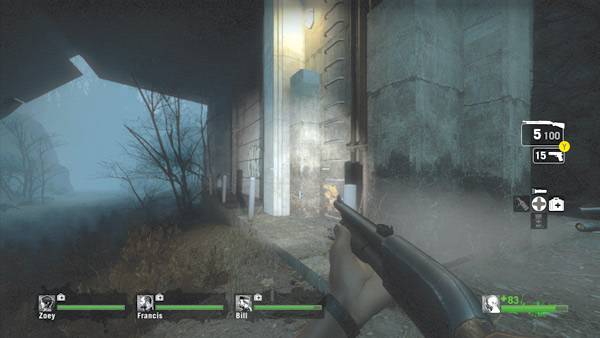
Cross the ravine and locate the ladder on the other side—a similar ladder is located on the left side of the bridge. Establish a semicircular defensive zone around the base of this ladder and blast any infected that approach.
Send two teammates up the ladder first to establish a presence on the road above. Once they’ve reached the top, have the remaining two teammates climb the ladder and join them.
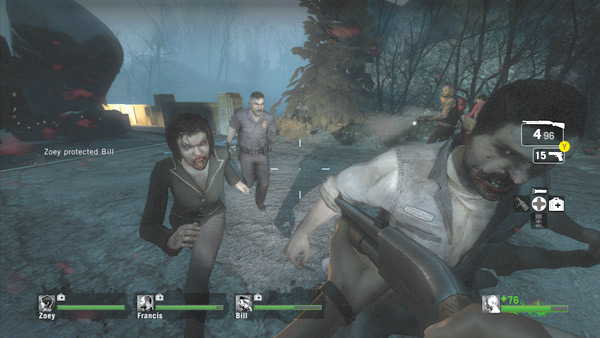
Prepare to engage more infected when you reach the top of the ladder. Attacks can come from any direction, so stay on your toes and stick together. In particular, watch for Hunters and Smokers attacking from the trees.
It’s almost impossible to spot these infected bosses until they attack, so be ready to respond if one of your teammates is targeted. Common infected can pose a threat, too.
It’s very important to defeat any infected in this area before moving into the nearby tunnel. You don’t want any of these zombies following you inside.
Tunnel
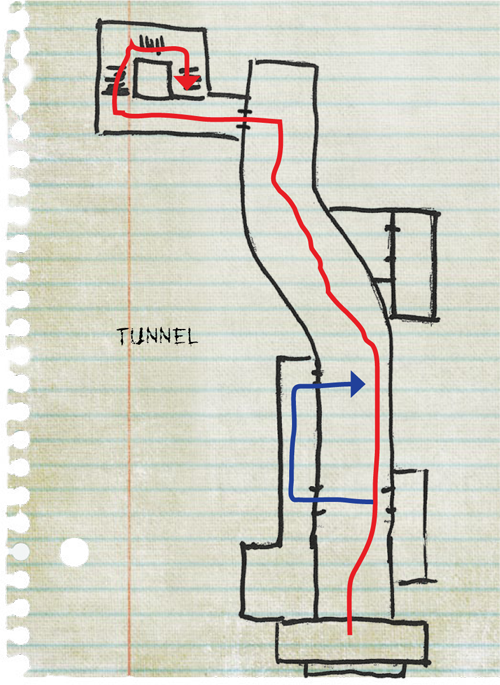
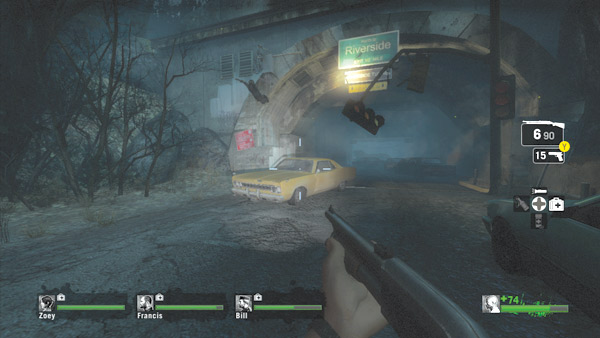
This tunnel is just beyond the bridge. It’s not the most ideal passage, but you must pass through here to reach the level’s safe house. Hold outside the tunnel for a few seconds and try to draw any infected outside.
It’s much easier to take them out at long range than it is to shove your way through their putrid flesh while pushing through the tunnel.
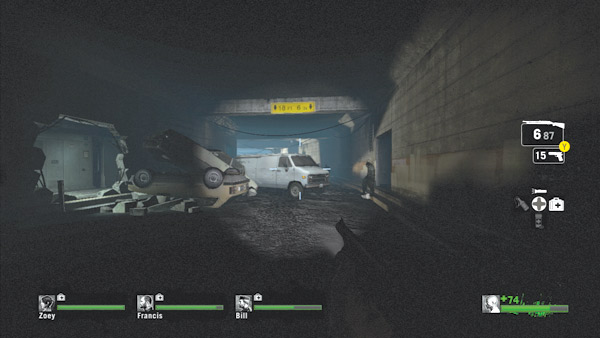
Like the road outside, the tunnel is filled with abandoned cars, providing perfect hiding spots for the infected.
Carefully sweep the tunnel, clearing every blind corner. When you spot this white van, consider moving through the maintenance passage on the left side of the tunnel.
Usually, several common infected loiter on the other side of the van, just waiting for you to step into view.
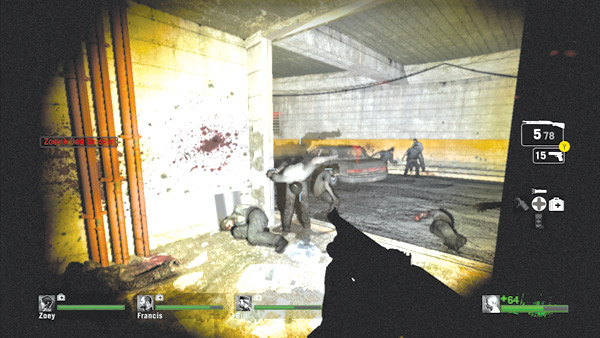
Enter the maintenance passage to bypass the potential zombie ambush just beyond the white van. But this passage is usually filled with common infected too. Expect a rush of infected, especially as you near the maintenance passage’s exit.
Any zombies hanging out by the van will run in your direction. But your team’s SMGs and pump shotguns should make quick work of these hostiles.
Just stay together and avoid shooting each other. If the zombies move to close range, rely on melee strikes to keep them pushed back. This is also a good way to avoid shooting your teammates.
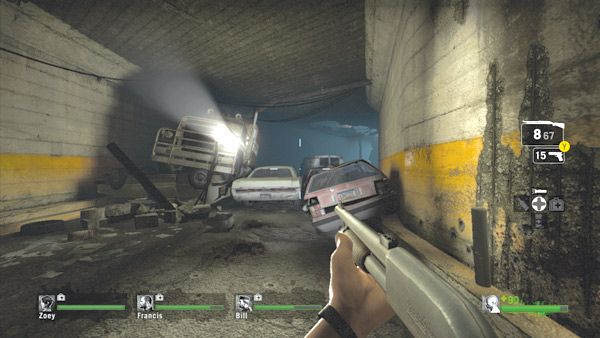
This logjam of crashed vehicles farther down the tunnel can seriously hamper your team’s progress. This isn’t a good place to get stuck, so jump onto these cars and get past this obstruction as quickly as possible. Keep your team together during this transition.
It’s easy to get separated here, with some teammates on one side of the barricade and the rest of the team on the other side. So don’t move over these vehicles until everyone is with you.
If a swarm attack occurs while you’re making this transition, stand on top of the vehicles and finish off the rushing zombies from a slightly elevated position.
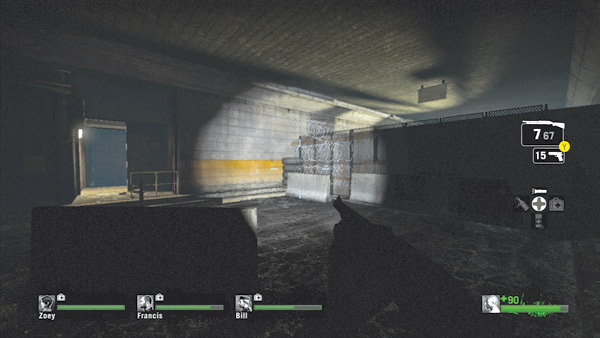
A large concrete barricade adorned with barbed wire blocks the tunnel ahead. It looks like the local authorities had the right idea, so there might still be some hope of finding more survivors in Riverside.
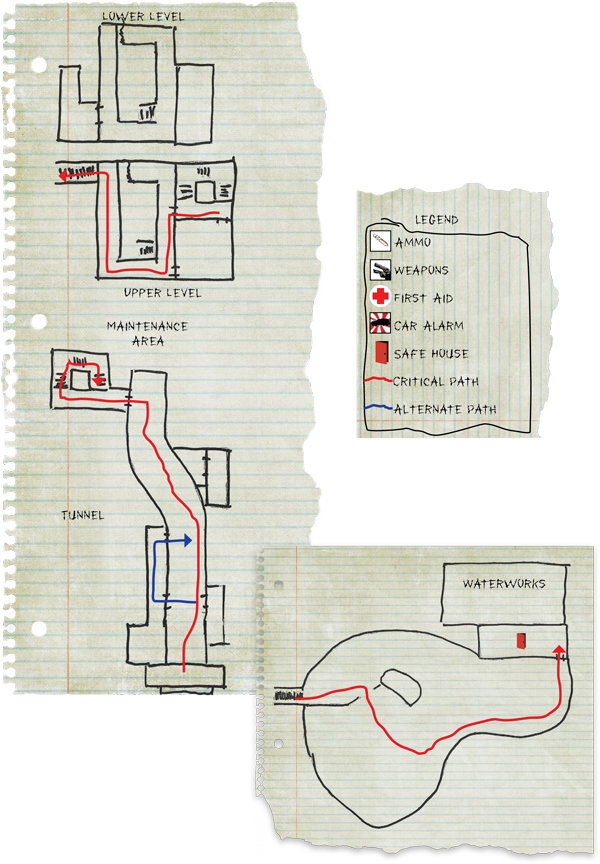
In the meantime, locate the doorway on the left side of the tunnel; it leads into a maintenance area, which is now the only way to exit the tunnel.
Maintenance Area
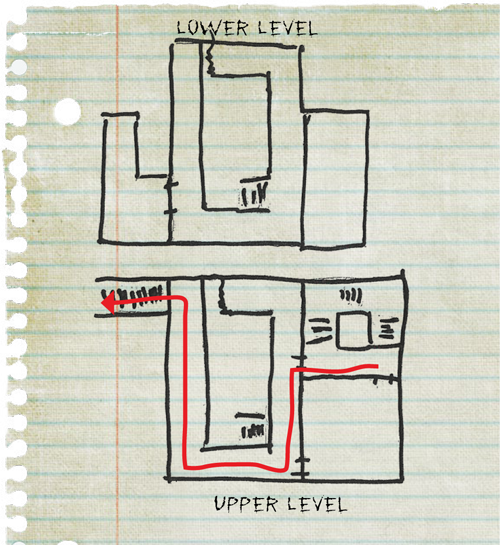
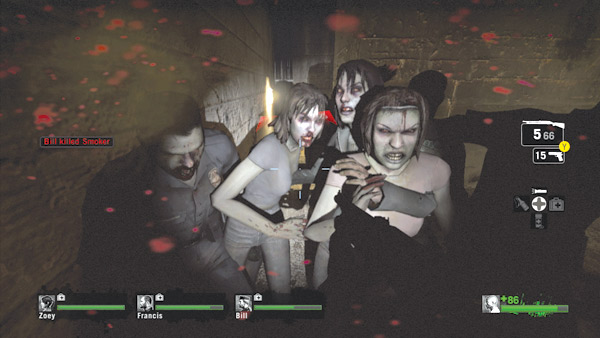
Enter the doorway off the tunnel, but beware of infected in the adjoining stairwell. This is a perfect ambush point frequented by Boomers.
If one manages to vomit on you or explode close to you or a teammate, you’ll be faced with a swarm attack in this confined space. If this occurs, locate the direction of the incoming swarm and open fire as enemies rush into view.
The shotgun is ideal for cutting through large groups of zombies in tight quarters. In any case, advance through this stairwell as quickly as possible to avoid falling victim to more attacks by the infected.
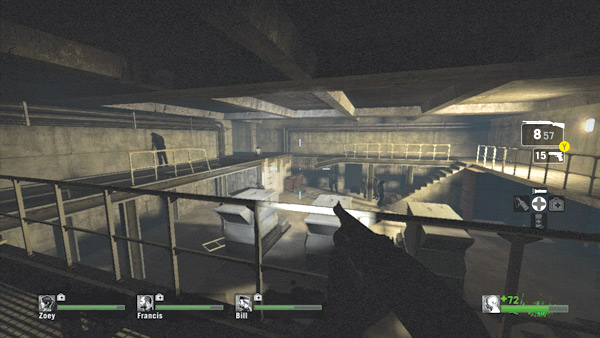
The stairwell leads down to this large room with a lower level, usually occupied by a few common infected.
Don’t descend to the lower level, and avoid firing on the zombies below. Instead, stay on the upper-level walkway on the room’s perimeter and move toward the passage on the opposite side.
If you move through this area quietly you can sometimes avoid agitating the common infected on the lower level. But if they see or hear you, they will climb to the upper level and attack.
Be prepared for such assaults and try to eliminate the hostiles before they reach the upper-level walkway. Smokers and Hunters may also attack in this room, so keep moving and quickly respond if teammates are targeted.
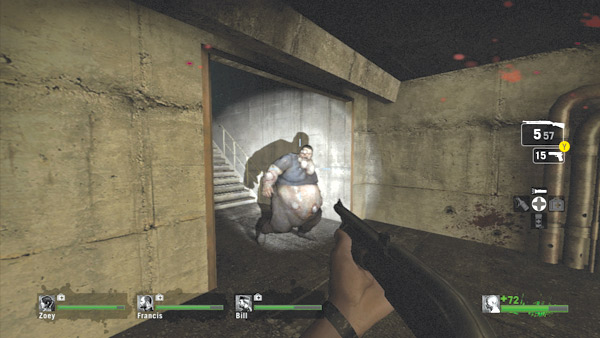
Infected bosses like this Boomer may attempt to slow down your team as it approaches the stairs on the far side of the room. Exercise restraint and avoid shooting these gaseous, bile-filled balloons at close range.
Instead, strike with melee attacks to push them back before shooting. Instigating a swarm attack in this room can be dangerous; one of your teammates could fall to the lower level, and it might be difficult to offer support.
Waterworks Safe House
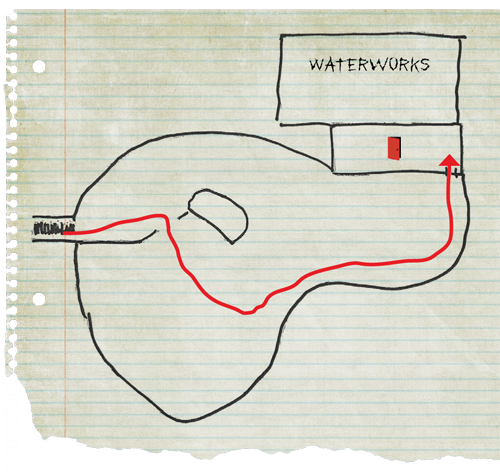
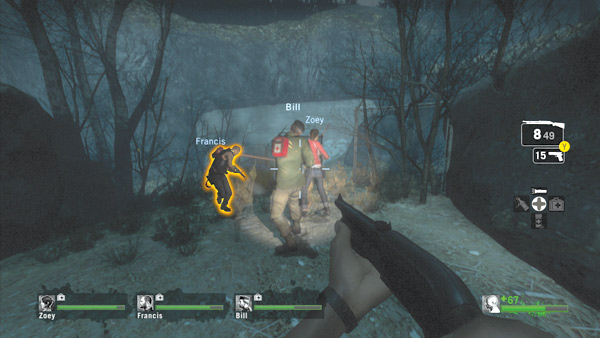
The short set of stairs in the maintenance room leads outside—the level’s safe house is just up the hill.
Even if you can’t see any infected outside, move out of the concrete passage quickly, as more infected are likely to spawn behind your team, inside the maintenance area.
Be prepared for the possibility of Smokers and Hunters attacking your team from the rear or among the trees lining this path. Don’t let the safe house’s proximity lure you into moving ahead of your team.
Stay in contact and call out if anyone is in trouble. You might have to backtrack a few times before everyone is moving together.
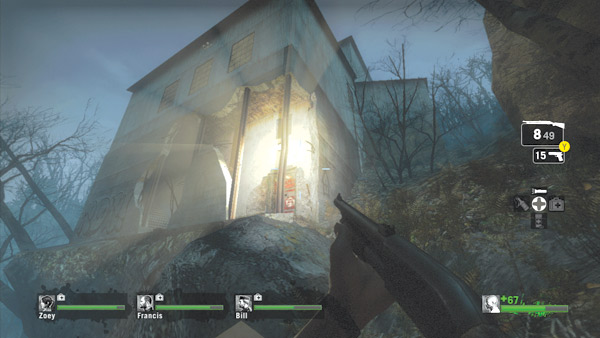
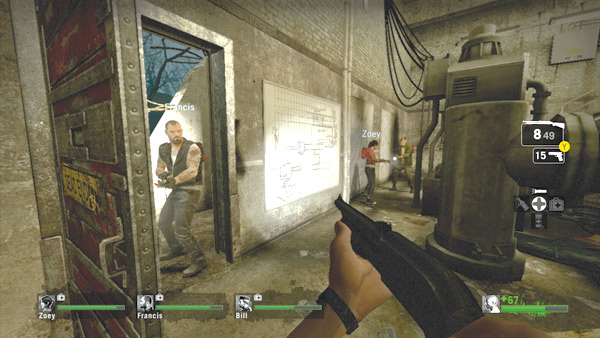
Keep moving up the path until you can see this old waterworks building on the hill above. The red steel door in the bottom corner indicates that it’s a safe house.
Rush up the path and throw the door open. Hold near the doorway and wait for the rest of your teammates to get inside, then slam the door shut to complete the level.