
Left 4 Dead Guide Walkthrough Blood Harvest
The Woods
In Blood Harvest , a full-scale epidemic has broken out in a rural area, causing the dead to rise and attack the living. Once sparsely populated, the forests and industrial facilities along the railroad tracks now teem with a new form of life.
It’s believed most of the infected have trickled in from the surrounding urban areas in search of fresh prey.
In the middle of this outbreak are four well-armed survivors in search of rescue. Early on during the outbreak, the government established several evacuation centers, but most were overrun or abandoned, particularly in the urban areas where staff were initially unprepared for the violent nature of the infection.
However, some evacuation centers are rumored to still be operational, reinforced by military personnel. One such rumored military safe zone is a farm not far from the railroad tracks.
If the survivors can make it there, they might find a way out and rejoin what’s left of civilization.
Allegheny National Forest
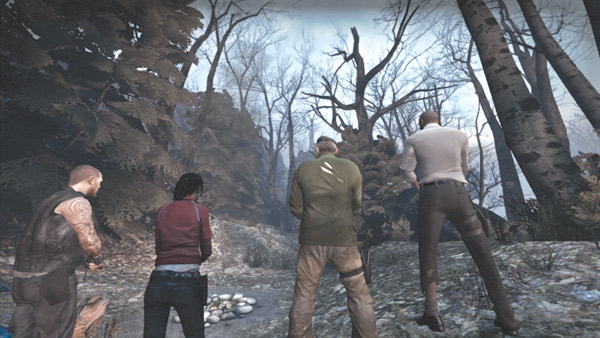
The thick forest ahead sets an ominous tone for the survivors at the start of Blood Harvest . But despite the hazardous trek that lies before them, there is a dim ray of hope. Francis has heard there is a military safe zone to the north.
His story is backed up by the evacuation center notice posted on the nearby signpost—it looks like Daughtery Farm is the place to go. Maintaining a northern heading in the forest won’t be easy, especially while being pursued by the infected.
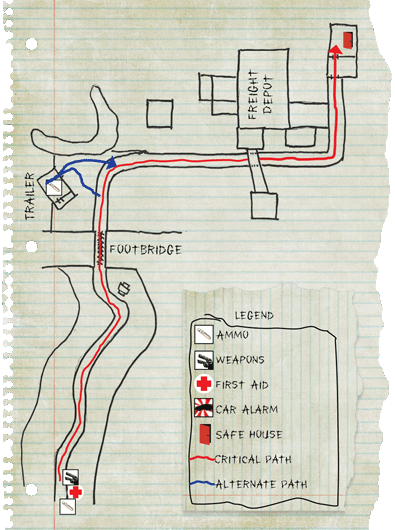
Fortunately, the nearby train tracks run north. If the survivors can reach the tracks, all they need to do is follow them to reach the farm.
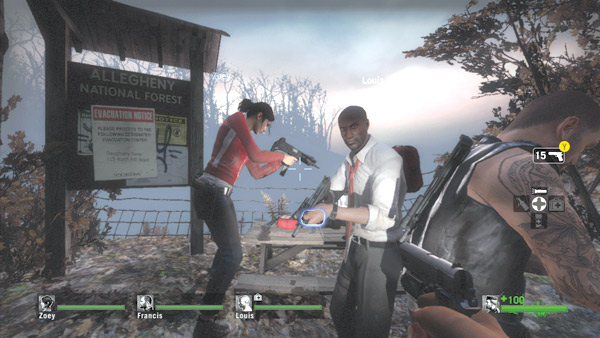
Before rushing through the forest, turn right and stock up at this picnic table covered with weapons, ammo, and first aid kits. When choosing weapons, equip your team with an even mix of SMGs and pump shotguns.
The SMGs provide decent range and an unparalleled rate of fire, while the pump shotguns offer tremendous damage output during close-quarter encounters.
Make your selection quickly—the longer you spend here, the more time you give the infected team to set up ambushes during versus matches. So grab your gear and head out as quickly as possible.
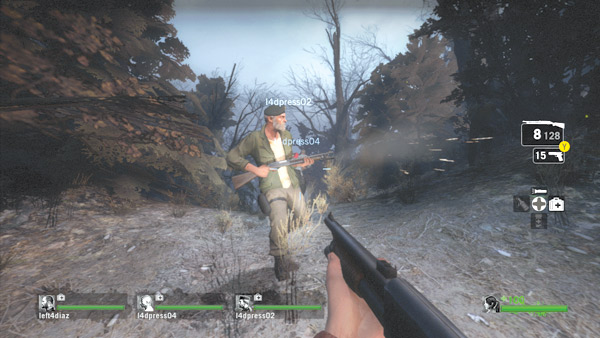
The narrow trail winding through the forest is extremely dangerous. Infected usually hide in the trees along the sides of the trail, making them nearly impossible to see until they attack.
So speed through this area as quickly as possible, but be sure to stick together. It’s easy to get separated, especially when the teammate in the lead doesn’t look back frequently to check on teammates.
So while speed is important, maintaining a line of sight on your teammates is even more crucial.
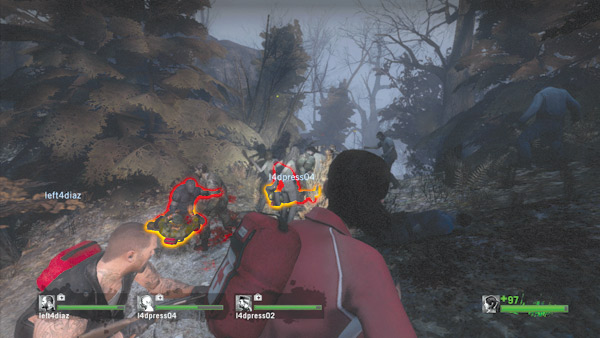
Using the concealment of the surrounding forest, Hunters can creep up extremely close to your team and seemingly leap out of nowhere to pin your teammates. Coordinated attacks by two Hunters are particularly dangerous, instantly pinning two teammates.
There’s little you can do to prevent such attacks before they occur, so always stay near your teammates and respond as soon as a Hunter pounces. To prevent inflicting friendly fire damage, always strike with melee attacks to get a Hunter off your teammate.
Once the Hunter is knocked off your teammate, shoot him repeatedly before he can pounce again.
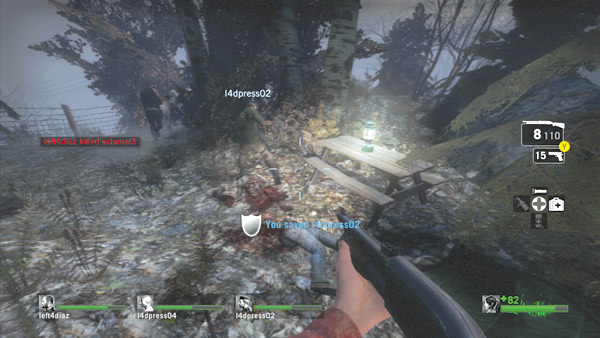
As your team keeps pushing through the woods, look for this picnic table on the right side of the trail. Sometimes there are some molotovs or pipe bombs placed here. Don’t stop here long—the infected still pose a big threat.
However, this is a landmark worth noting; it indicates your team is near the footbridge. It’s best to race past this area and make it to the bridge before the infected can make a stand at that critical choke point.
Footbridge
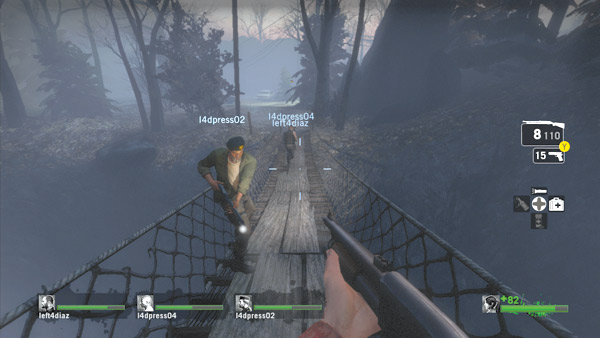
If your team hasn’t encountered too many infected bosses, expect them to be waiting at this narrow footbridge. Fortunately, there is little cover or concealment on either side of this bridge, making it easy to spot any threats attempting to hide among the sparse trees.
Make sure your team is together and race across the bridge as quickly as possible. Although the terrain doesn’t suit the infected particularly well, attacks aren’t impossible, particularly by Smokers.
Trailer
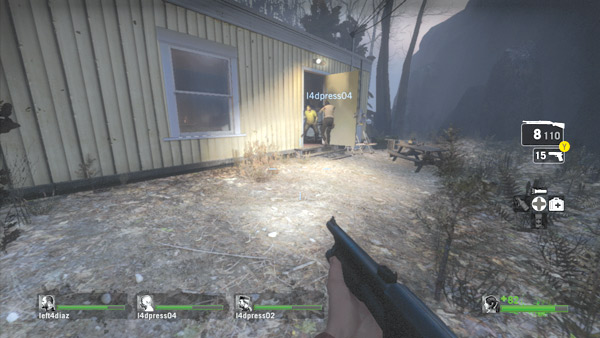
Beyond the footbridge is this small trailer containing ammo. Rush inside and stock up. Sometimes the director places molotovs and pipe bombs in the trailer, too, so search around for supplies once inside.
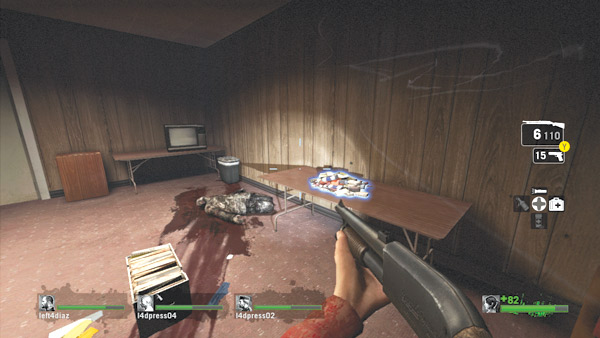
This is a good place to stop and heal, but make sure teammates cover the front door and window. If healing yourself, let your teammates know so they can protect you.
It’s also a good idea to inform them so they don’t take off while you’re still bandaging yourself.
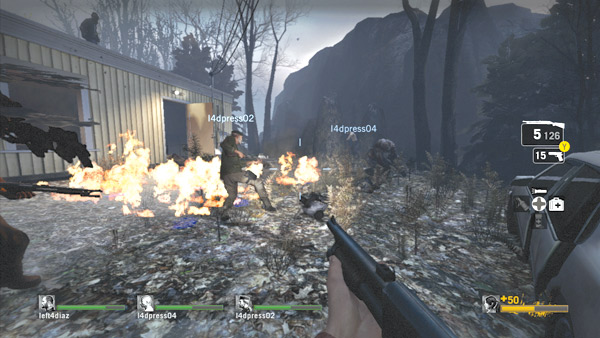
As you exit the trailer, be ready for more attacks. While your team was in the trailer, the infected have likely regrouped and prepared an ambush—some may be waiting on top of the trailer. This is also a common area for a Tank to spawn.
When fighting a Tank in this area, try not to get cornered, otherwise he’ll pound you relentlessly until you’re incapacitated. So don’t run back inside the trailer.
You’re much safer outside where you can maneuver. If possible, hit the Tank with a molotov to slowly whittle away at his health meter.
Depot Trail
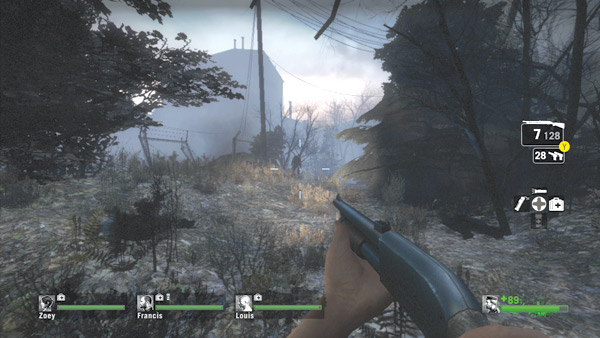
Exit the trailer and rush past the white sedan outside to access the next segment of the trail leading down to the Richardson Atlantic freight depot—the depot has rail line access heading north toward the farm.
Like the previous trail, this one is narrow and lined by trees, but the trees on the left side of the trail give way to a chain-link fence.
Rush down this trail as quickly as possible and get to the safe house, but keep an eye on your teammates and make sure nobody gets left behind.
Attacks by Smokers and Hunters can seriously delay your advance, so be ready to rescue teammates that are pinned or constricted.
Depot Safe House
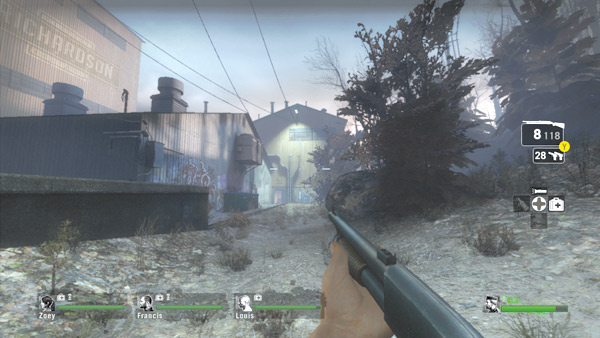
Follow the trail as it turns left, leading toward the yellow building straight ahead—the safe house is just inside. This is a very critical part of the trek, as the infected are likely to throw everything at your team in an attempt to stop it from reaching safety.
If facing a large swarms of common infected, toss pipe bombs to keep them from chasing after your team.
Attacks by infected bosses can be put down rather easily too, assuming your team sticks together. In versus matches, infected attacks here are often frantic and not very well organized.
These last-ditch attempts by the opposing team are best confronted by denying the opposing team easy opportunities to pick off stragglers. As long as you stay together, they won’t have much of a chance to stop you from reaching the safe house.
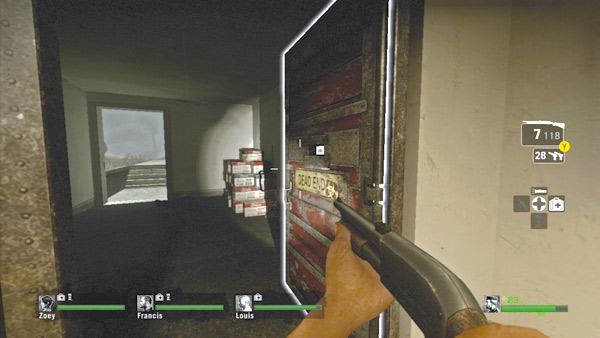
The open doorway in the yellow structure is not the entrance to the safe house. Once inside, keep moving to the adjoining room with the familiar red door. Consider backpedaling to the safe house while covering the open doorway to prevent any infected from pursuing.
It may also be necessary to hold at the safe house door and provide covering fire until your teammates can get inside.
Fortunately, you can cover the open doorway from within the safe house. Just watch your fire and be ready to slam the safe house door once everyone is inside.