
Left 4 Dead Guide Walkthrough Blood Harvest
Farmhouse Finale
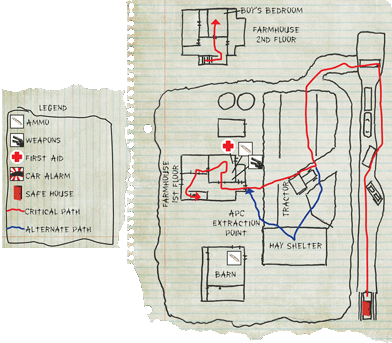
Safe House
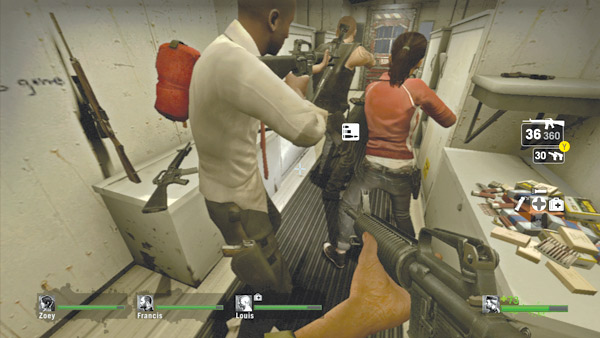
The Daughtery Farm is just down the tracks. However, it’s impossible to know if the farm is still a military safe zone. Given the resistance your team has faced, even the military would have a tough time holding back the seemingly endless hordes of infected. But you can’t stay in this caboose forever.
Search around the interior for supplies, grabbing first aid kits, ammo, and weapons. The usual balance of two assault rifles and two auto shotguns should suit your team well for the trek to the farm.
Most importantly, heal up before moving out. Speed is essential during the next advance, so ensure nobody hinders the team’s progress with an injury.
Rail Line
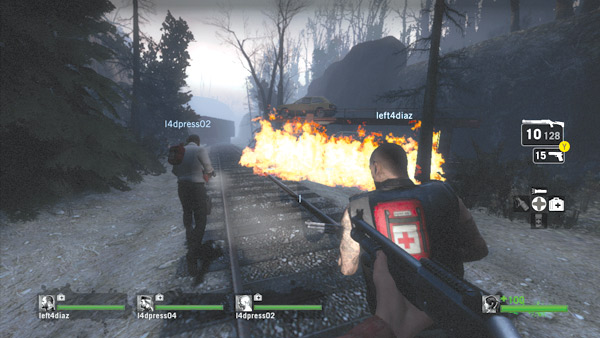
Burst out of the caboose and race down the tracks straight ahead. The trees lining the sides of the tracks provide some decent cover and concealment for the infected, so expect to be flanked while advancing through this area.
Keep an eye on your teammates and be ready to respond if someone is pinned by a Hunter or ensnared by a Smoker. The derailed car loaded with automobiles on the right side of the track is a popular ambush point.
There is sometimes a propane tank or fuel can nearby. Shoot it to deter attacks as you pass.
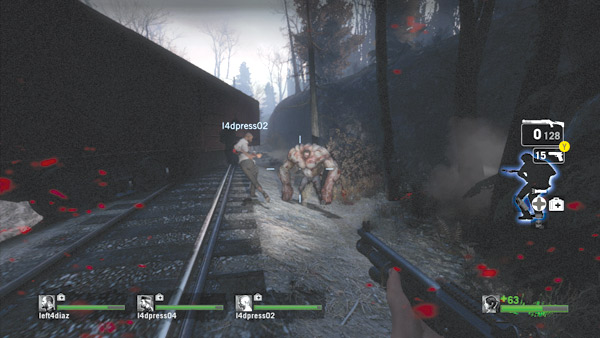
At some point along the rail line your team will probably encounter a Tank. Fortunately, Tanks are relatively easy to take out in this area. The linearity of the tracks allows your team to simply backpedal toward the caboose while shooting the advancing Tank.
As long as you don’t get cornered, you can outrun the Tank, staying just ahead of him, denying him the chance of melee attacks. But be prepared to sidestep rocks thrown in your direction.
However, while your team is focused on the Tank, the other infected may attempt to attack, so stay on your toes and be prepared to deal with simultaneous attacks.
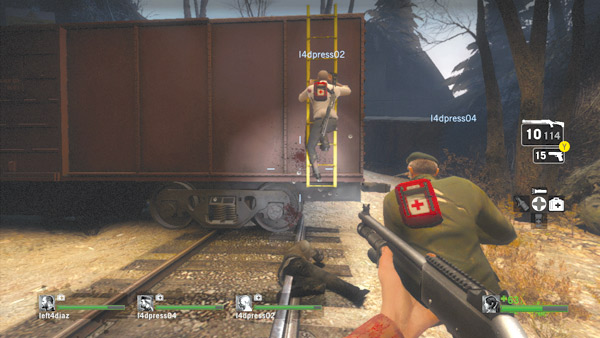
The rail line eventually dead-ends, but don’t worry; you’re near the farm. Locate this red boxcar with a yellow ladder at the end of the tracks and climb to the top.
From the top of the boxcar your team can access the elevated trail to the left—the trail leads directly to the farm. Stay on watch while climbing up the ladder.
Your team’s momentum is slowed here, giving the infected a chance to attack. Avoid standing on top of the boxcar because you’ll be vulnerable to attacks by Hunters and Smokers.
Make sure everyone gets to the top of the boxcar and onto the adjoining trail as quickly as possible.
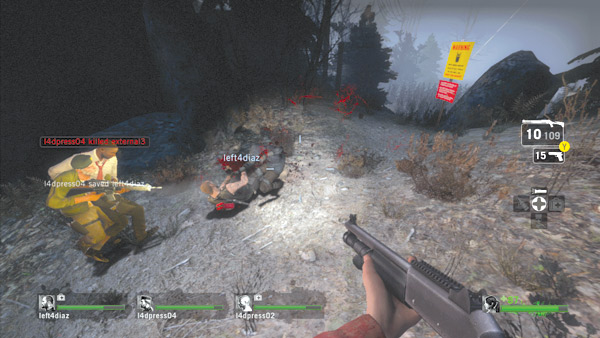
The yellow and red signs at the end of the trail warn of military personnel in the area. It looks like the rumors of the farm being a military safe zone are true. Near the signpost a steep ledge overlooks the farm’s cornfield.
This is a critical elevation transition, so make sure your entire team is together before dropping off the ledge. Also, search the trees flanking the trail for Hunters or a Smoker.
If they manage to pin or ensnare one of your teammates here while everyone else has entered the cornfield, there’s no way to climb back up the ledge to reach the trail. So make sure everyone drops off the ledge at the same time to avoid leaving stragglers behind.
Position your team’s Hunters and Smoker on the trail and use them to pick off any stragglers. The Boomer should hide at the bottom of the ledge and spray the survivors with vomit as they hop down into the cornfield.
Triggering a swarm attack in the cornfield is a great way to cause massive chaos and restrict the survivors’ mobility. Given the limited visibility in the cornfield, the common infected are very effective at getting up close and surrounding the survivors.
During the panic the survivors will probably shoot each other while trying to defeat the swarm. Even if your team manages to kill only one survivor here, it will greatly increase your chances of finishing them off during the finale.
Cornfield
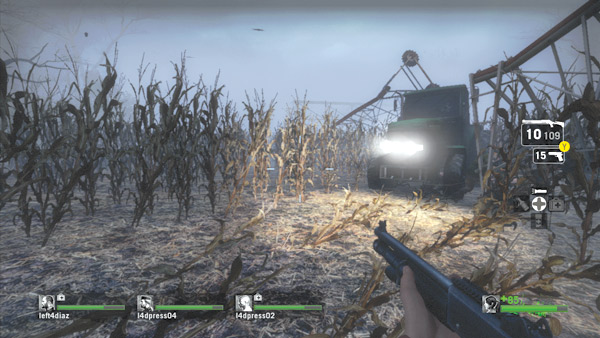
The cornfield is an infected kill zone that must be crossed as quickly as possible. The lines of cornstalks make it impossible to see anything beyond a few meters, giving the infected a tremendous advantage.
If you stay still, they’ll be on top of you before you know it. From the ledge keep moving straight. You’ll eventually see the lights of a large tractor in a small clearing in the center of the field. While the clearing and the tractor’s light provide greater visibility, don’t linger here long.
However, if you’re under attack by a swarm, try to make your stand here.
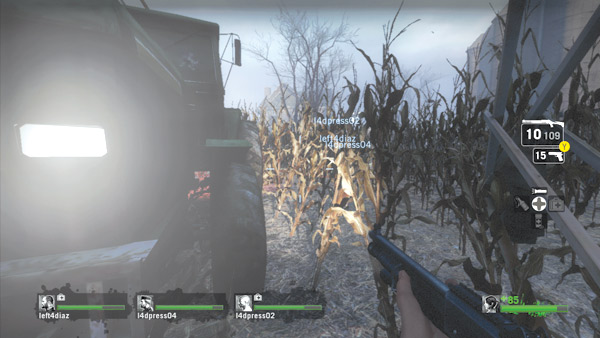
At the tractor, turn right to spot the farmhouse in the distance. For the quickest path to the farmhouse, race along the right side of the tractor. However, be prepared to hop over some of the damaged sprinkler equipment in the middle of the field.
You also need to hop over the low fence at the edge of the cornfield. Pay close attention to these obstacles. If you get hung up on them, you could lag dangerously behind your team and present a juicy target for the infected.
Alternative Path: Hay Shelter
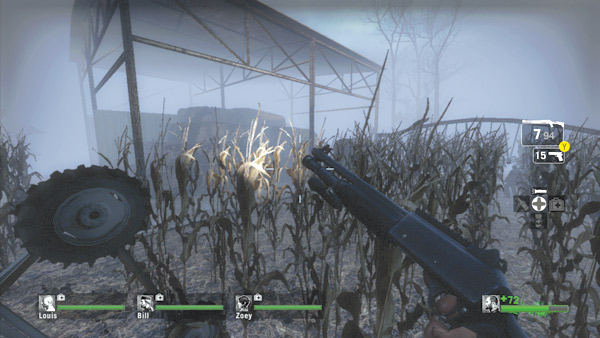
Instead of turning at the tractor and heading directly to the farmhouse, consider continuing past the tractor in a straight line, advancing toward this large hay shelter.
This path is longer, but the visibility is slightly better, allowing your team to spot and jump over the sprinkler equipment more easily. Once you make it beneath the shelter, turn right and make a beeline for the farmhouse.
Farmhouse
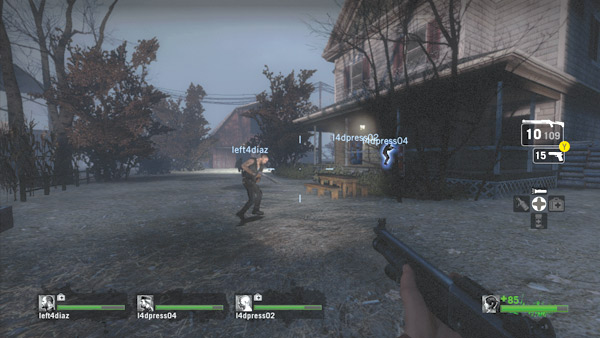
Upon exiting the cornfield, head straight for the farmhouse’s front door. There may be a few common infected wandering around outside, but don’t worry about clearing them all. Shoot any that get in your way and keep moving until you’re inside the house.
Be careful not to get too far ahead of or behind your teammates. While speed is essential when racing through the cornfield, it isn’t quite as crucial outside the farmhouse.
If necessary, hold outside the farmhouse and wait for teammates to catch up before entering.
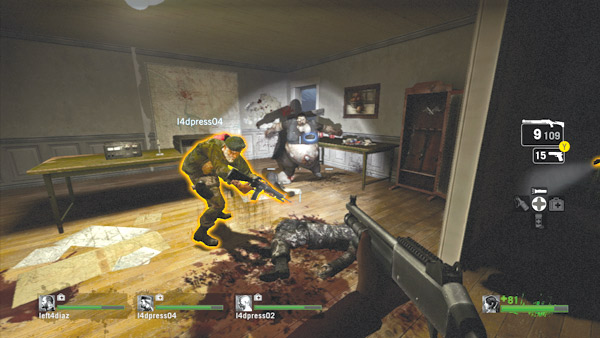
As you near the house a voice can be heard broadcasting over a radio. Enter the house through the front door and turn right to enter the room containing a radio. Proceed with caution. The infected know where you’re headed and have probably set up in or near this room.
Boomers are particularly difficult to handle in this small room. If you can avoid getting vomited on, use melee strikes until you’re a safe distance away and can shoot them.
Besides providing likely encounters with the infected, the room contains ammo, first aid kits, and weapon upgrades. The radio on the table repeats the same message, prompting survivors to respond.
Once the room is clear, interact with the radio to contact the military. They’re surprised to hear from you. The voice on the other end advises your team to prepare for evacuation—you’re to radio back when you’re ready for extraction.
Finale Preparation
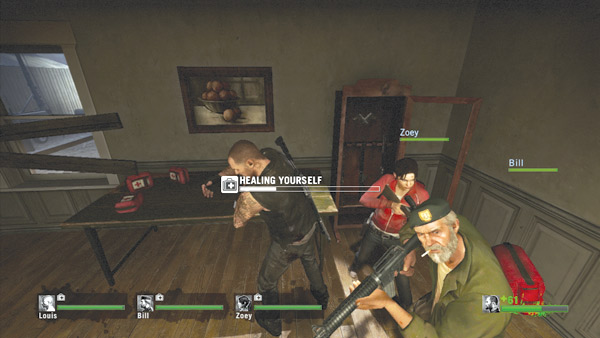
With the exception of gathering ammo and healing, there isn’t much your team can do to prepare for the finale. However, it is important to stake out a location—consider choosing one of the upstairs bedrooms as the site of your standoff.
While it may seem ideal to hold in this room with the radio and supplies, there are far too many entry points to cover in here.
If you’re staying inside the house, equip most of your team with auto shotguns (though maintaining a mix of assault rifles and auto shotguns works well too).
When you’re stocked up on ammo, weapons, and first aid kits, interact with the radio to tell the military you’re ready for pickup. They won’t arrive for a few minutes, so your team will have to hold out until then.
Finale
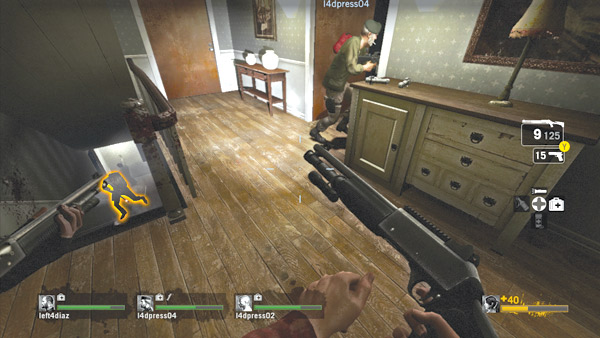
Immediately after contacting the military, rush upstairs. The first teammate up the steps should turn around and cover the stairway while the rest of the team climbs to the second floor.
The second teammate to the top of the stairs should enter the boy’s bedroom, on the right side of the hall, and clear it of any infected.
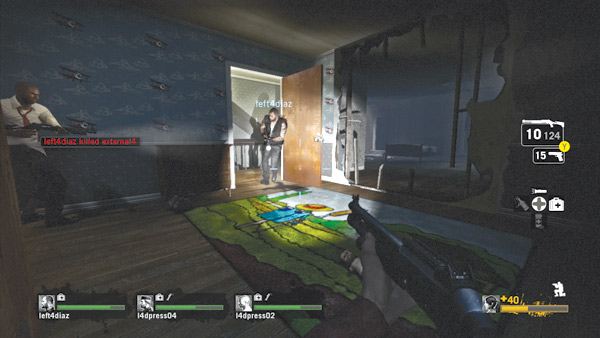
Get everyone inside the bedroom as quickly as possible—the last teammate in should shut the door. This particular bedroom is a good defensive position.
For one, it’s upstairs, making it harder to reach than the rooms on the first floor. It has only three entry points: the doorway, the window, and the hole in the wall connecting to the adjacent bedroom.
If your team is at full strength, you should have no problem locking down this room. Assign three teammates an entry point to cover while the fourth teammate roves, providing assistance wherever it’s needed.
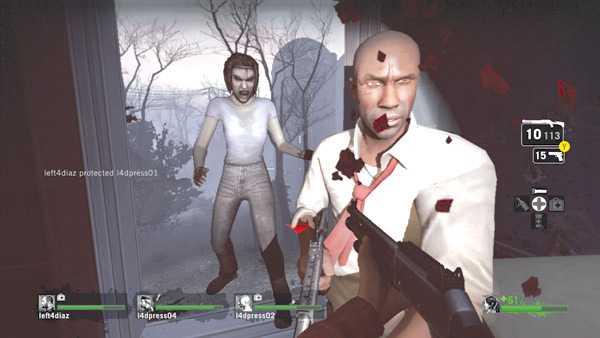
The window is the most dangerous spot to cover, so don’t turn your back to it. For best results, cover the window from an oblique angle, blasting anything that attempts to enter.
Standing directly in front of the window may make it easier to target zombies climbing up to the roof, but it also makes you an easy target for a Smoker outside. If anyone is pulled out the window, your team’s entire battle plan goes out the window too.
Staging a rescue outside the farmhouse may be too risky to undertake, especially early during the finale. So weigh the pros and cons of going after a teammate who’s been pulled outside.
It may be better to let him or her go rather than to risk the entire team while attempting a rescue.
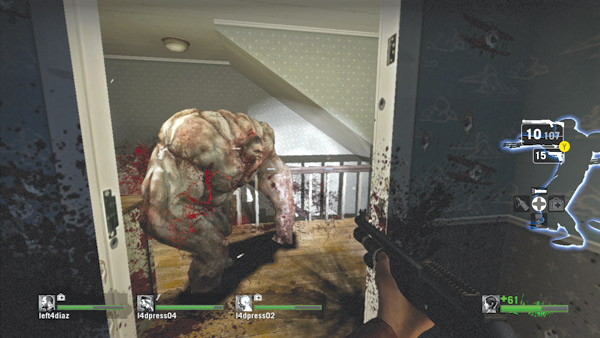
At some point your team will face at least one Tank attack. Suppress the urge to jump out a window; stand your ground on the second floor.
If necessary, retreat to other rooms or down the hall, but don’t leave the second floor. If your team acts quickly, you can down the Tank easily. But once he’s down don’t let your guard down.
Tank attacks are usually followed or accompanied by other infected bosses attempting to rush your team. So be ready to confront these attacks and return to the boy’s bedroom to resume your defense.
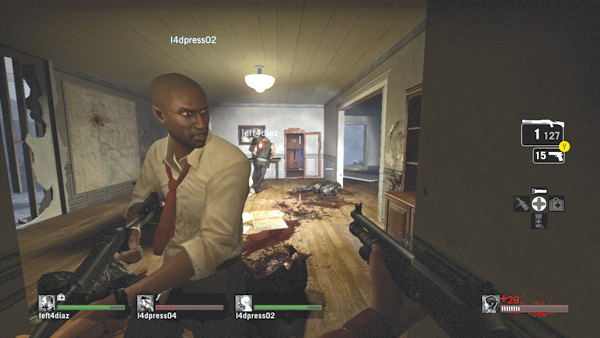
At some point during the siege, you might have to head downstairs and stock up on ammo or first aid kits. Never go downstairs alone. Instead, have the team regroup and move downstairs together, even if some of the teammates are well stocked on ammo and health.
Staying together benefits everyone and prevents the infected from scoring easy kills. After retrieving supplies, head back upstairs and wait for the APC to arrive.
APC Rescue
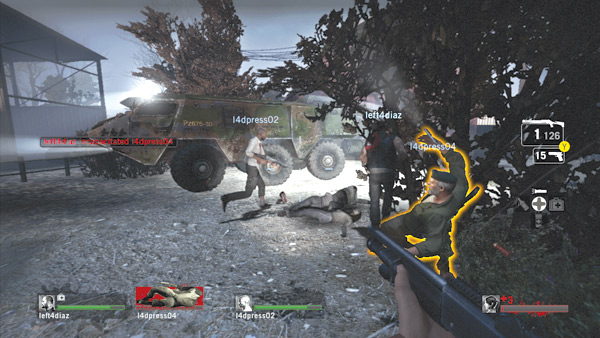
As the military’s armored personnel carrier draws near, one of the survivors mentions its impending arrival. This is followed by the thundering sound of a diesel engine approaching outside. When you get these audible cues, get outside as quickly as possible.
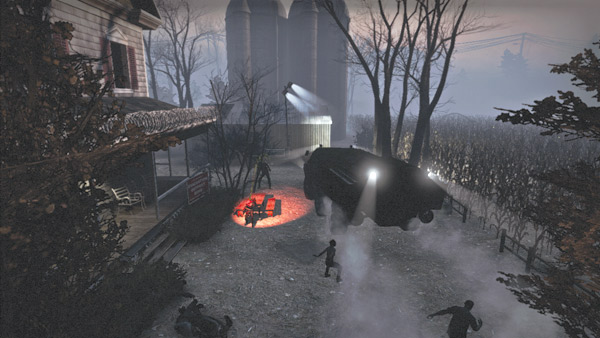
If you’re upstairs, hop through a window. If you’re downstairs, rush out the front door and turn left—the APC parks between the farmhouse and the barn.
The sound of the APC has caused a large swarm to attack, so counter it by tossing pipe bombs away from the APC—this will help your team secure a clear path to the APC’s rear ramp.
Keep an eye open for infected bosses looking to pick off your teammates. Survivors incapacitated, snared by a Smoker, or pinned by a Hunter will be left behind when the APC is boarded.
So make sure everyone is on their feet before stepping inside the APC. Once everybody is inside, the ramp closes and the APC zooms off into the sunset, leaving the infested farmhouse behind. Great job!
Barn Standoff
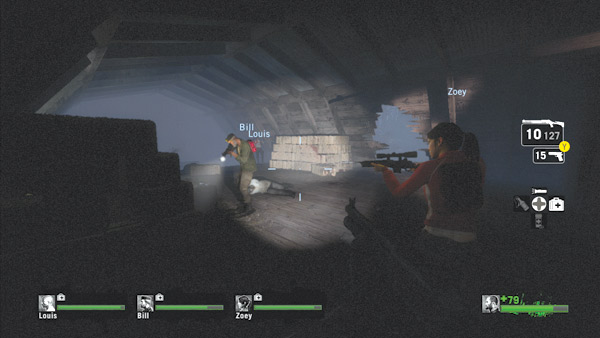
Another good place for the survivors to hold out during the finale is the barn next to the farmhouse. The barn’s loft contains ammo and only two entry points: the loft’s ladder and the hole in the roof.
A team of four survivors can easily lock down the loft without the fear of running out of ammo. Another benefit is the APC’s proximity when it arrives—simply drop out of the loft and step inside.