Prey Guide Walkthrough: Story Objectives
Through a Glass Darkly
Morgan’s Office
| Notable Items: | Neuromod (3) | Keycard: Teleconferencing | Keycard: Morgan Yu’s Suite |
| Weapon Upgrade Kit | GLOO Cannon Ammo Fabrication License | Wrench Fabrication License |
Morgan’s status as VP becomes apparent as you step into this impressive office. Approach Morgan’s desk and grab the three Neuromods contained in a case (you can now invest in more advanced skills). A keycard to Teleconferencing is also on the desk. A note on Morgan’s workstation hints at a fabrication license located in a safe. But for now, login to Morgan’s workstation and access the video January suggests, located in the Utilities tab.
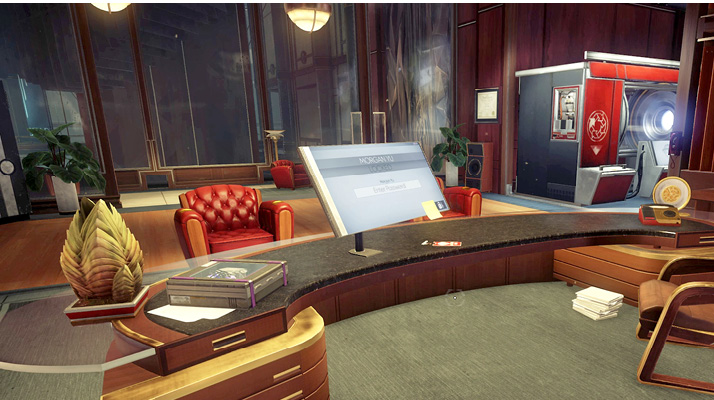
As the video begins to play, the lights in the room dim and a large Looking Glass screen is revealed behind Morgan’s desk. It’s a video message from Morgan, recorded sometime in the past. She seems to understand that your memory has been compromised. She urges you to trust January, a special Operator. January serves as a type of backup—it remembers everything you can’t. Apparently there’s a problem with a new Neuromod TranStar has been testing based on the Typhon organisms. When the Neuromod is uninstalled, it resets the subject’s memory.
There’s supposed to be a process to restore memories, but for some reason that step has been skipped, forcing you to relive the same day over and over. Morgan feels Alex is behind this, but she’s unsure why. Just as Morgan is about to reveal critical information, the video feed is cut. Alex chimes in, admitting he cut the feed. For some reason, he doesn’t want you to see the rest of the video until he’s had a chance to explain things in person. January reports that Alex has disconnected you from the Looking Glass servers. She suggests searching Dr. Calvino’s workshop in the Hardware Labs in an attempt to reestablish the connection to the servers. Only then will you be able to watch the rest of the video.
Through a Glass DarklyAlex disabled the Looking Glass servers before I could finish watching my video. January believes Dr. Lorenzo Calvino, the man who invented the technology, knows a way to restore the video file. His workshop is in the Hardware Labs. |
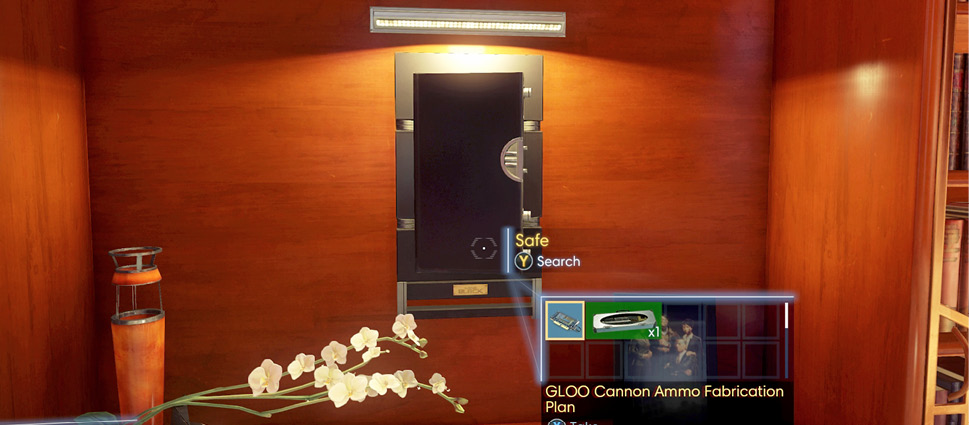
Turn to the wall next to Morgan’s desk to locate a safe in the wall. This is the safe referenced by the note. Open the safe to retrieve a GLOO Cannon ammo fabrication license and a Weapon Upgrade Kit. The fabrication license allows you to produce your own ammo for the GLOO Cannon, while the Weapon Upgrade Kit allows you to apply an upgrade to your weapon of choice.
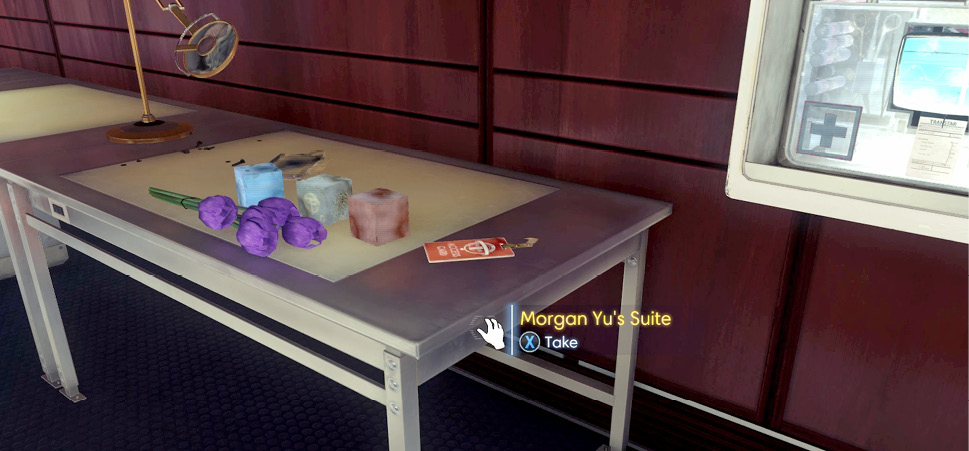
Now investigate the workshop within Morgan’s office, containing a Recycler and Fabricator. One of the work benches holds a few material cubes, a keycard to Morgan’s suite, and a wrench fabrication license. Gather a few more random items off the work benches then deposit your junk in the Recycler to refine some raw materials.
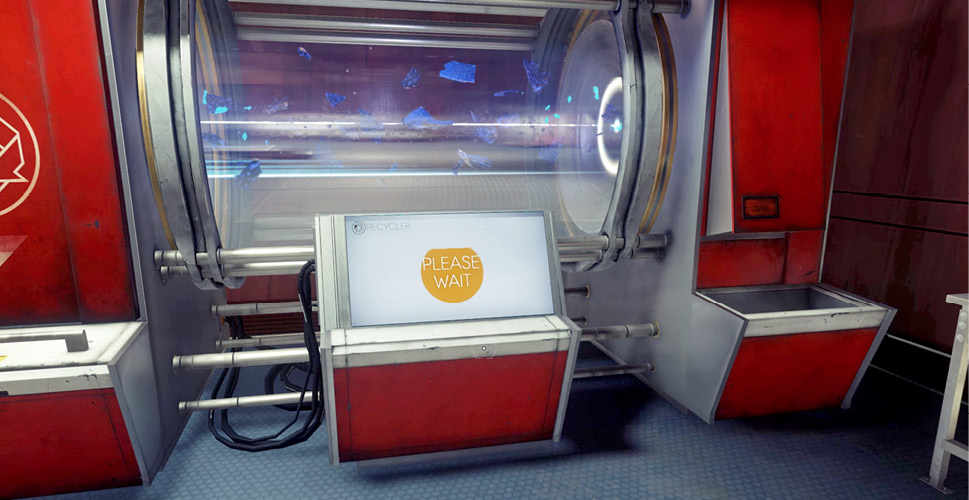
The Recycler converts unwanted items into synthetic, mineral, organic, and exotic material which can be used by Fabricators to construct new items. Start by interacting with the bin on the machine’s left side. This brings up your inventory screen. Here you can select which items to put into the Recycler. Choose the “Transfer Junk” option to automatically deposit useless items taking up space in your inventory. This includes items like frayed wire, used plastic tubing, and flower petals. Next, interact with the terminal screen in the center of the machine to initiate the recycle process. The screen shows you the material yield of the items in the bin. Finally, collect the recycled material from the bin on the machine’s right side. Blocks formed by the Recycler are ready for use in a Fabricator. If there’s not enough material to create a block, the machine creates material fragments. Fragments can be added to future Recycler batches to eventually form blocks.
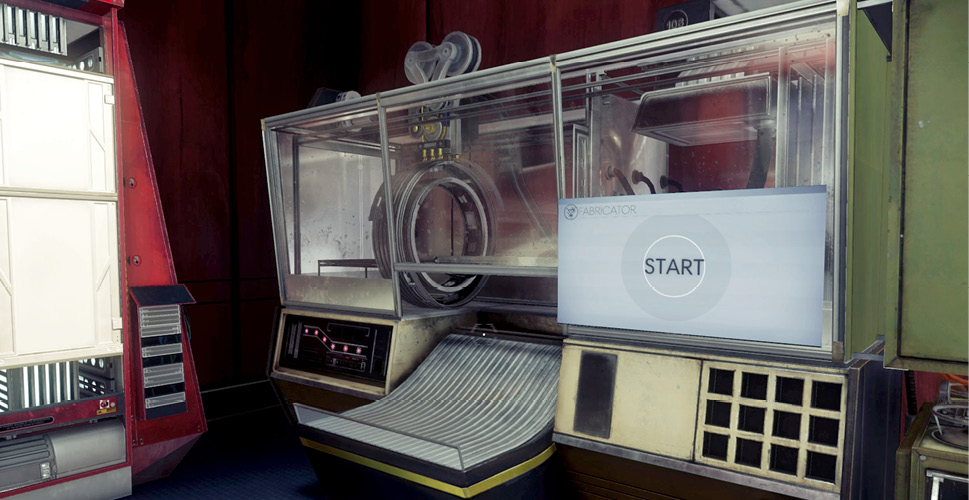
Walk over to the Fabricator and interact with the terminal to choose an item to create. Fabricators use plans to create dozens of useful items. Each item fabricated consumes some combination of organic, mineral, synthetic, and exotic materials. You currently have plans for a wrench and GLOO Canister. Select GLOO Canister from the Fabricator screen; then add ingredients to the machine by interacting with the cube-shaped slots. The proper ingredients are automatically retrieved from your inventory and placed into the machine. Now start the fabrication process and wait for your GLOO Canister to emerge from the machine. If you have enough ingredients, go ahead and make a second GLOO Canister. As you can see, Fabricators (and Recyclers) are extremely powerful, allowing you to create your own gear. This is why it’s so important to scavenger Talos I for junk containing organic, mineral, synthetic, and exotic materials.
Teleconferencing Center
| Notable Items: | Silenced Pistol | Silenced Pistol Ammo Fabrication License |
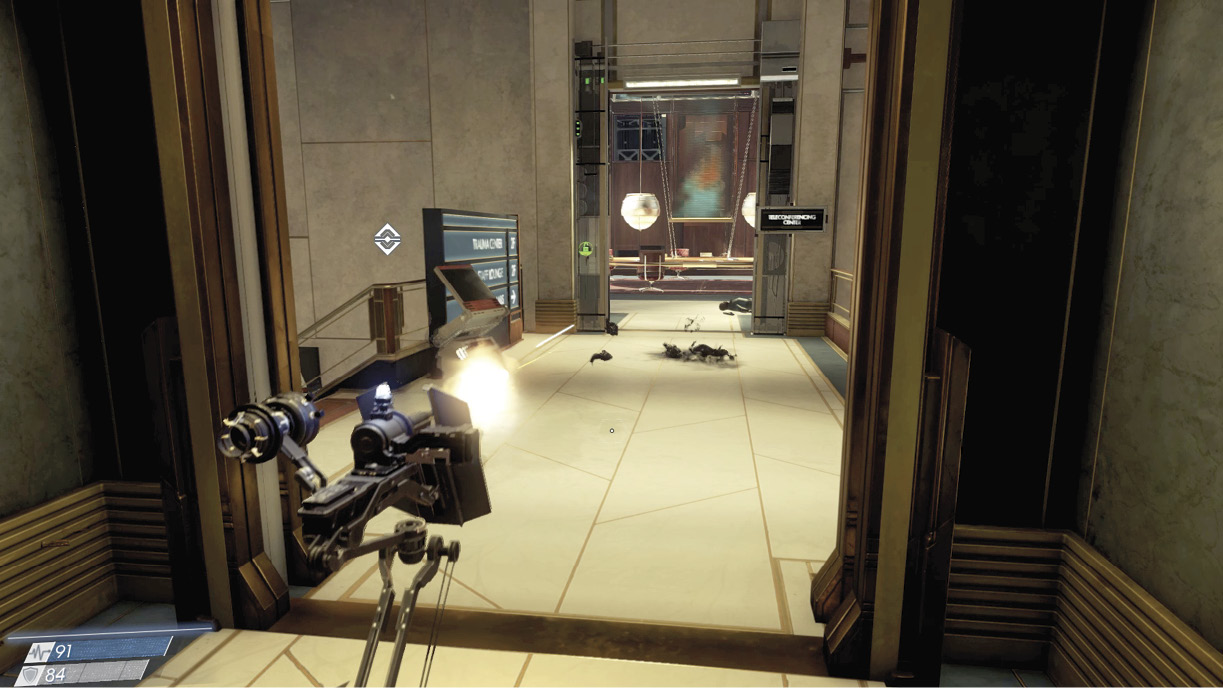
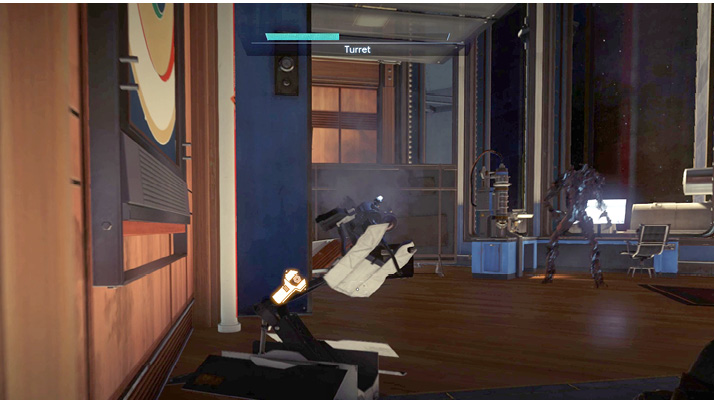
From Morgan’s office the quickest path to the Hardware Labs is through the Teleconferencing Center, across the hall from the Executive Offices. After stepping out of Morgan’s office, pick up the turret next to Jason Chang’s desk. When carried, the turret collapses into a small box-like object, making it easy to transport. Carry the turret to the doorway outside the Teleconferencing Center and set it on the ground—deploy the turret (as shown) so it’s facing the Teleconferencing Center’s door. Several Mimics are waiting to ambush you inside this room. Use the keycard to unlock the Teleconferencing Center’s door then step aside as the turret automatically engages the Mimics. For best results, retreat behind the turret. Turrets are equipped with a machine gun and automated targeting system, making them extremely useful when it comes to wiping out large numbers of Mimics and other Typhon threats. Plus, they have unlimited ammo.
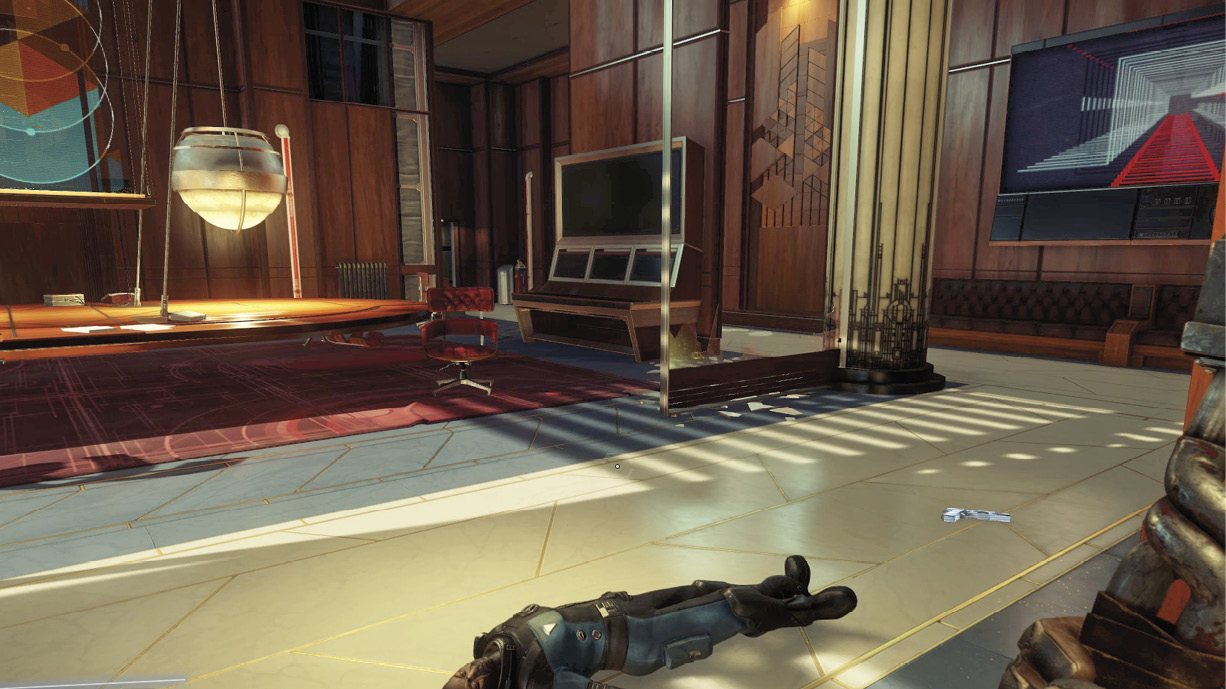
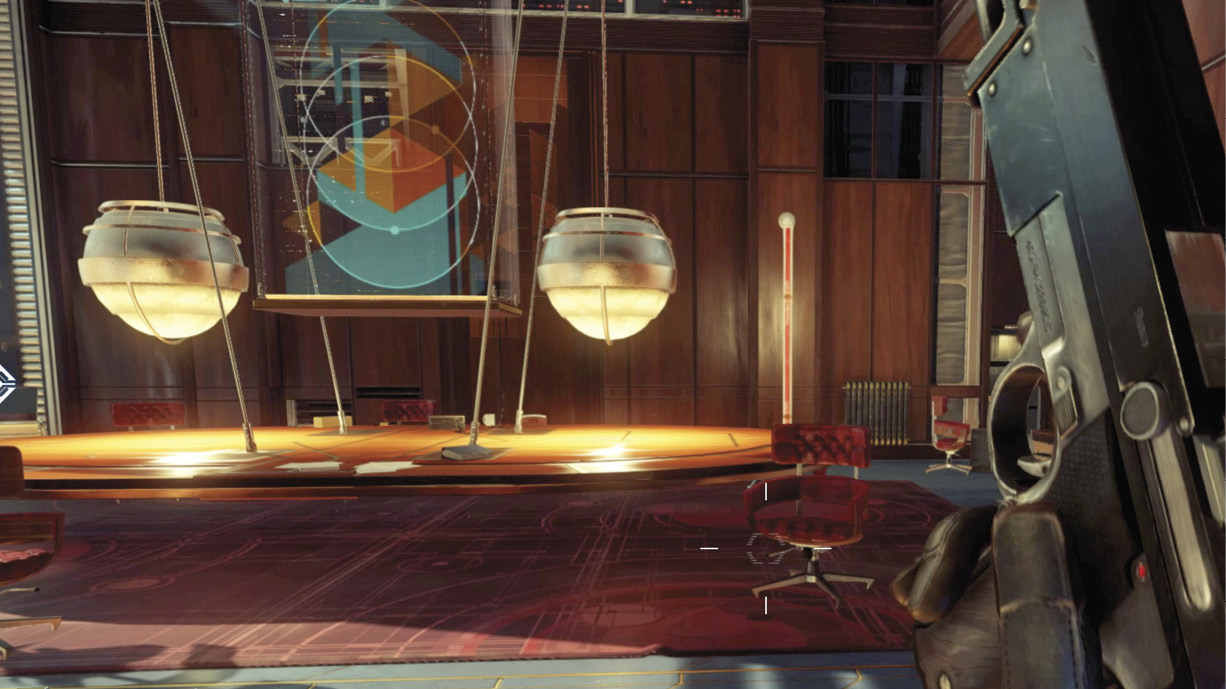
Once the turret has eliminated all the Mimics, enter the Teleconferencing Center. Search Elias Black’s body near the entrance to retrieve some spare parts, 9mm ammo, and a fabrication license for Silenced Pistol ammo. Conveniently, a Silenced Pistol is located on the floor nearby. Add it to your growing arsenal of weapons. Specifically, the Silenced Pistol is a TranStar PPN-8, the standard-issue sidearm for all security personnel. The 9mm handgun is equipped with an integrated suppressor, minimizing the audible report of each shot. This makes it ideal for silently taking out enemies. Even though you have a plan to create more 9mm ammo for this weapon, use the Silenced Pistol sparingly. Its damage output is rather limited, taking several shots to eliminate a single Mimic. If you rely on this weapon too often, ammo will become scarce, regardless of how much you fabricate.
Sales Division
| Notable Items: | Neuromod (4) |
| Huntress Boltcaster |
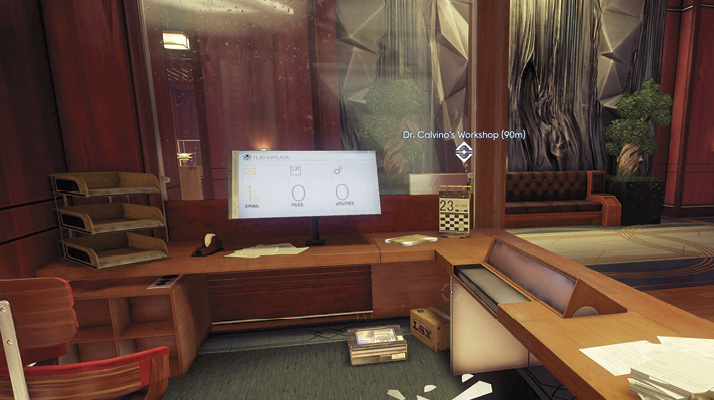
After exiting the Teleconferencing Center, make a quick detour by turning right, crossing the third floor catwalk to enter the Sales Division office. A Phantom is patrolling this office, so stay low to avoid being detected. Locate Yuri Kimura’s desk and search the floor—here you find a box containing four Neuromods. Retrieving these Neuromods completes the Stolen Neuromods optional objective (the objective is launched by taking Demetri Bowser’s note in the Security Office’s holding room). You should now have enough Neuromods to acquire a few new skills. If you haven’t already, investing in Repair I and Repair II is highly recommended. Suit Modification I is another worthwhile skill, increasing the size of your inventory.
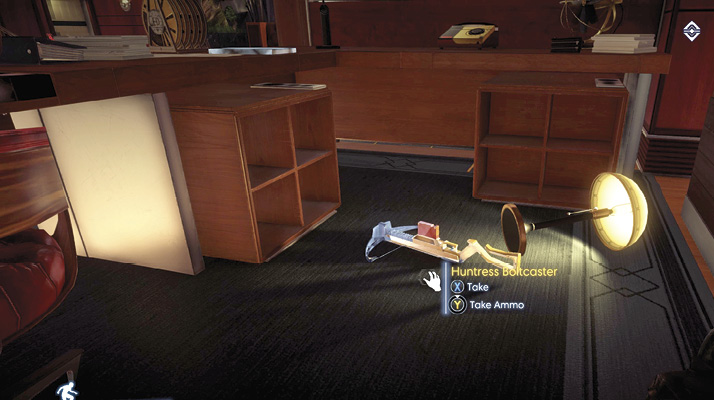
Now search the floor behind Kelly Randolph’s desk to discover a Huntress Boltcaster. This crossbow-like toy fires foam darts, called Flexifoam Bolts. What good could this possibly be? This weapon inflicts zero damage but can be useful for distracting enemies. It also comes in handy for remotely triggering buttons and screens that are otherwise out of reach. You can find more Flexifoam Bolts on Richard Coveney’s desk.
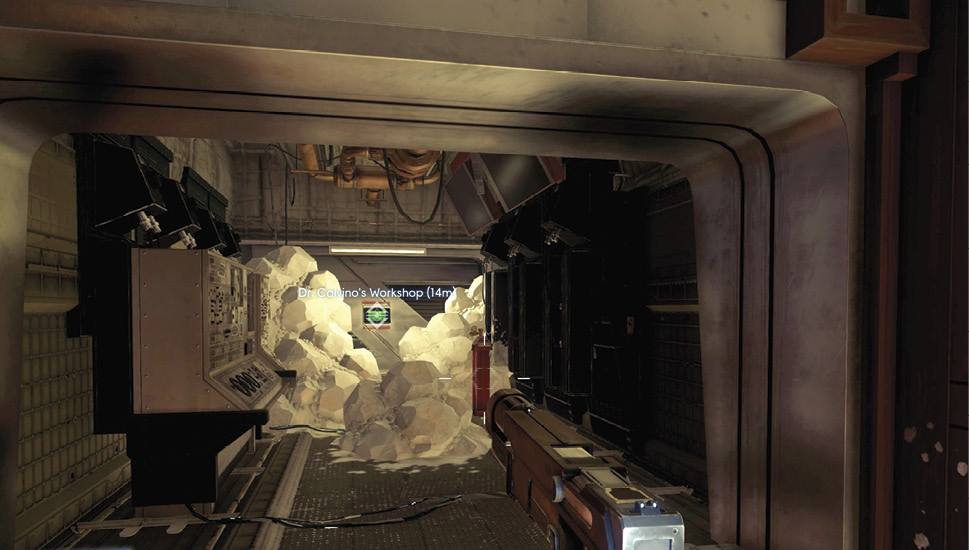
When you’ve completely searched the Sales Division offices, exit and return to the catwalk you crossed earlier. On your way to the Hardware Labs doorway, search the small office to the left (containing a malfunctioning Recycler) to obtain some spare parts. The Hardware Labs doorway is partially obstructed by hardened GLOO. While you can chip away at the GLOO with your wrench, there’s an easier method. Stand back and shoot the explosive canister with your Silenced Pistol. The resulting explosion removes most of the GLOO, allowing you to proceed.
Hardware Labs
Foyer
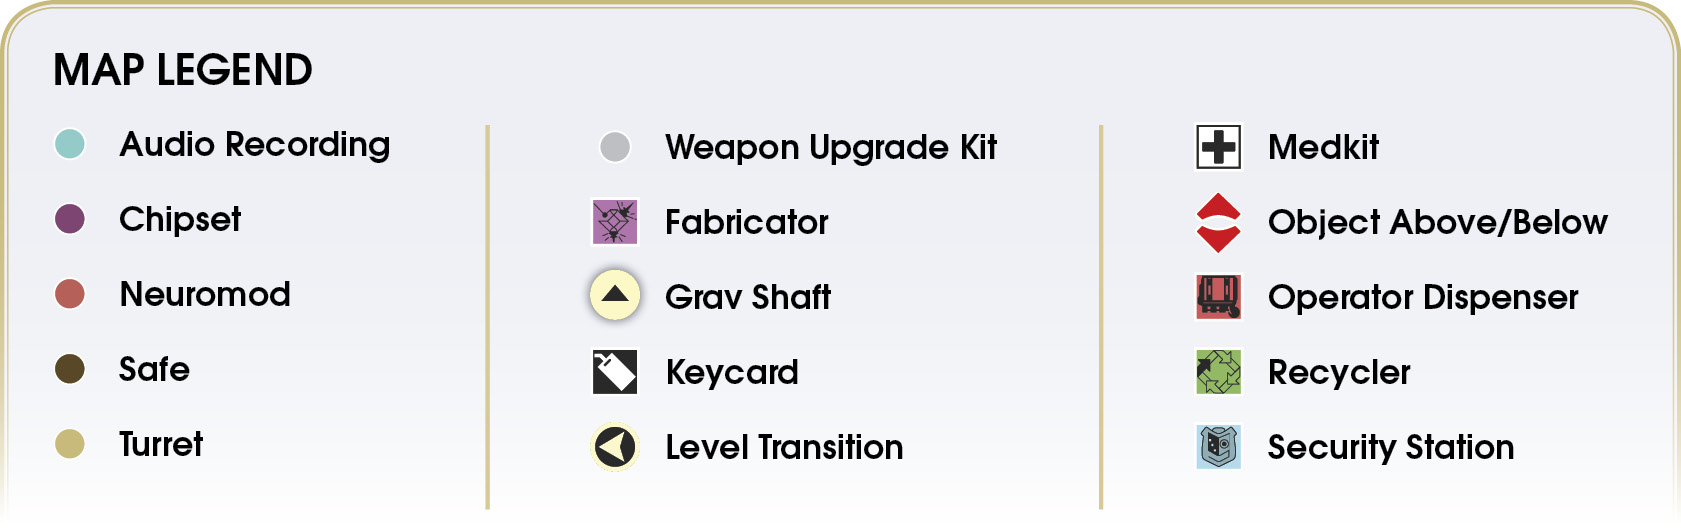
Dr. Calvino’s workshop is located within Hardware Labs. A waypoint marker appears on the HUD, showing the direction. But don’t rush, like the previous areas you’ve explored, Hardware Labs is crawling with Typhon, including some entities you haven’t encountered yet. Crouch and sneak toward the foyer. This area is patrolled by a couple of Operators that have been corrupted by Typhon. These Operators are extremely dangerous, equipped with flamethrower-like weapons. It’s best to avoid them until you can find a better way to take them out.
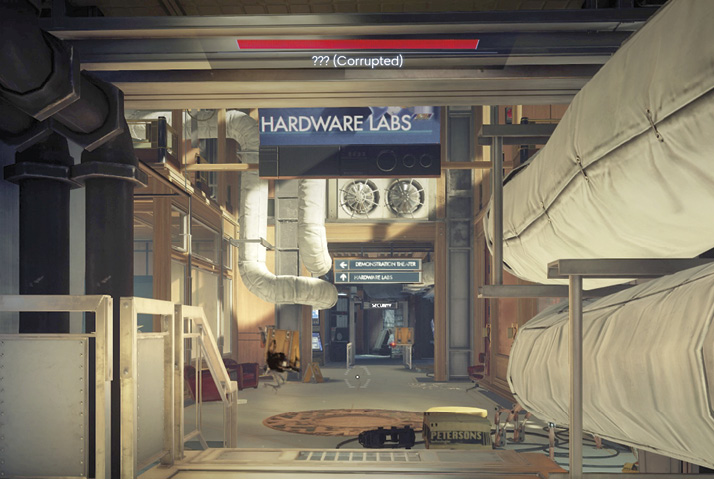
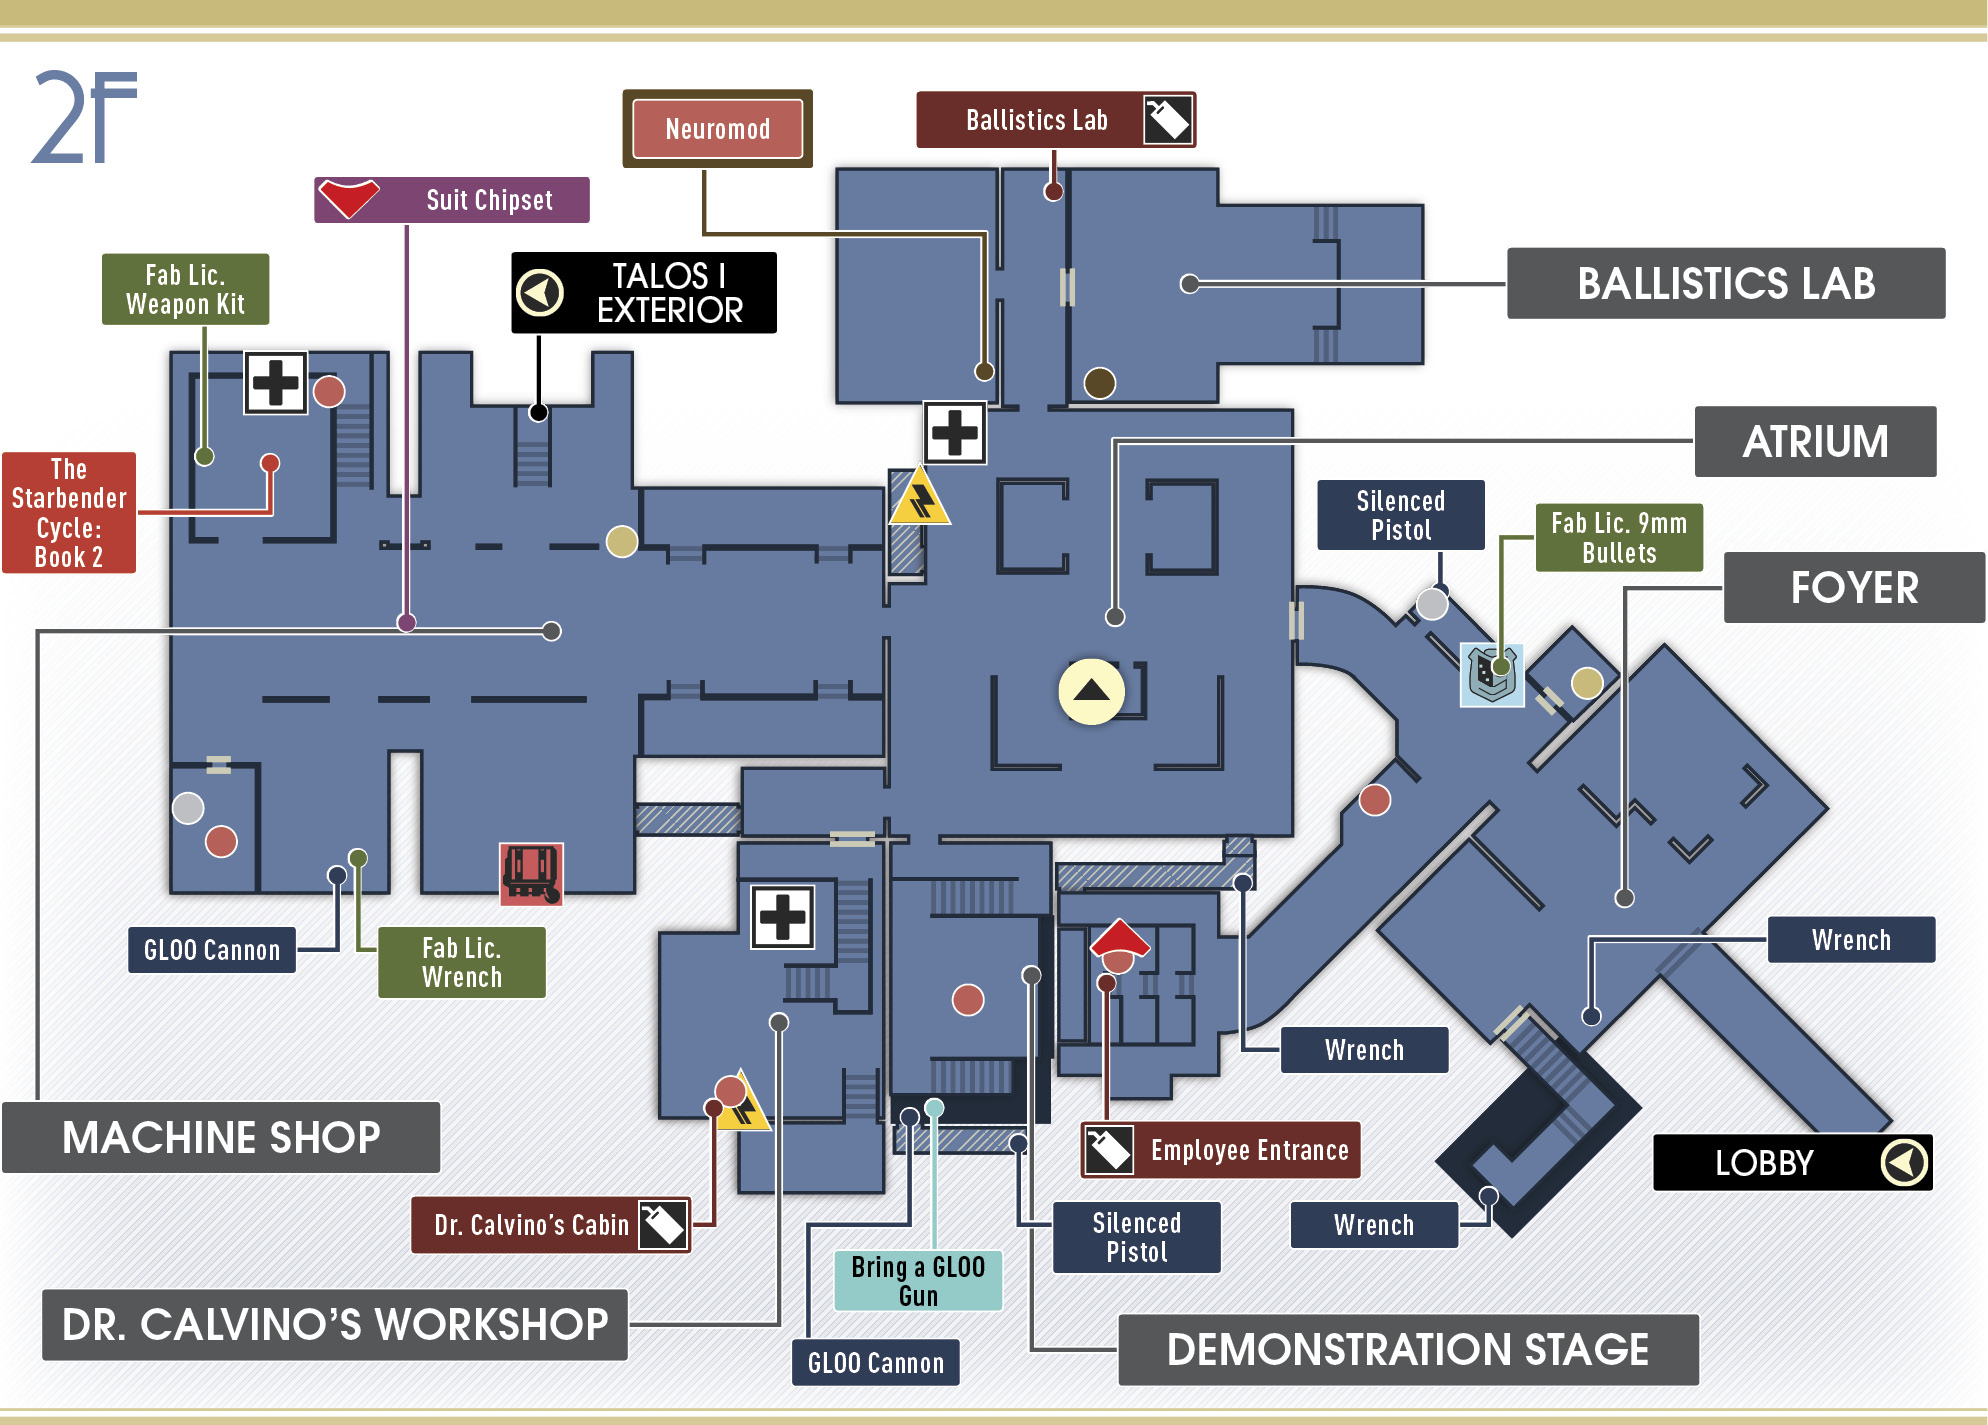
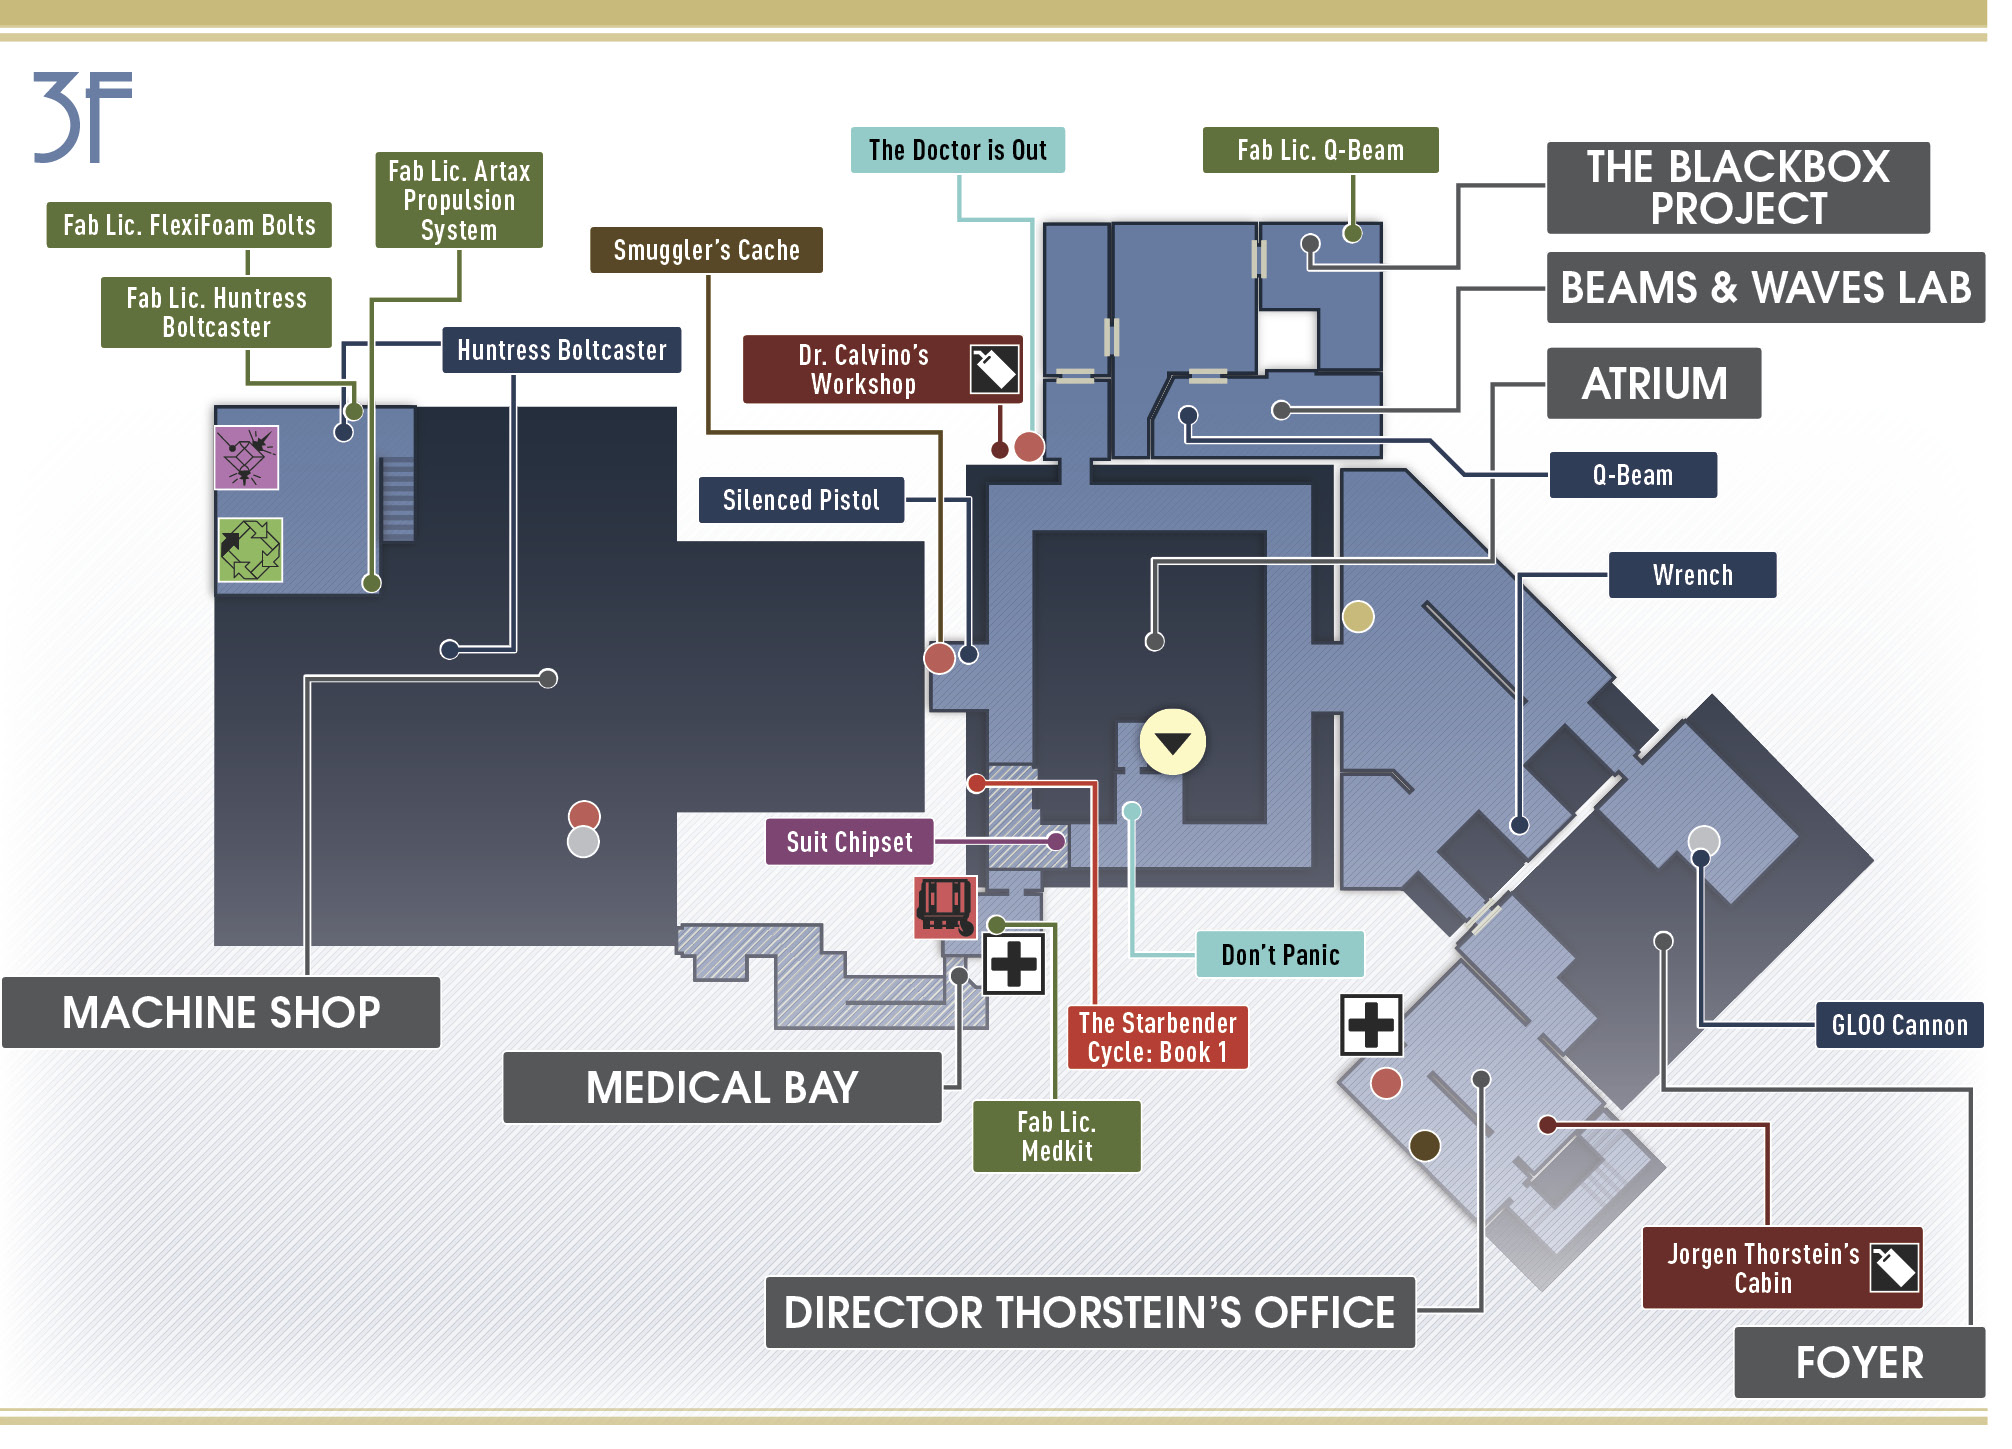
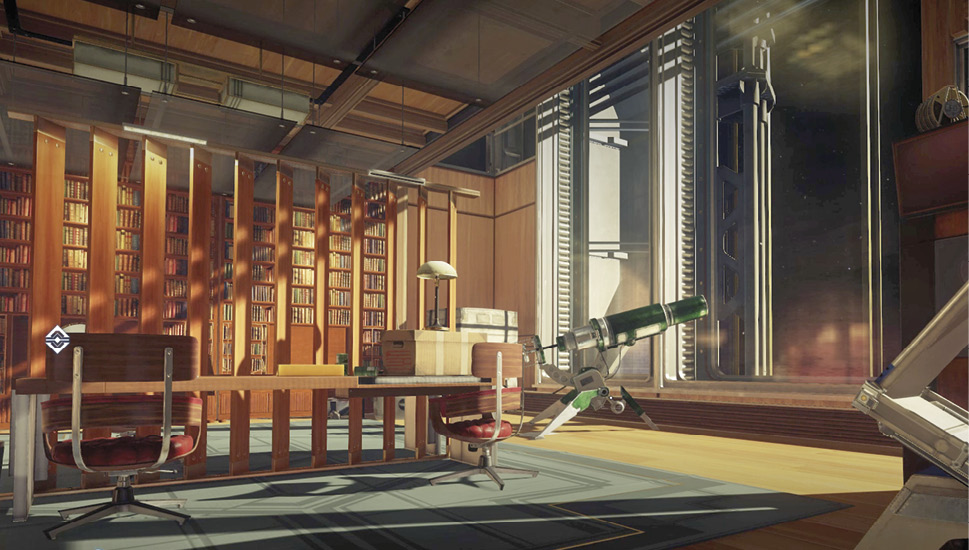
Stay low and move into the office on the right, containing a large telescope. The walled-off partitions offer some decent concealment, allowing you to hide from the corrupted Operators. Keep an eye on two corrupted Operators while moving through the office and wait for an opportunity to sneak toward the security booth. When approaching the Security Station, avoid passing through the metal detector in the middle of the hall. If you set-off the metal detector, an alarm will sound, alerting the corrupted Operators. Instead, stay to the right of metal detector, moving along the wall of the security booth.
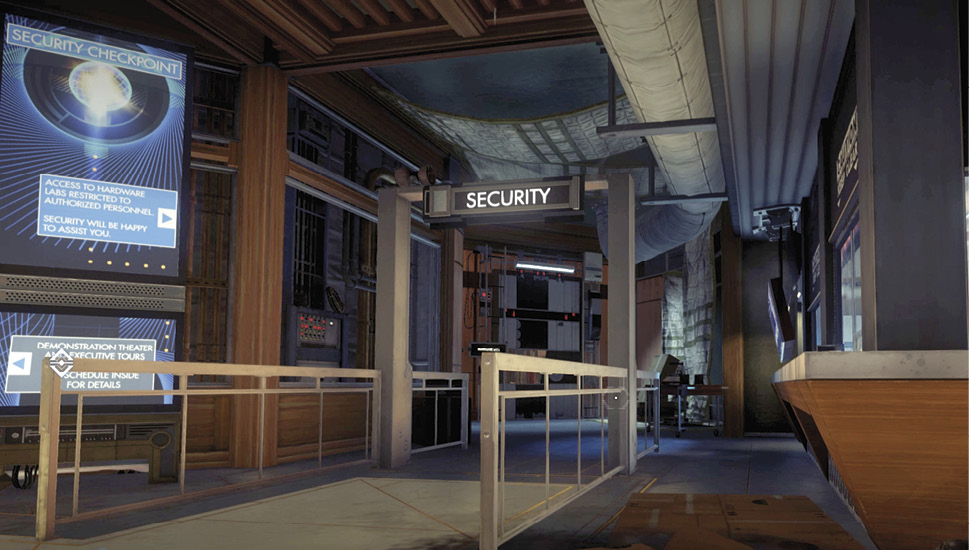
Security Booth
| Notable Items: | Silenced Pistol | Weapon Upgrade Kit |
| Silenced Pistol Ammo Fabrication License | Turret |
Luckily the security booth’s door is unlocked, automatically sliding open as you approach. Step inside and access the security station. A Silenced Pistol Ammo fabrication license is next to it. Within Utilities, download the Hardware Labs map from the security station, revealing the layout of all floors. Also under Utilities, unlock the nearby security locker, located just outside the booth. You can also reset the security checkpoint if you inadvertently set off the metal detector alarm. Before leaving the booth, search the shelves and lockers to acquire more ammo. There’s also a Weapon Upgrade Kit on the open weapon’s locker.
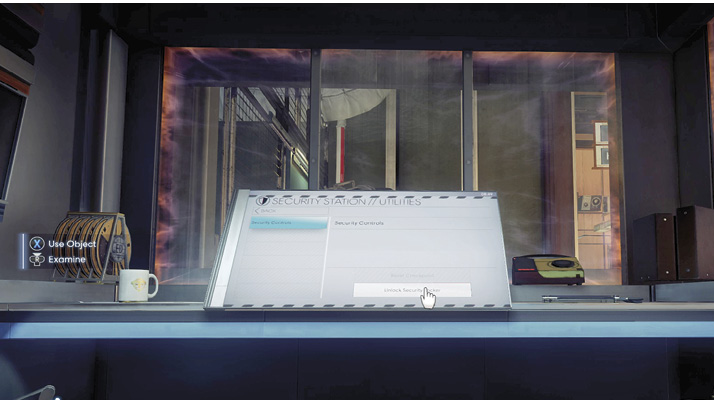
Exit the security booth and head back toward the foyer, being careful to avoid the metal detector. The security locker you unlocked is on the left. This security locker contains some spare parts and a turret. Take the turret and deploy it outside the locker, within view of the corrupted Operators patrolling the foyer. You may need to reposition the turret so it can detect and eliminate both threats. Stay clear of Operators as they take damage. They eventually fall to the floor and explode. If you’re too close when they explode, you take damage. With the corrupted operators out of the way, you’re now free to explore the foyer. But don’t let your guard down. Some Mimics may be crawling around. The door leading to the Hardware Labs’ atrium (by the security checkpoint) is locked. January suggests finding another path inside.
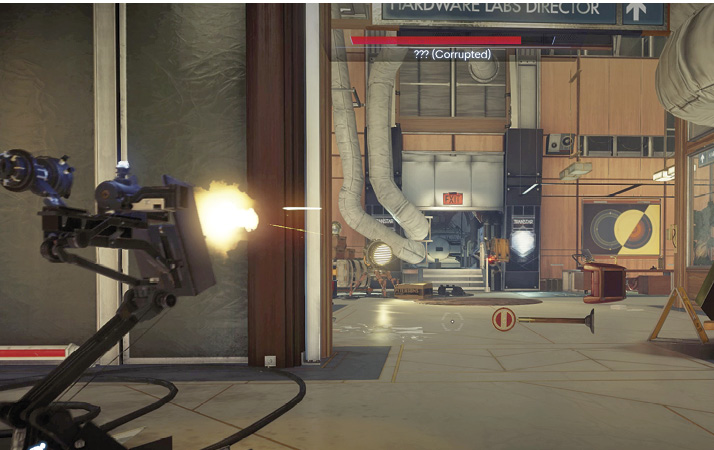
Demonstration Theater
| Notable Items: | Keycard: Employee Entrance | Wrench |
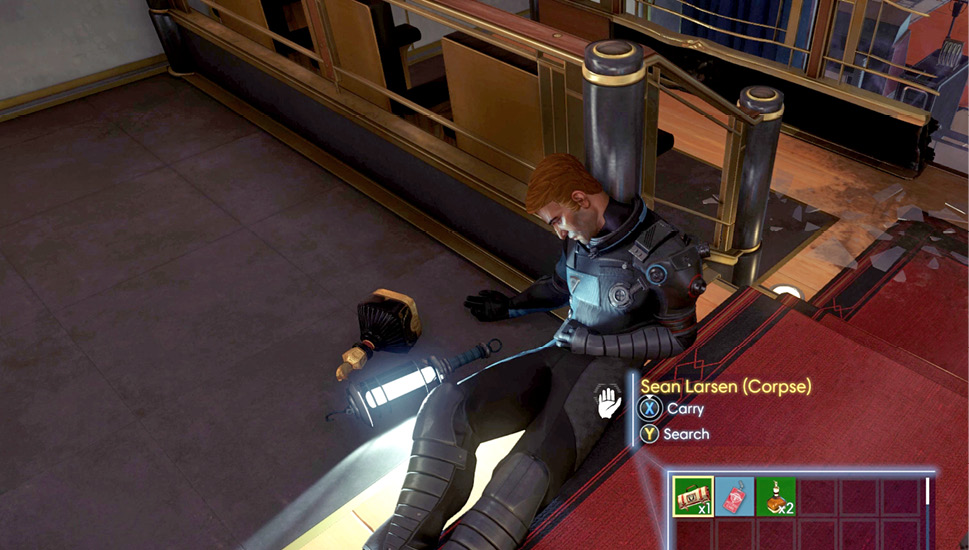
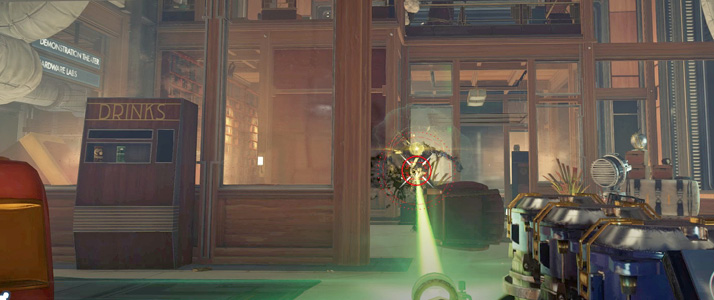
From the security checkpoint, advance toward the Demonstration Theater. As you near the theater, you see a battle between a TranStar employee (Thaddeus York) and a Phantom. The stage below is encased in protective glass, so you can’t assist. York uses a GLOO Cannon to temporarily disable the Phantom before attempting an escape, but the Phantom breaks free and kills York with a powerful ranged attack. The Phantom then turns to you in a threatening manner before retreating beneath the stage. Search the body of Sean Larsen, located in the aisle, to retrieve an Employee Entrance keycard. Take a moment to search the area around the theater chairs too—flip up the seats to make your search easier.
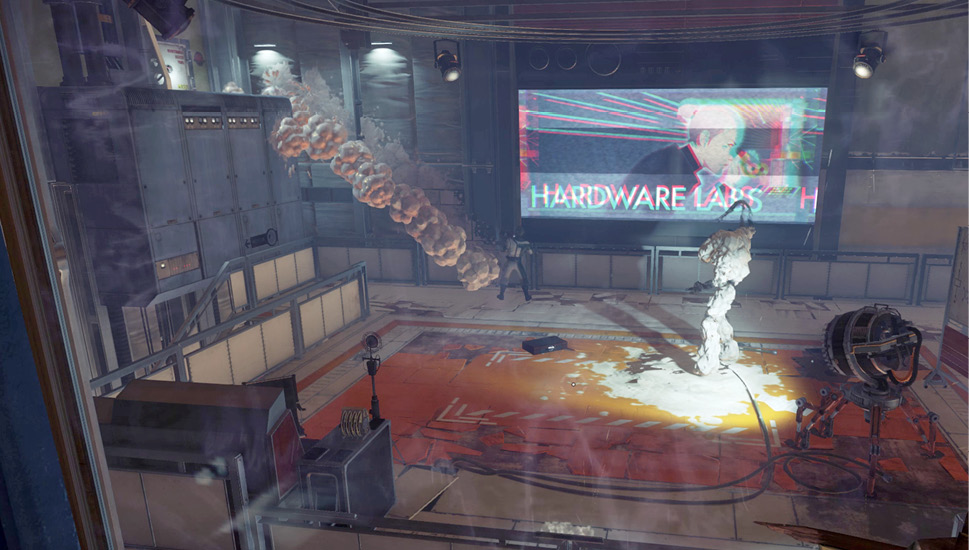
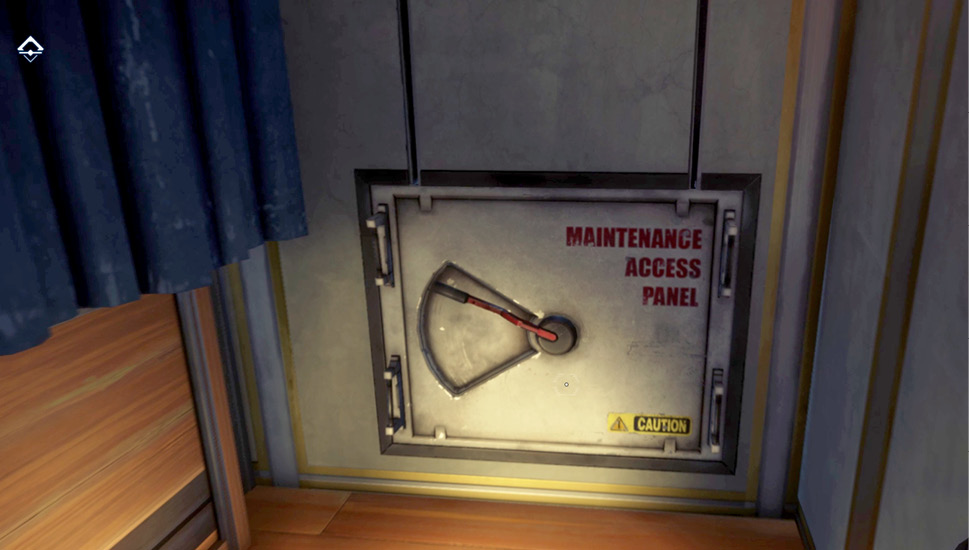
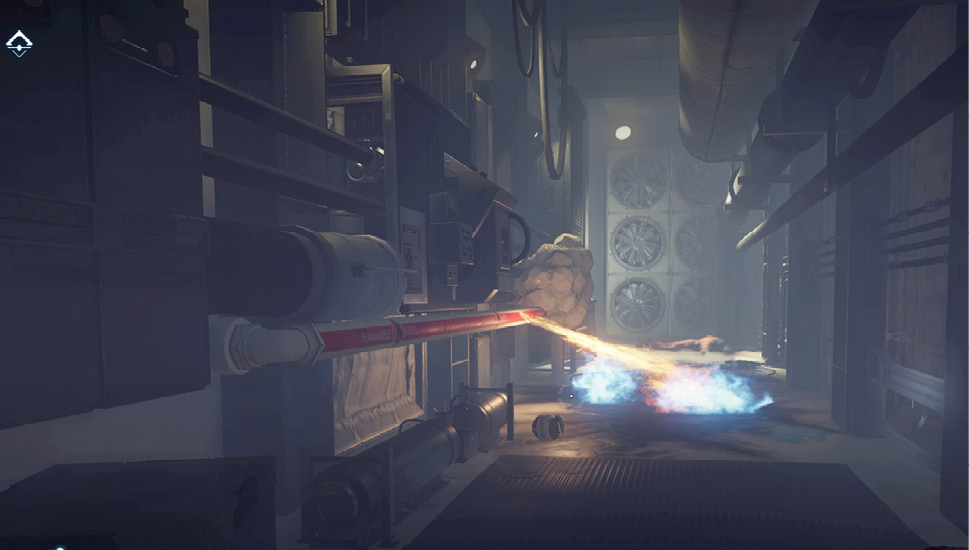
Descend to the lowest level of seats and drop off the ledge to access a small crawlspace. Turn to the right to locate a maintenance access panel. Open the panel and crawl through to access a cramped maintenance room between the demonstration stage and Hardware Labs. The path here is blocked by fire shooting from a ruptured gas line. Use your GLOO Cannon to seal the three gas line breaches and extinguish the flames.
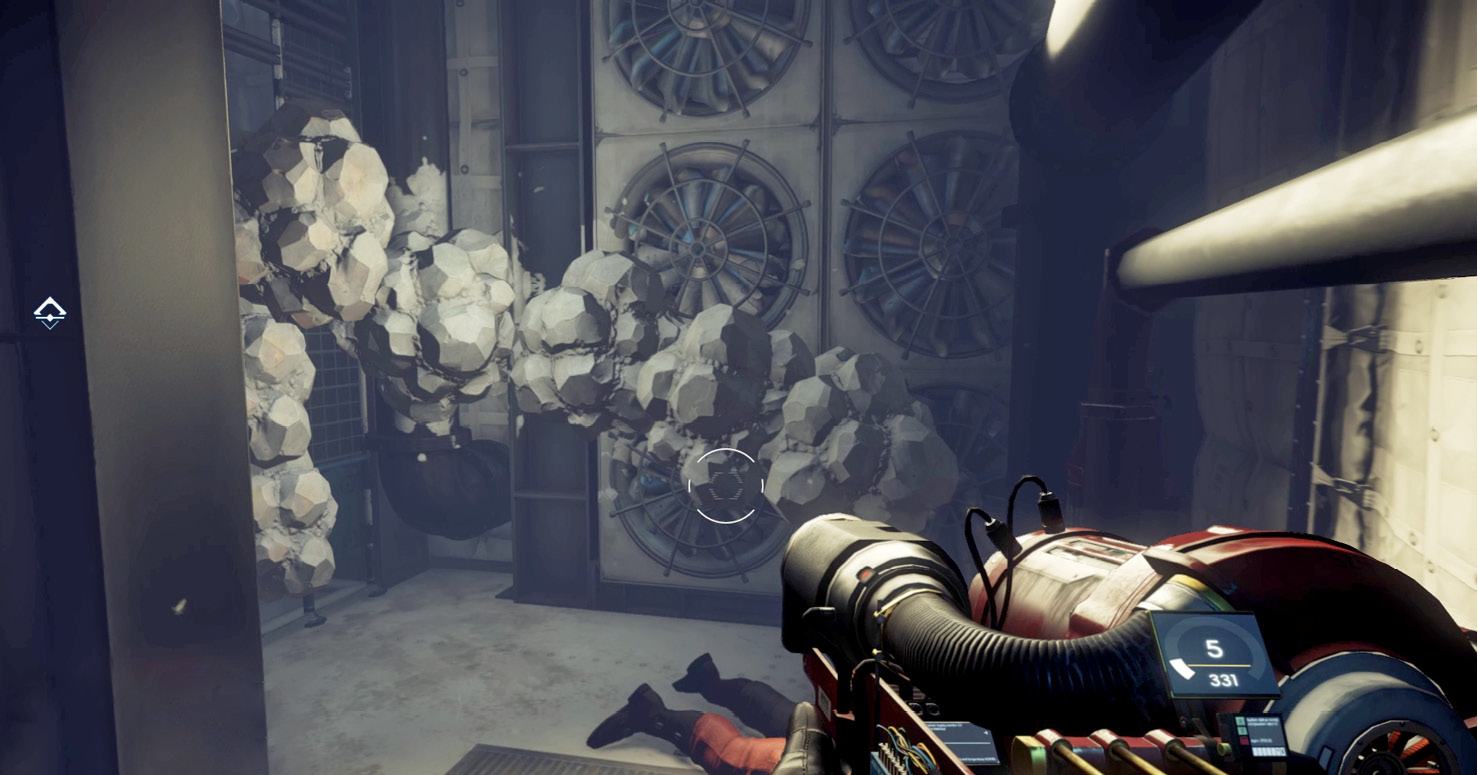
Search Randall Wood’s body at the end of the corridor then turn to the left and look up. A high ledge is just out of reach. Use your GLOO Cannon to create a makeshift ramp (as shown) leading up to the ledge. Climb along the GLOO deposits until you can jump and pull yourself onto the ledge. At the top, open another maintenance access panel to enter the Hardware Labs’ atrium.
Atrium
| Notable Items: | Audio Recording: Don’t Panic | Silenced Pistol | The Starbender Cycle: Book 1 |
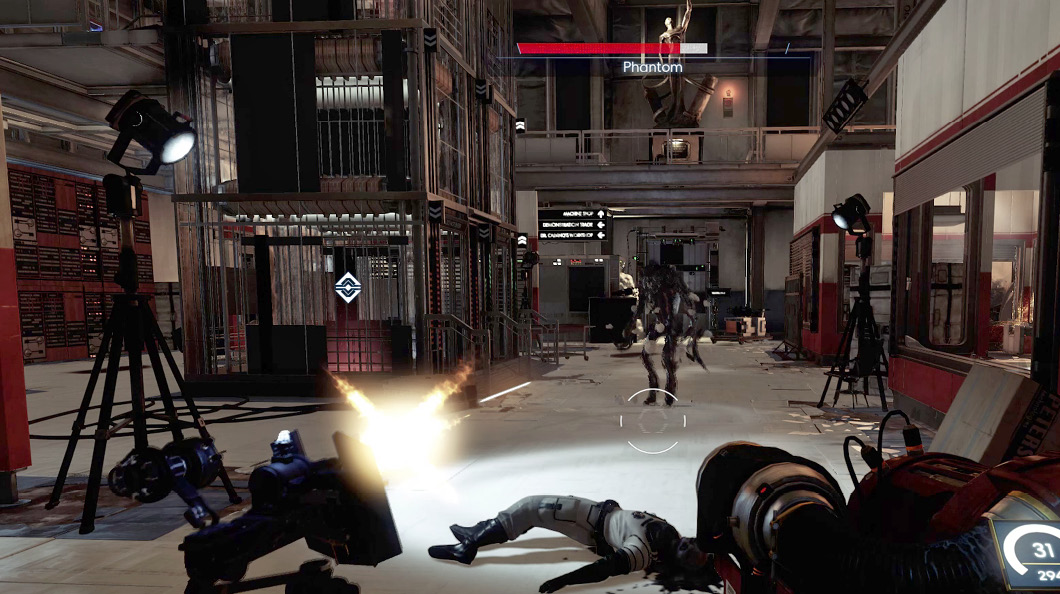
Stay low as you enter the atrium. This area is patrolled by a Phantom. January reports that most of the station’s tech is developed here. The issue with the Looking Glass server can probably be fixed from within Dr. Calvino’s workshop. But before heading there, take a moment to deal with that Phantom. Sneak to the nearby doorway leading to the security checkpoint and press the manual override button to unlock the door. Grab the turret by the security checkpoint and deploy it in the atrium. Now try to lure the Phantom toward the turret. Once the turret starts attacking the Phantom, join in by firing your GLOO Cannon. The GLOO slows the Phantom’s movement, making it easier for the turret to pick it apart.
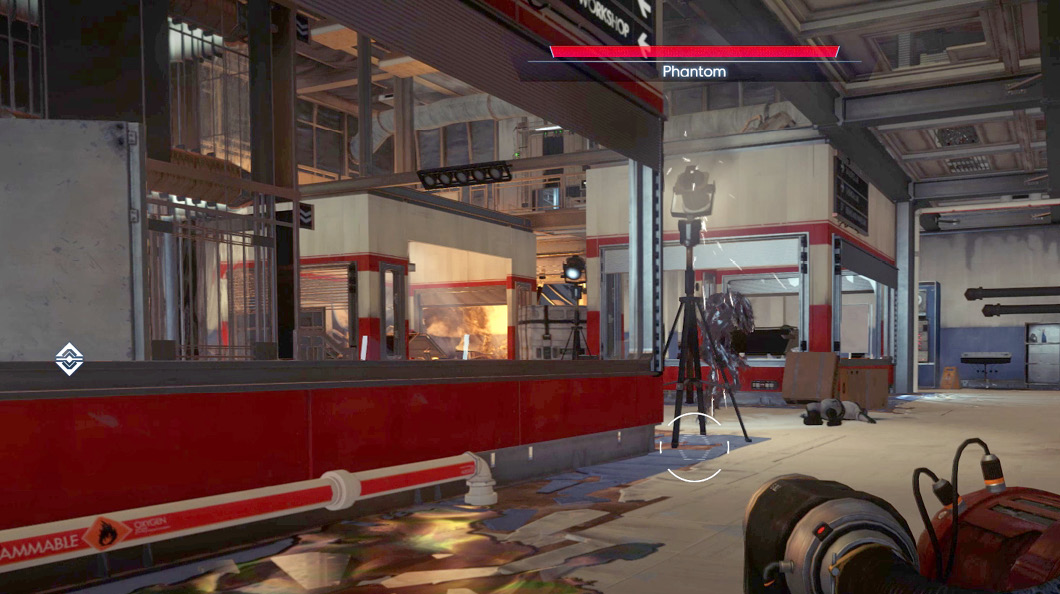
With the Phantom out of the way, head to Dr. Calvino’s workshop. Unfortunately, the door is locked. January suggests referencing the security station to find Dr. Calvino.
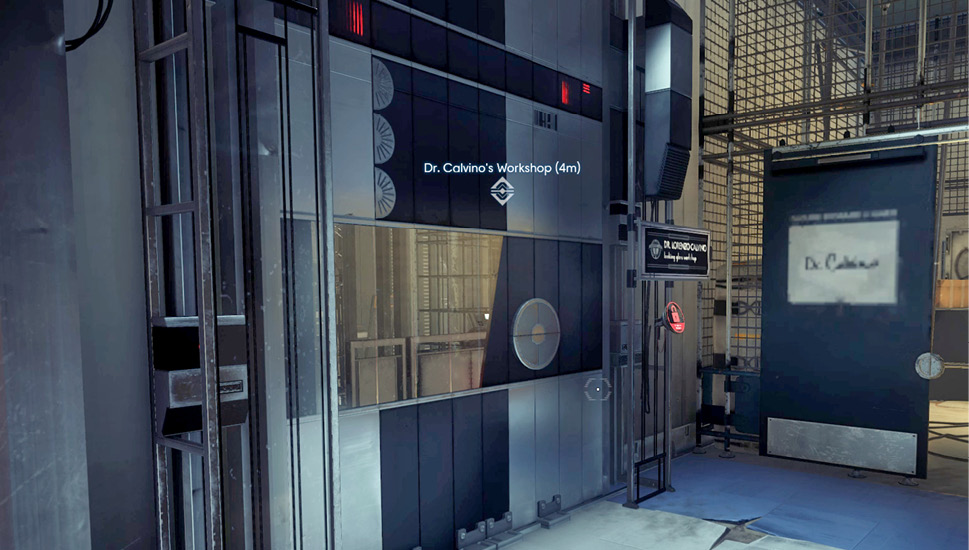
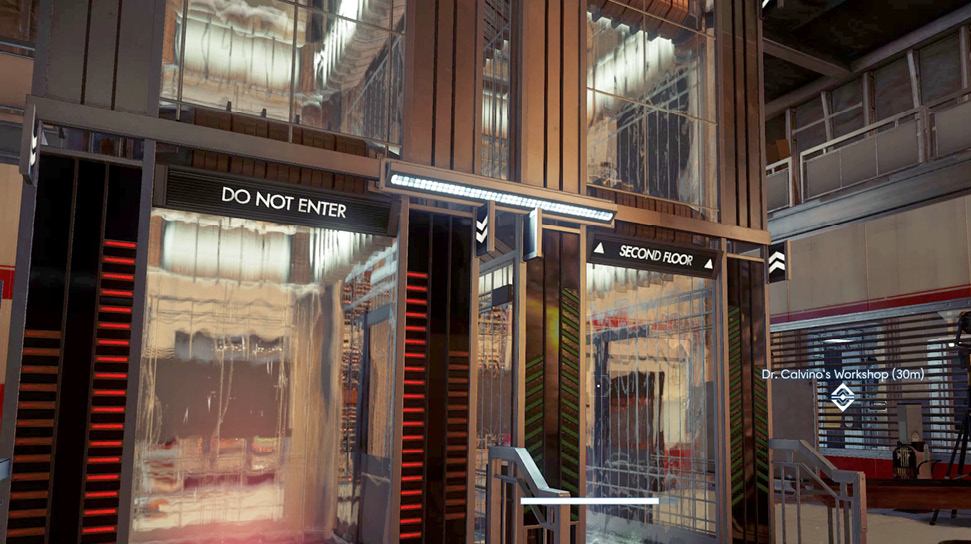
Locate the grav shaft near the center of the atrium. These parallel shafts function similar to an elevator. One shaft handles all upward movement while the other handles all downward traffic. Step into the green-lit shaft to ascend to the atrium’s second floor. Once you reach the second-floor catwalk, search the body of Miyu Okabe to retrieve an audio recording from her TranScribe. There’s also a Silenced Pistol and some ammo next to the statue of William Yu.
Medical Bay
| Notable Items: |
| Medkit Fabrication License |
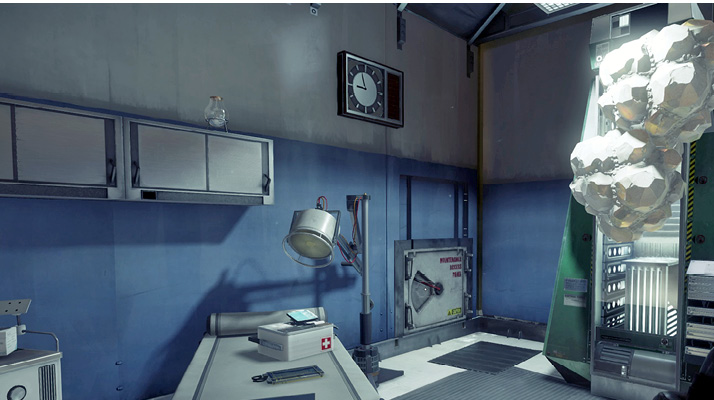
Before heading to Dr. Calvino’s location, make a slight detour into the nearby Medical Bay. Here you can acquire a Medkit fabrication license and a Medkit. Removing the GLOO deposits from the Operator dispenser allows you to deploy a Medical Operator. Talk to the operator to fully replenish your health. Also, make note of the maintenance access panel in the corner of the room. This path can be used to access the Machine Shop.
Combustion Lab
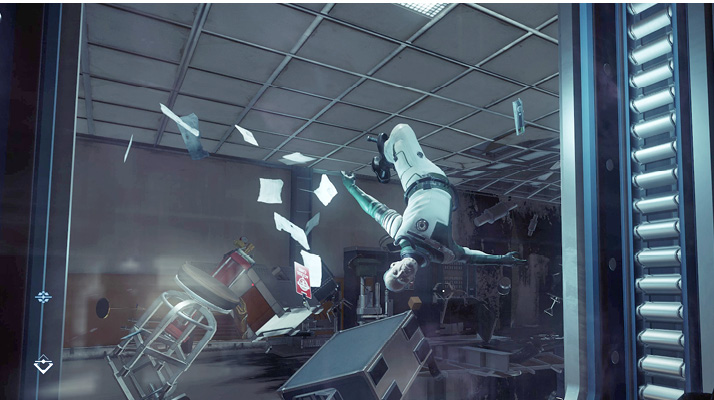
Return to the atrium’s second floor catwalk and enter the door leading to the Combustion Lab. The window on the corridor’s left side reveals the lab suffered a hull breach. Dr. Calvino was inside at the time. Calvino’s body and keycard are floating on the other side of the window. January reports there’s an airlock in the nearby Machine Shop. From there you can access the station’s exterior. But you’ll need to acquire a propulsion system if you want to perform a spacewalk.
Zero G Propulsion SystemObjective Summary: I need to upgrade my suit with an Artax Propulsion System to maneuver outside the space station. There’s a fabrication plan somewhere in the Machine Shop of the Hardware Labs. You’ll need to search the Machine Shop for a fabrication license to complete this optional objective. |
Atrium
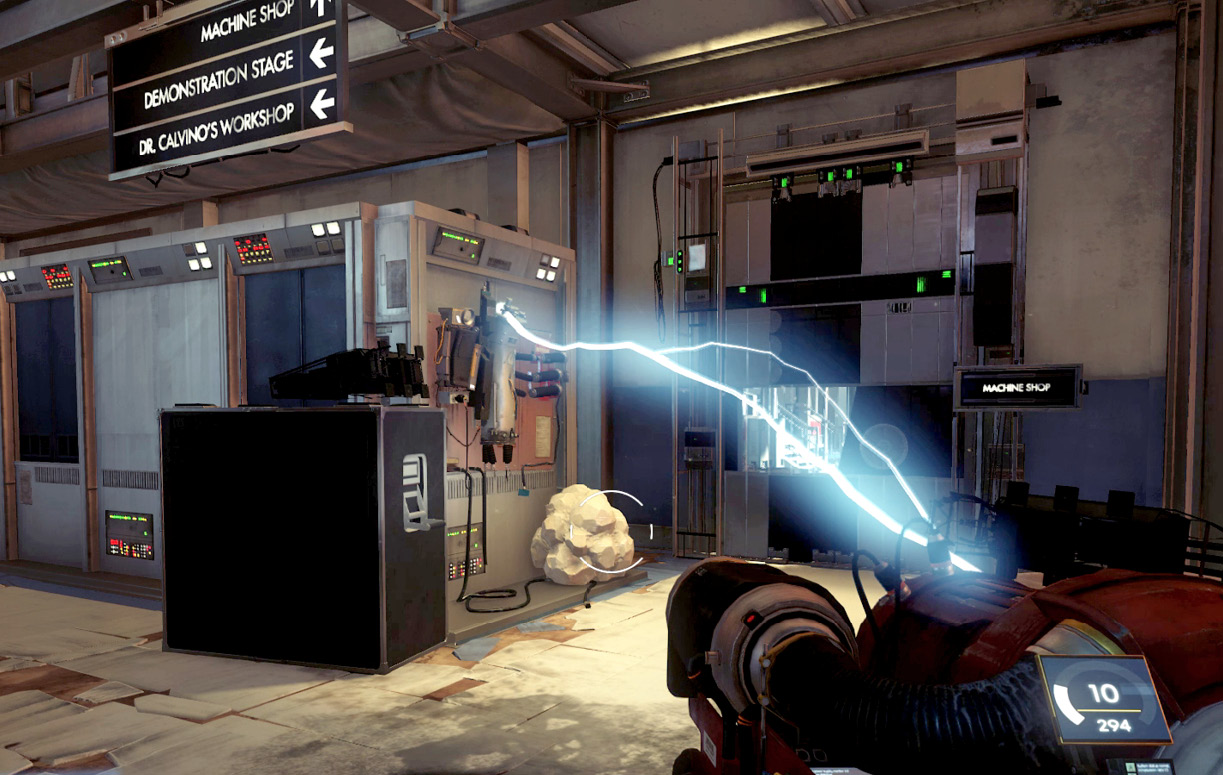
Return to the first floor of the atrium via the grav shaft and approach the doorway to the Machine Shop. A malfunctioning electrical junction is throwing arcs of electricity across this doorway. Use your GLOO Cannon to encase the junction to temporarily stop the arcs of electricity. If you have spare parts and the Repair II skill, you can repair the junction. Whether you repair the junction or simply use the GLOO Cannon to get past it, you can now safely enter the Machine Shop. Before continuing, grab the turret used to defeat the first Phantom in the atrium and take it with you into the Machine Shop.
Machine Shop
| Notable Items: |
| Neuromod (3) |
| Huntress Boltcaster |
| EMP Charge (3) |
| Weapon Upgrade Kit (2) |
| Artax Propulsion System Fabrication License |
| Huntress Boltcaster Fabrication License |
| FlexiFoam Bolts Fabrication License |
| The Starbender Cycle: Book 2 |
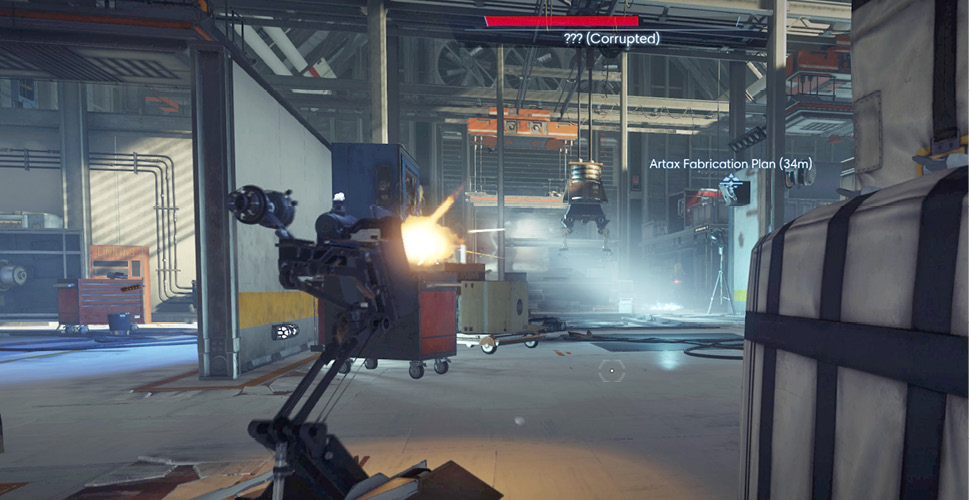
The Machine Shop is patrolled by a couple of corrupted Operators. A few Mimics are also waiting to ambush you. Sneak into the Machine Shop and quietly deploy the turret. Stand behind the turret and provide support as needed, firing either the Silenced Pistol or GLOO Cannon. A damaged turret is located near the airlock. You can repair it if you possess the Repair II skill. Positioning two turrets in the Machine Shop makes quick work of the Mimics and corrupted Operators.
Zero G Propulsion System (continued)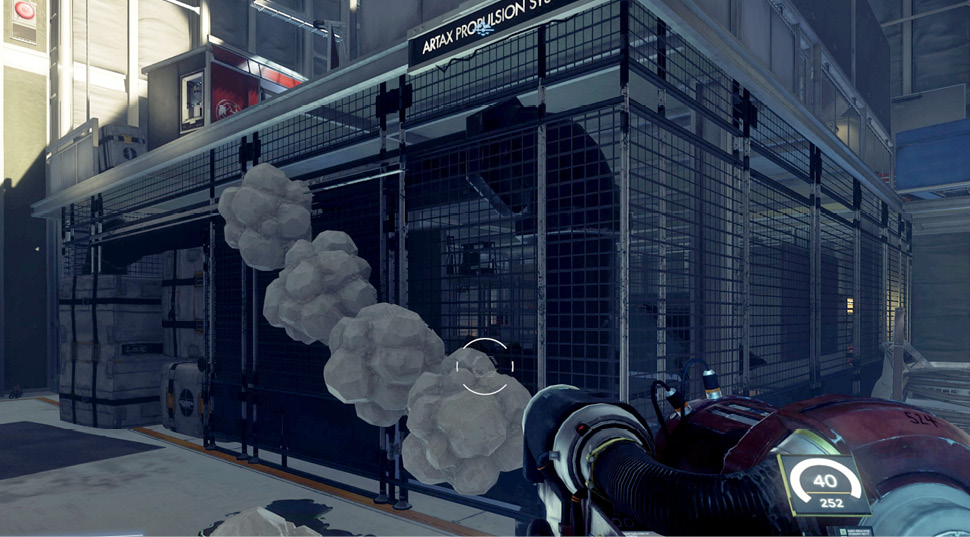
If you intend to spacewalk to retrieve Dr. Calvino’s keycard, you need a propulsion system. Approach this platform in the corner of the Machine Shop and use your GLOO Cannon to create a makeshift ramp. Climb the ramp to access the platform. Look on Franklin Goode’s desk to retrieve the Artax Propulsion System fabrication license. There are also several material blocks on the floor, providing everything you need to fabricate the propulsion system. 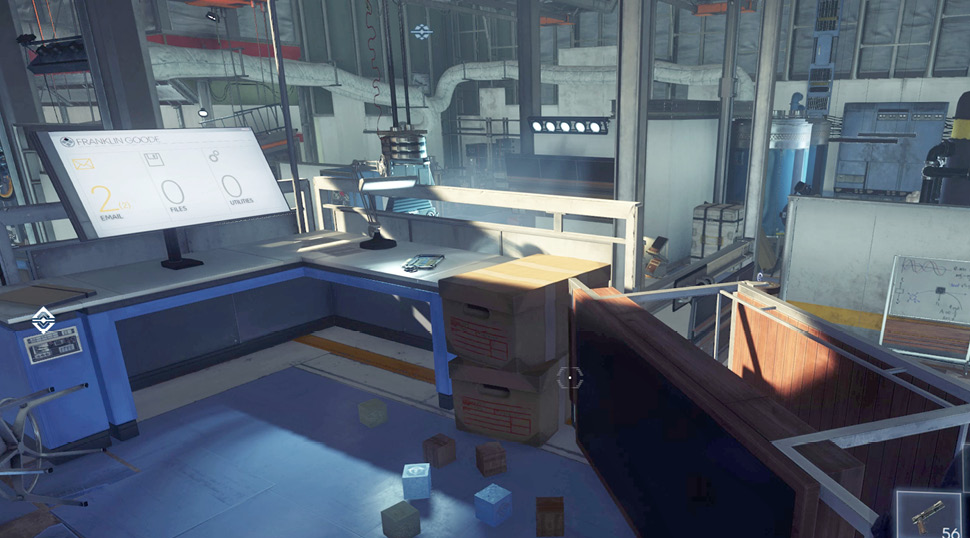
Now use the nearby Fabricator to create the Artax Propulsion System. The propulsion system requires one mineral material block and one synthetic material block. The blocks found near Franklin Goode’s desk are more than sufficient to create this item. 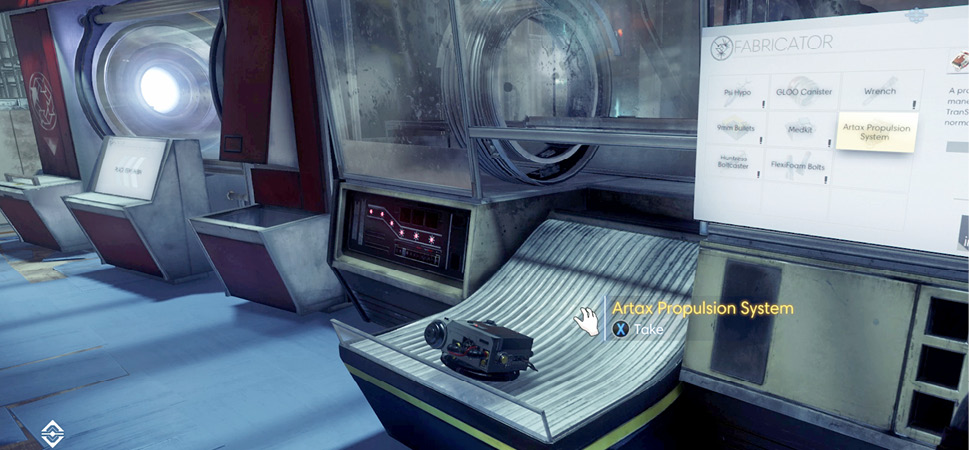
To complete the objective, use the Artax Propulsion System to glide to the nearby cargo platform. Jump toward the cargo platform, then hold down the Jump button/key to engage the propulsion system. This allows you to glide toward the platform. While you’re on the platform, search Franklin Goode’s body for supplies. A few EMP charges are also here. EMP charges emit a large burst of electromagnetic energy, ideal for damaging turrets, robots, and other electrical-based entities. 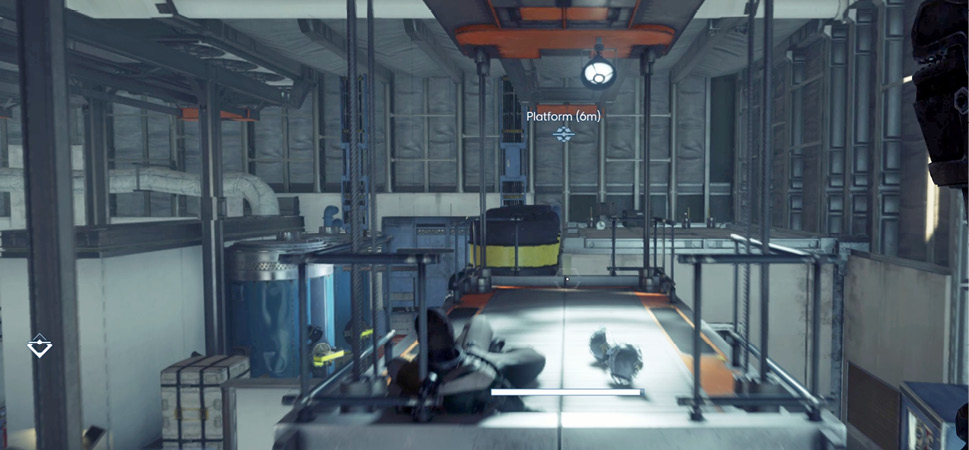
|
Supply Closet
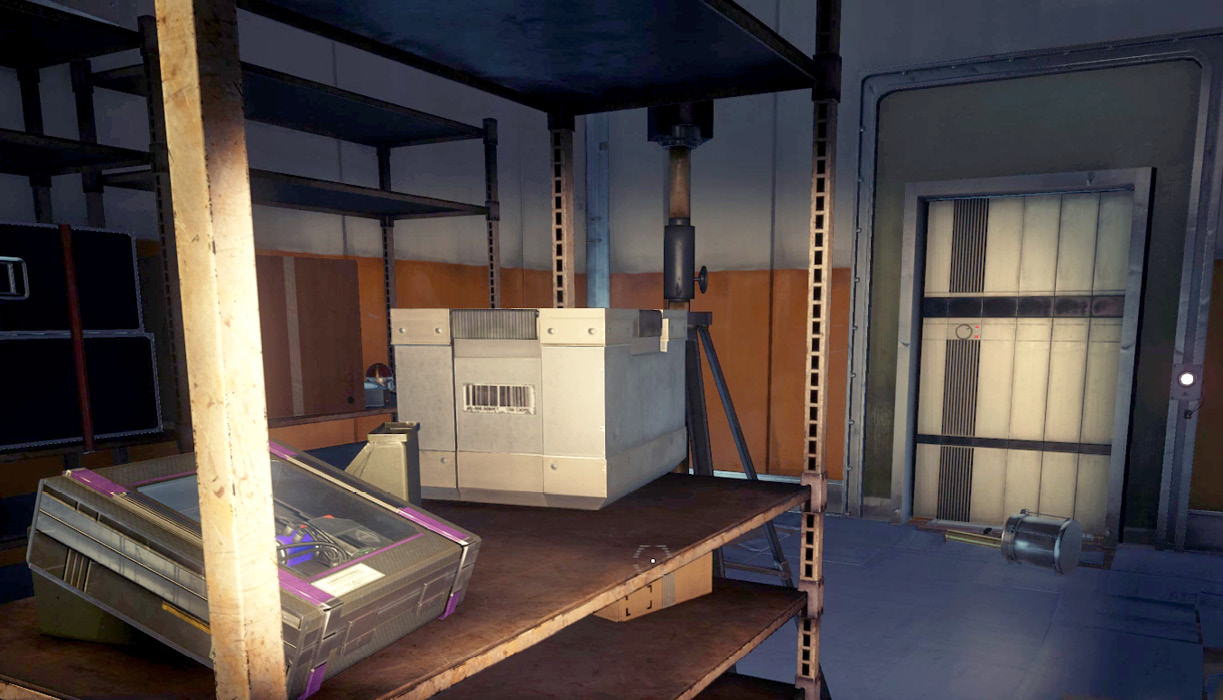
While you’re on the cargo platform, jump and glide to the top of the nearby storage room. Then drop through a hole in the room’s roof. Inside you can find a variety of supplies, including two Neuromods and a Weapon Upgrade Kit.
Airlock
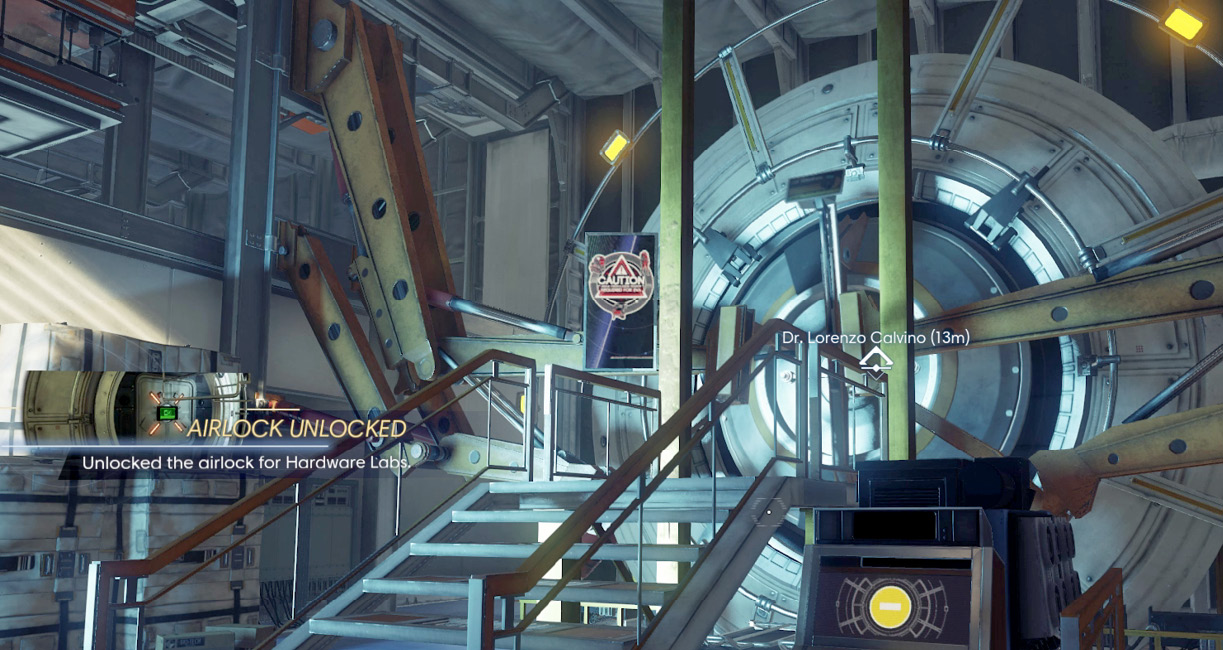
Now that you have a propulsion system, you’re ready for your first spacewalk. Approach the airlock control panel and disengage the internal lock. As January reports, all airlocks have a manual seal that must be disengaged from inside the station. This is one of five airlocks on Talos I. The other airlocks are located in the Arboretum, Shuttle Bay, Psychotronics, and Power Plant. Disengage each airlock you encounter to facilitate easier travel between sections of Talos I. When you’re ready for your spacewalk, interact with the large door leading to Talos I’s exterior.
Talos I Exterior
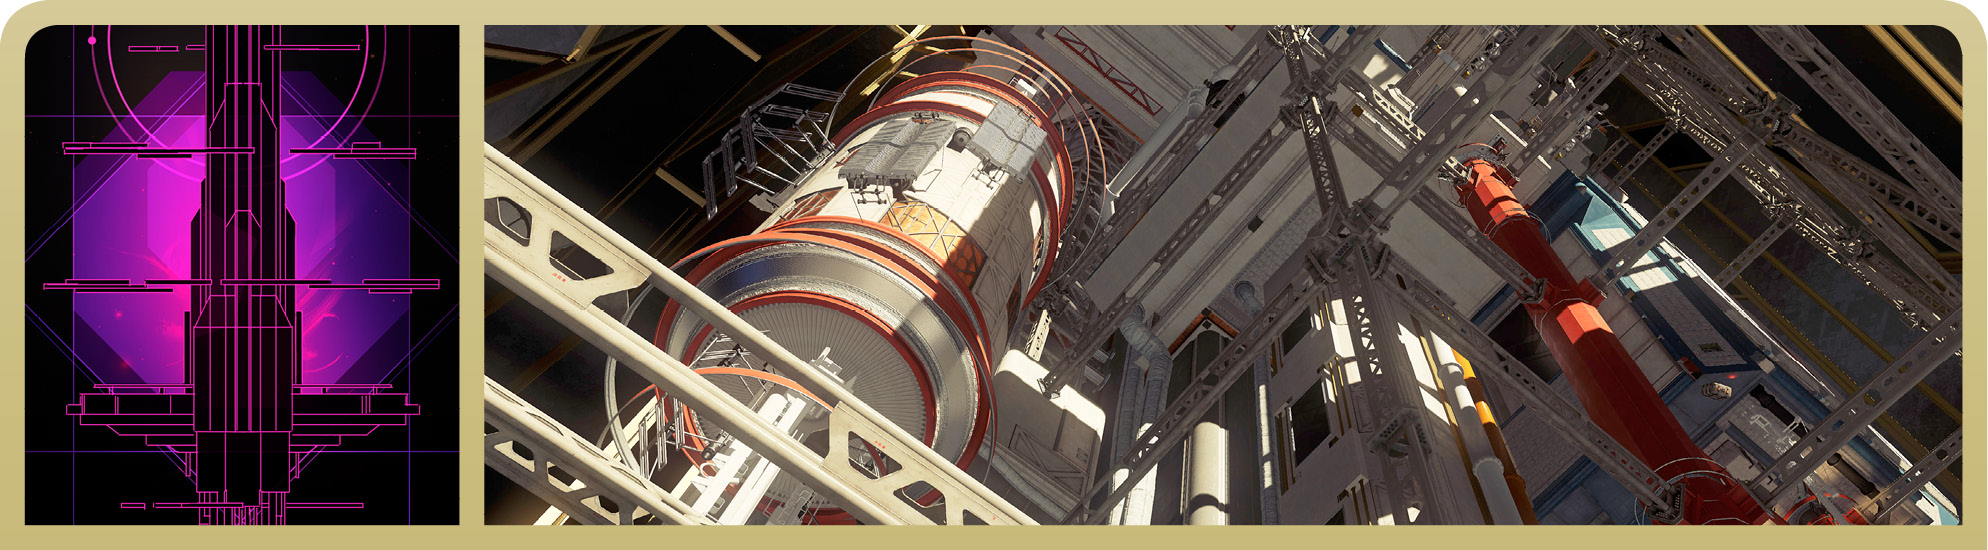
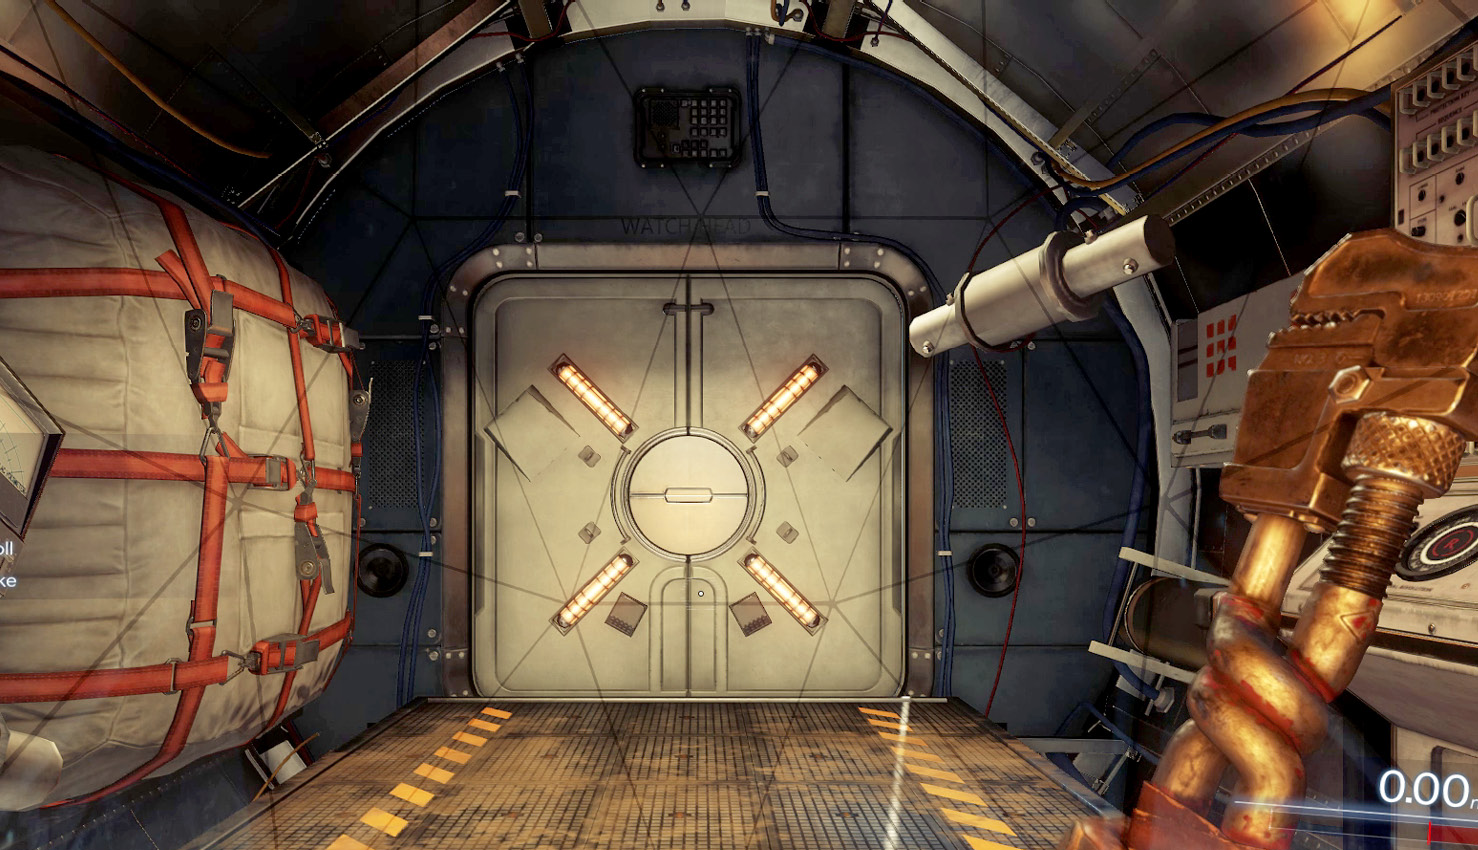
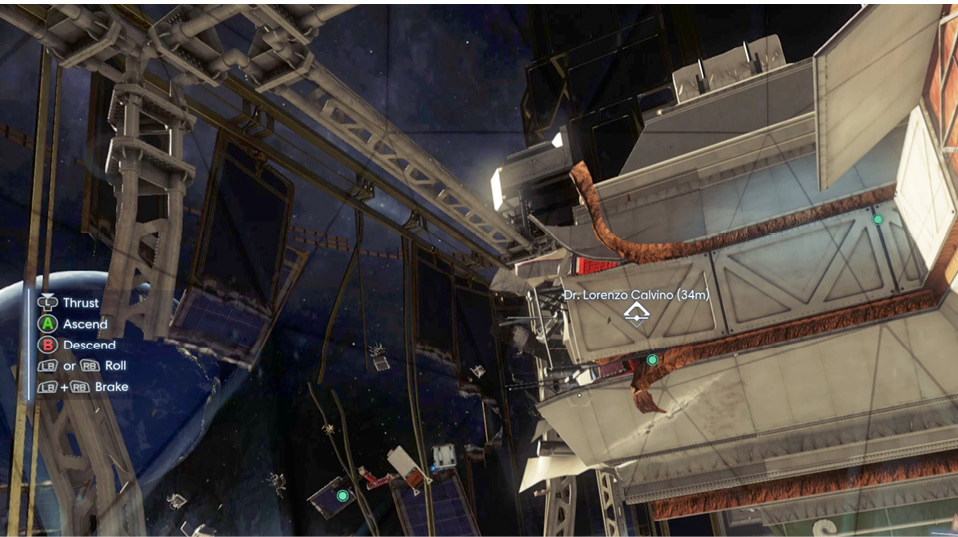
Before exiting the airlock, take a moment to familiarize yourself with the microgravity environment. A list of controls appears on the HUD’s left side, serving as a useful reminder. Experiment with thrusting, ascending, descending, rolling, and braking. Maneuvering in three dimensions can be a bit disorienting at first. So use the visual references inside the airlock to help get your bearings while moving about. When you’re ready to move outside the space station, approach the airlock’s outer door. It opens automatically as you approach.
Combustion Lab
| Notable Items: | Keycard: Dr. Calvino’s Workshop | Neuromod (2) | EMP Charge (2) |
| Audio Recording: The Doctor is Out | Audio Recording: First Thing Tomorrow | Keycode: Machine Shop Supply Closet |
As you drift into space, turn right. Dr. Calvino’s body is marked with a waypoint marker. Align the waypoint marker in the center of the HUD and apply thrust to begin moving toward Dr. Calvino. Ascend and descend as necessary to avoid colliding with debris and other obstacles. Dr. Calvino is located inside the decompressed Combustion Lab. The lab is filled with a variety of floating objects, including several spare parts. A pair of EMP Charges float in the adjoining hall, outside the Beams and Waves Lab. Activate your flashlight to make maneuvering in this dark, cluttered space easier. Locate Dr. Calvino’s body and retrieve the keycard to his workshop. His body also holds two Neuromods and a TranScribe containing two audio recordings. Listen to “The Doctor is Out” to retrieve the keycode to the Machine Shop’s supply closet.
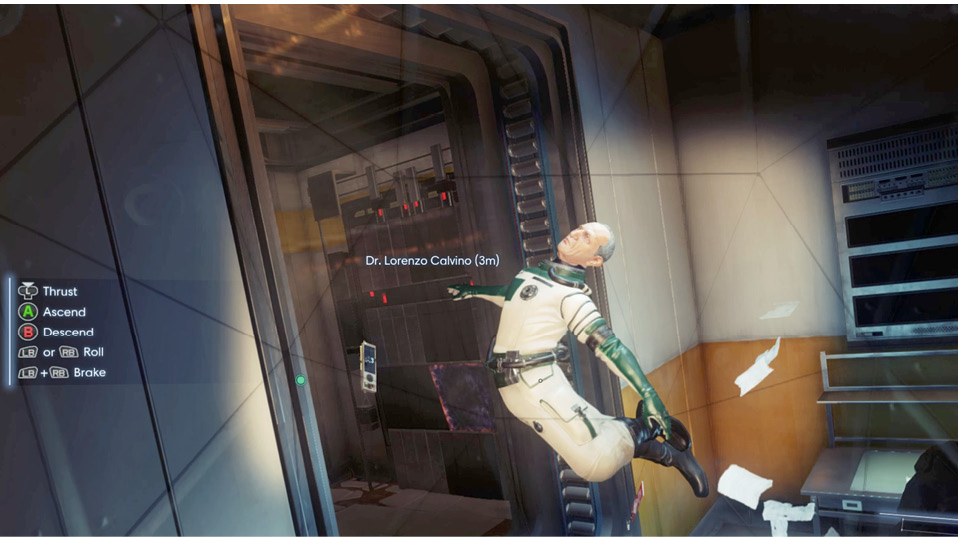
Breach AccessObjective Summary: An accident caused a breach in Hardware Labs. I’ve restored atmosphere to the breached hallway. Now I can get to the Beams and Waves lab. After searching Dr. Calvino, look for the damaged breach failsafe on the nearby wall. If you possess the Repair II skill, you can fix this failsafe, giving you access to the Beams and Waves Lab inside the Hardware Labs. If you’re short on spare parts, simply look around the Combustion lab. Several spare parts kits are floating around. Gaining access to the Beams and Waves lab is crucial, allowing you to retrieve the Q-Beam, a powerful energy weapon ideal for taking out Phantoms and more advanced threats. 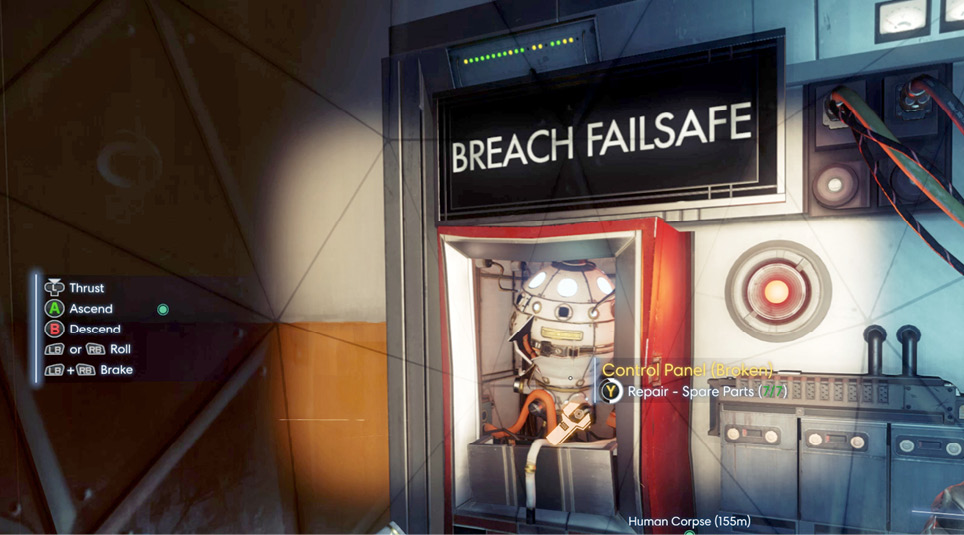
|
Chemical Lab
A hole in the Combustion Lab’s floor allows you to search the Chemical Lab below. This lab was also compromised during the breach. Search the lab for supplies, including a few Psi Hypos. There’s also a safe in the corner of the lab that appears to have malfunctioned. However, it can still be hacked if you have the Hacking III skill.
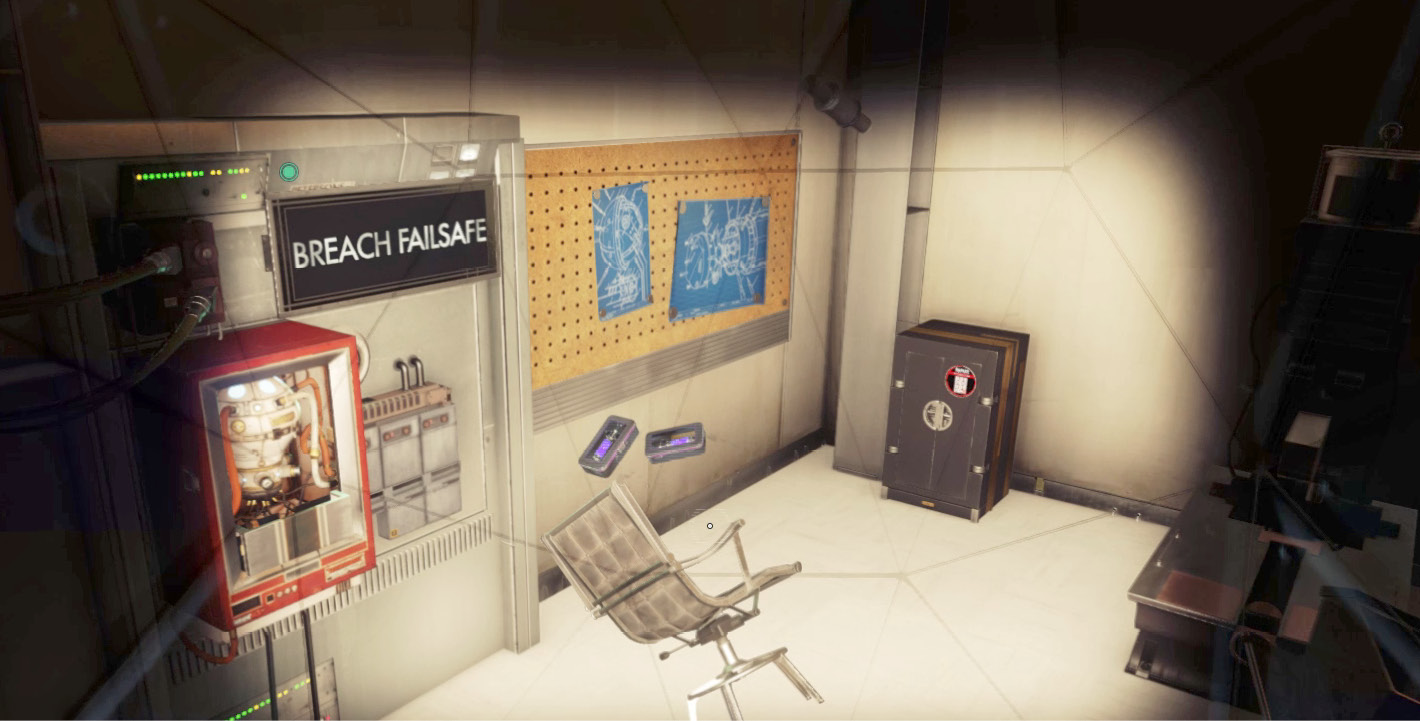
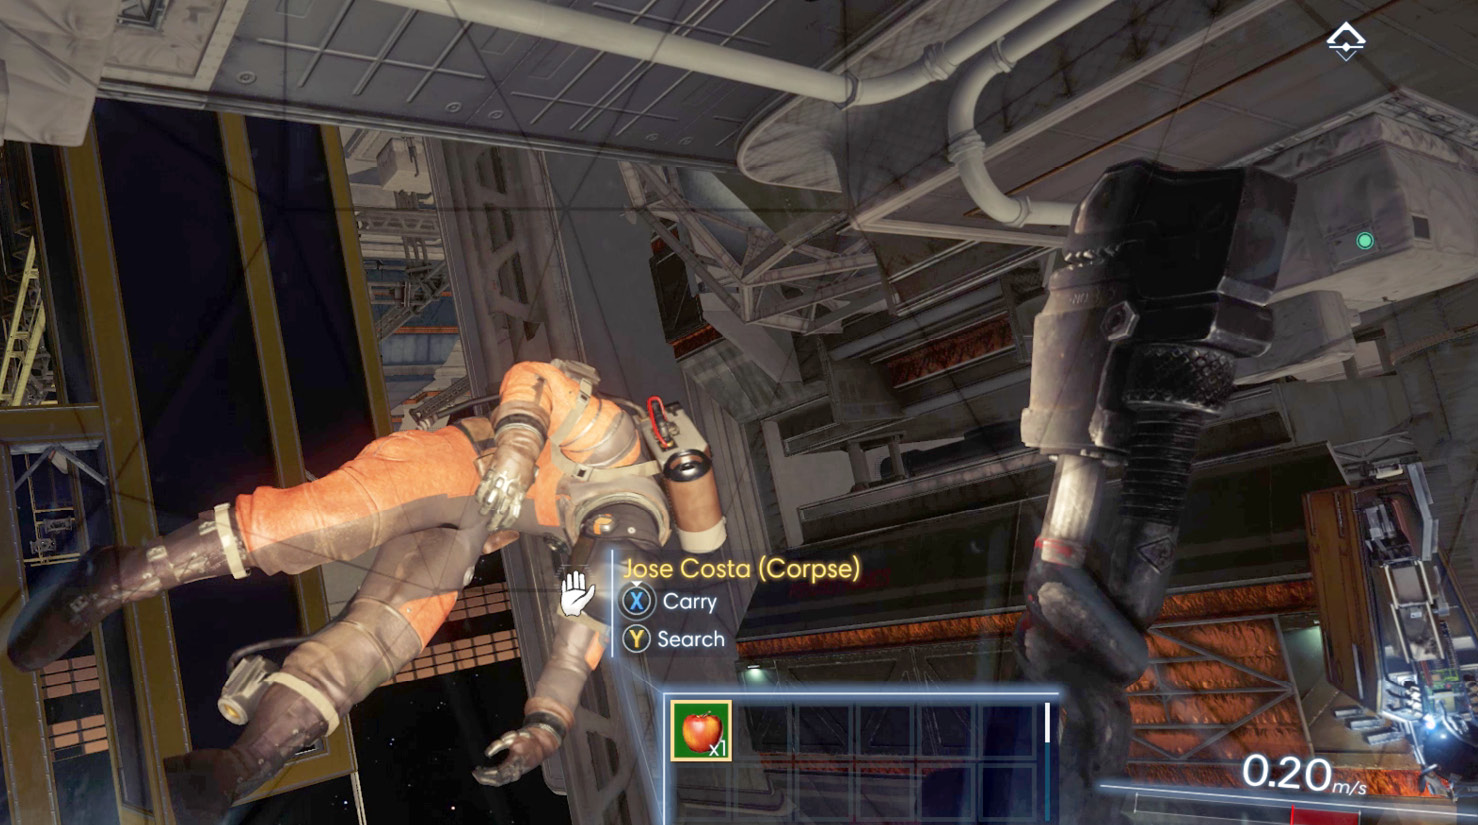
Before returning to Hardware Labs, consider exploring the station’s exterior a bit longer. A couple of nearby bodies can be searched. Use the waypoint markers to find Karisma Chouhan and Jose Costa and search them for supplies. When you’re finished exploring, follow the waypoint marker back to the Hardware Lab’s airlock. With Dr. Calvino’s keycard in hand, you can now access his workshop.
Hardware Labs
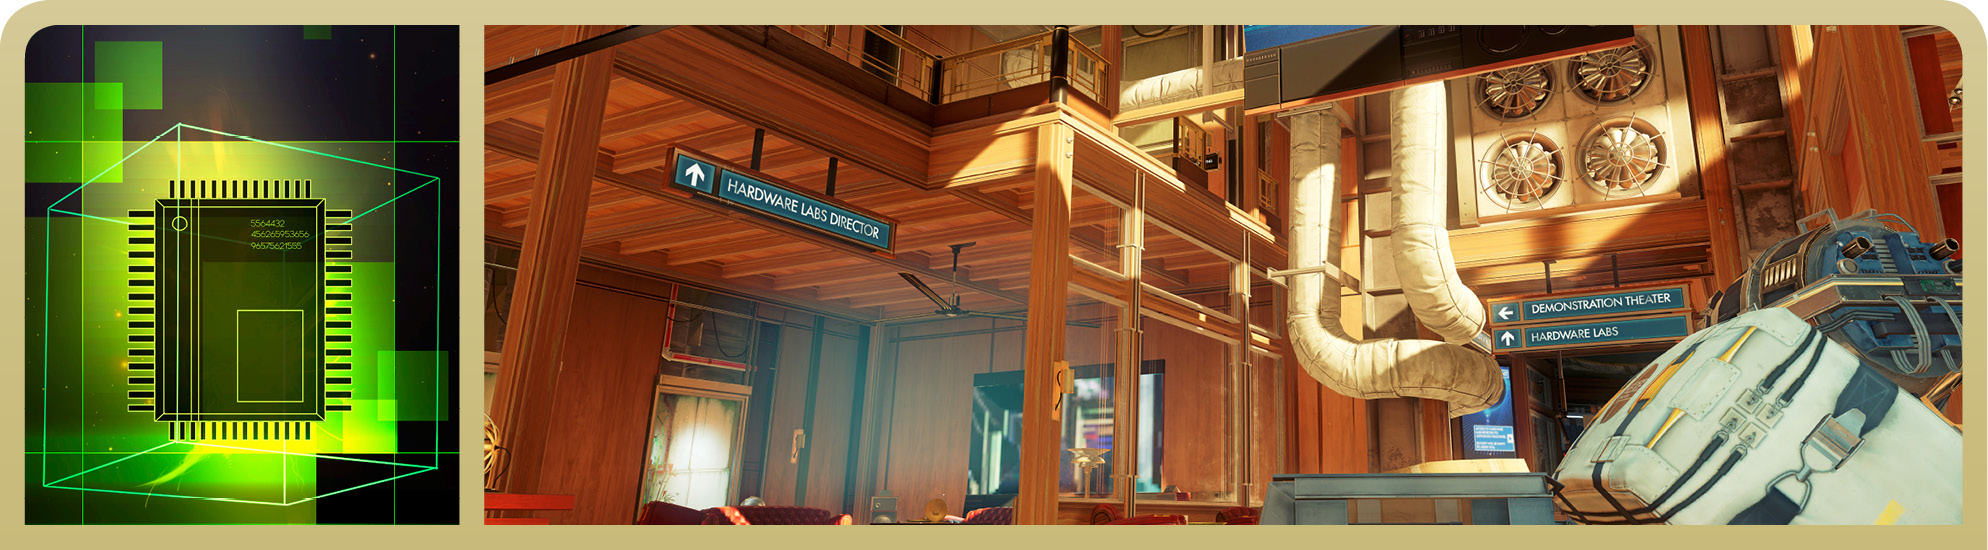
Dr. Calvino’s Workshop
| Notable Items: | Dr. Calvino’s Tumbler |
| Neuromod (2) | |
| Keycard: Dr. Calvino’s Cabin |
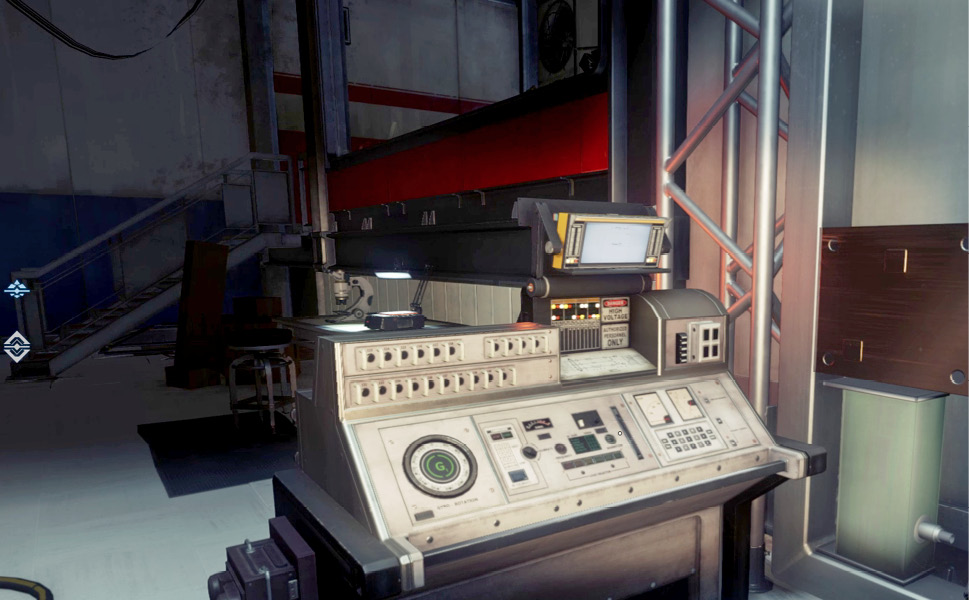
Back in the Hardware Labs, head to the atrium and use the newly acquired keycard to open the door to Dr. Calvino’s Workshop. Activate your flashlight and descend the steps into the workshop. You need to get the Looking Glass server back online to watch the rest of your video. Start by interacting with this console to restore power to Looking Glass (the cable running from this console connects to the Looking Glass console).
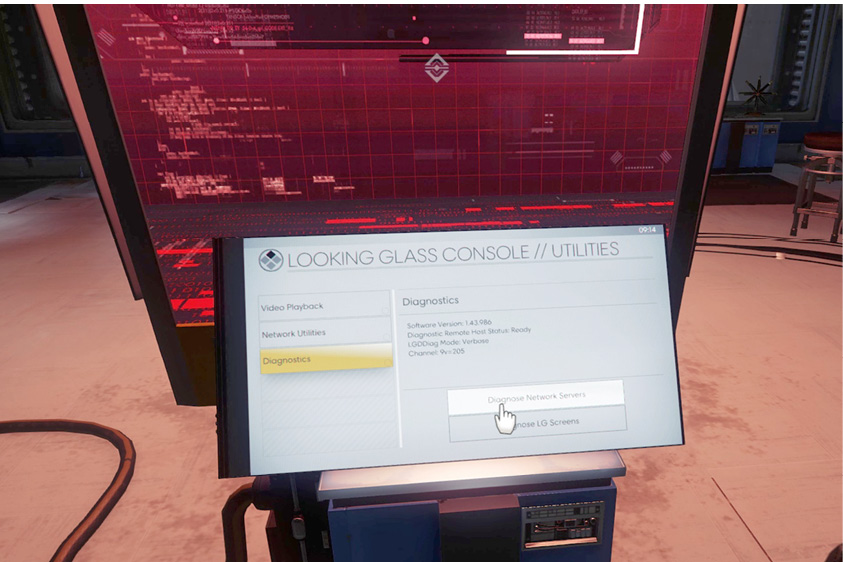
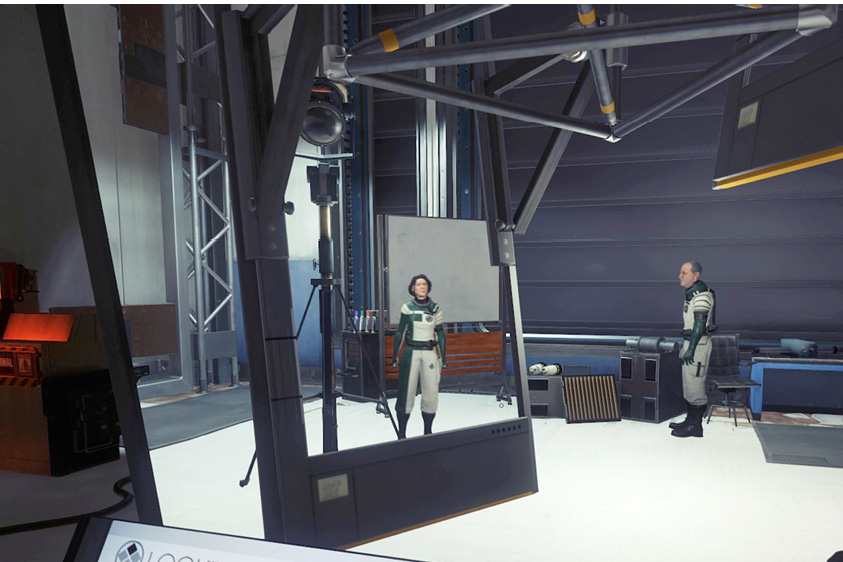
Now interact with the Looking Glass console in the center of the workshop. In the Diagnostics tab, choose Diagnose Network Servers to determine which server is disconnected. Make note of the server’s name. Next, select the Network Utilities tab and select the name of the disconnected server to reconnect it. Once the connection is restored, you can now watch the rest of your video. However, you need to go back to your office in the Talos I Lobby to view it. While you’re in the Looking Glass console, go ahead and watch a couple of videos, available in the Video Playback tab. The videos show Dr. Calvino working with his assistant, Miyu Okabe (you found her body in the atrium). Be sure to search the workshop for supplies before leaving.
Demonstration Stage
| Notable Items: |
| Neuromod (2) |
| GLOO Cannon |
| Audio Recording: Bring a GLOO Gun |
| Silenced Pistol |
| Huntress Boltcaster |
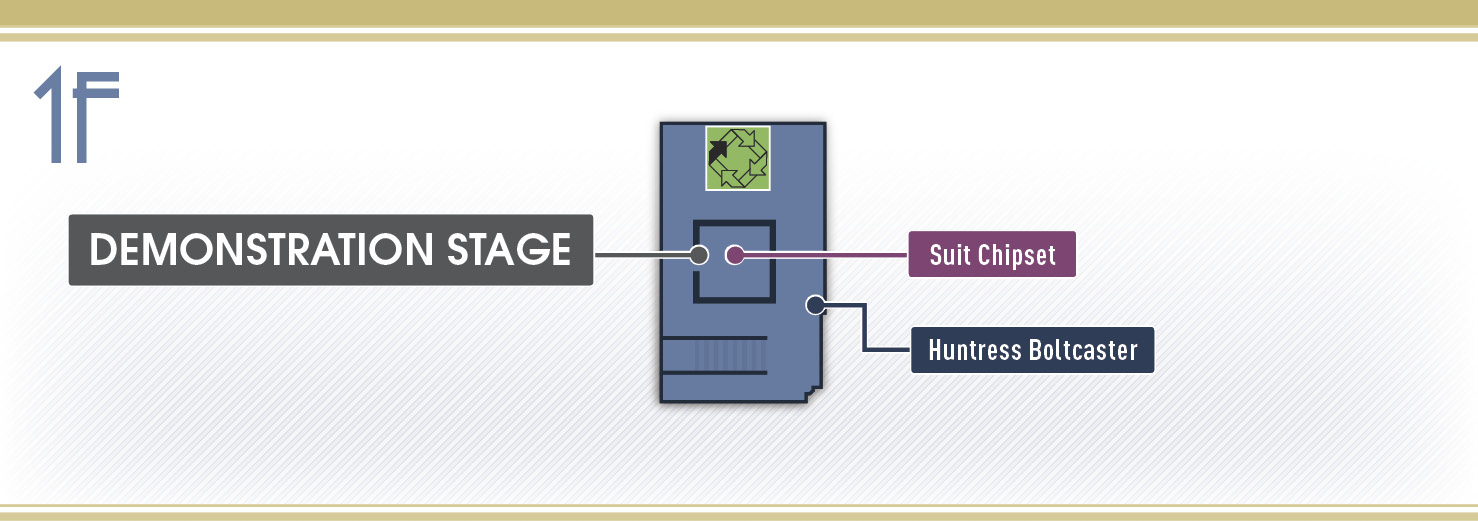
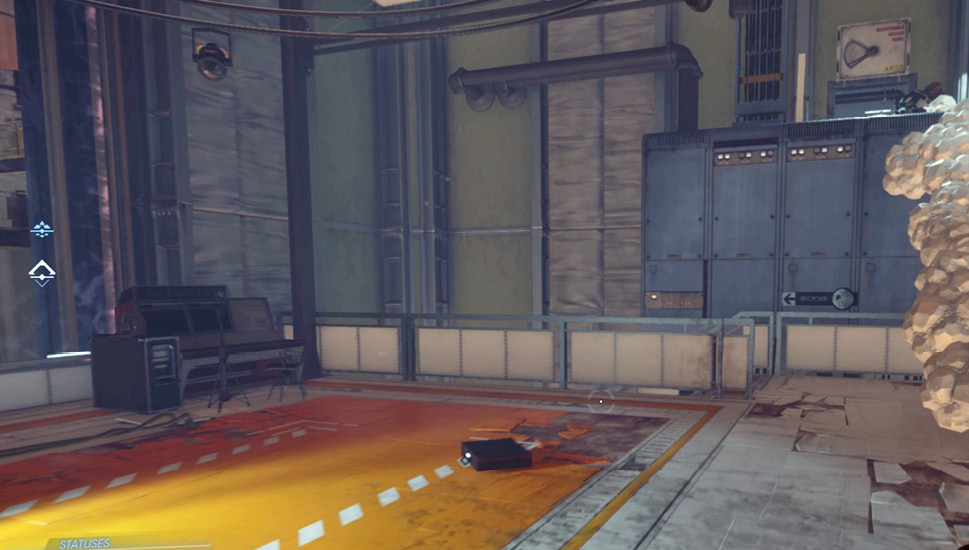
After exiting Dr. Calvino’s workshop, enter the neighboring door leading to the back half of the demonstration stage. This is where you witnessed Thaddeus York confront the Phantom. Search the briefcase on the stage to recover two Neuromods and some recycled material. Next climb the GLOO deposits to reach the ledge with York’s body. Retrieve his TranScribe to obtain an audio recording. You don’t need to take York’s GLOO Cannon, but you can take the ammo loaded into the weapon. The adjoining maintenance access passage contains some spare parts and a Silenced Pistol.
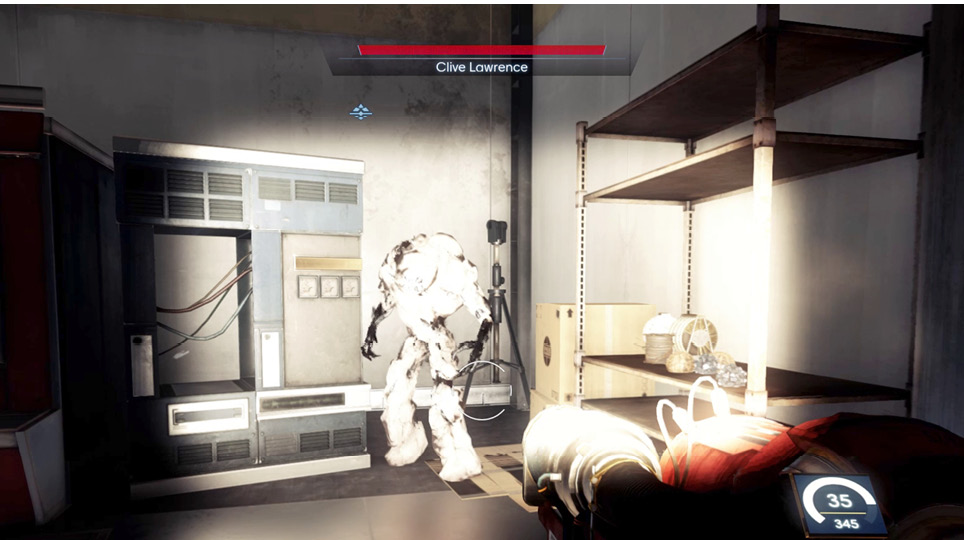
Return to the stage and descend the nearby staircase. Beware of the Phantom, still lurking beneath the stage. Equip your GLOO Cannon and hunt down the Phantom. Disable the Phantom with GLOO, then attack with your Silenced Pistol or wrench. This Phantom used to be Clive Lawrence. There are some supplies within the storage room beneath the stage. You can also find a Huntress Boltcaster and material fragments in the corridor outside. Feel free to use the nearby Recycler to consolidate your inventory. When you’re finished searching the workshop, return to the atrium. You should explore one more area before returning to the Talos I Lobby.
Ballistics Lab
| Notable Items: | Keycard: Ballistics Lab |
| Recycler Charge (2) |
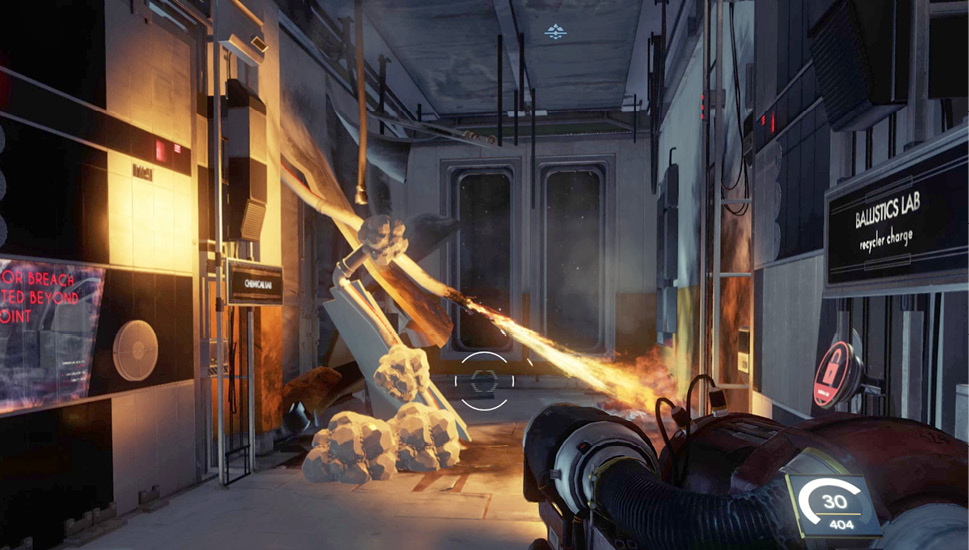
The door to the Ballistics Lab is locked, but a keycard is nearby on the body of Aime Schmidt. Before you can reach her body, you must first put out a fire, caused by a ruptured gas line. Use your GLOO Cannon to seal the line and extinguish the flames. Search Aime Schmidt’s body to retrieve a keycard to the Ballistics Lab as well as a few other items, including a Recycler Charge. Recycler charges are hand thrown weapons similar to a grenade. When detonated, the charge breaks down the molecular structure of nearby objects into recyclable material—very dangerous, yet effective.
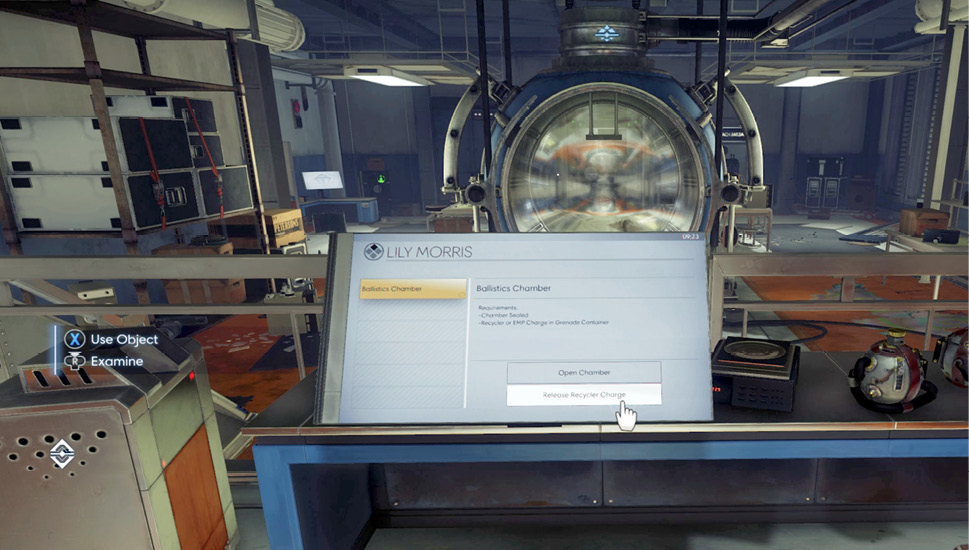
A large spherical chamber dominates the center of this lab. It’s called the ballistics chamber, and it currently houses two Mimics. Access Lily Morris’ workstation at the back of the lab, and select the Release Recycler Charge option from the screen. This causes a Recycler Charge to be released into the chamber, converting the Mimics into organic, mineral, and exotic material fragments. Interact with the workstation again to open the chamber and retrieve the material. A couple of Recycler Charges are sitting on the table next to Lily’s workstation. Consider using the ballistics chamber to convert more items into recycled material.
Beams and Waves Lab
| Notable Items | Q-Beam |
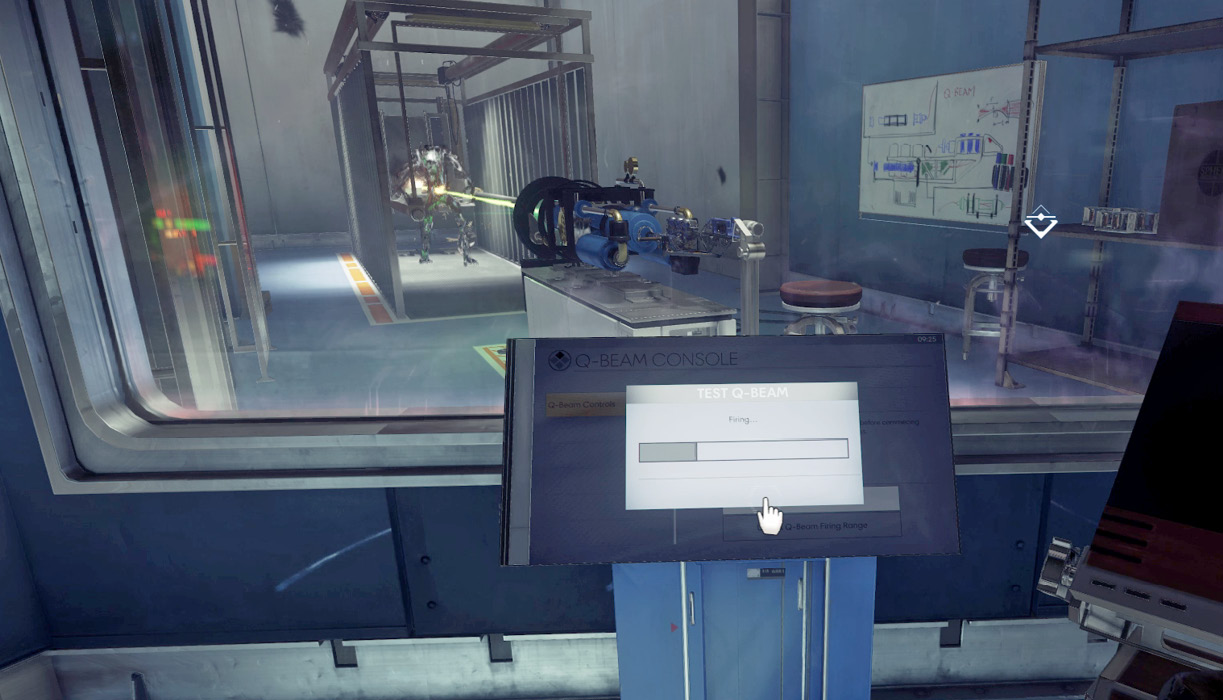
If you repaired the breach failsafe in the Combustion Lab during your spacewalk, you can now access the Beams and Waves Lab on the second floor. Entering the lab completes the Breach Access optional objective. As you enter, approach the Q-Beam console on the right. It appears the researchers have been working on a type of beam weapon. Select “Fire Q-Beam” and look up from the console to see the weapon in action inside the adjoining room. The weapon obliterates a Phantom trapped in the containment chamber.
After the Q-Beam has fired, select “Unlock Q-Beam” from the console to detach the weapon from its firing mount.
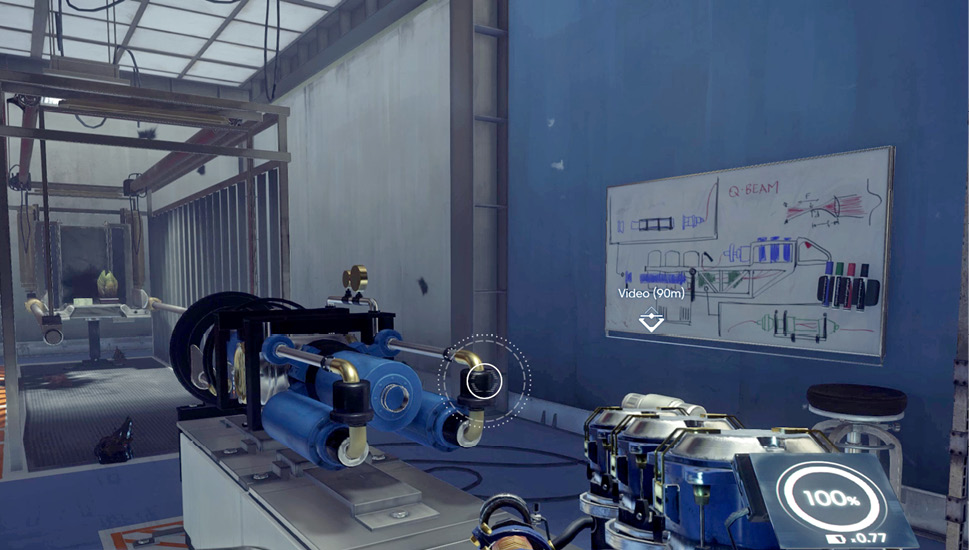
Enter the Q-Beam’s testing chamber and retrieve the weapon. The Q-Beam fires a concentrated beam of unstable particles that eventually cause targets to explode. The weapon requires Q-Beam cells to operate. A few Q-Beam cells can be found in the lab. You can also retrieve Q-Beam cells from destroyed Operators.
The Blackbox ProjectObjective Summary: I discovered information that Josh Dalton, a designer in the Hardware Labs, has gone missing. He was involved in something called the Blackbox project. Finding Josh Dalton may provide answers to what exactly the Blackbox project is. I could use a Security Station to track him down. In the Beams and Waves Lab, access Lane Carpenter’s workstation and read the Blackbox Shipment email. Station security reports there is a problem pertaining to some Blackbox equipment in the G.U.T.S. It never reached the Cargo Bay. Furthermore, security is unable to locate Josh Dalton, Lane’s coworker. Other emails reveal Josh has accused Lane of stealing his work. Is there a connection? The Phantom trapped in the nearby Blackbox Project room is Lane Carpenter. Head to the nearest Security Station, in the foyer, and use it to locate Dalton. Apparently Josh Dalton is dead, and his body is located in the G.U.T.S. You’ll need to revisit this objective once you reach the G.U.T.S. 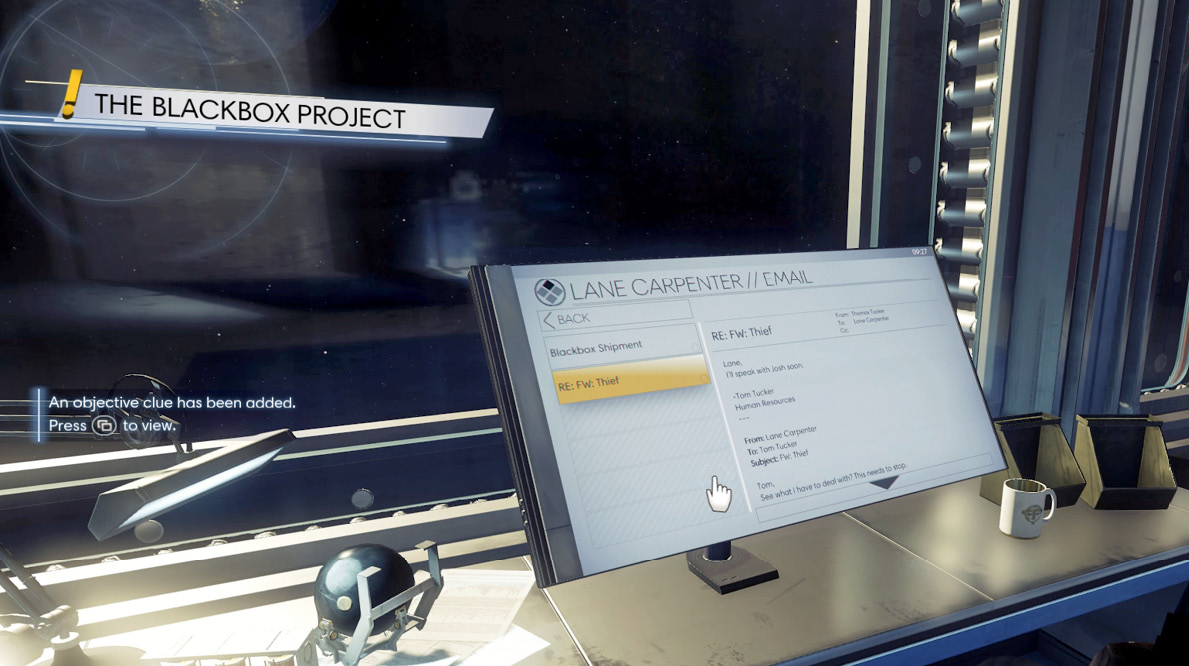
|
Director Thorstein’s Office
| Notable Items: | Neuromod (2) | Recycler Charge (2) |
| Weapon Upgrade Kit | GLOO Cannon | |
| Password: Small Scale Testing | Keycode: Machine Shop Supply Closet | |
| Keycode: Director Thorstein’s Office | Keycard: Jorgen Thorstein’s Cabin |
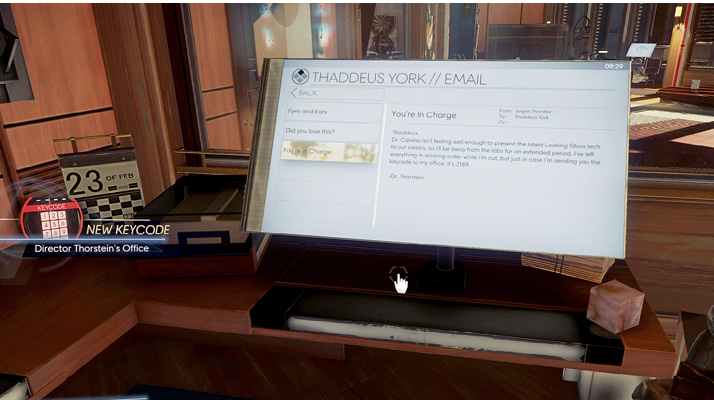
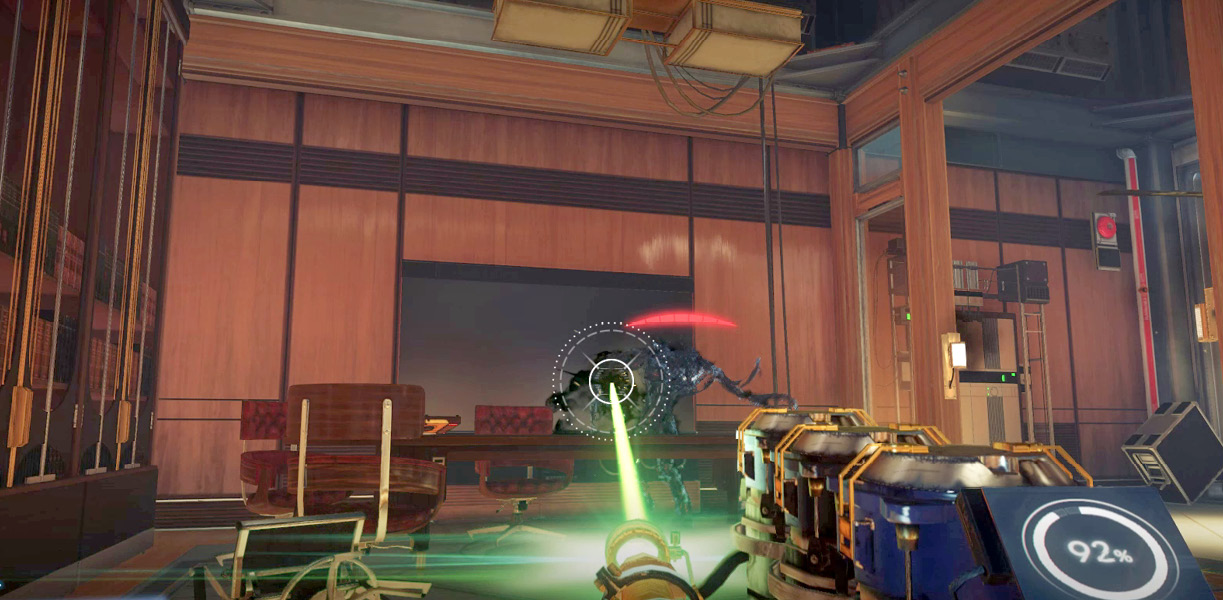
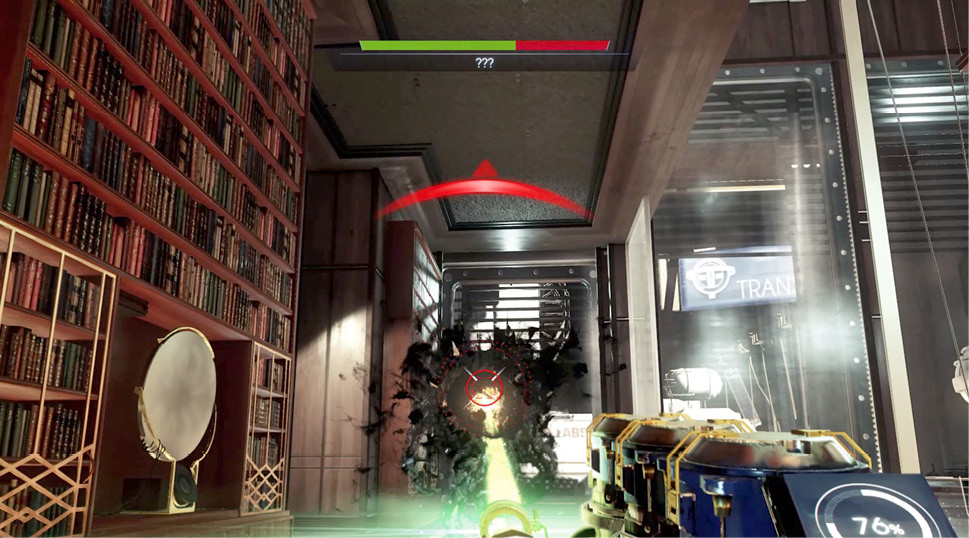
While you’re on the second floor of the atrium, proceed to the room with a large table. Watch for a Phantom patrolling this area—this is a good opportunity to try out the Q-Beam. Hold down the trigger to bombard the Phantom with unstable particles. Note how the Phantom’s red health meter at the top of the HUD fills with green, from left to right. This indicates the number of unstable particles within the Phantom. Once the meter is completely green, the Phantom explodes. A broken turret is also near the entryway. If you possess the Repair II skill and some spare parts, you can fix it, allowing it to engage the Phantom. Once you’ve dealt with the Phantom, locate Thaddeus York’s workstation and access the email titled, “You’re in Charge” to retrieve the keycode for director Thorstein’s office. Punch the code into the locked door nearby to access a walkway above the foyer. The door to Thorstein’s office is on the right.
Prepare to encounter a Phantom as you enter Thorstein’s office. This is actually Jorgen Thorstein. Immediately immobilize the Phantom with the GLOO Cannon and then switch to your Silenced Pistol or Q-Beam to finish it off. Alternatively, whack the immobilized Phantom with your wrench (you may need to apply more GLOO before you can safely kill the Phantom with melee strikes). The defeated Phantom drops a keycard to Thorstein’s cabin in the Crew Quarters. Search the office for a briefcase containing two Neuromods.
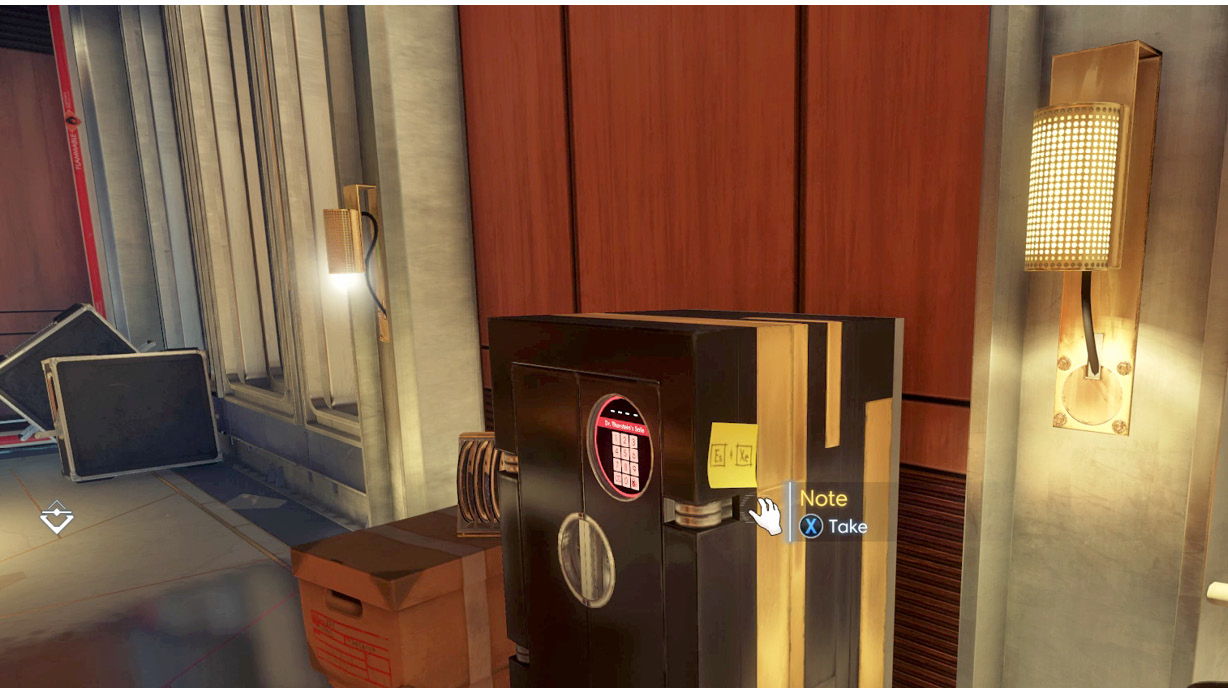
Director Thorstein’s office contains a safe. Read the note attached to the side. The note hints to “remember Es & Xe.” These are abbreviations for Einsteinium and Xenon. Remember your chemistry? If not, there’s a periodic table hanging on the wall. The atomic number for Einsteinium is 99, and Xenon’s atomic number is 54. That’s the code for the safe: 9954. The safe contains ammo and two Recycler charges.
Foyer
Return to the foyer via the staircase attached to Director Thorstein’s office. Along the way, search the stairwell for a few supplies, including a Recycler Charge and some spare parts. The foyer may be patrolled by another Phantom, so be ready for a fight or simply sneak past without being spotted. Proceed directly to the Talos I Lobby.
Talos I Lobby
Teleconferencing Center
Now that the Looking Glass server is back online you can view the rest of your video in Morgan’s office. Coming from the Hardware Labs, cut through the Teleconferencing Center on your way to the Executive Offices. However, watch out for an unknown Typhon entity lurking inside—this is an Etheric Phantom. Drop to a crouched stance and sneak through the Teleconferencing Center without being detected. If the Typhon entity spots you, don’t try to fight it. Disable it with your GLOO Cannon and run for the Executive Offices, taking cover behind the turret you placed earlier. This Phantom-like enemy is extremely tough, so avoid a toe-to-toe encounter. A turret can definitely help in the event of a fight, but be ready to assist with the GLOO Cannon or Q-Beam. Also, avoid the damaging purple, puddle-like residue left behind by the Etheric Phantom.
Morgan’s Office
| Notable Items: | Keycard: General Access |
| Neuromod |
Access Morgan’s workstation and open the Utilities tab to resume the video. This time Alex can’t stop you from viewing the conclusion. In the video, Morgan reveals that Talos I must be destroyed, including the research, the Typhon, and you. Now that the Typhon are a part of you, through the experimental Neuromods, Morgan fears what would happen if even one Typhon cell gets back to Earth. January can walk you through the process to activate the station’s self-destruct mechanism. But Morgan warns that Alex will try to stop you.